The Conversation (0)
Sign Up
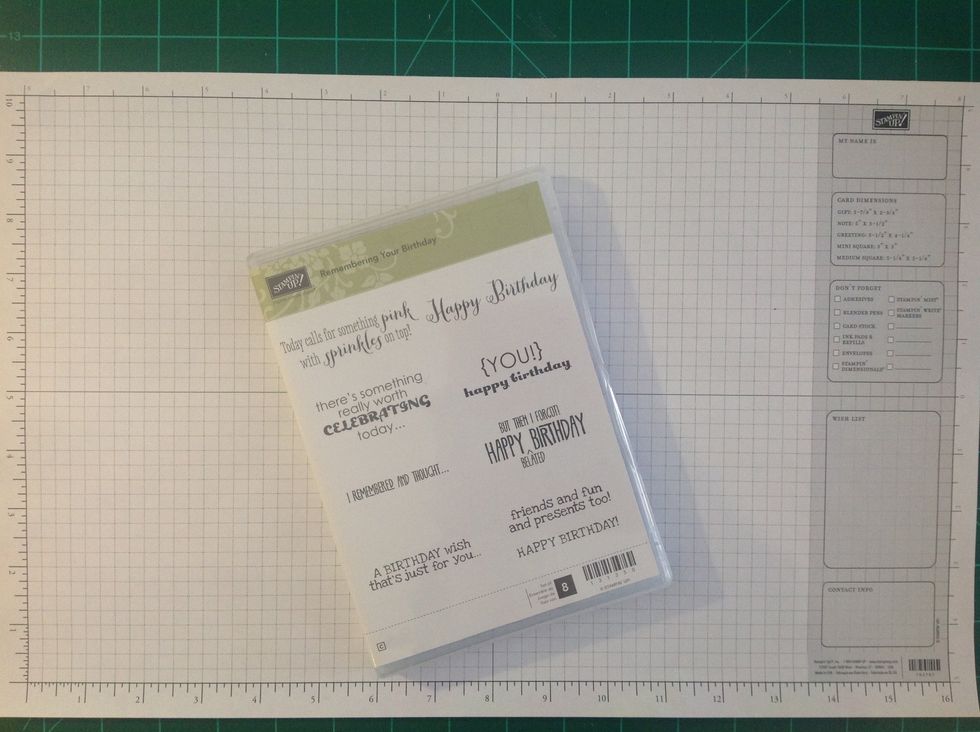
This is pretty basic, but it's good to walk through the mounting process before you set up your first clearmount stamp set. This process will add the image stickers to the stamps.
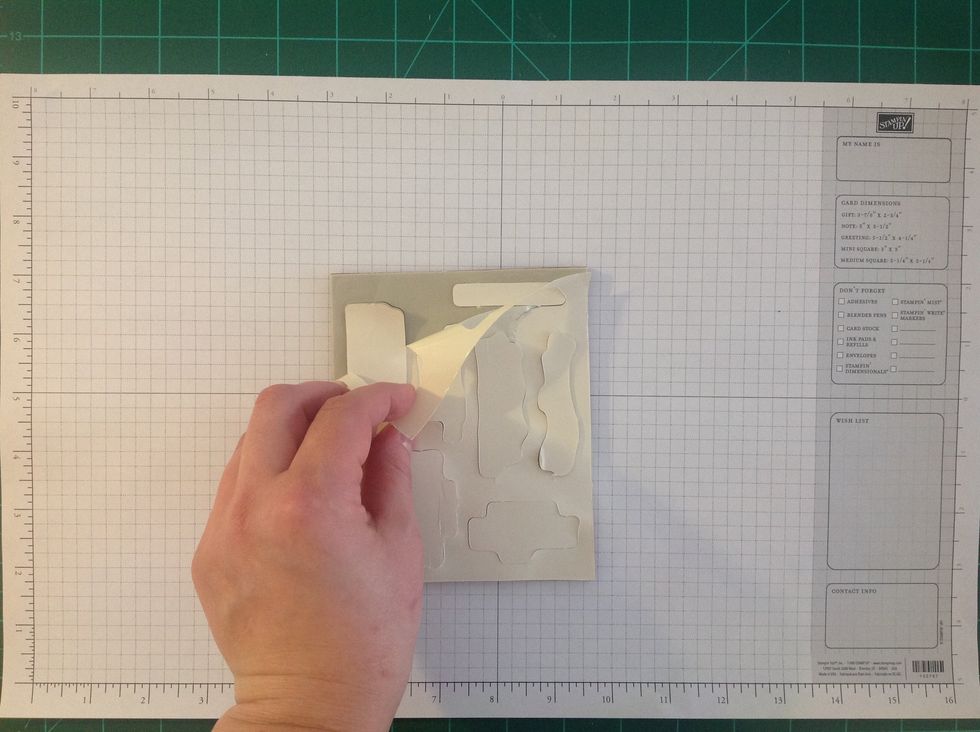
Stampin' Up! Clearmount stamps are red rubber stamps, with "cling foam" that allows them to stick to acrylic blocks. First, peel the backing paper off the stamps and the rubber sheet.
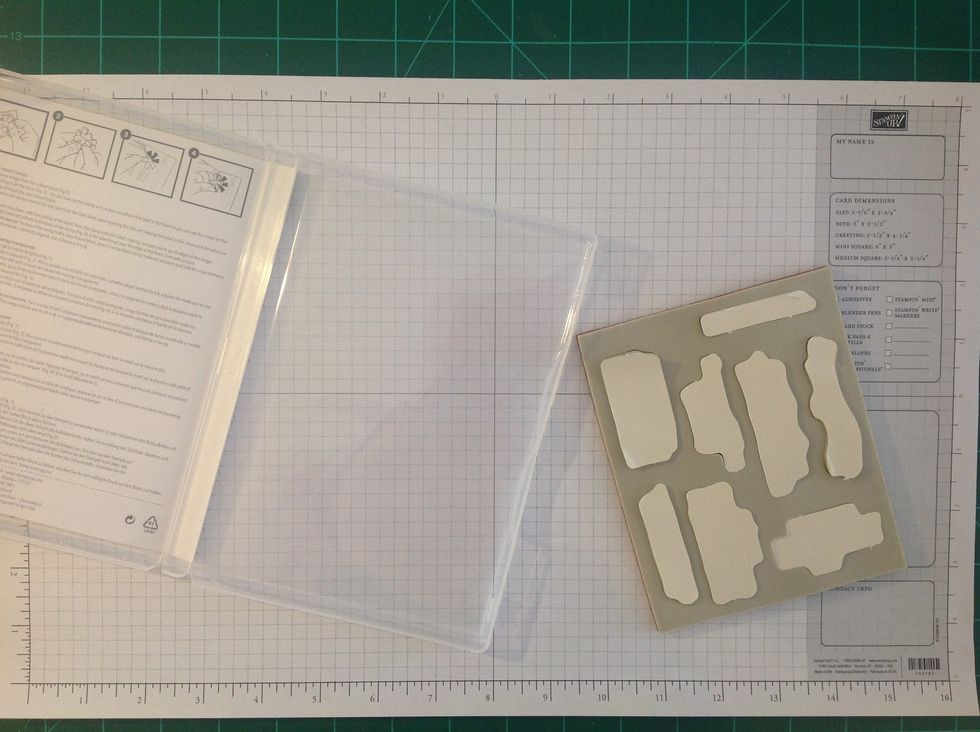
Open the stamp case and adhere the whole piece of rubber to the inside of the box. It's not permanent, it's just "clinging" to the plastic of the container.

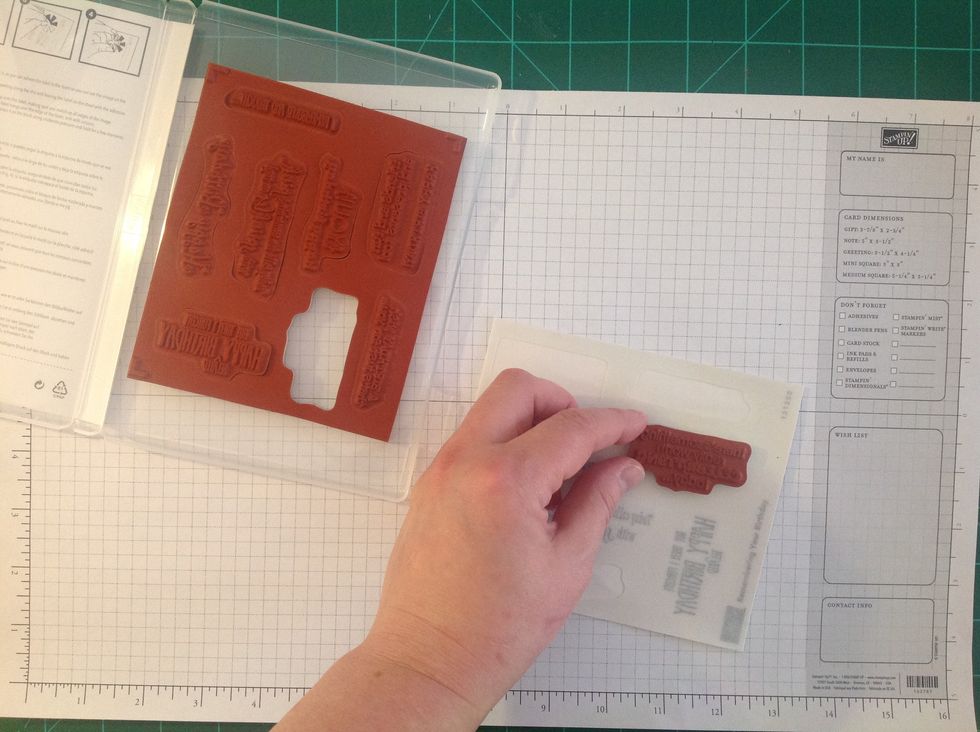
Take out a stamp to mount and match it up to its sticker. (Leaving the big rubber piece in the case will allow you to store the stamps more easily, and to know when there's one missing!)

Peel off the paper backing from the stamp if you haven't already.
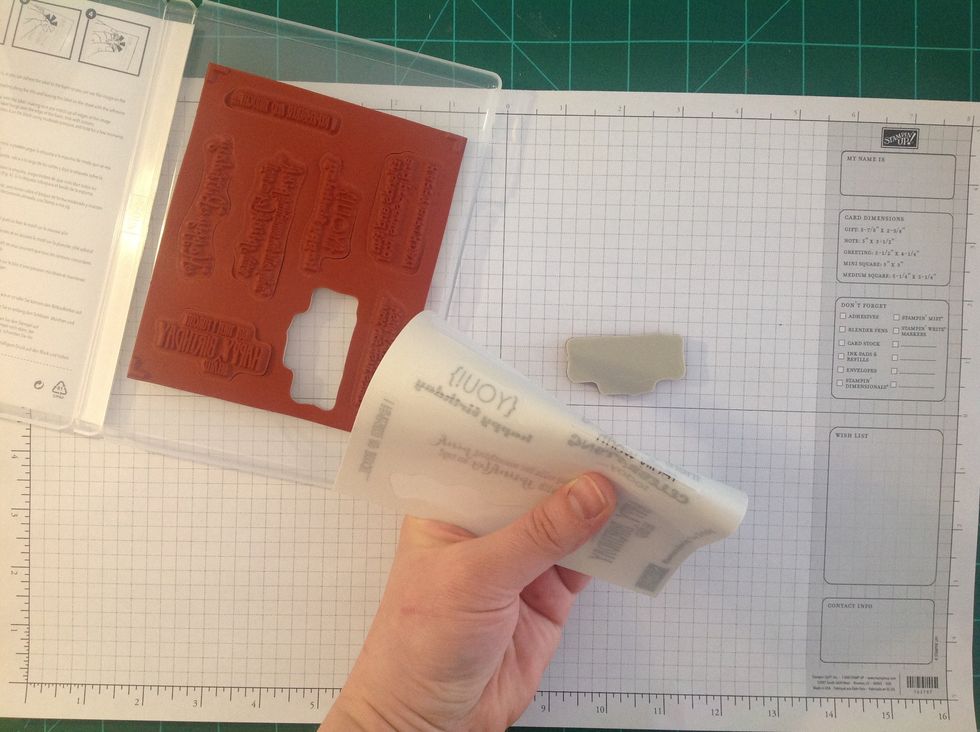
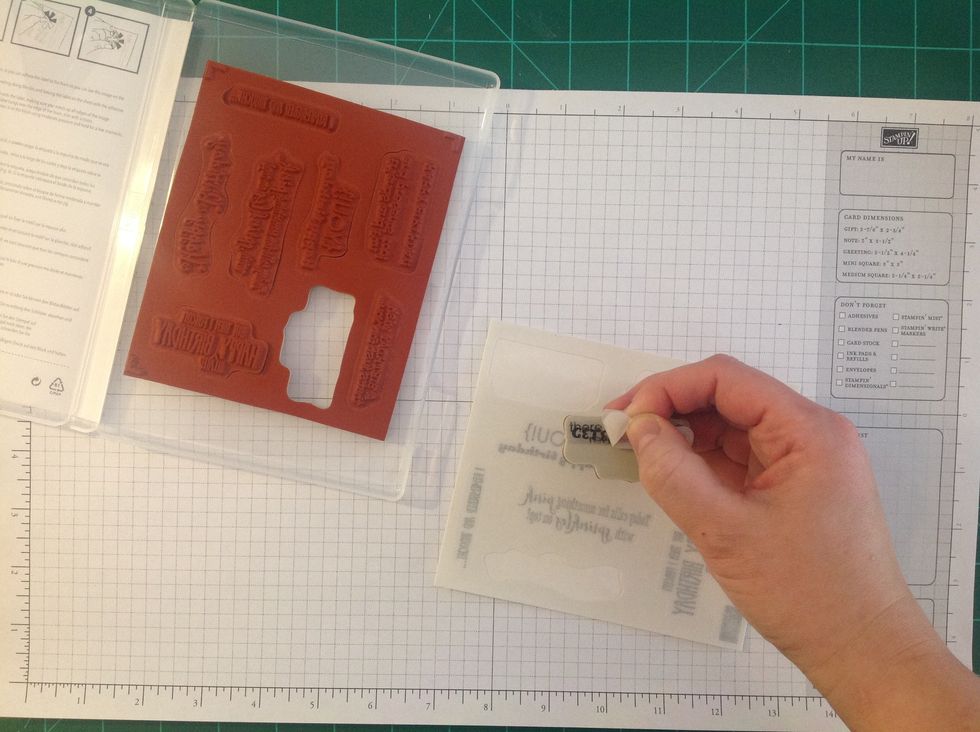
The sticker backing is cut in two. Remove only one half of the sticker backing.

Here you can see that only one half of the sticker backing is removed. You should be looking at the image in reverse. If the stamp has words, they'll be a mirror image.
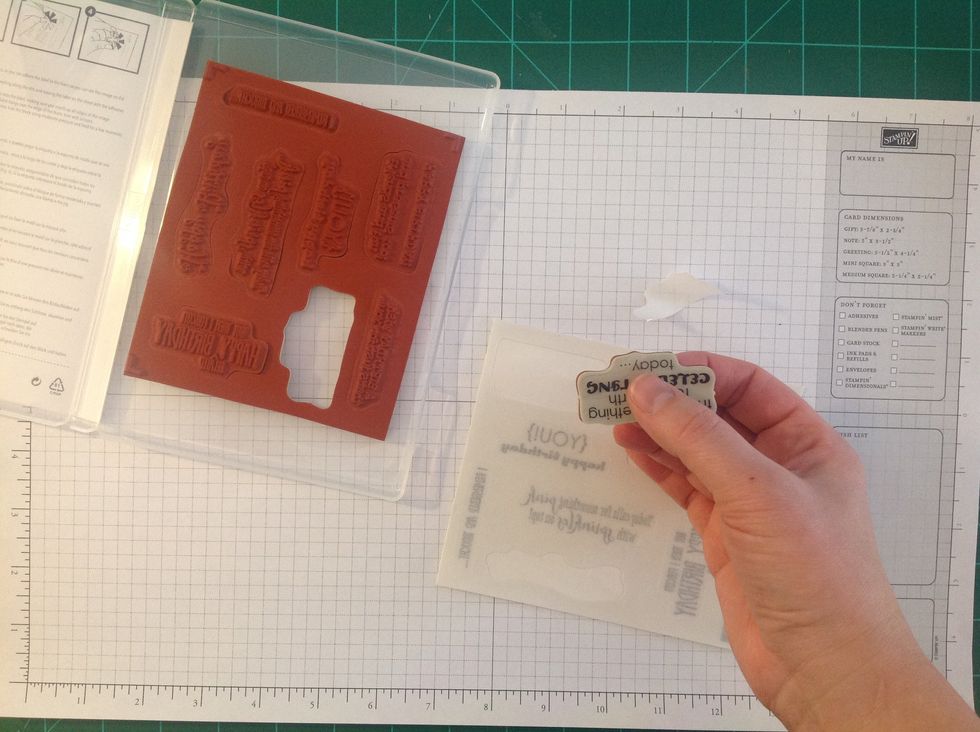
Line up the stamp with the sticker and adhere the two together.

Now you can pull up the sticker from the sticker sheet. You can see here that there's still paper backing on half the sticker. That helps you to line things up a little better. We'll remove that next.
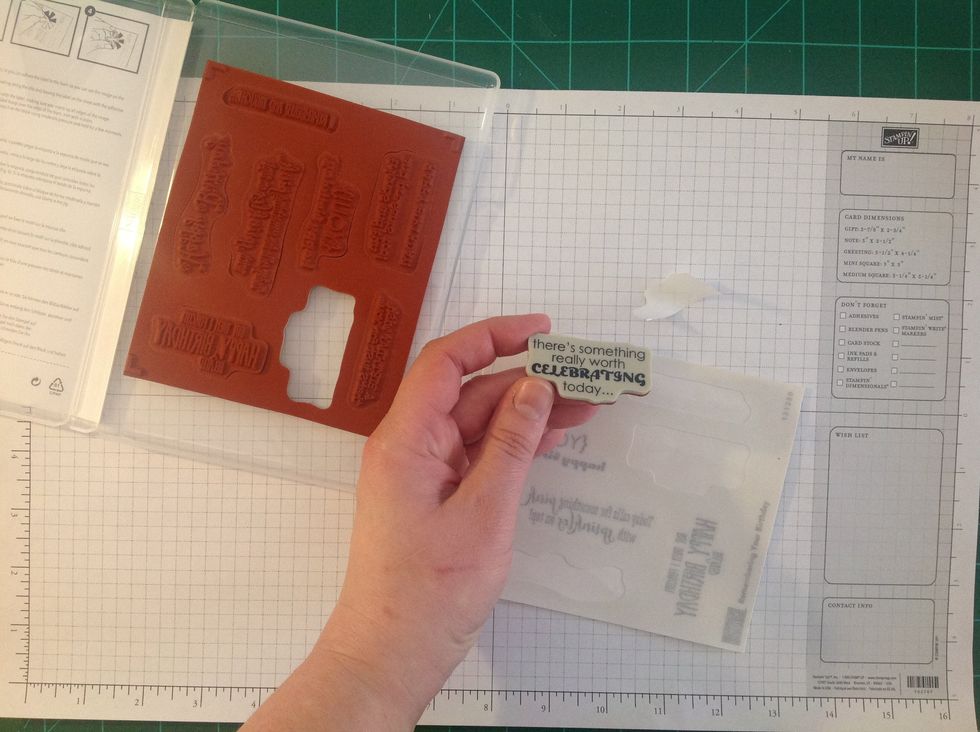
Flip back the un-stuck part of the sticker and remove the backing.
Carefully smooth down the remainder of the sticker. Be careful not to get any bubbles or wrinkles. Also, don't press too hard or the sticker may not line up right.
It's as easy as that! Now you can mount the rest of your stamps...
Some people only like to mount what they are going to use while others like to mount an entire set at once. Pick a way that works for you. You can store any unmounted stickers in the stamp case.

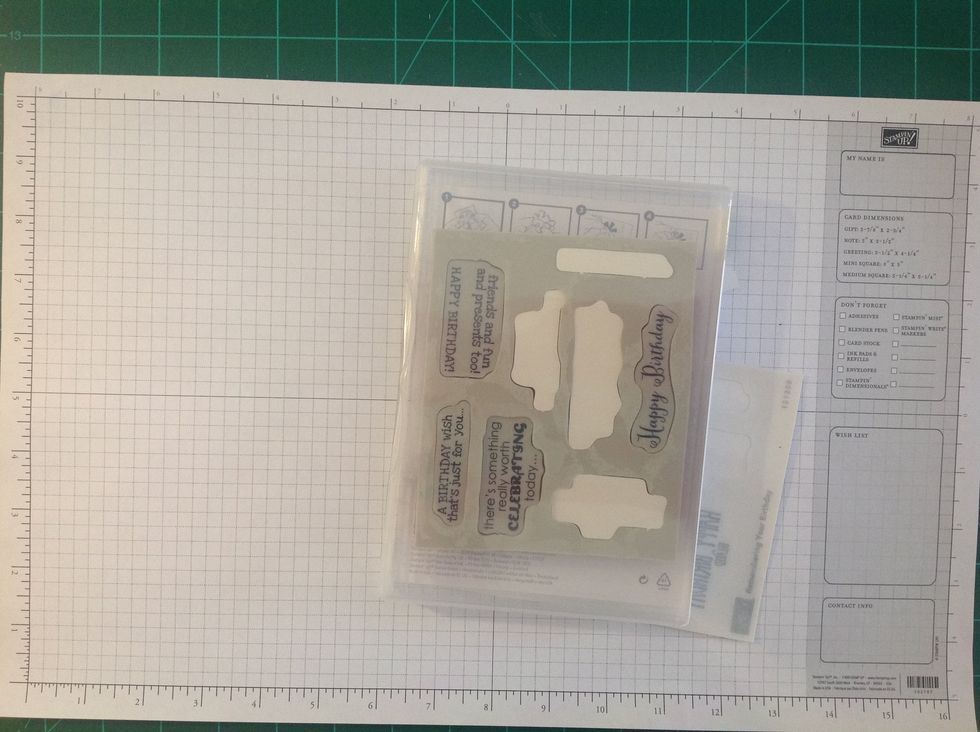
Here's a view of all the stamps mounted and clinging to the inside of the stamp case. See how using the cutout sheet helps keep everything together? Now it's time to stamp!
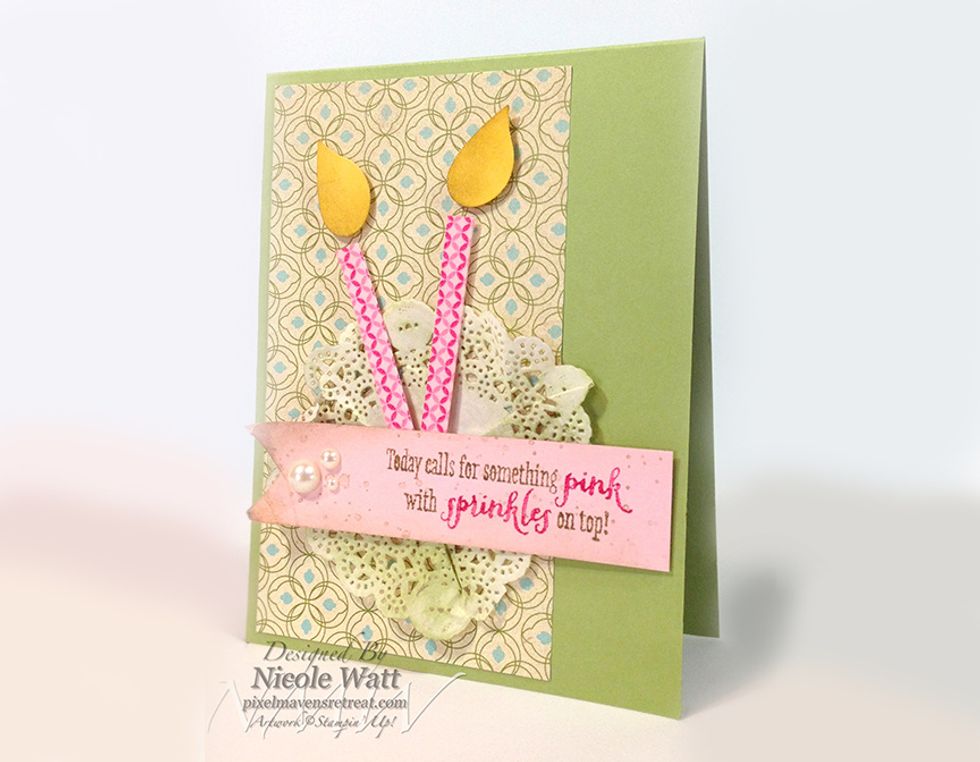
Here's a card I made with this stamp set. The set is called: Remembering Your Birthday (item 131350).
To purchase the supplies in this guide, and get more creative inspiration, check out my blog at: PixelMavensRetreat.com