The Conversation (0)
Sign Up
My apologies for the slight delay! Anyway, begin W with a downward diagonal stroke with a flourish at the top.
Make a very short second diagonal stroke upwards, maintaining nib angle.
Make a third stroke identical to the first. Ensure it connects with the second stroke but still continues to the bottom line.
Make the final stroke begun slightly above the base of the third stroke. Note how it curves back on itself in an exaggerated flourish.
Begin X with a diagonal stroke with flourishes at top and bottom.
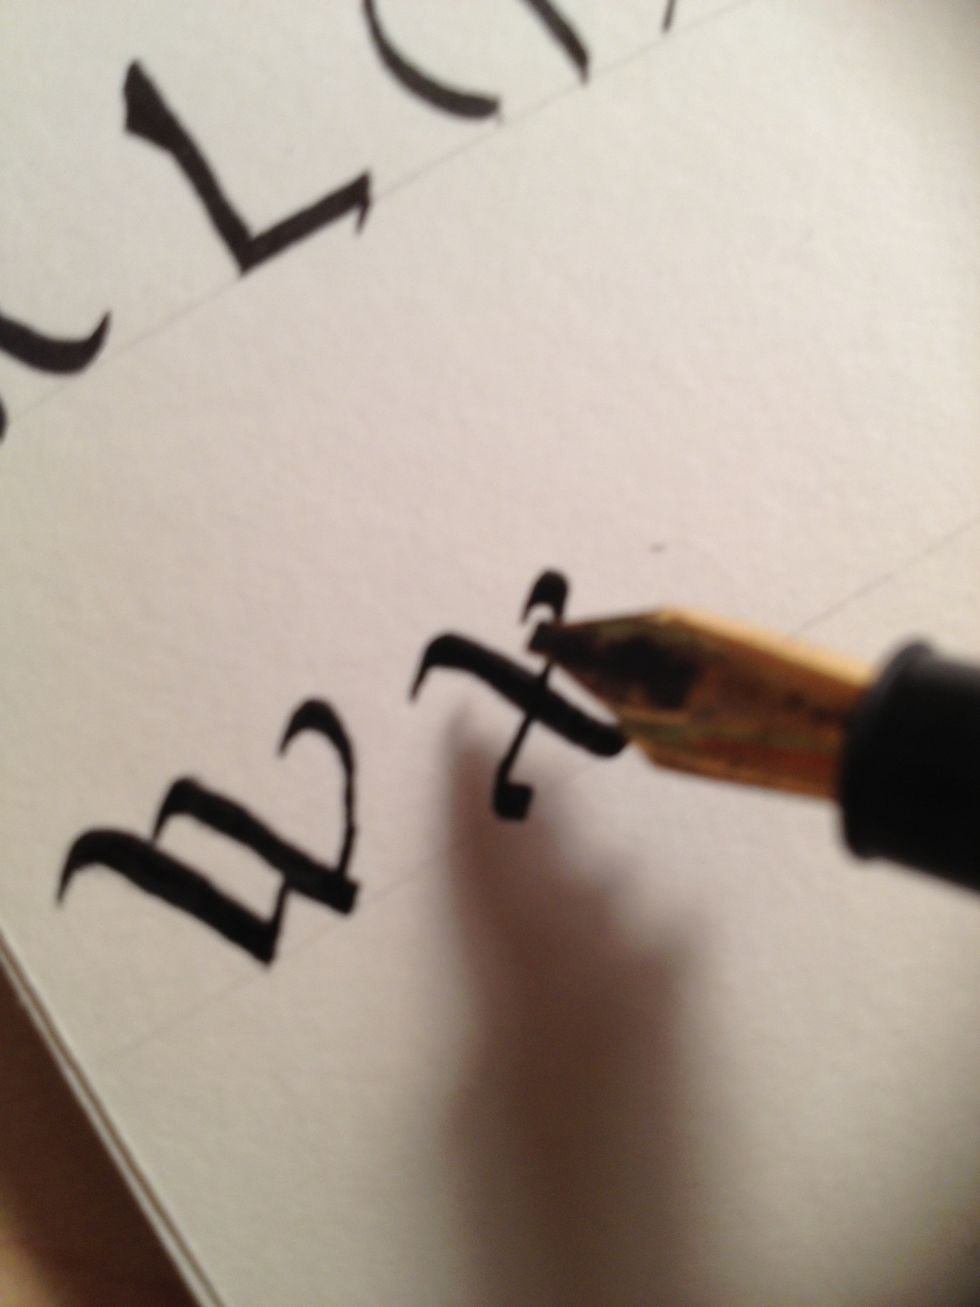
The second stroke can be started from the top or bottom, although I find starting from the bottom easier. Make a subdued flourish at the bottom and an exaggerated one at the top.
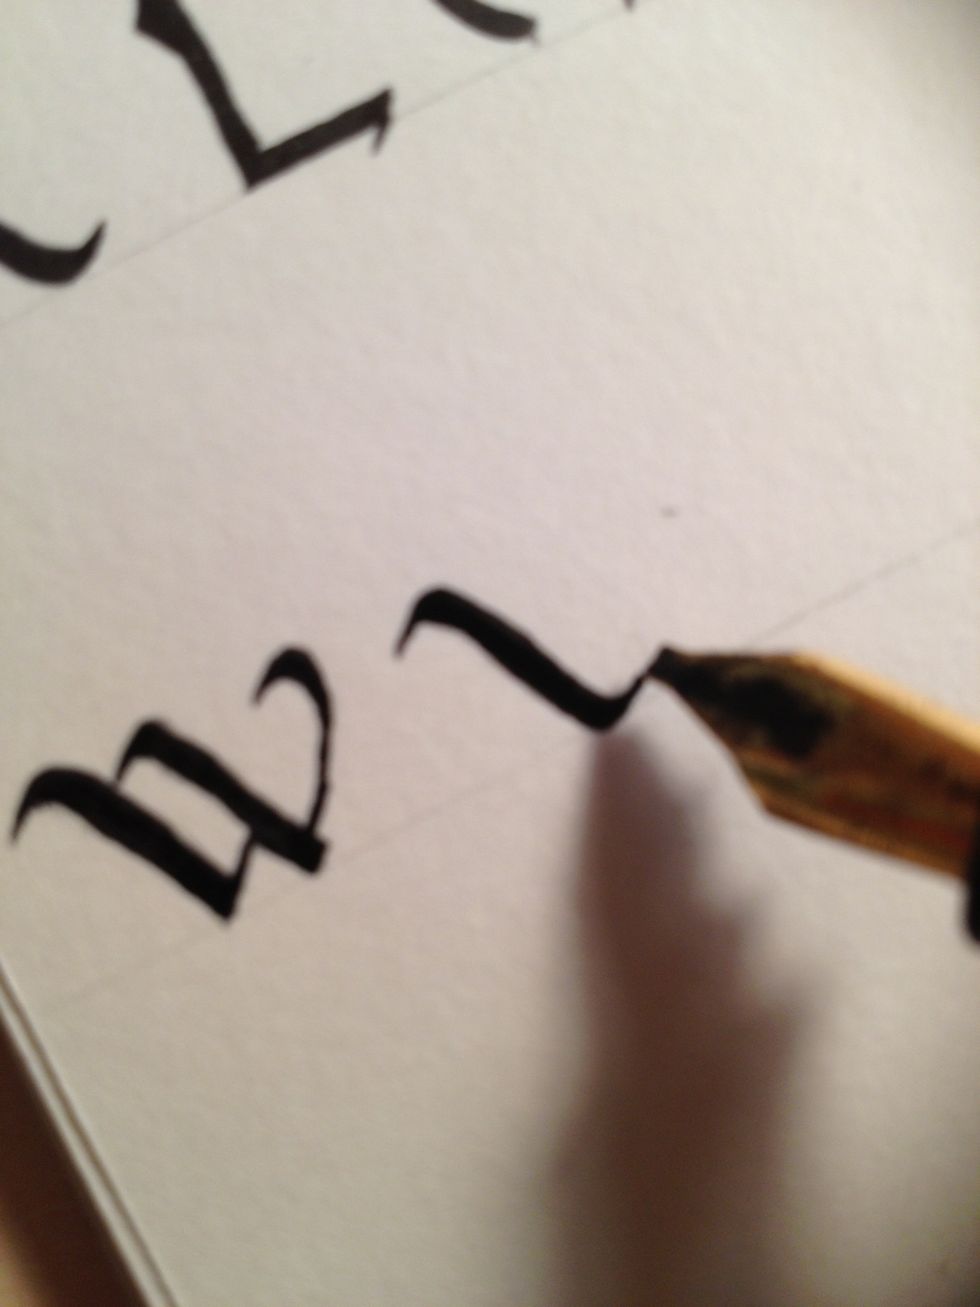
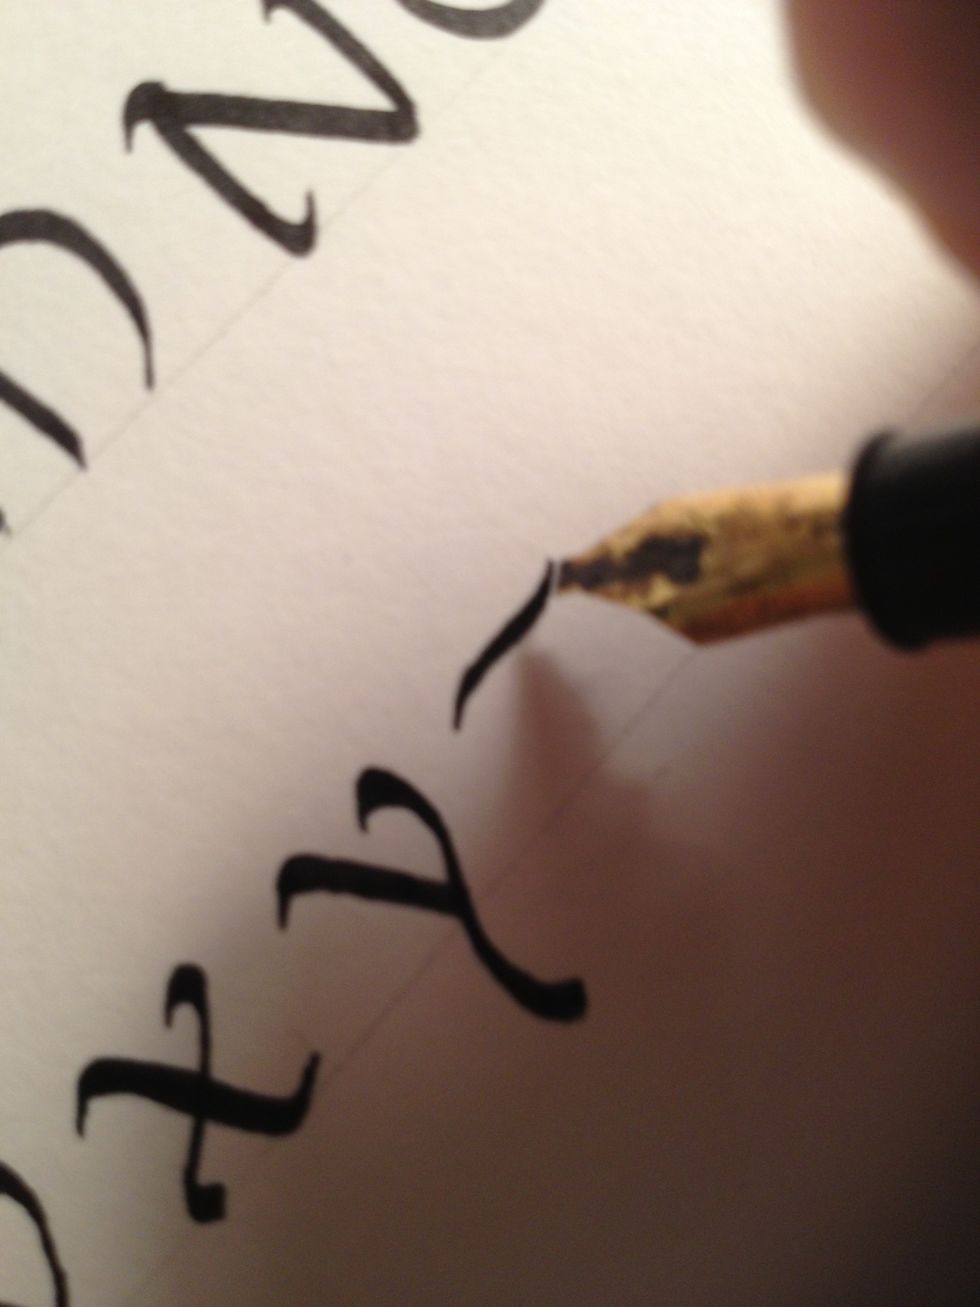
Y likewise begins with a downward diagonal stroke, with a flourish at the top.
Starting at the top, make the second stroke. Note how it is "wavy"; rather than continuing in a straight line, it curves one way then the other. Add an exaggerated flourish at the top.
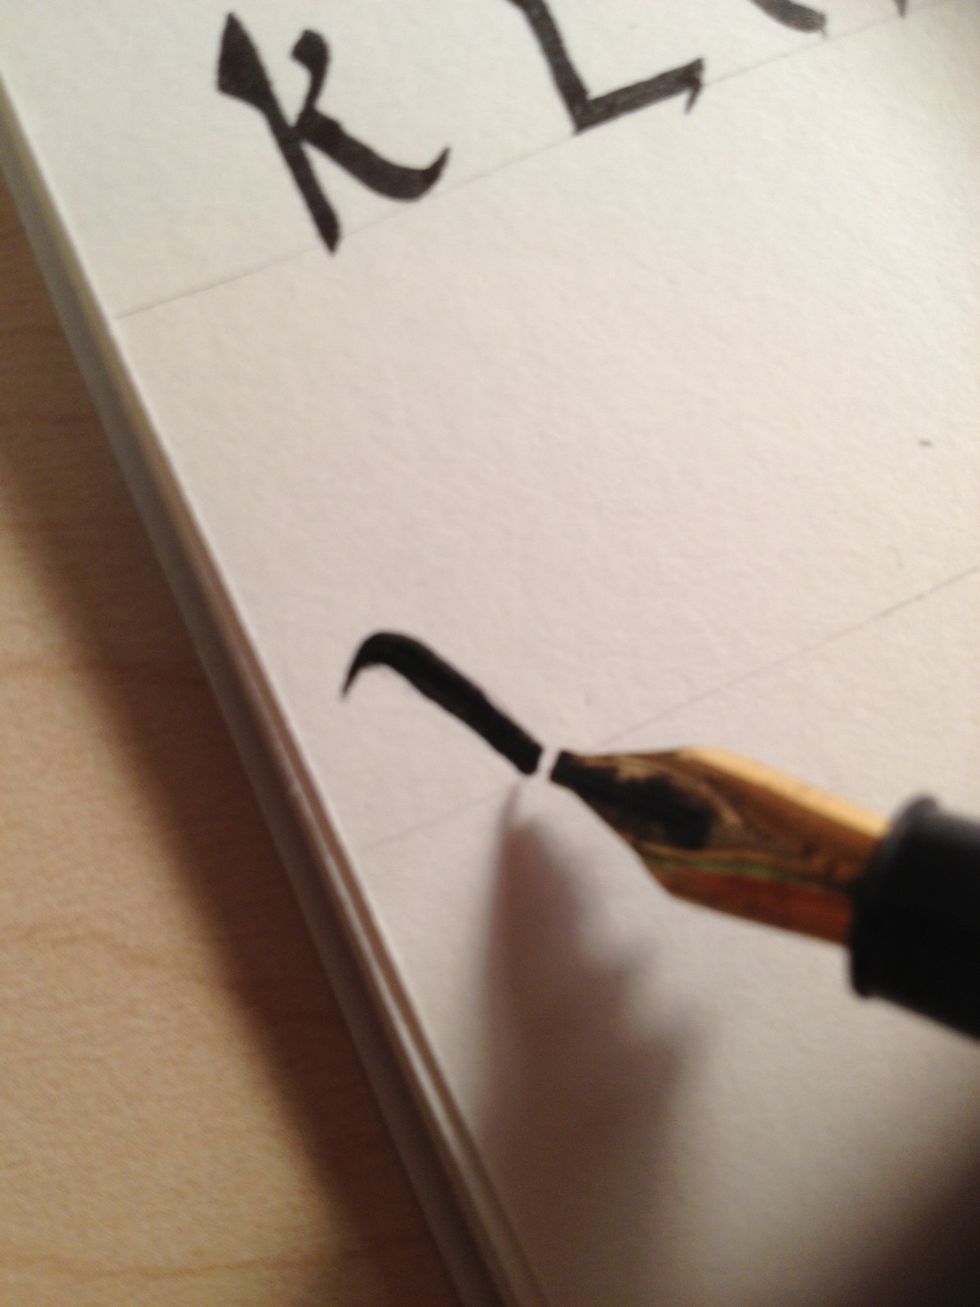
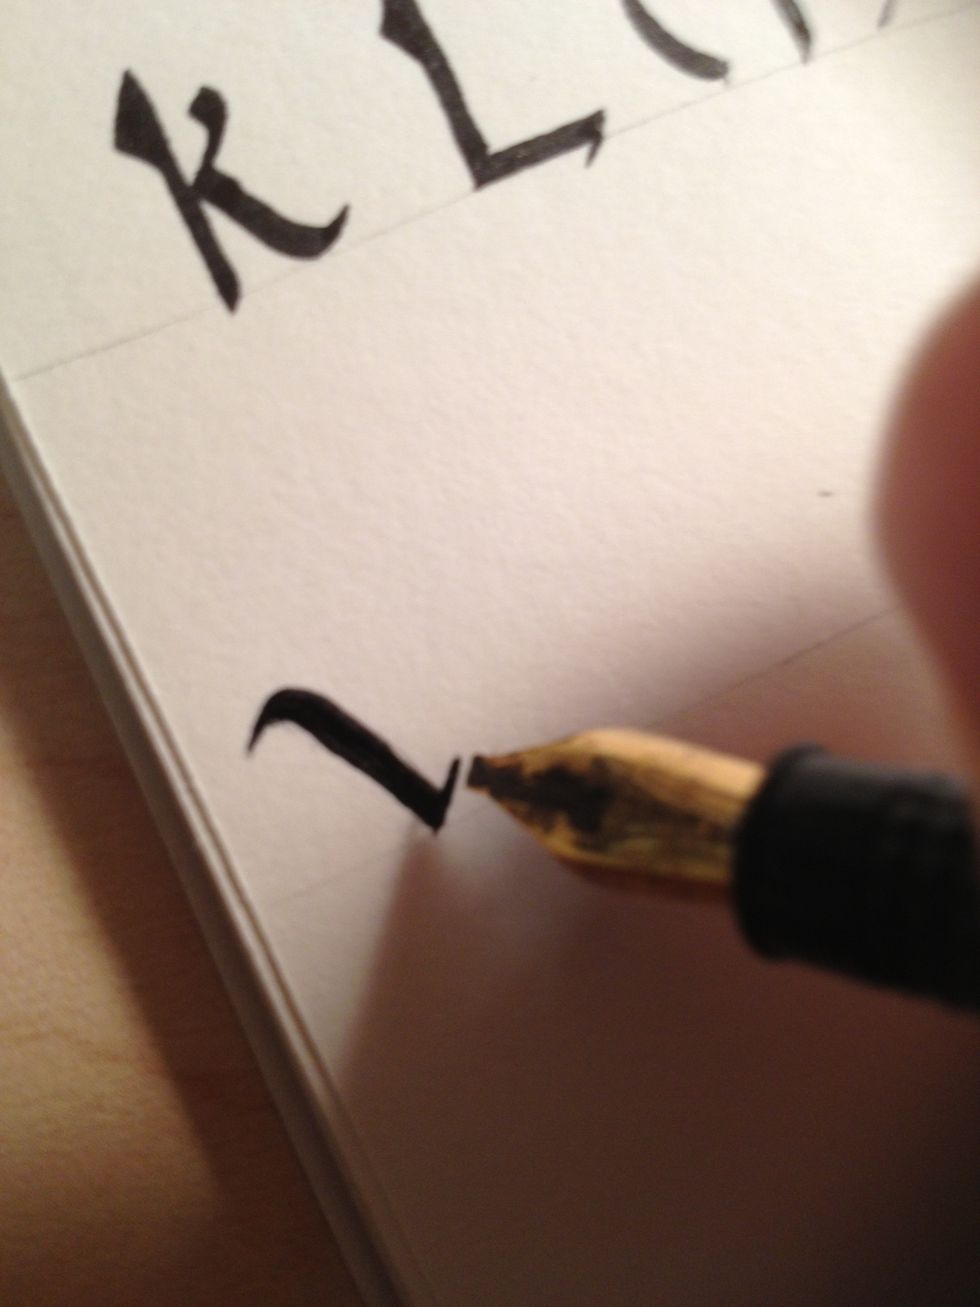
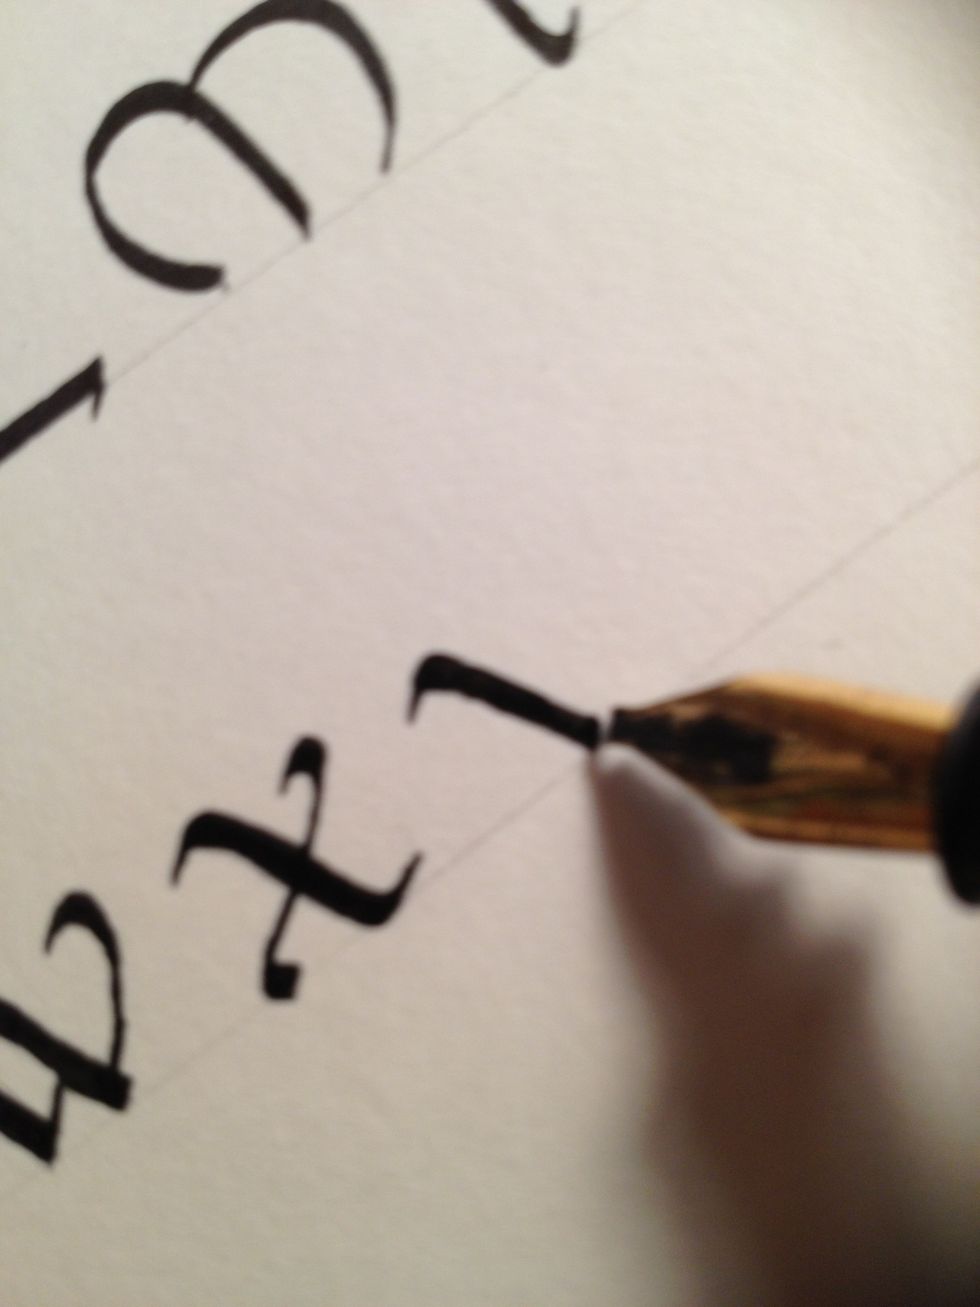
Begin Z with a line across the top, slight curves at both ends.
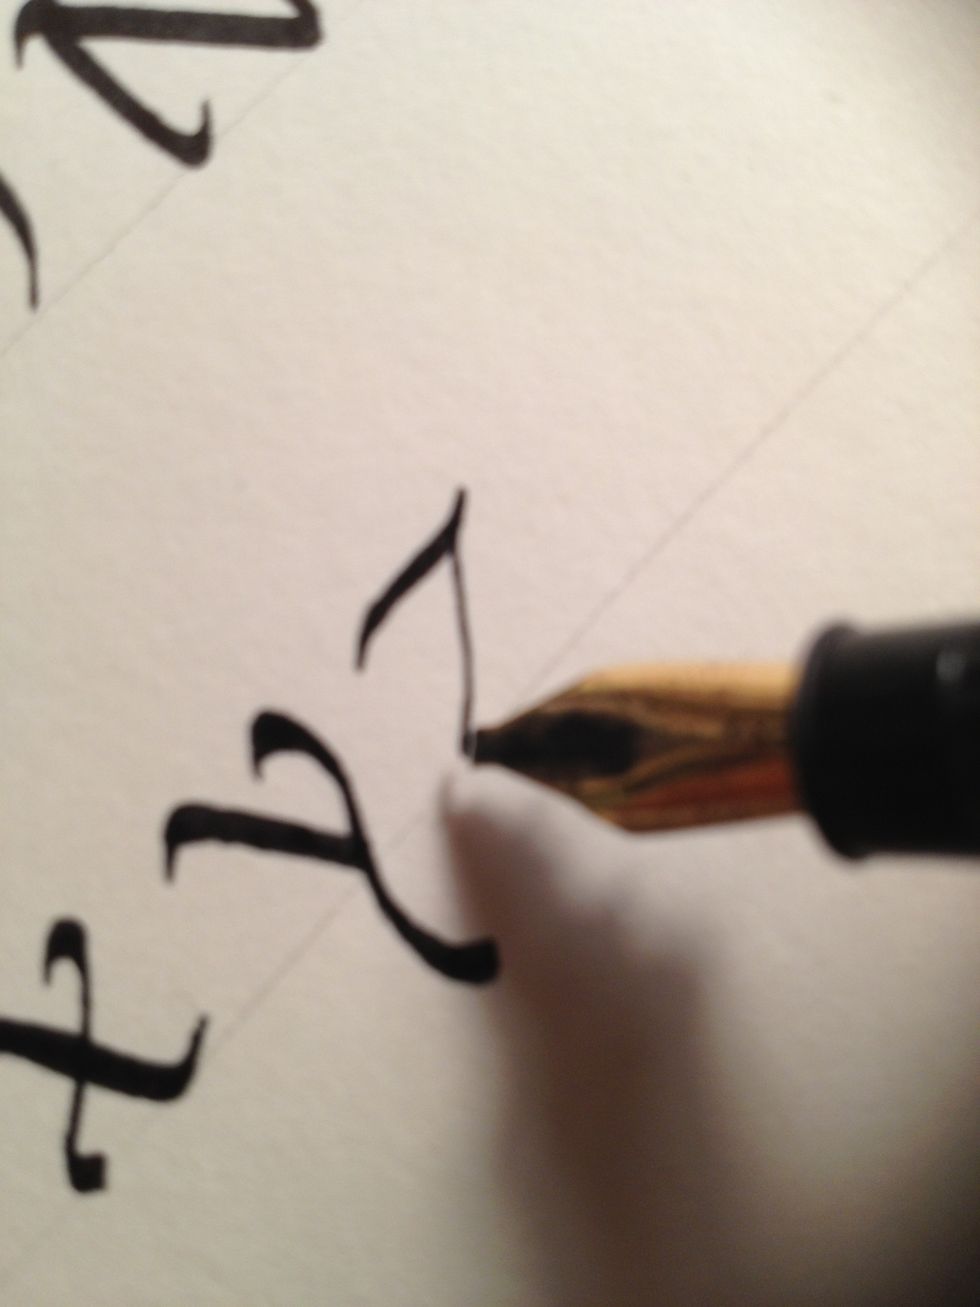
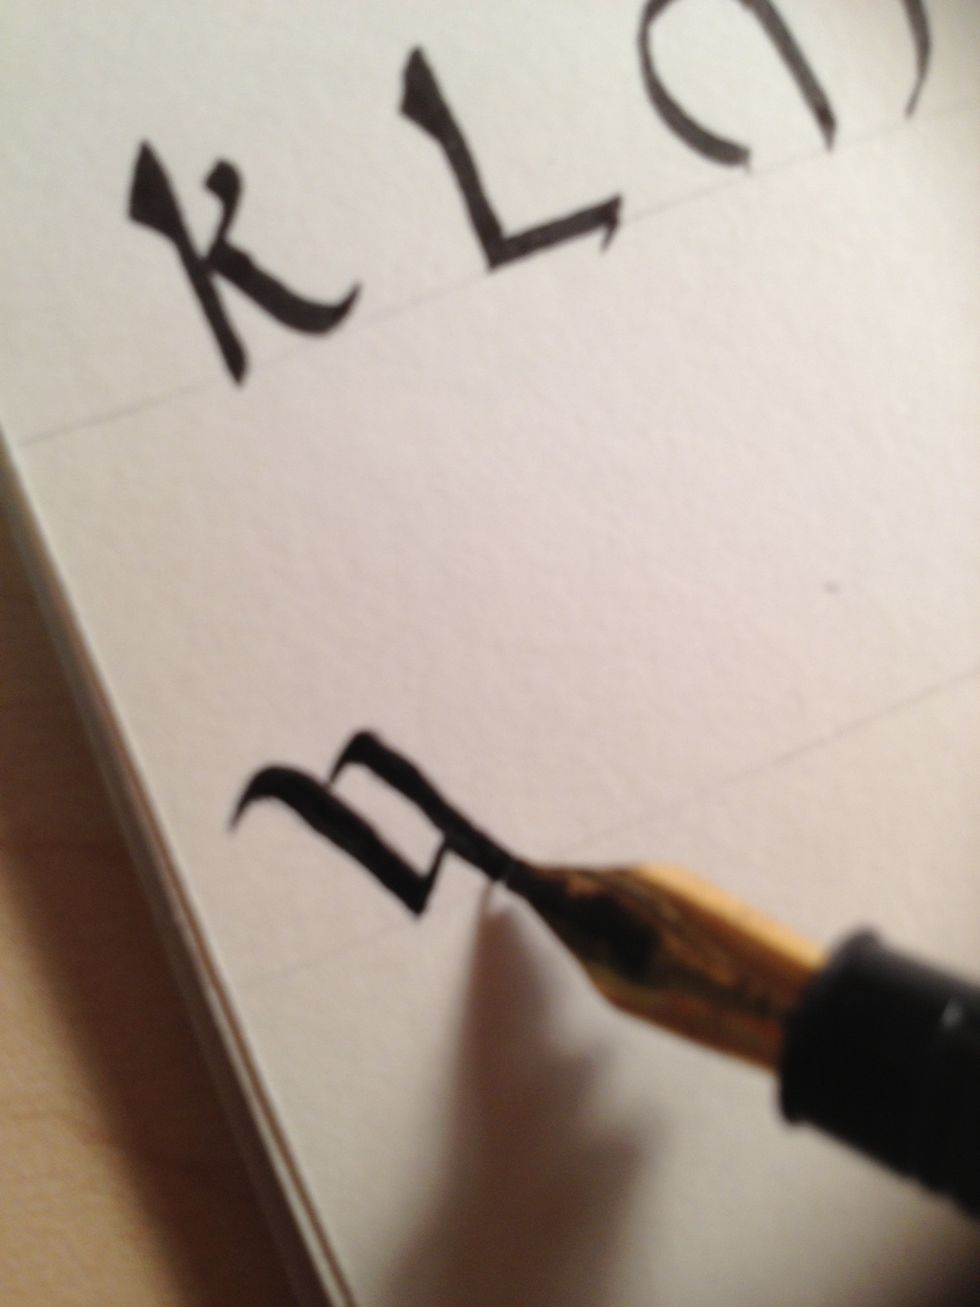
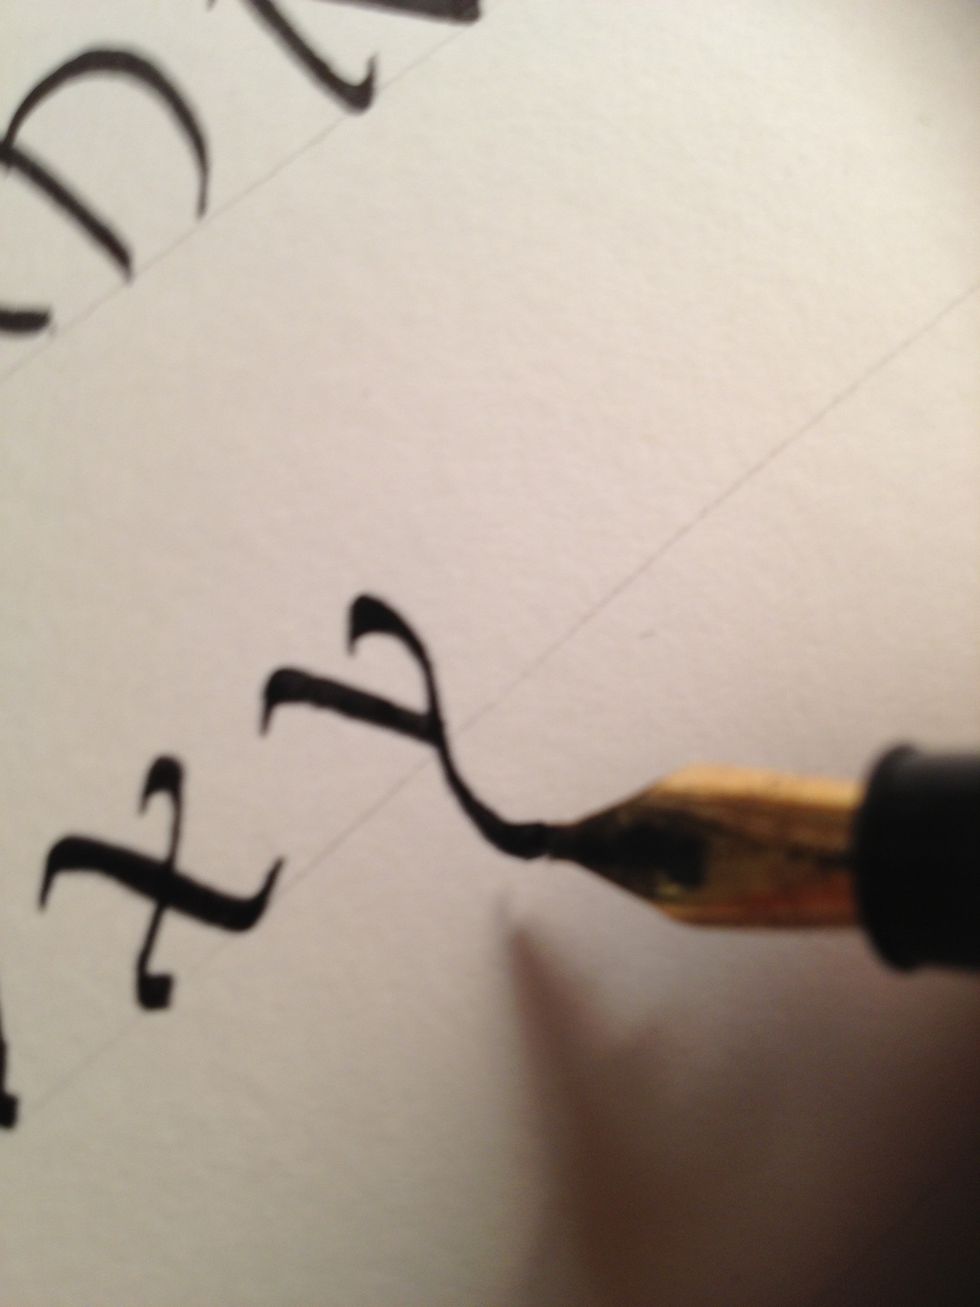
The second stroke can be perfectly straight, or, to add a bit of character, you can make it curve or wave slightly, as is the case here.
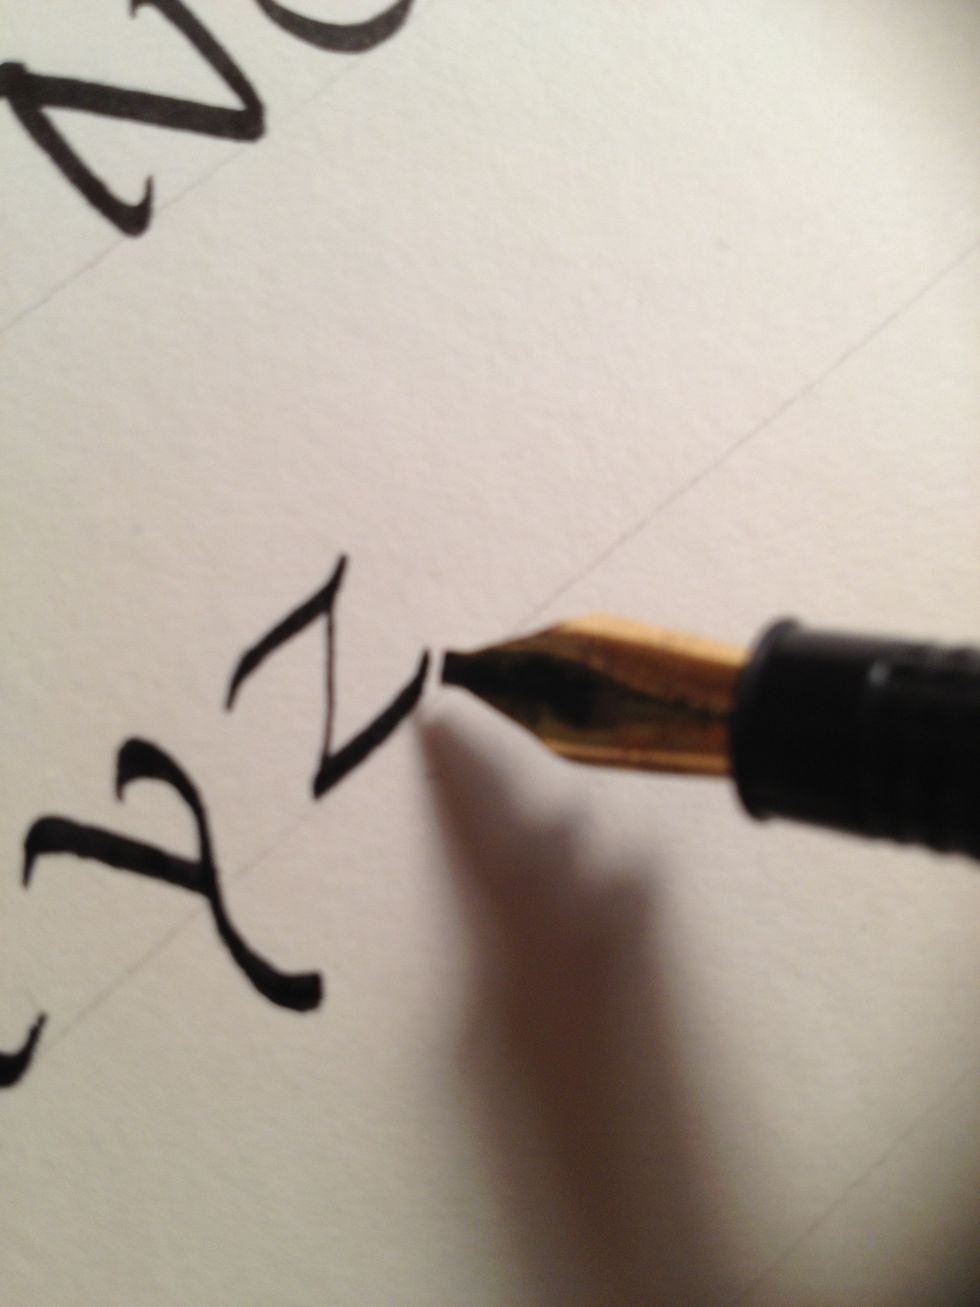
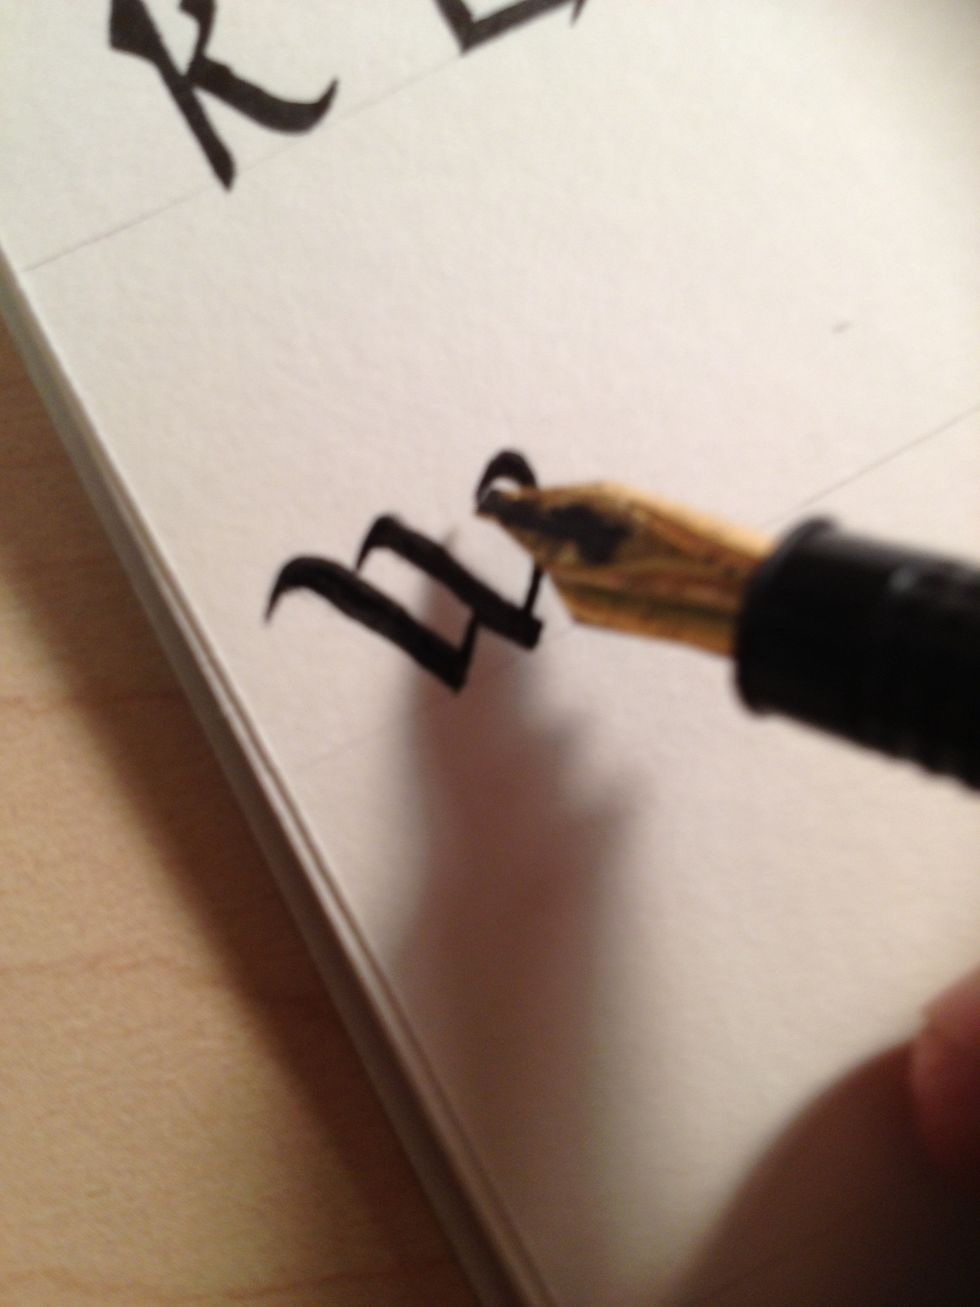
Make the third stroke straight across the bottom line, curving up at the end.
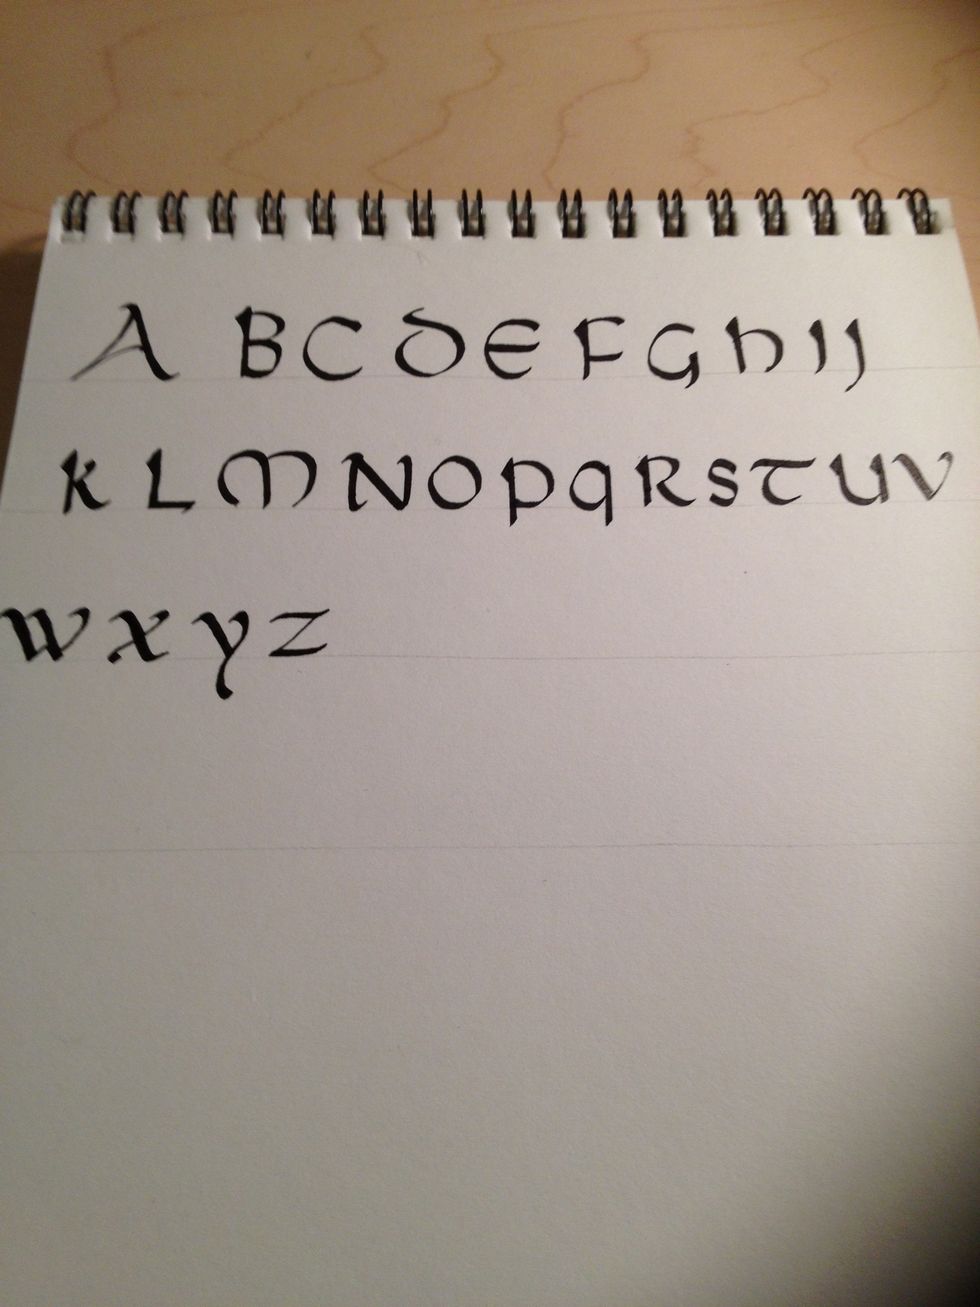
Congratulations; you have completed your first Majuscule alphabet! There will be others.