The Conversation (0)
Sign Up
Majuscule O is the same as minuscule; start with the nib at the top, angled to the left about 45 degrees.

Make a complete circle, maintaining nib angle.
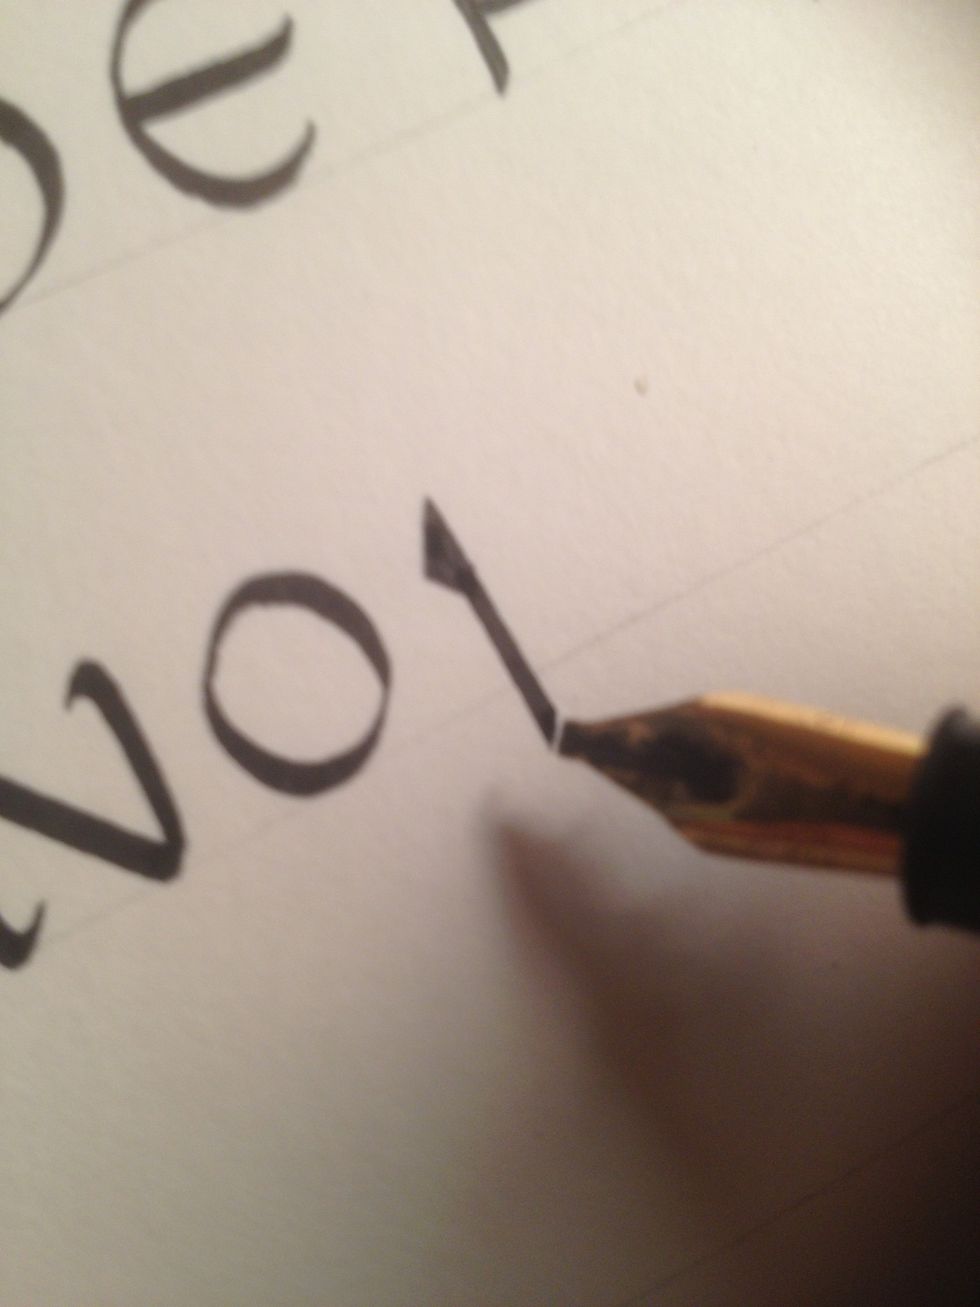
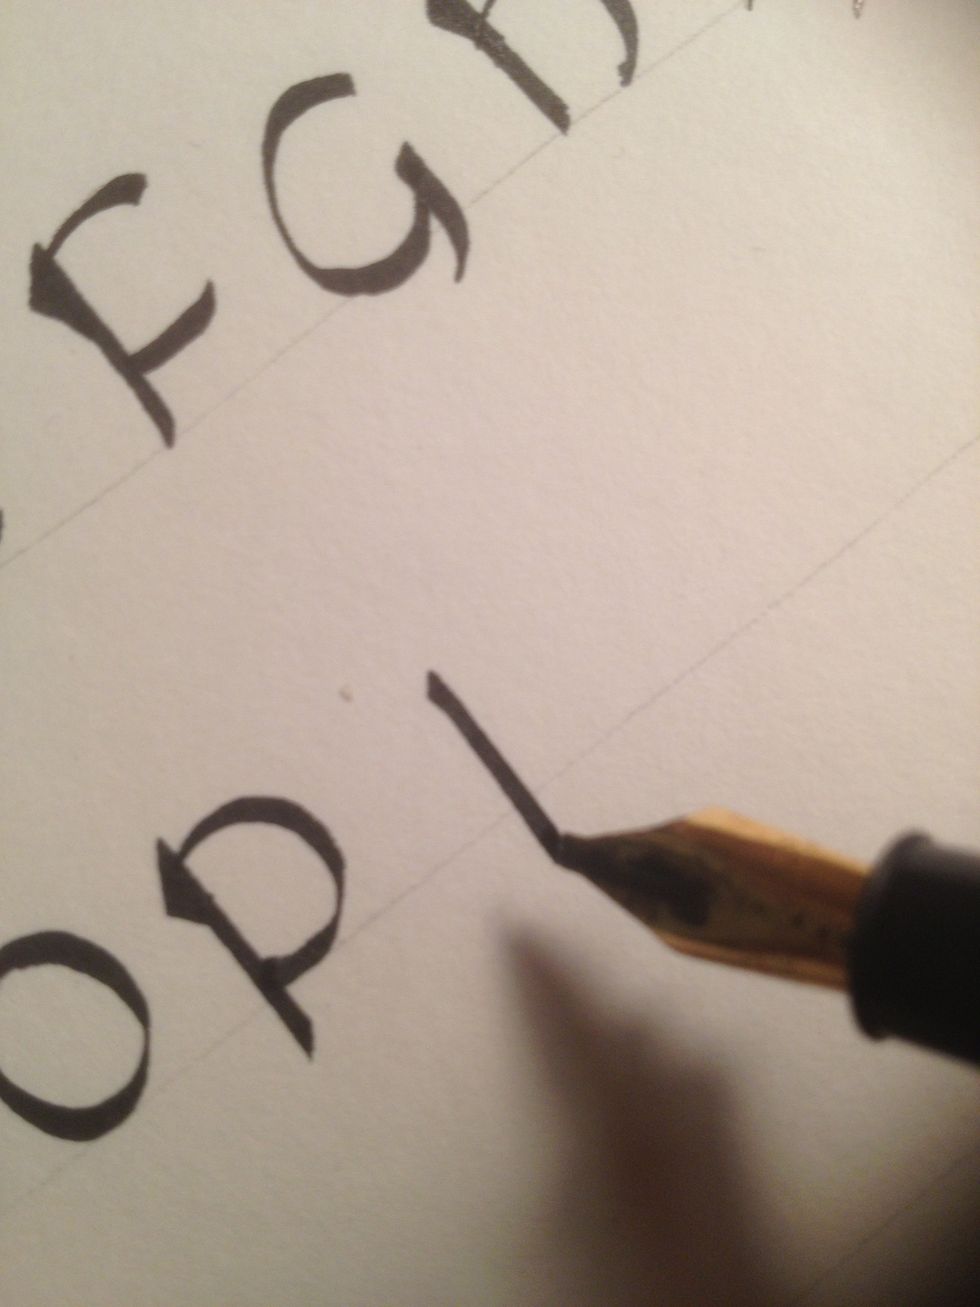
For P, make a trunk (with triangle embellishment), but make the trunk continue below the bottom line.
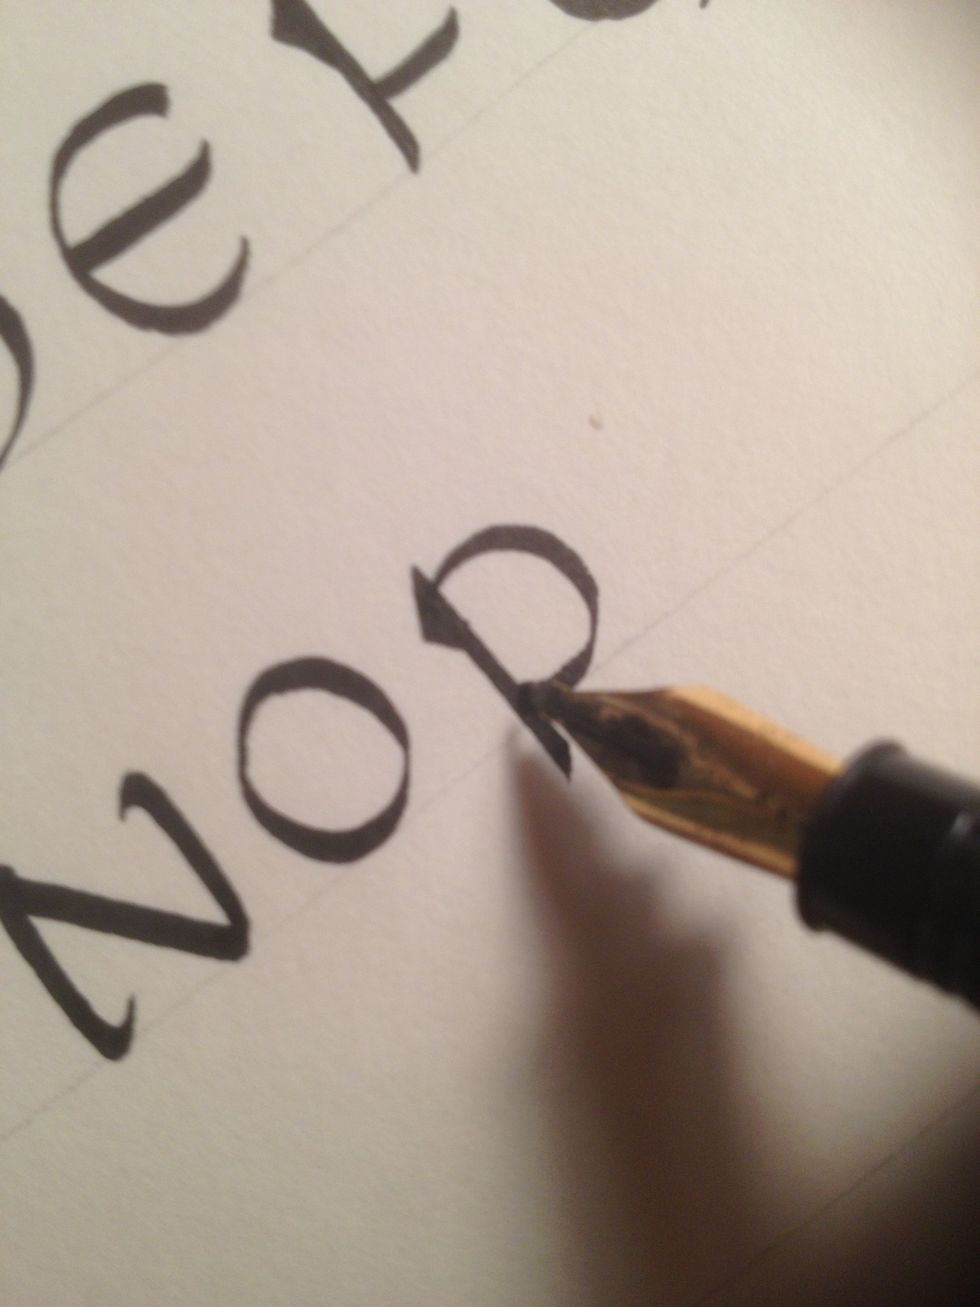
The second stroke is circular, but flatten it when you reach the bottom line.
To start Q, make a trunk at the right side of where the letter will be. Do not embellish the trunk, and like P, make it continue below the bottom line.
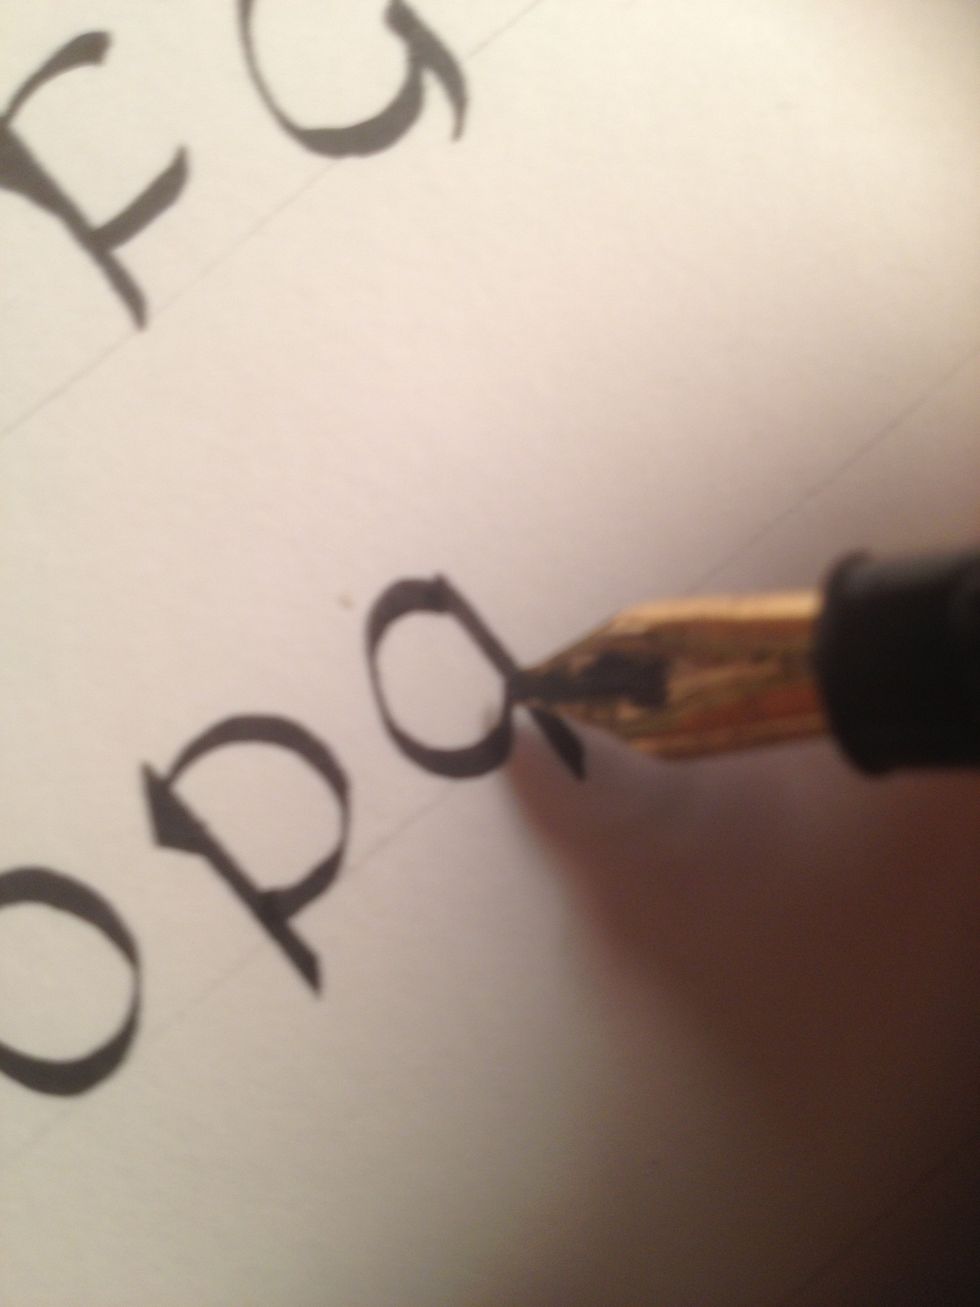
Make a circular stroke to the left. Instead of flattening it at the end, have it curve up into the trunk.
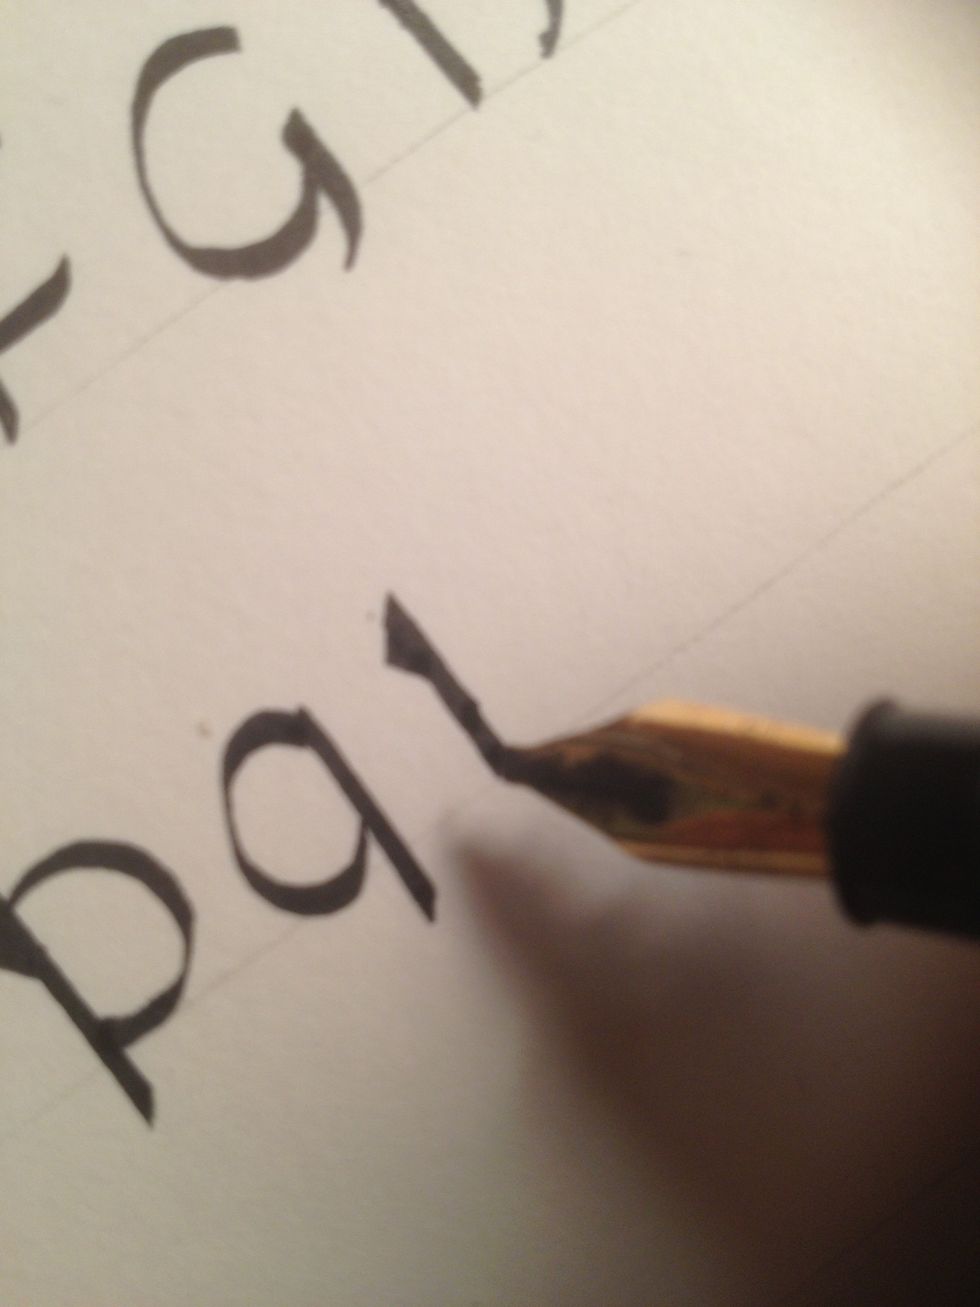
Begin R with a normal trunk.
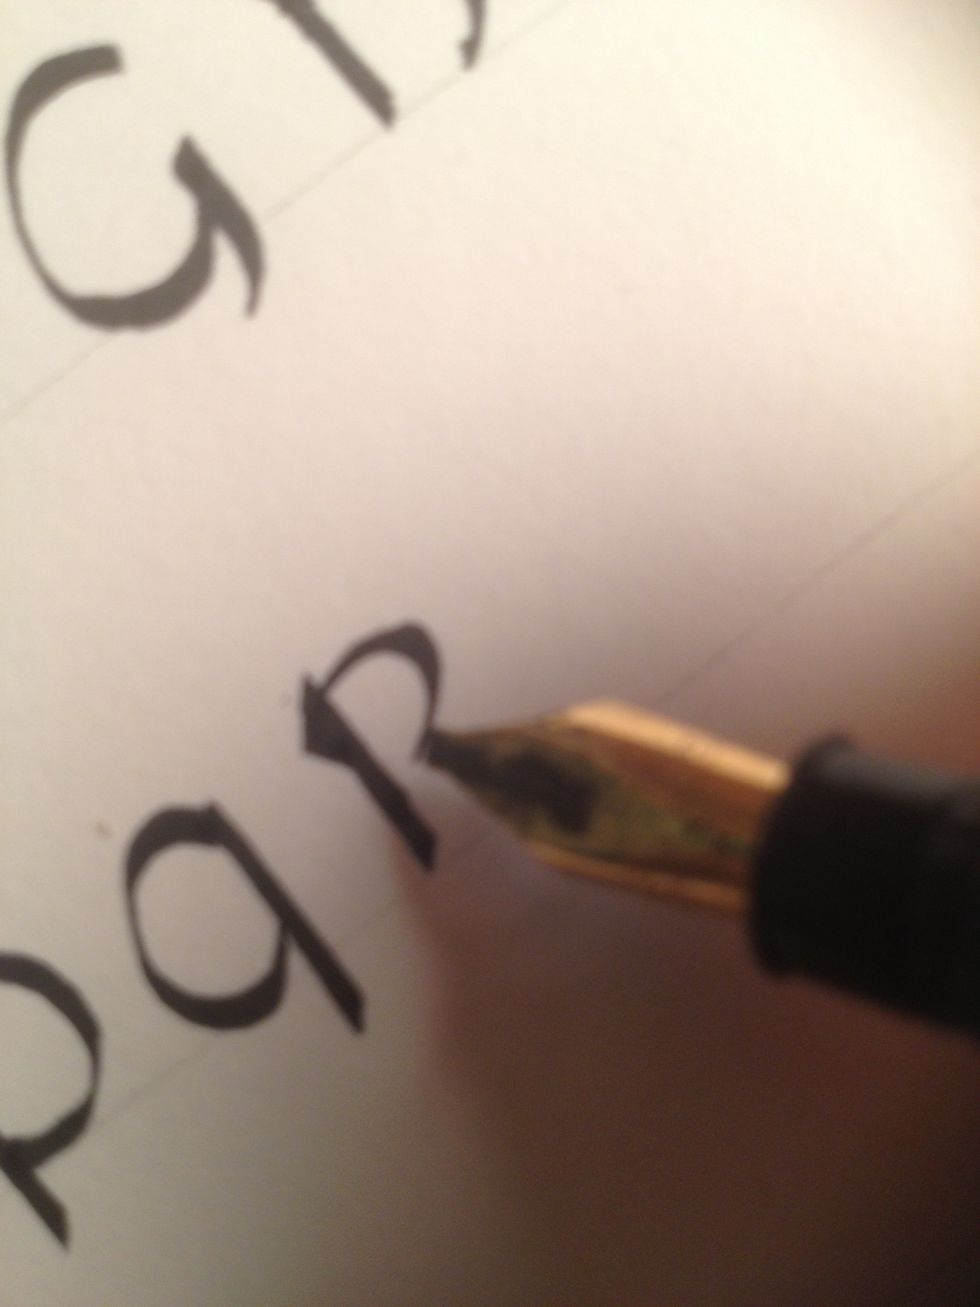
The second stroke is circular and goes from the top of the trunk to about halfway down. Terminate the stroke before it connects with the trunk.
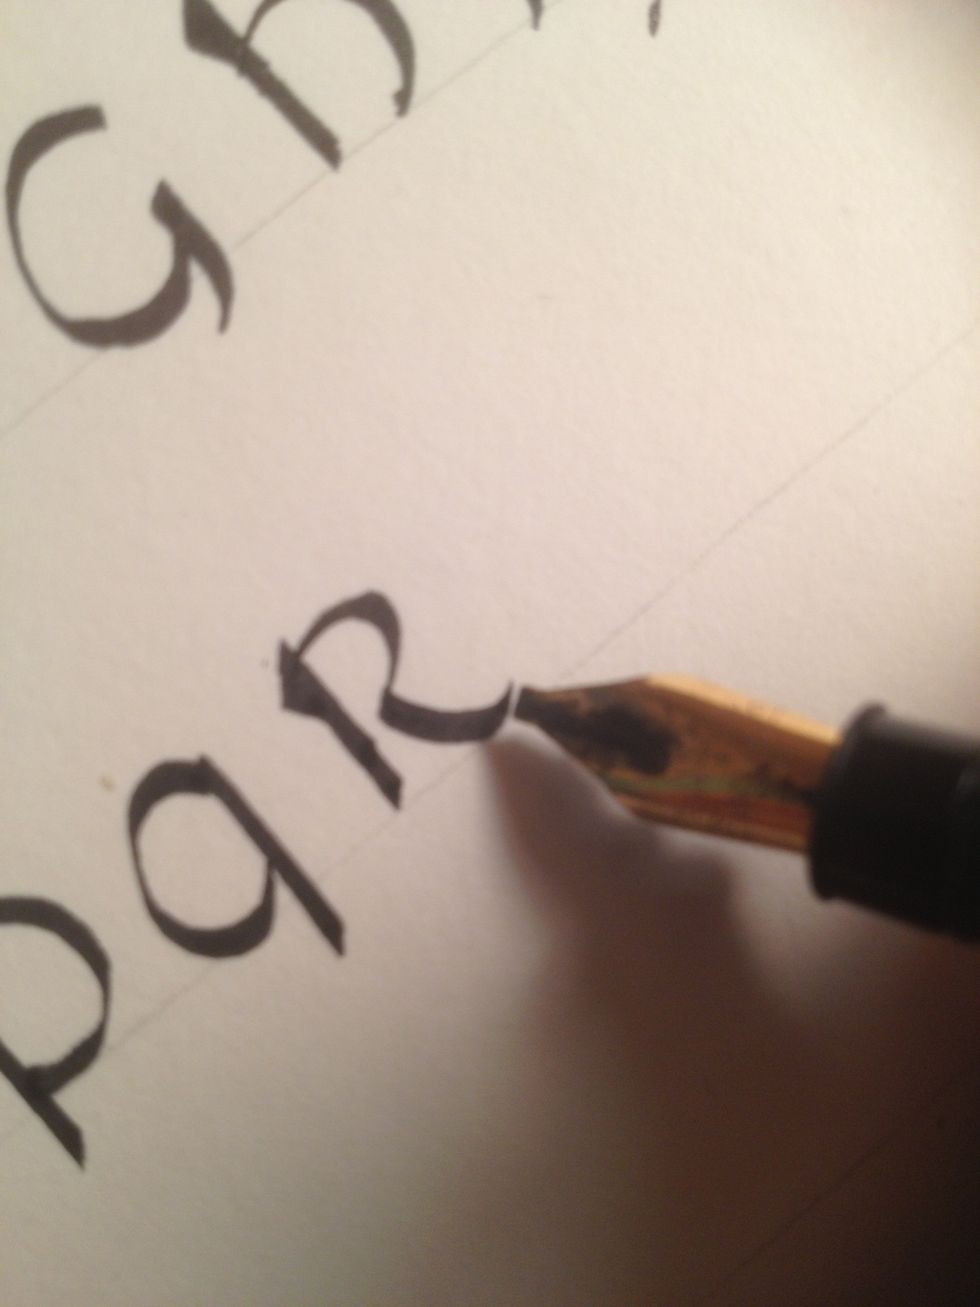
From there, make a downward diagonal stroke with an upward flourish at the end.
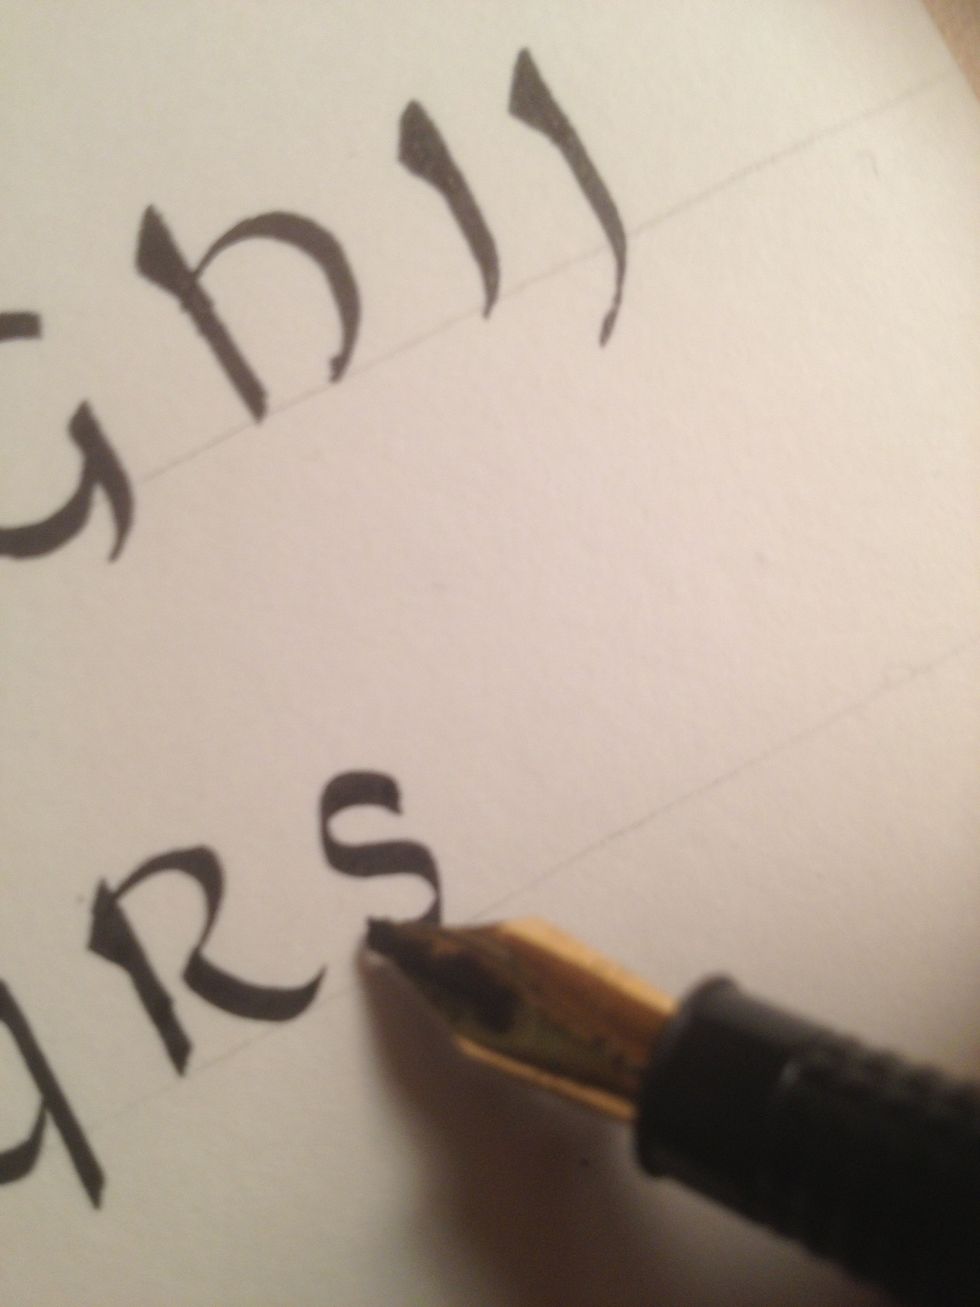
For S, make one stroke, in an "s" shape.
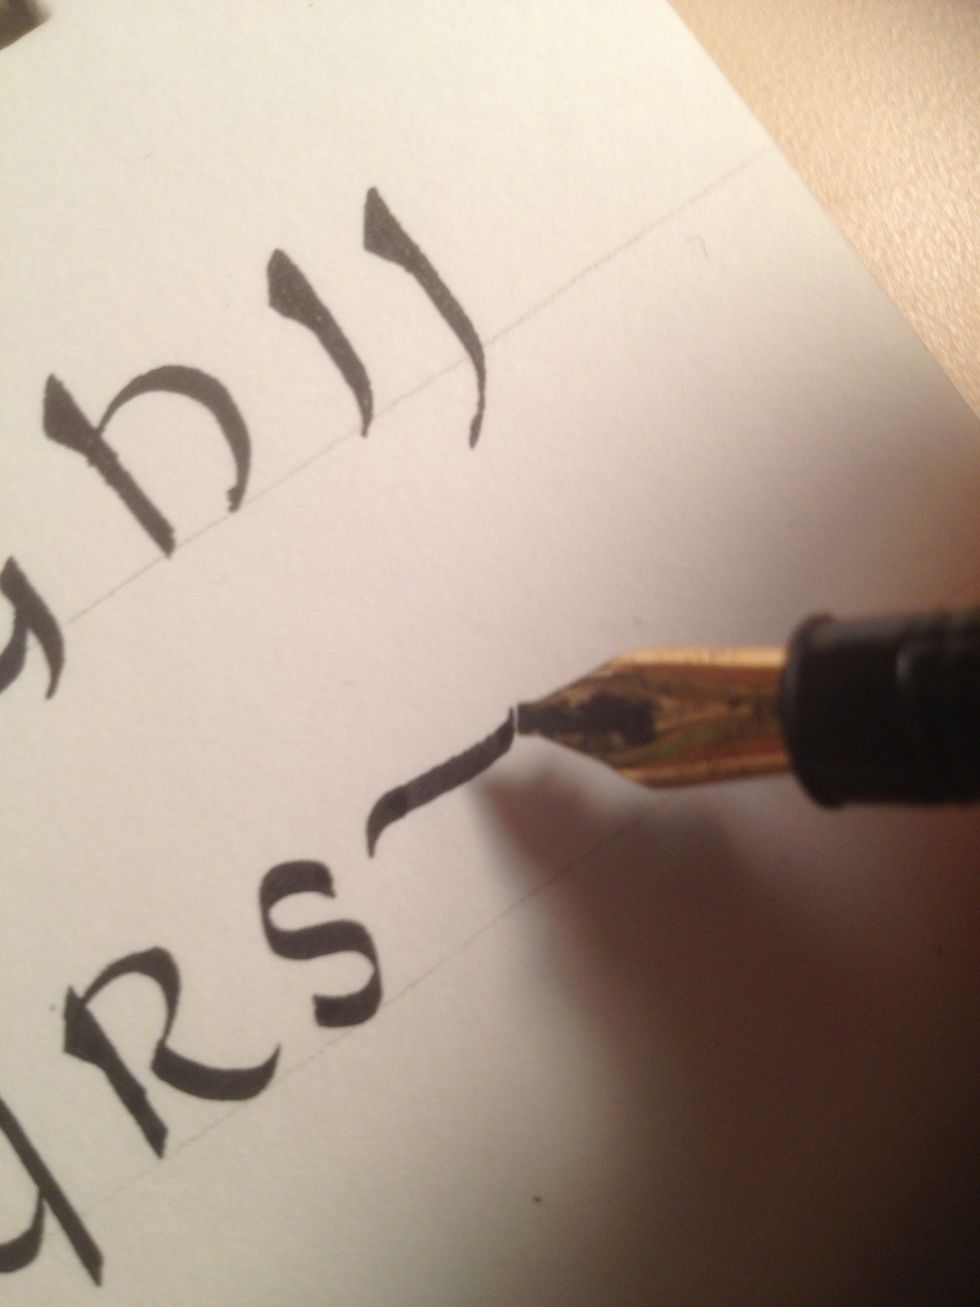
T begins with a line across the top, flourishes at both ends. You can make the line wave slightly to give it character.
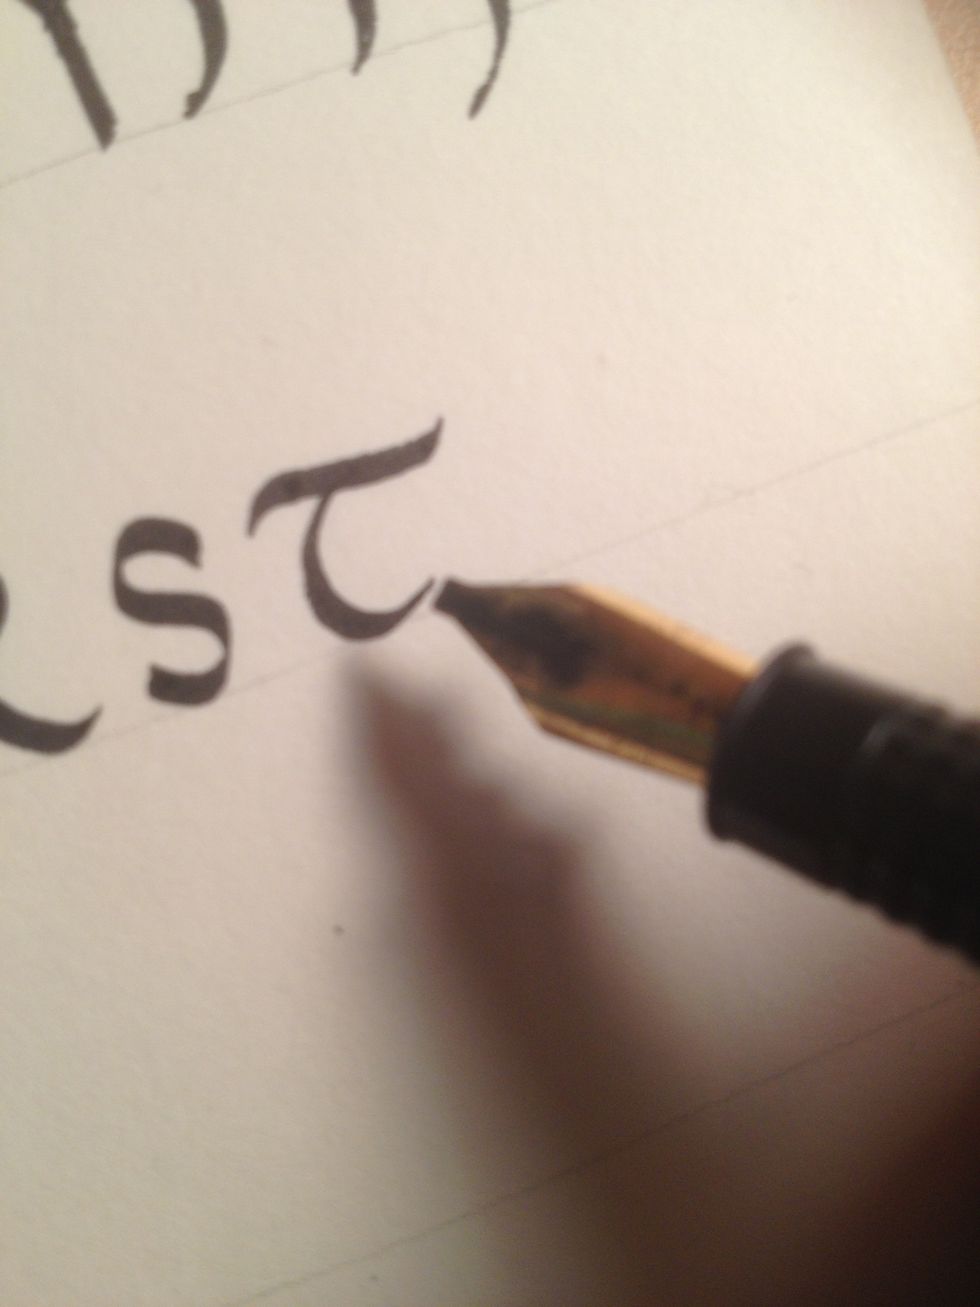
From the middle of the line, make a circular stroke that begins and ends with a thin line.
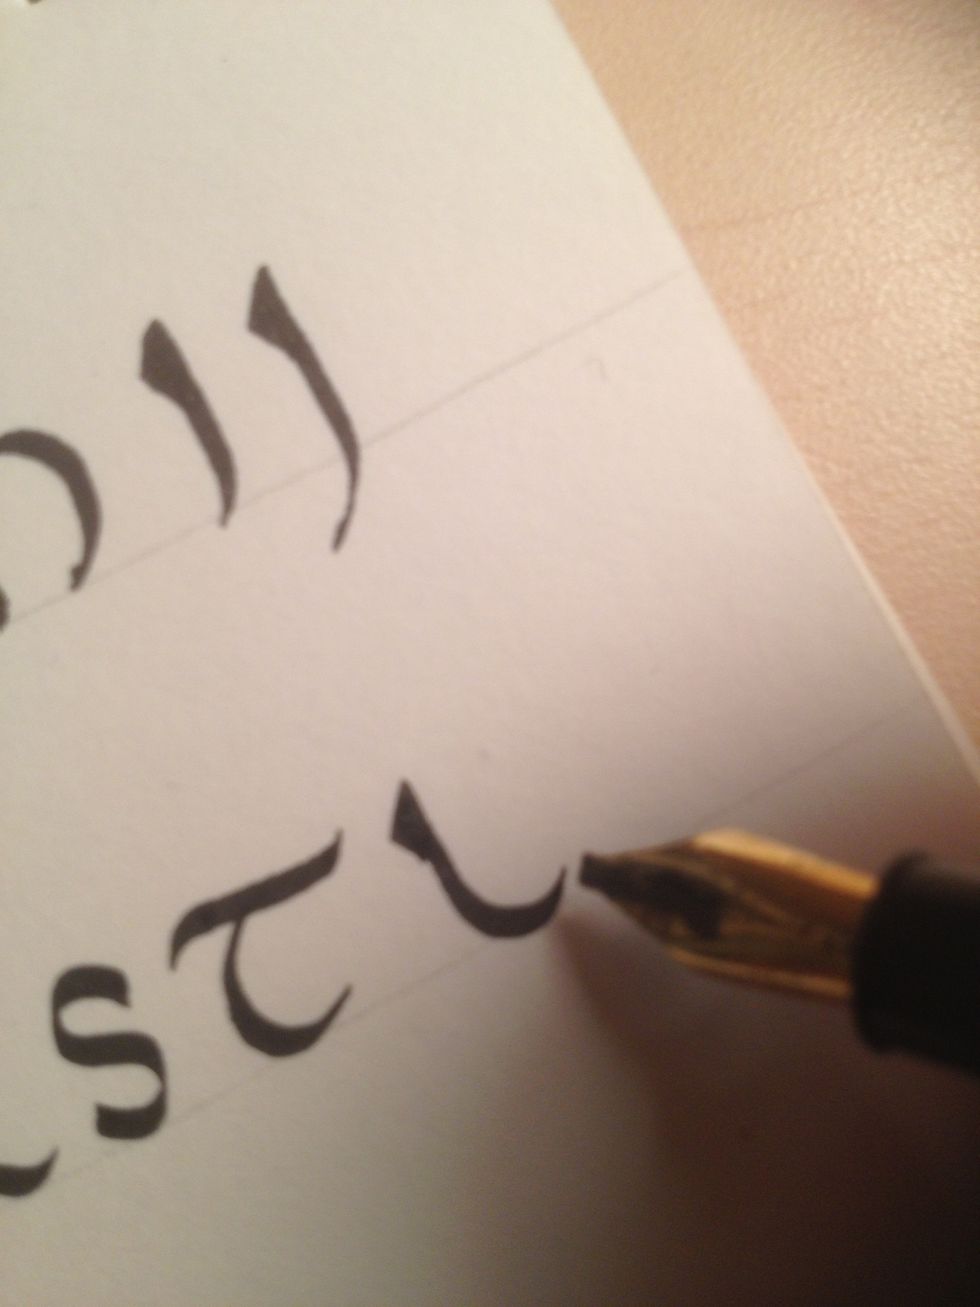
U begins with a trunk that terminates in a very exaggerated reverse "j" curve. Make the curve terminate well above the bottom line, and make it large enough so the U doesn't look smashed.
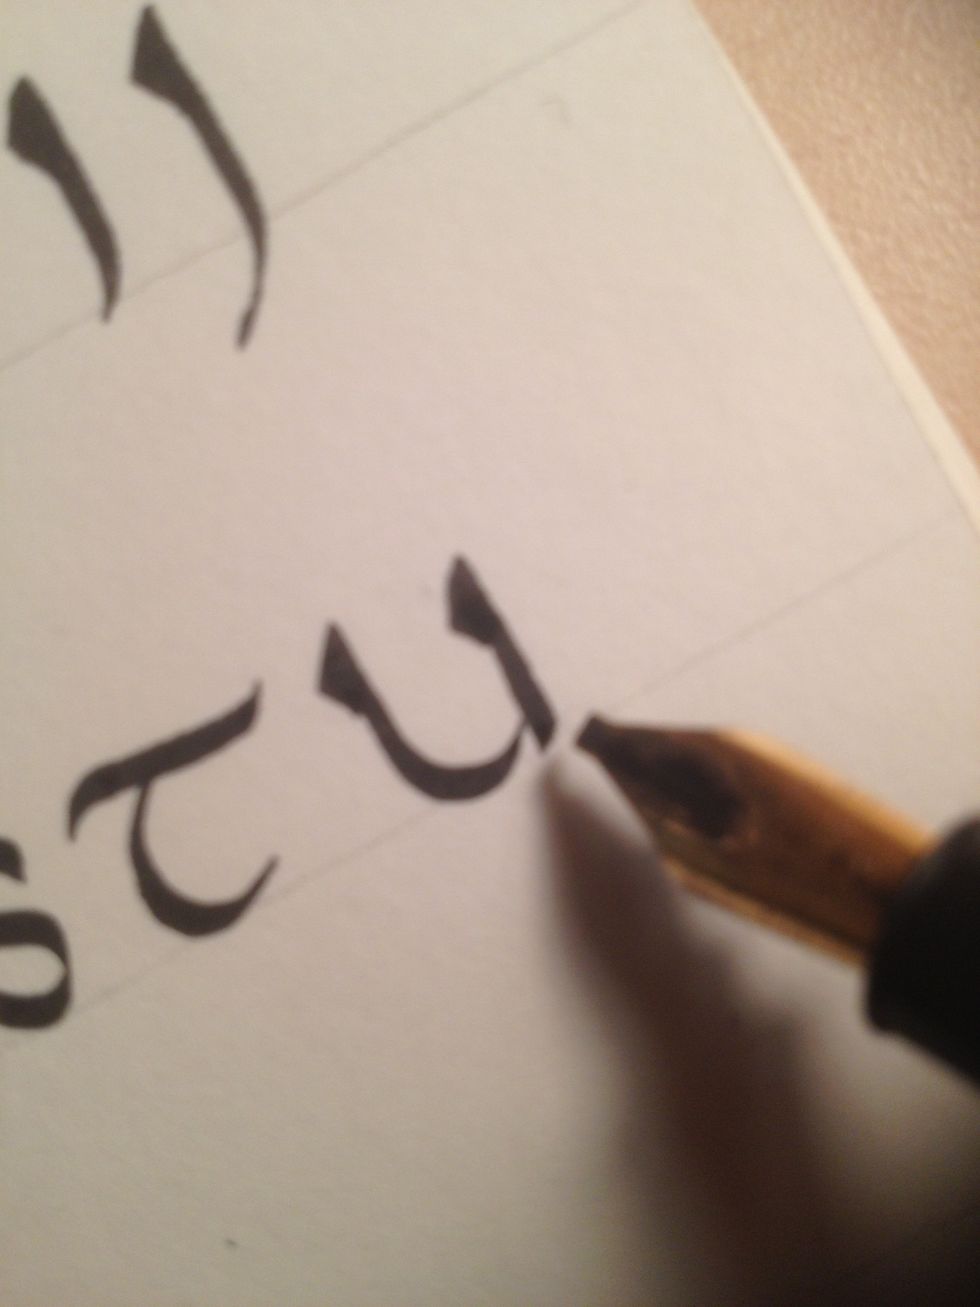
Make a second trunk. Do not flourish at the end, and be sure to embellish both trunks.

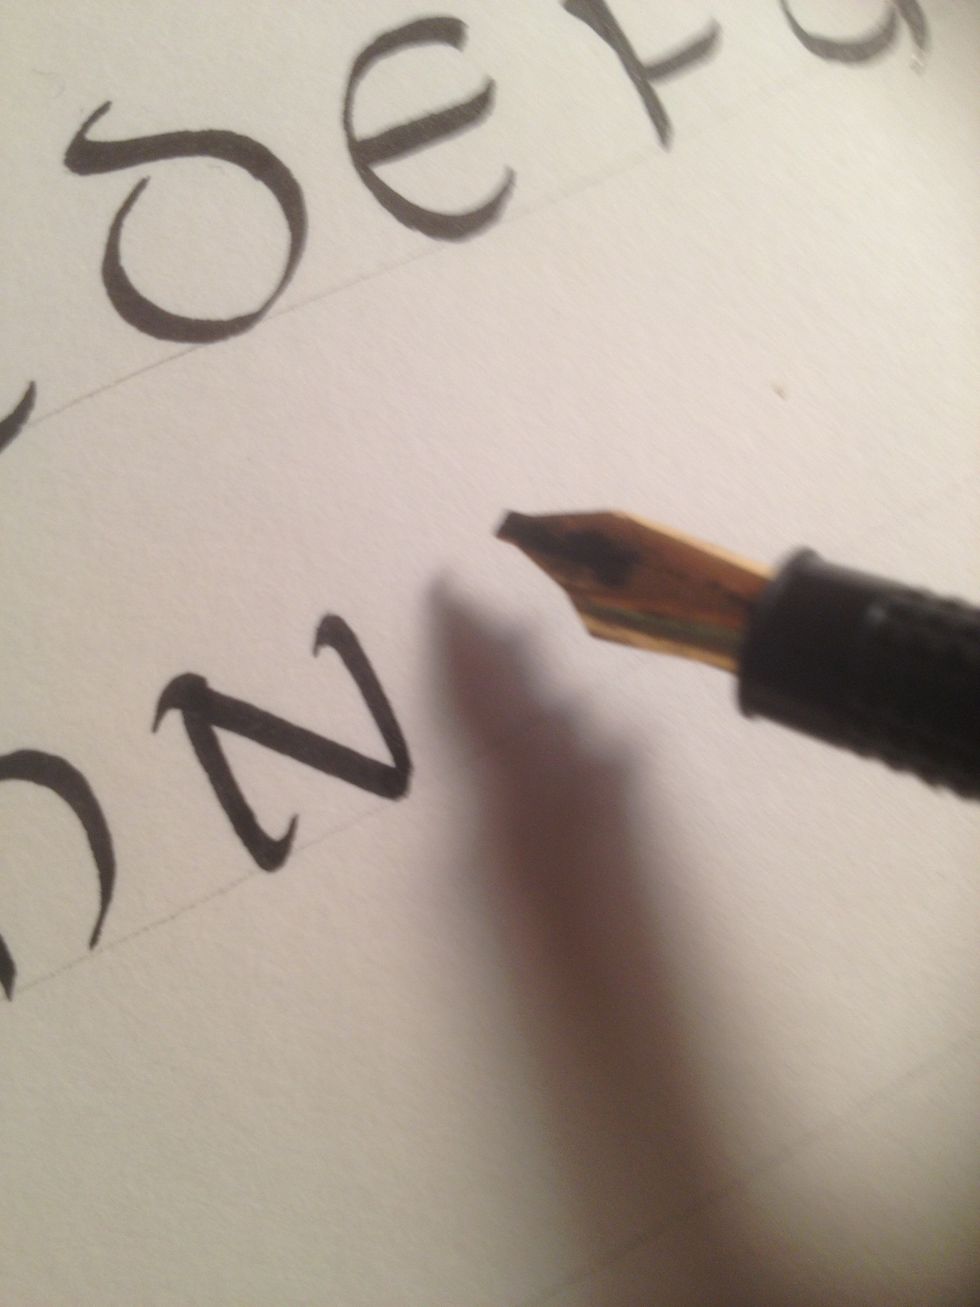
Start V with a downward diagonal stroke. Flourish at the top, but not at the bottom.
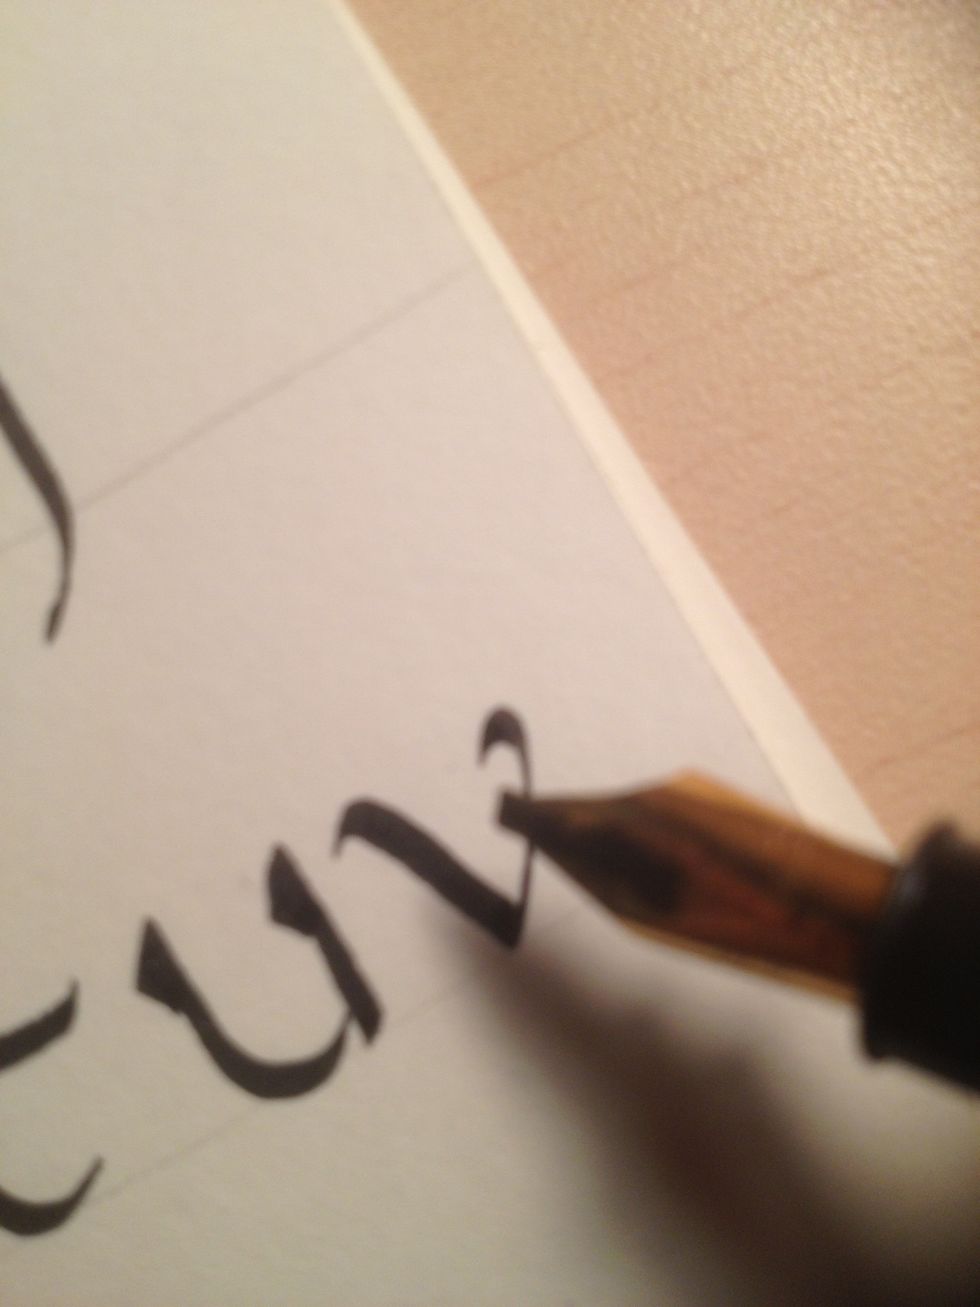
Make an upward diagonal stroke that curves back in an exaggerated flourish at the top.
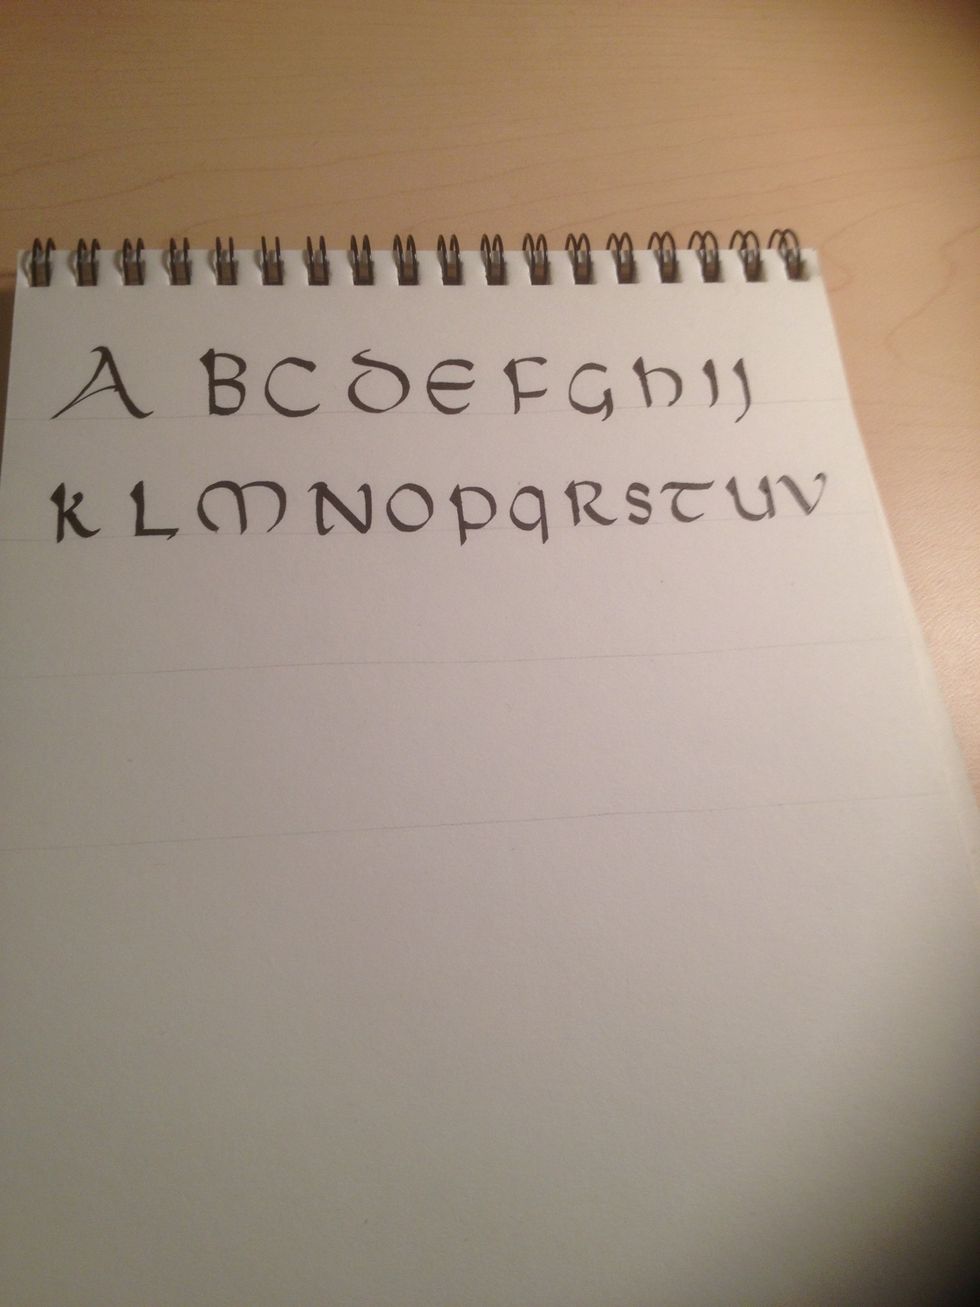
Almost done!