The Conversation (0)
Sign Up
First off, I want to apologize for the long wait; between transferring colleges, the holidays, and personal crap I'd rather not discuss, I've been away far too long. I'm back, and I'm back for good!
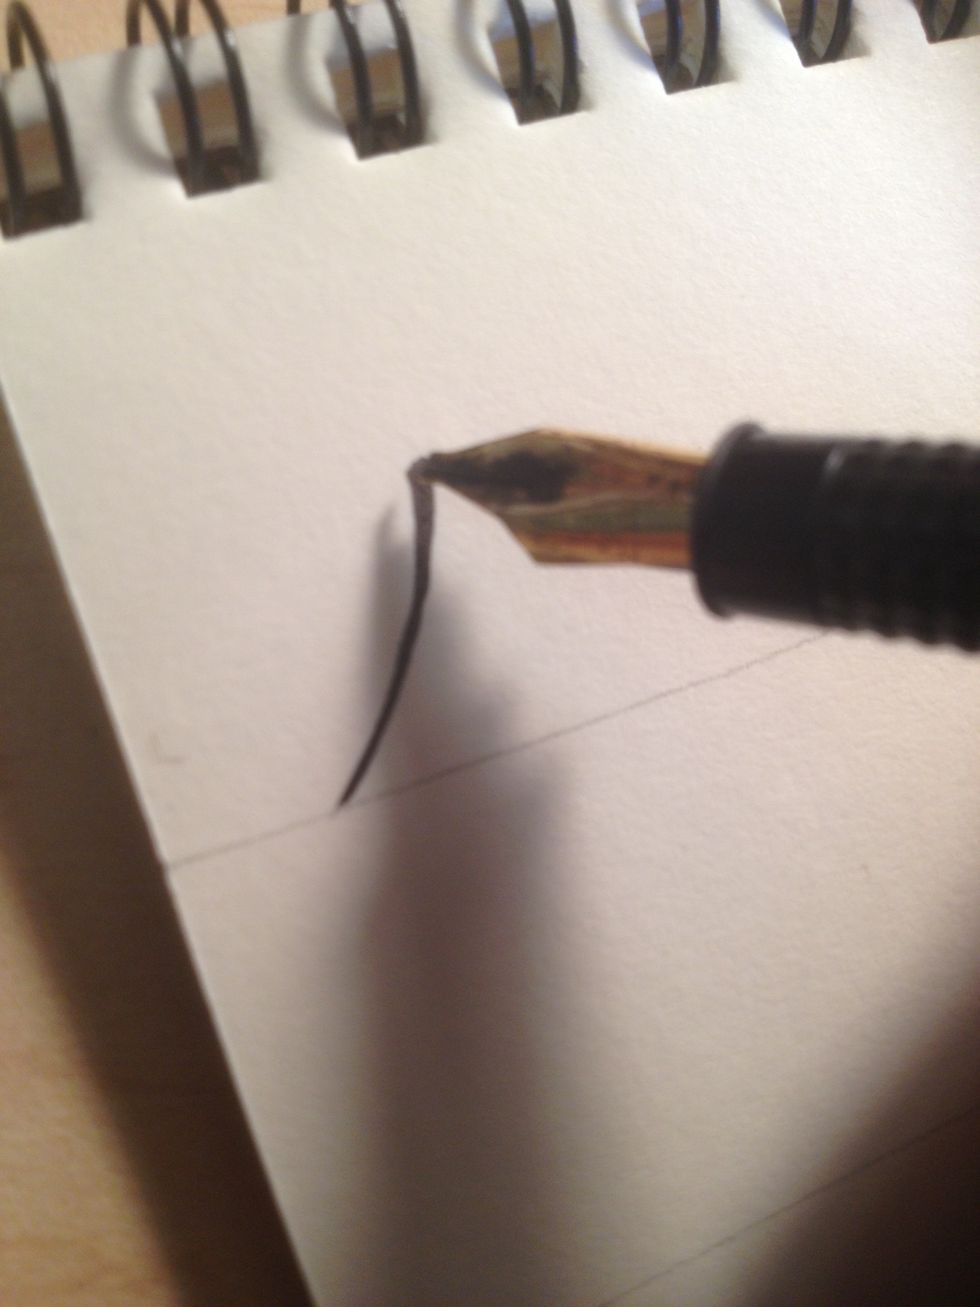
We're going to be learning the basic Majuscule (capital) alphabet. To begin A, start at the bottom line and make a slightly curved diagonal upward stroke.
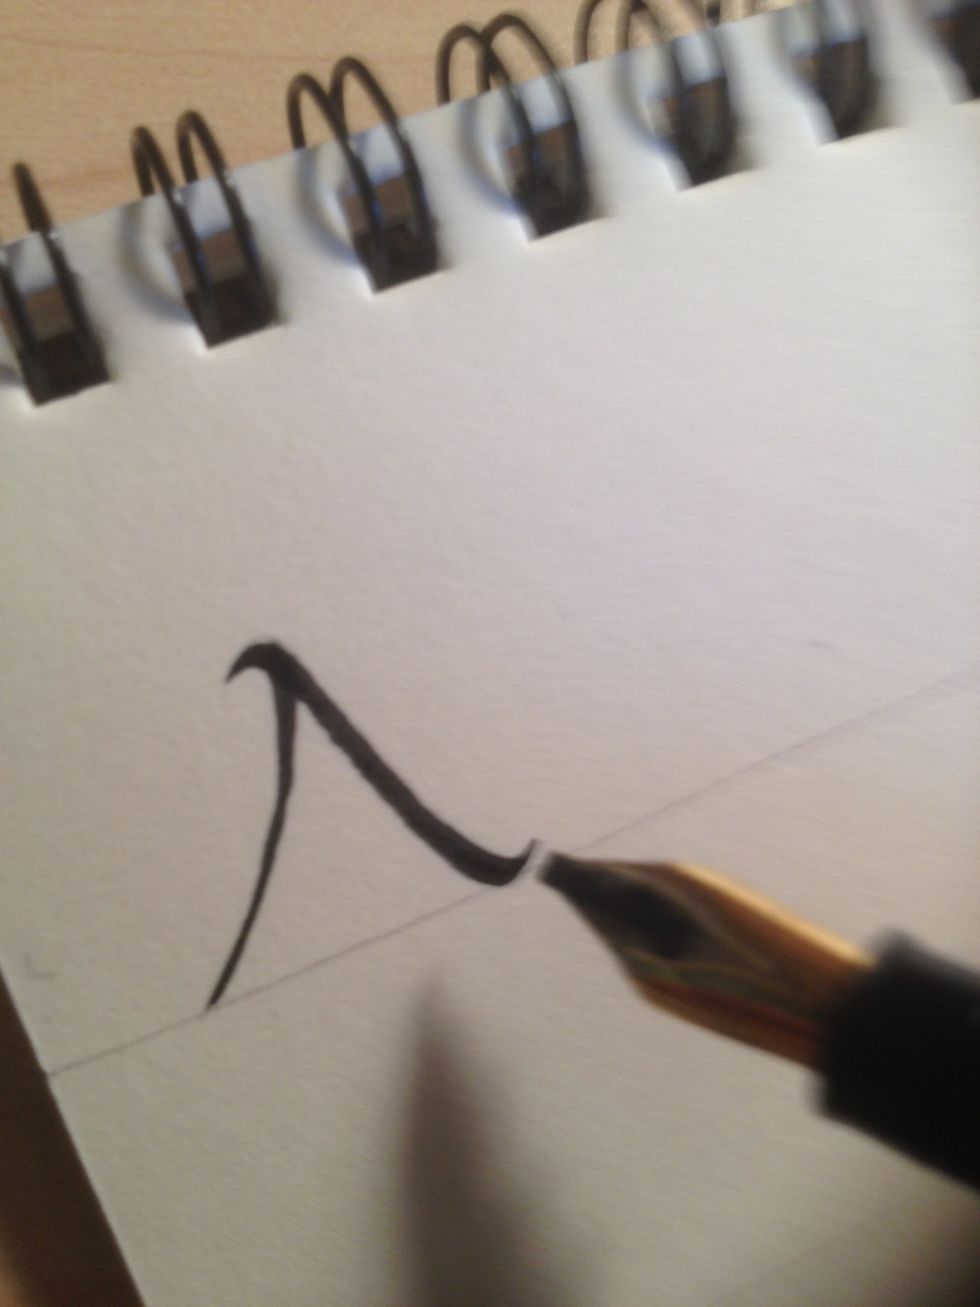
Make the second stroke downwards, somewhat steeper than the first, with flourishes at both ends. If your nib angle is correct, the second stroke should be much thicker than the first.
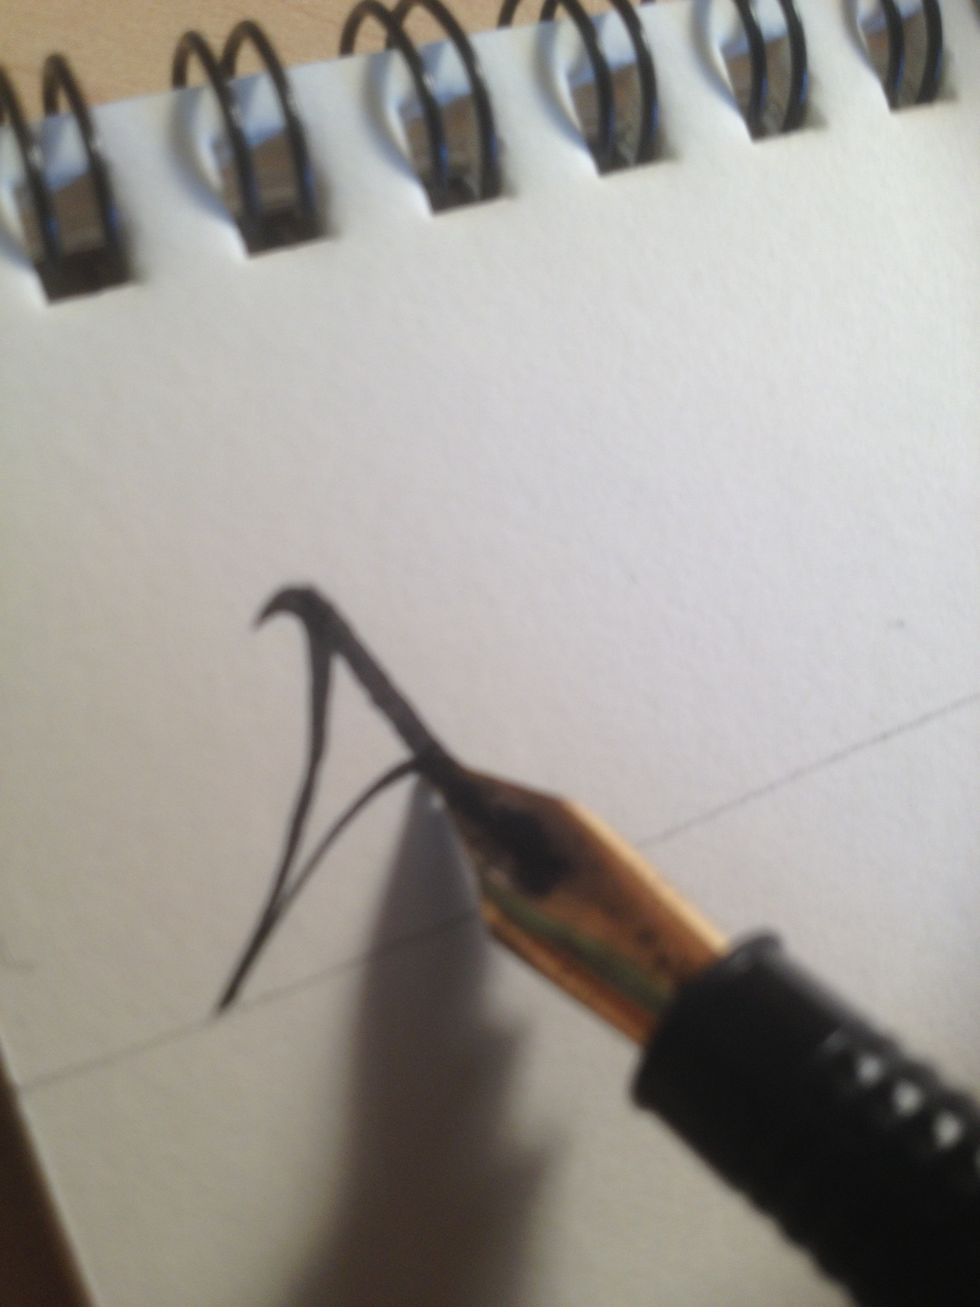
Start the third stroke from the same point as the first, and terminate it about halfway up the second stroke.
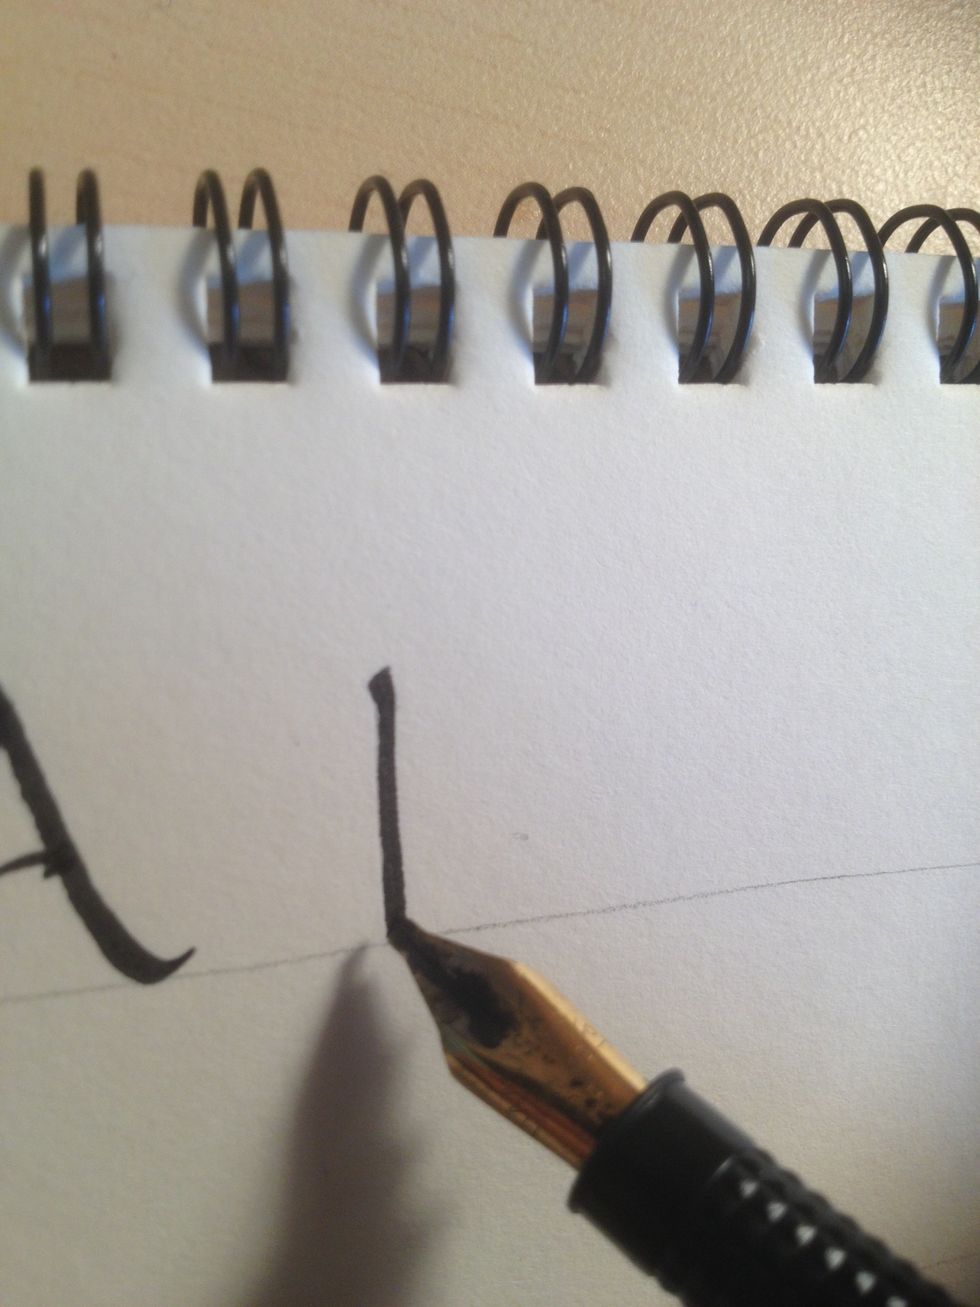
For B, start by making a plain trunk.
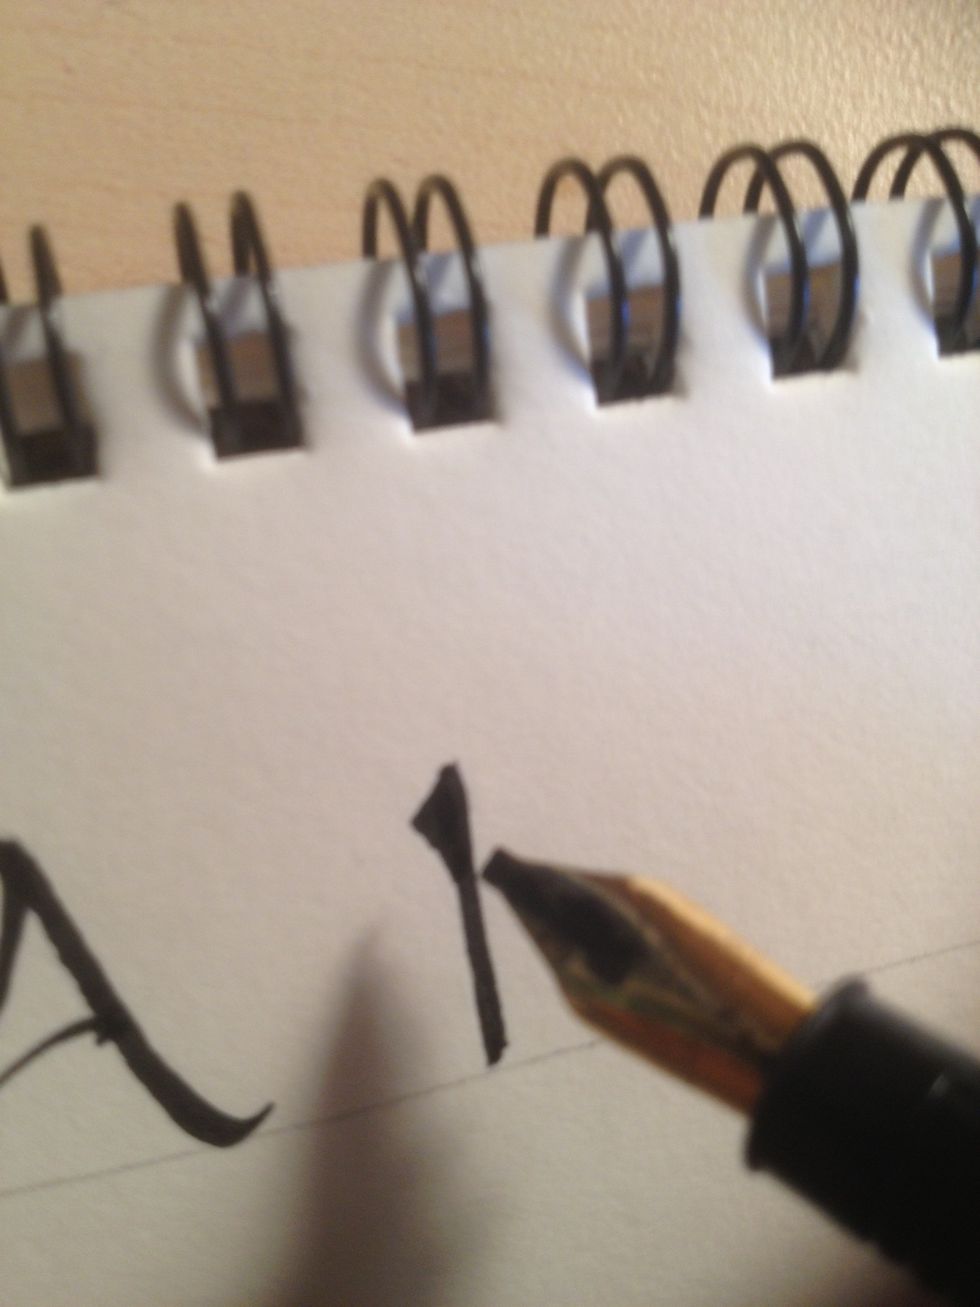
Add a triangle embellishment to the top; this is how most of the trunks in this alphabet will look.
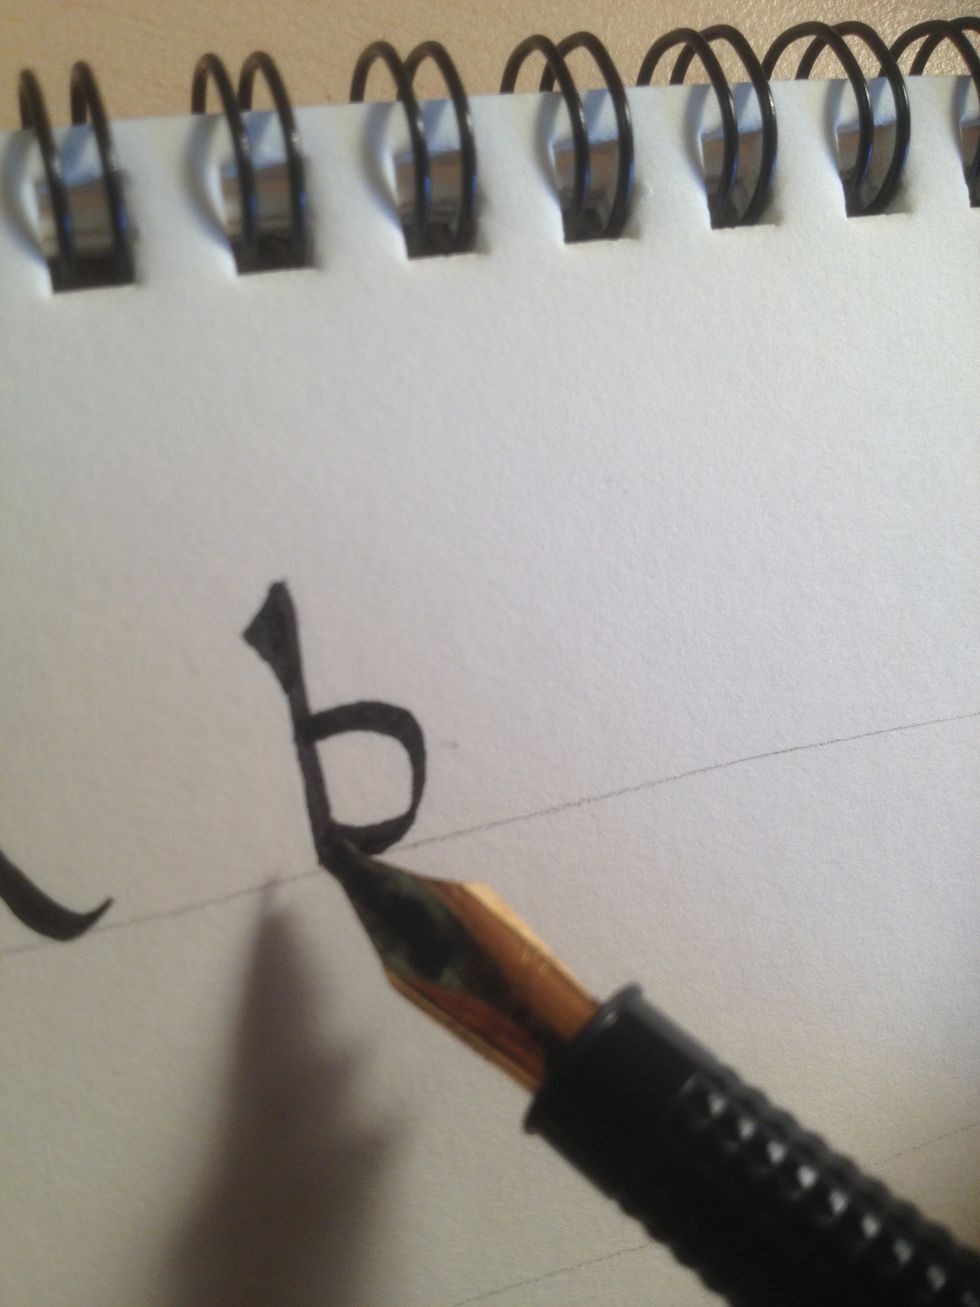
Start with the bottom half of the B; make the top of the stroke flat, the curves sharp, and if you really want to be adventurous, curve it slightly below the bottom line.
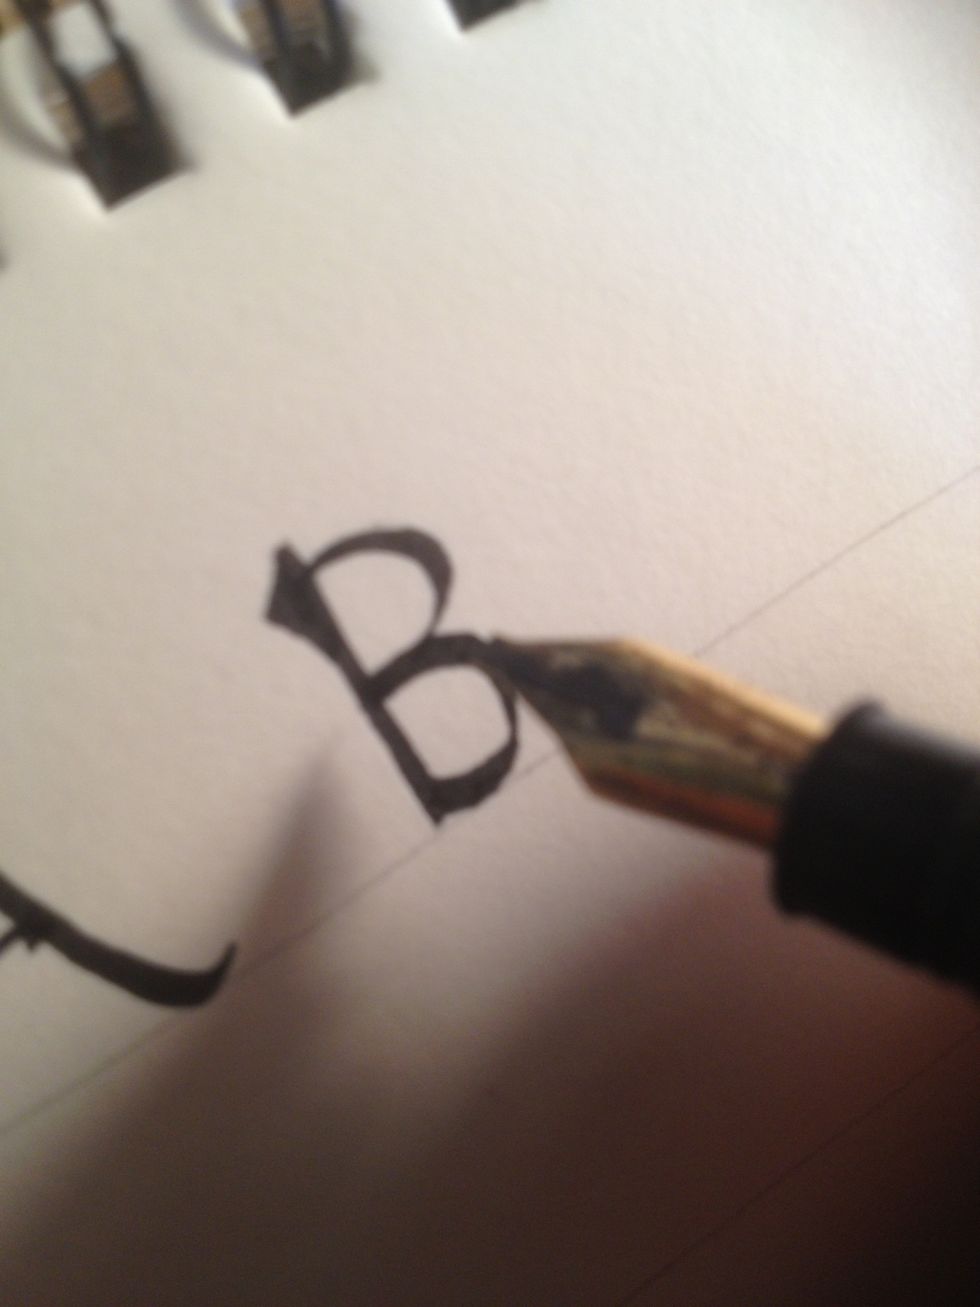
The top part of the letter should curve into the flat top of the lower half.

I'm not even going to explain how to make a C.
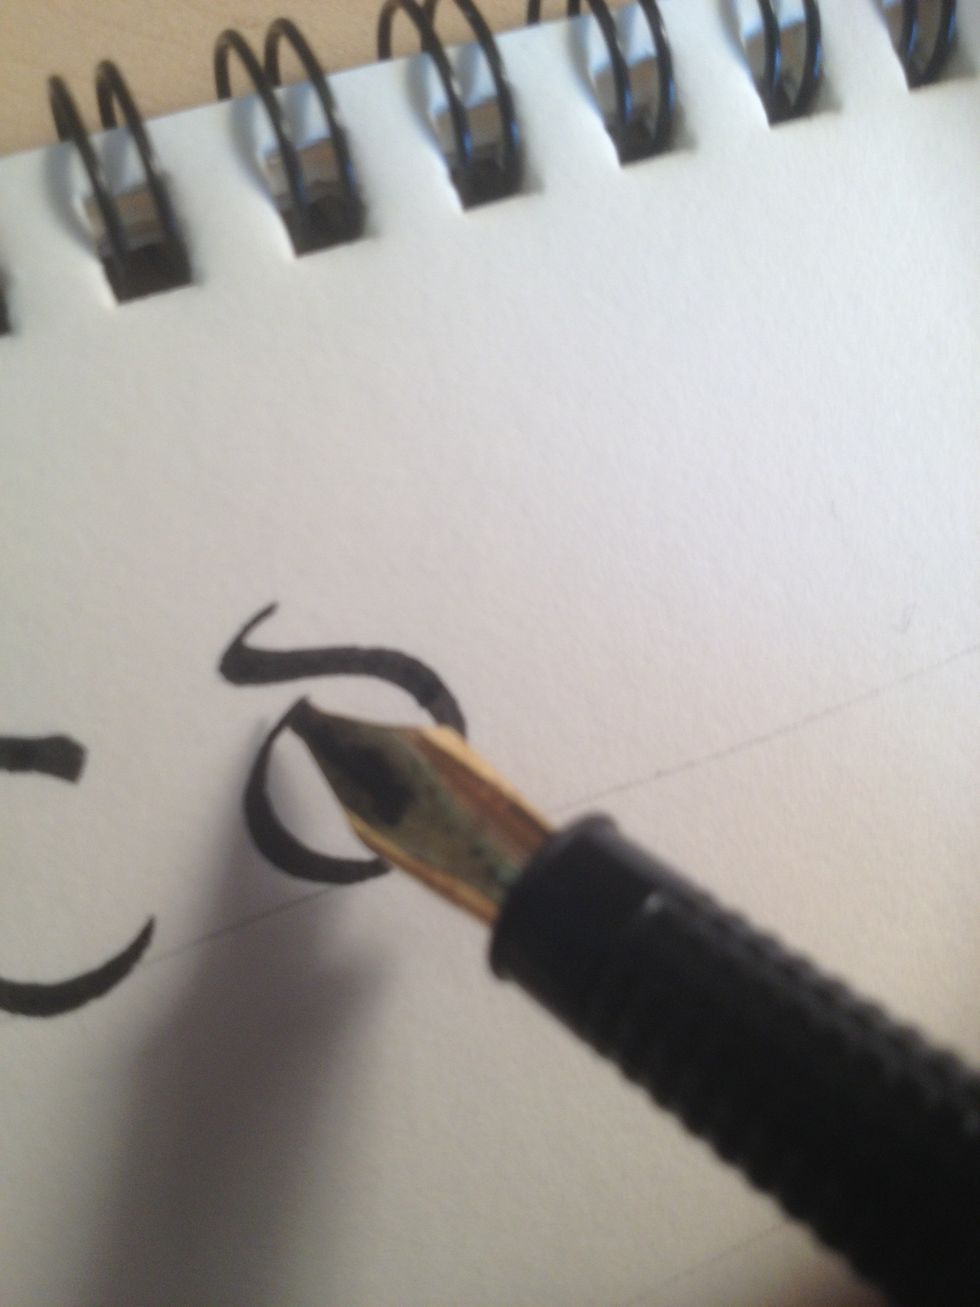
Letter D, however, is very different. Starting at the top, make a large flourish before swooping to the right and down. From there, form a circular stroke that terminates before meeting the trunk.

It should look something like this when you're done.
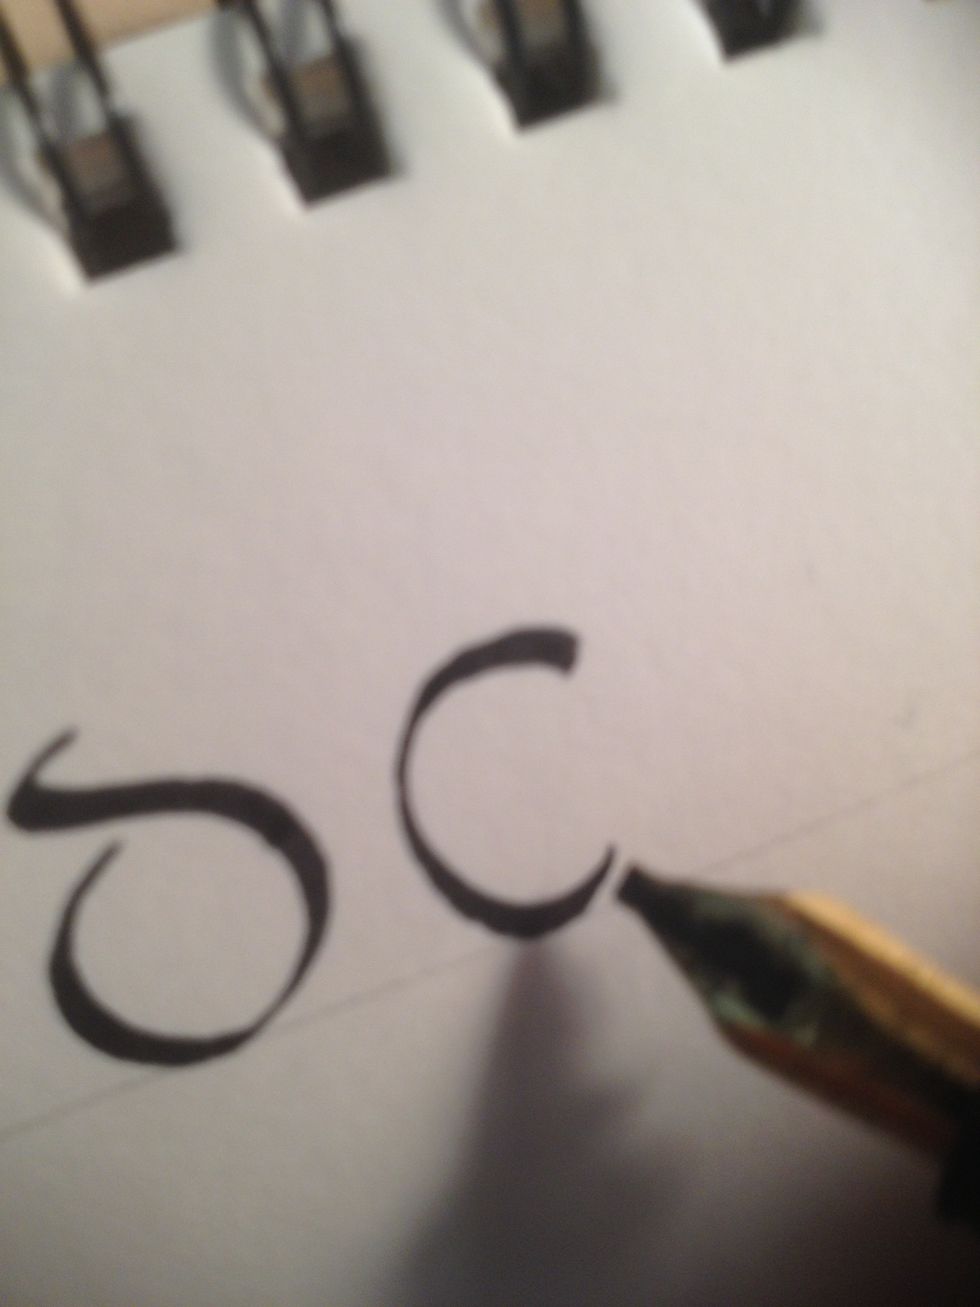
Start E off by making a Majuscule C.
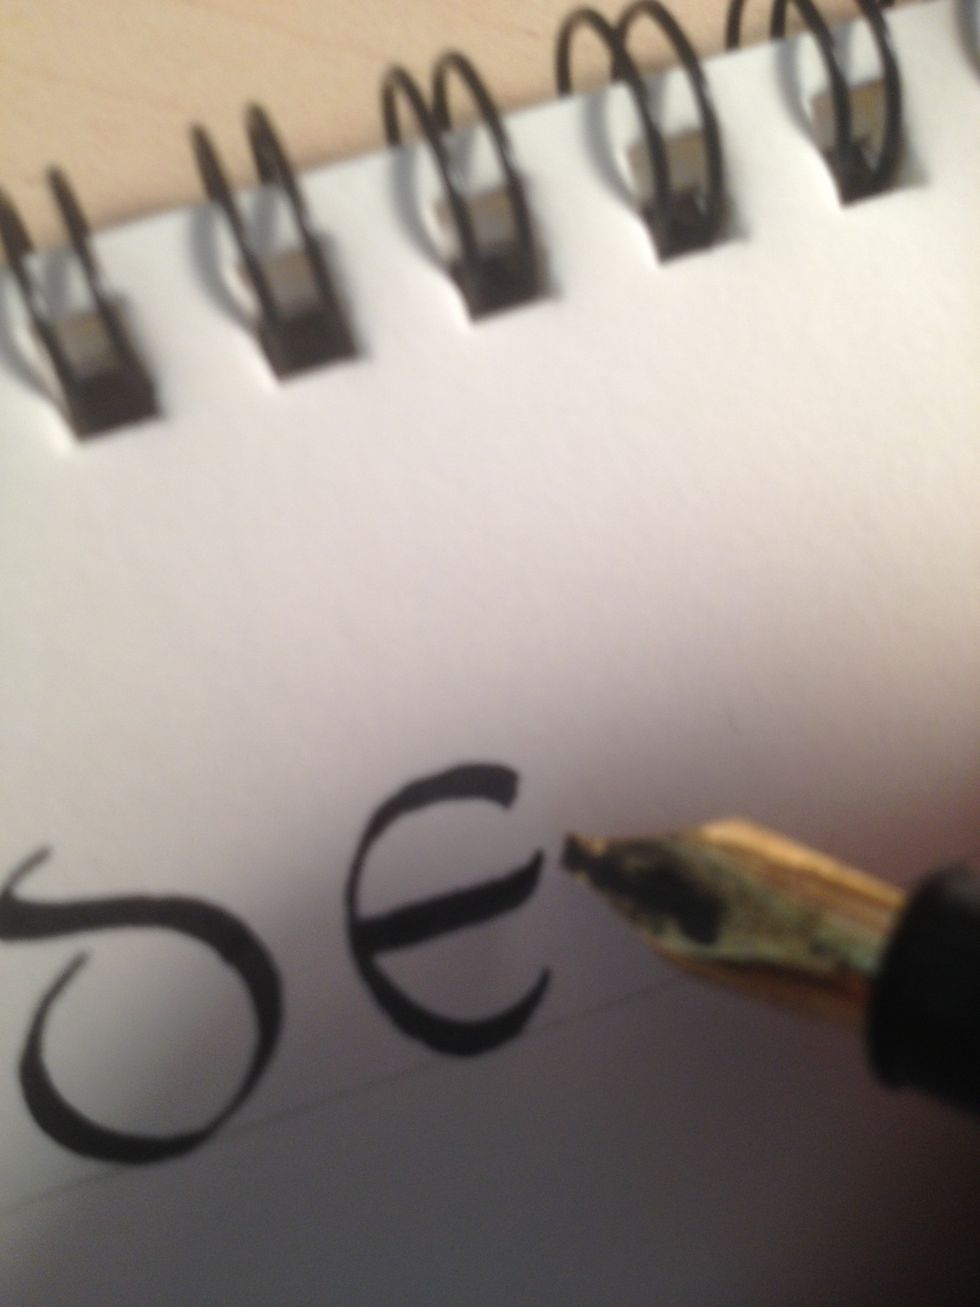
The middle bar should curve upwards at the end, and be slightly longer than the top and bottom bars.
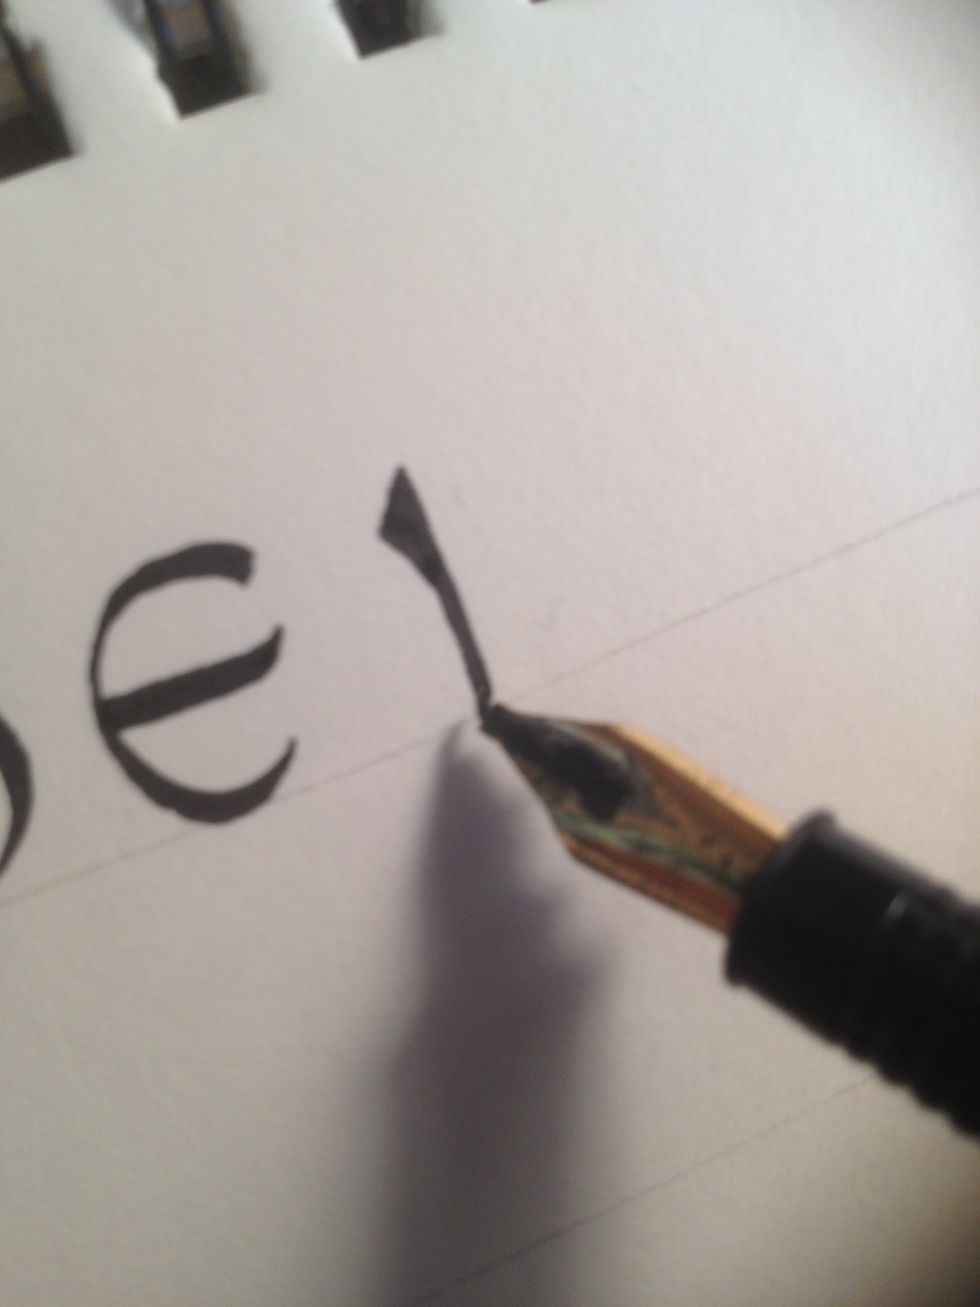
Start F by making a standard trunk; don't forget the triangle embellishment!
Make the top bar curved, terminating when the line is at it's thickest; attention to nib angle is important here.
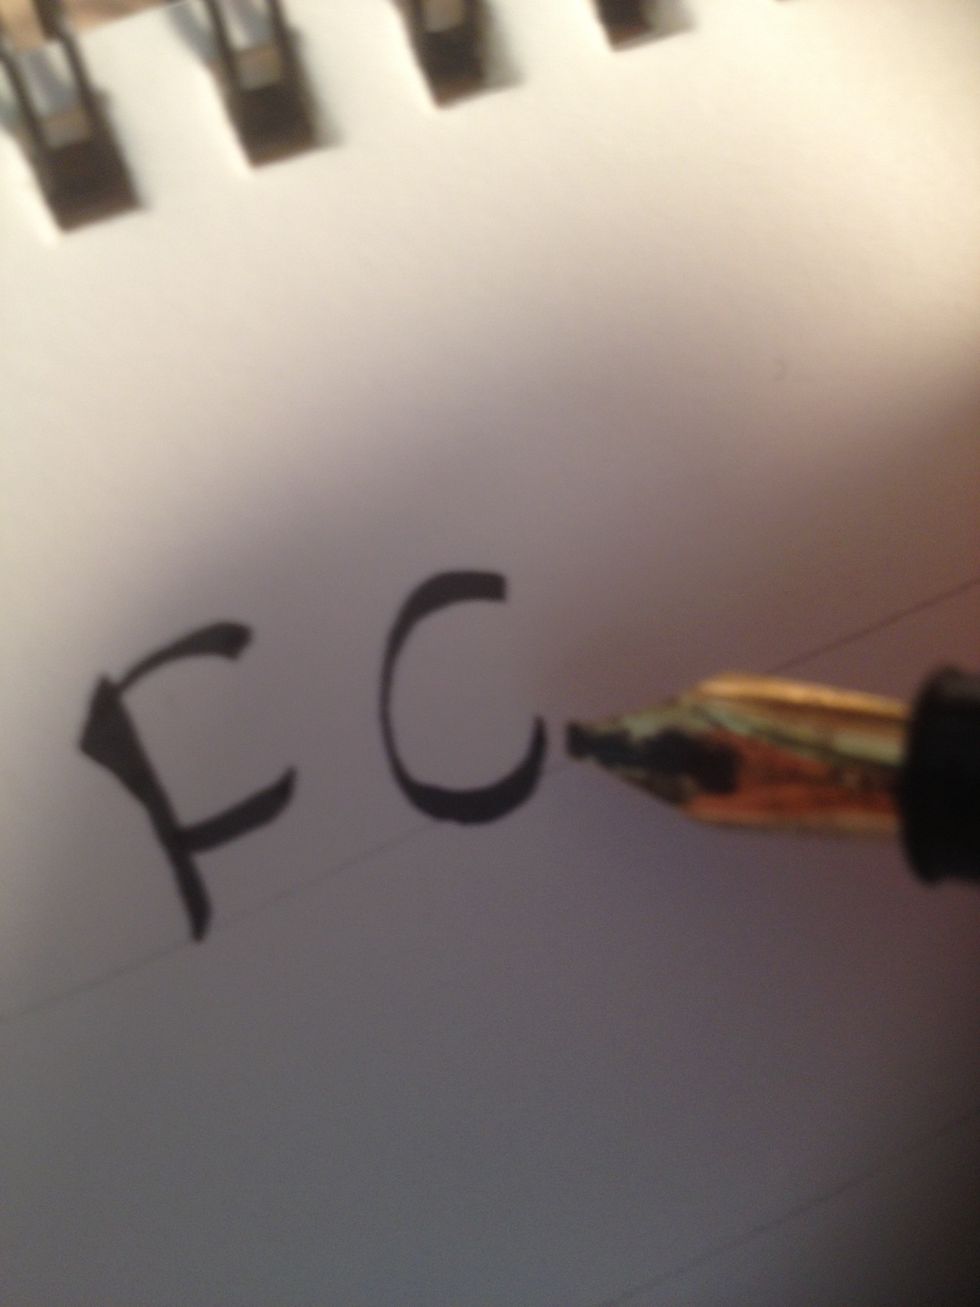
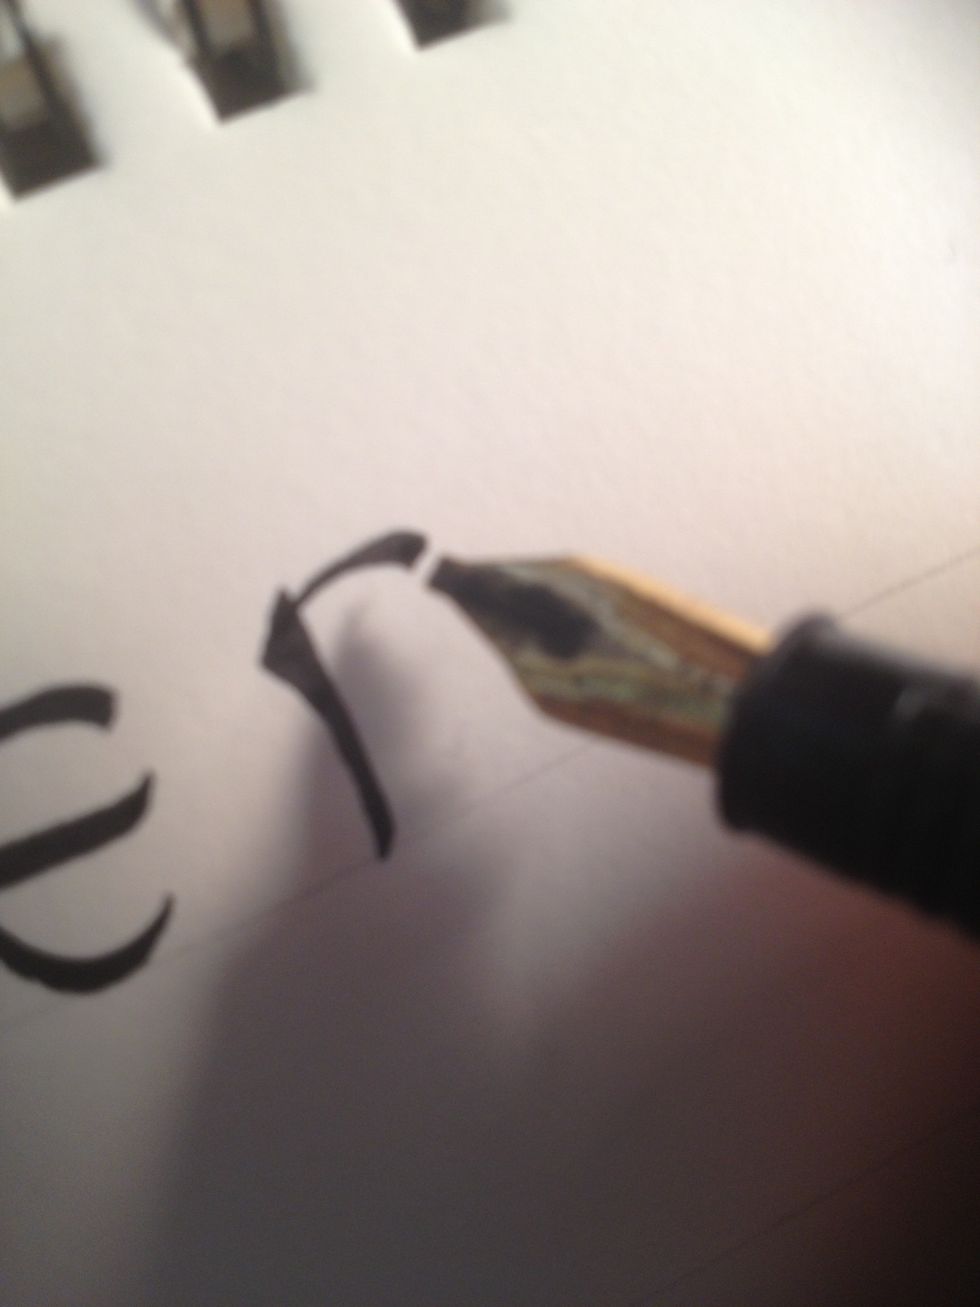
Finish F by putting the bottom bar near the bottom of the trunk and curving it upwards at the end. For G, start with (you guessed it) a Majuscule C.
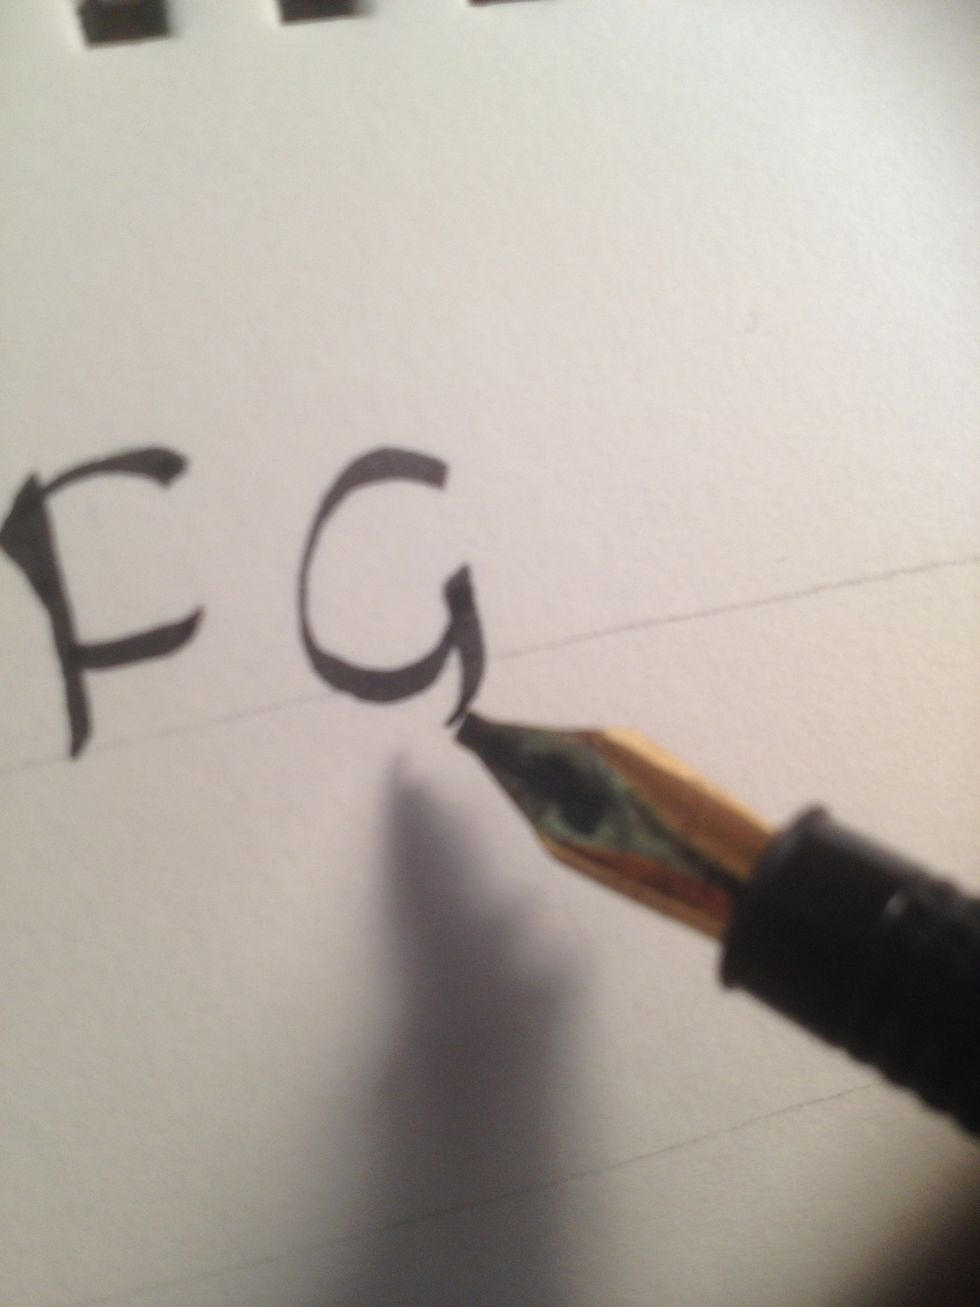
At the bottom terminus of the C, make a second stroke that looks something like a tiny lowercase letter "j". Make sure it goes well below the bottom line.
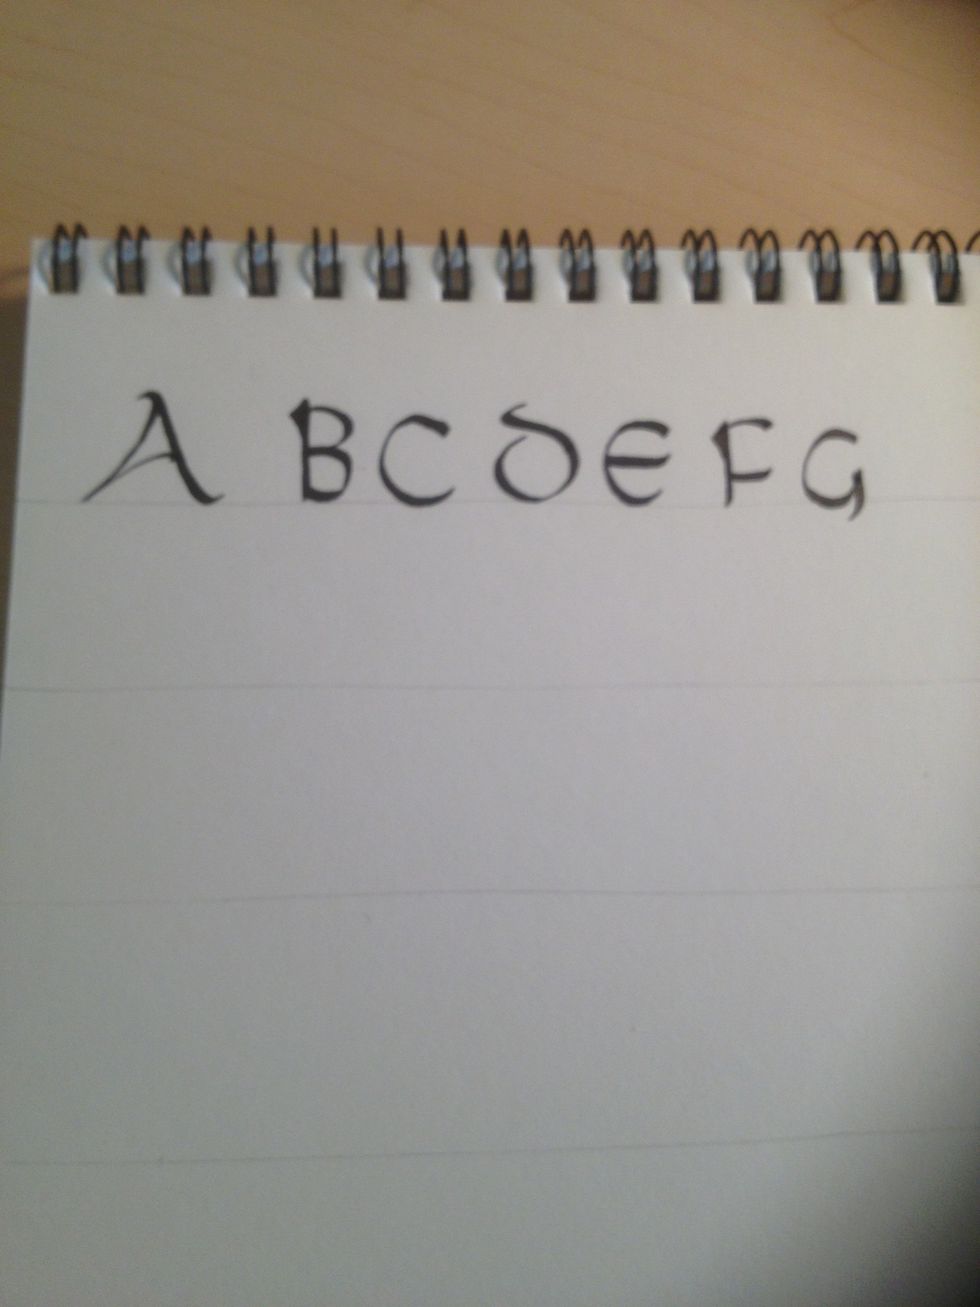
And that, ladies and gents, is the beginning of the (basic) Majuscule alphabet! More will be uploaded soon, you have my word!