The Conversation (0)
Sign Up
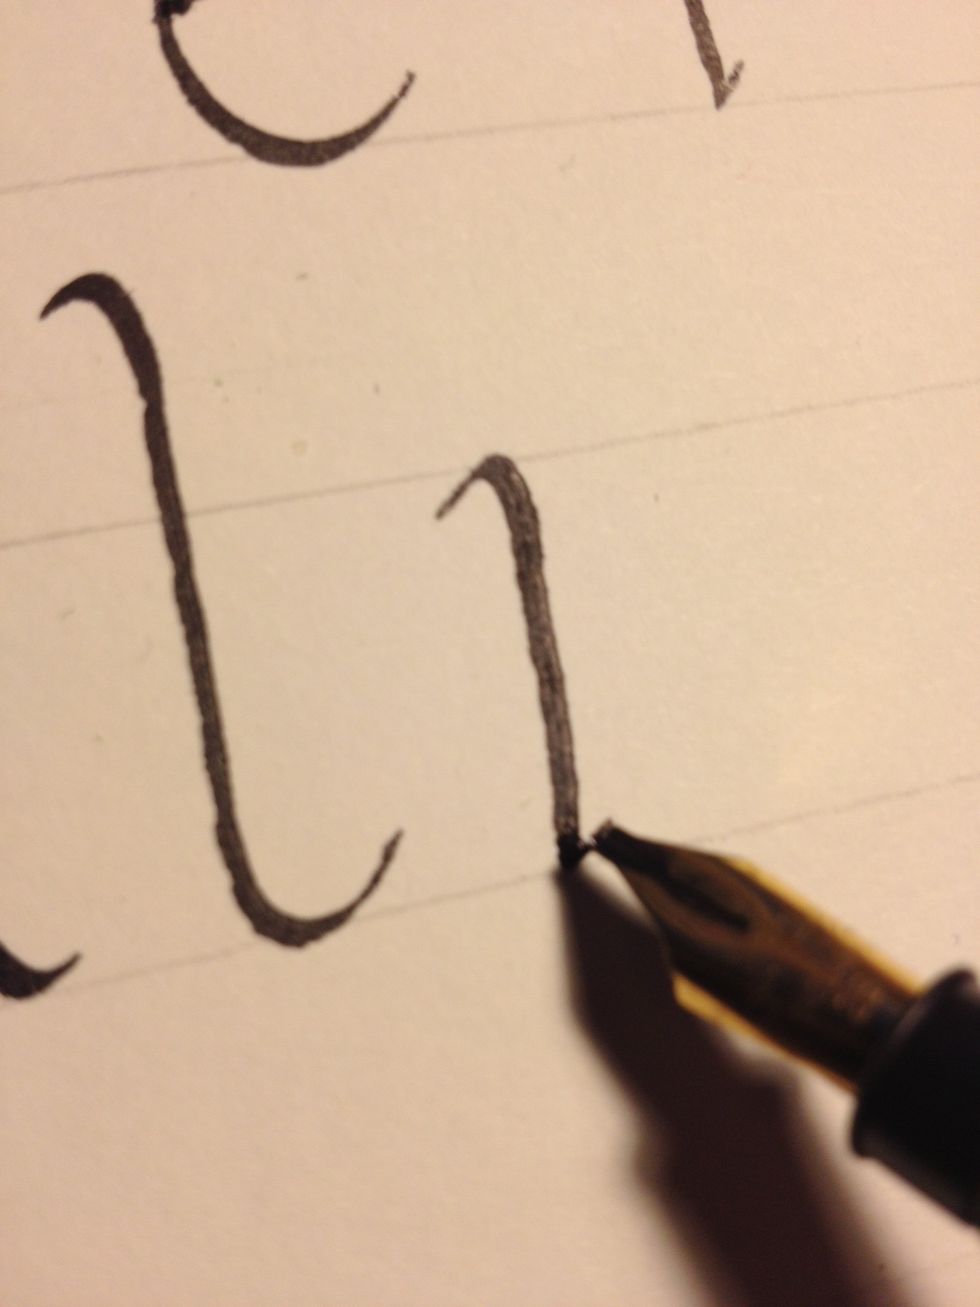
My apologies for being absent a few days longer than usual; I was very busy, but now I'm back! Anyway, start off "m" with a standard trunk, tics at top and bottom.
For the second stroke, start by curving from the top of the first trunk to form a second trunk. Make a tic at the bottom.
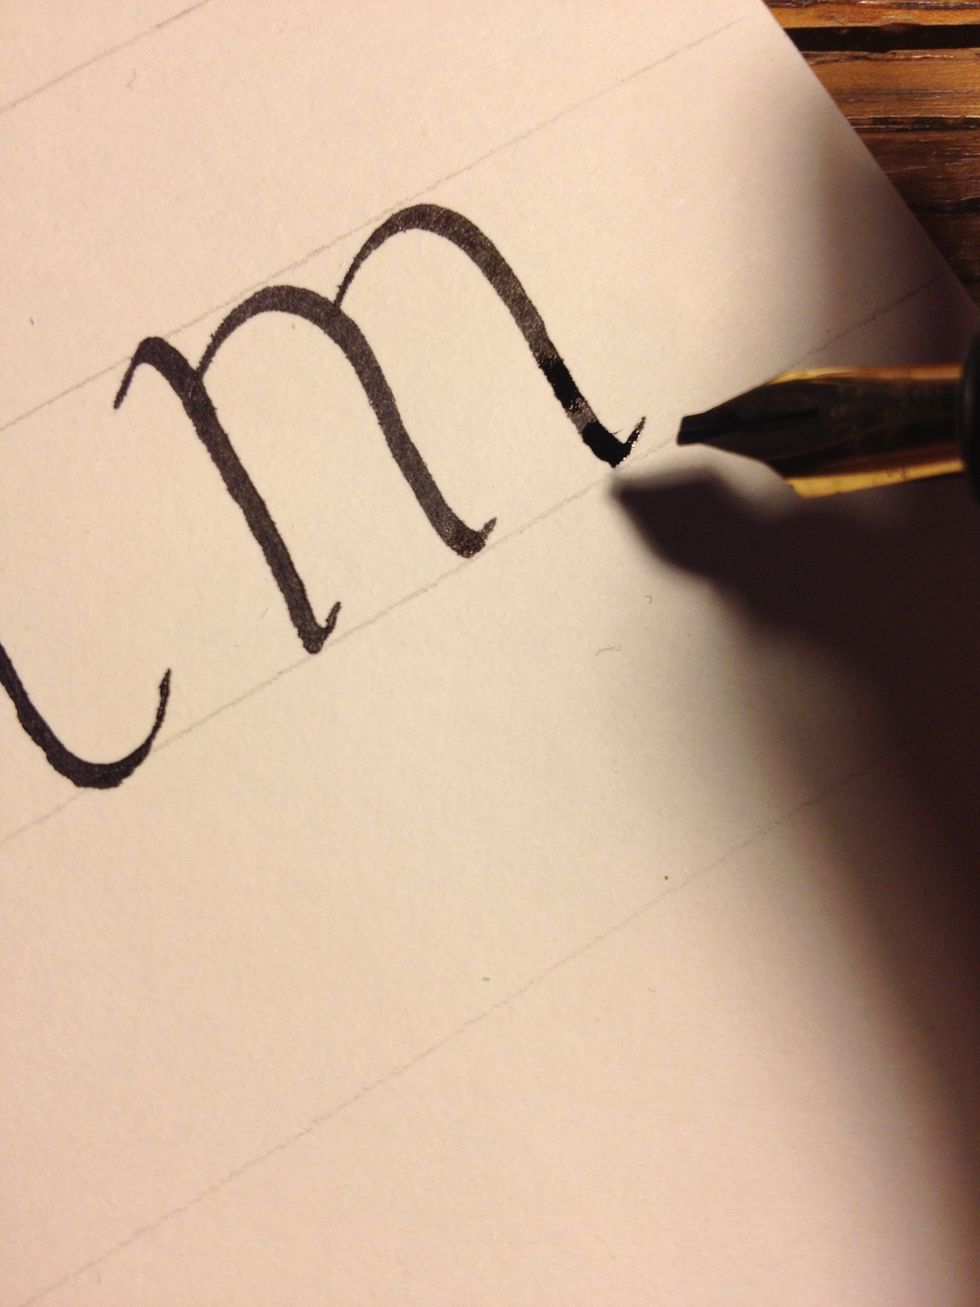
Repeat the second stroke a second time to complete the letter.
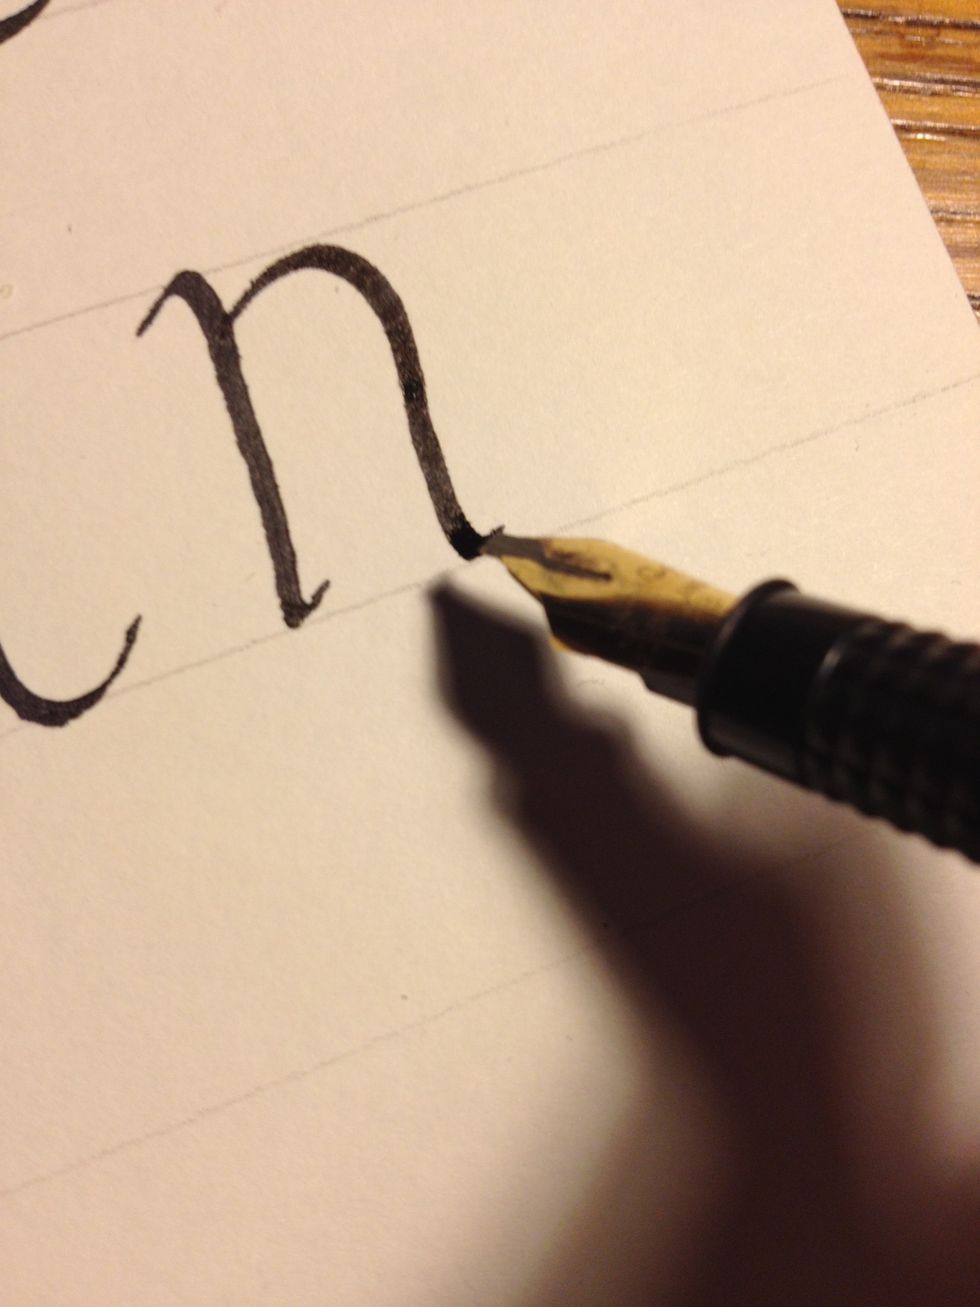
Letter "n" starts the same way as "m"...
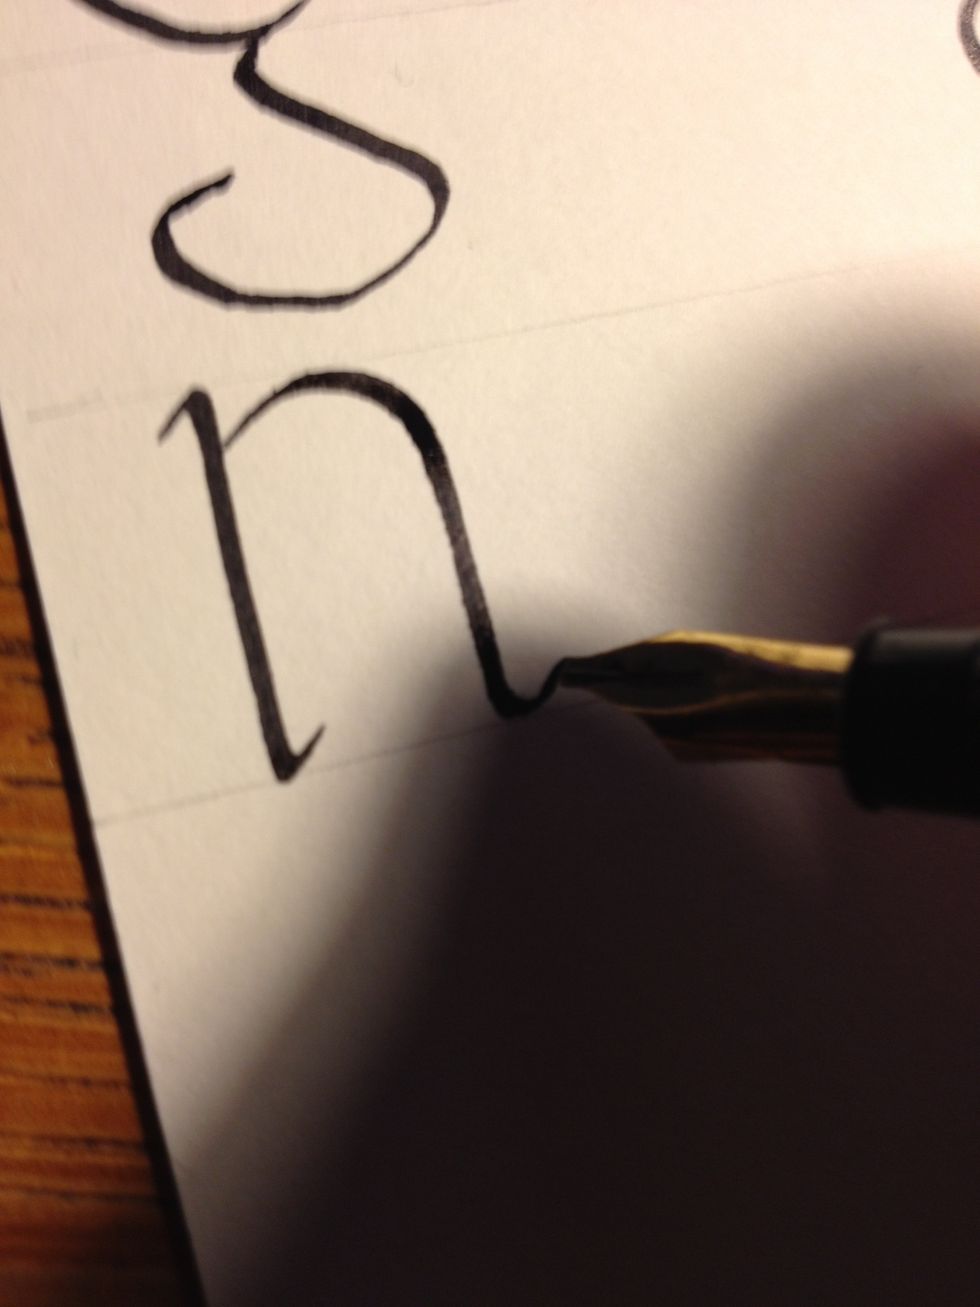
...and is in all aspects the same, except you do not repeat the second stroke.
I might have lied when I said "l" was the easiest letter. To create "o" start with nib at 45 degrees at the top line, then make a single counterclockwise circular stroke until you get back to the top.
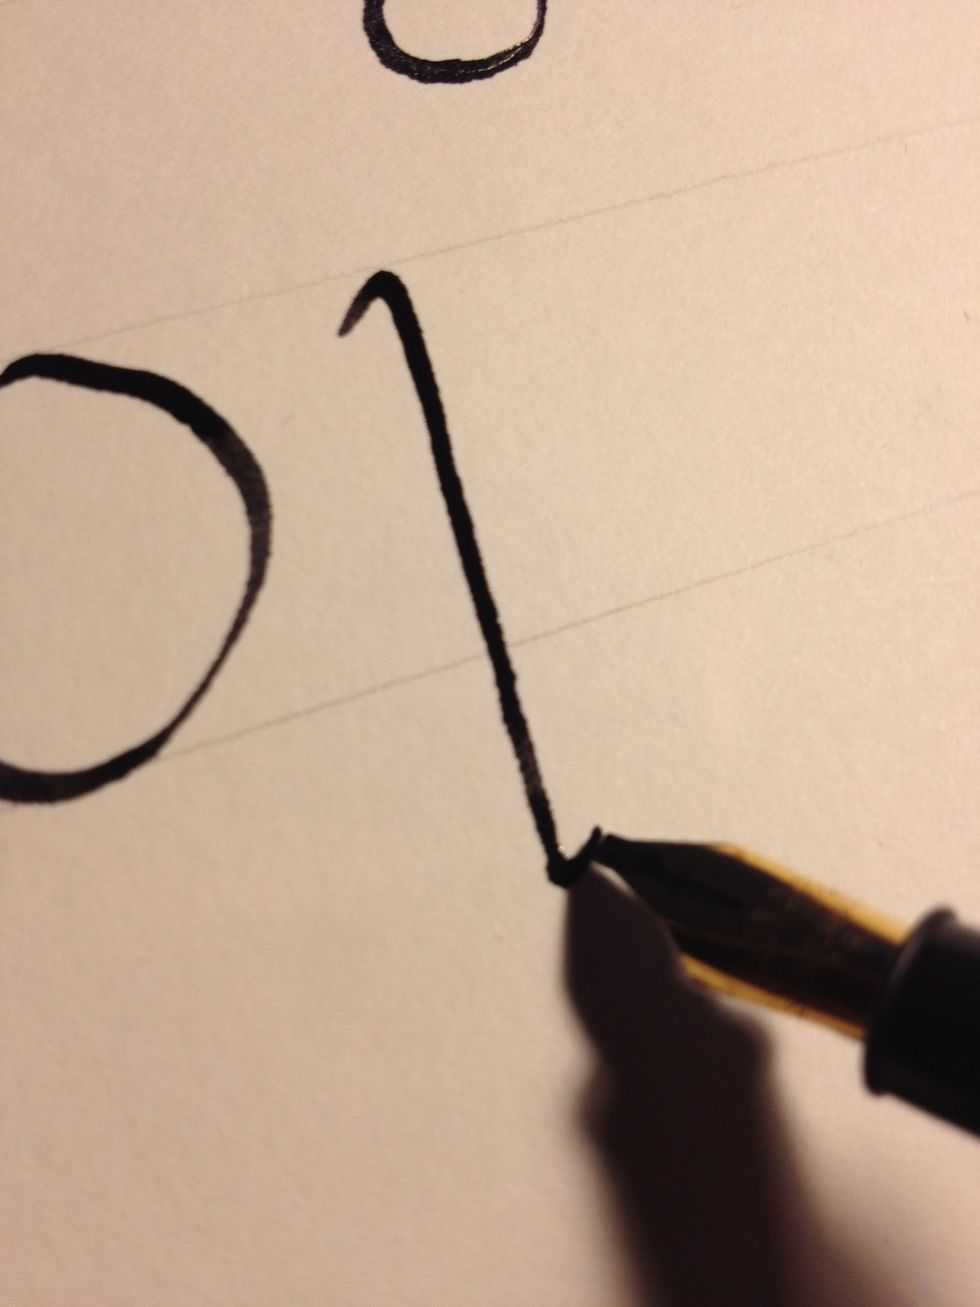
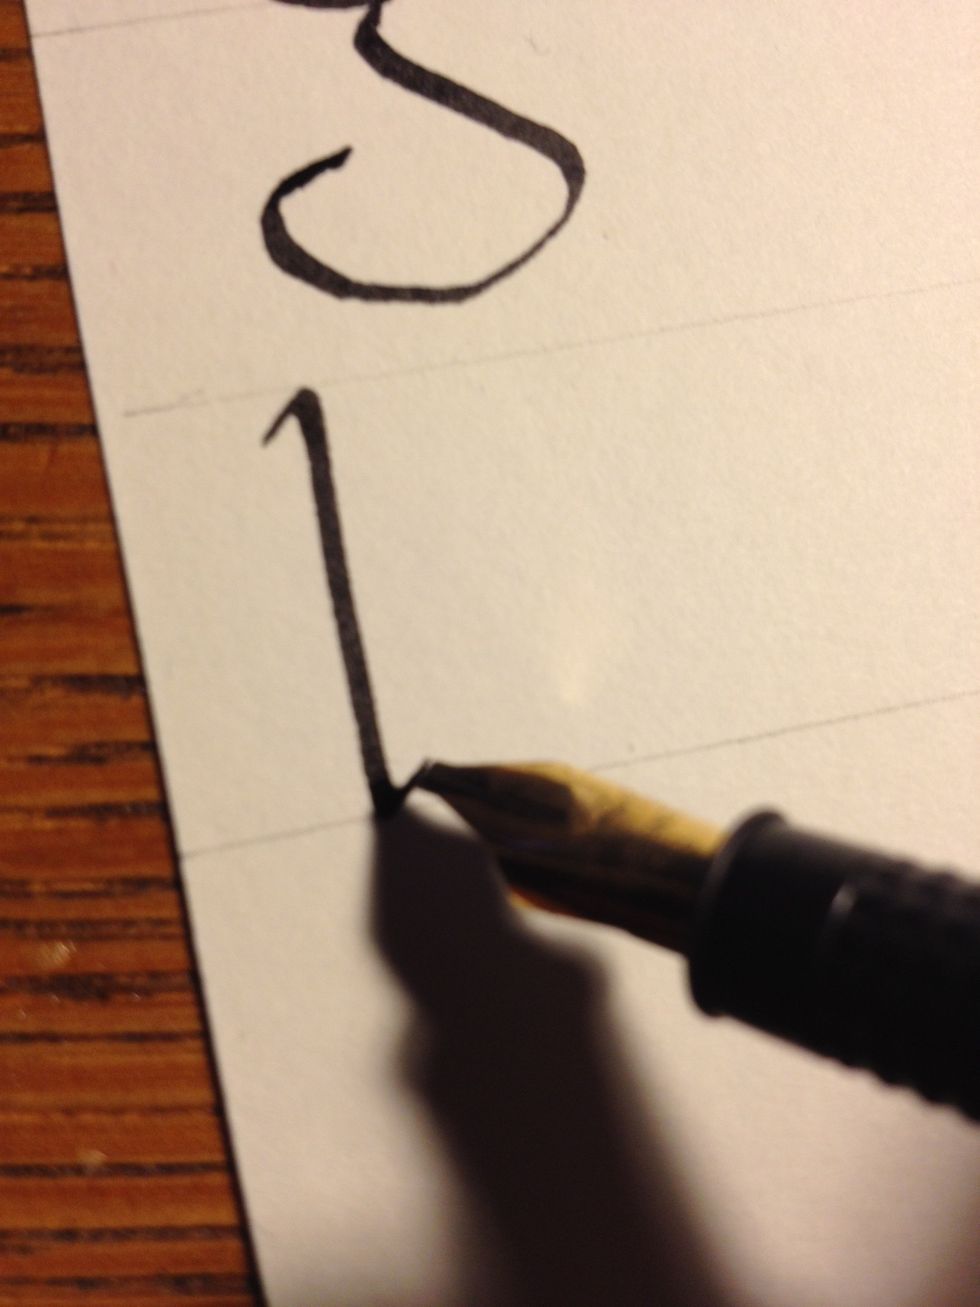
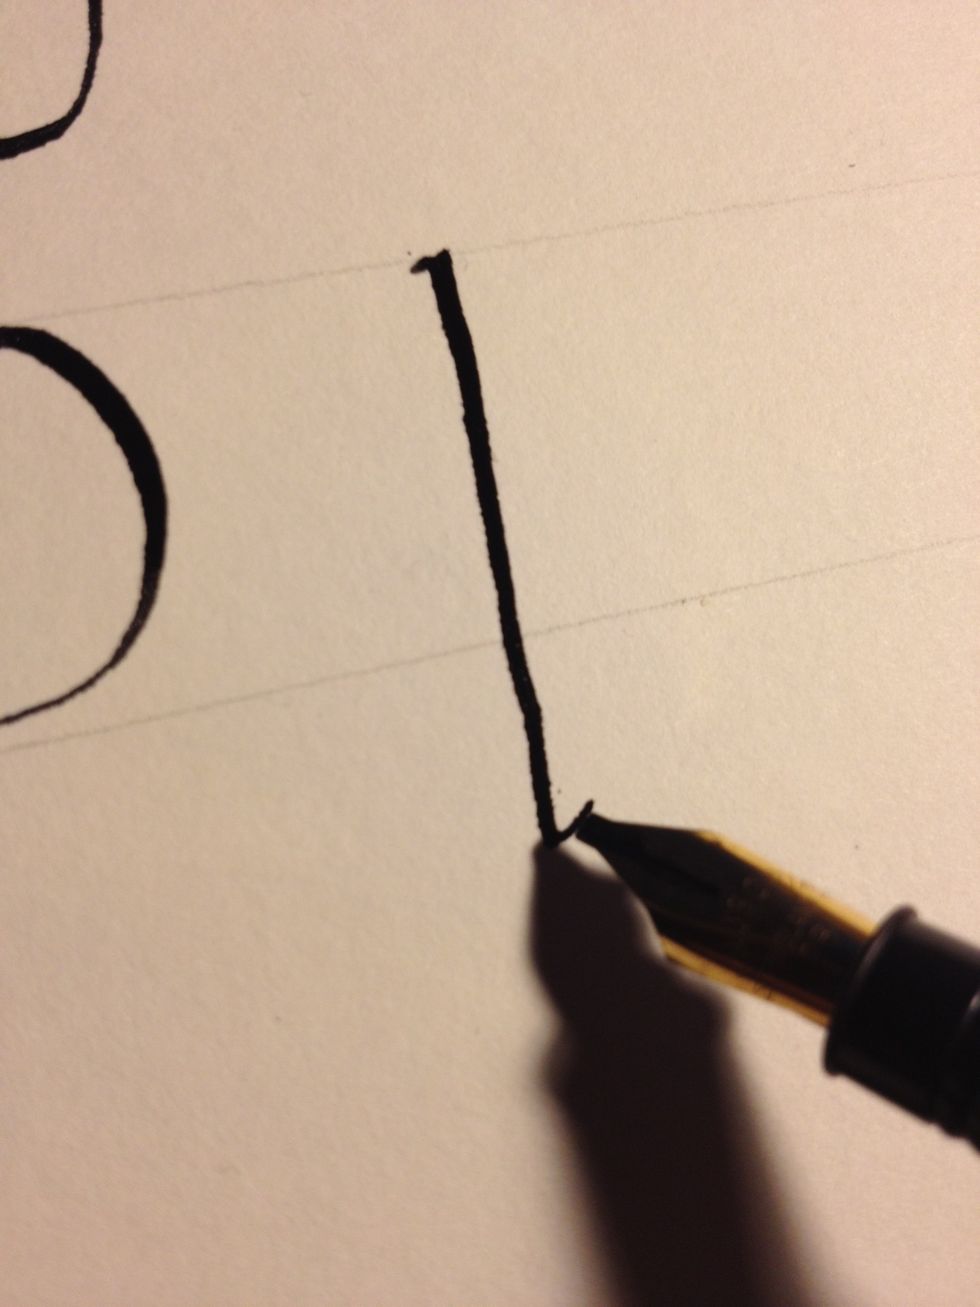
Start letter "p" with a trunk that goes below the bottom line.
Start the second stroke close to the top of the trunk, slightly below the top line. Maintaining nib angle, make a circular stroke until you meet the trunk again slightly above the bottom line.
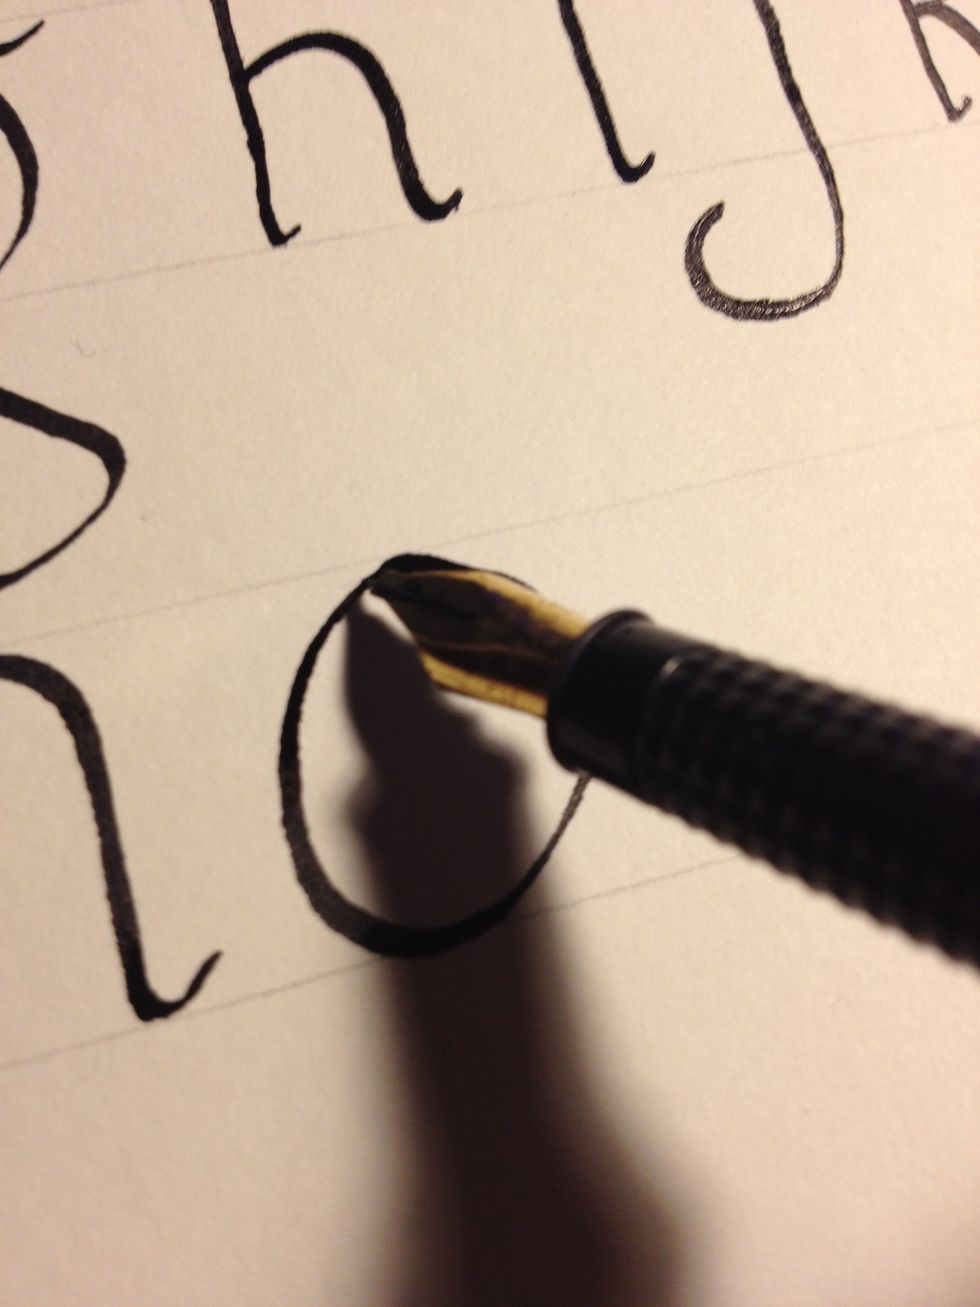
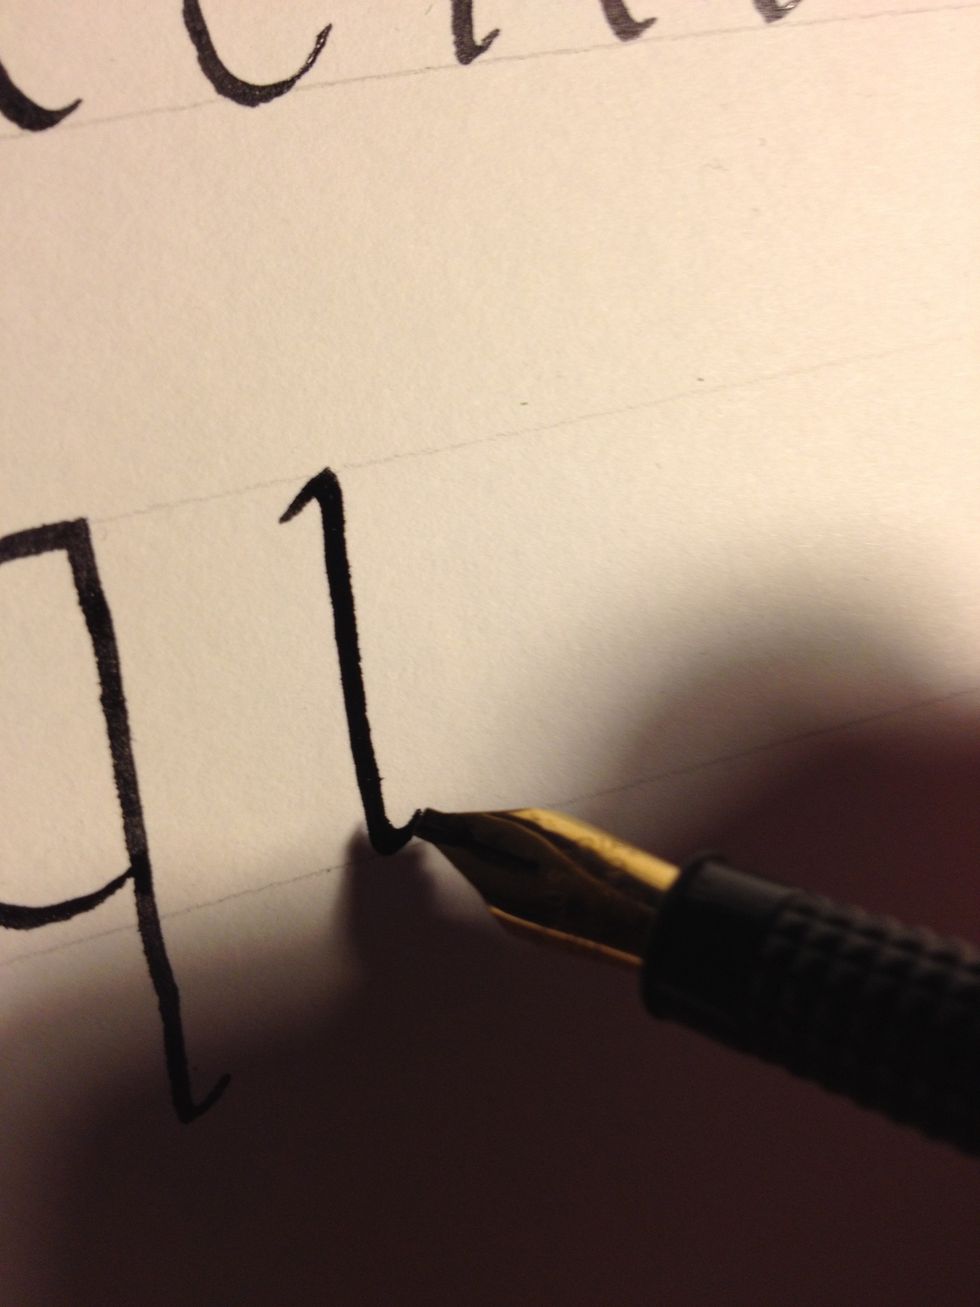
Start "q" the same way you started "p", but do not make the usual tic at the top of the trunk.

Starting at the top of the trunk, make a counterclockwise circle until you reach the trunk again near the bottom line.
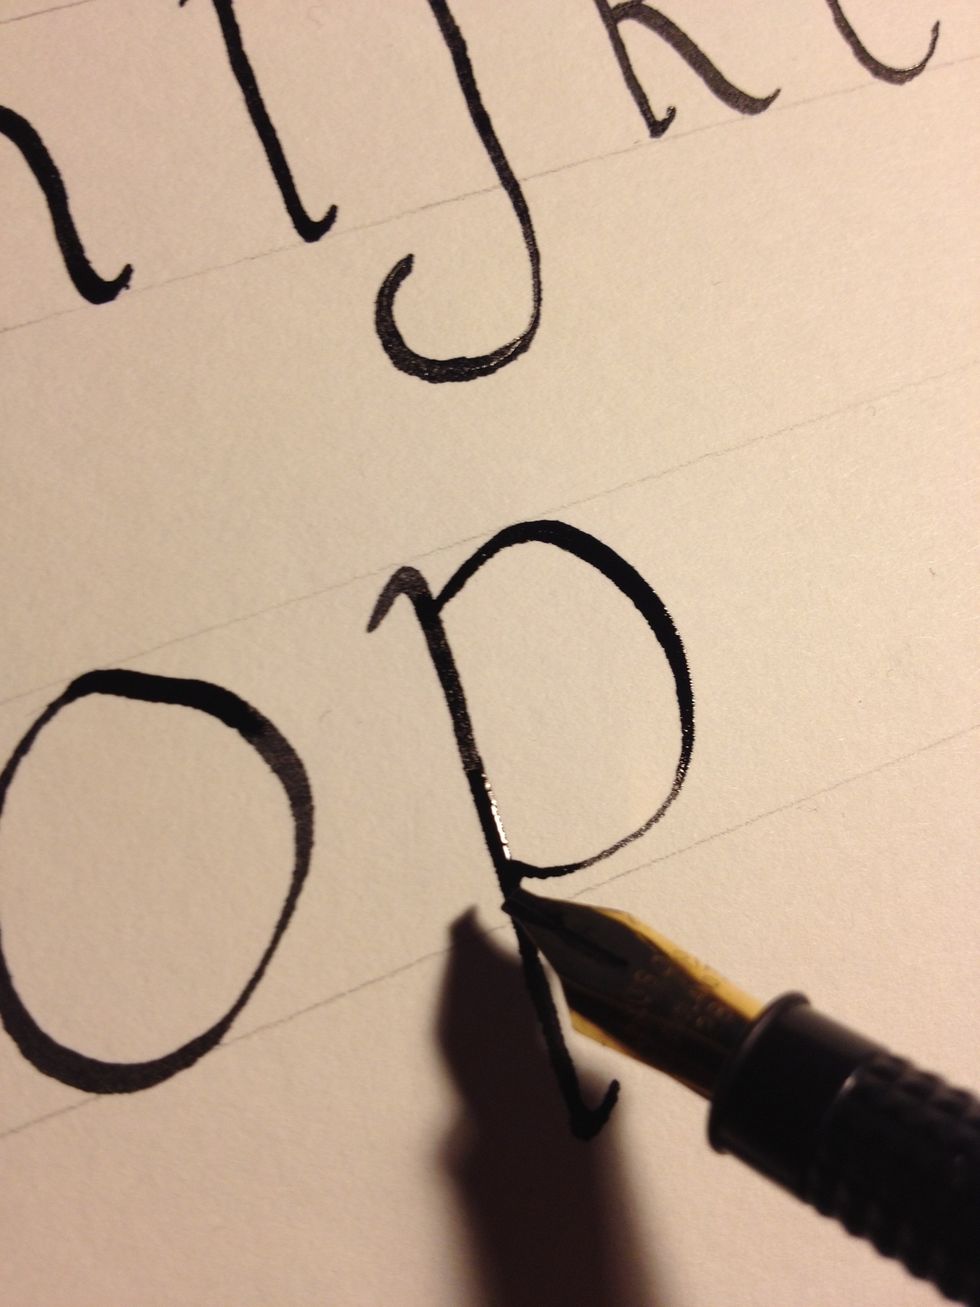
Start letter "r" with a basic trunk.
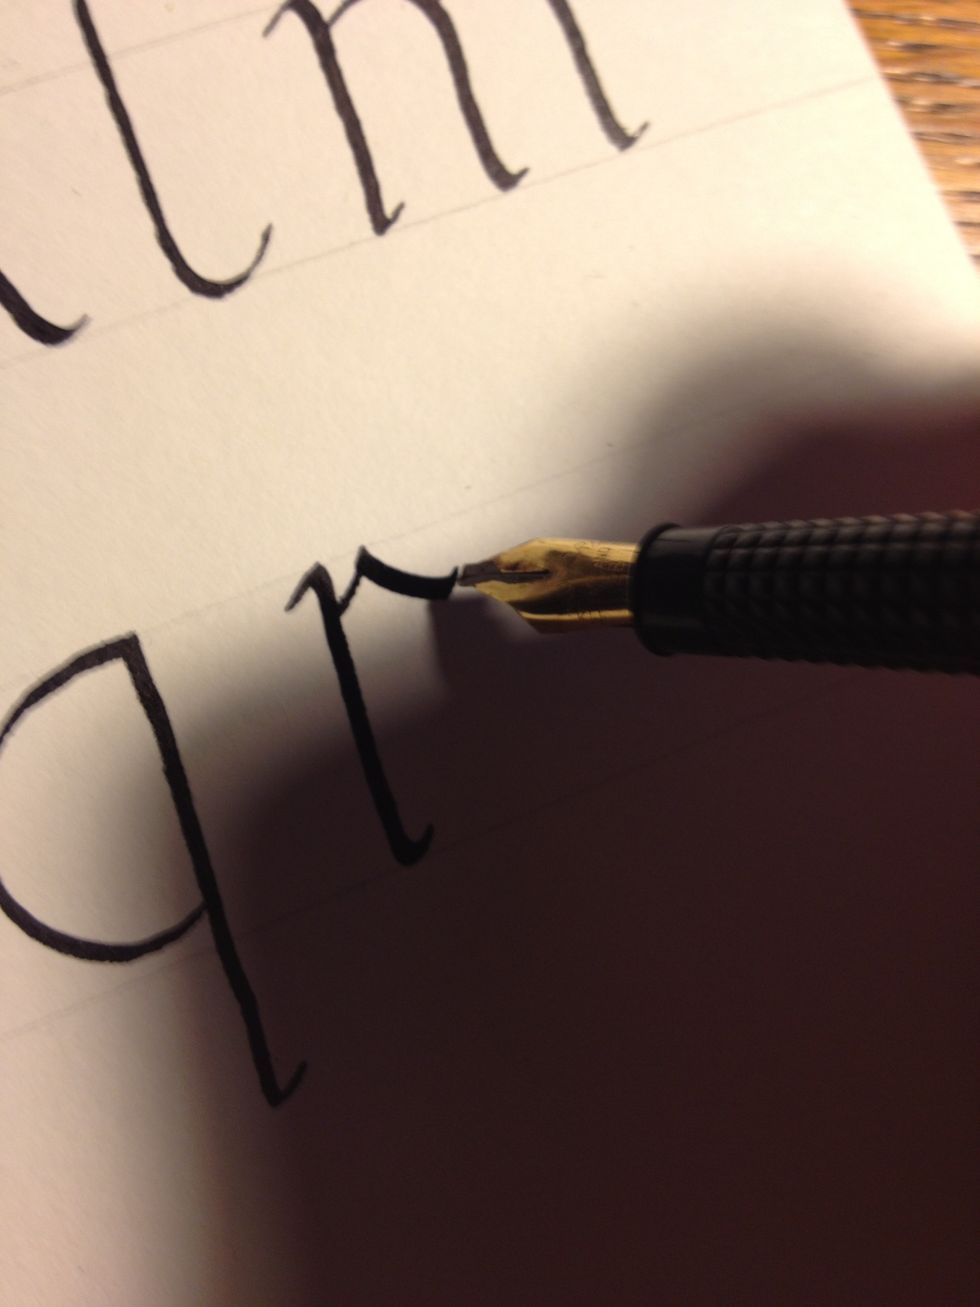
Start the second stroke near the top of the trunk. Make a slightly curved thin line to the top line, then a slightly curved thick line downwards. Flare up at the end to make it look extra classy.
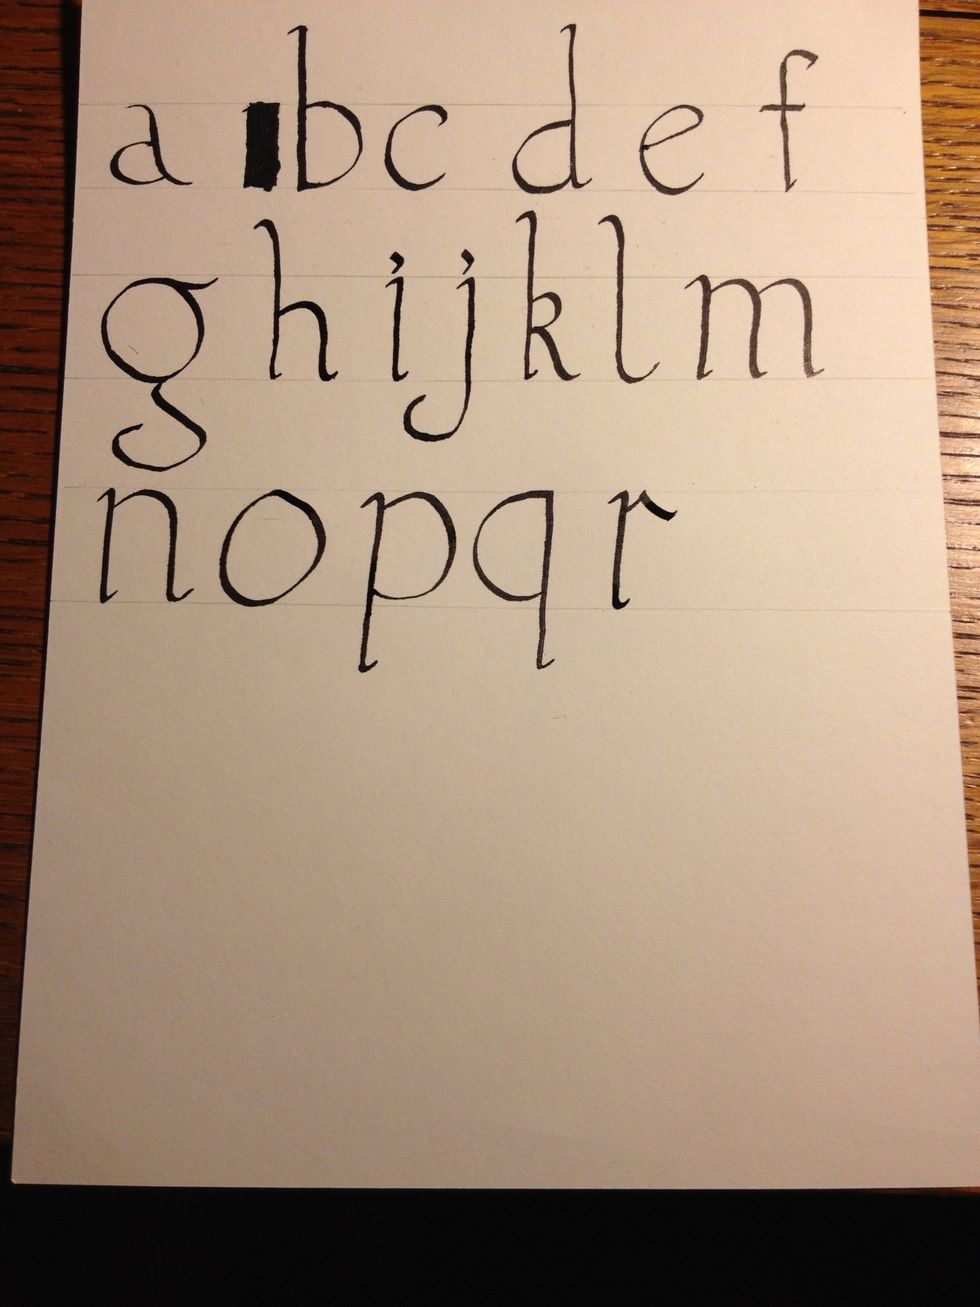
You're well on your way to a complete alphabet!
Tip: Although I write these letters very large in these tutorials, that doesn't mean that's the only way to write these letters. Try writing in smaller fonts for thicker, more solid-looking letters.