The Conversation (0)
Sign Up
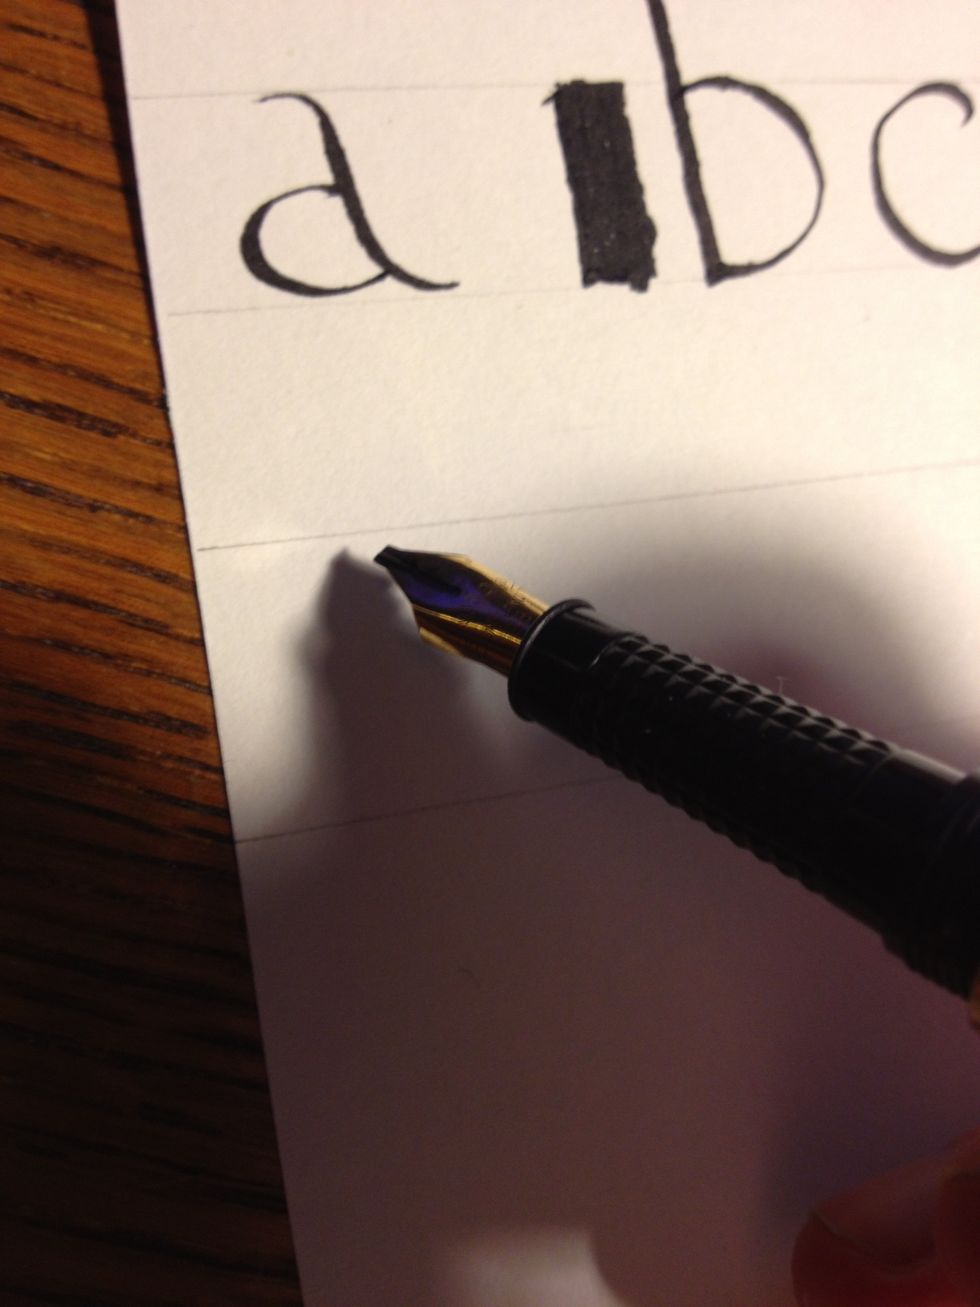
The letter "g" is perhaps more complicated than most. Start near the top line, with the nib at at 45 degree angle to the left.
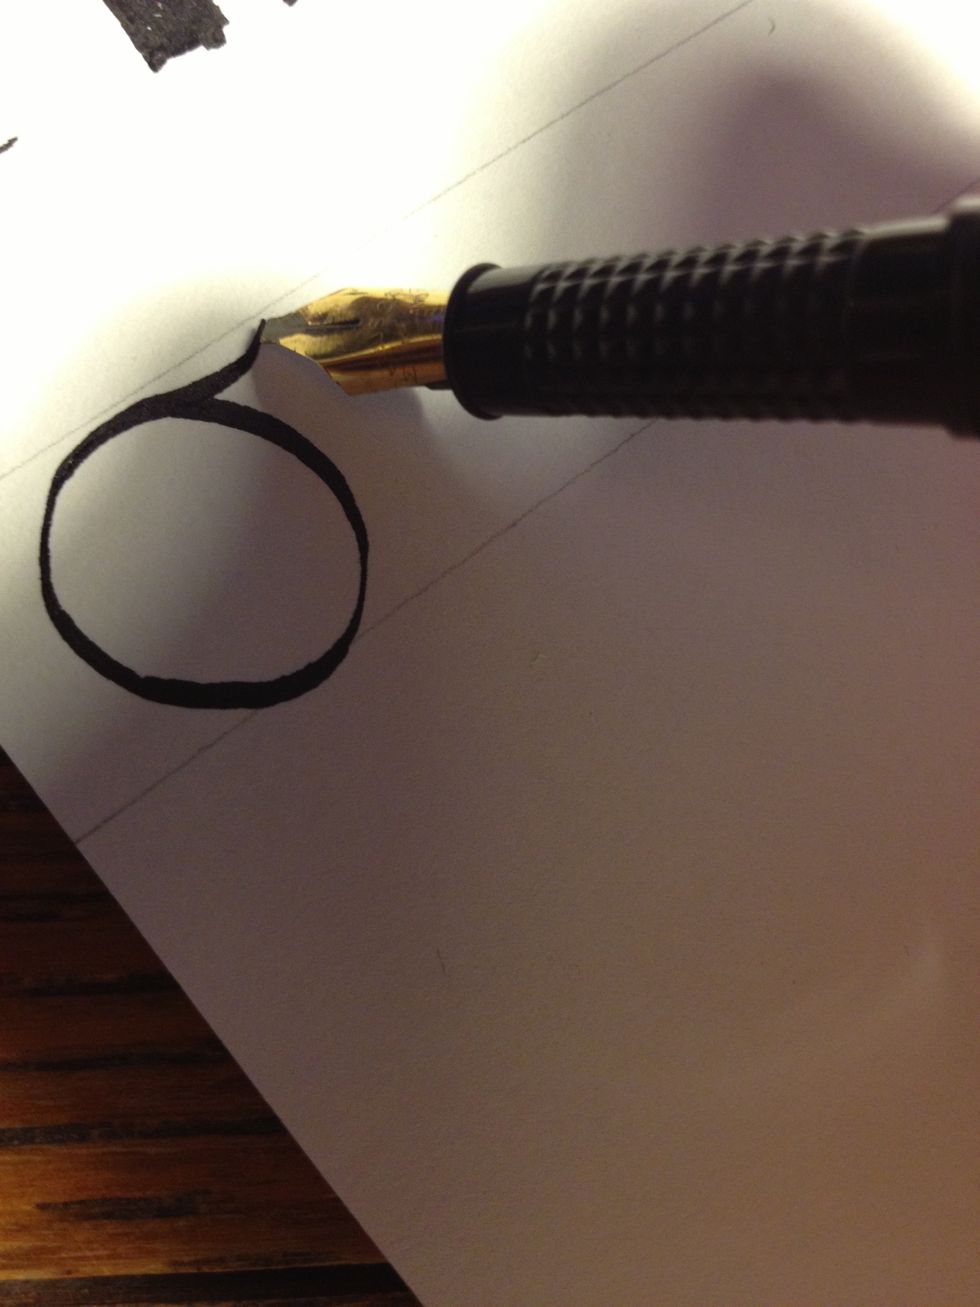
Make a circle, creating a "tail" as you reach the top again as shown. I made the circle somewhat too large for this particular letter, but it fulfills its purpose all the same.

Maintaining nib angle, create the lower half of the "g"; short stroke to the left, a longer one to the right, and then a trough under them both.
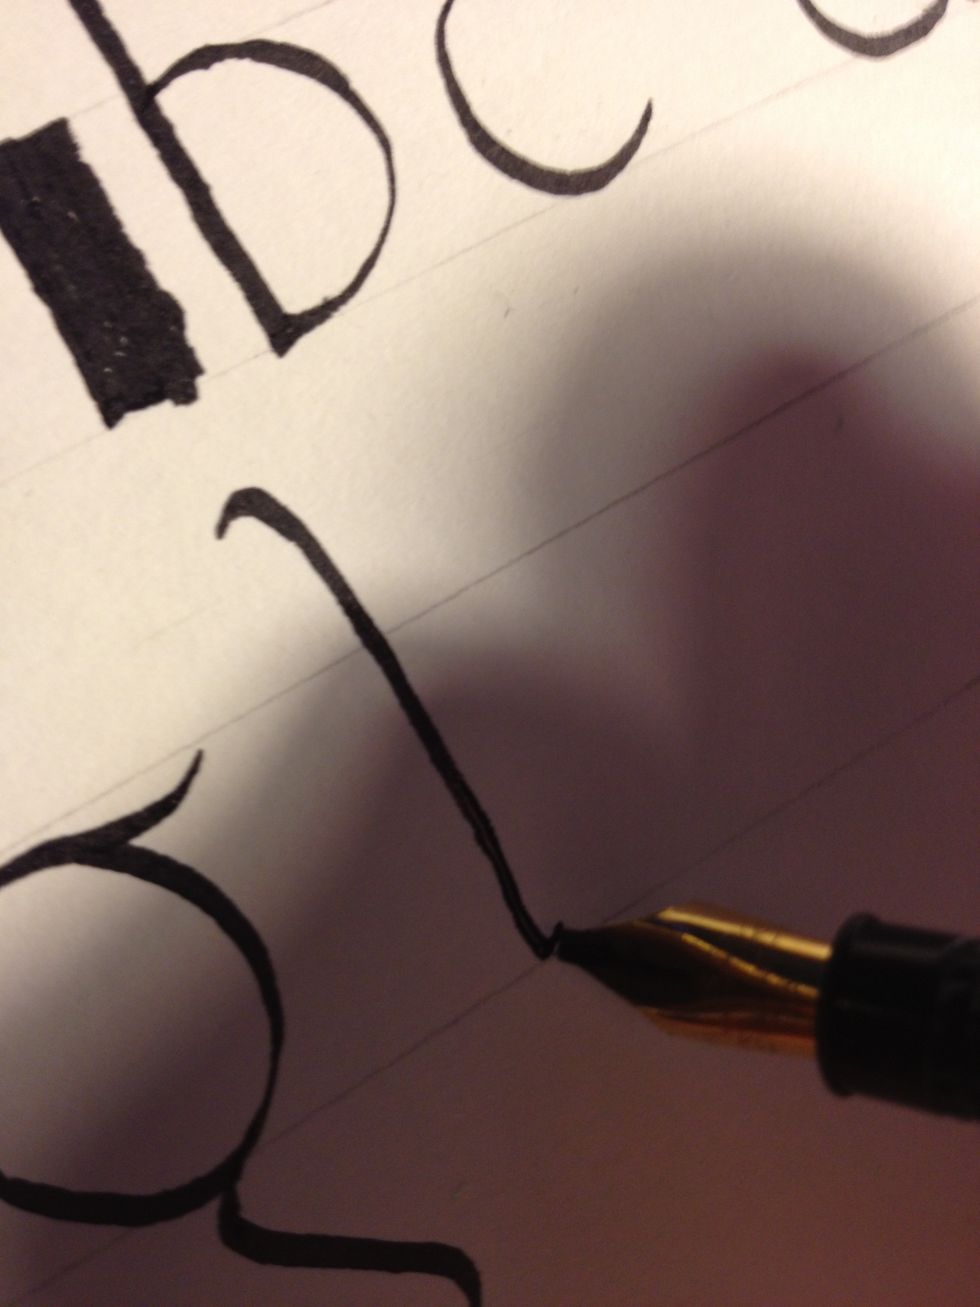
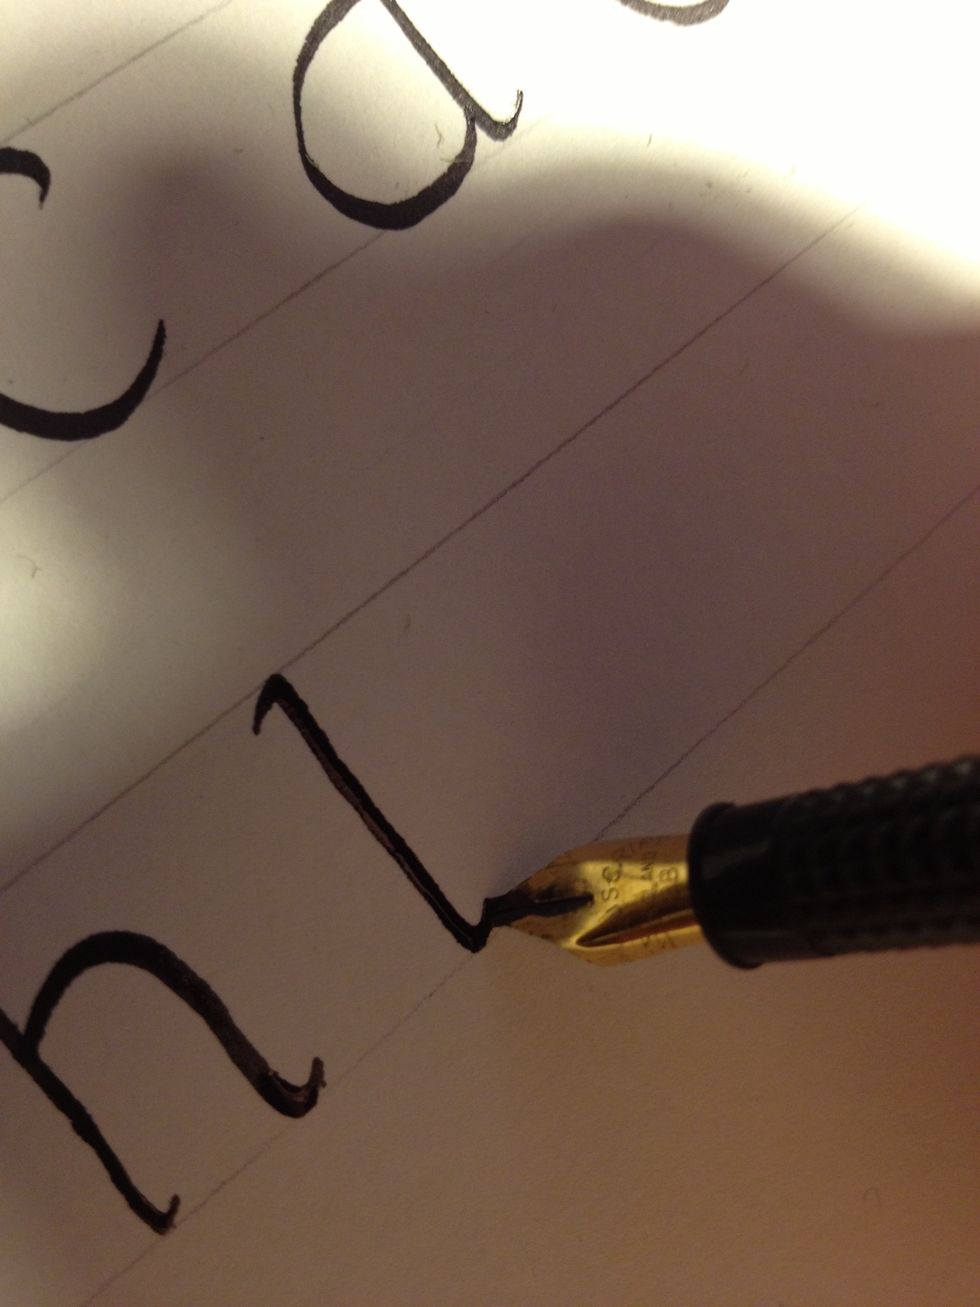
Start "h" by creating a basic trunk, with a tic at top and bottom.
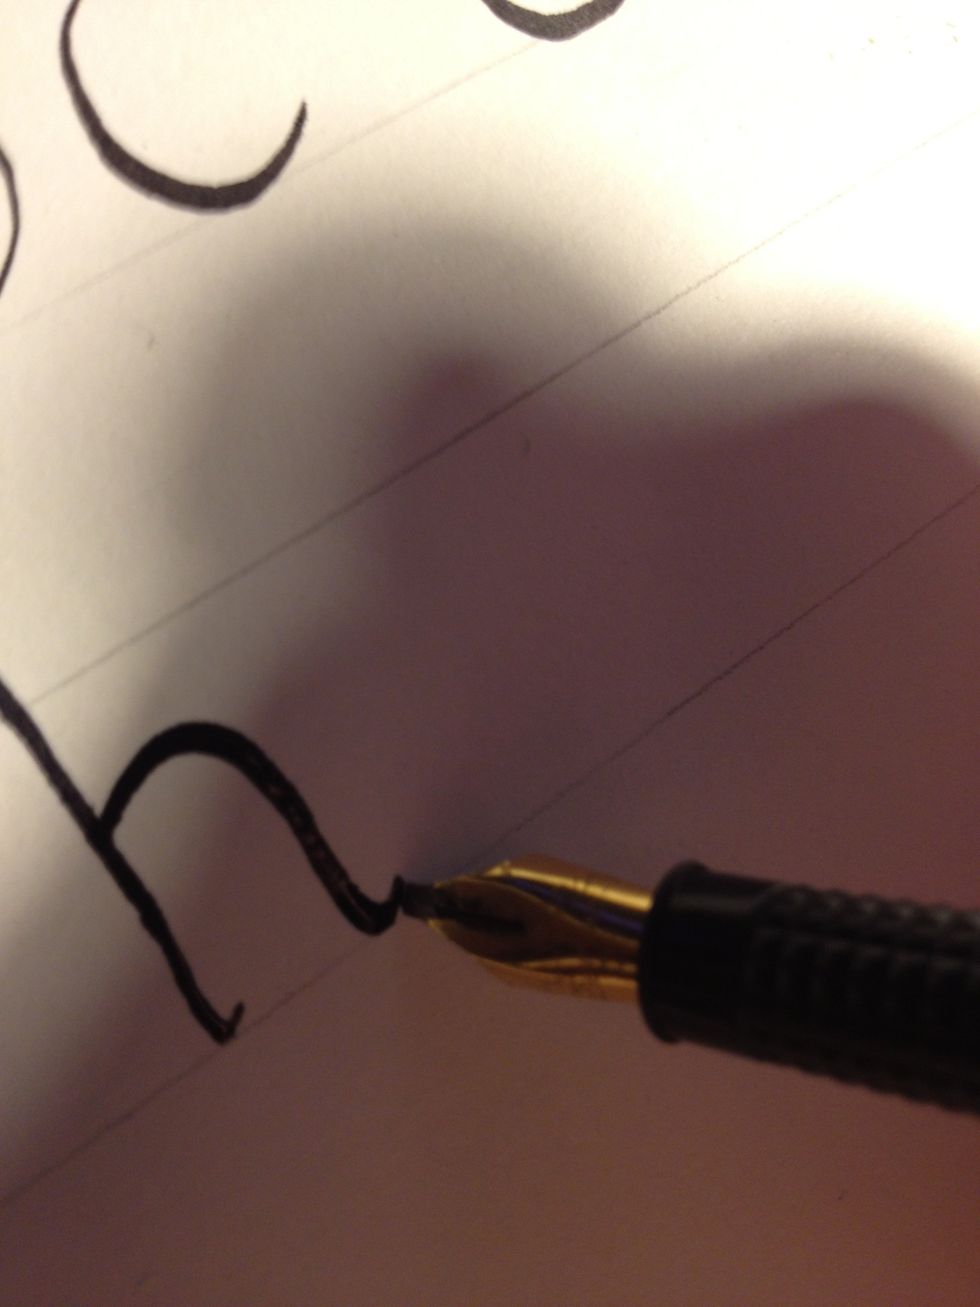
Start the second stroke about a third of the way up the trunk, and complete the "h". Be sure to flare up at the end of the stroke, so the letter ends in a graceful thin line rather than a thick one.
Letter "i" is made with a trunk which goes from the top to bottom line, but no taller.
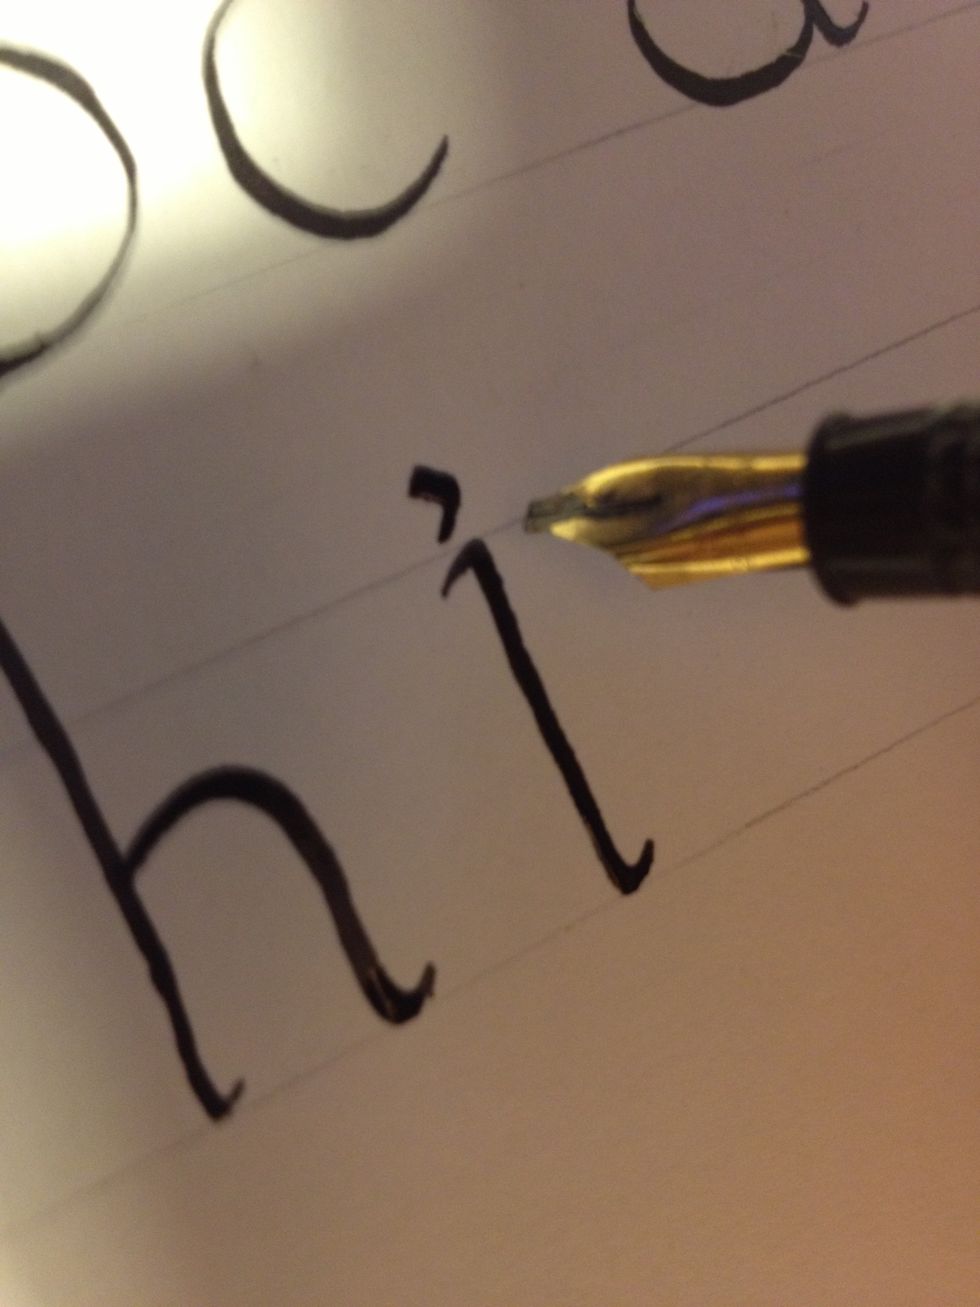
Dot the "i" by drawing a tiny half-circle clockwise. If you keep the same nib angle, it should look like a comma, as shown.
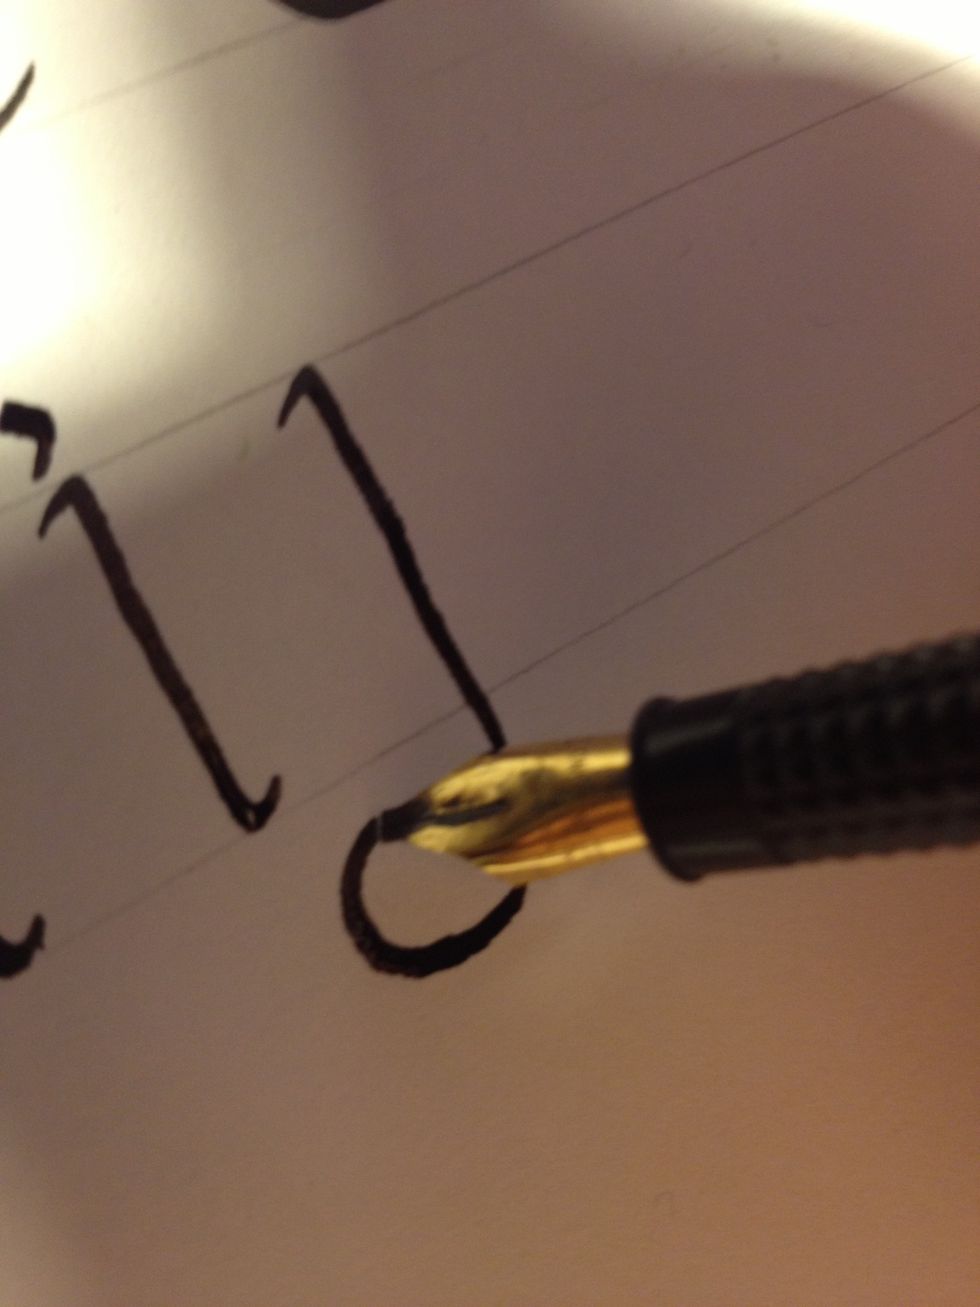
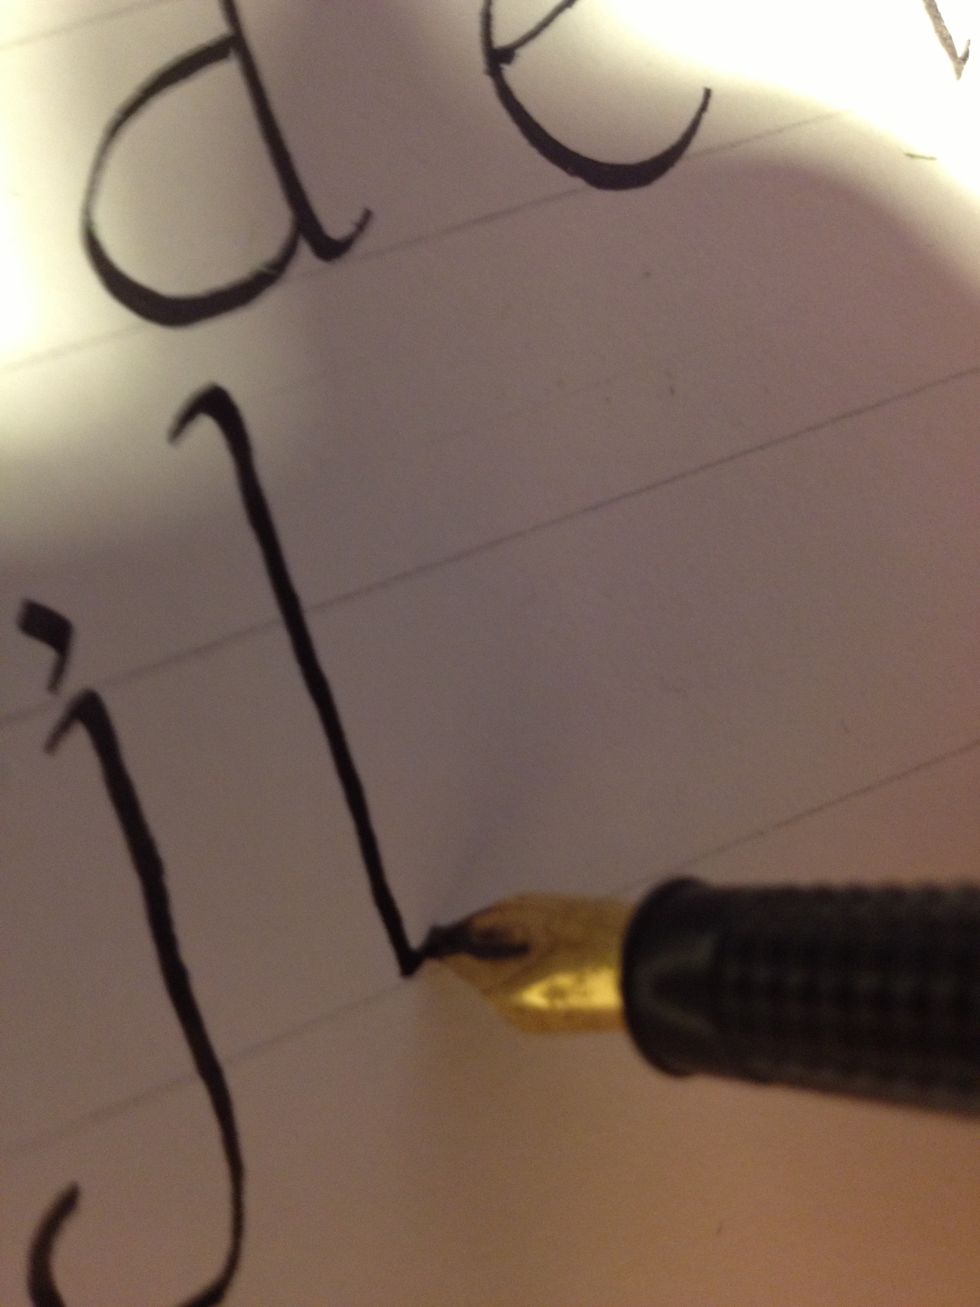
Letter "j" also begins with a basic trunk, but once you reach the bottom line keep going, creating a cane beneath it. Keep going until the line thins out, as shown.
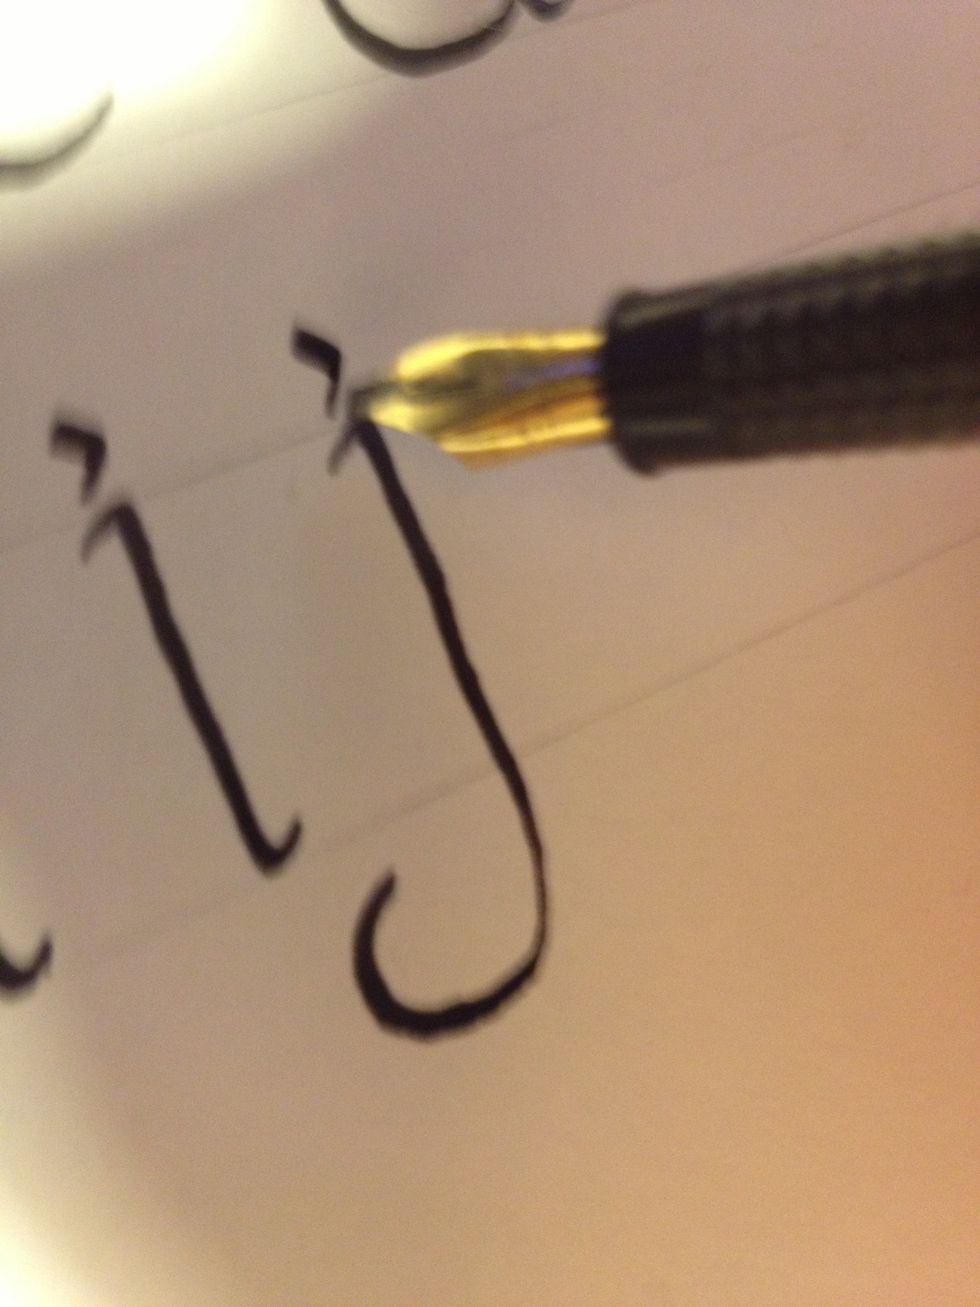
Dot the "j" the same way you would dot an "i".
Start letter "k" with a basic trunk as well.
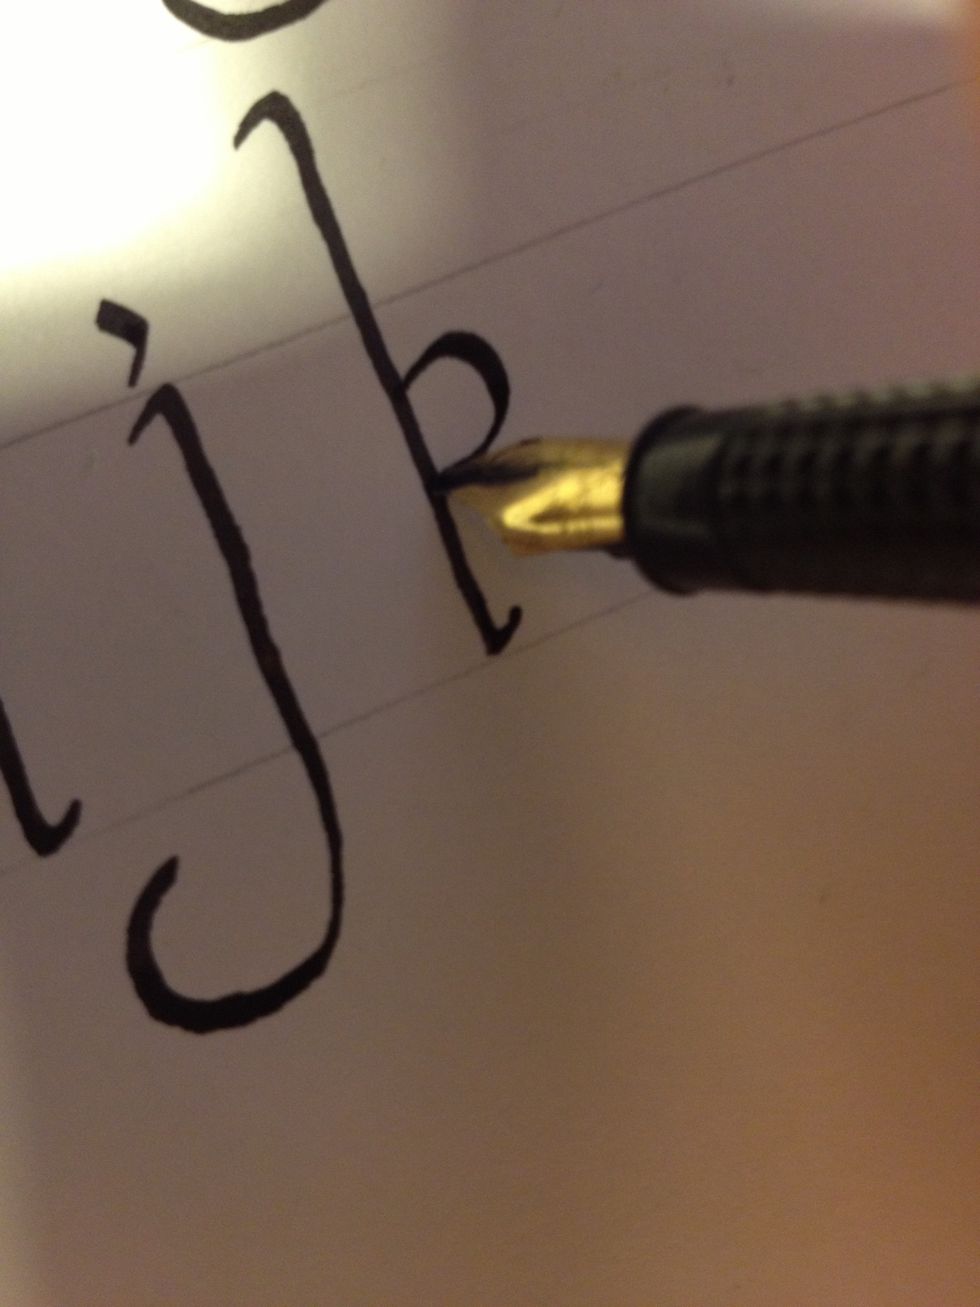
Start the second stroke about a third of the way up the trunk. Move in a clockwise circular motion, making sure not to take up too much space on the letter, until you hit the trunk again.

From there, go right into the third stroke, a slightly curved downward diagonal movement. Flare up at the very end to complete "k" with a thin line.
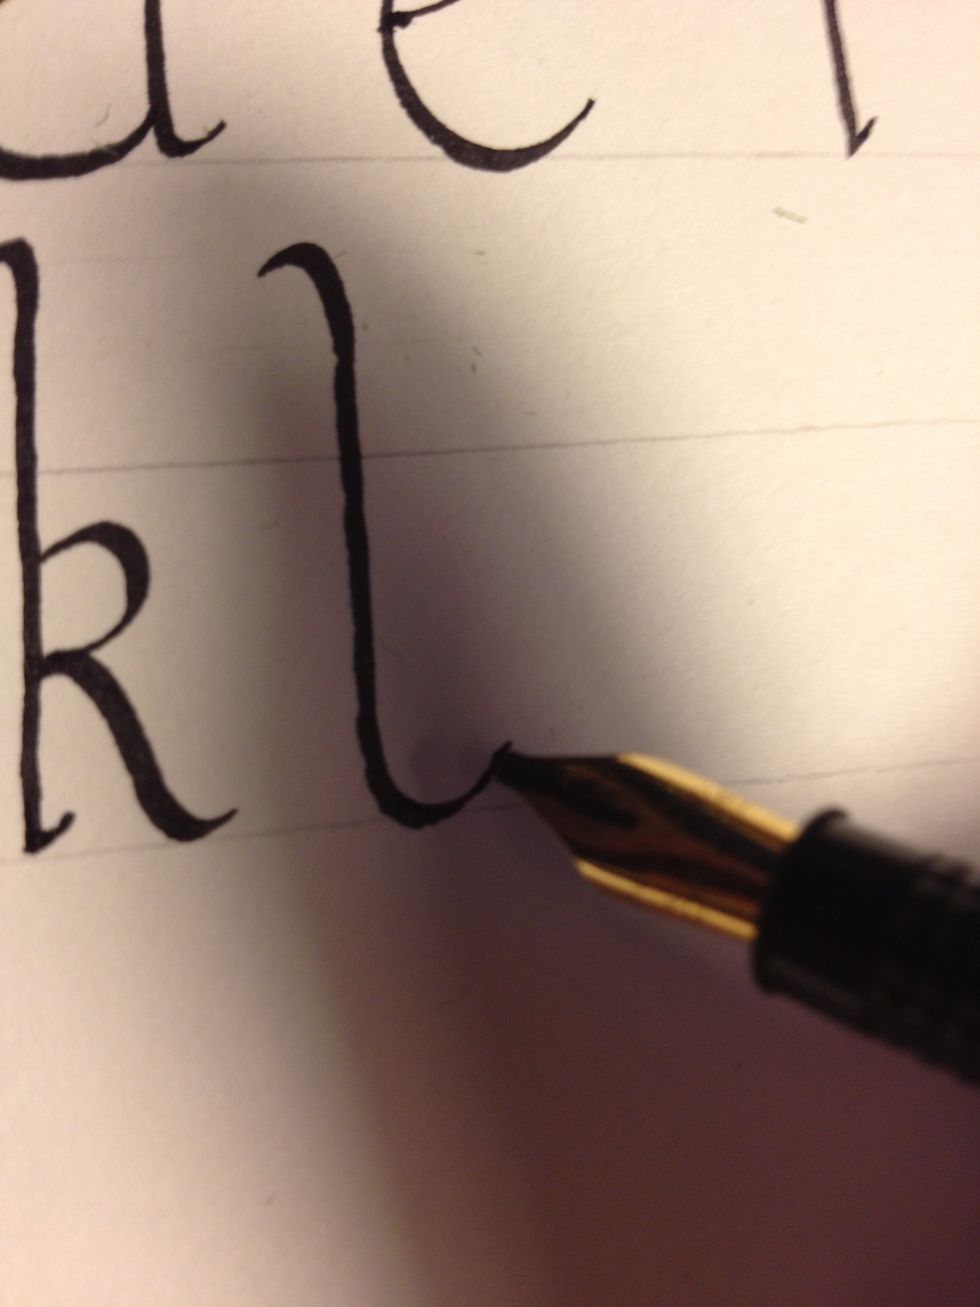
Minuscule "l" is perhaps the simplest letter to make; make a basic trunk, flaring up at the bottom to form a shallow cane.
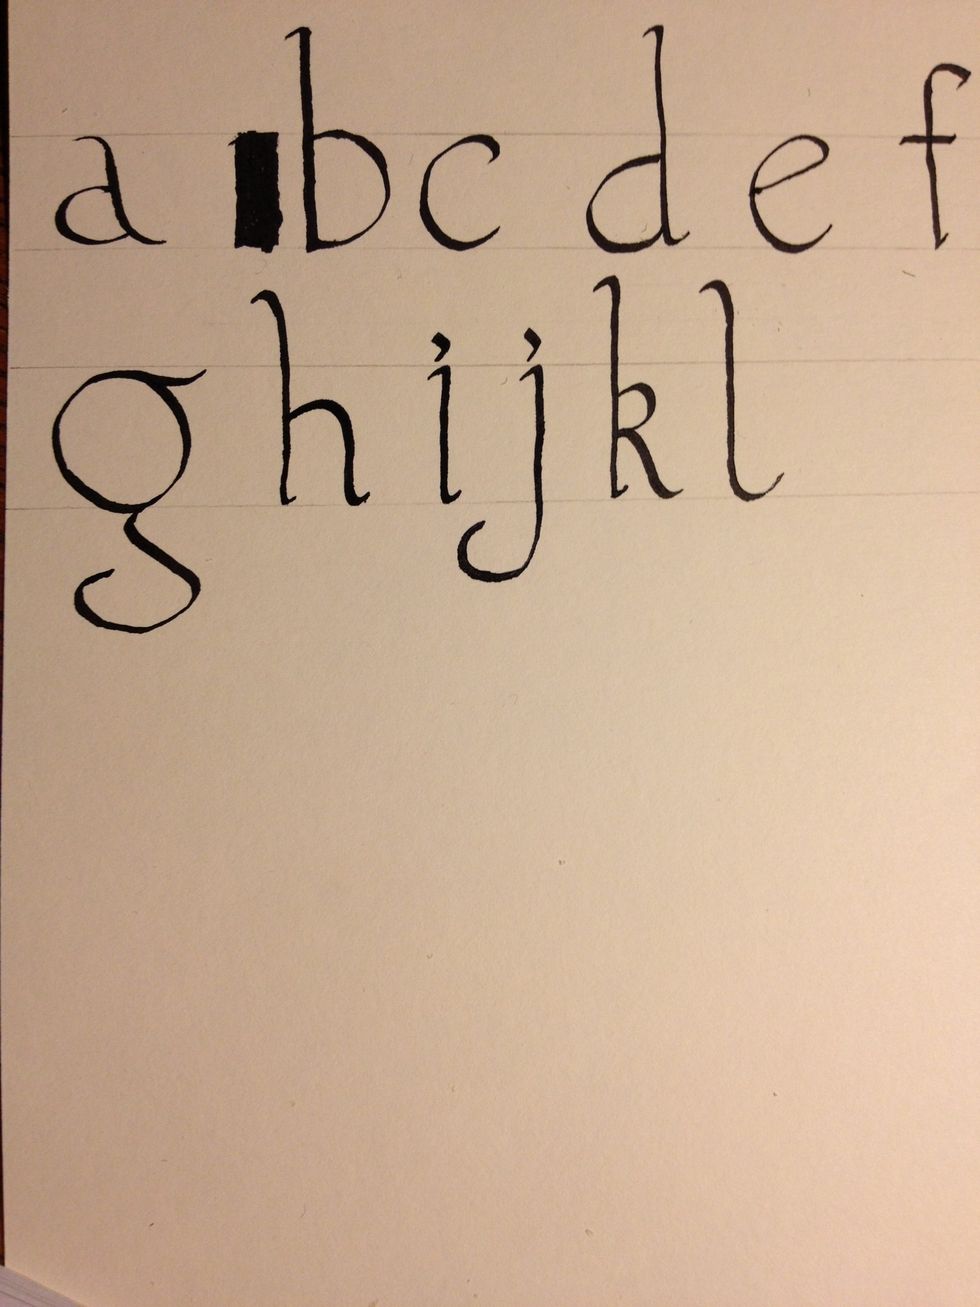
You now have six more letters in your repertoire!