How to write calligraphy lesson 1: getting started
Write Calligraphy Lesson 1: Getting Started
109
STEPS
TOOLS

First off, the pen; although it looks rare and expensive, the set that this pen came from cost a grand total of $30. They can be found in most art and paper supply stores, or online.

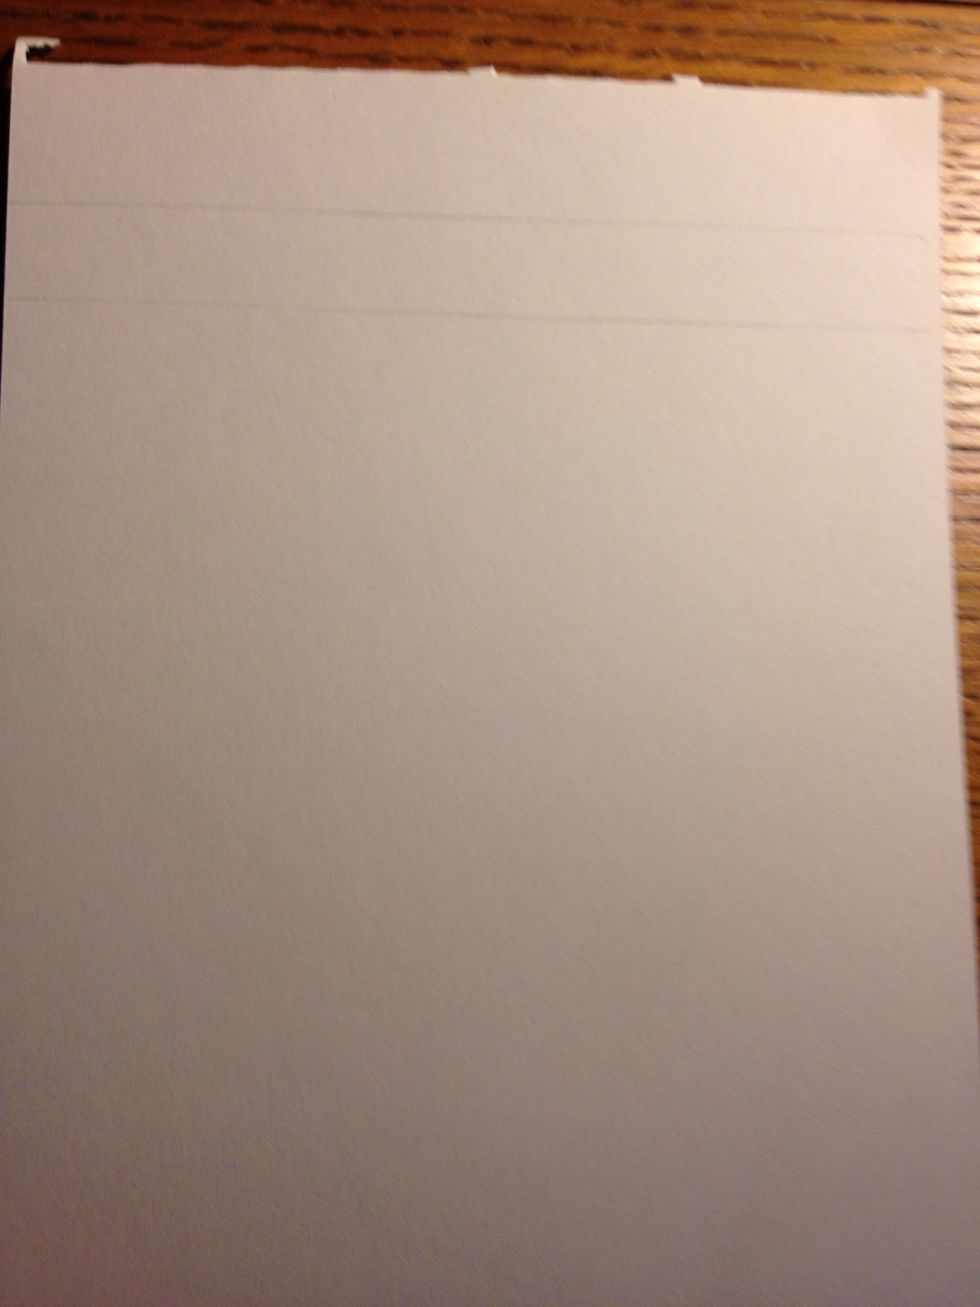
Set up a clean, flat surface to work on. Paper selection is key; thicker paper is better, as letters will not bleed or run.

In faint pencil, draw a straight line where the bottoms of your letters will go. Then draw a second line above that, to ensure they are all the same height.

Now you are ready to begin!

We will start with a basic minuscule letter "a". In calligraphy, lowercase letters are known as minuscules; uppercases are called majuscules. Start at the top line, as shown.

Keep the nib angled the same direction through the stroke, with the flat edge of the nib running the length of the line. Make a reverse elongated "s" shape, sweeping downward.

Once the first stroke is completed, bring the nib halfway up the trunk of the stem. Be sure to keep the nib angled in the same direction at all times, or your letters will look lumpy and uneven.

The second stroke is essentially a letter "c" running from halfway up the trunk down to the base. Note how the middle sections of both strokes are much thicker than the ends.

And presto, you've made your first calligraphic letter! Tips: be sure to pay attention to nib angle, and once you have begun a stroke move through it quickly to avoid blotching. And practice!
- 1.0 Calligrapher's pen
- 1.0 Ruler
- 1.0 Pencil
- Paper
Evan Wing
Writer going to school in beautiful Burlington. I am a licensed captain and sailing instructor, I fence, and I love anything beautiful and old-fashioned.
Vermont
The Conversation (0)
Sign Up