The Conversation (0)
Sign Up
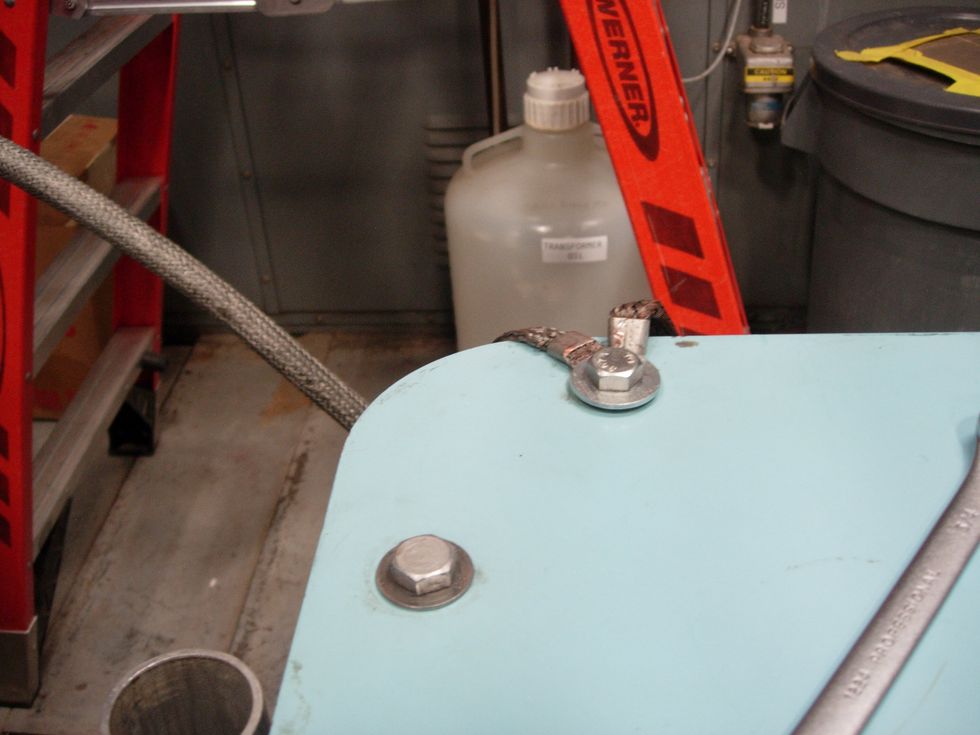
PHOTO SHOWING GROUND CONNECTION BETWEEN MOD TANK AND HI-POTTER
Plug in the High voltage cable into the junction box
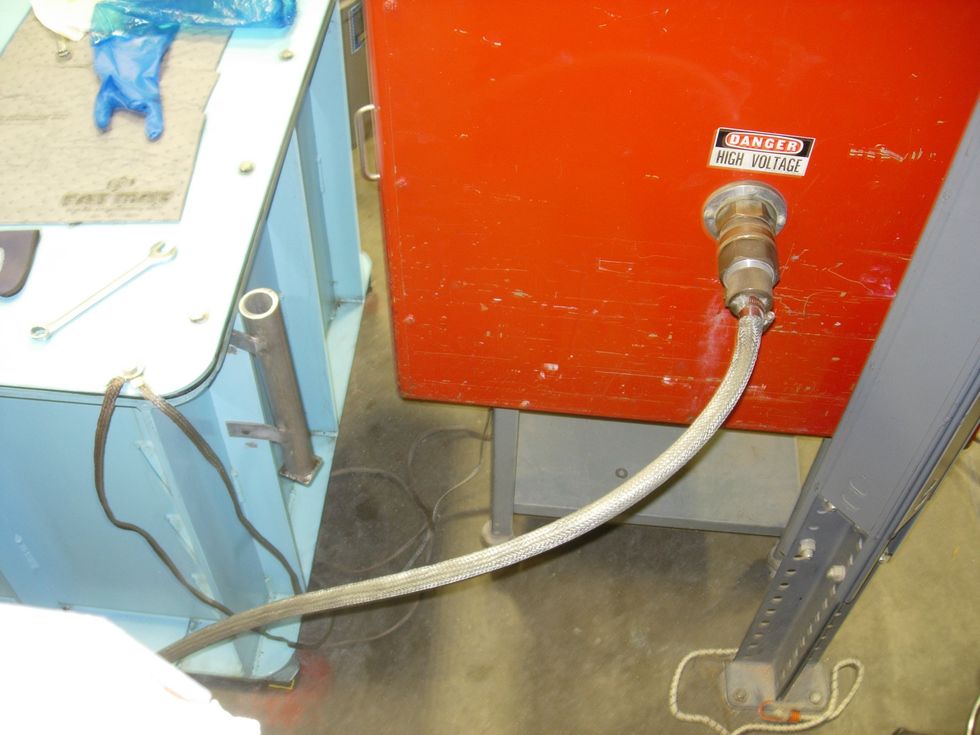
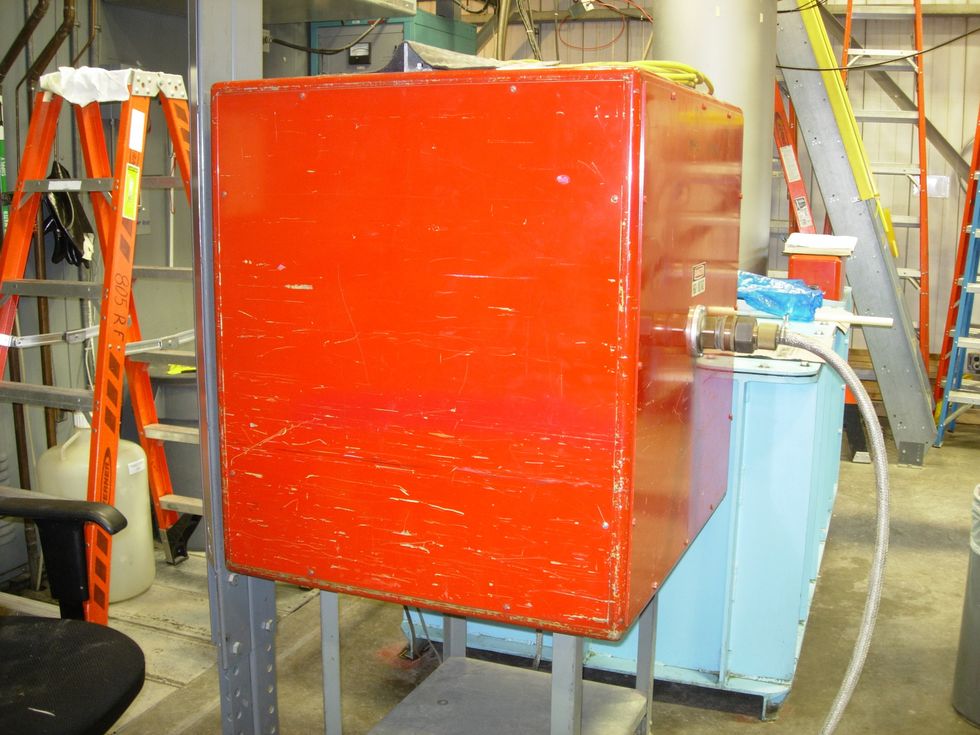
Connect modulator tank to Hi-Potter

Plug in the 208 burndy at the the tank (J1/P1)
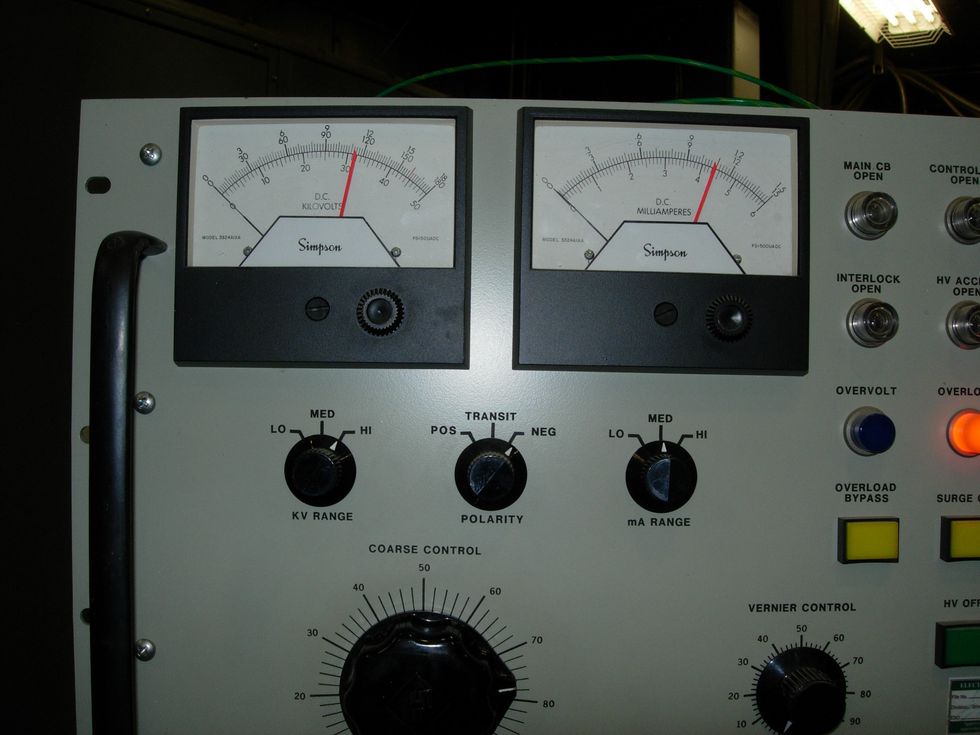
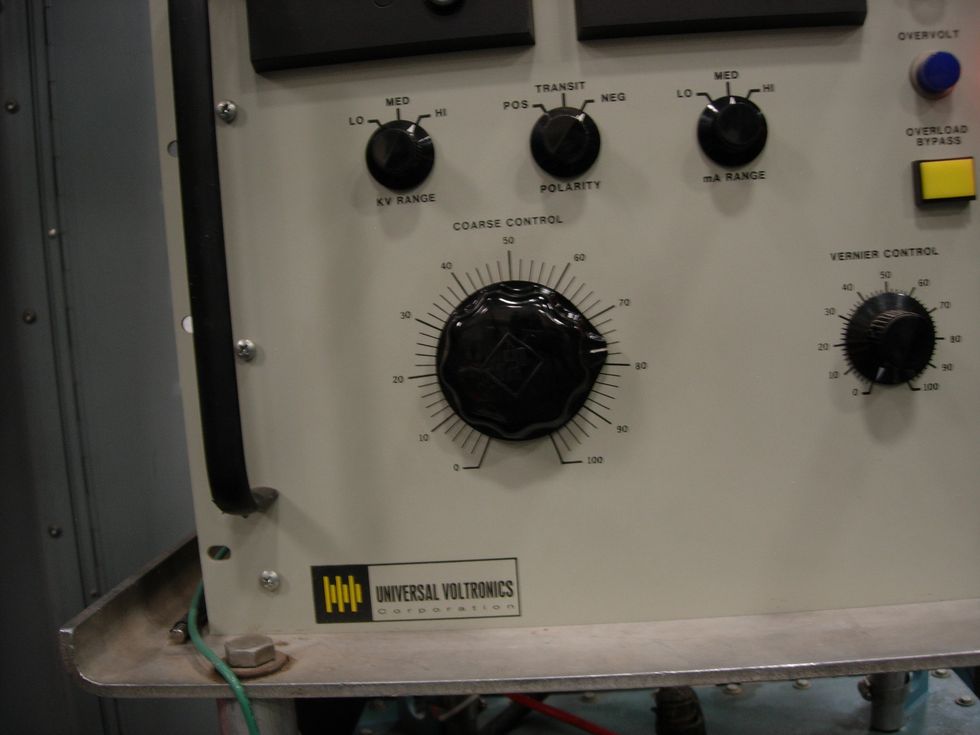
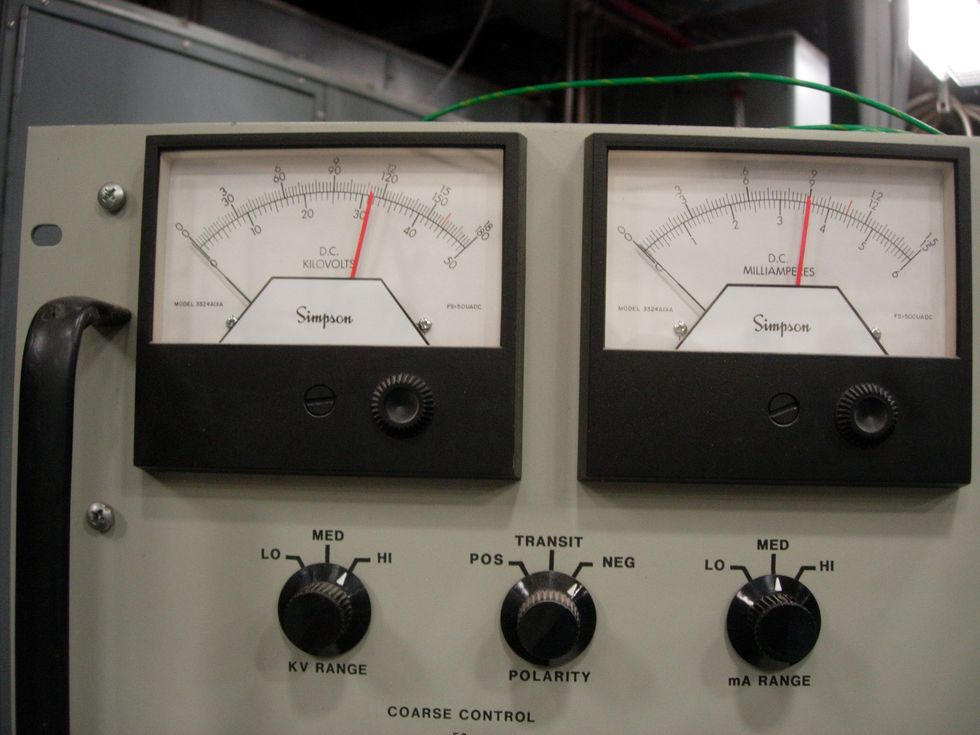
Make sure the course and fine controls are both set to zero.
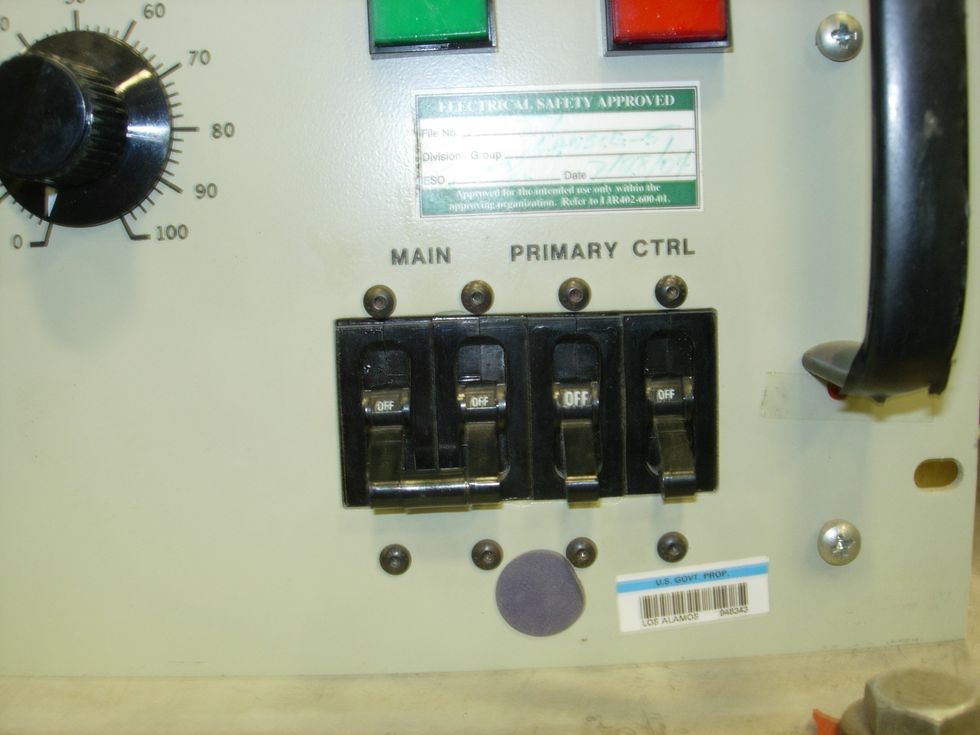
Turn on the breakers for the high potter
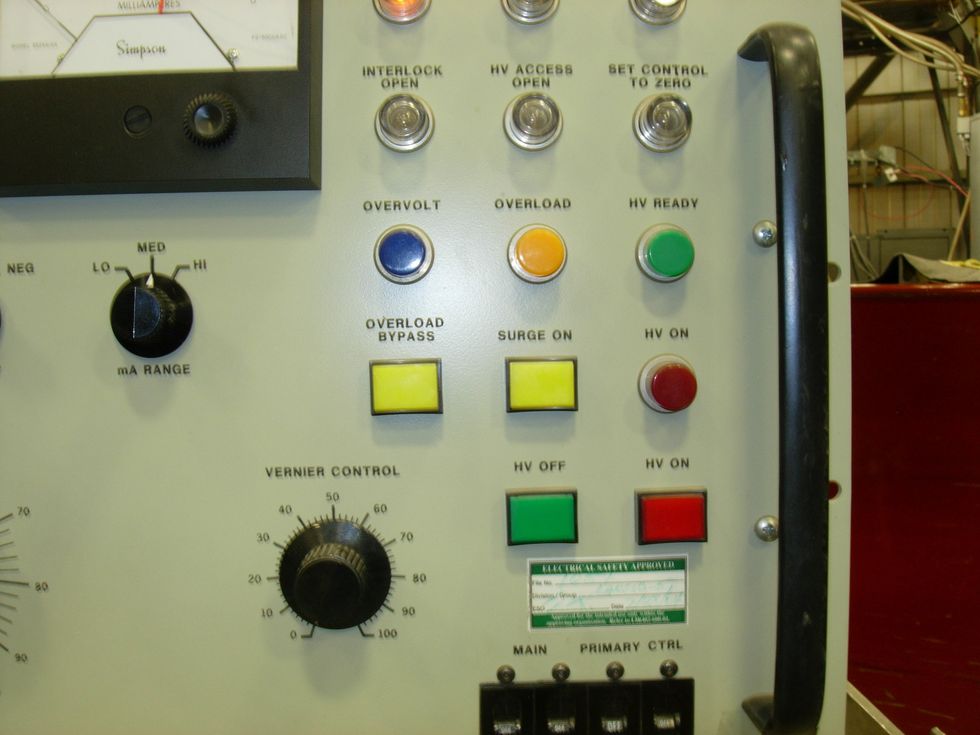
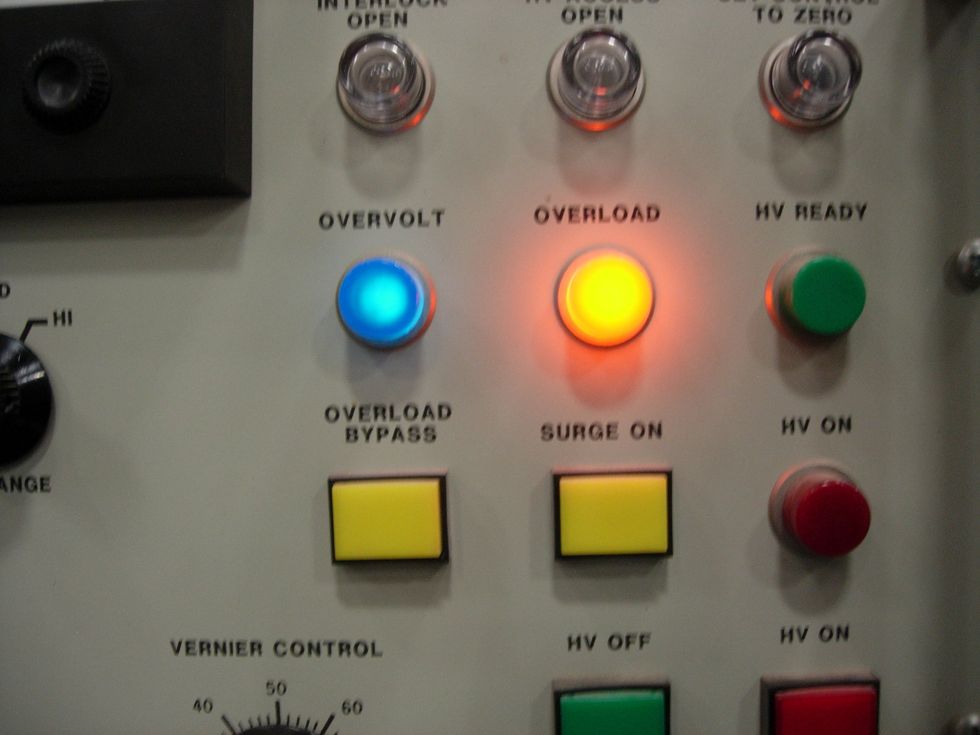
Turn HV on. If it won't turn on, try pressing HV off, then HV on

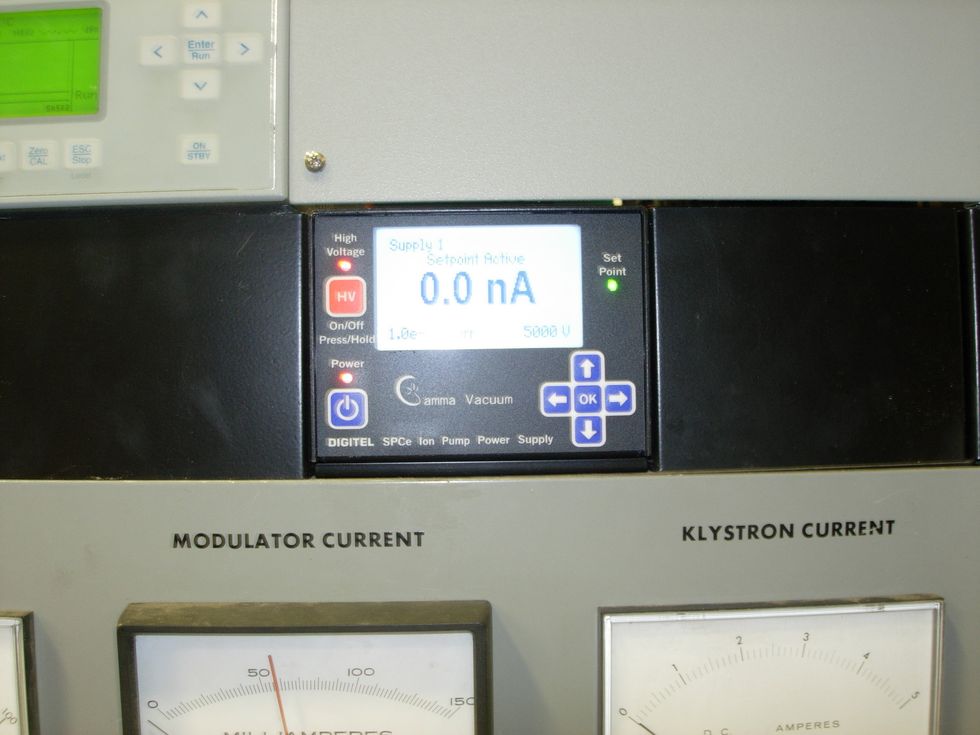
COARSE CONTROL increase the high voltage to a max of 110 kV while noting the vac ion current and leakage current.
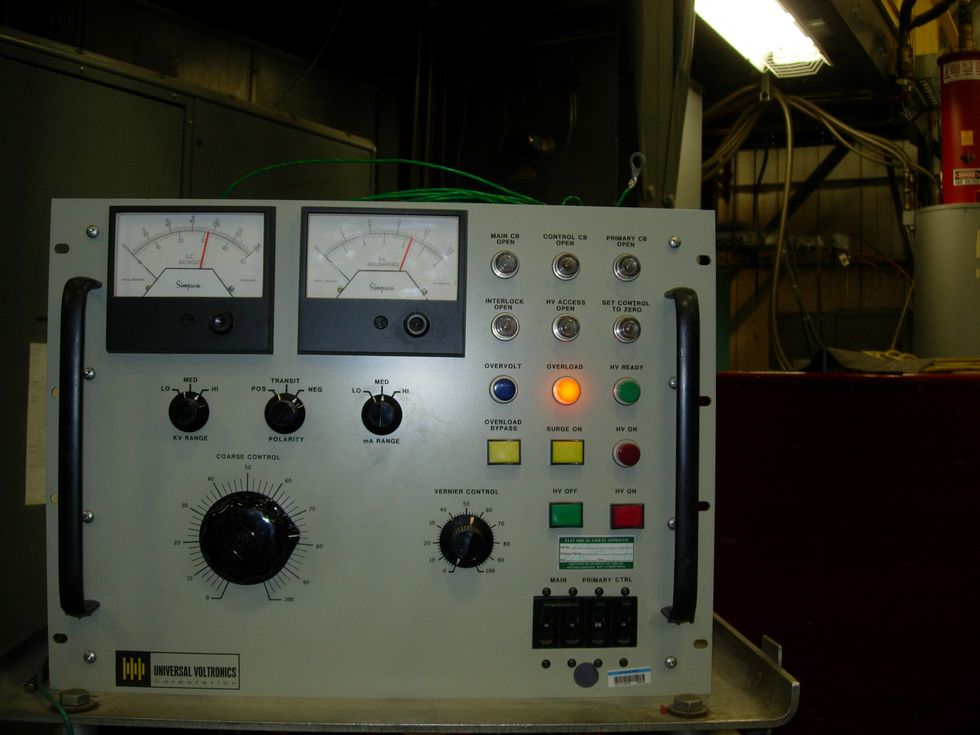
CONTROL FRONT PANEL Increase the high voltage to a max of 110 kV while noting the vac ion current and vac ion current below 1 mA as a guideline. Do not exceed 300 watts of power.
Increase the high voltage to a max of 110kV
If the vac ion current is increasing rapidly, turn down the HV
Increase the high voltage to a max of 110kV
Do not exceed 300 watts of power. (Voltage X leakage current)
Once the 100kV is reached and the arcing stops and the leakage current decreases, then turn down both the course and the fine adjustment. Turn off all three breaks (main, primary, ctrl) on high potter
unplug AC cable for the high potter. remove high voltage cable for the modulator tank at the junction box. remover the 208 Burndy at the tank (J1/P1). It may be necessary to repeat both procedures.