The Conversation (0)
Sign Up

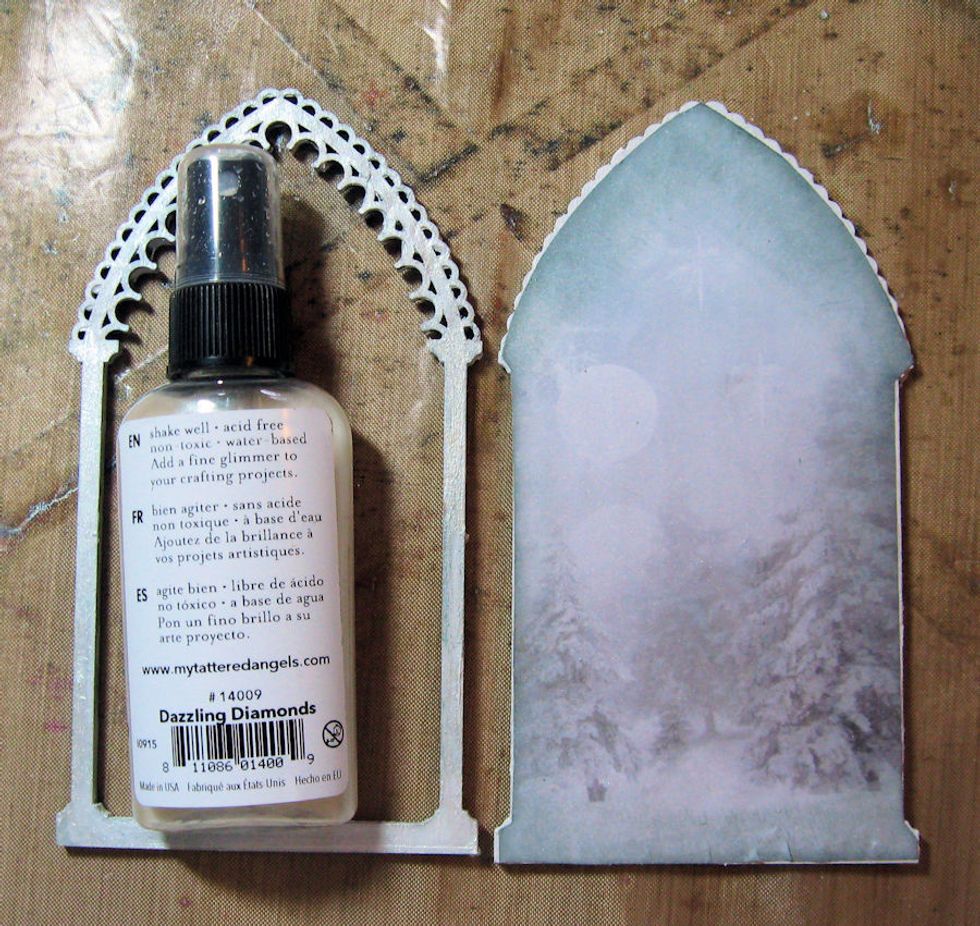
Gather chipboard pieces. You will need the tree from the Winter Shape Set, several snowflakes from the Snowflake Shape Set and the Arch Reliquary from Gypsy Soul Laser Cuts. Cover your work surface.
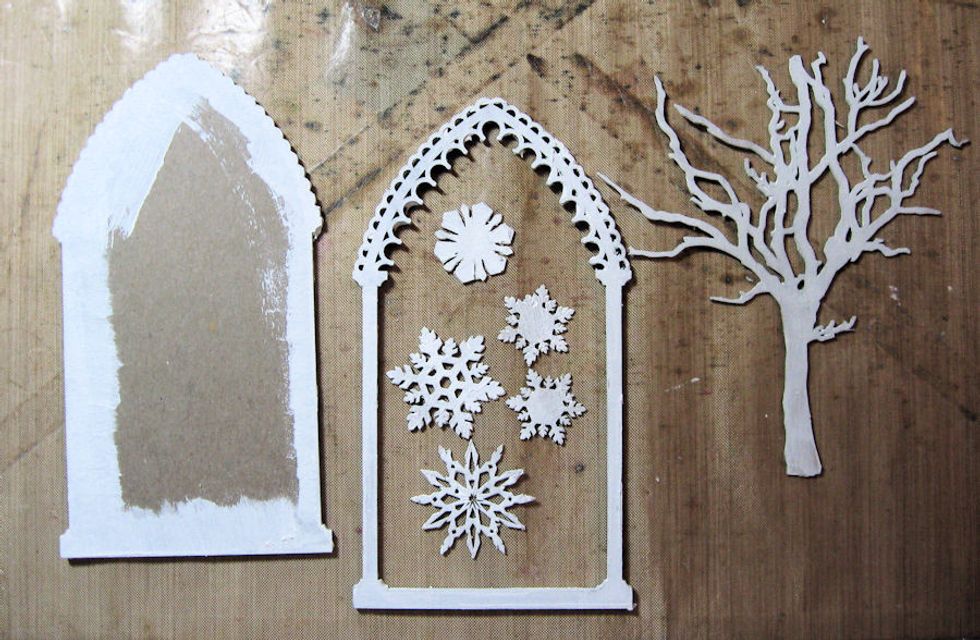
Add a coat of white gesso to all the chipboard pieces. Paint only the edges of the back of the reliquary frame. Be sure to paint the sides.
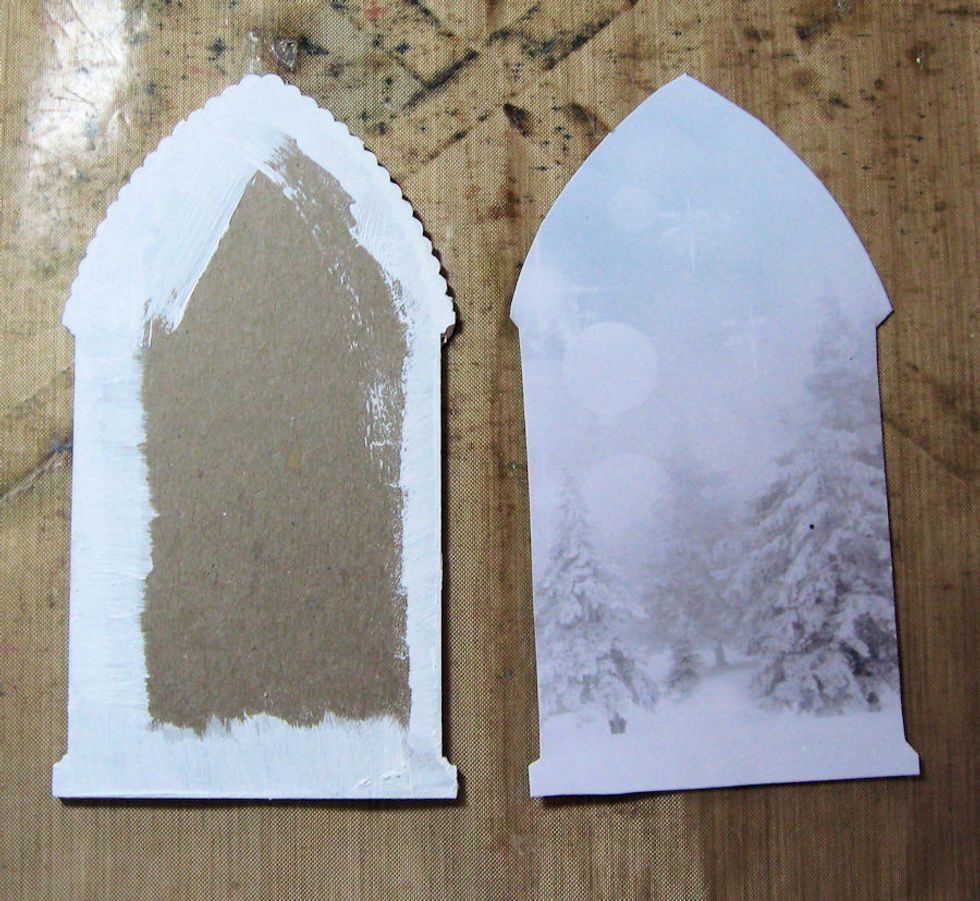
Trace the back of the arch frame onto Kaisercraft Frosted paper. I used the trees photo paper. Cut out with scissors.
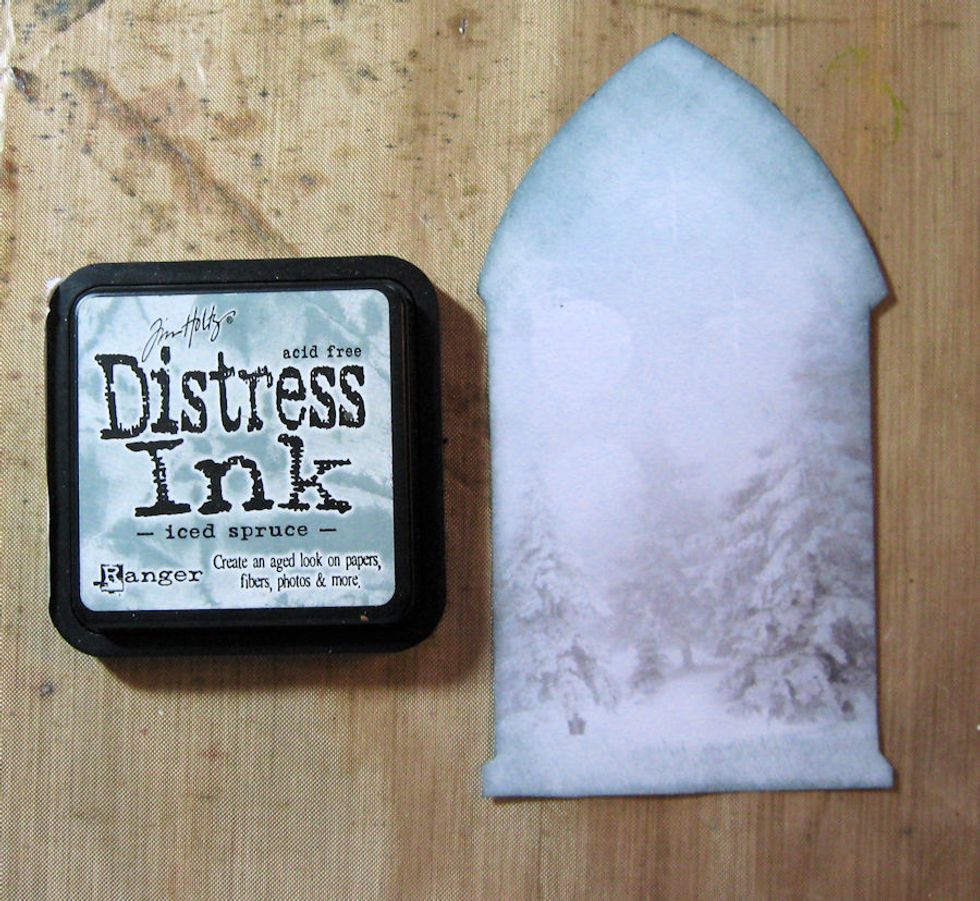
Use a blending tool to add Iced Spruce Distress Ink to the edges of the cut out paper. Glue to the back of the frame. Burnish with a bone folder to get rid of any air bubbles. Set aside.
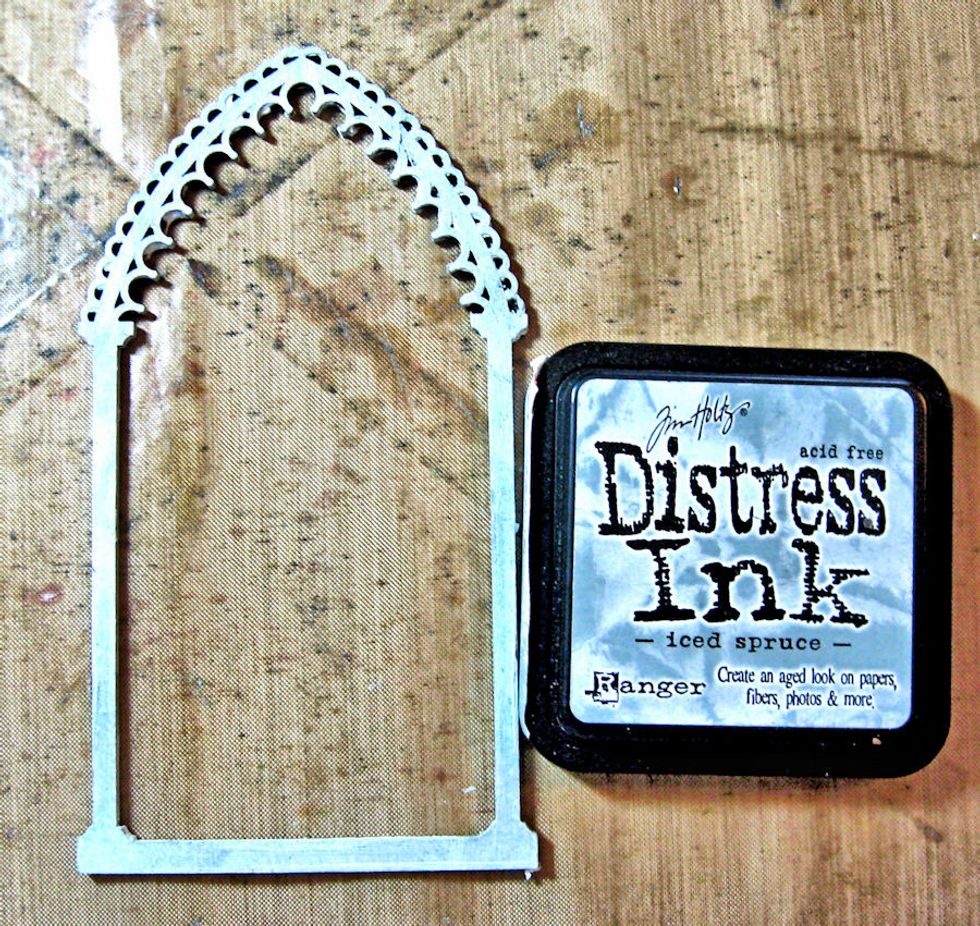
Add Iced Spruce Distress Ink to the top portion of the Reliquary Arch Frame.
Lightly mist the paper with Dazzling Diamonds Mist. Spray a heavy coat of the mist on the top of the frame. Dry with a heat tool. Spray the tree and the chipboard snowflakes at the same time.
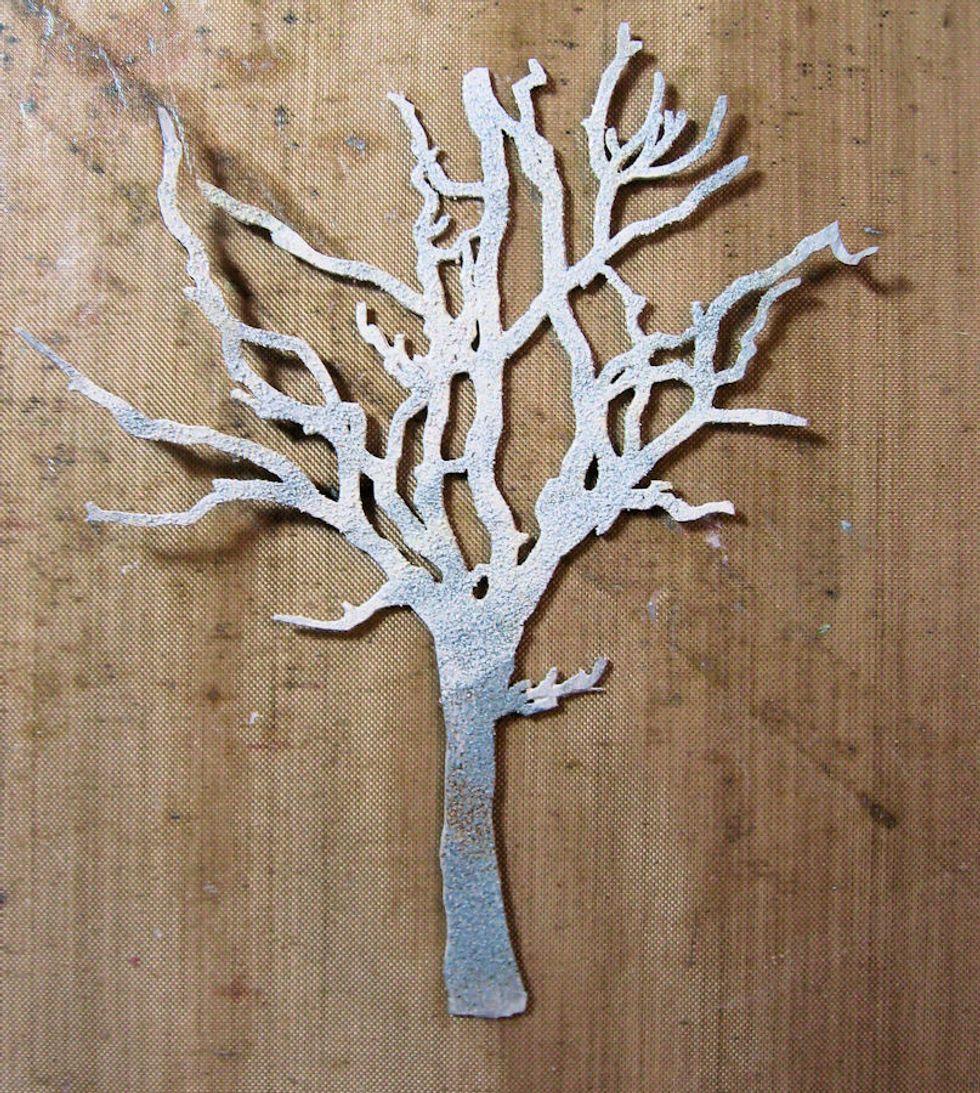
Paint the tree trunk with Iced Spruce Distress paint. While paint is still wet, sprinkle with embossing powders. Heat emboss.
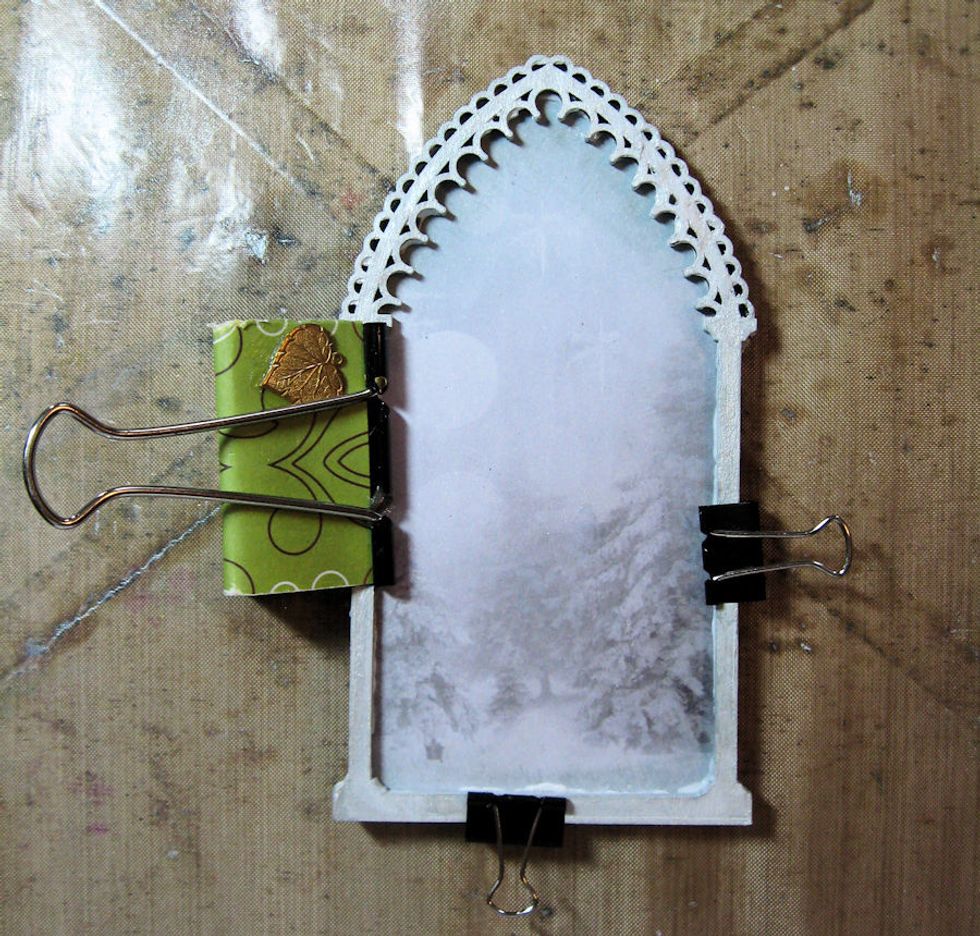
Glue the top and bottom of the frame together. Hold in place while the glue dries. Then proceed to build your winter scene. Start by gluing the tree to the base of the arch.

Once the tree is glued in place on the outside edge of the frame, add Glass Bead Glitter gel to bottom of arch to resemble snow. Add to the top edges of the tree branches as well. Let dry.
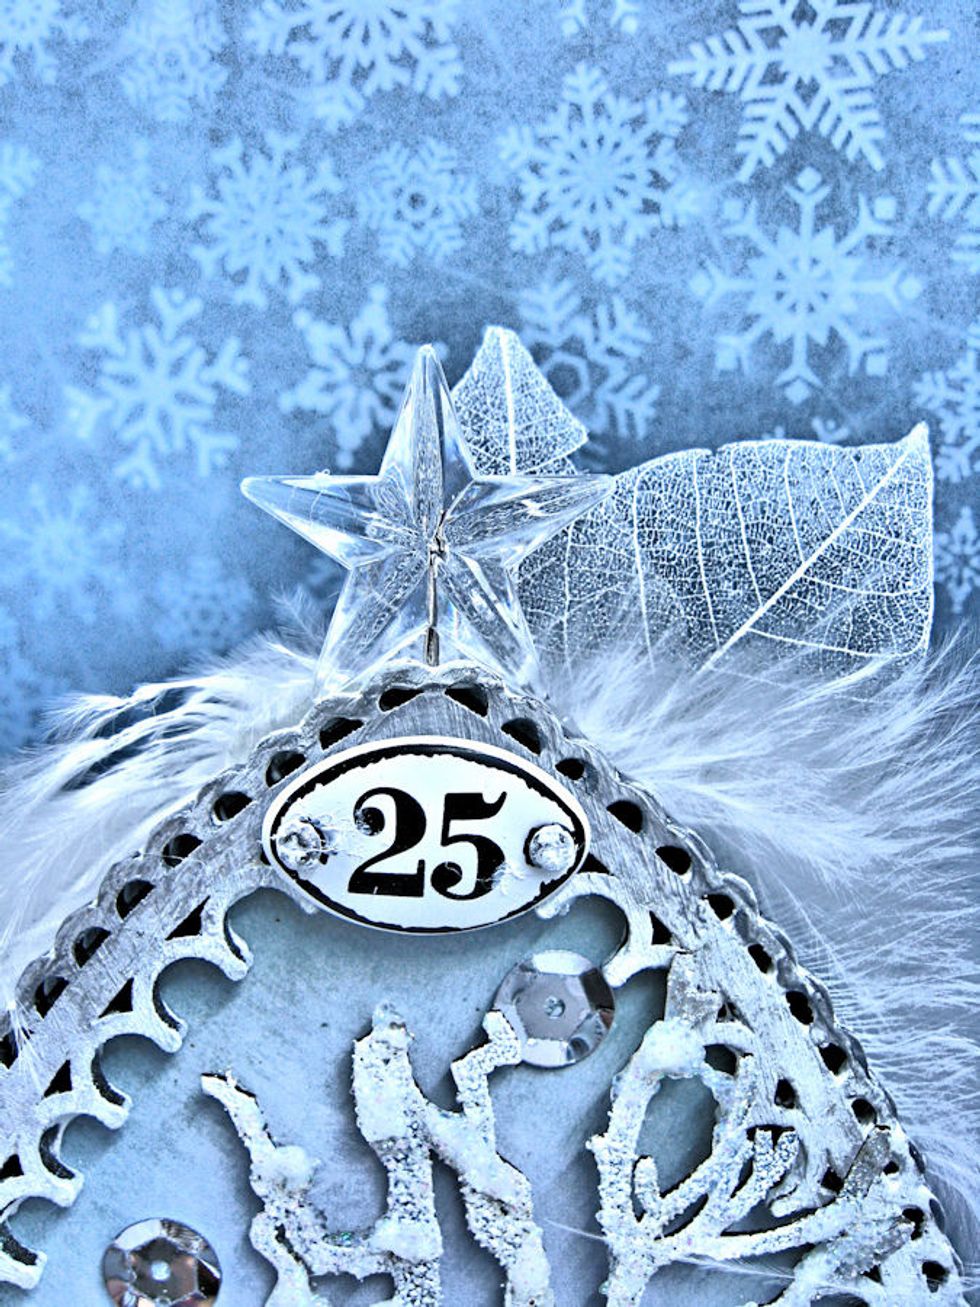
While the tree is drying in place, insert stick pin into the back of the frame. Glue white feathers and skeleton leaves in place. Add screw brads to the mini plaquette and glue in place.
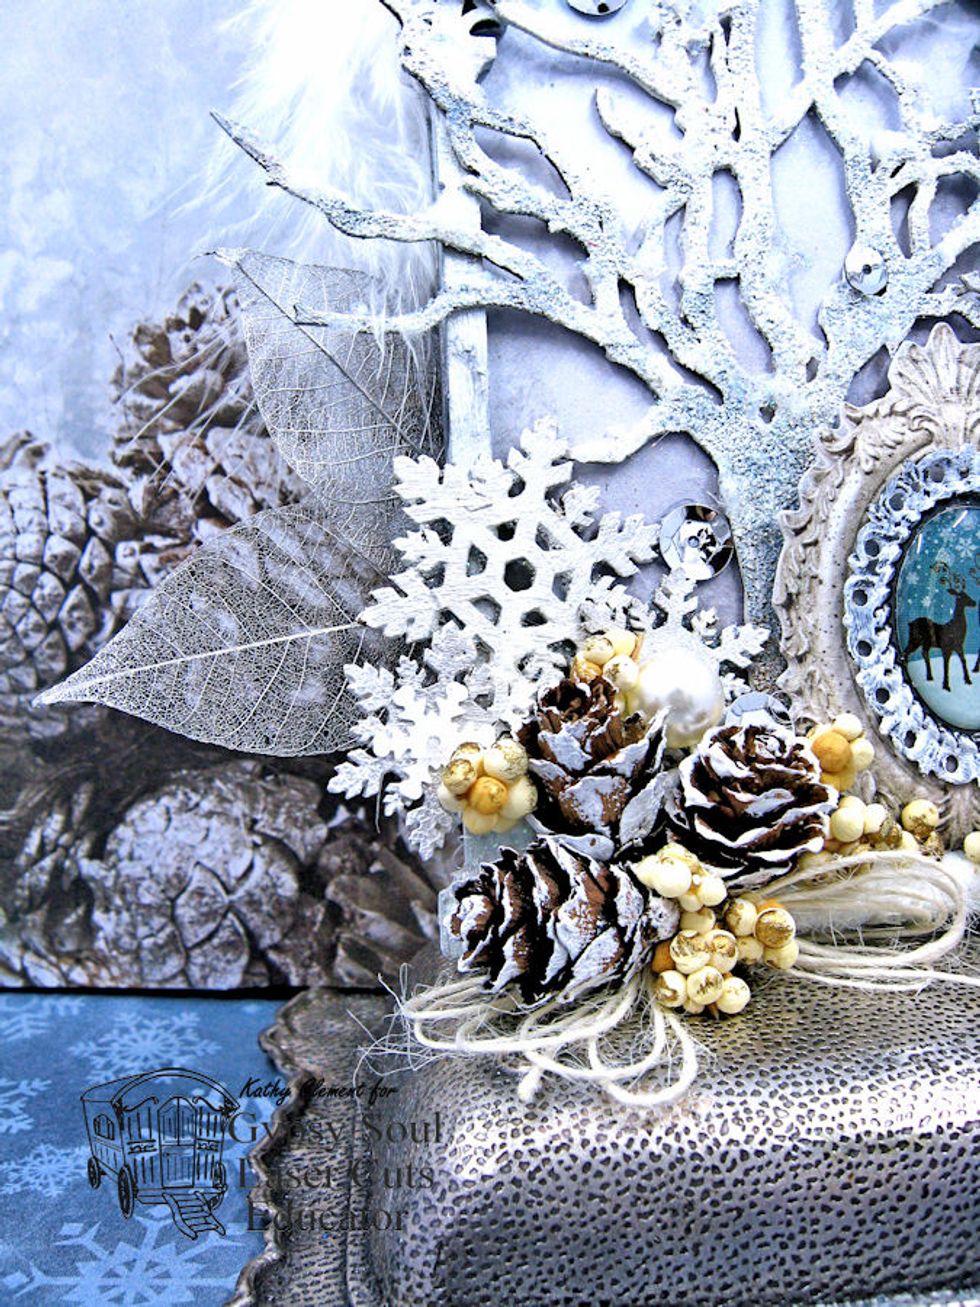
Cluster small pine cones and berry picks in the left hand corner of the frame. Glue prepared snowflakes behind the pine cones. Tie a loop bow from ivory burlap string and blue in place.
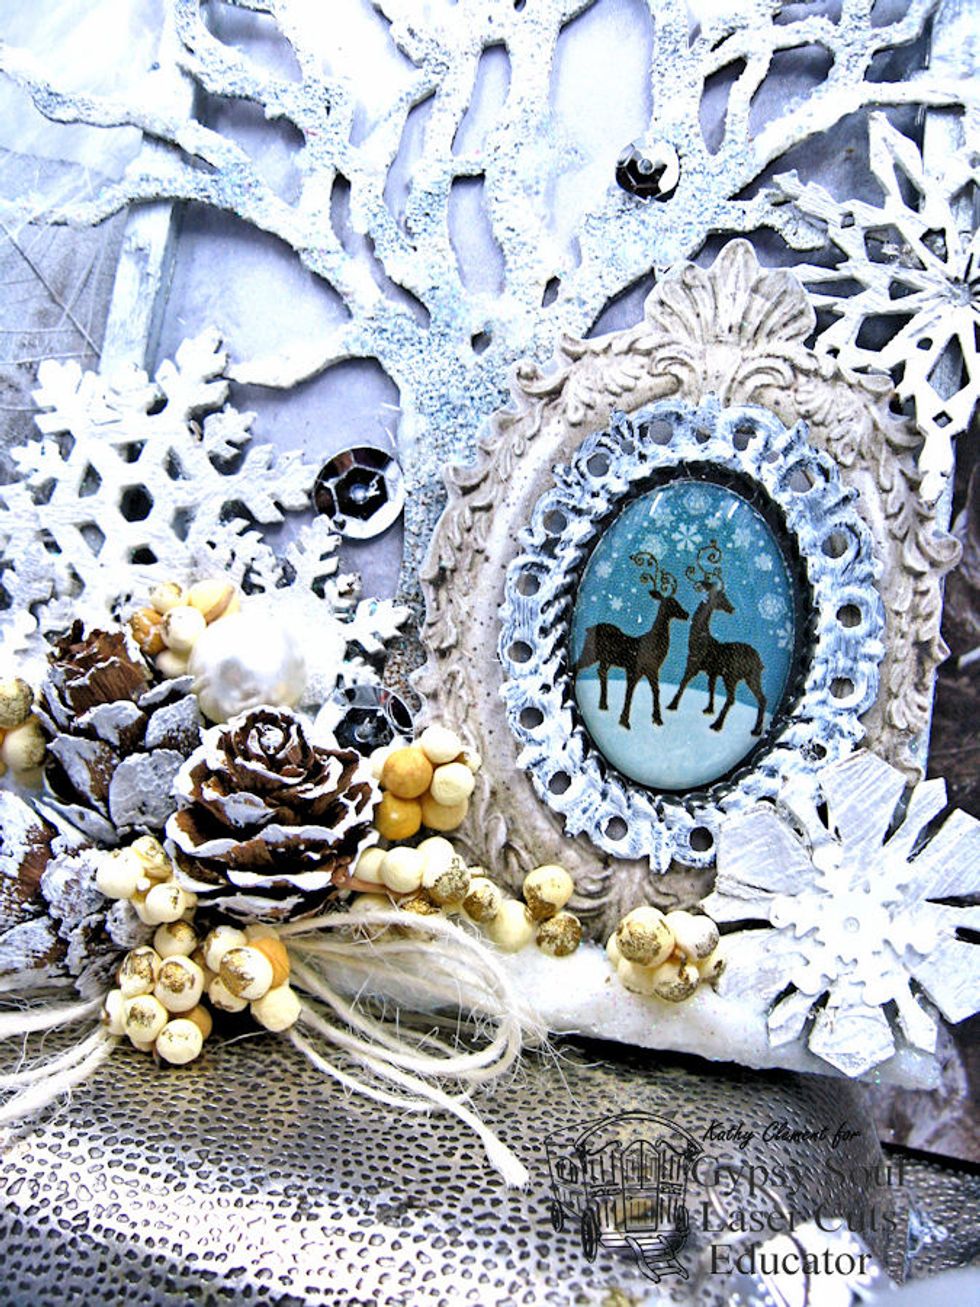
Paint edges of Bo Bunny Charm with white gesso. Glue to the center of the Kaisercraft Sticker from the collection. Use foam spacers on the back side and glue in place on right hand side of frame.
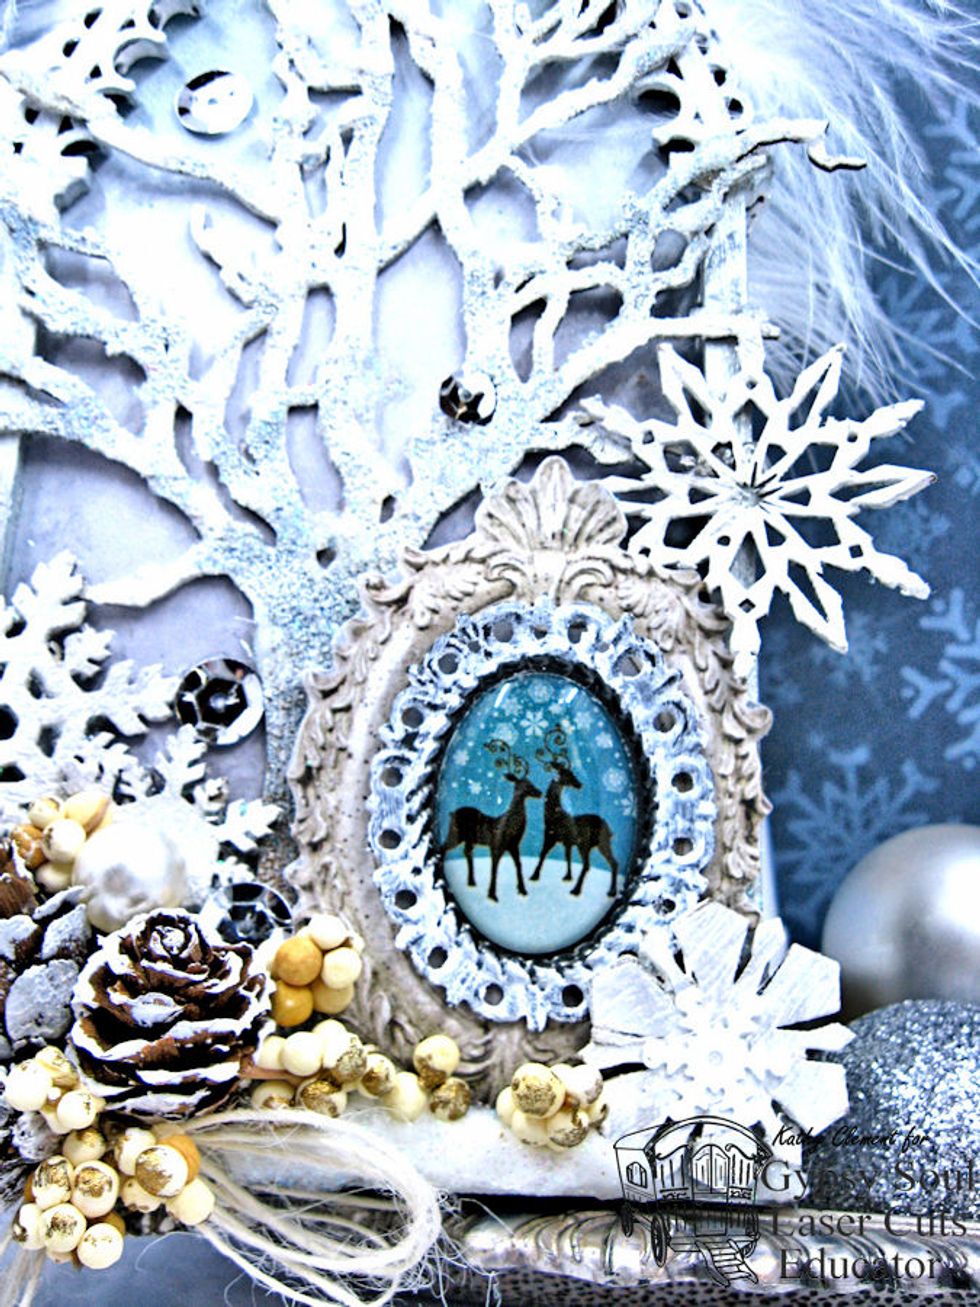
Glue snowflakes and sequins in place.
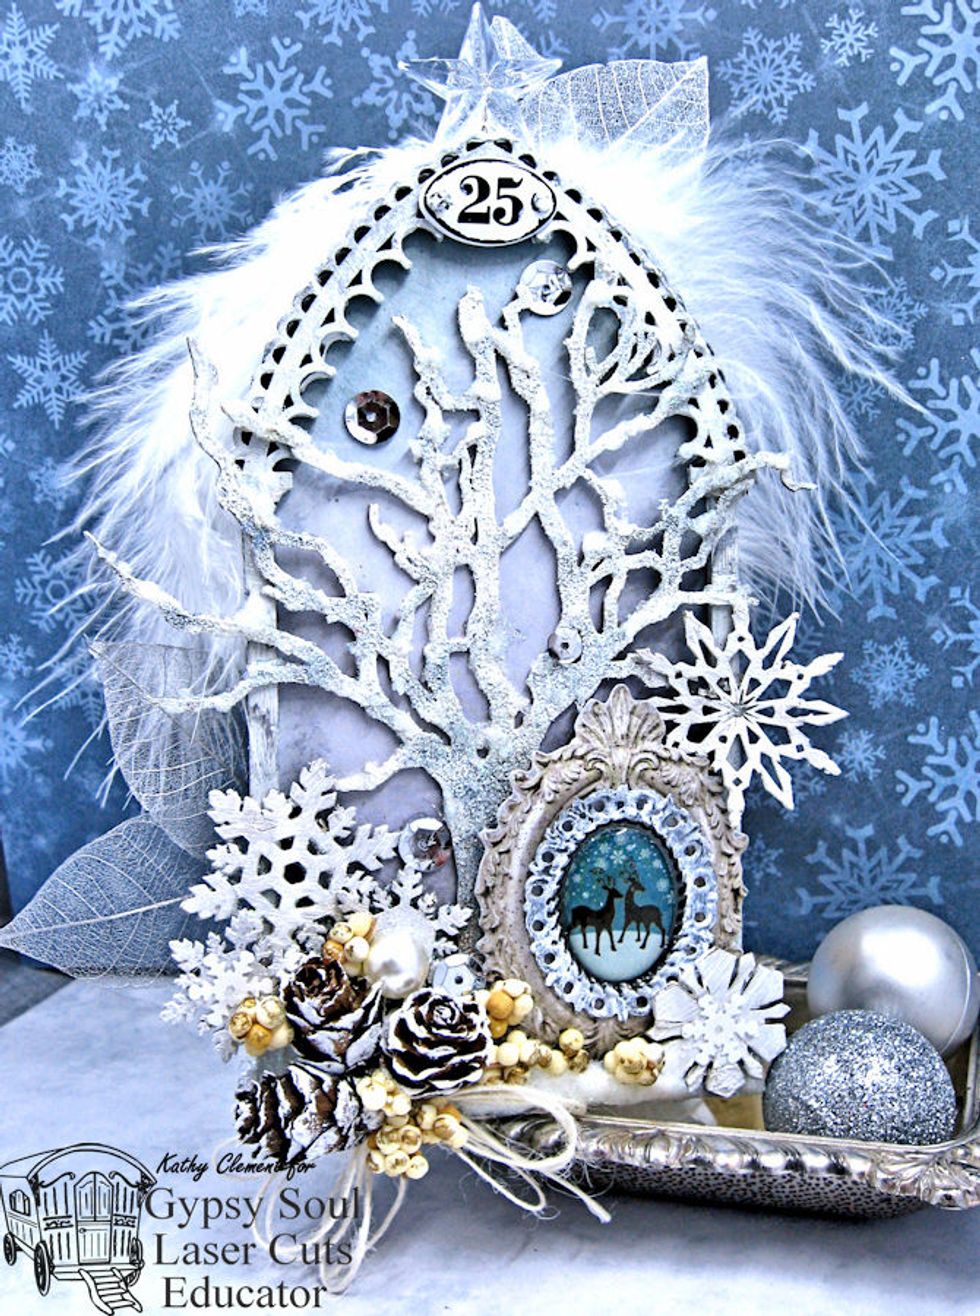
Now your Silent Night Reliquary Arch is ready to display in your home. I hope you enjoyed this tutorial! Thanks for joining me here today. I'd love to hear from you in the comment section below.