The Conversation (0)
Sign Up
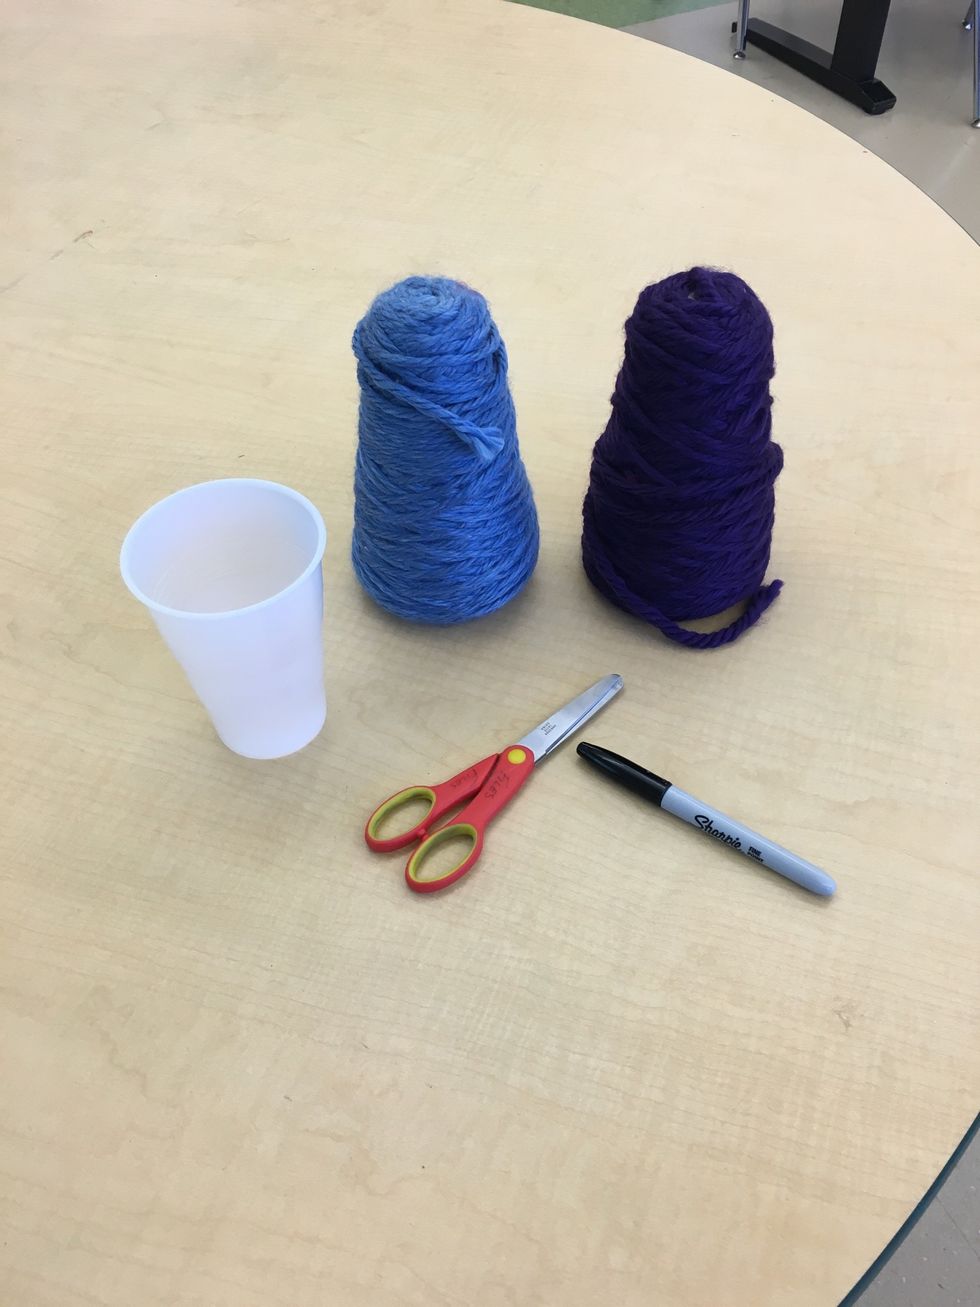
Materials needed...
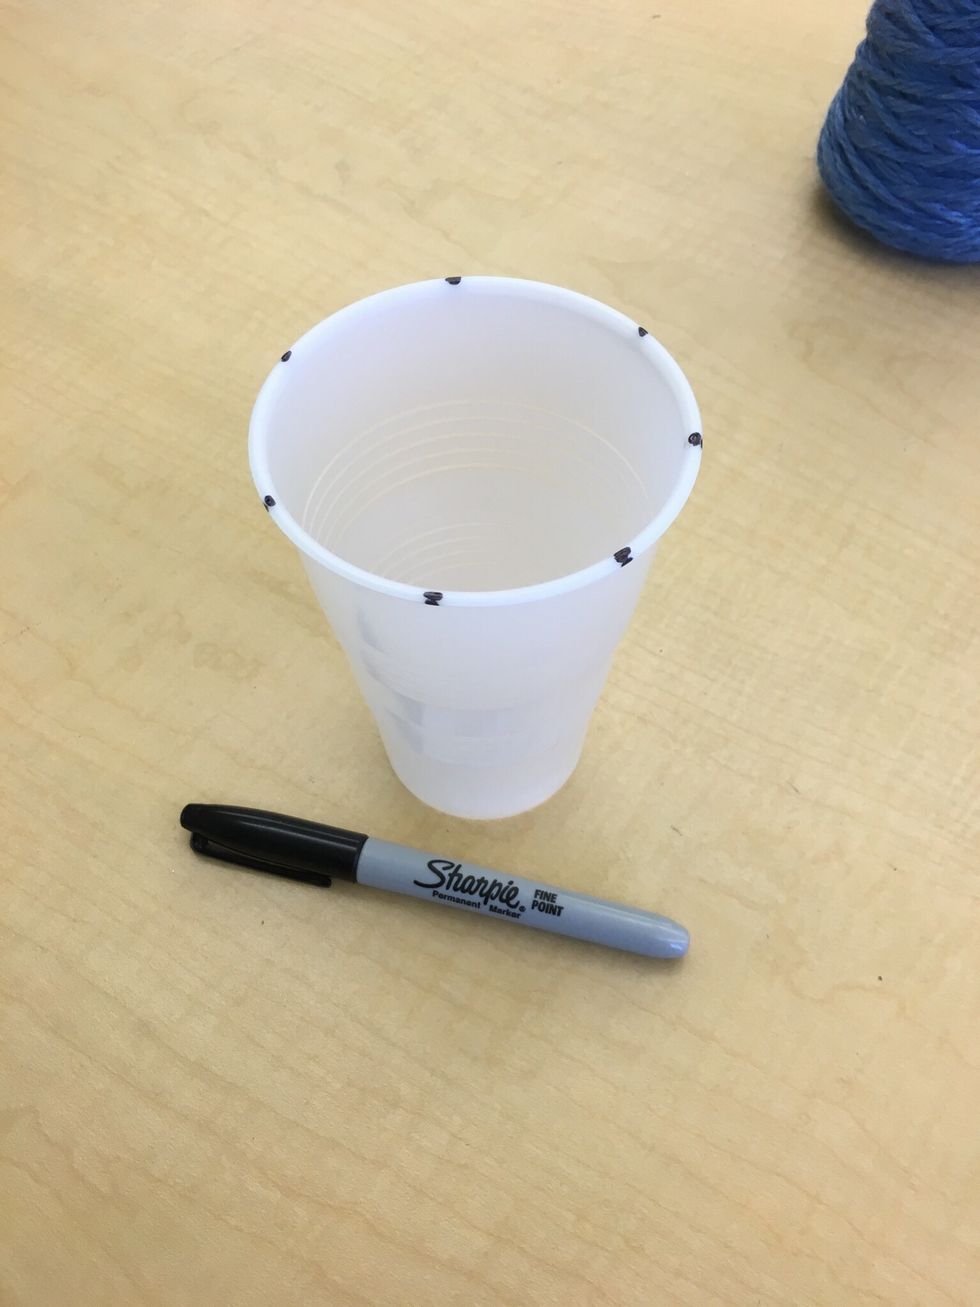
Using a permanent marker, evenly space out 7 dots around the rim of the plastic cup. You can add more for larger cups. There must always be an odd number of dots.
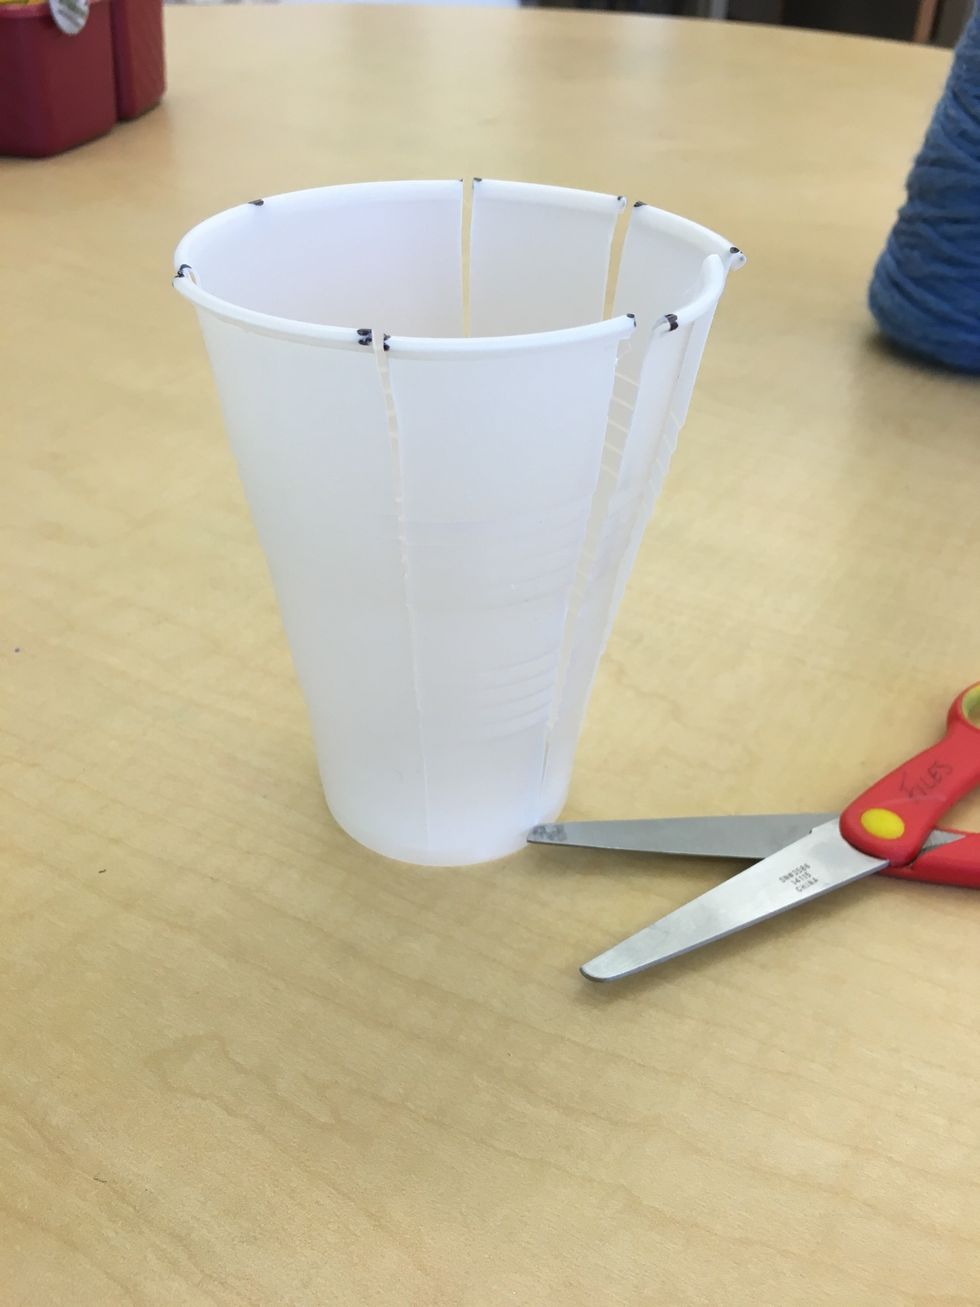
Use scissors to cut straight down the side by each dot to the bottom rim of the cup.
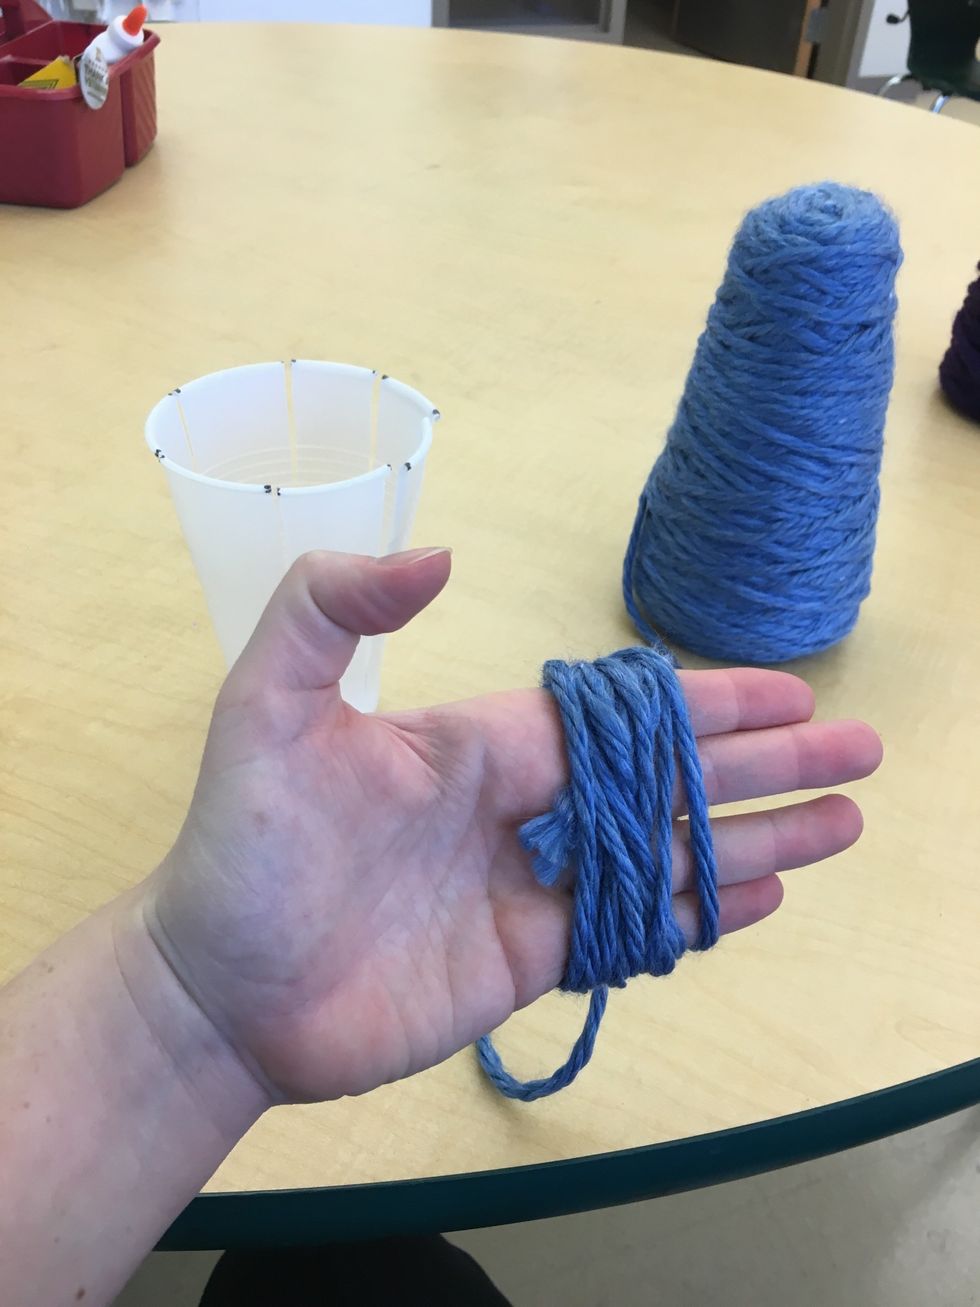
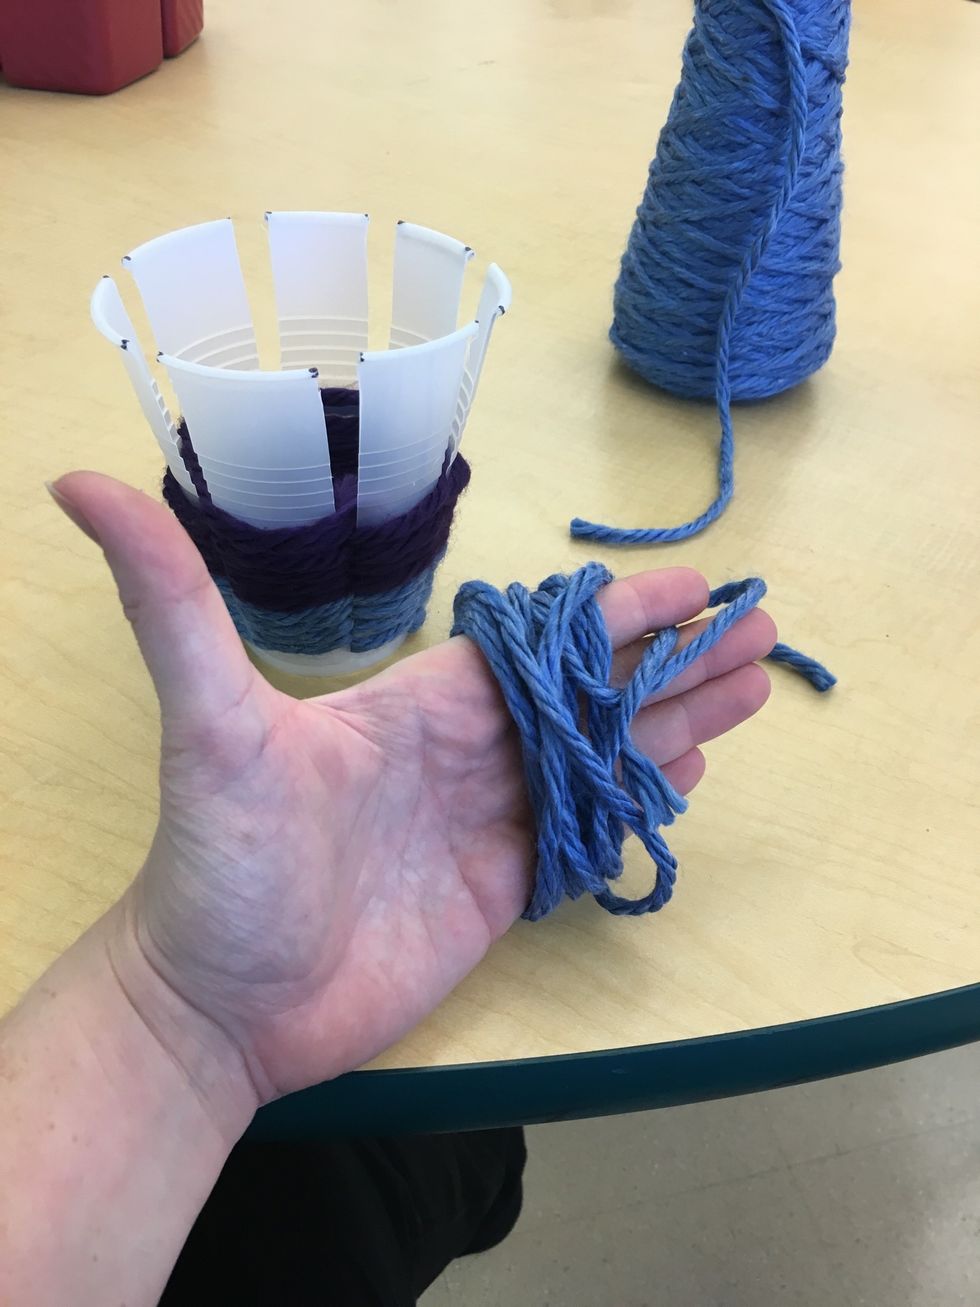
Choose your first color or yarn. Wrap the yarn around your hand 10 times for the first layer to be woven. Cut the end of the yarn from the skein using your scissors.
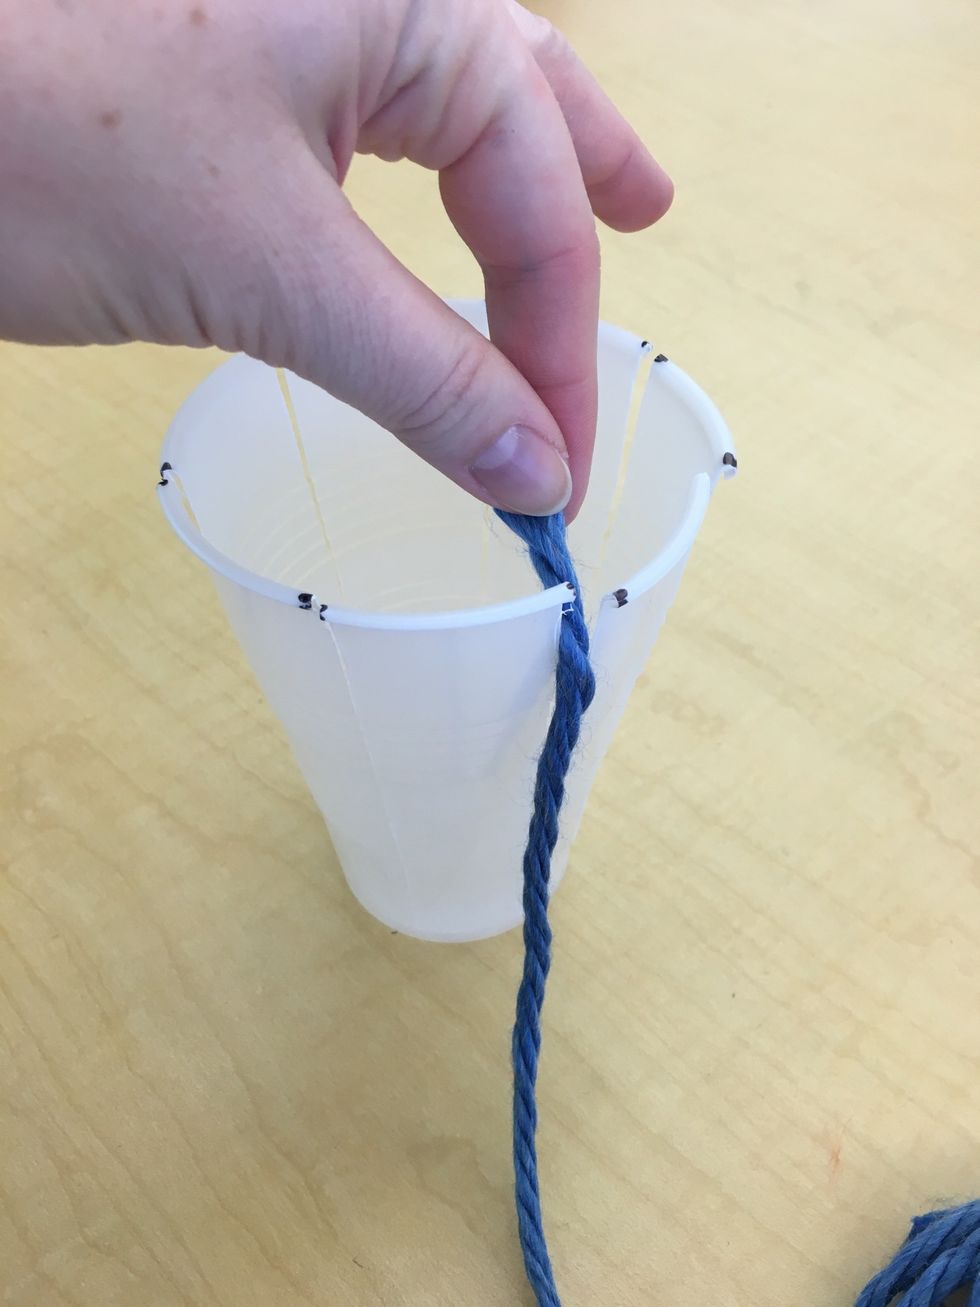
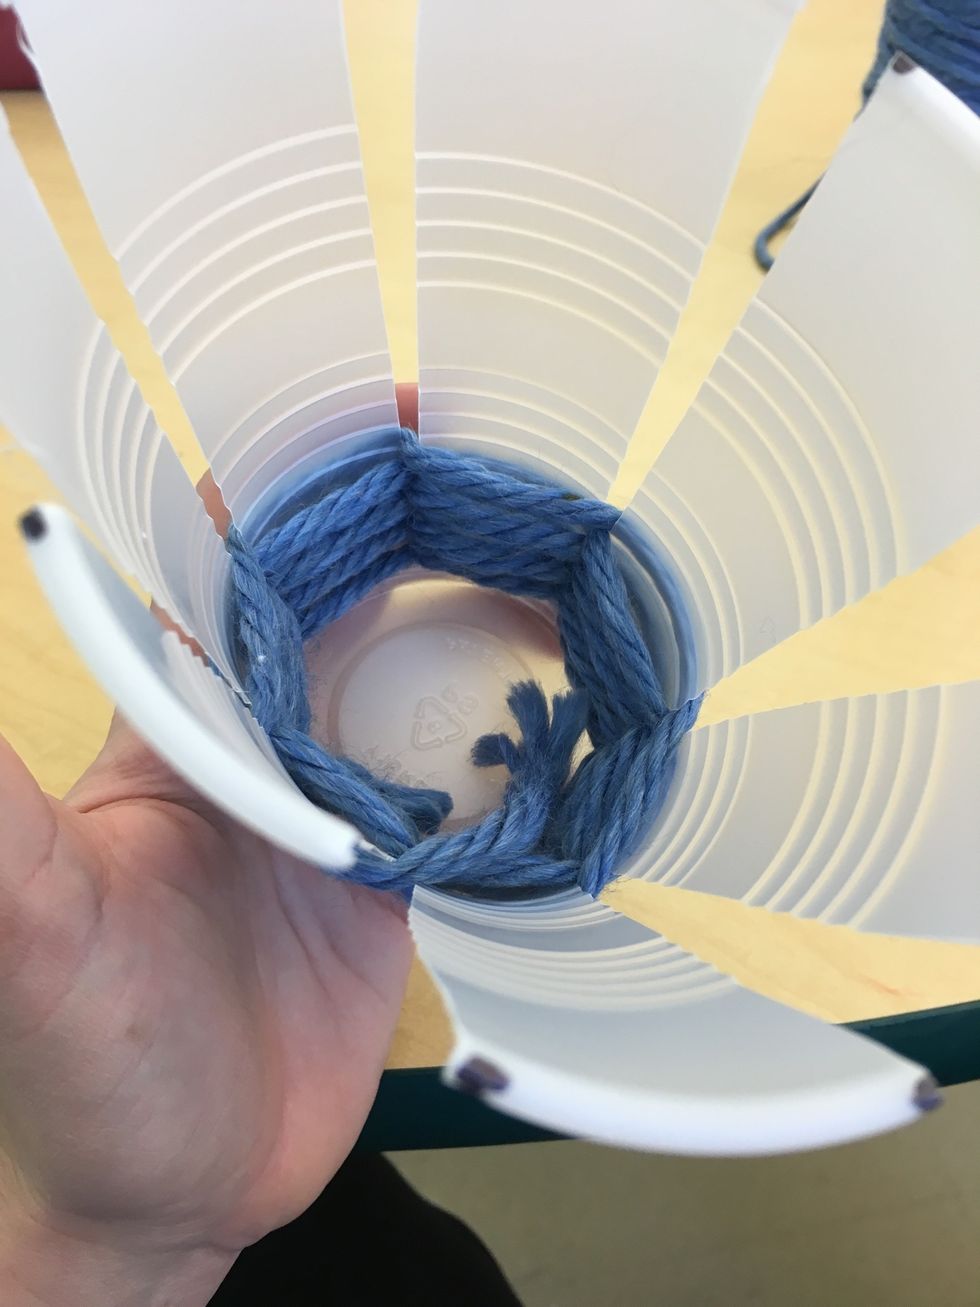
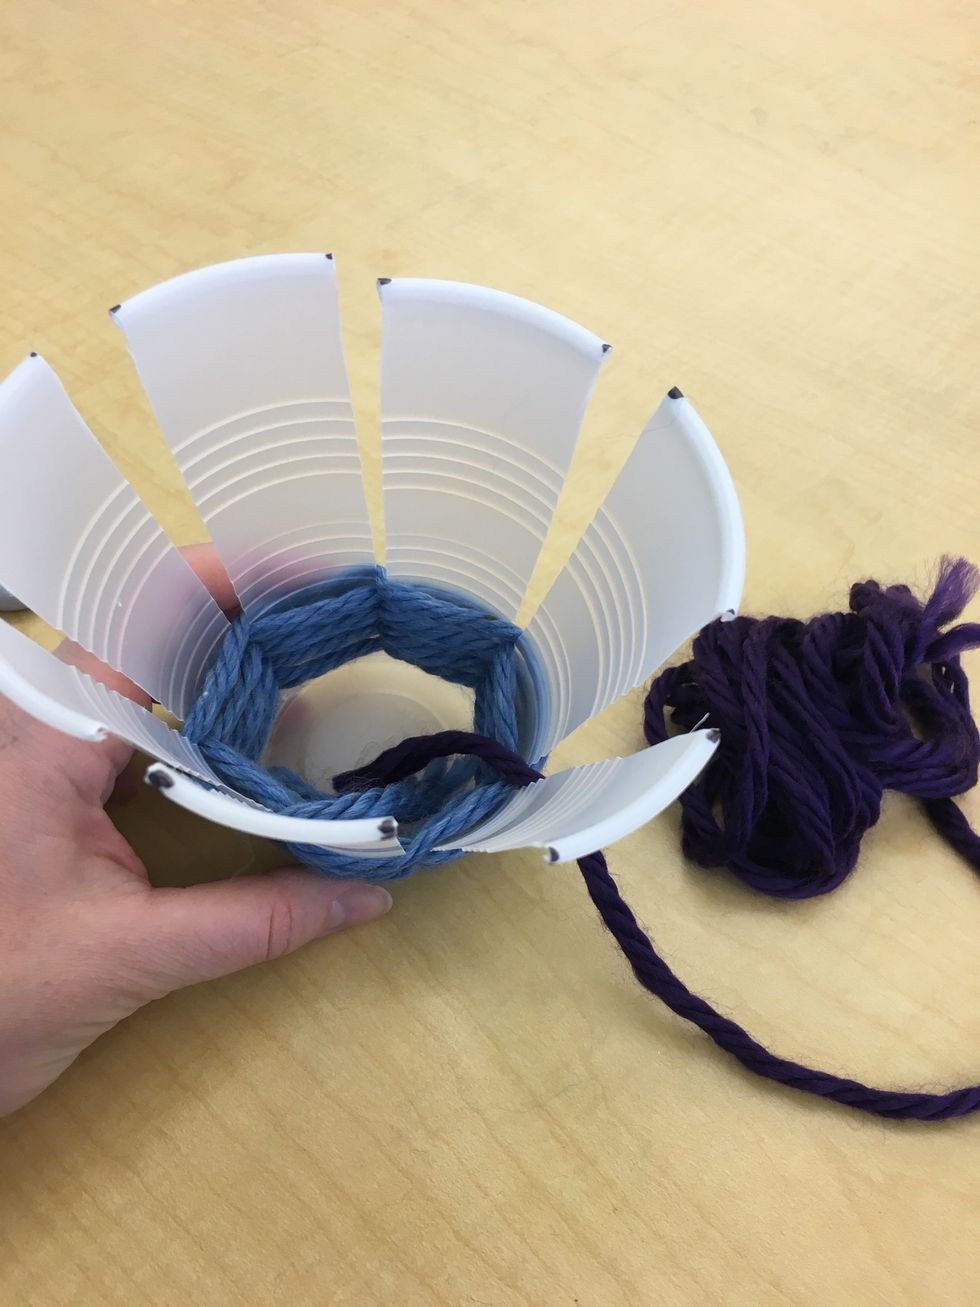
Begin your weave by taking the end of the piece of yarn and slipping it in through the top of one of your warp pieces. Remember! WARP goes up and down!

Slide the top of the yarn to the bottom of the cup.

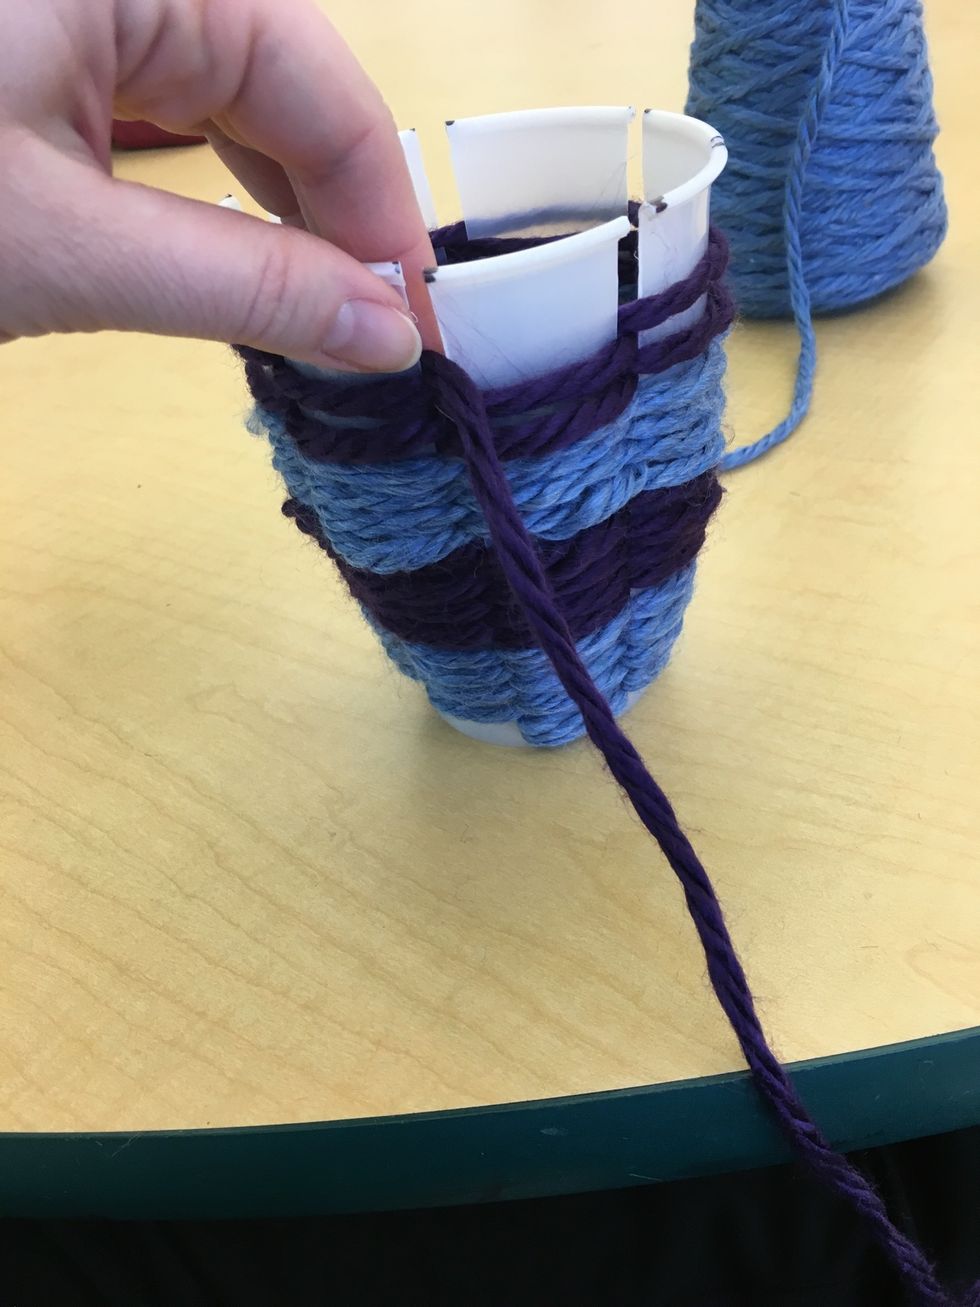
The yarn is your weft piece. WEFT goes left and right! Begin going over and under your warp pieces. Use your thumb to secure your weft pieces as you go over and under each warp piece.
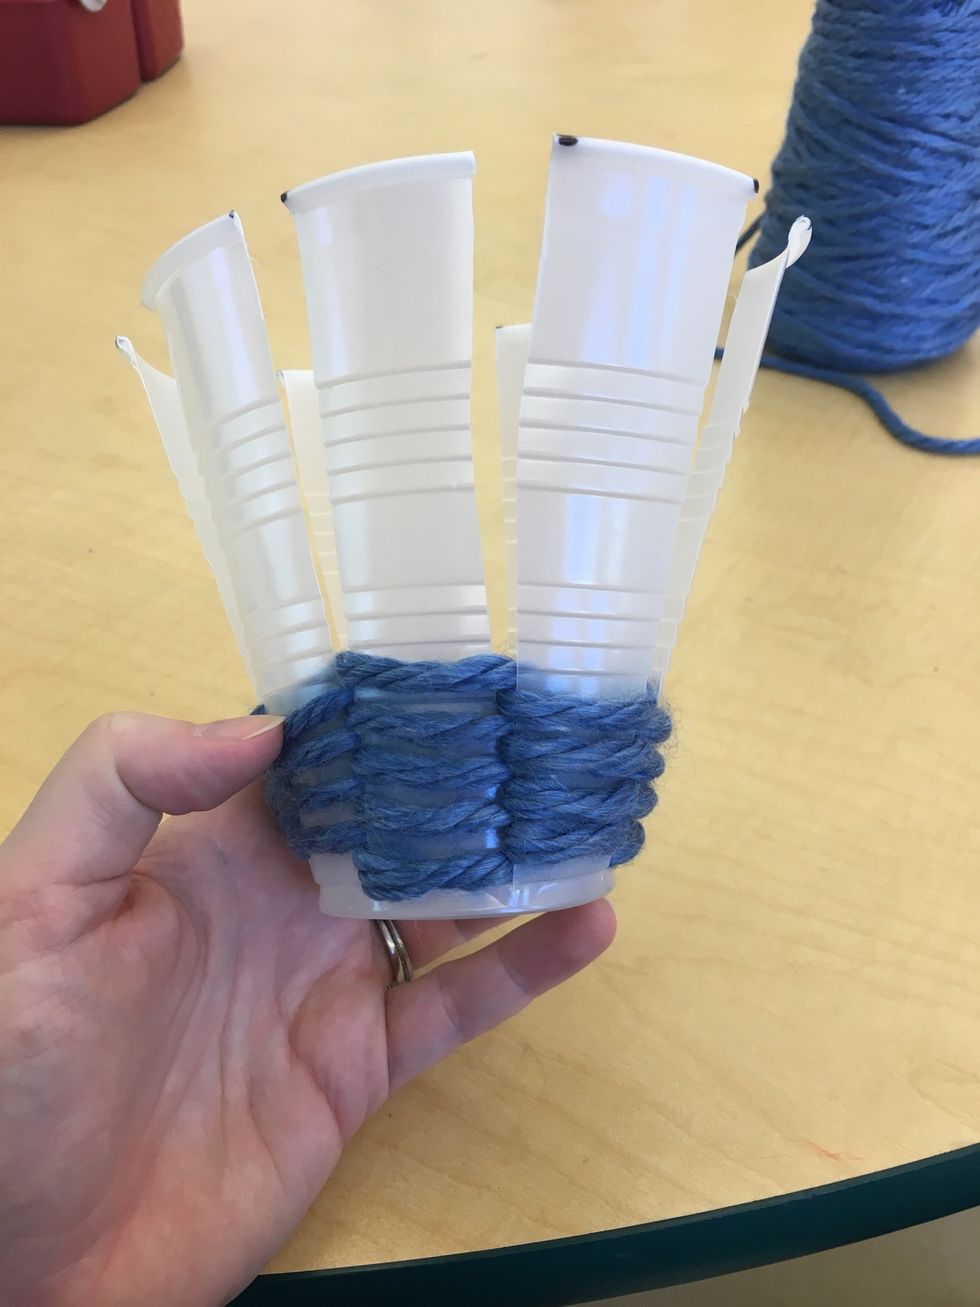
Continue all the way until you run out of string. You should begin to see a basket weave.
Tuck the end of the yarn inside the cup.
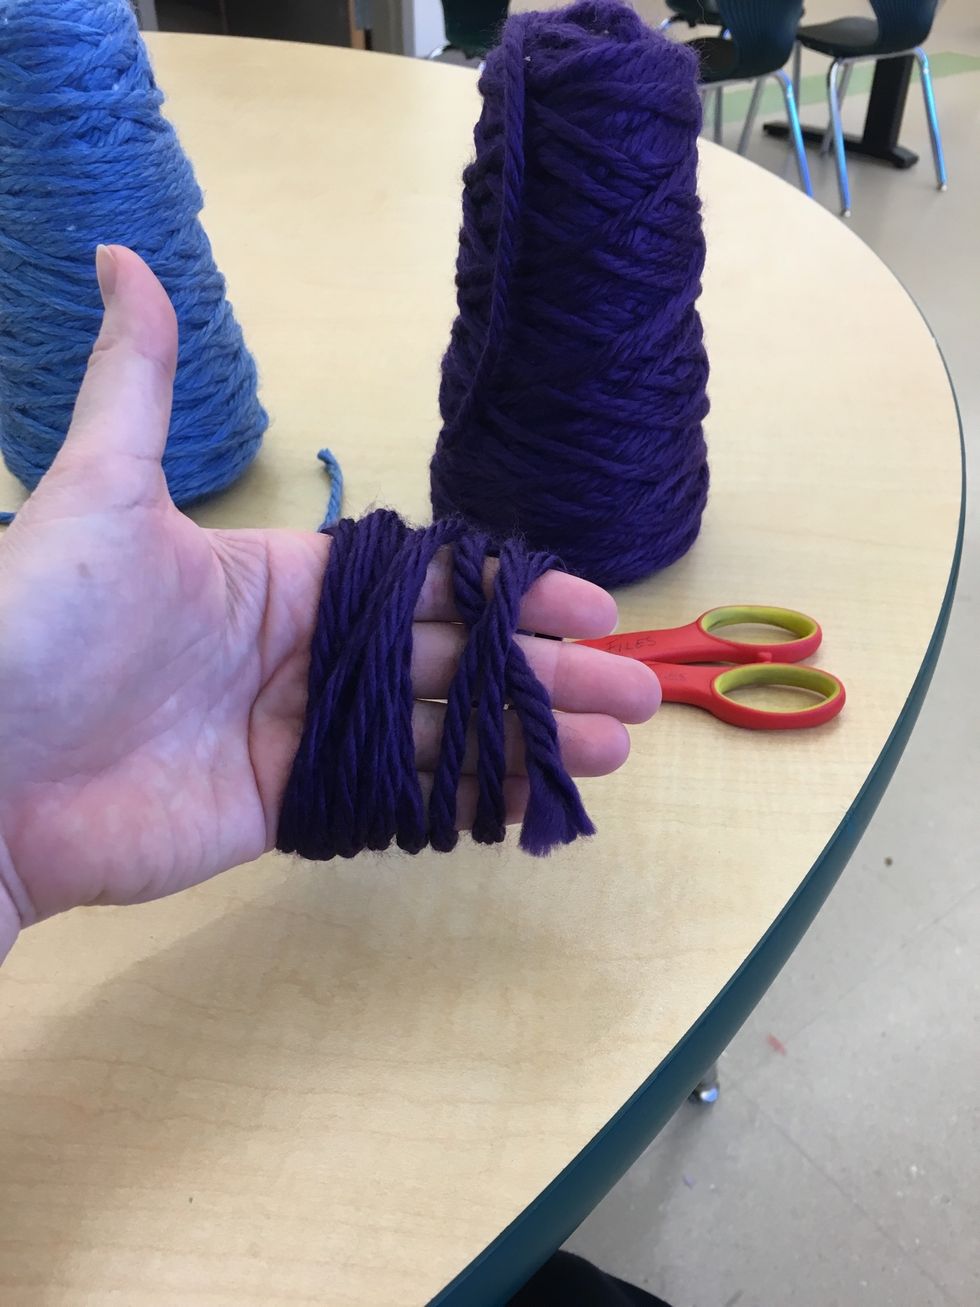
Choose your next color. Wrap it around your hand 10 times and cut.
Begin the next color as you did the first. Tuck the end if the yarn inside of your cup.
After weaving your second color through... Choose your next color and repeat the previous steps.
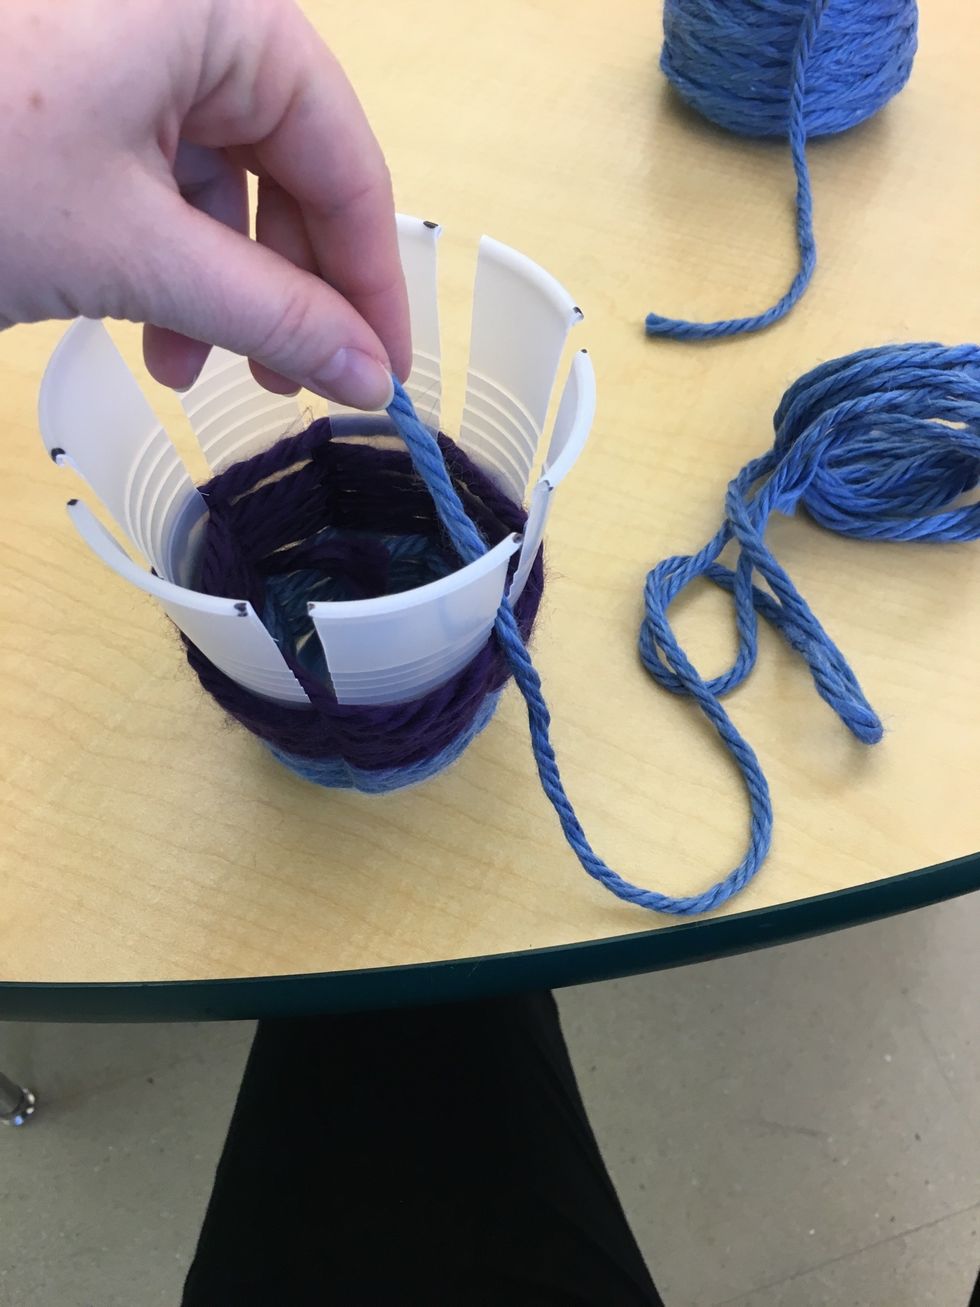
Always begin with the top of the yarn!
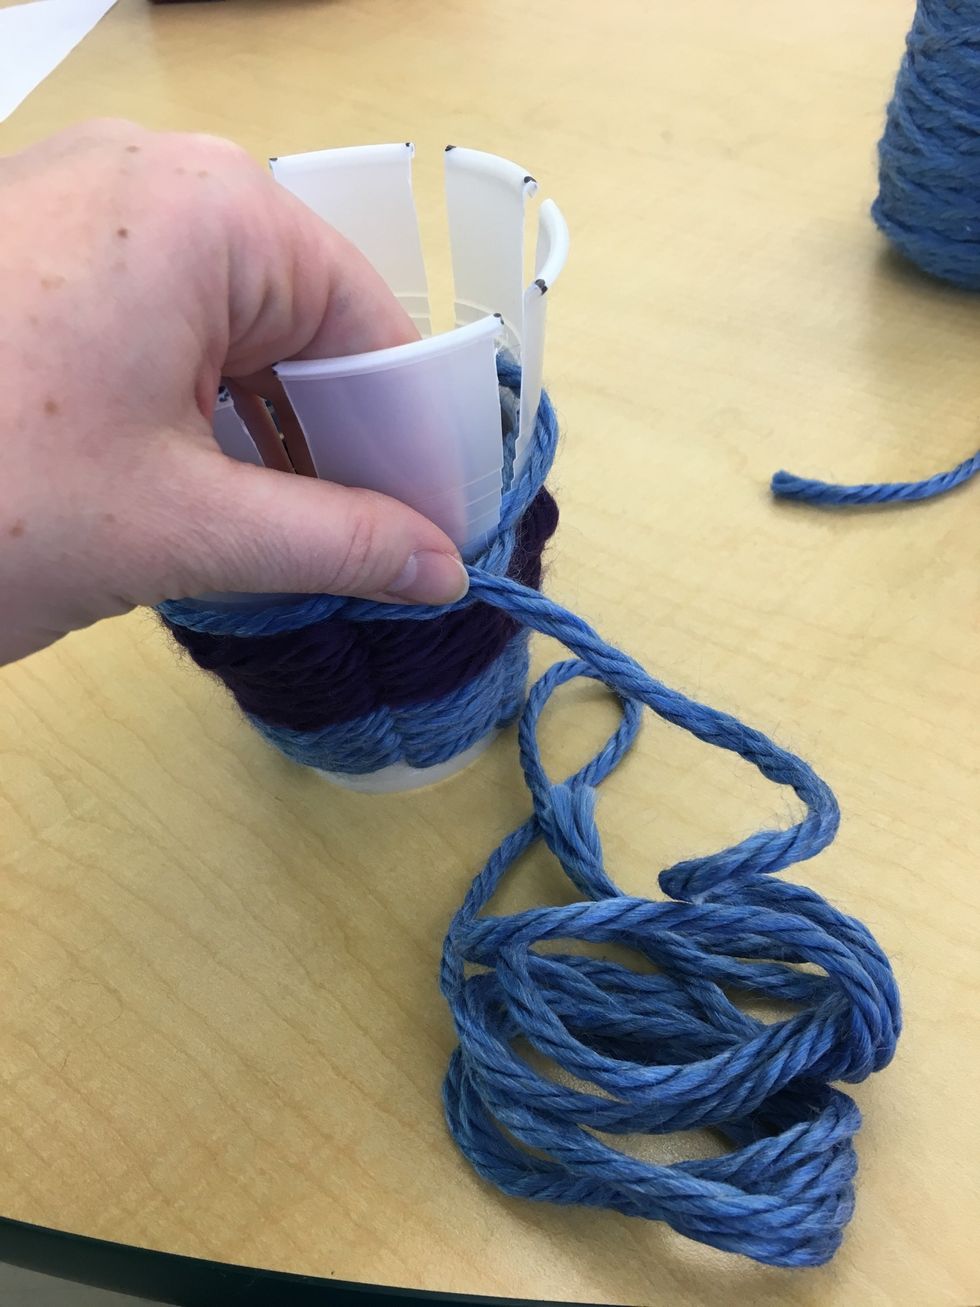
Continue to secure the yarn with your hand.
Get as close to the top of the cup as you can.
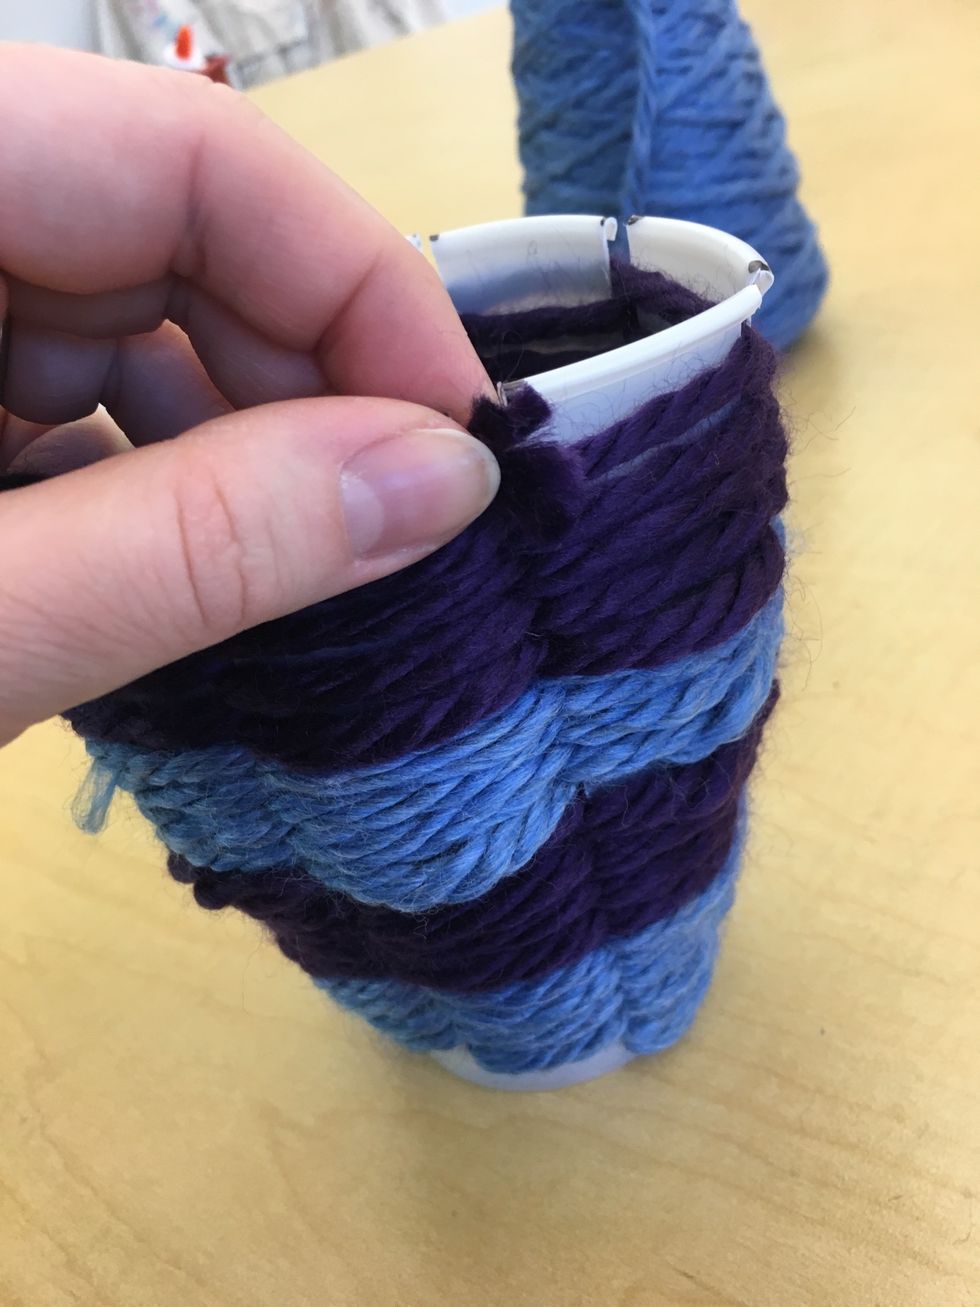
Secure the end if the yarn inside your cup so it does not unravel. You could knot it if it is too loose.

Voila! Now you have a great place to store your markers and scissors!