The Conversation (0)
Sign Up

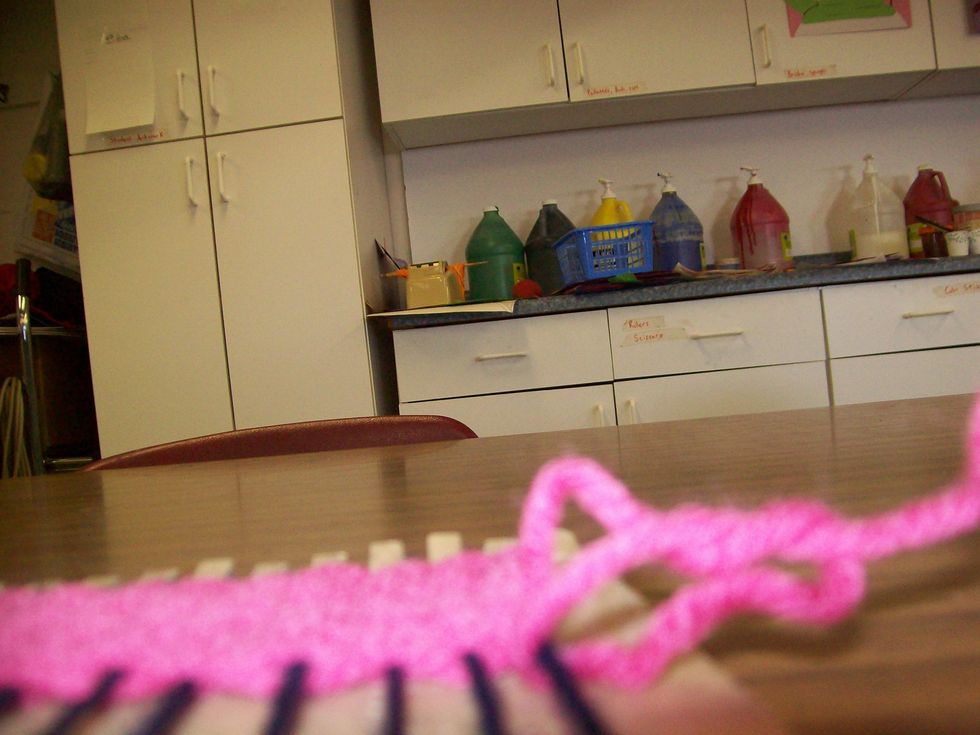
You will need a loom, yarn, and a plastic needle.
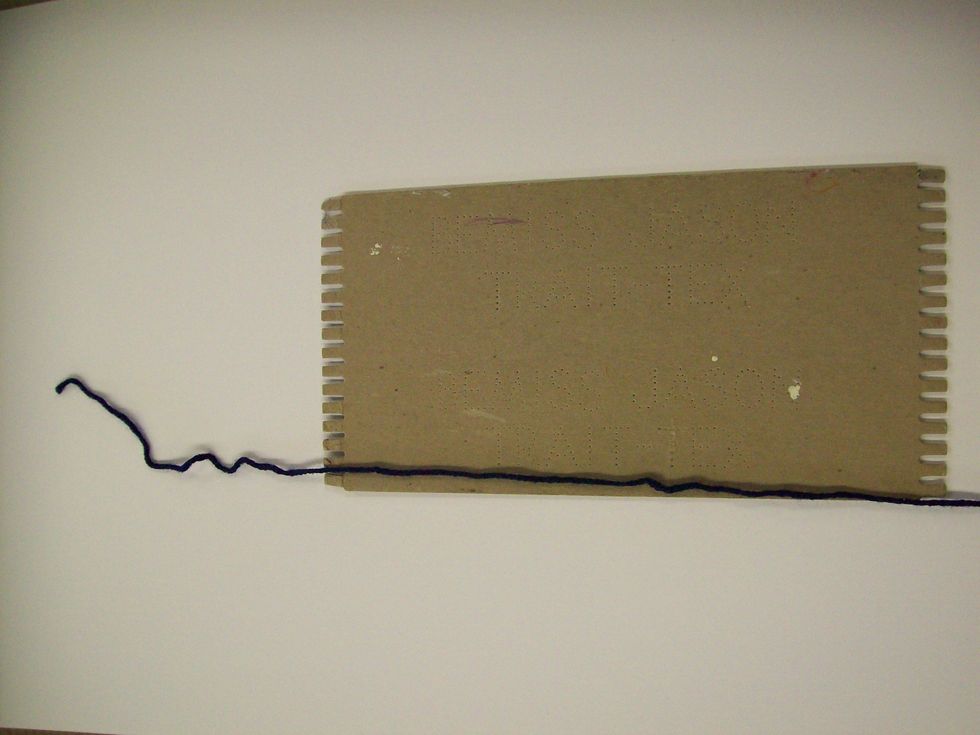
Cut a wingspan length of yarn. Lay it so the end of the yarn lays between the 1st and 2nd tooth of the loom. About 8 inches of yarn should be hanging over the edge.
Wrap the other end of the yarn down between the 1st and 2nd tooth of the loom at the bottom. Wrap it around the back and around the top between the 2nd and 3rd tooth.
Continue wrapping the yarn around the loom between the teeth until you go between the last teeth on the bottom of the loom. Make sure you have about 8 inches of yarn hanging over the edge.
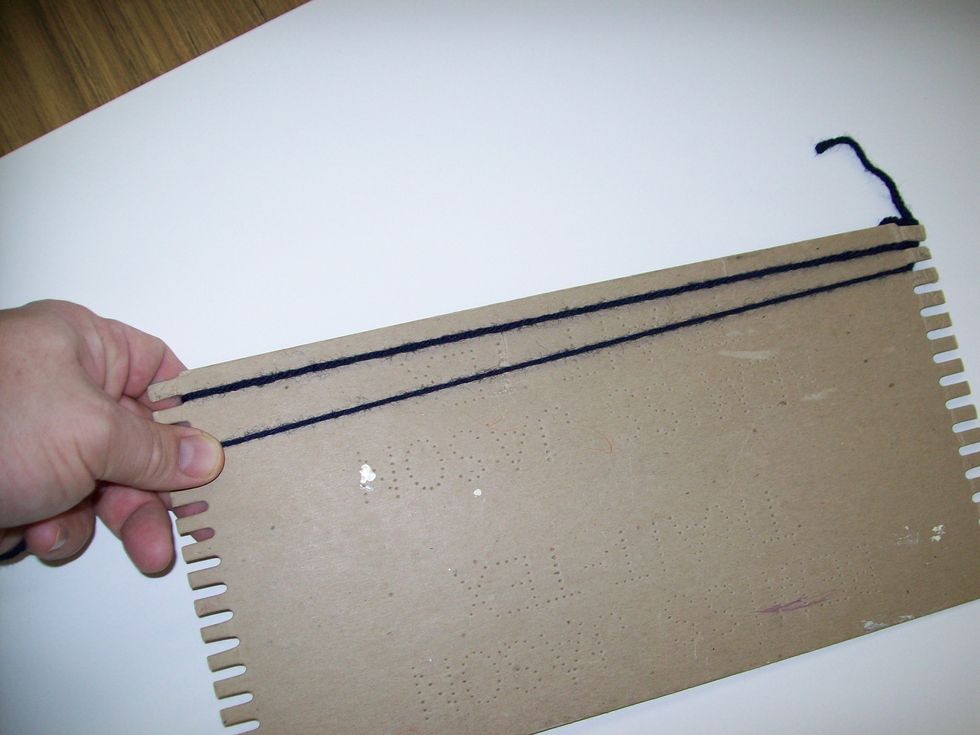
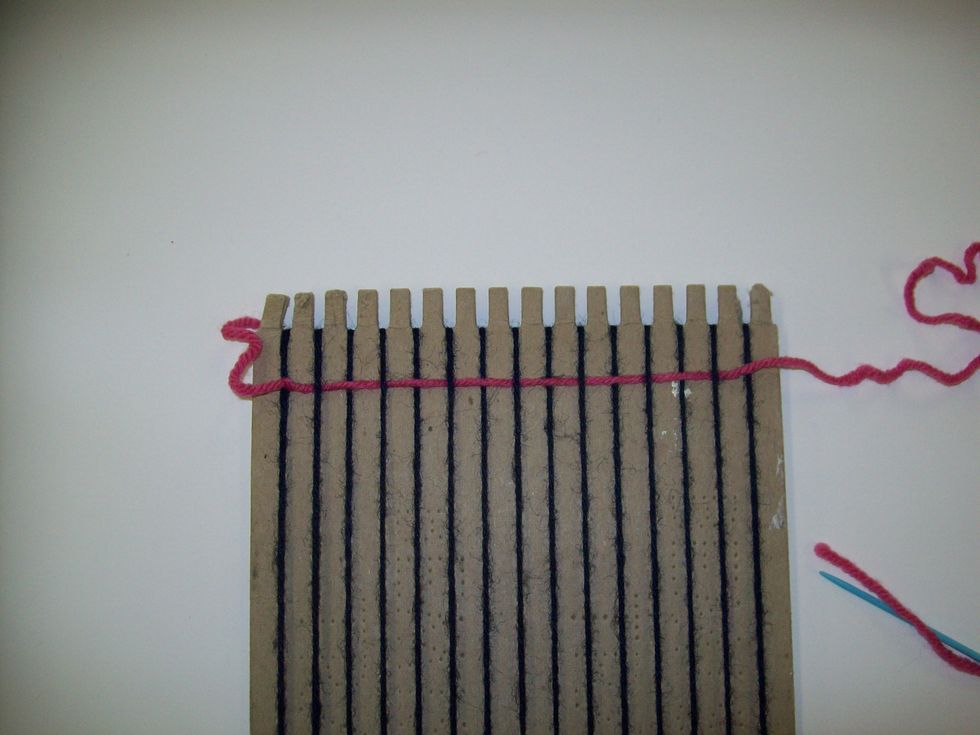
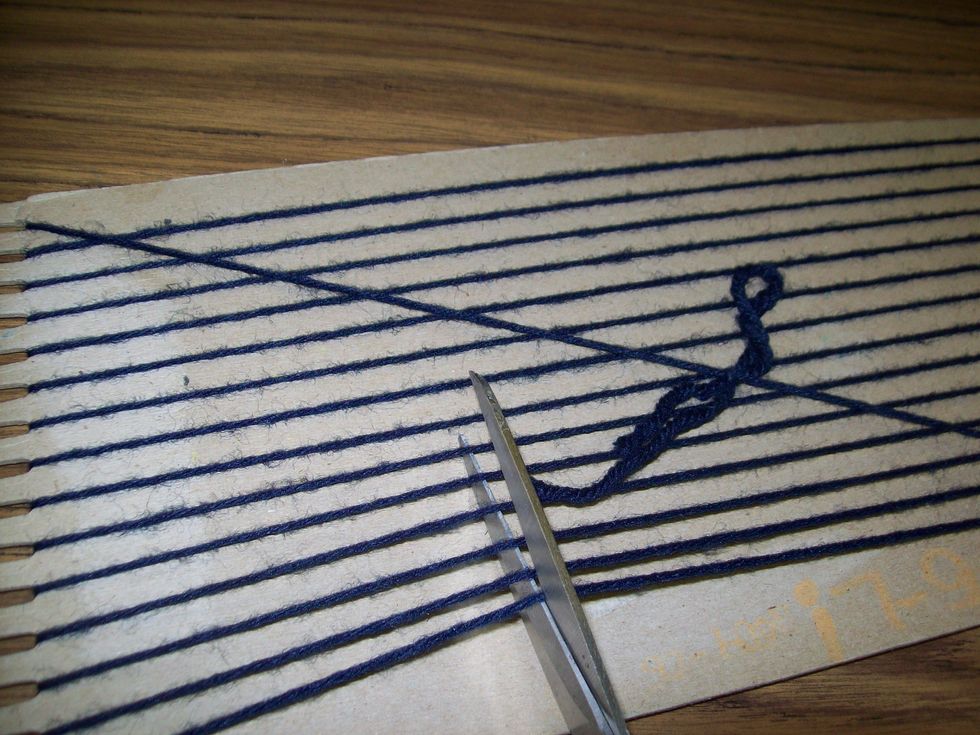
On the back of the loom, tie the ends of the yarn together making the warp of the loom tight. The warp is the vertical strings on the loom.
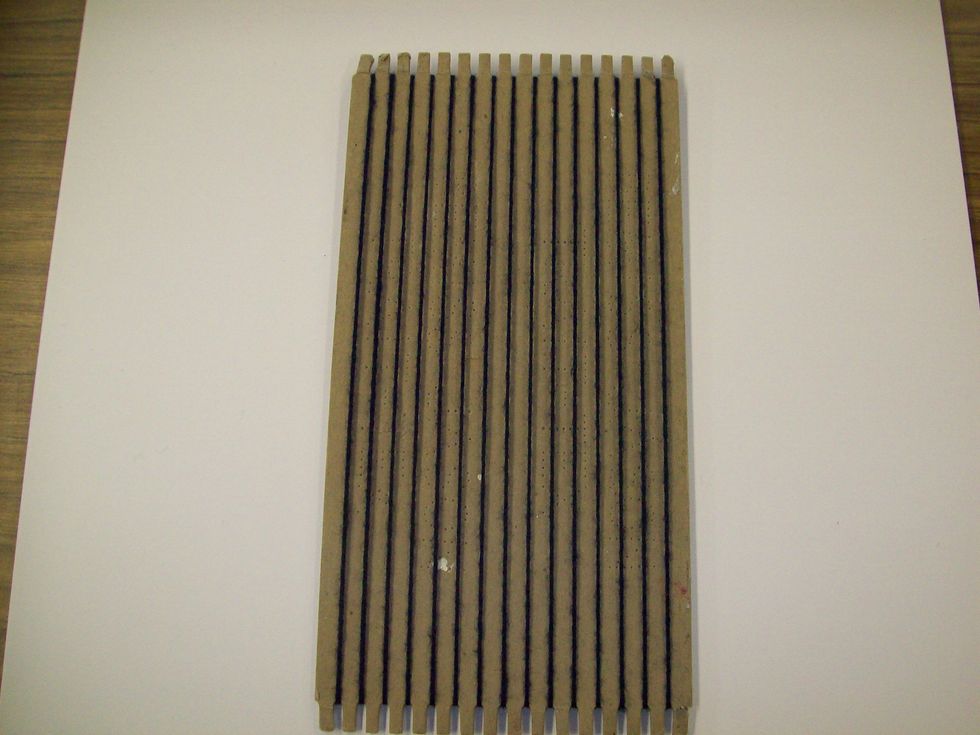
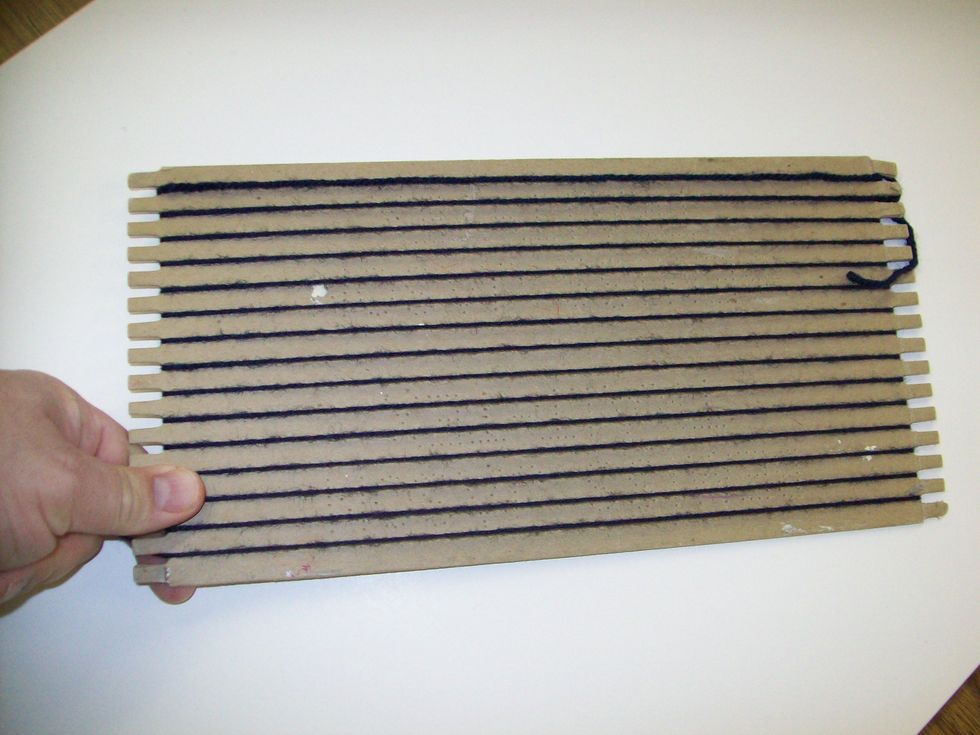
This is the front of the loom. The vertical strings (warp) should be tight.
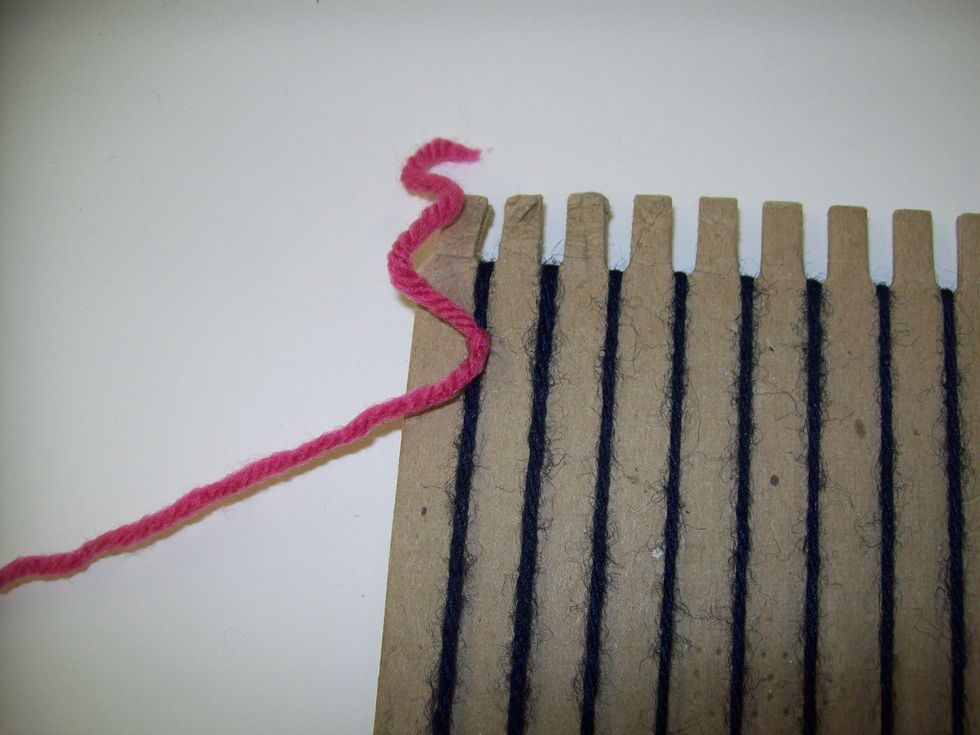
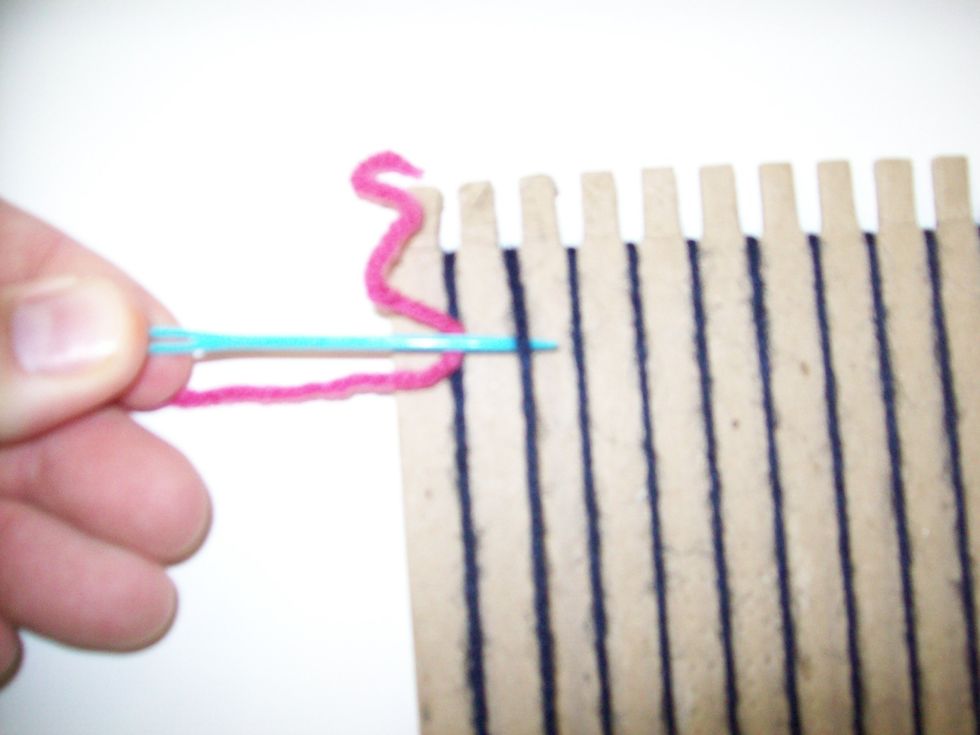
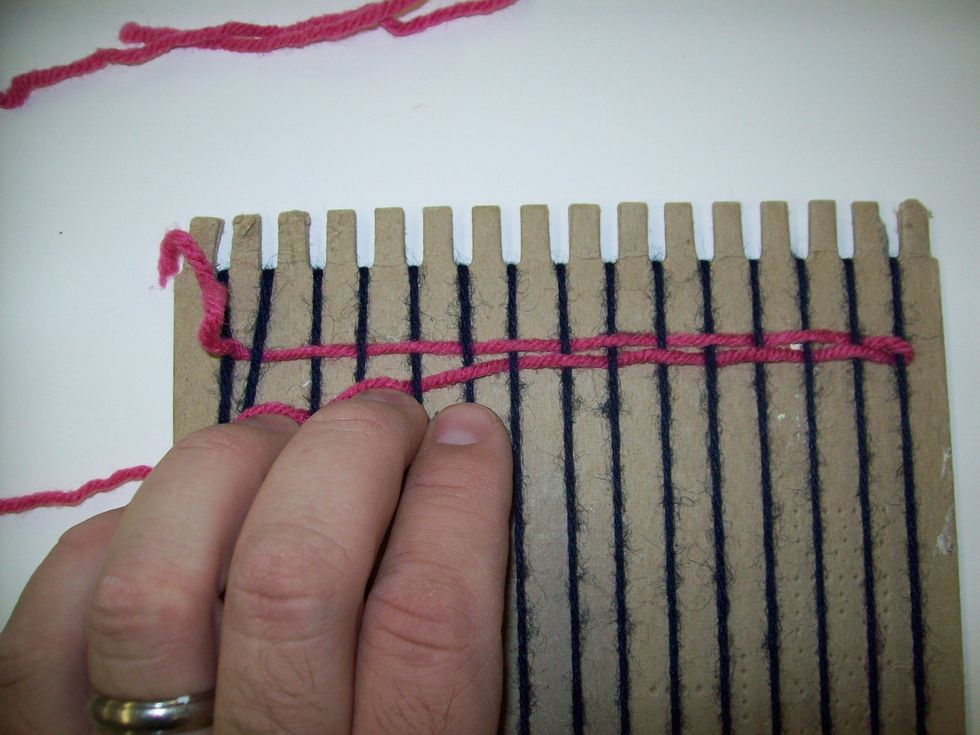
Tie a second wingspan of yarn onto the top of the 1st warp string. This second length of yarn will be called the weft.
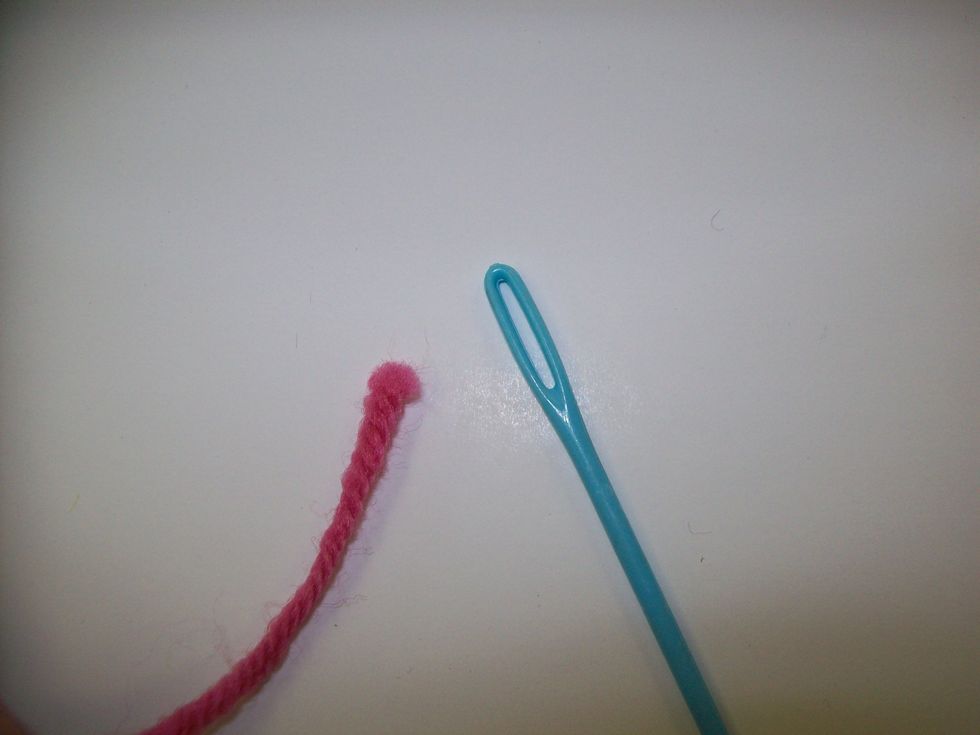
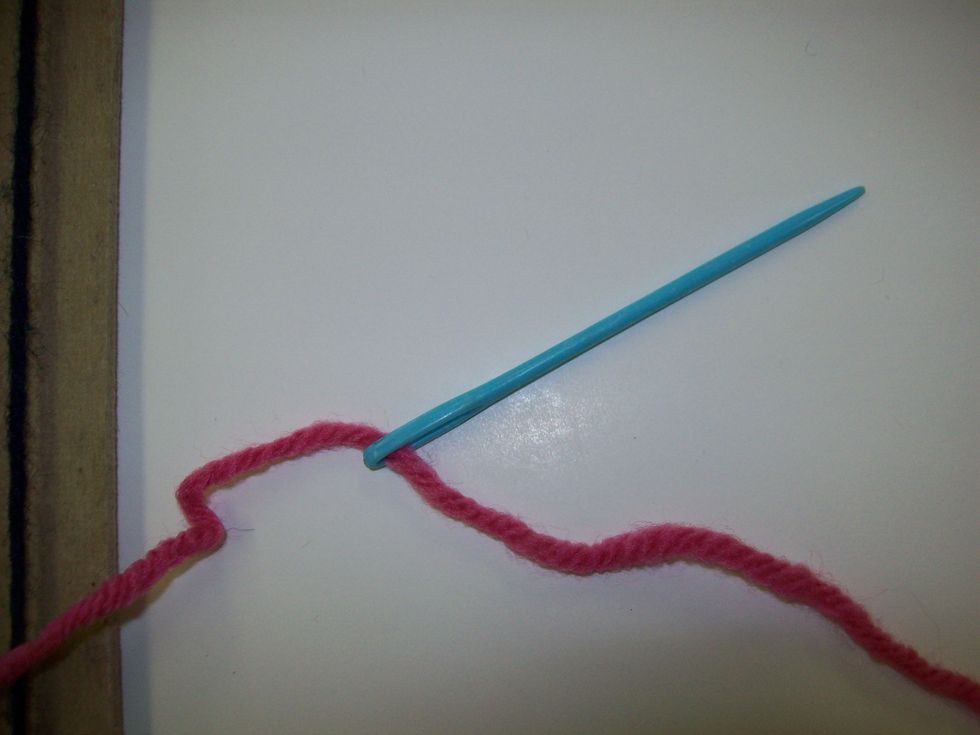
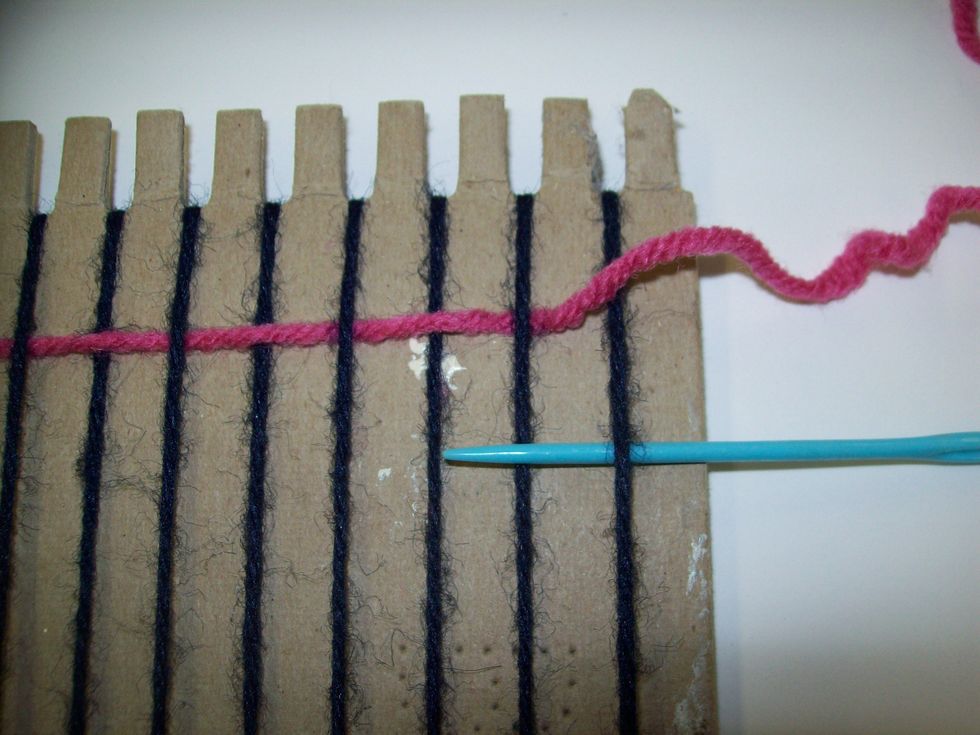
You will need to thread the other end of the weft through the eye of your plastic needle. If the end is frayed, you can bend the end of the yarn over and stuff the bend through.
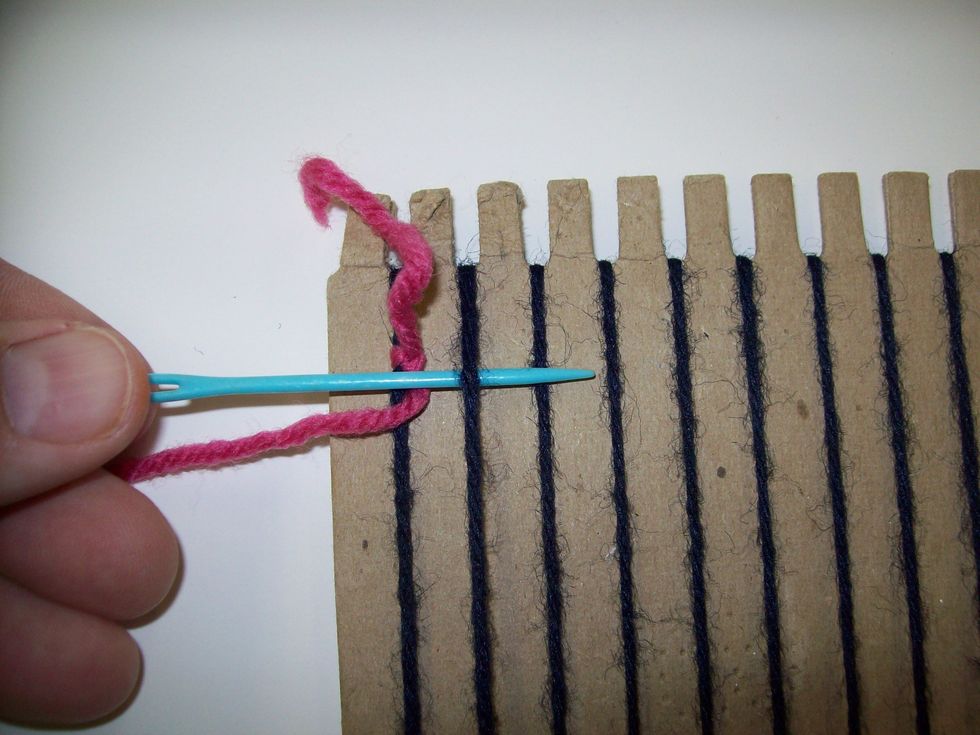
Hooray! I got the yarn through the eye!
To start weaving, put the needle UNDER the 2nd warp.
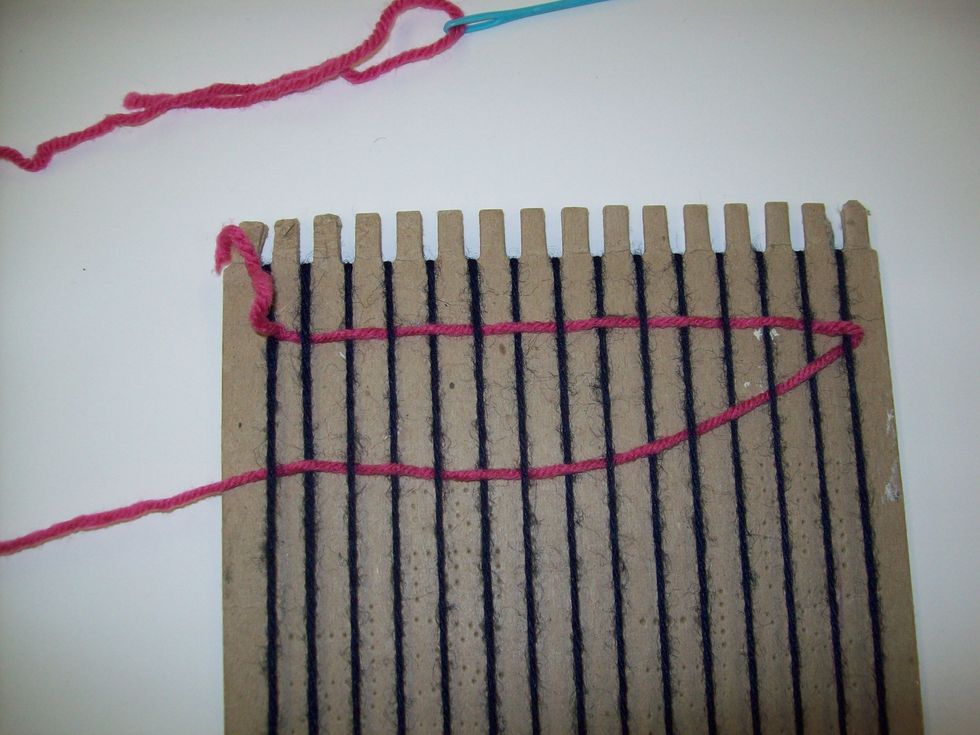
Next, have the needle go OVER the 3rd warp.
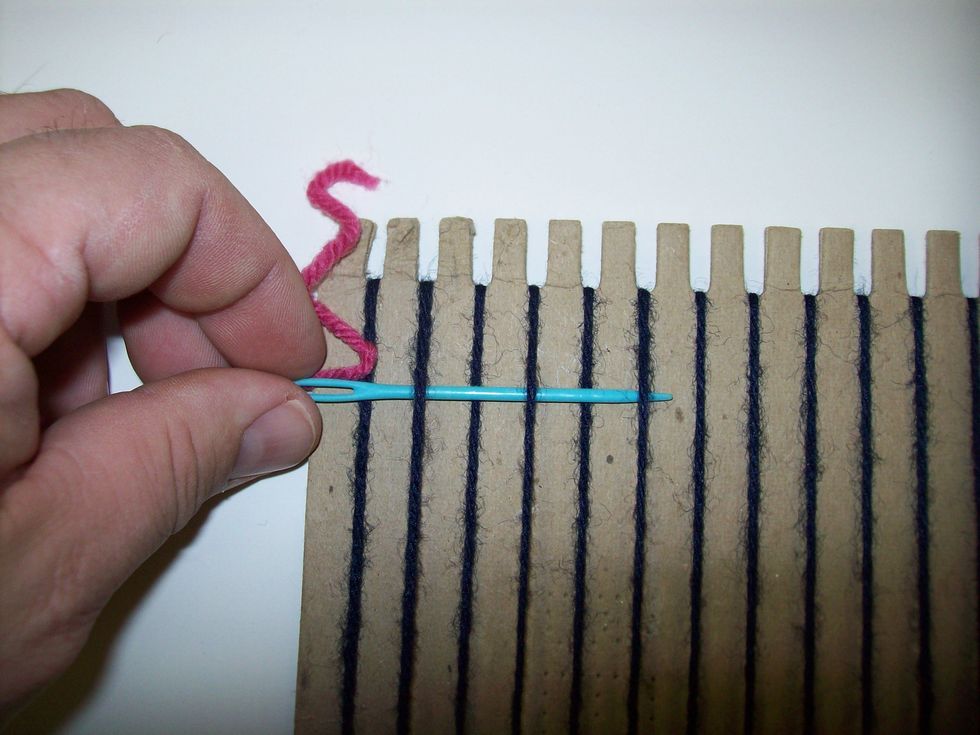
Continue pushing the needle OVER the even warps and UNDER the odd warps.
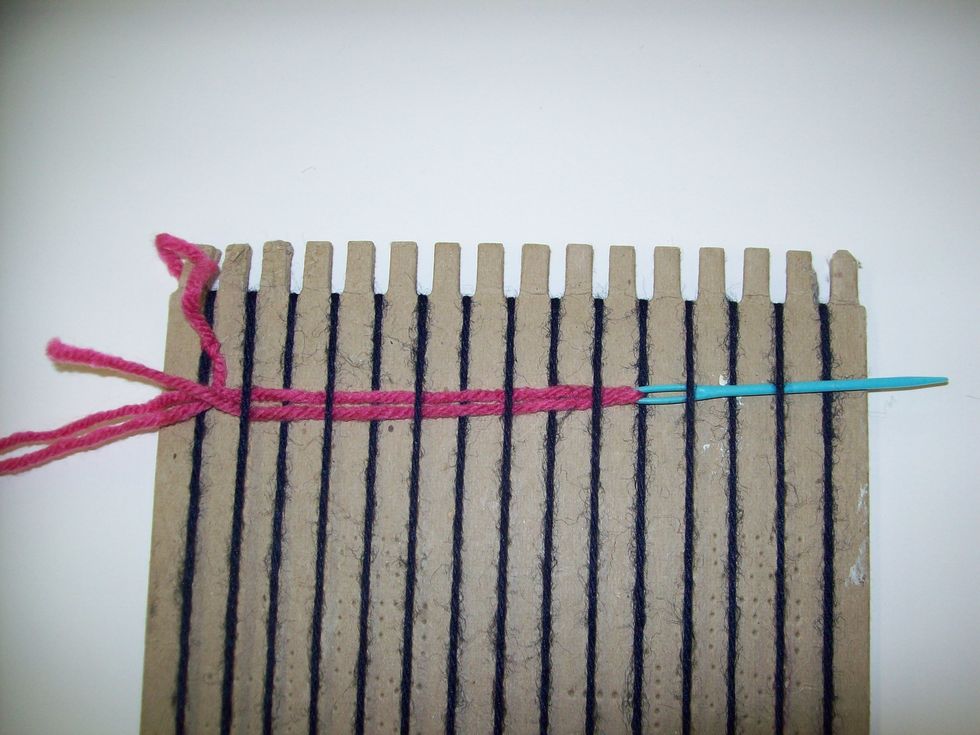
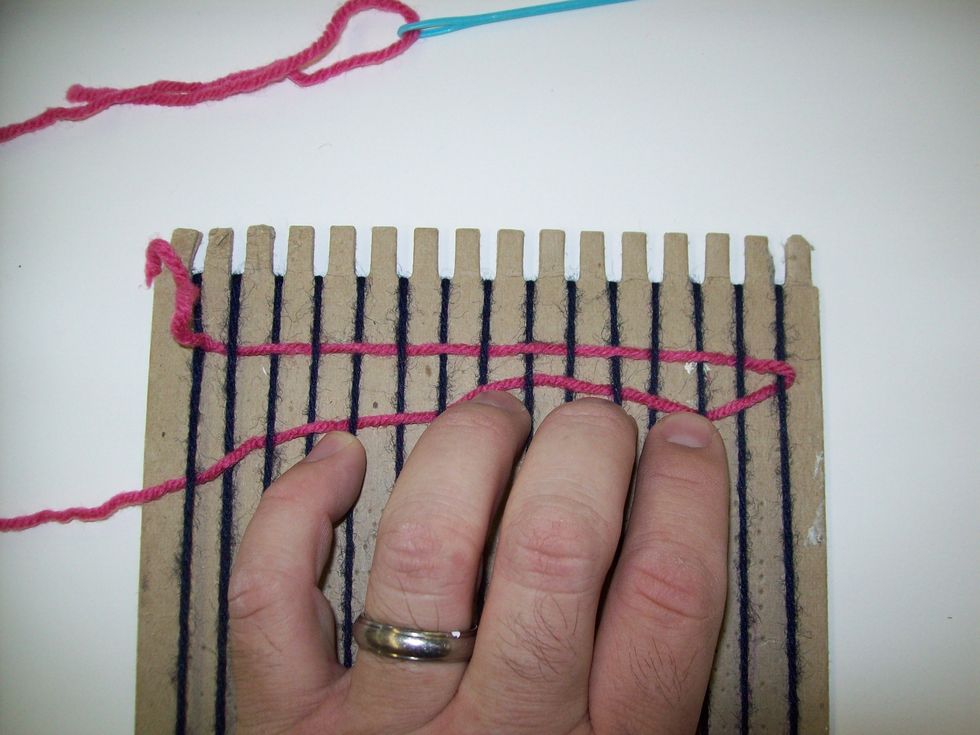
As you pull the needle all the way through, insure that the weft is UNDER every other warp.
Pull the weft ALL the way through the warp. DO NOT pull so hard that the 1st warp is pulled crooked.
Since the weft went OVER the last warp, it will come back through UNDER that same warp.
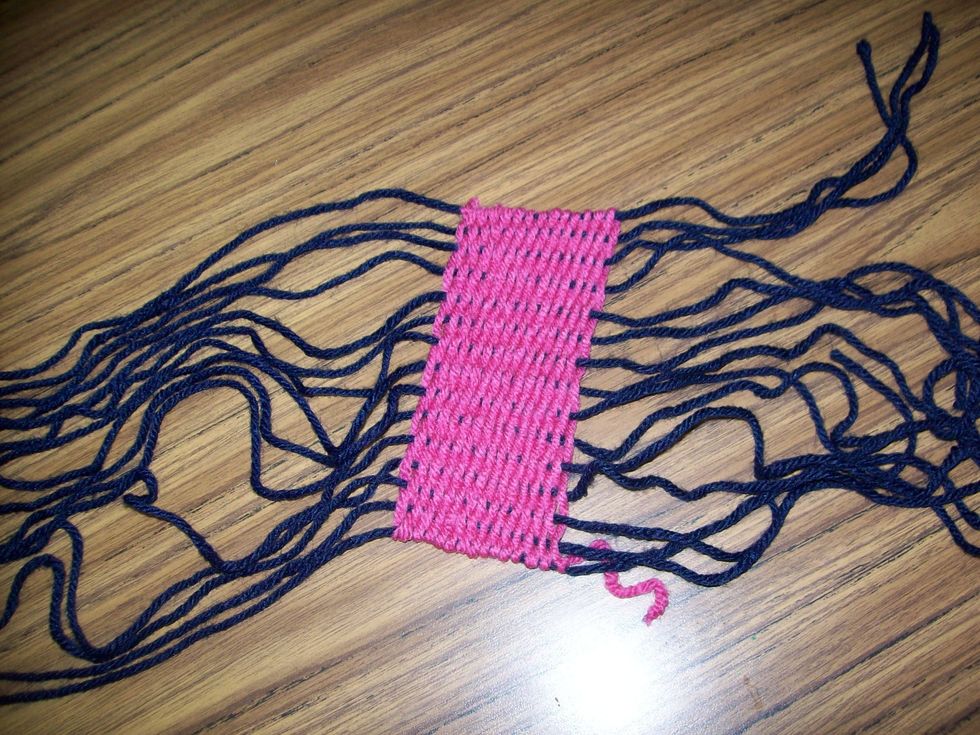
Continue weaving the weft following the OVER/UNDER pattern.
Each time you pass the weft through the warp you will need to BAT the weft. This means push that layer of weft up to align with the previous layer.
If you don't bat the weft, your weaving will be loose. Always remember that craftsmanship is paramount!
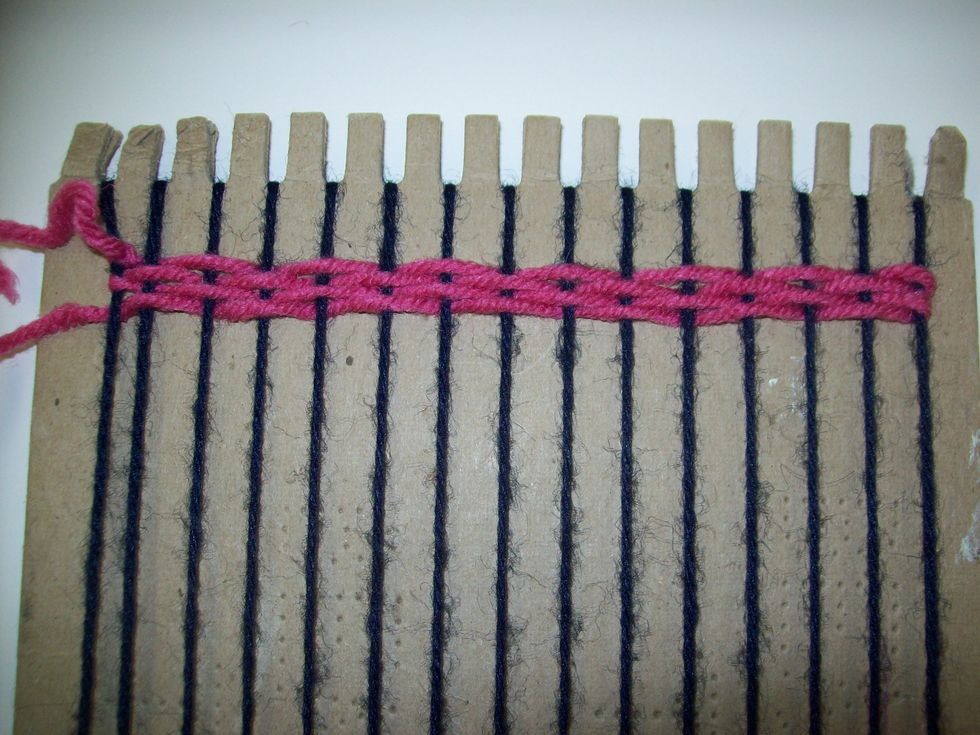
Continue your OVER/UNDER pattern back and forth through the warp. Make sure you bat your weft to create a tight weave.
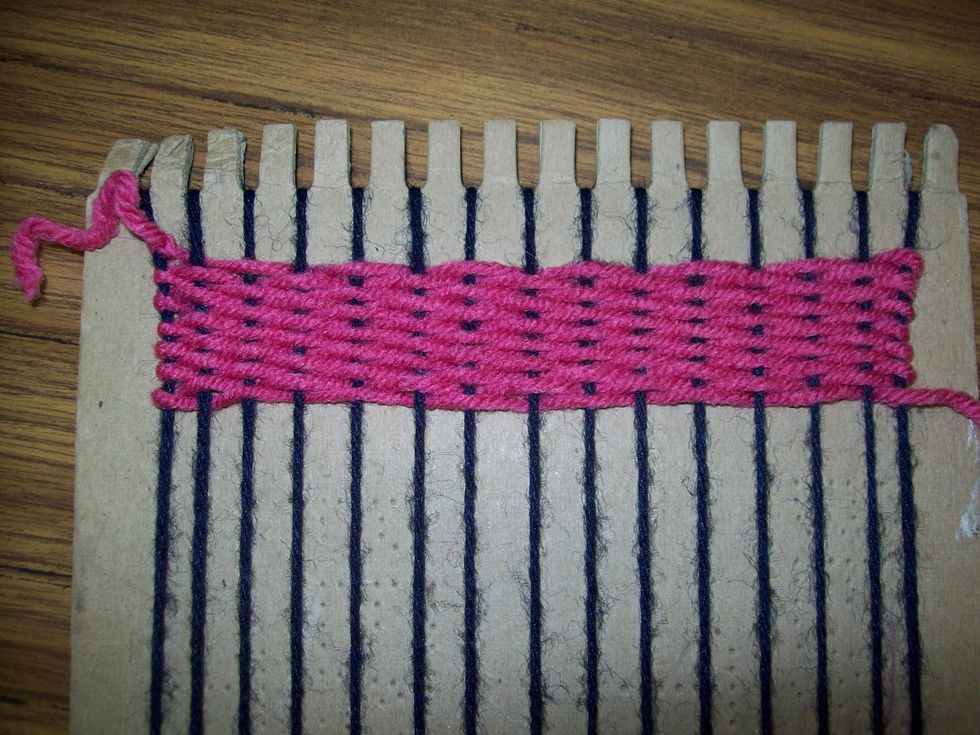
When you have woven your desired amount you may take the needle off of the weft.
Tie the weft to the last warp.
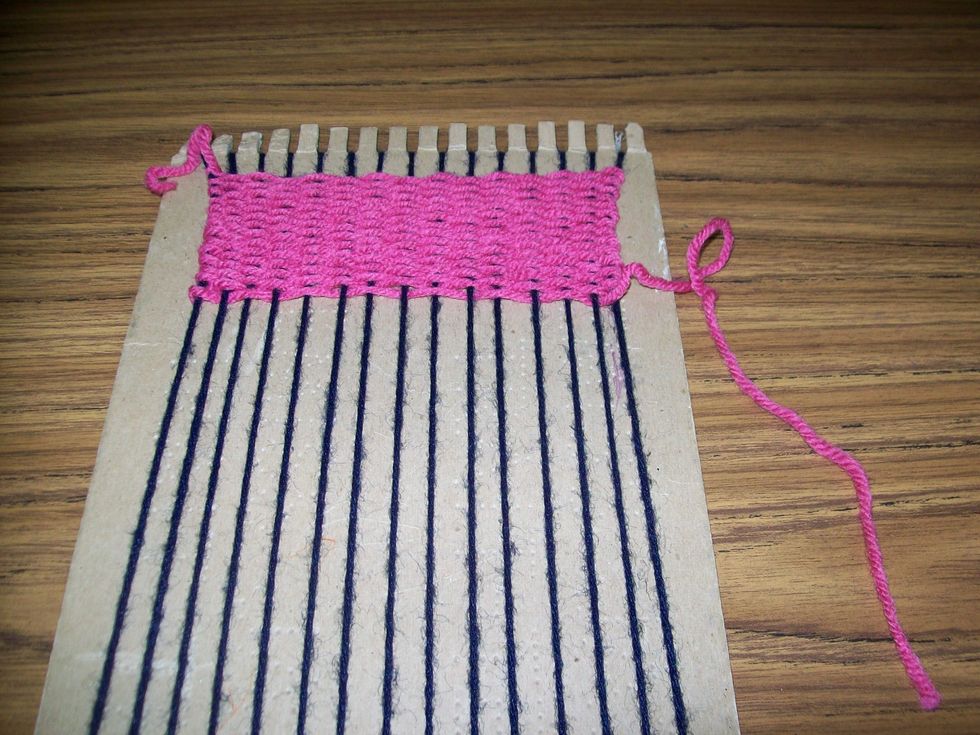
Flip your loom over and cut the warp off of the loom.
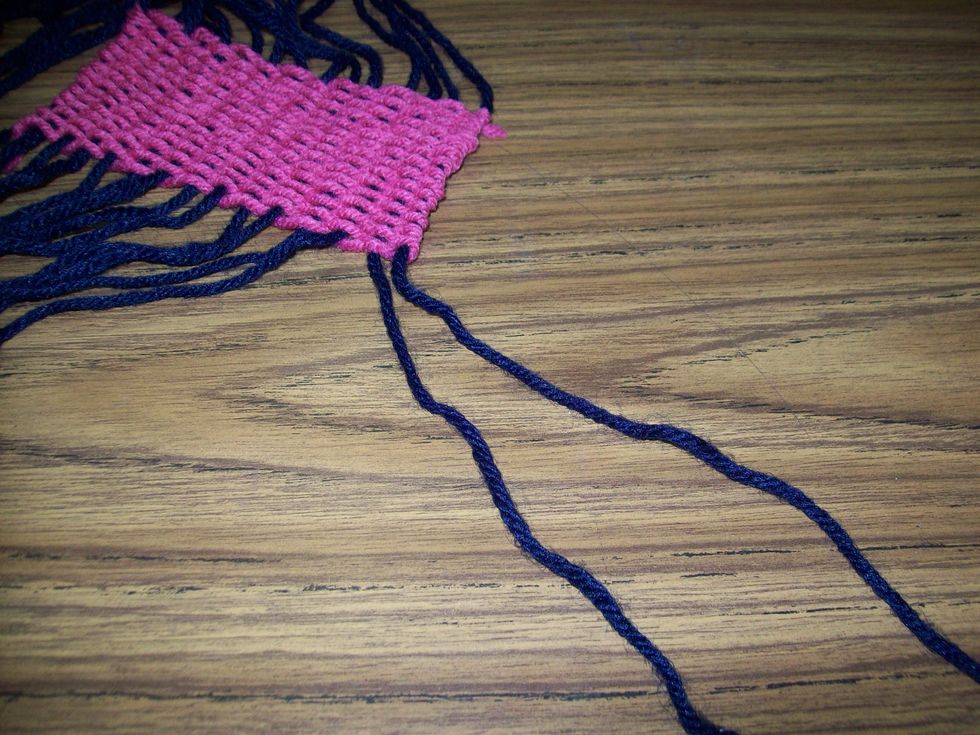
Separate the 2 warp strings on the end.
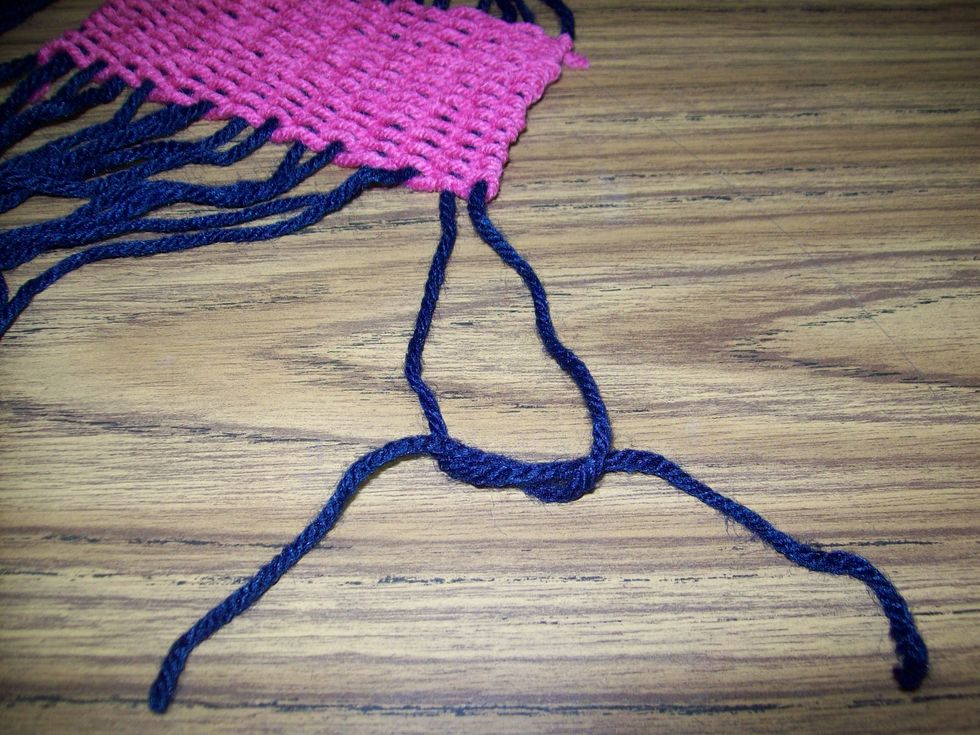
Tie those 2 strings together in a simple knot pulled up to the weft, but not into the weft.
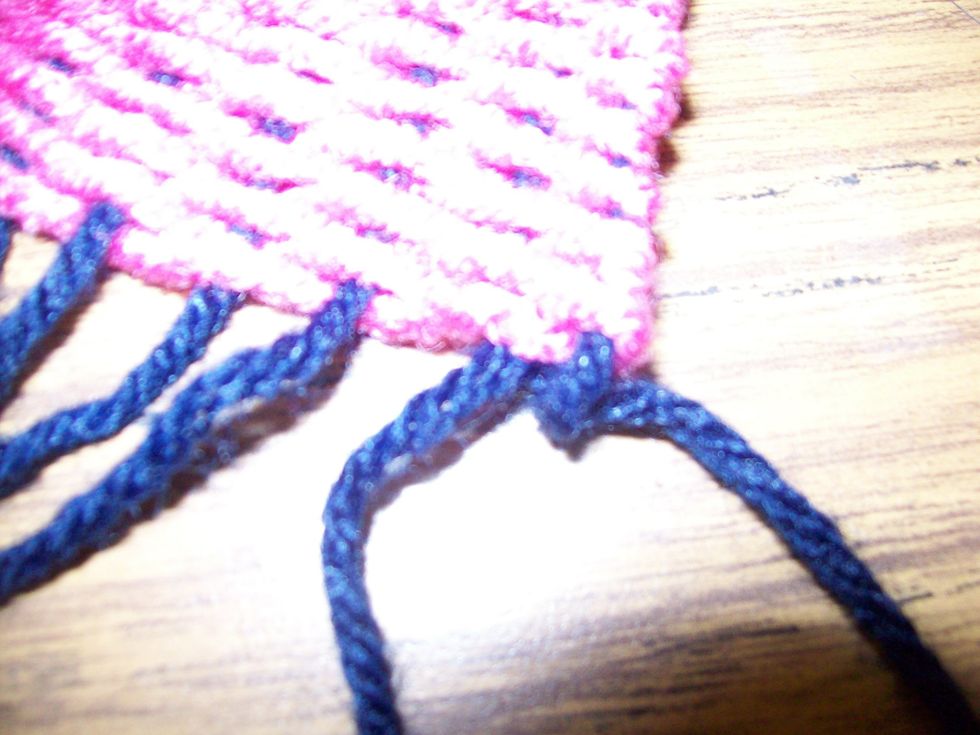
After you tie it once, secure the knot with a second knot on top.
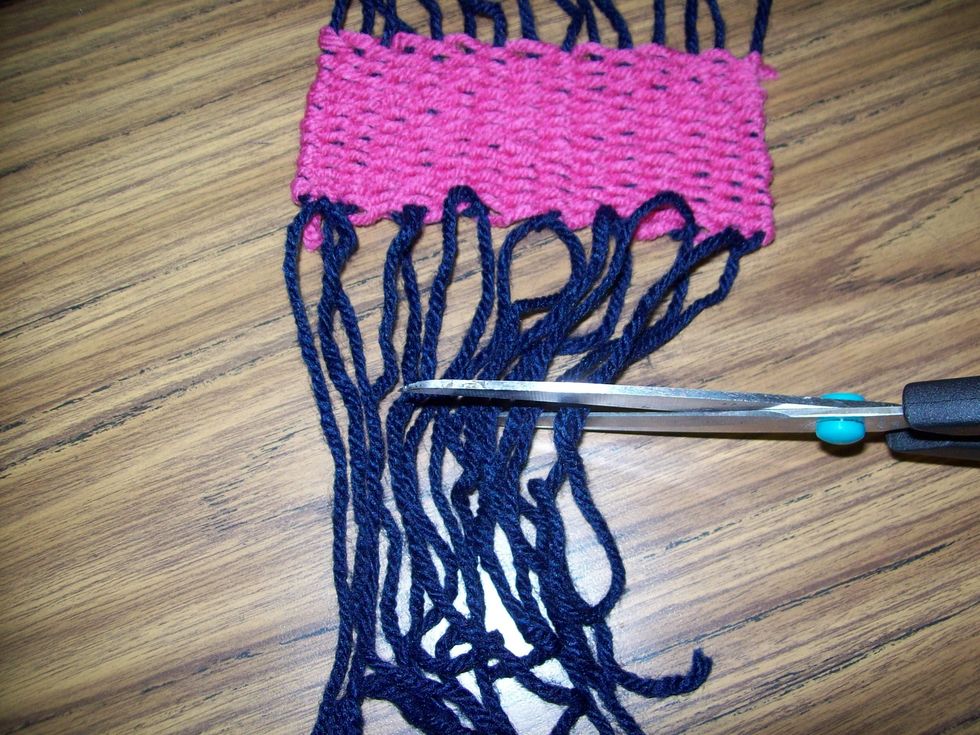
After you have tied all of the warp string pairs across the weave, you may trim them to your desired length.
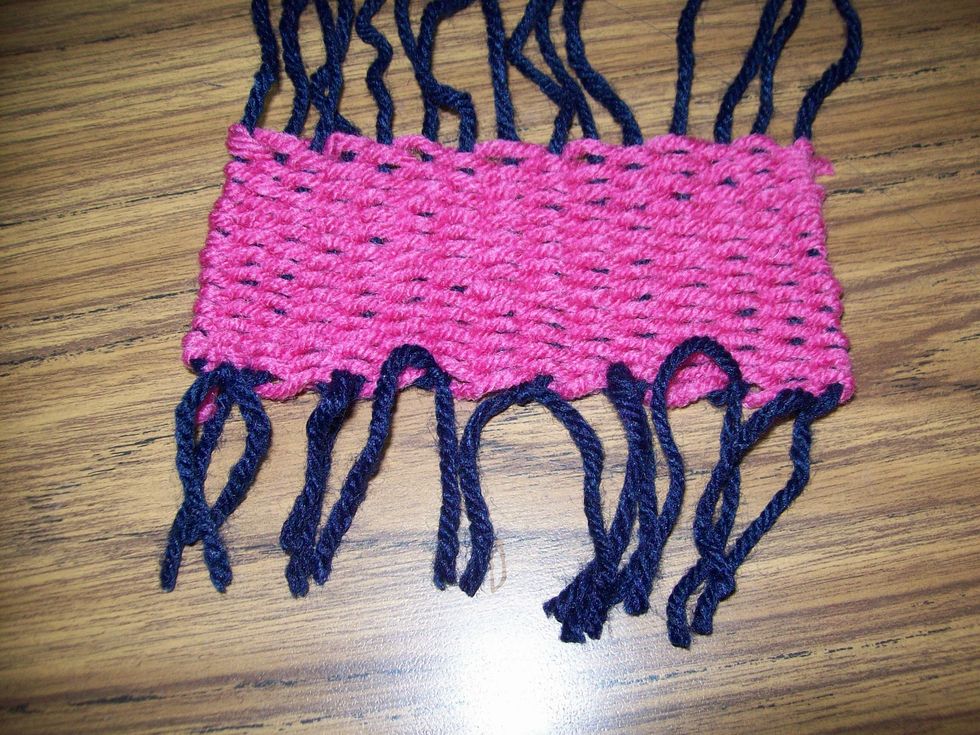
Tie the other side warp and trim to desired length. Congratulations!