The Conversation (0)
Sign Up
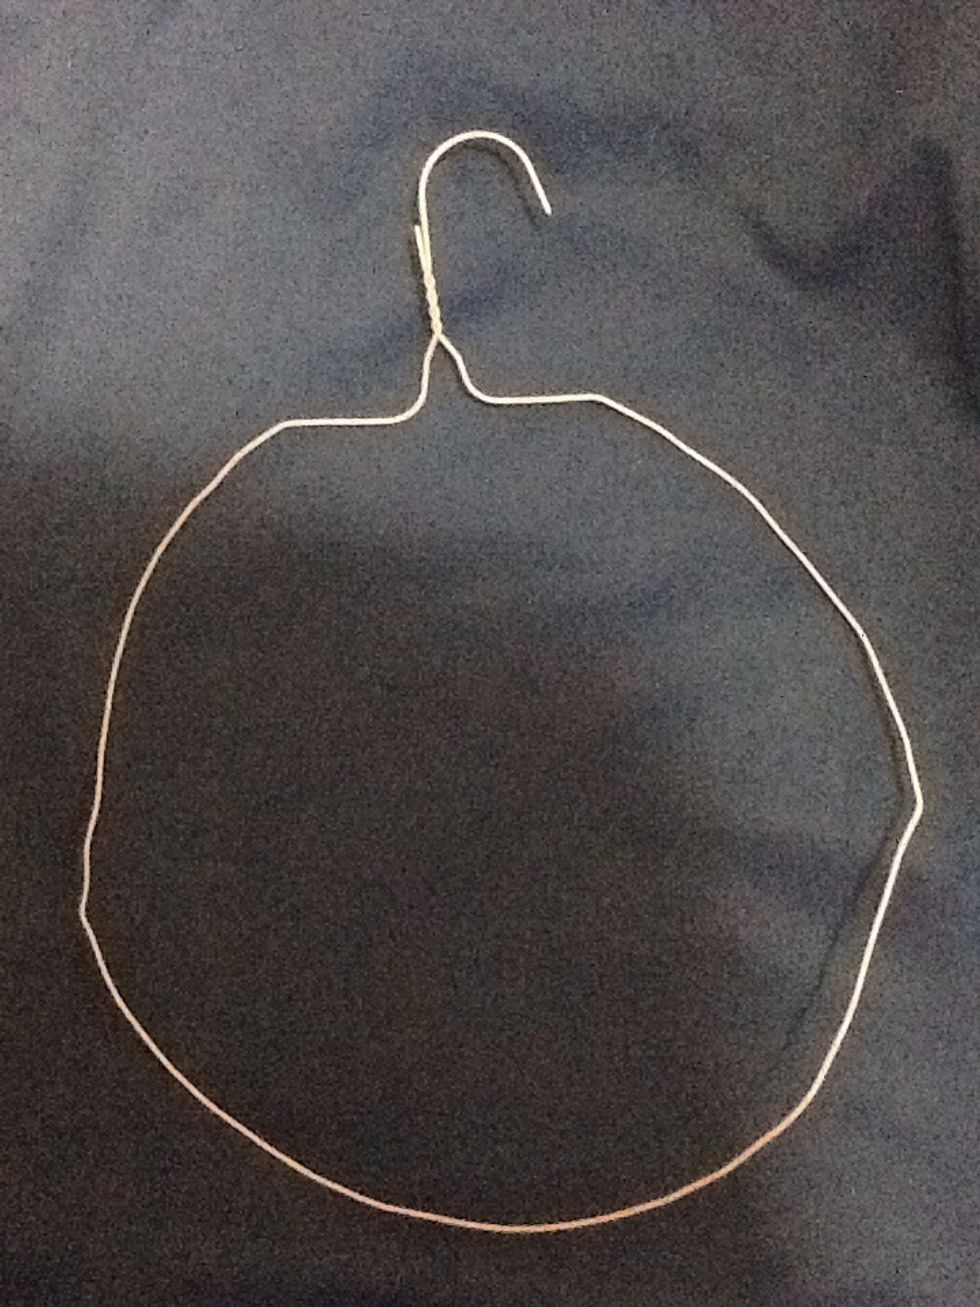
Bend hanger into circle shape.
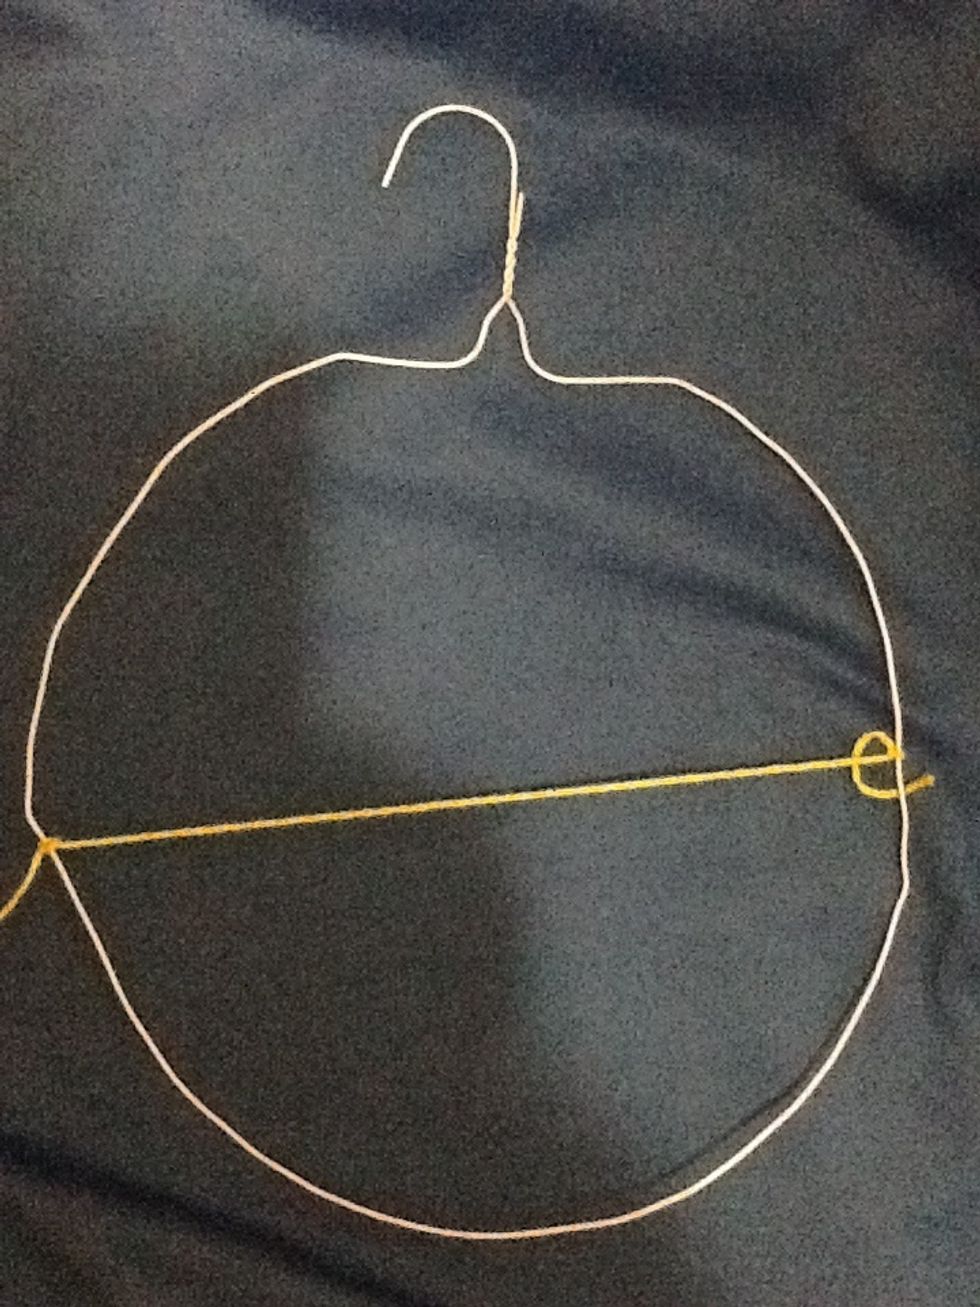
Tie a piece of yarn across the middle (diameter). Make it taut. Leave some yarn at end just in case.
Tie a piece of yarn to cross the first piece (perpendicular).
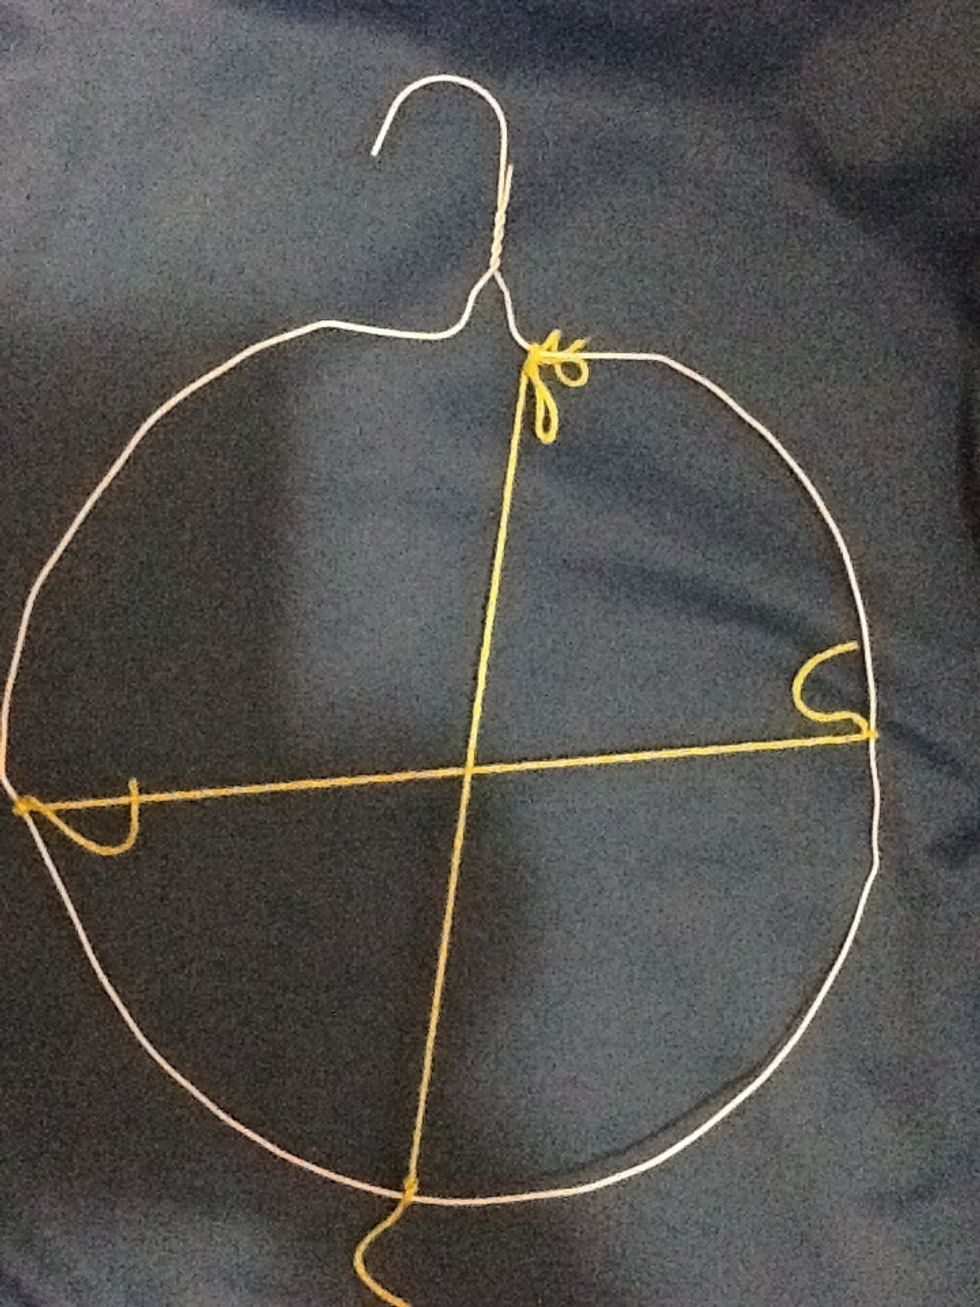
Continue tying yarn until you have 16 segments (think pieces of pie). These strings are called the warp.
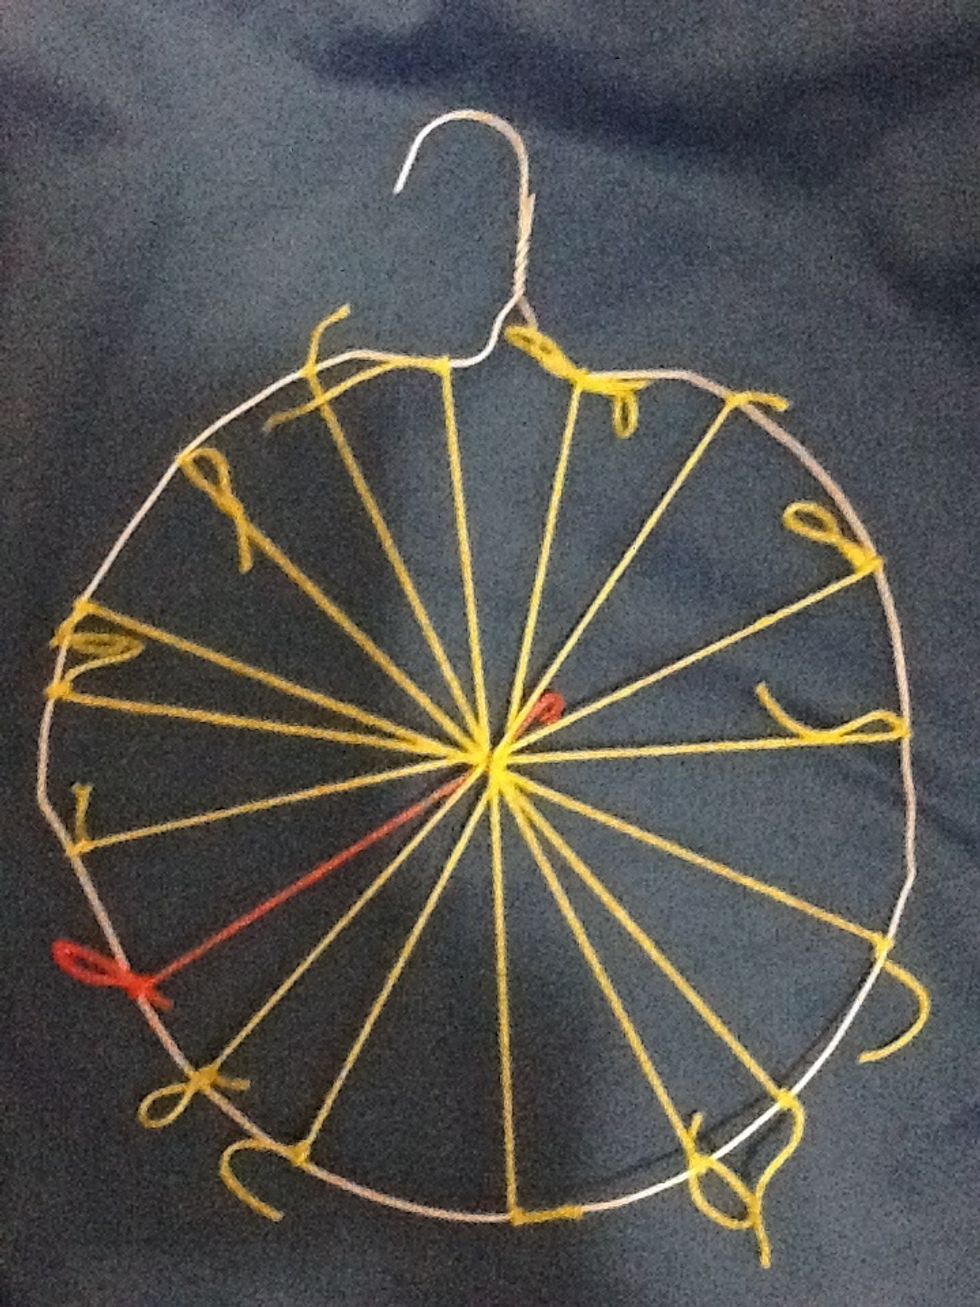
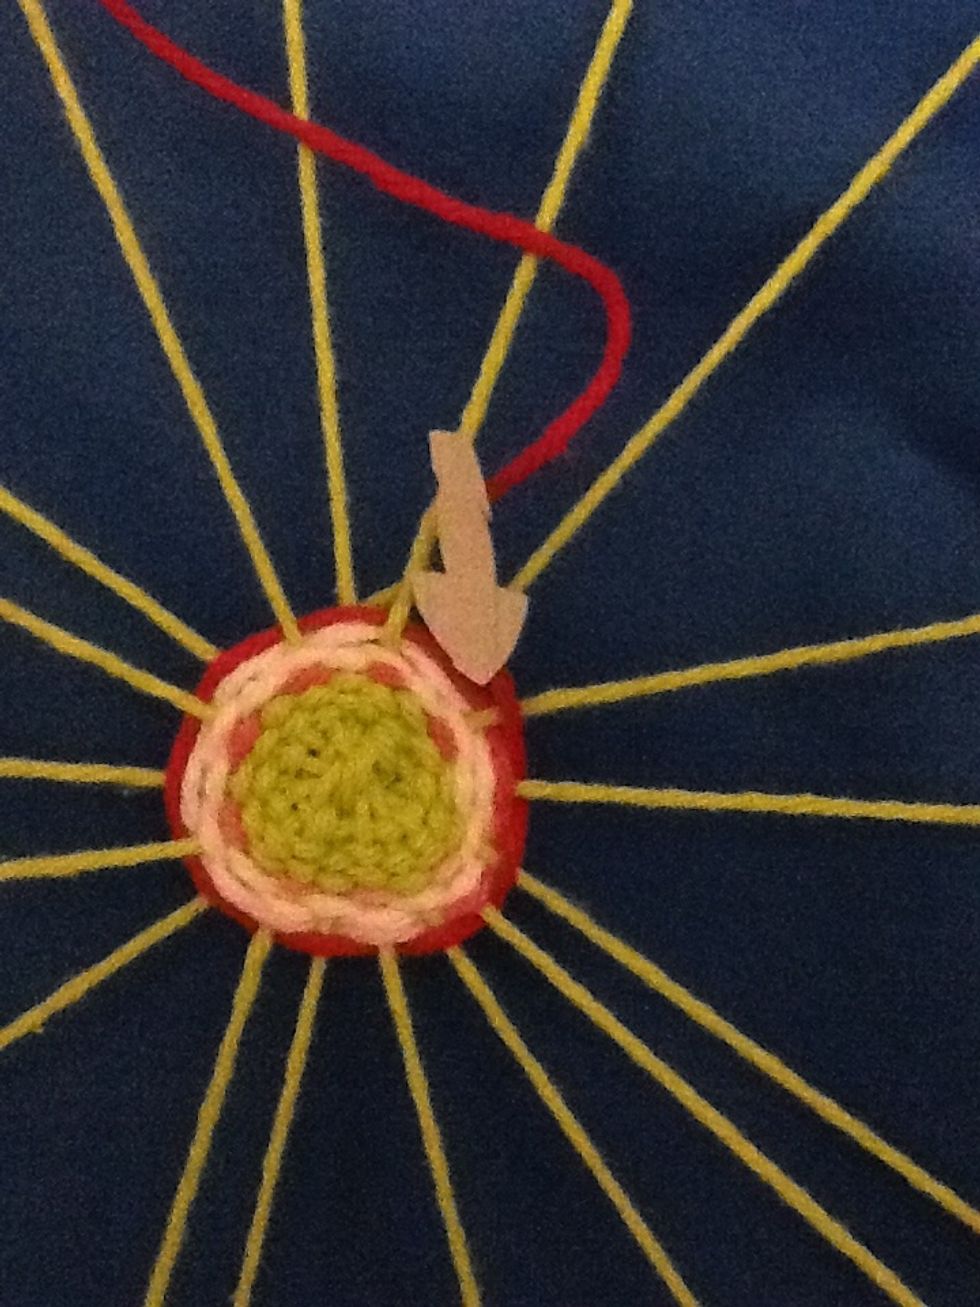
Add one piece of string and tie together the middle strings and tie the other end to the hanger (radius). It's a different color here just to show you where it is. You need this odd number to weave.
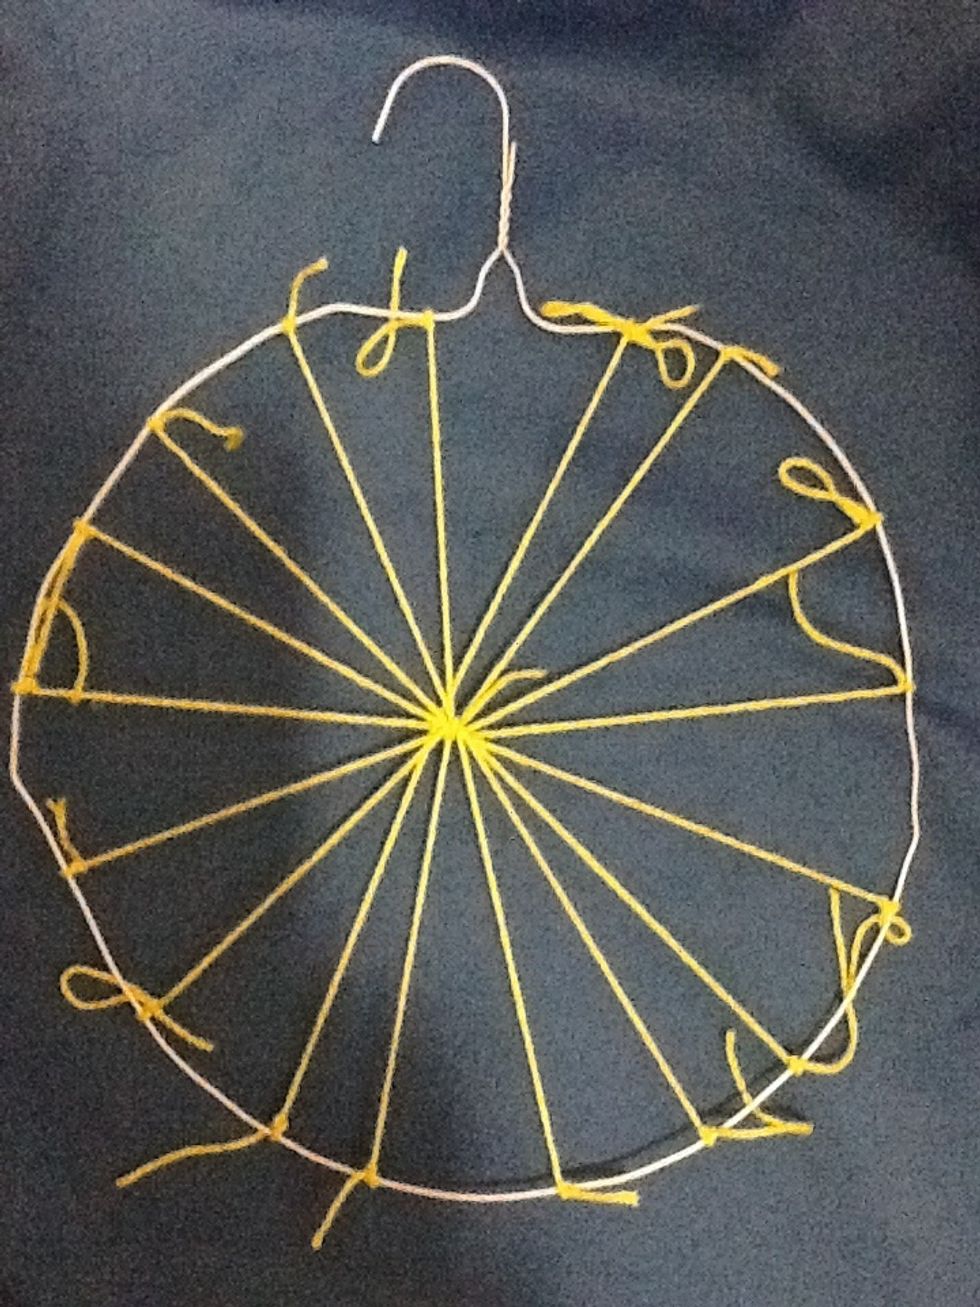
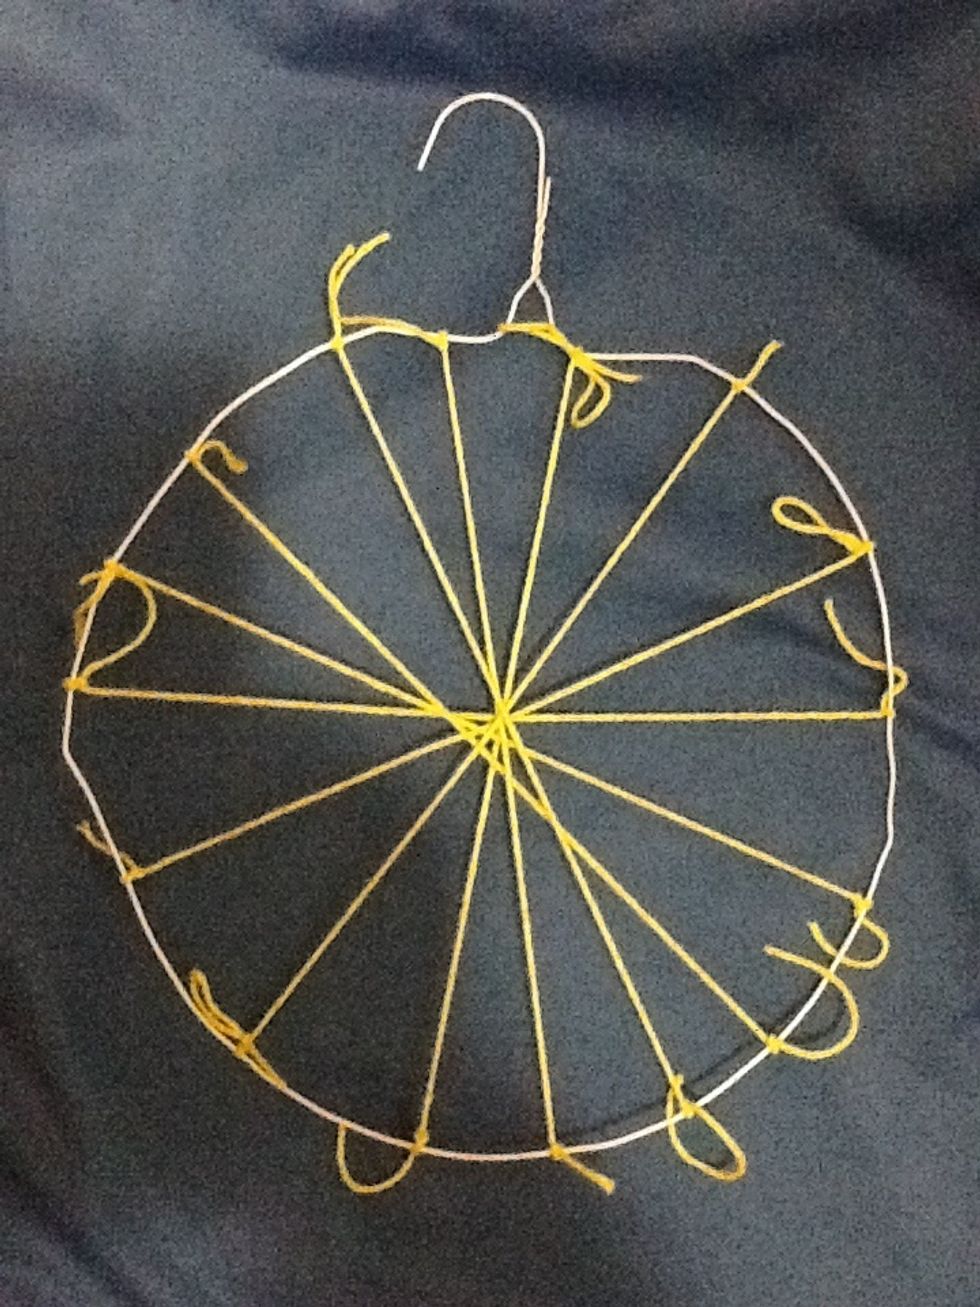
You should end up with something that looks like this. This is called a loom.
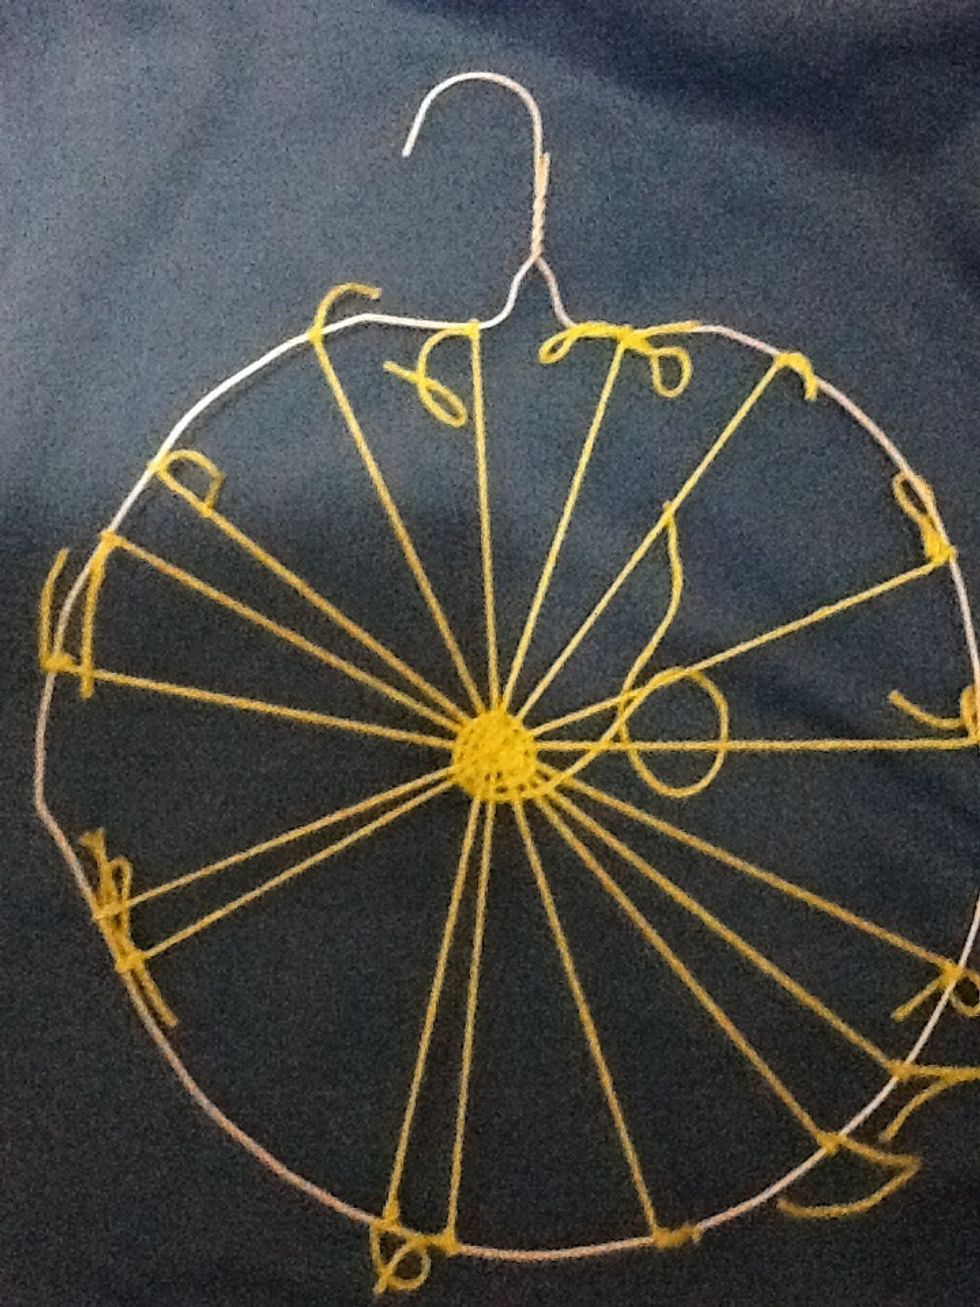
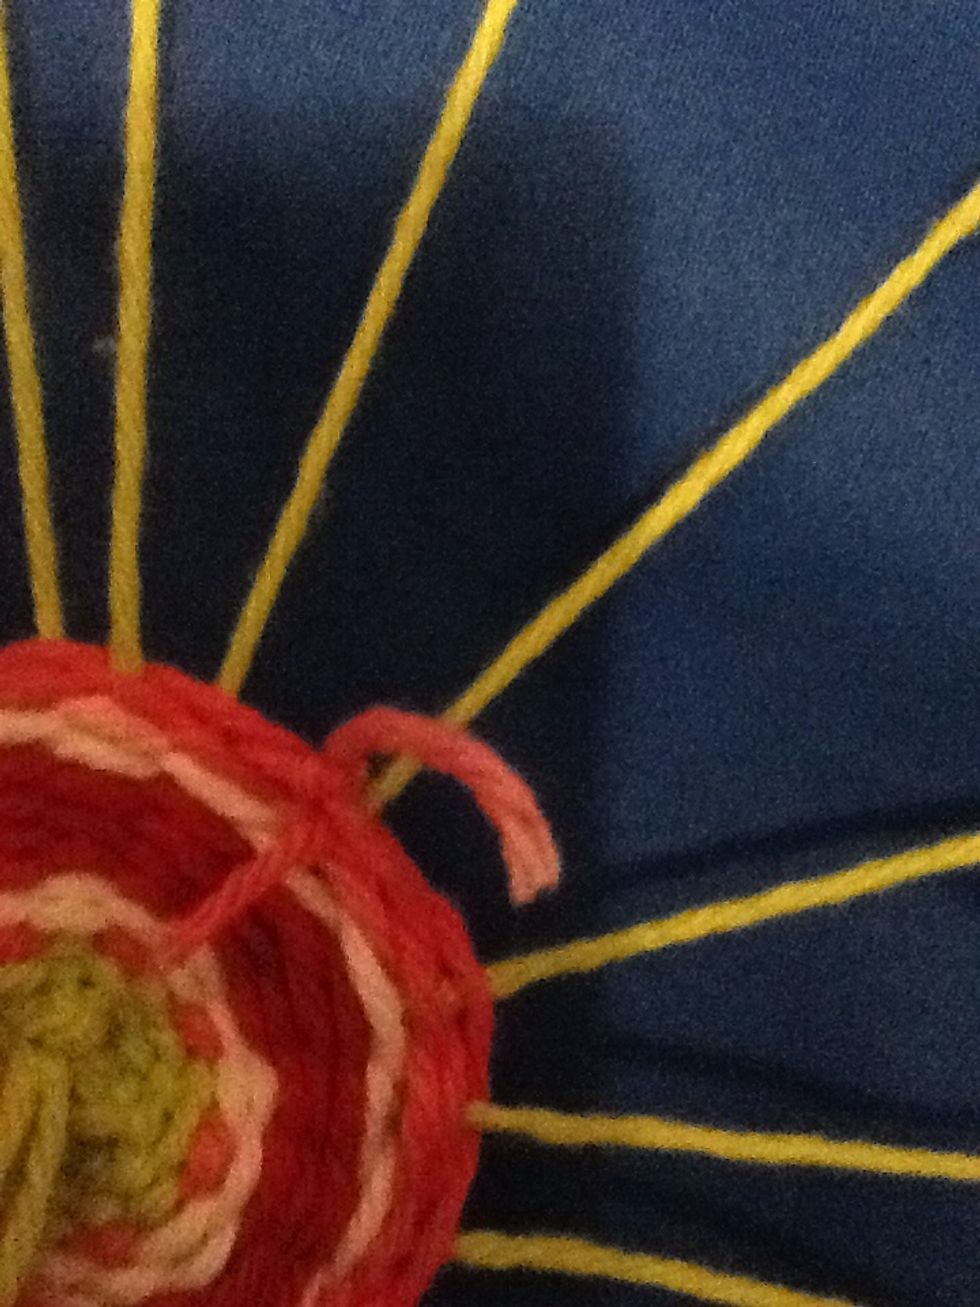
Cut a piece of yarn and tie it to the center of the loom. Weave under and over the spokes around the loom.
It should look like this. This string is called the weft. Think wEave to remember wEft.
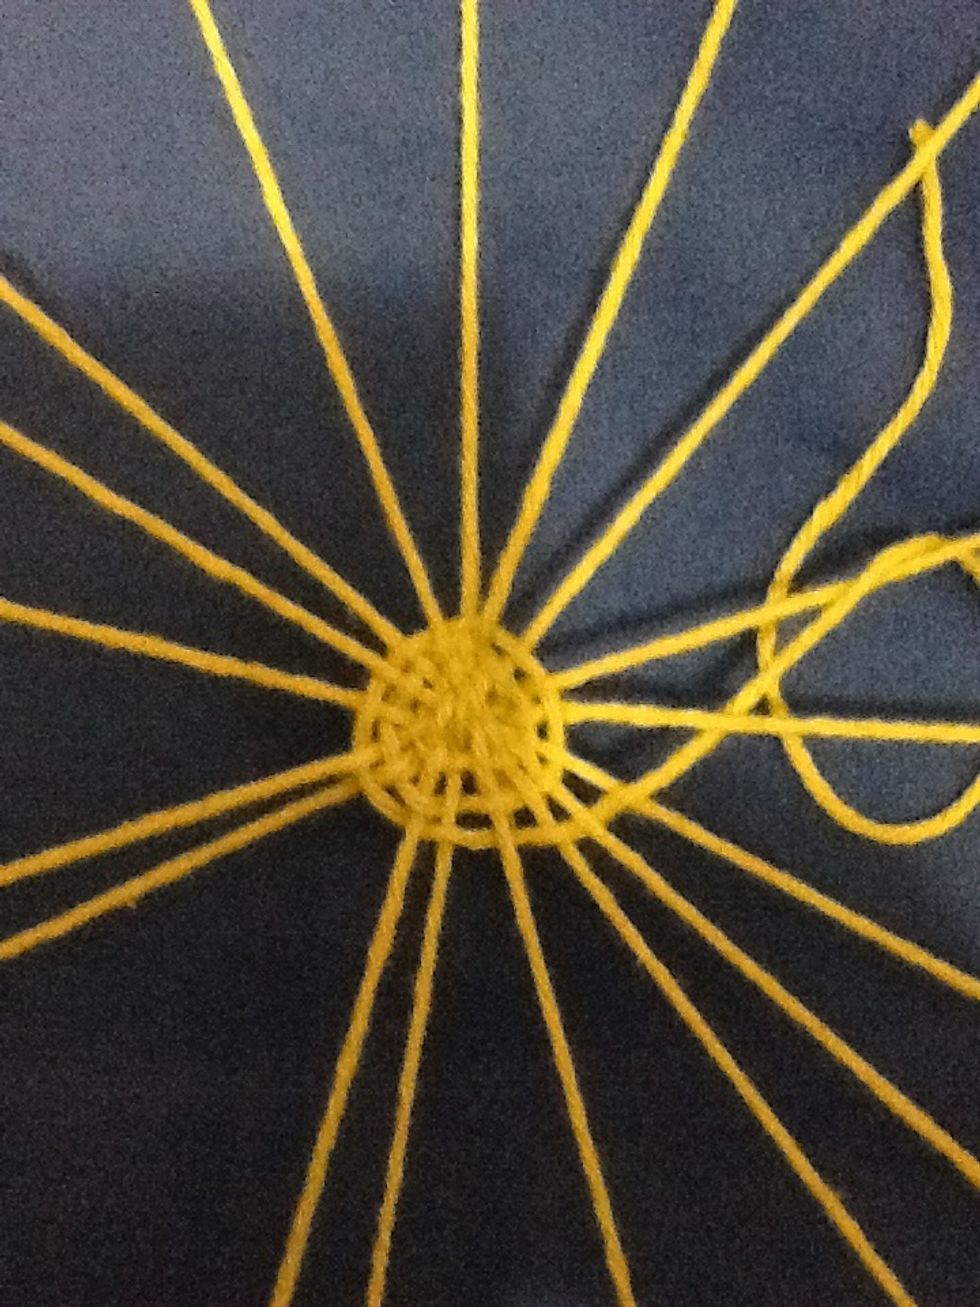
Be careful to go over and under continuously. Here you see a step was missed and two strings are both under. Pull out the yarn to where the mistake is and start over from that point if this happens.
When the yarn runs out, tie the next piece to the end and continue. As you go around the loom, make sure your knot stays behind your weaving.
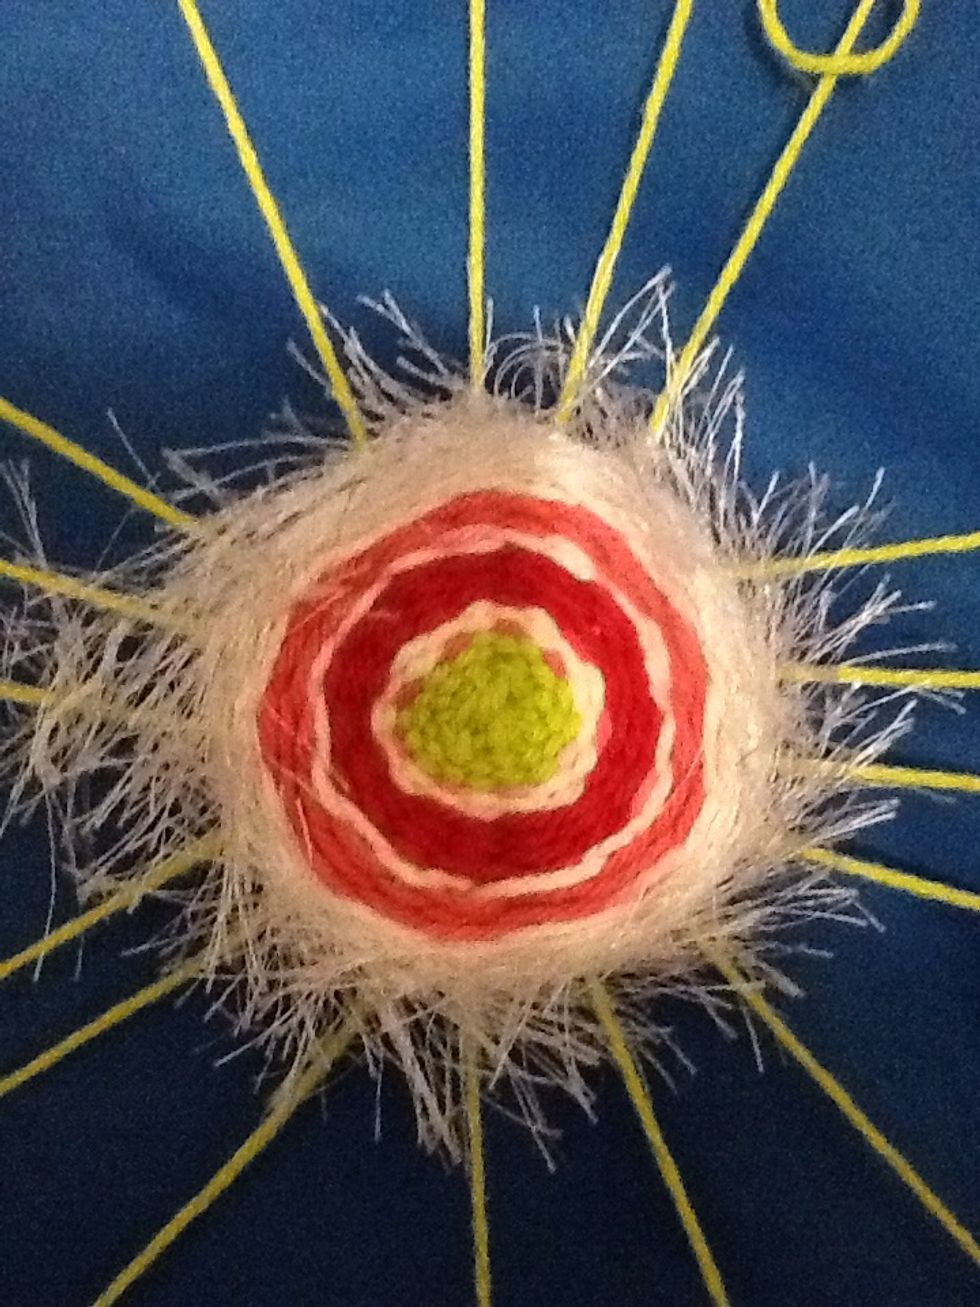
You can add not only different color yarns but also yarns with different textures. You can even add ribbon or anything you can weave around the loom.
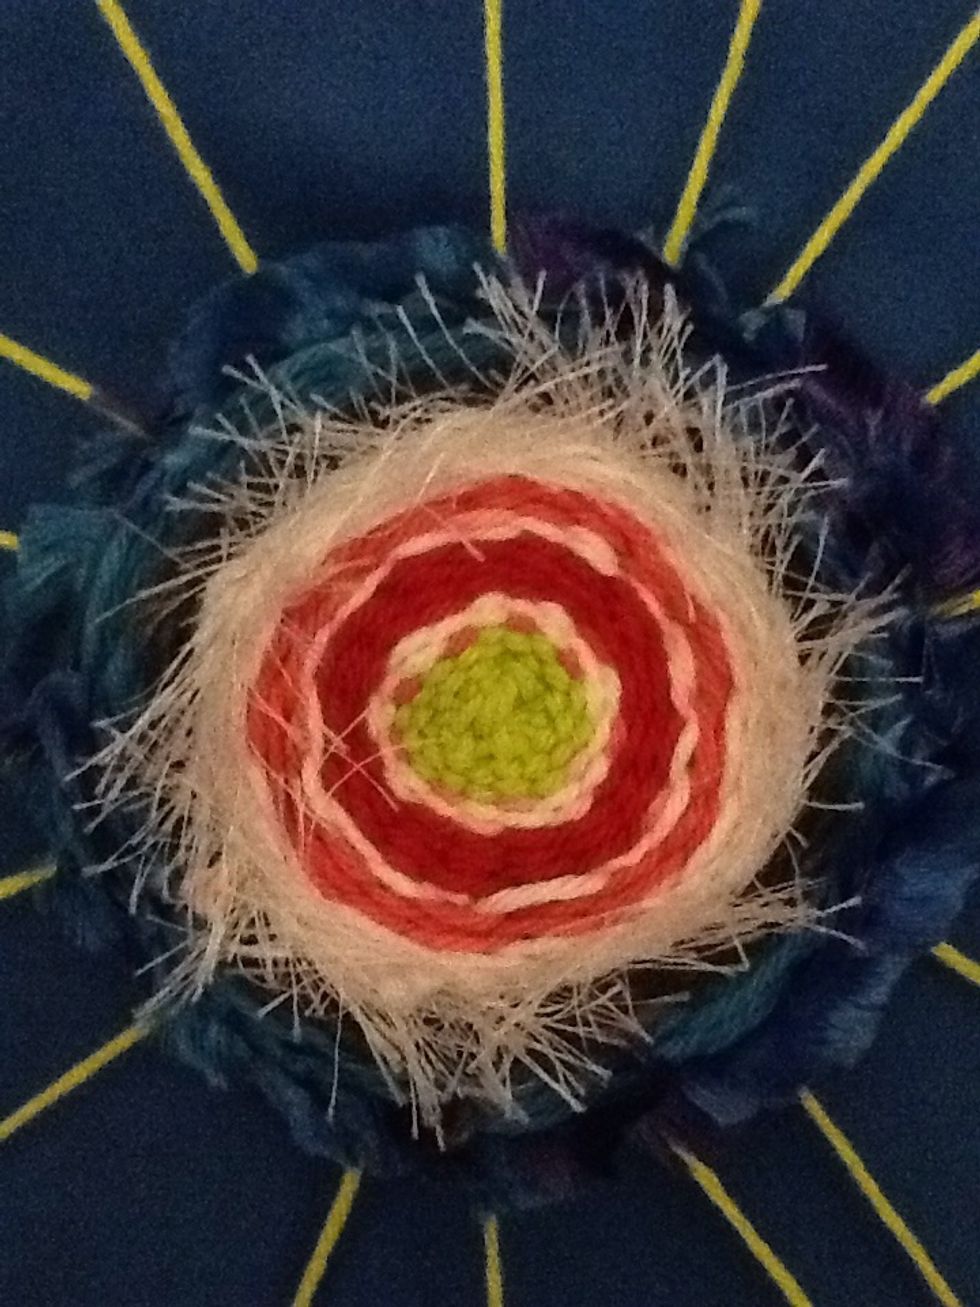
You can make your weaving small or large. When you have it like you want it, leave enough yarn at the end to tie onto a knot already on the back. Leave it on the hanger.