The Conversation (0)
Sign Up

Start with your painted Chinet plate.
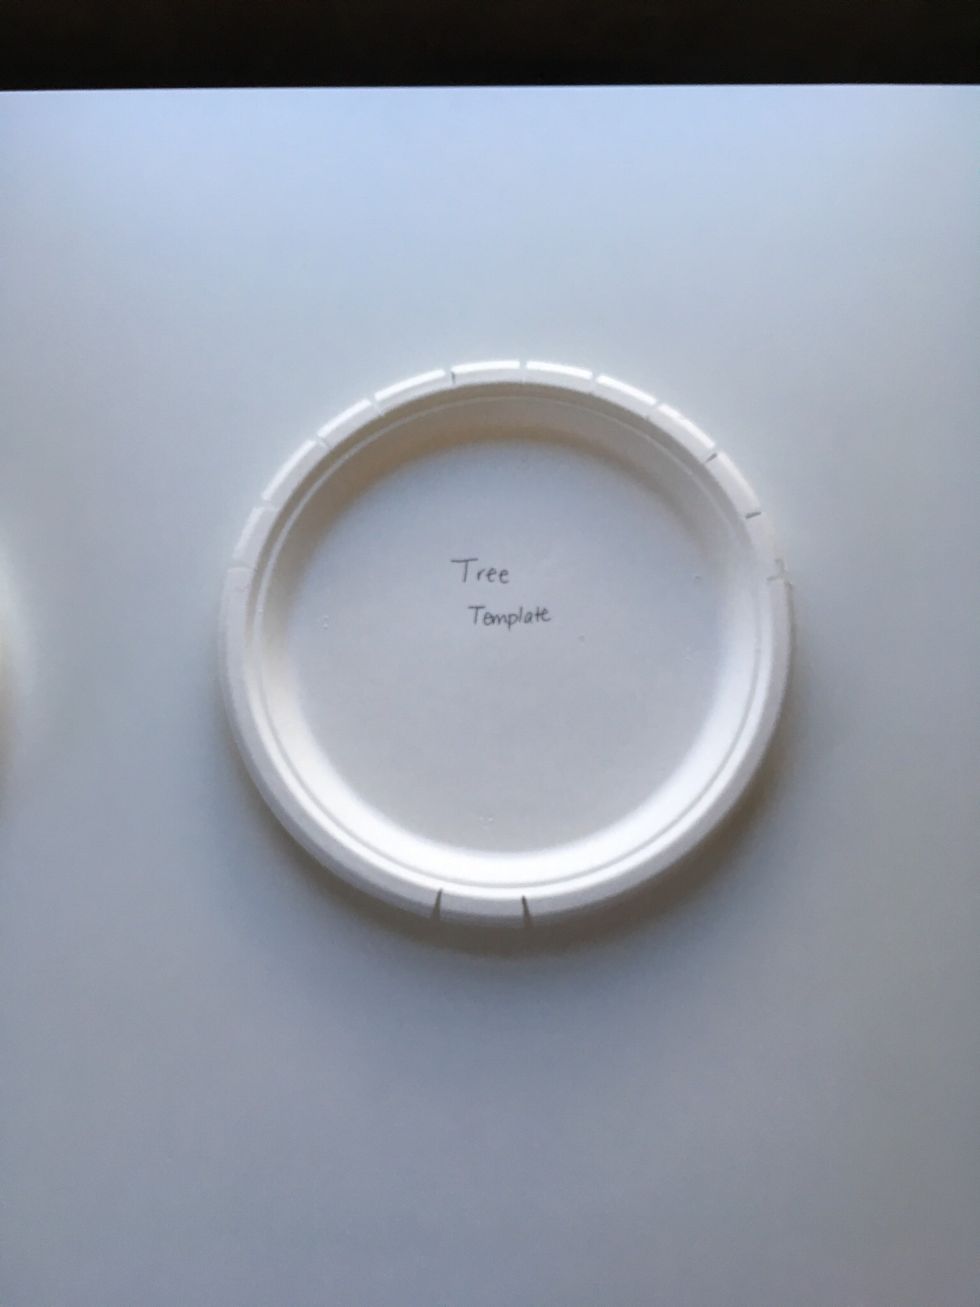
Get a tree template.
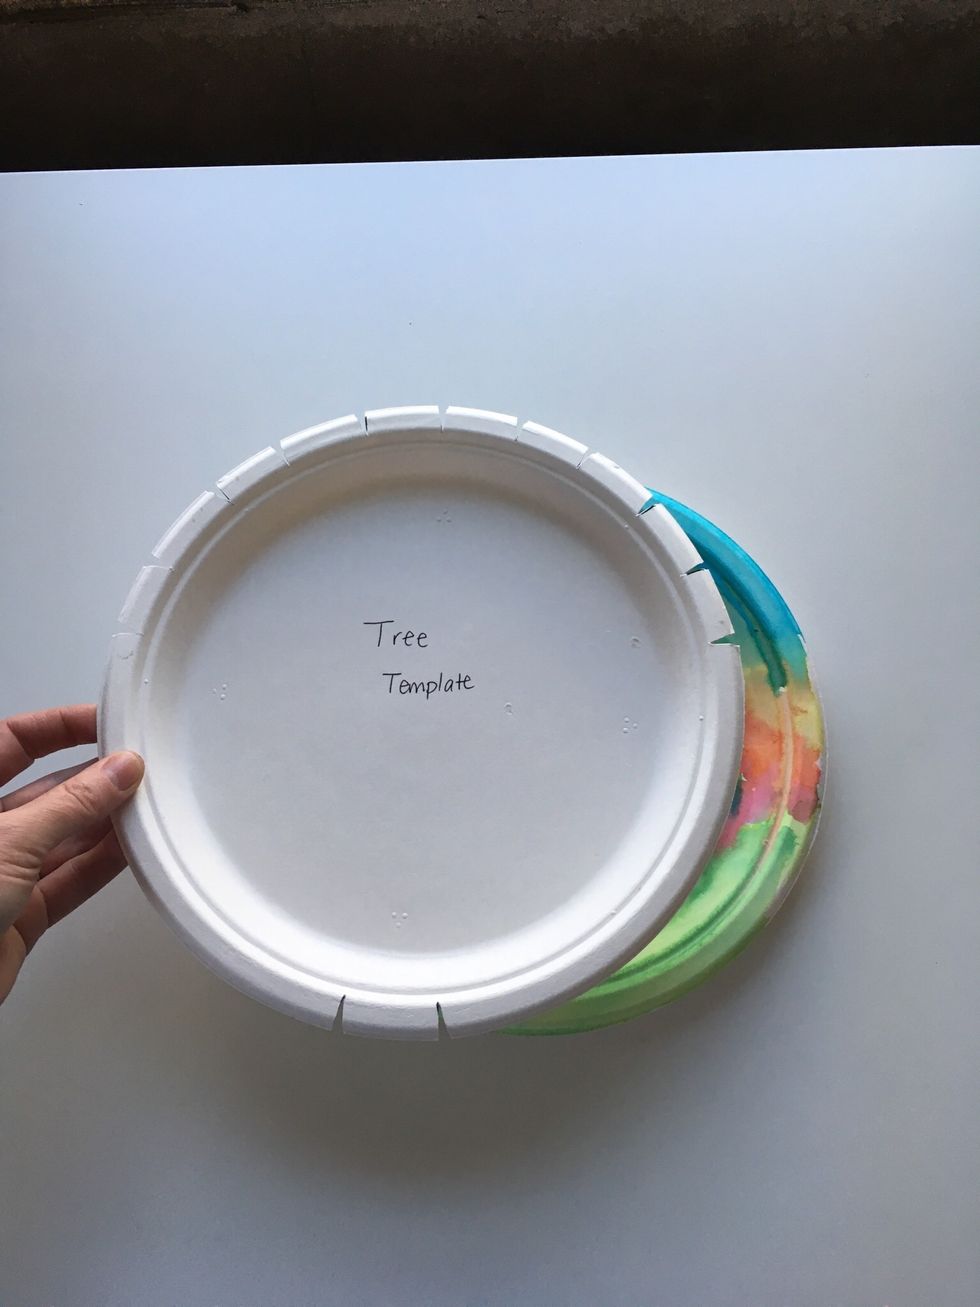
Line up your tree template so that the two bottom marks are at the bottom of your painted plate.
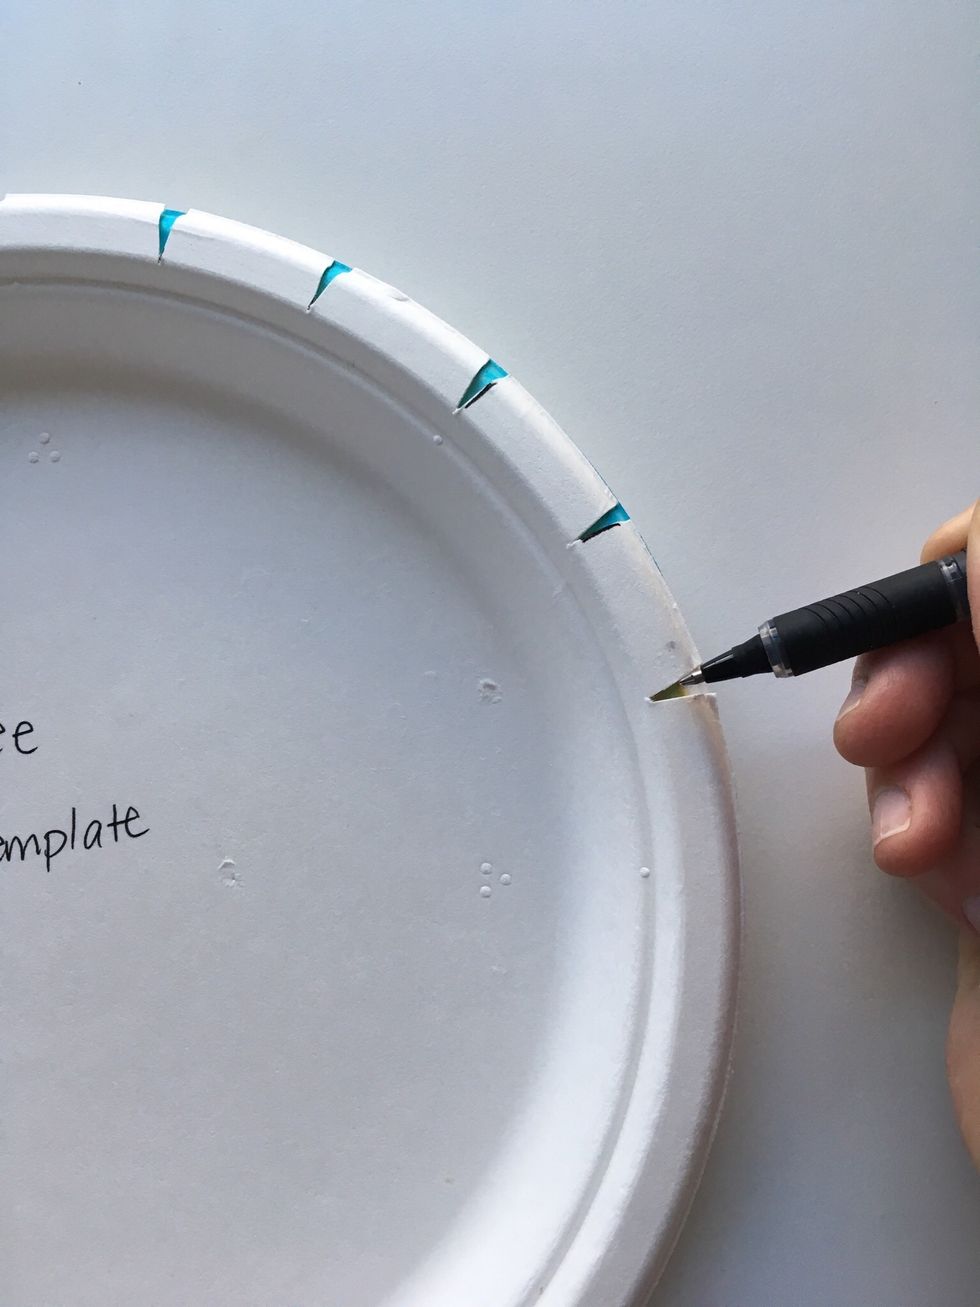
Mark each slot in the template with a marker or pencil onto your painted plate.
See all of the marks line up.
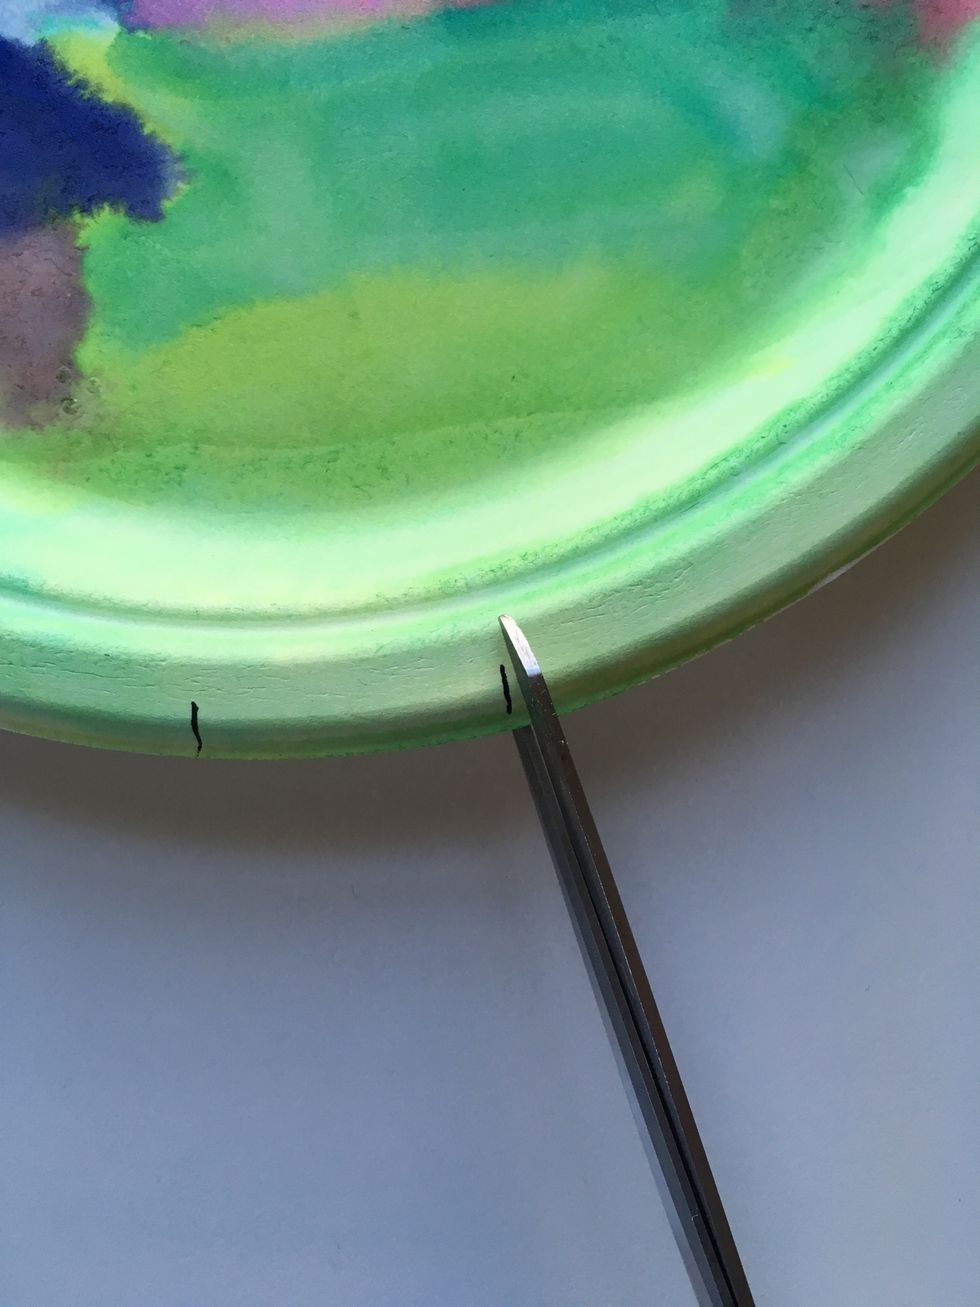
Cut each mark with 2 snips making a V shape.
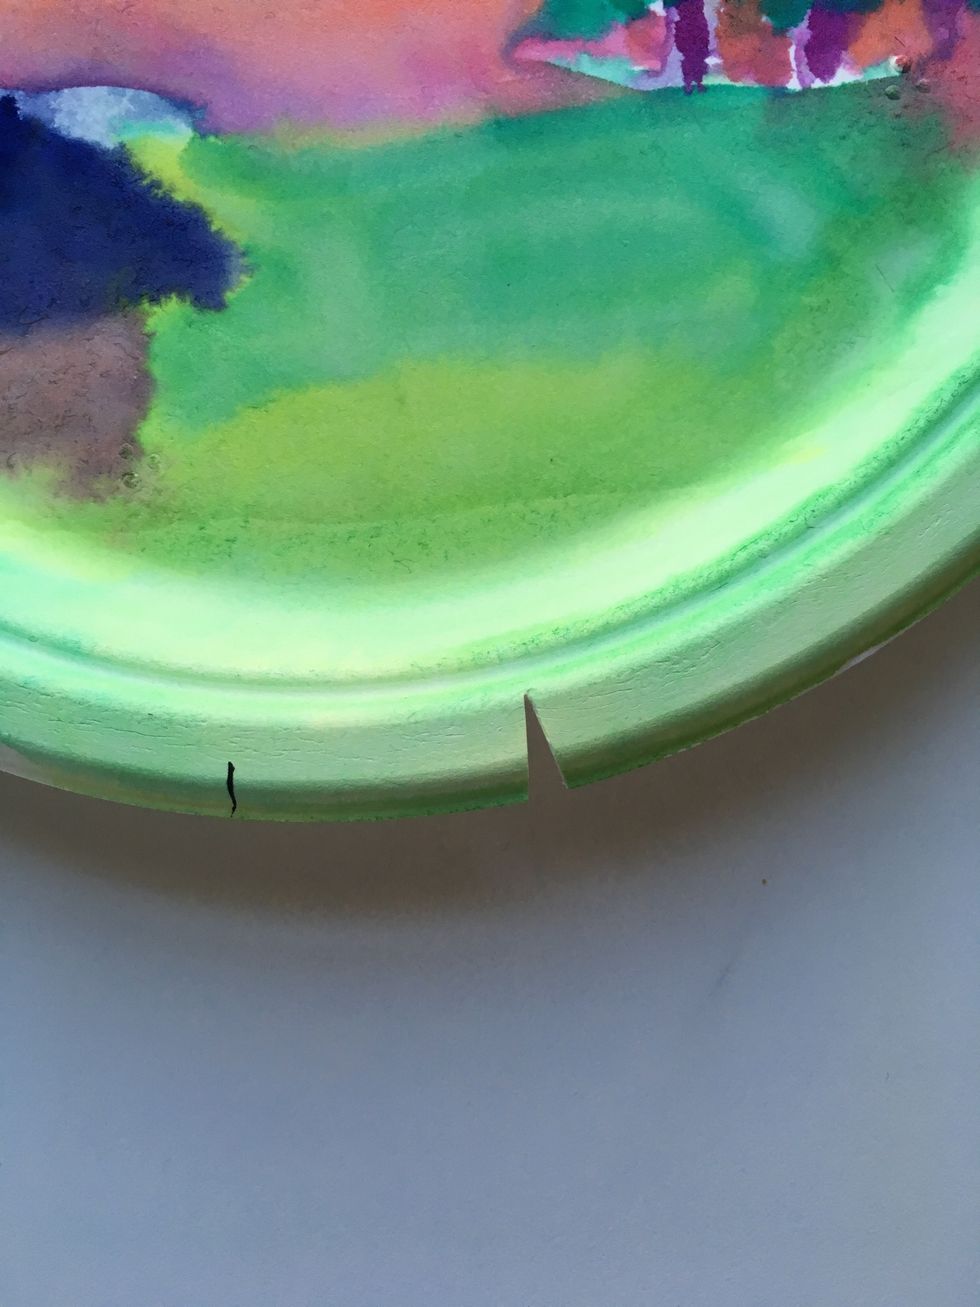
See the V shape.
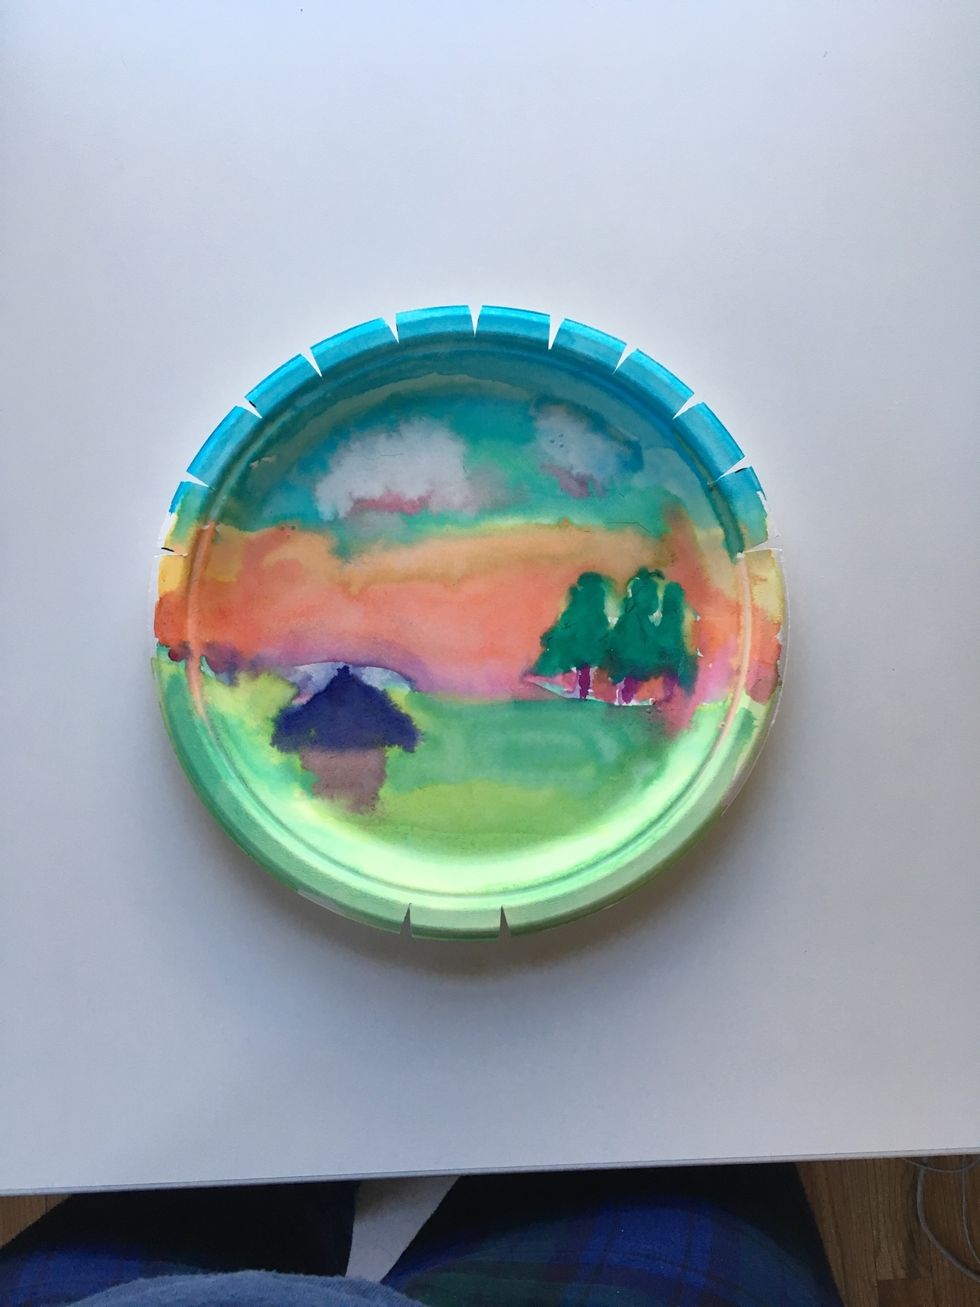
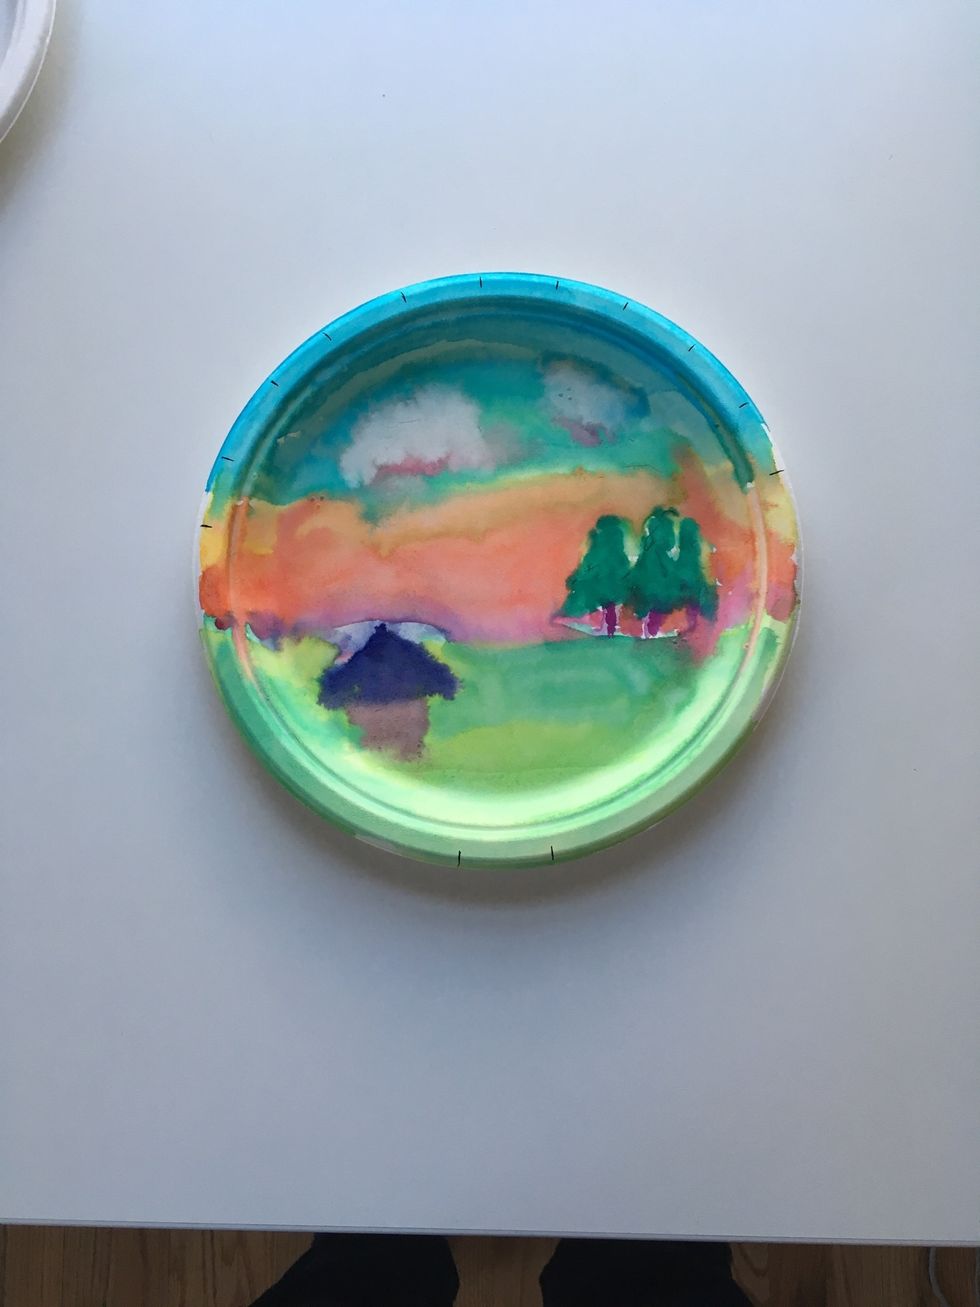
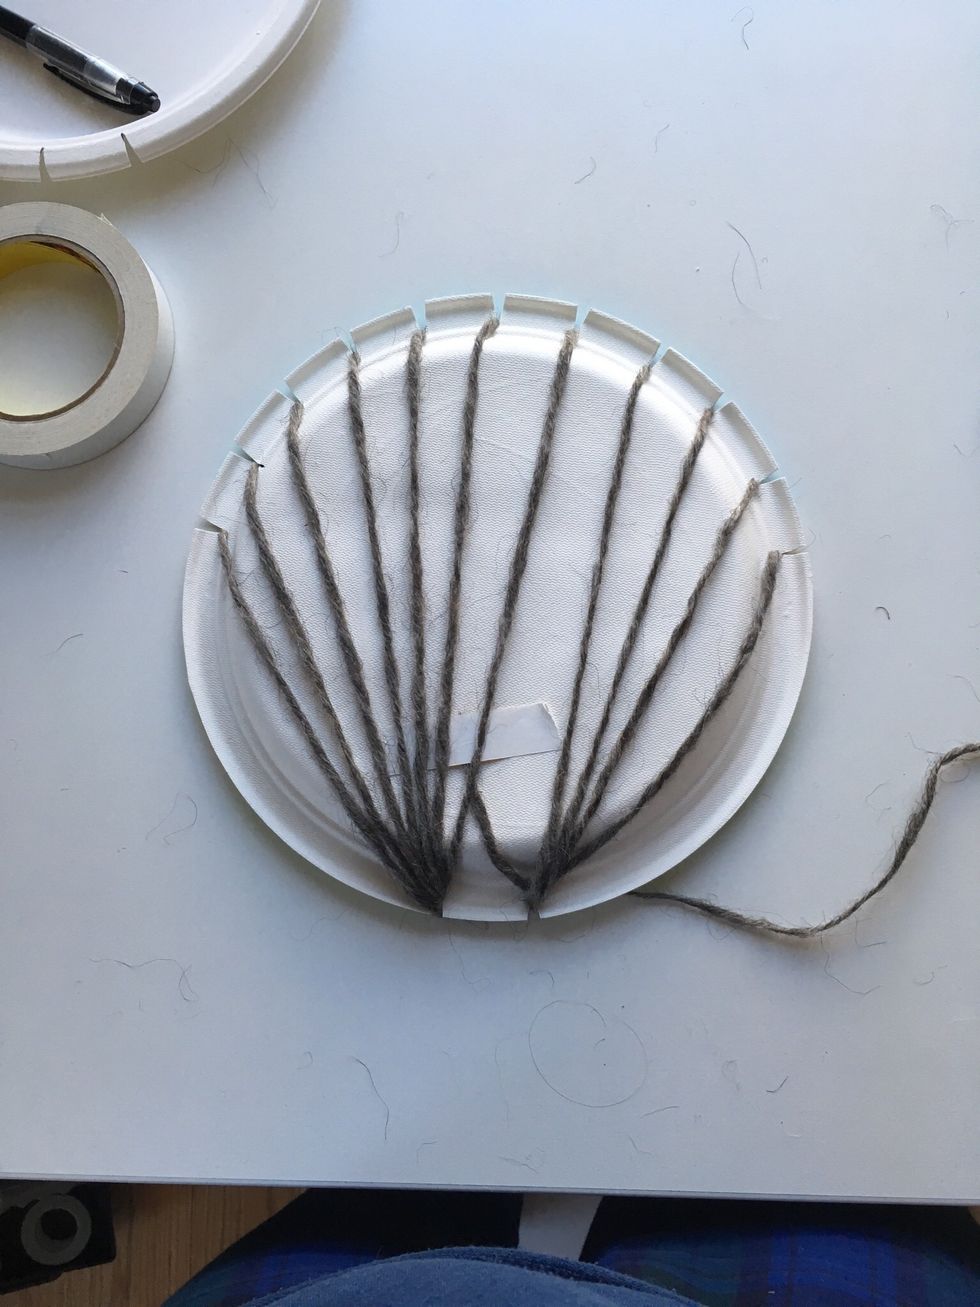
Done! All my marks are now slots.
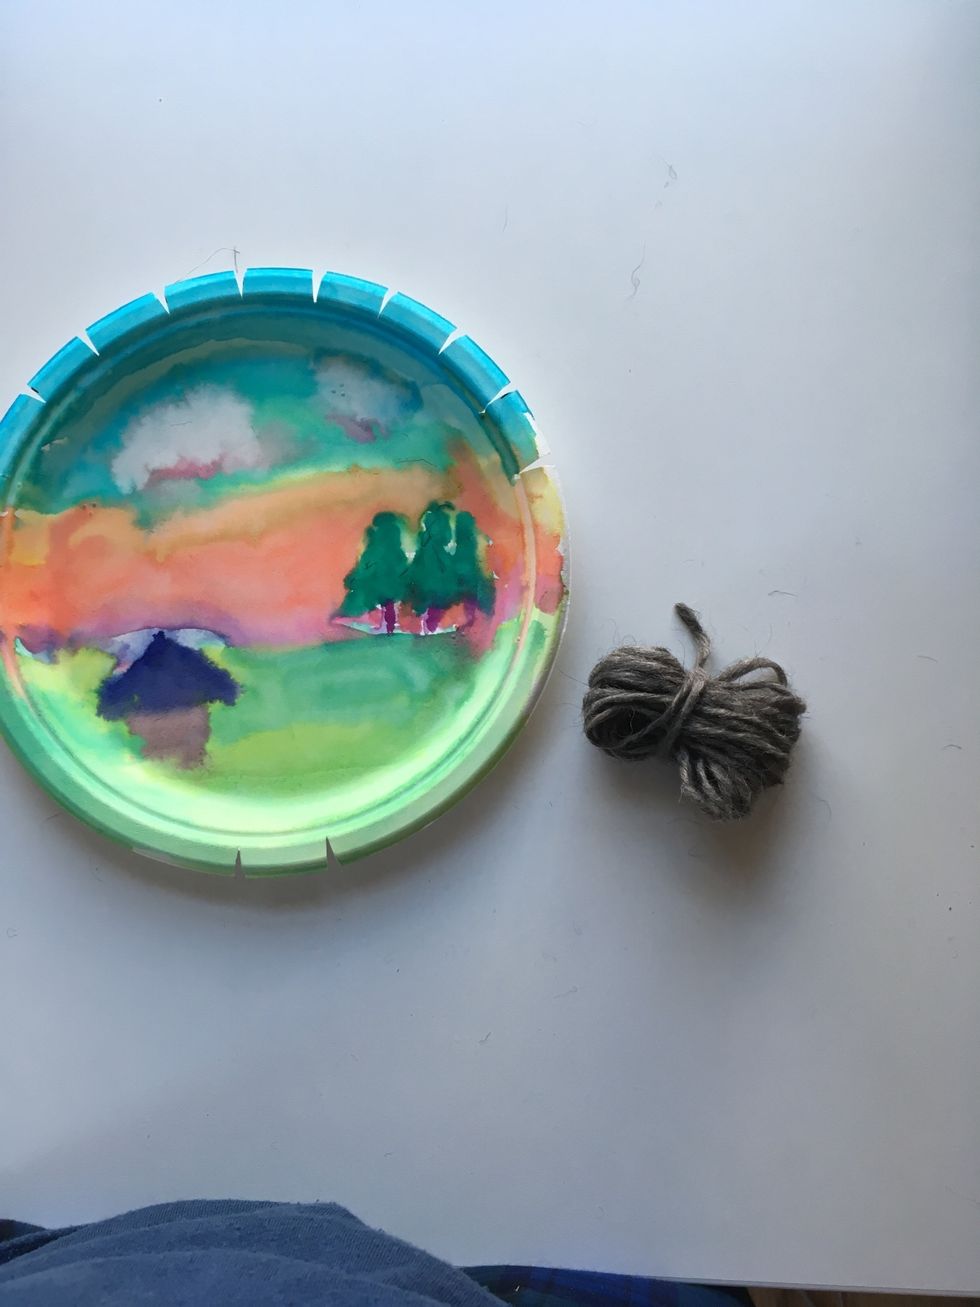
Get a pre-cut yarn from Mrs. M.
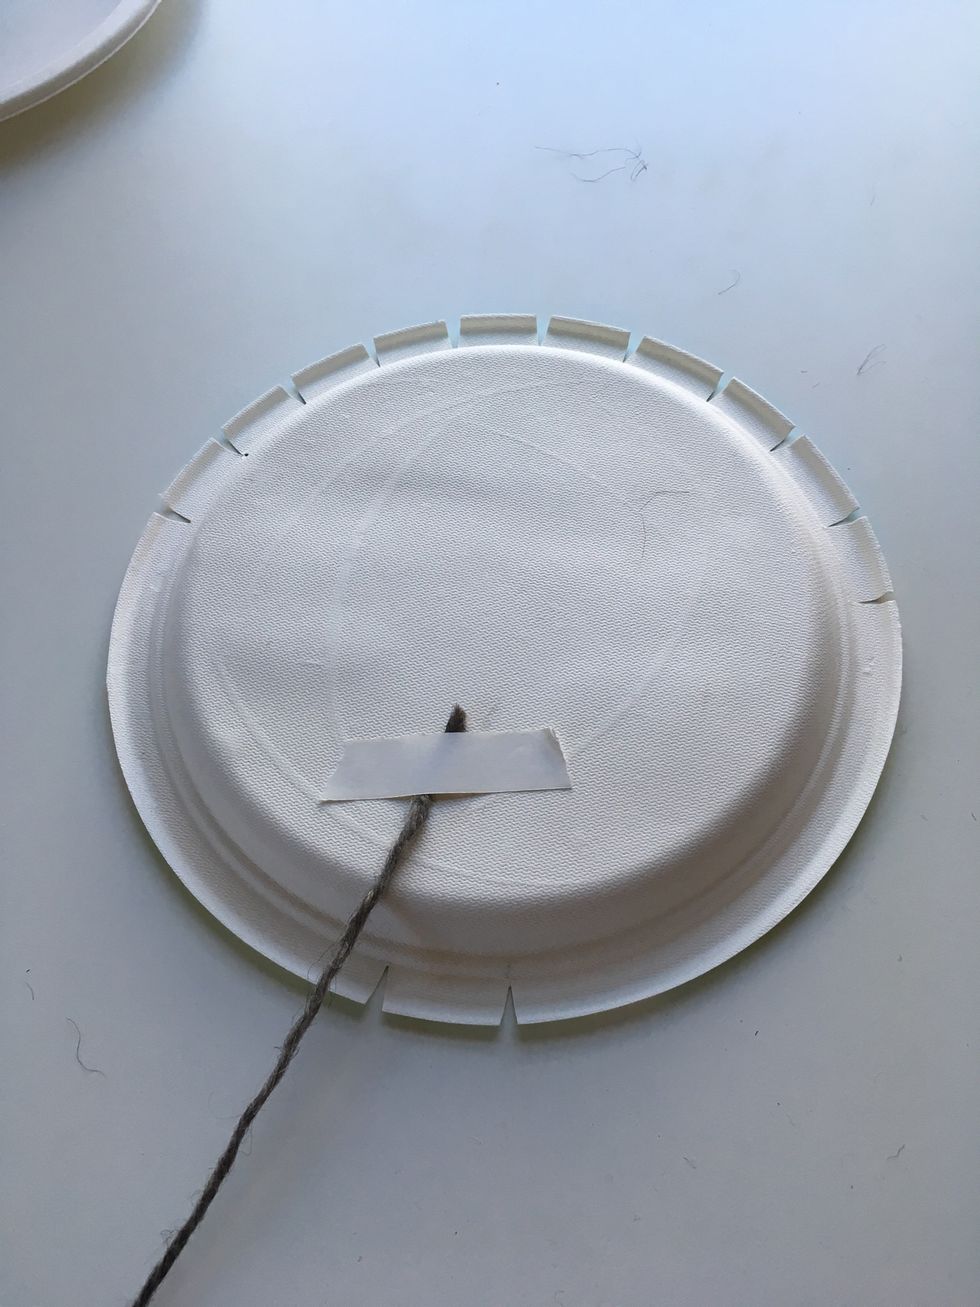
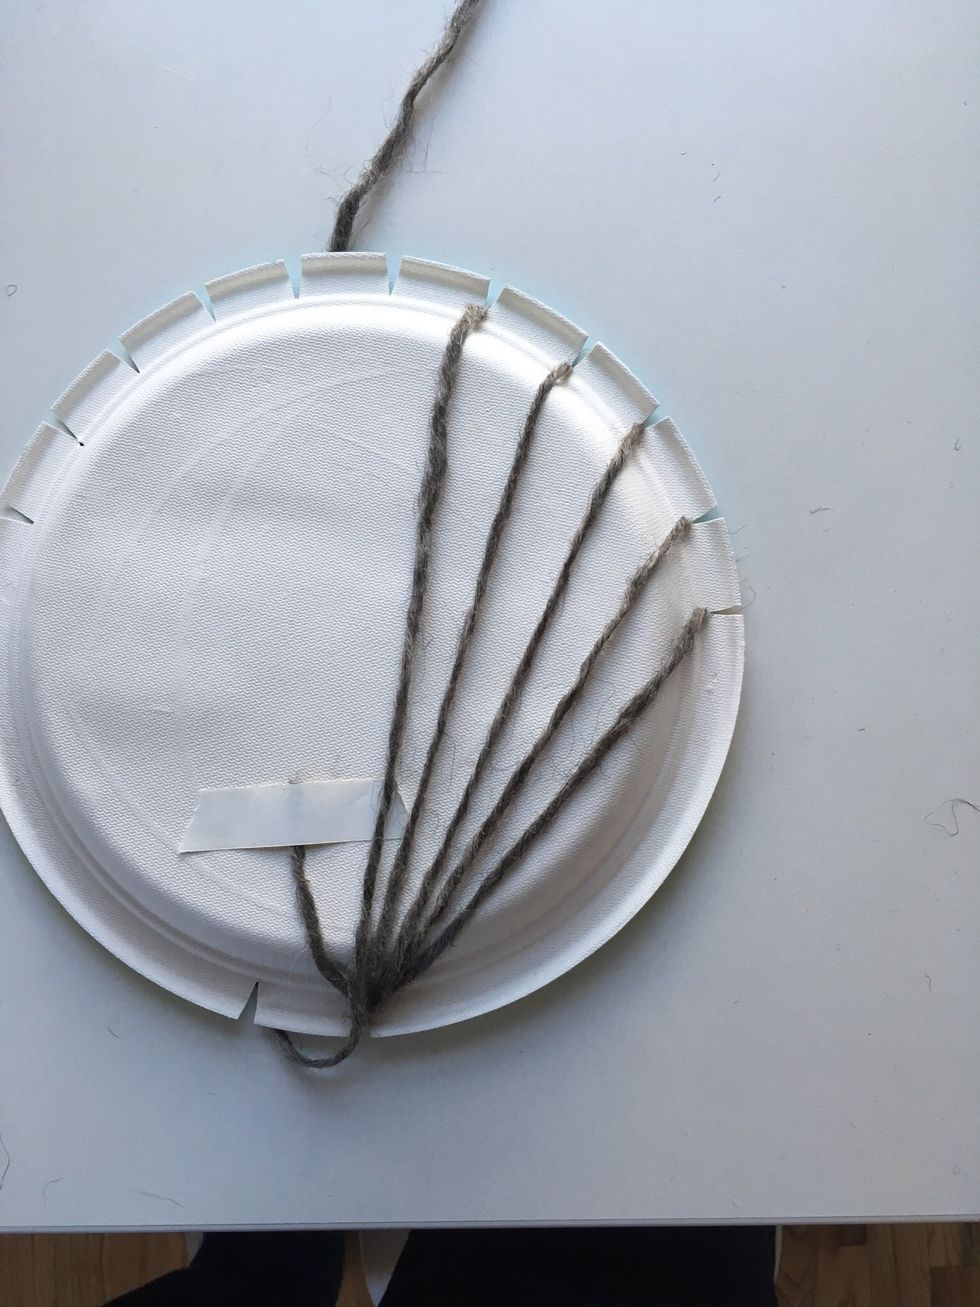
Find one end of the yarn and tape it to the back of your plate.
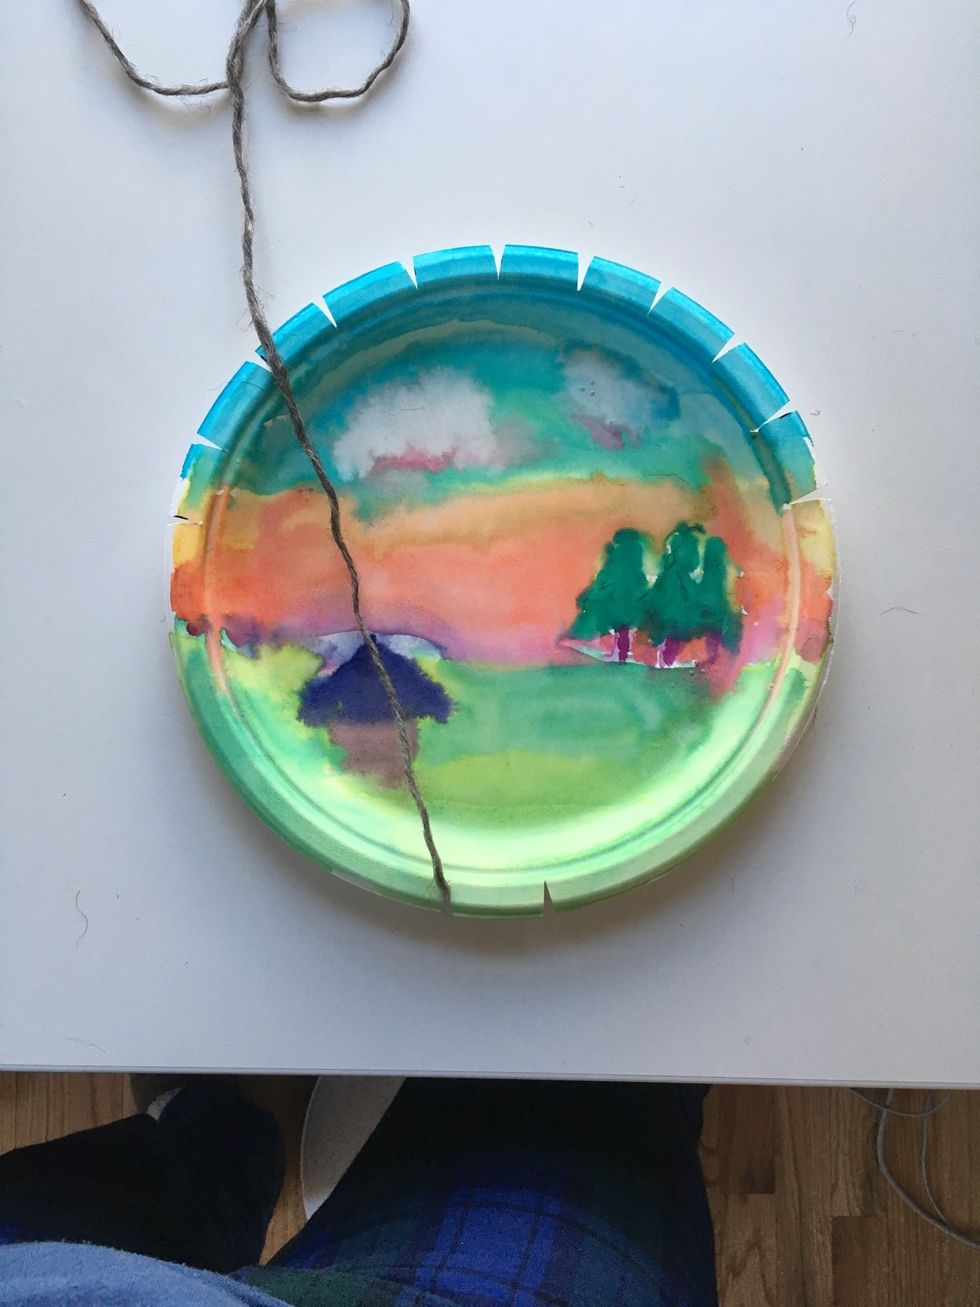
Bring your yarn through the bottom left slot and turn your plate to the front.
Wrap your yarn LOOSELY to the first slot on the left on the top of your plate.

Keep going wrapping your yarn LOOSELY around your plate.
This is the back so far.
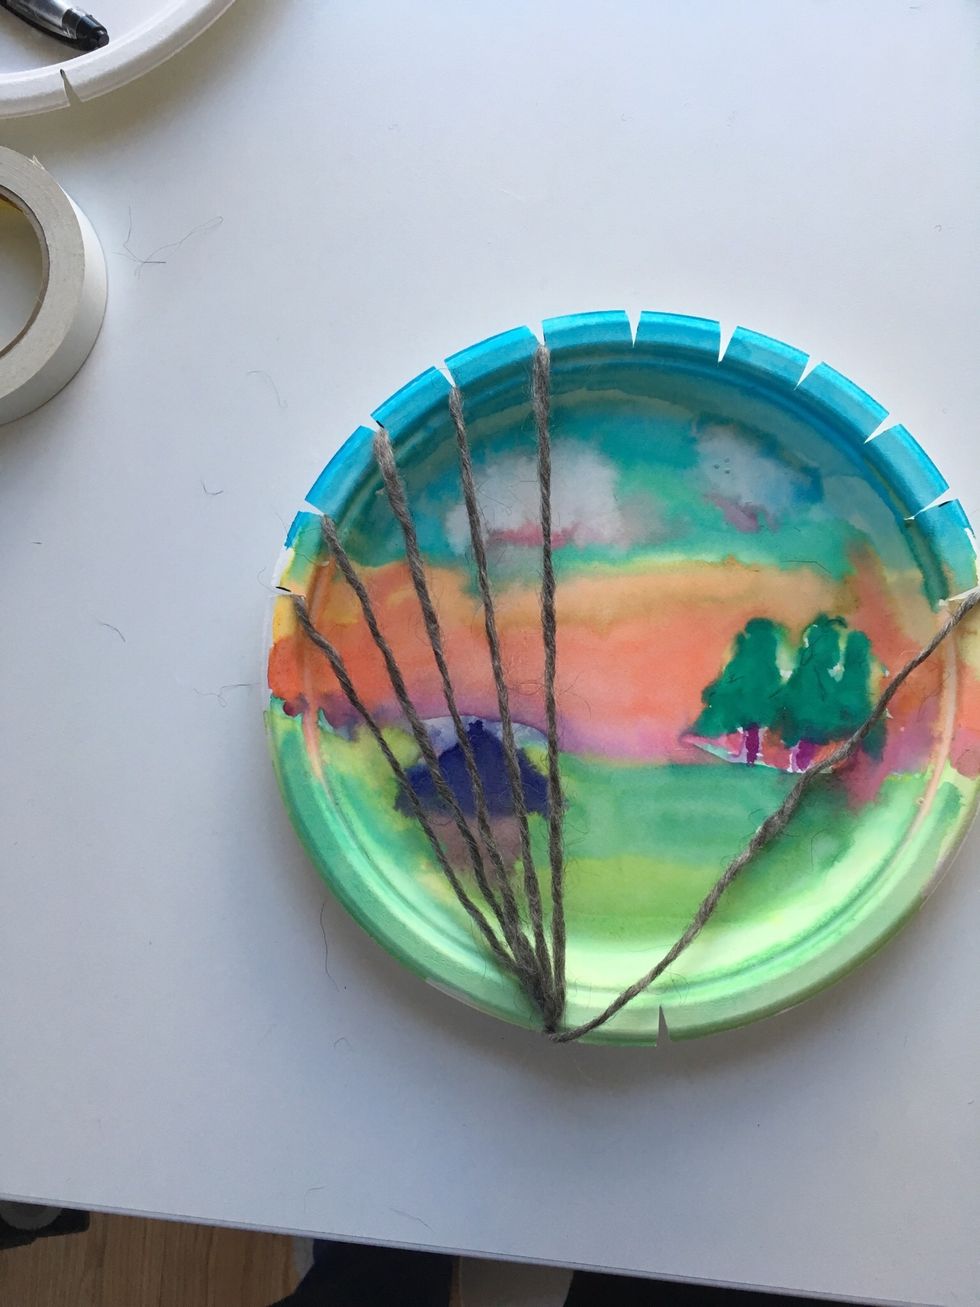
Keep going until you get to the middle.
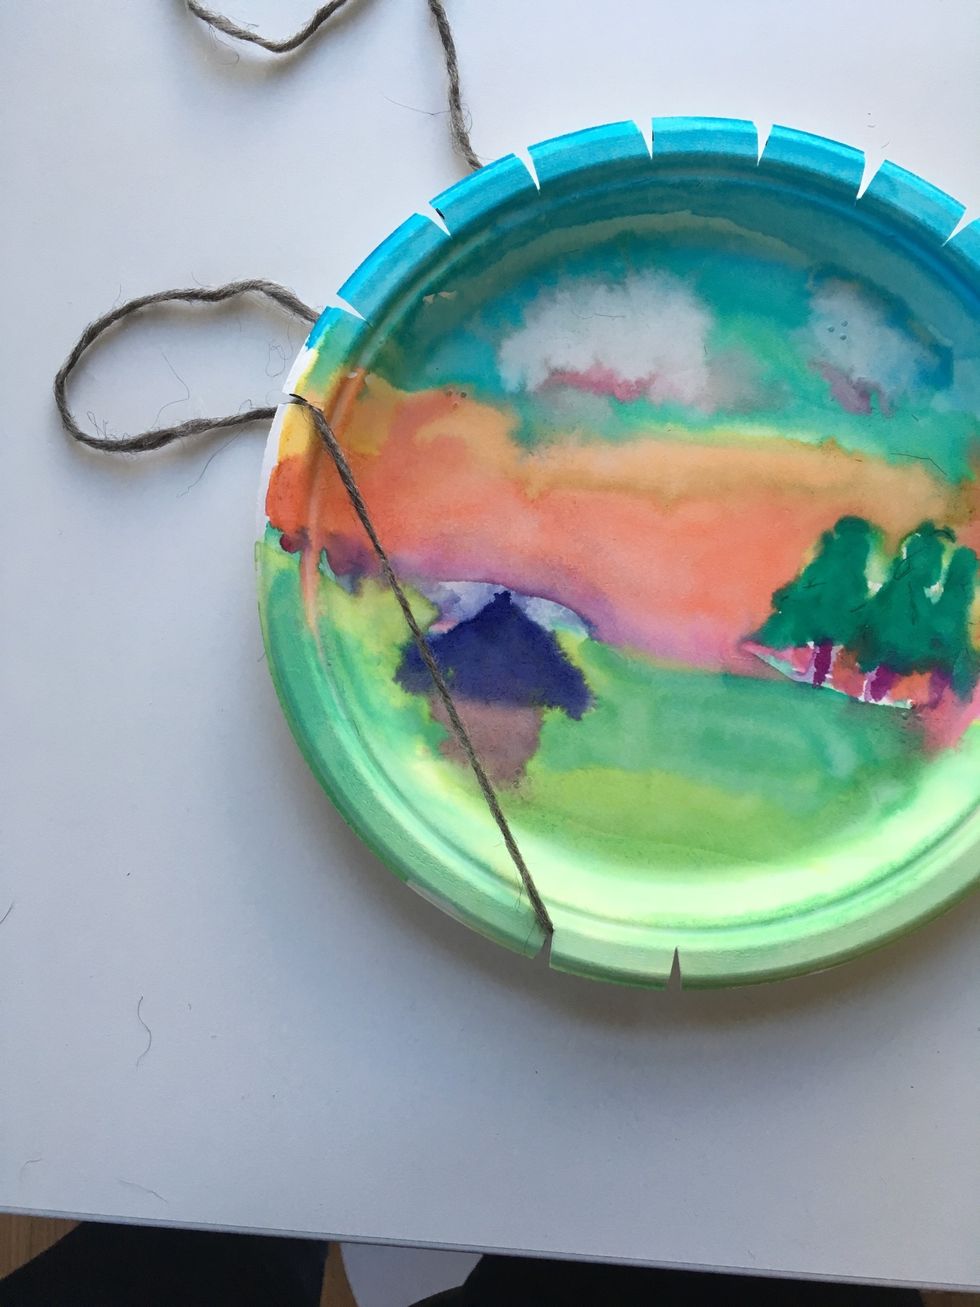
Check the back from time to time.
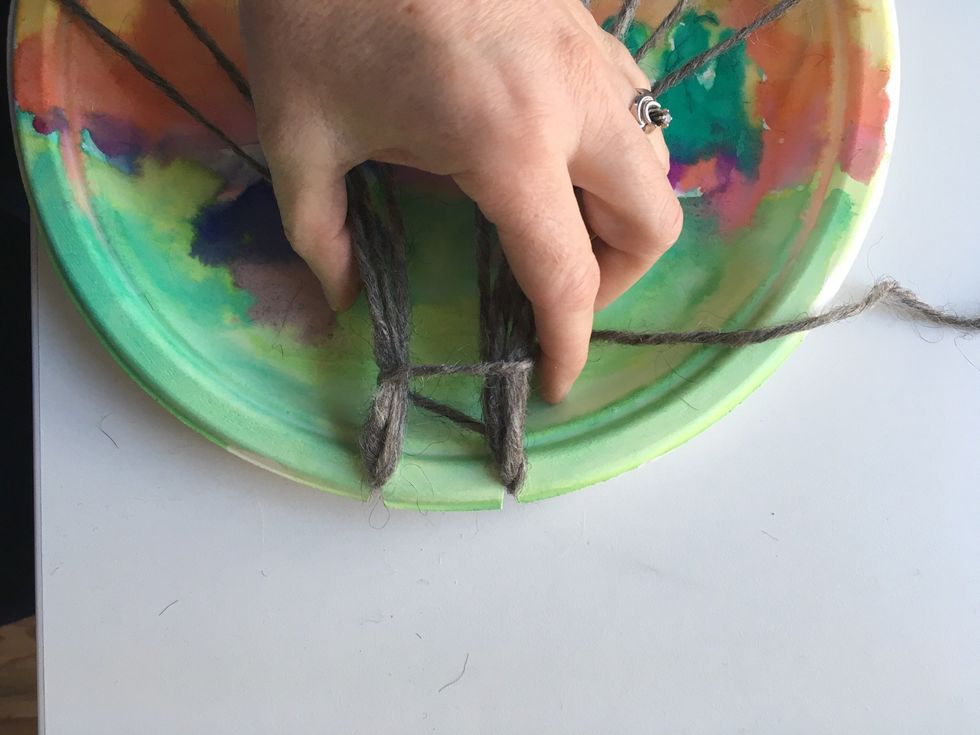
Now switch to the slot on the right at the bottom and keep going. Keep your yarn LOOSE!!
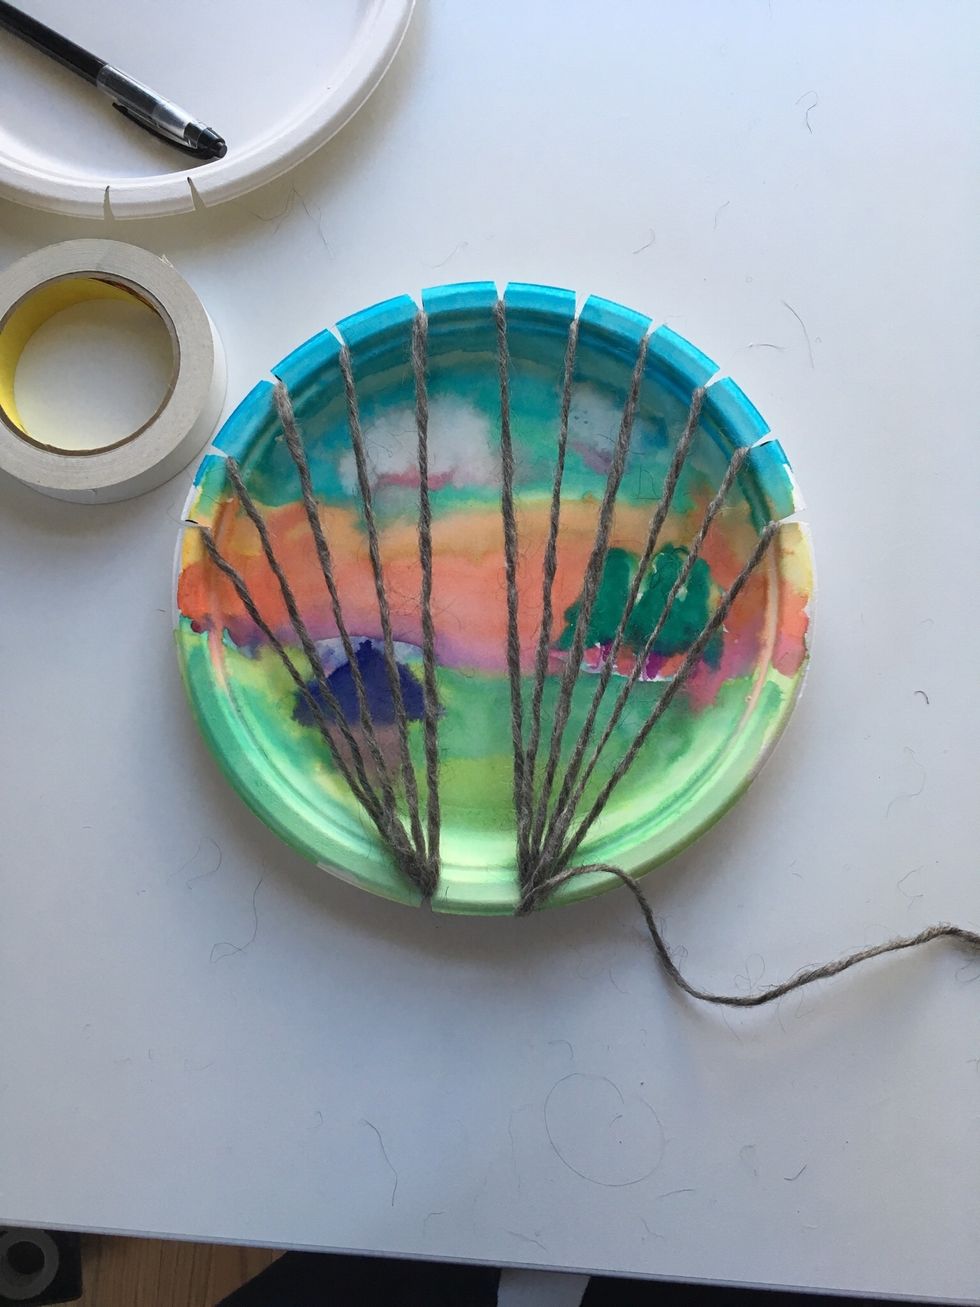
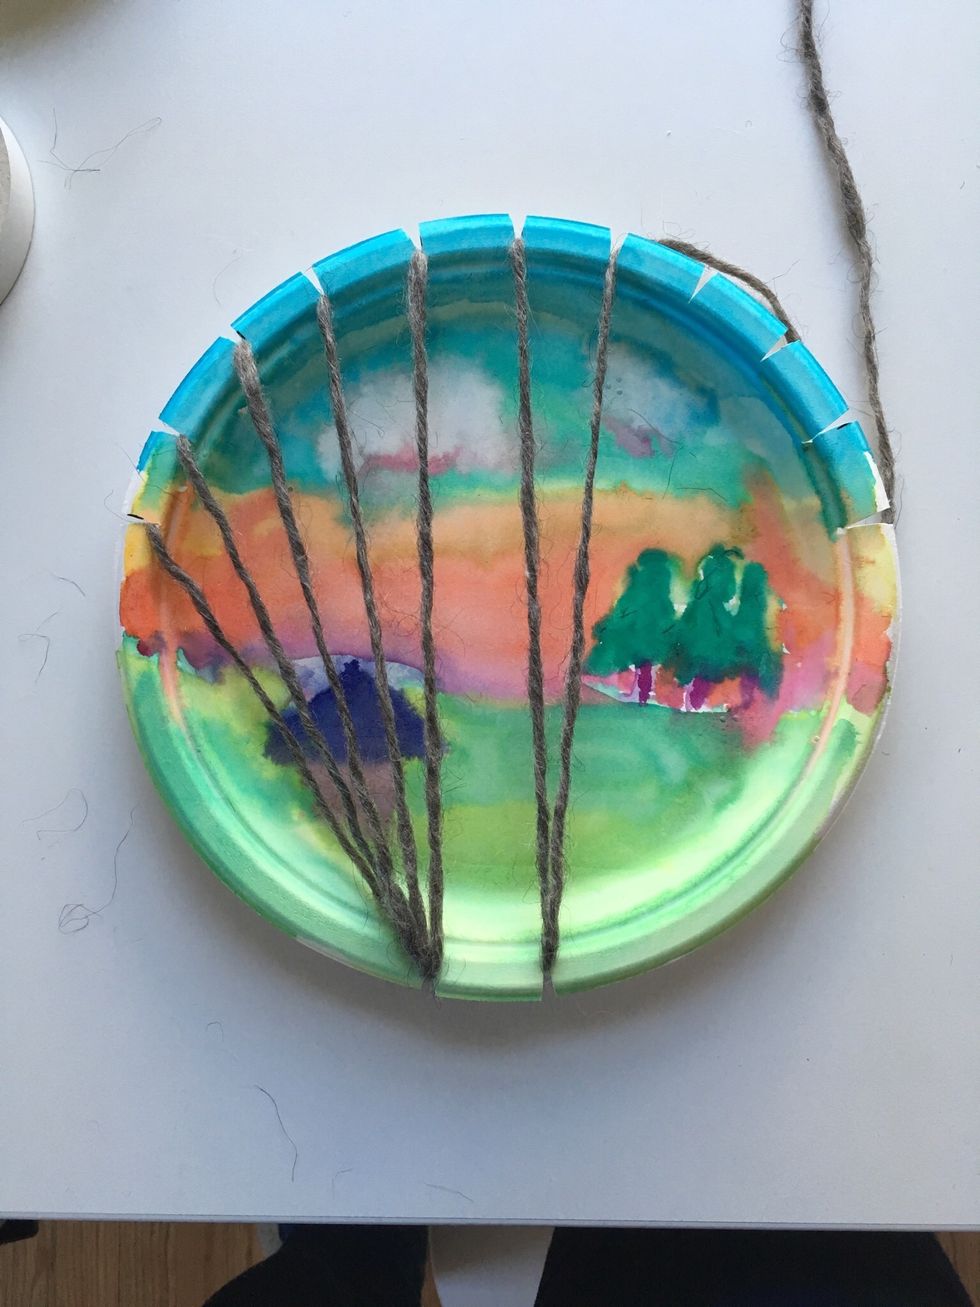
Keep going until all the top slots are filled.
Here's the back.
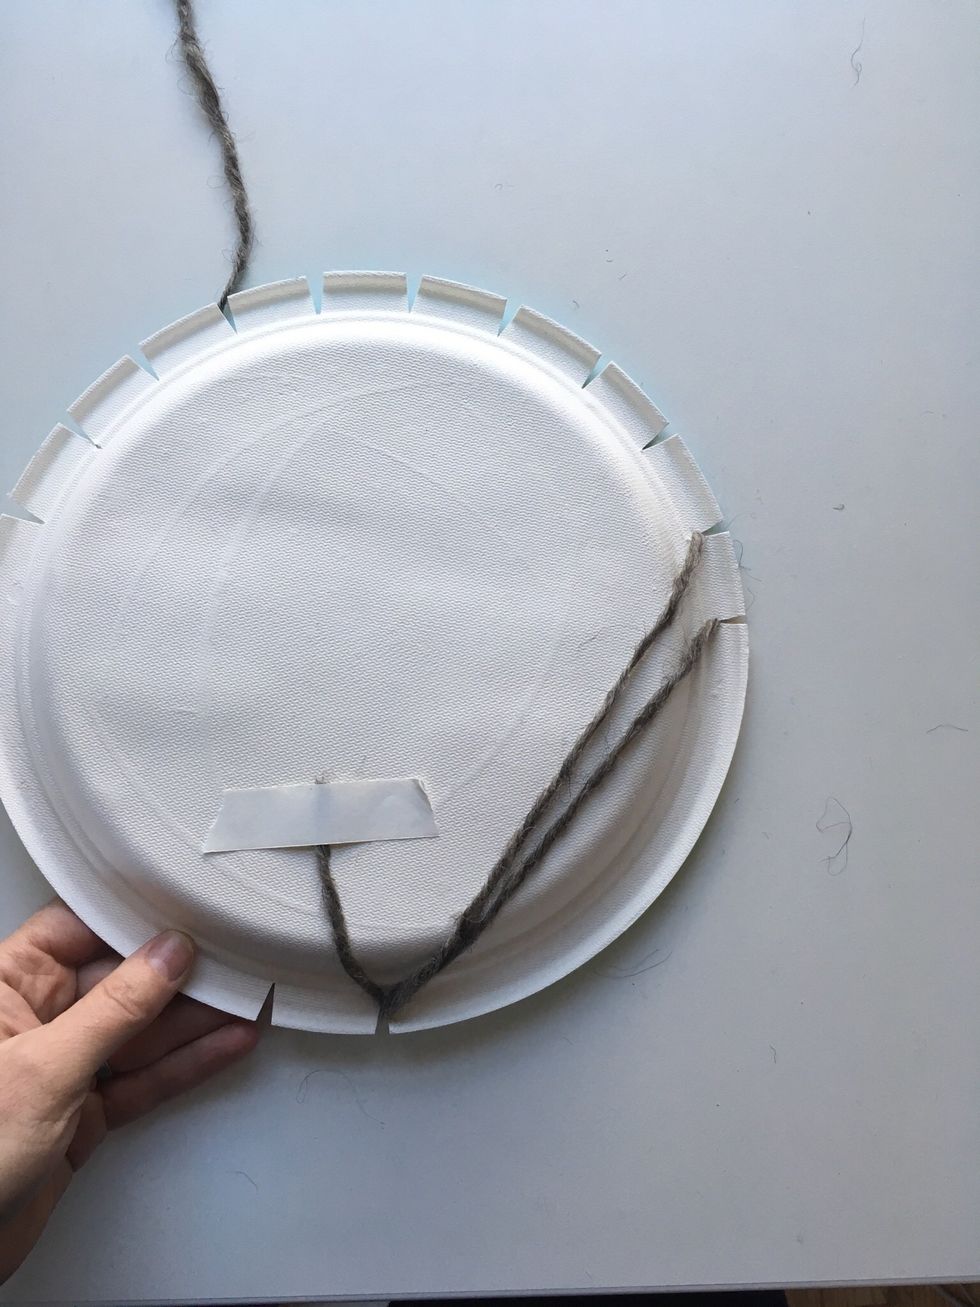
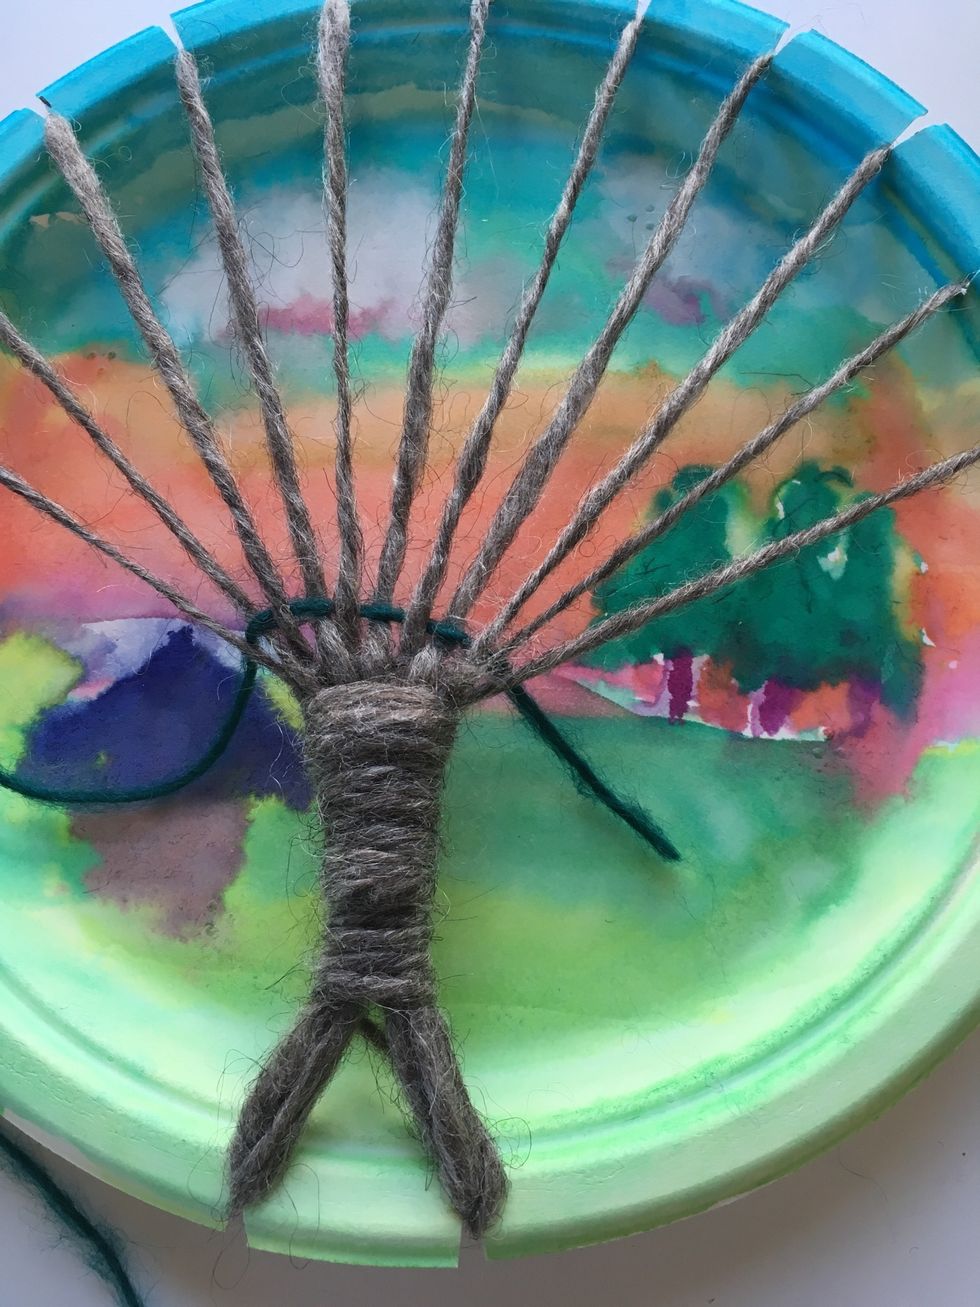
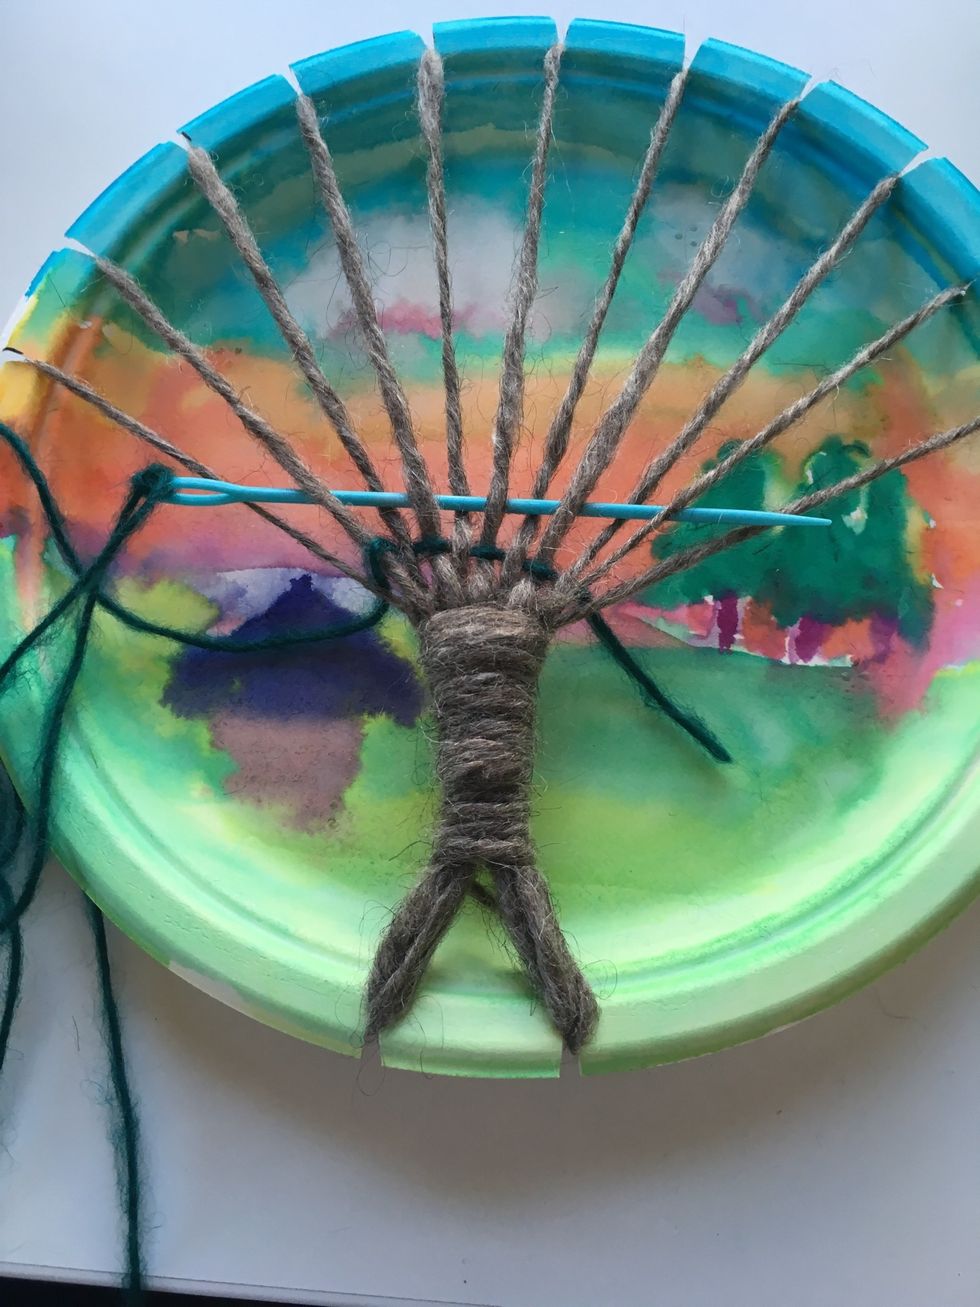
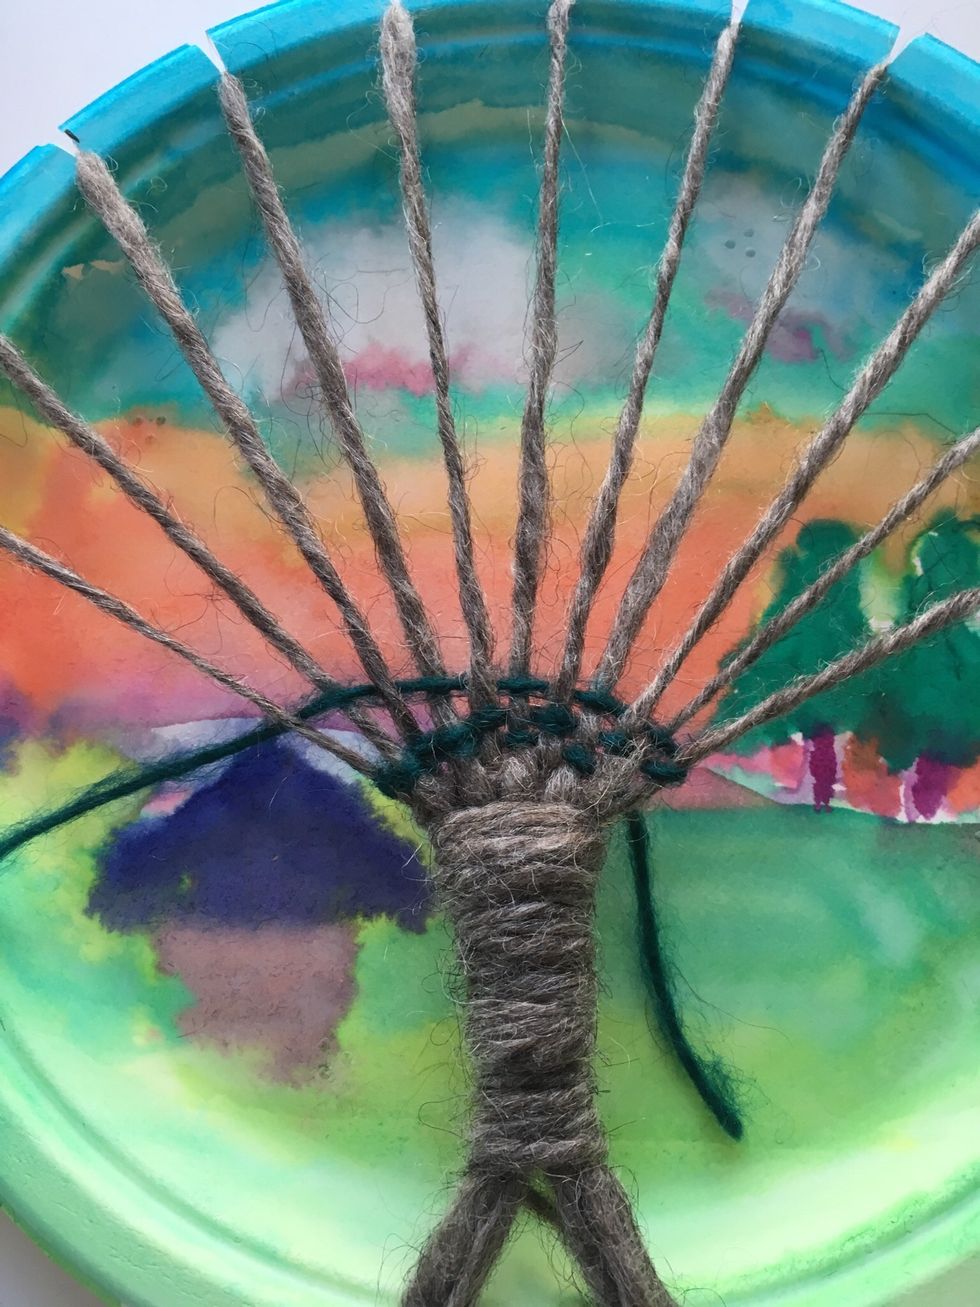
Now gather your tree trunk at the bottom of your plate and wrap the rest of your yarn around ALL of your branches.
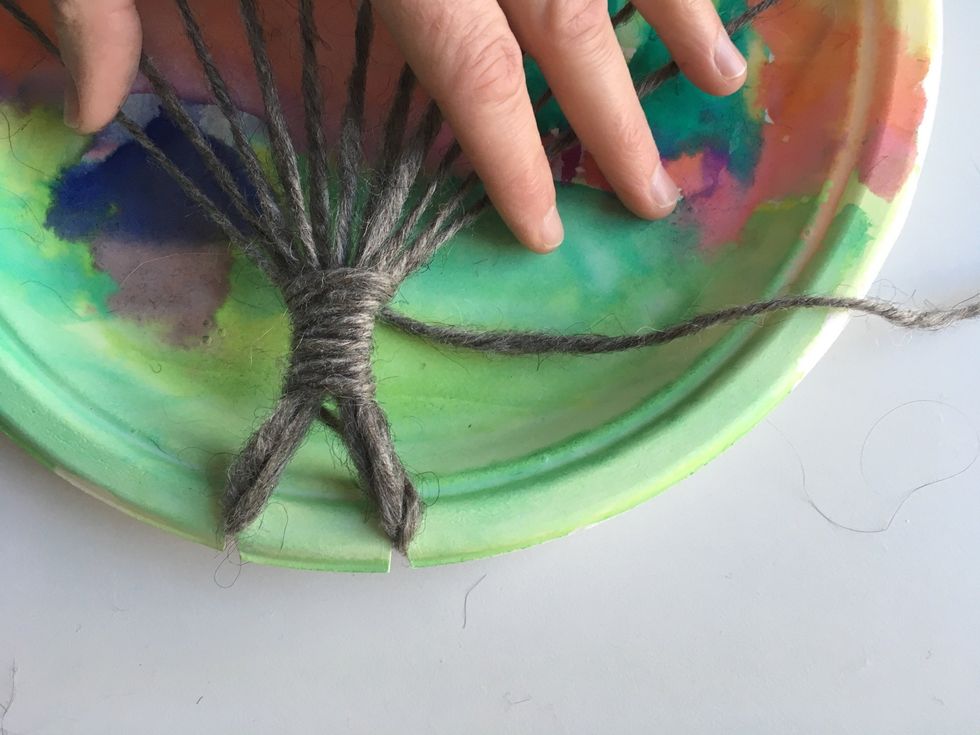
Keep going.
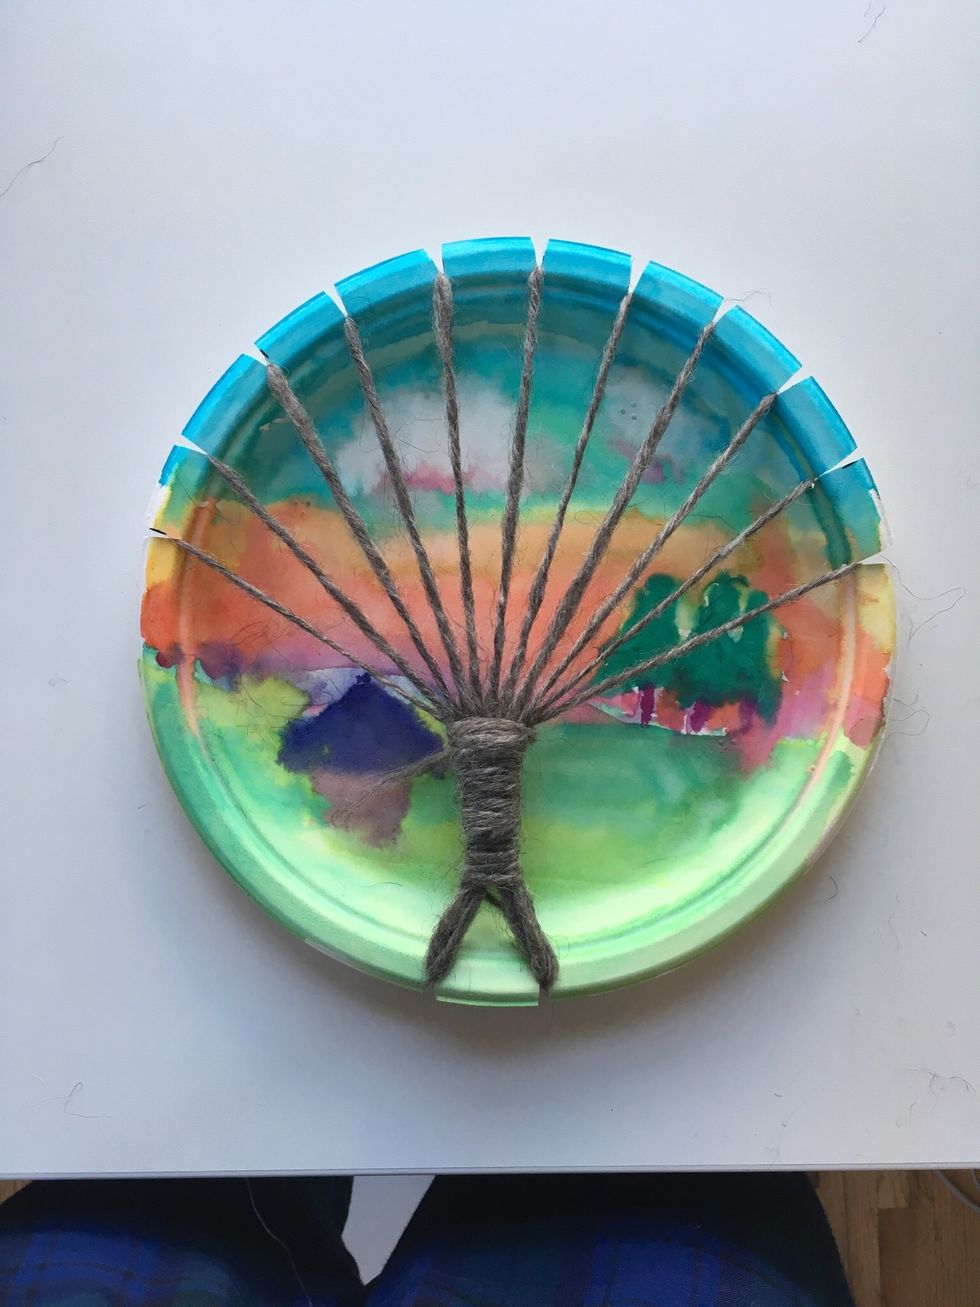
Done! Ask Mrs M. to hot glue your yarn at the end.
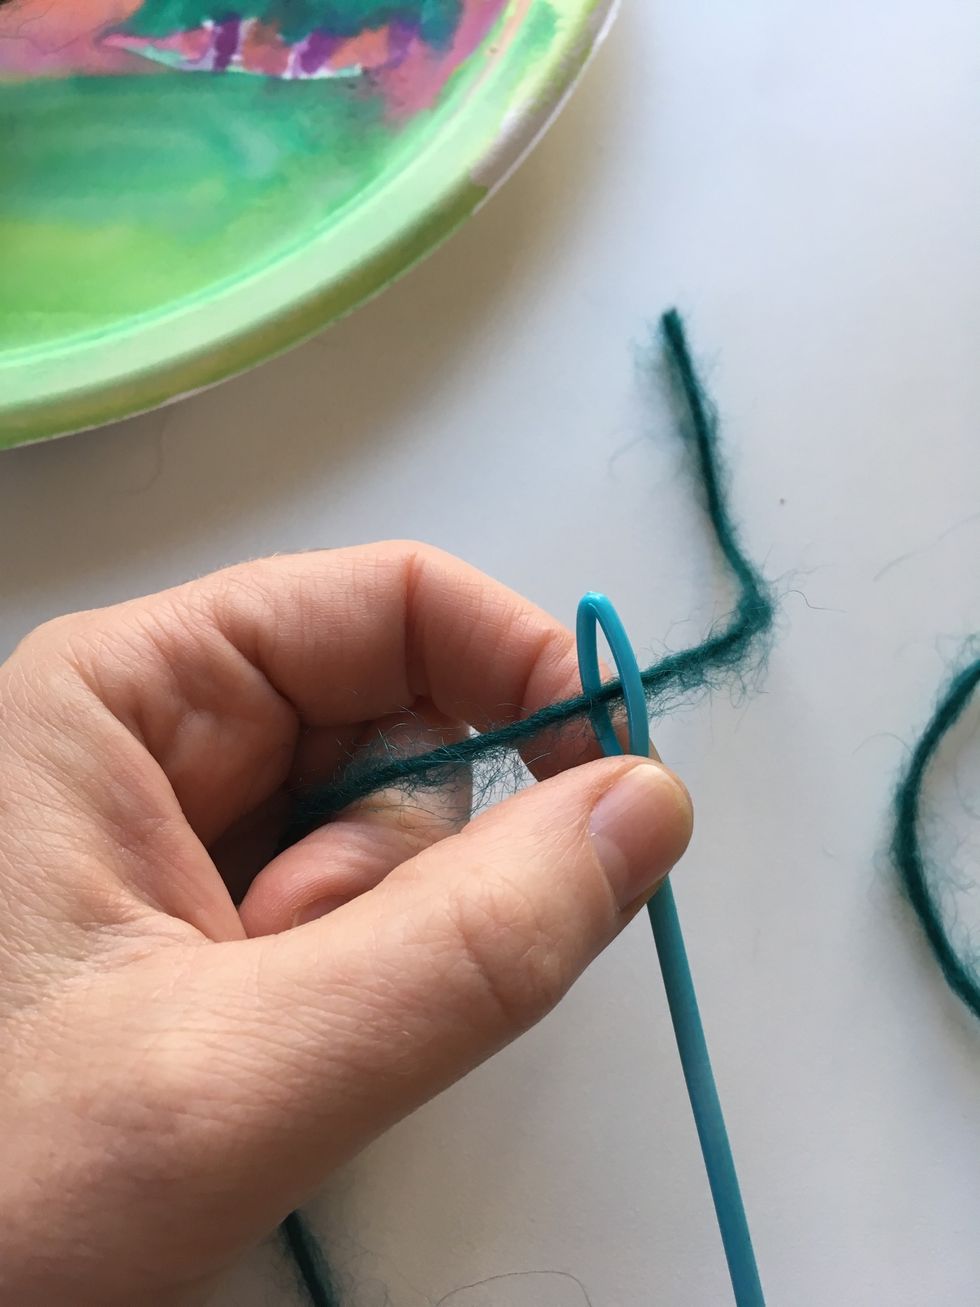
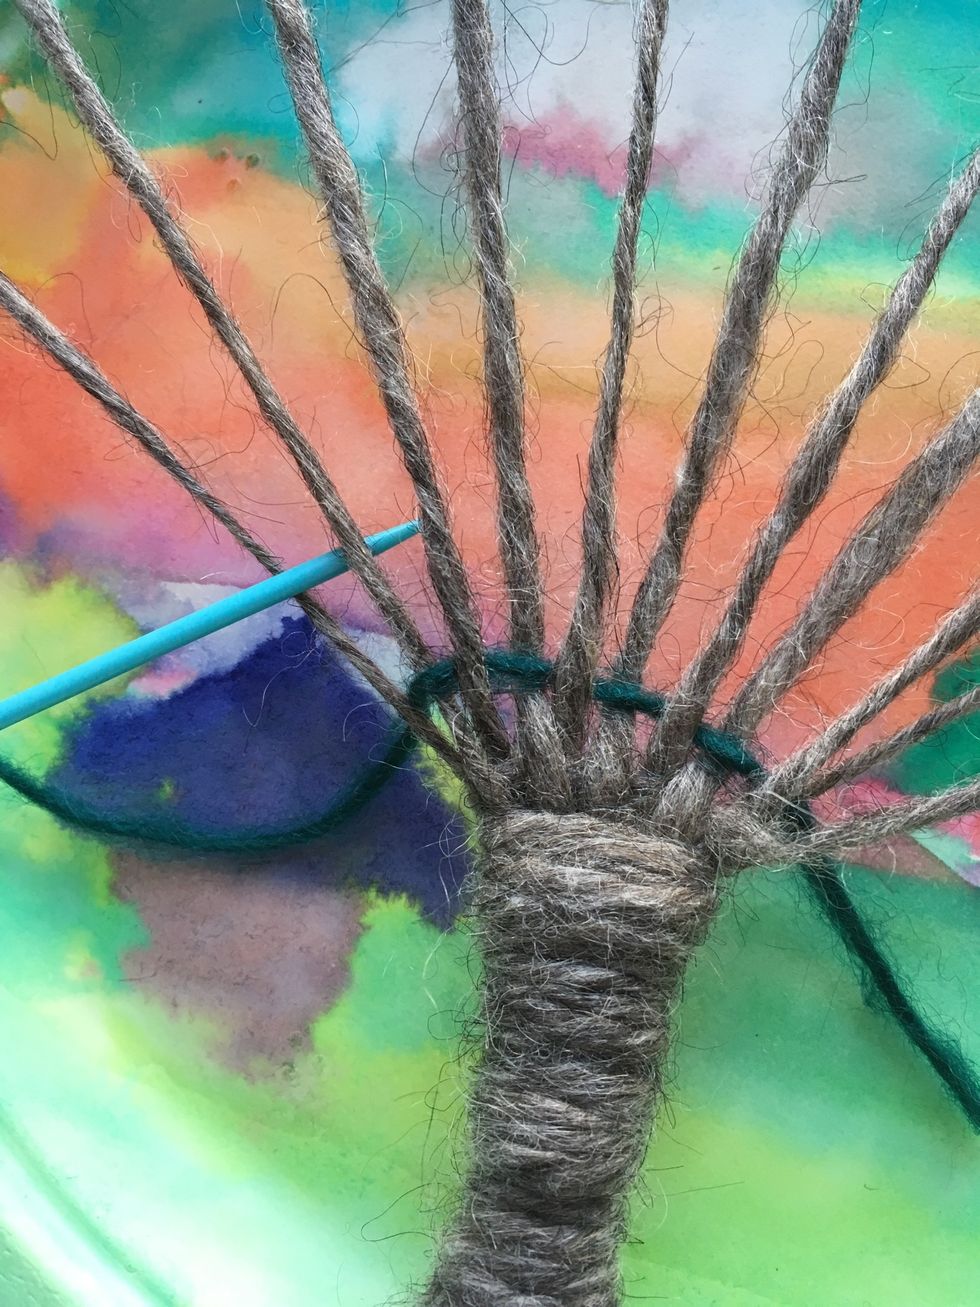
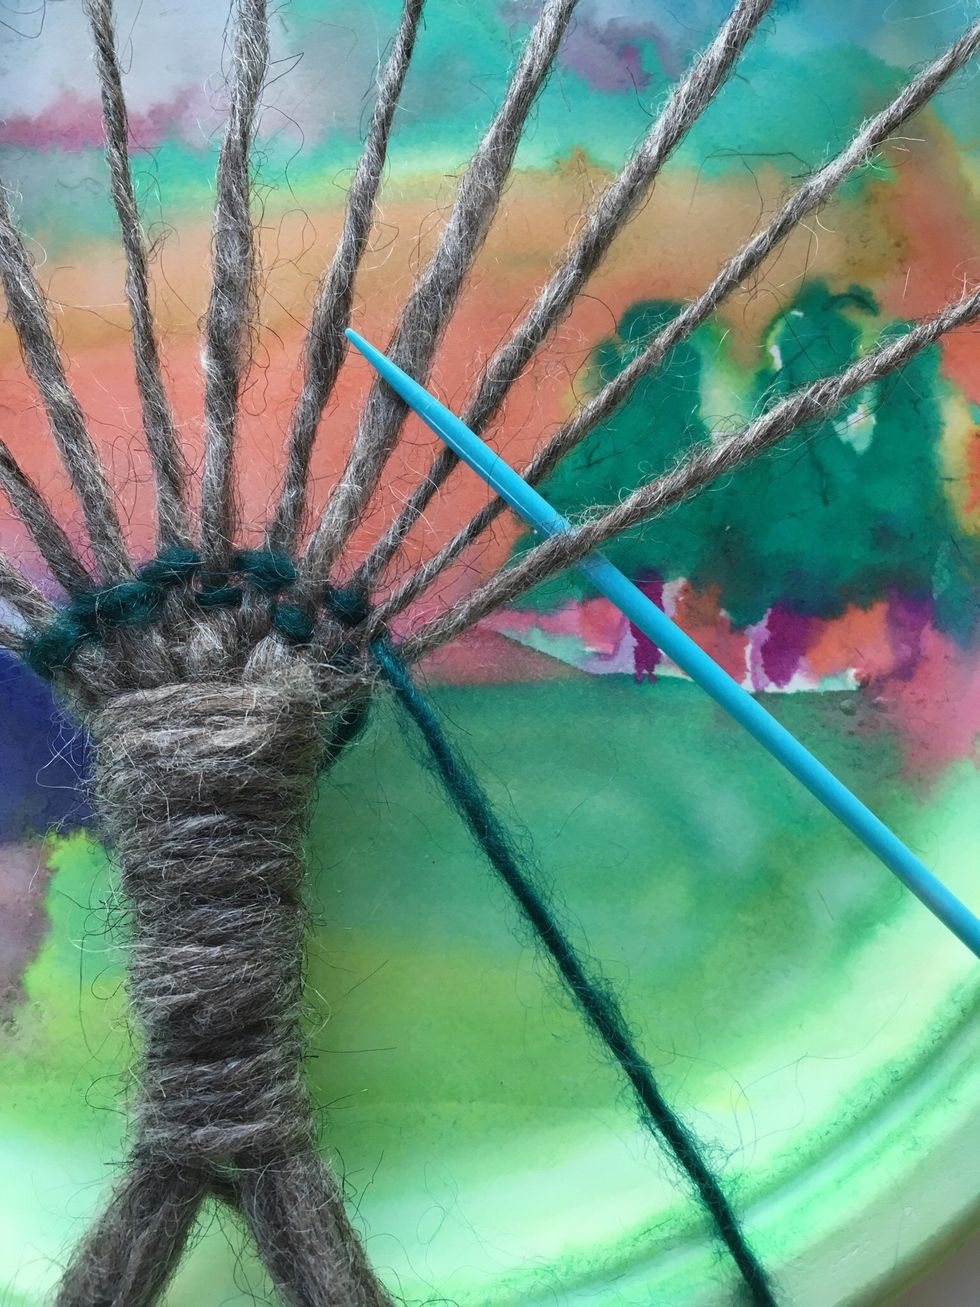
Get your yarn to weave. Put it through your needle eye.
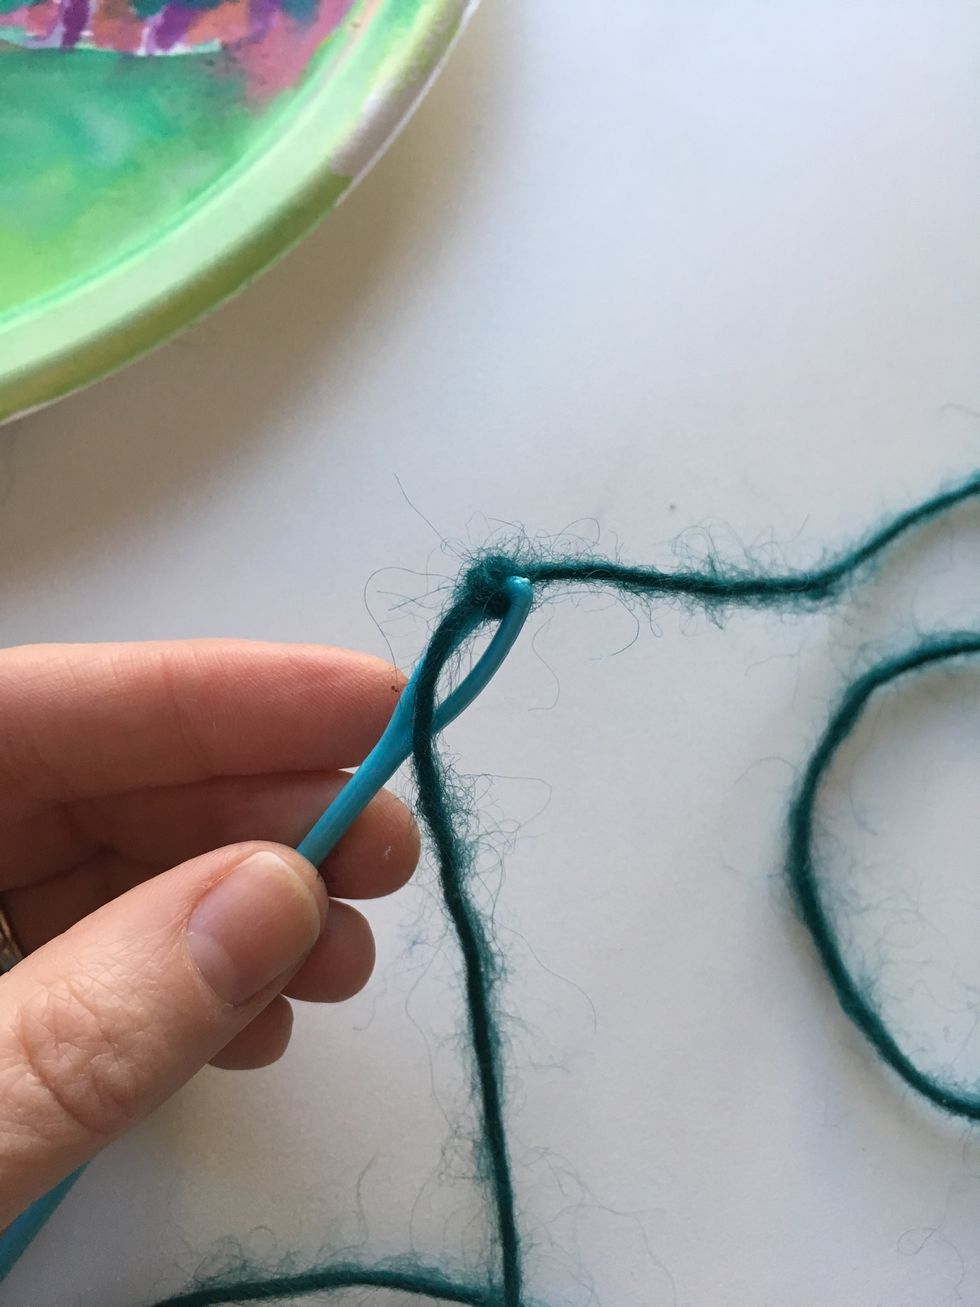
Tie yarn to needle.
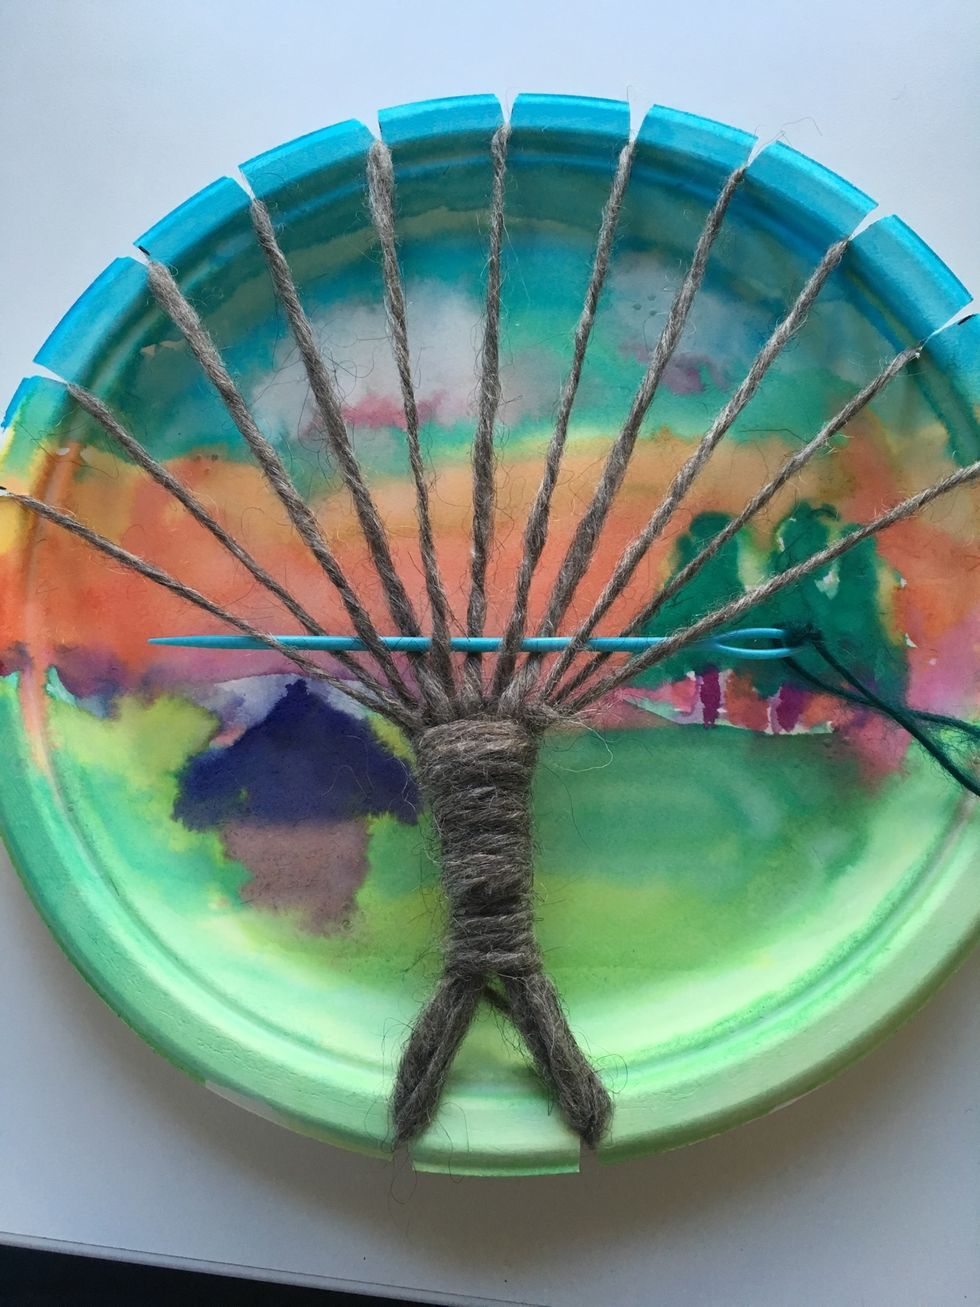
Weave your needle over and under the branches.
Pull your needle and yarn through until the end of the yarn. Leave a little tail hanging out. We will cut that later.
Go back the opposite way. Pay attention to which way your needle goes on the first branch.
Weave your over and under pattern.
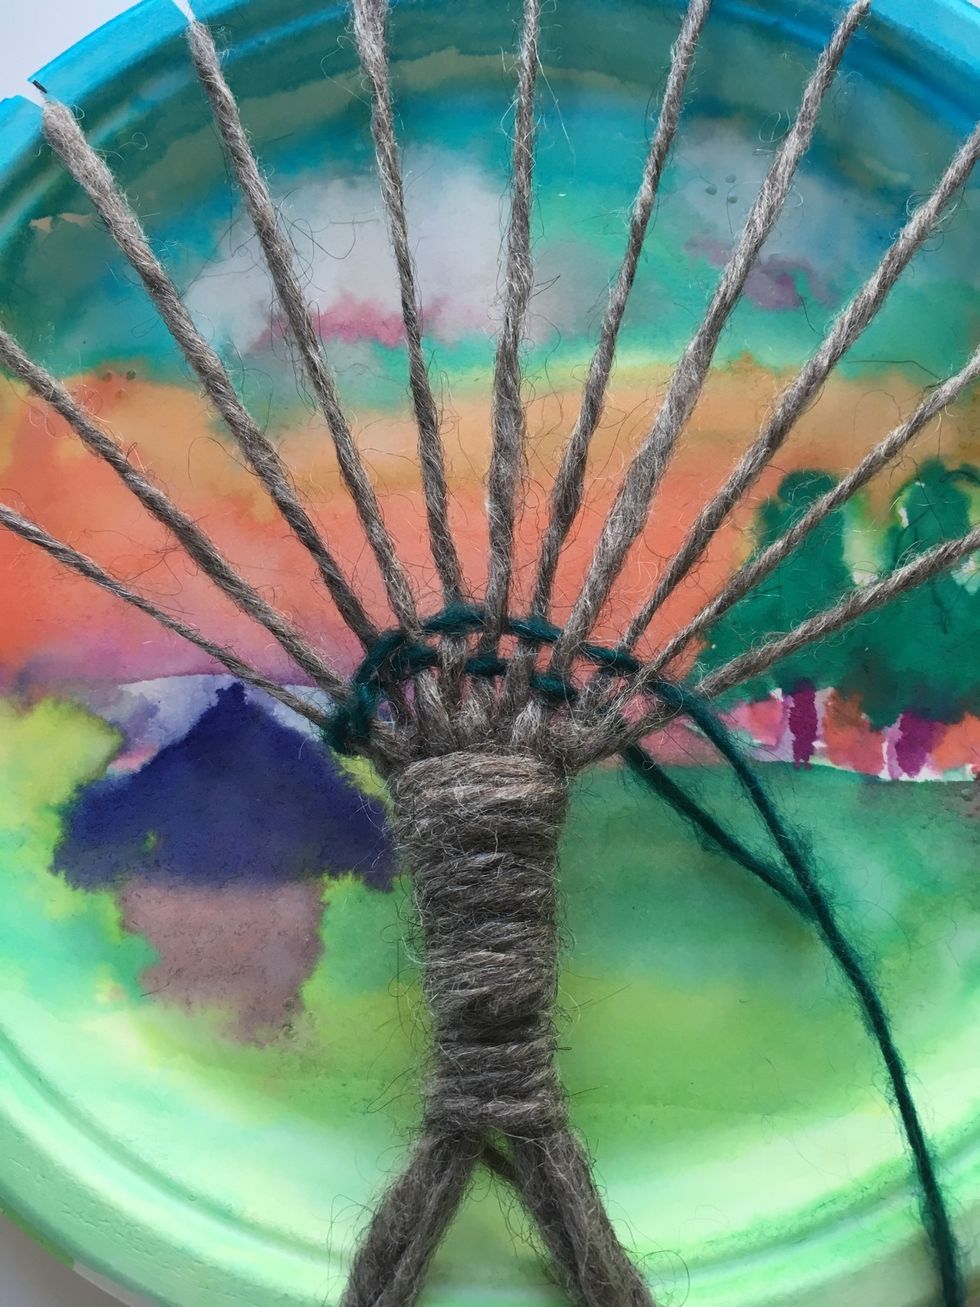
Pull your yarn to the end gently.
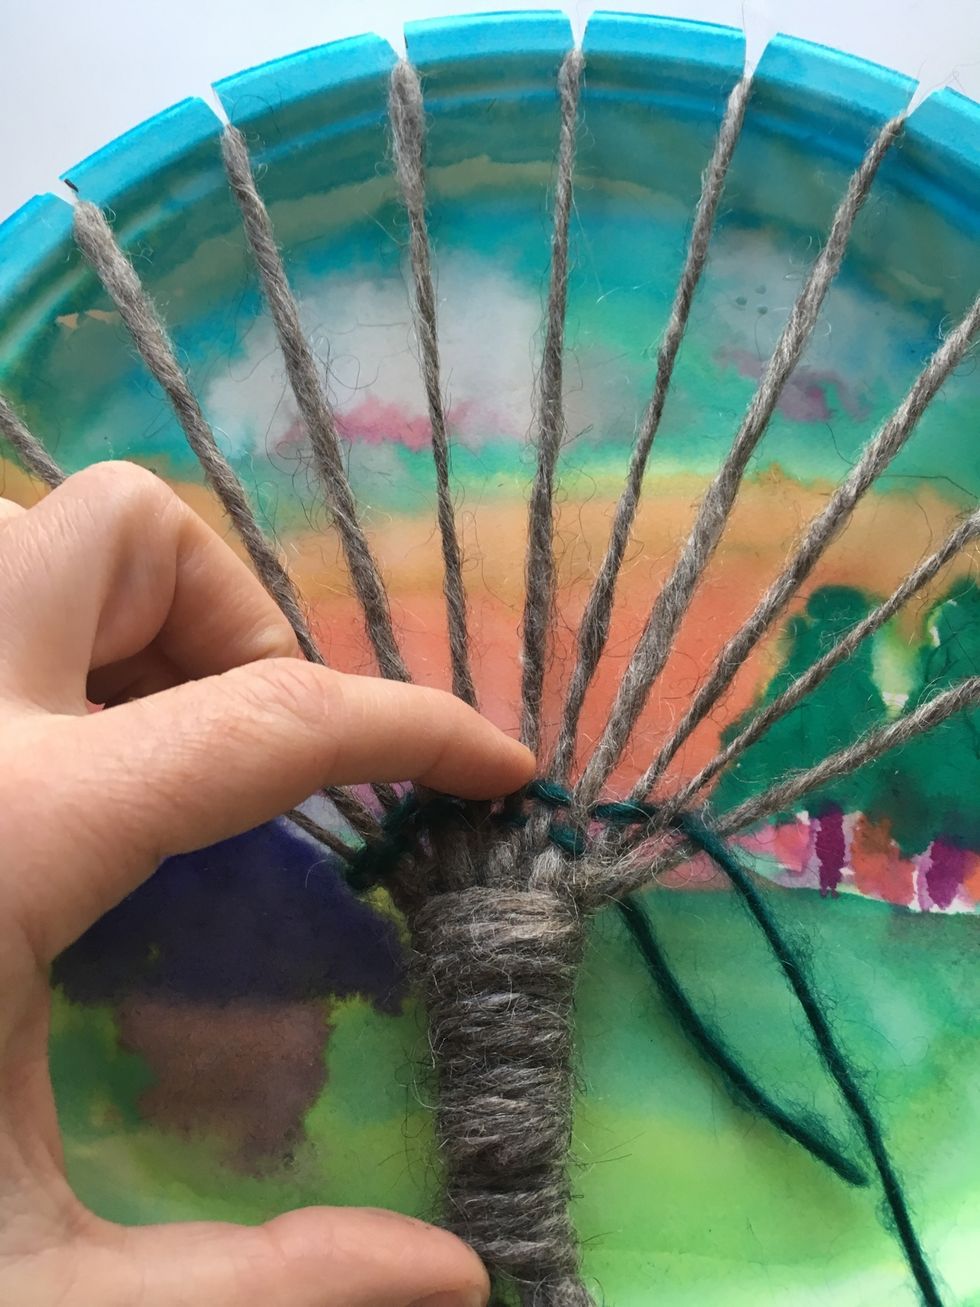
Check to make sure your weaving is correct. Your pattern will alternate and not bunch up under the same branches. Scrunch your yarn to the bottom using your fingers.
Keep going. Watch your over and under pattern.
Pull yarn all the way through. Keep it loose!