STEPS
TOOLS
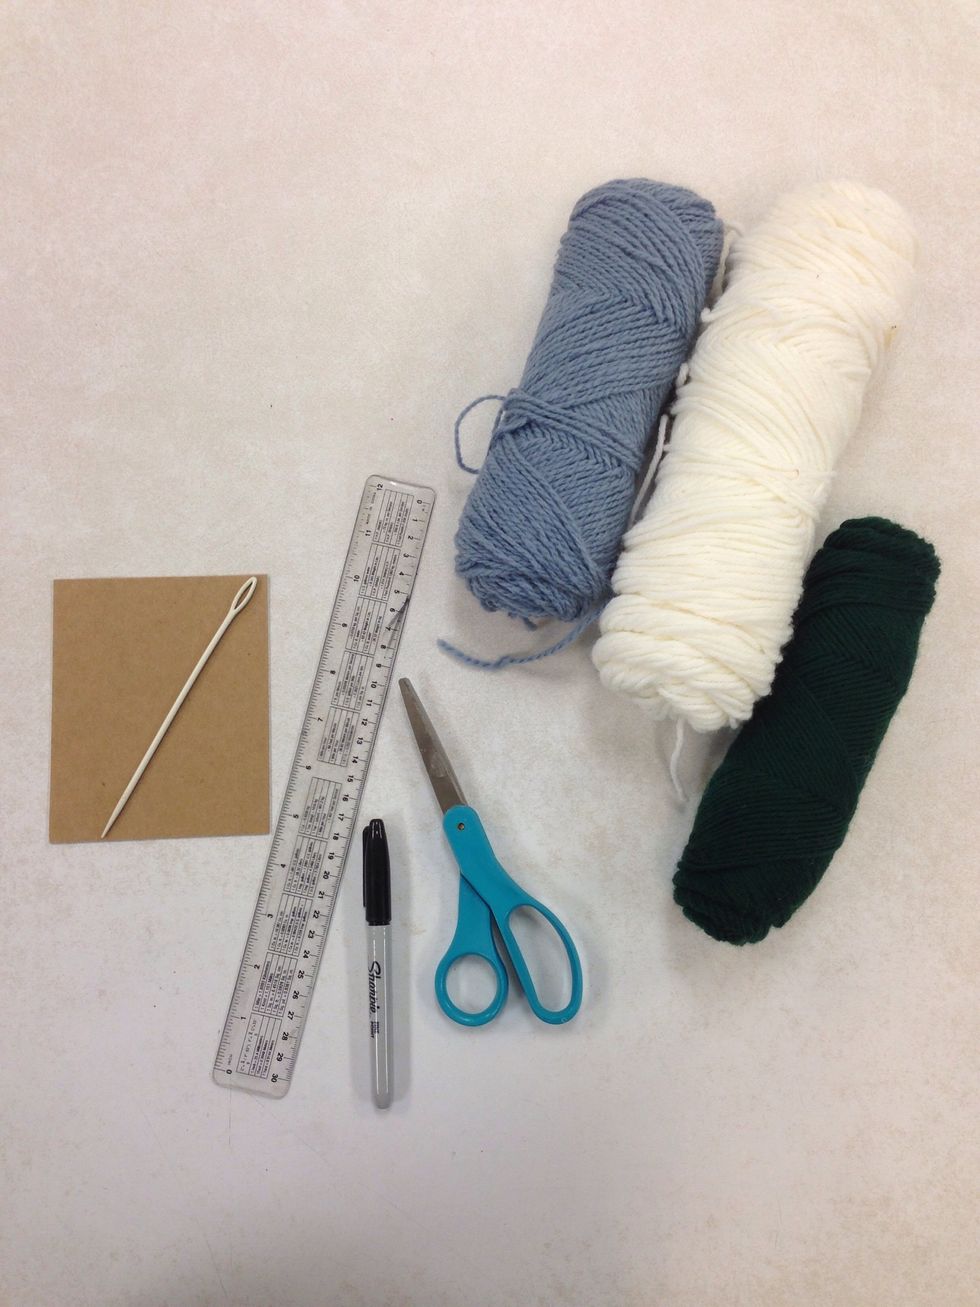
Simple supplies
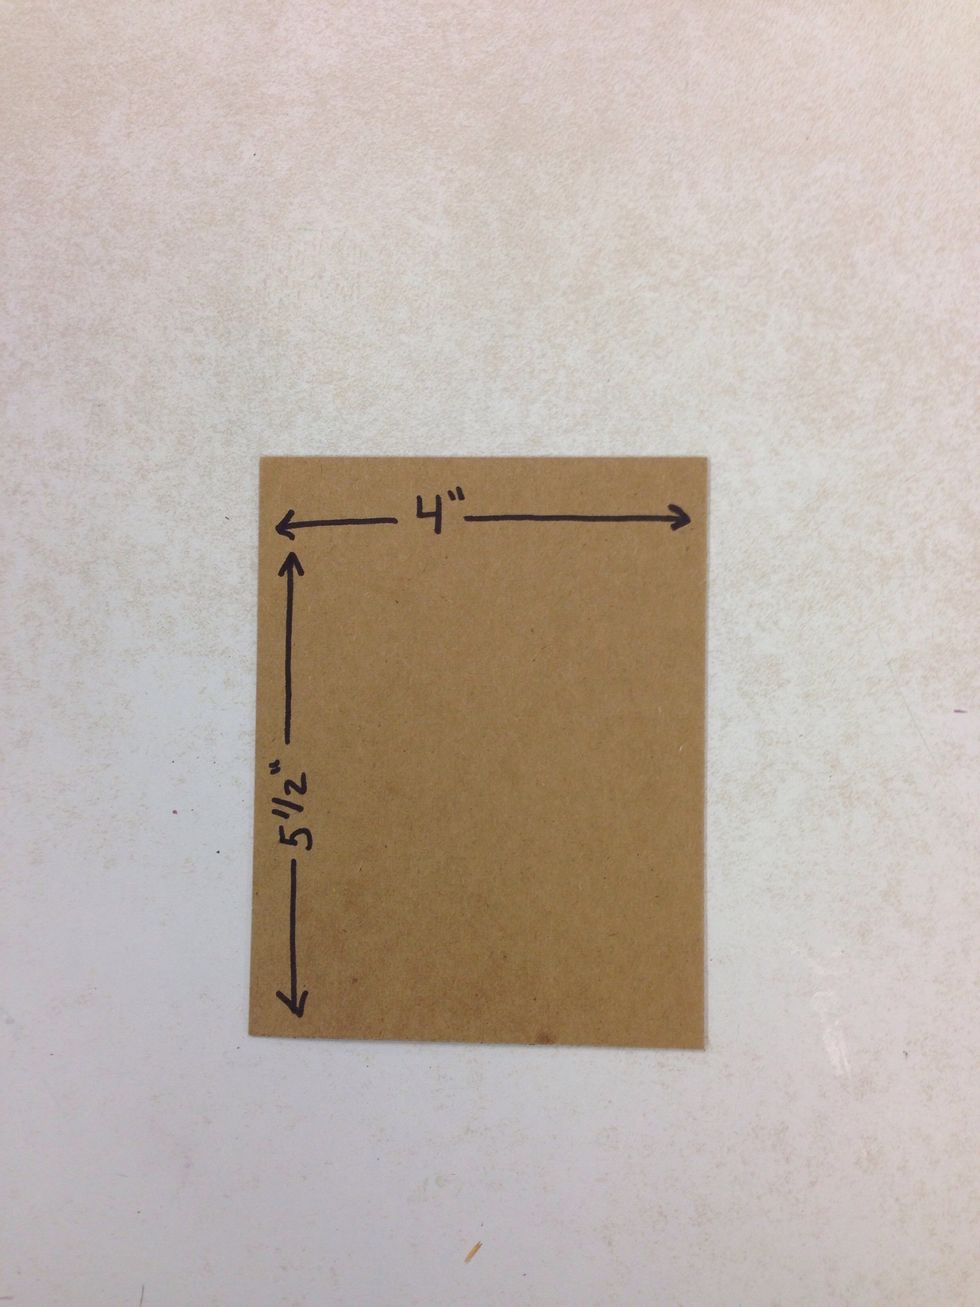
Cut cardboard into 4"x5 1/2".

Draw a line on top and bottom of cardboard 1/4" down.

Cut "teeth" on top and bottom (make sure there is the same amount on top & bottom and that they line up).
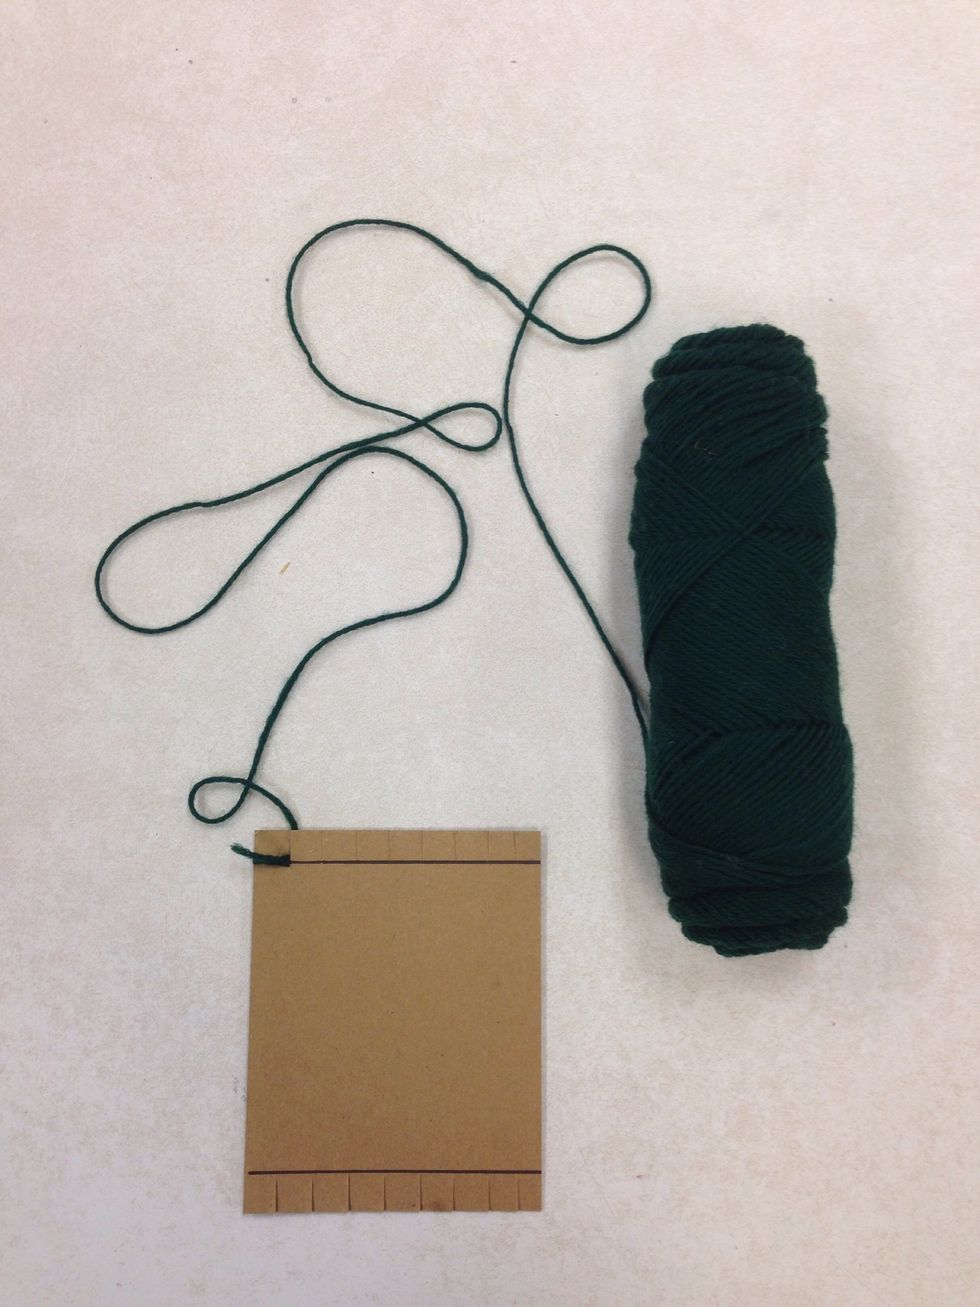
Wrap yarn around first tooth.

Make the skeleton (pull yarn straight down, flip cardboard, pull yarn straight up, wrap once around next tooth, repeat) "down, flip, up, wrap once..."

Wrap first color of yarn you want for pouch around first tooth.

Thread needle then start weaving one side (over, under, over). When you get to end of row one, turn cardboard over, begin row 1 of backside. Repeat to fill up both sides of cardboard.
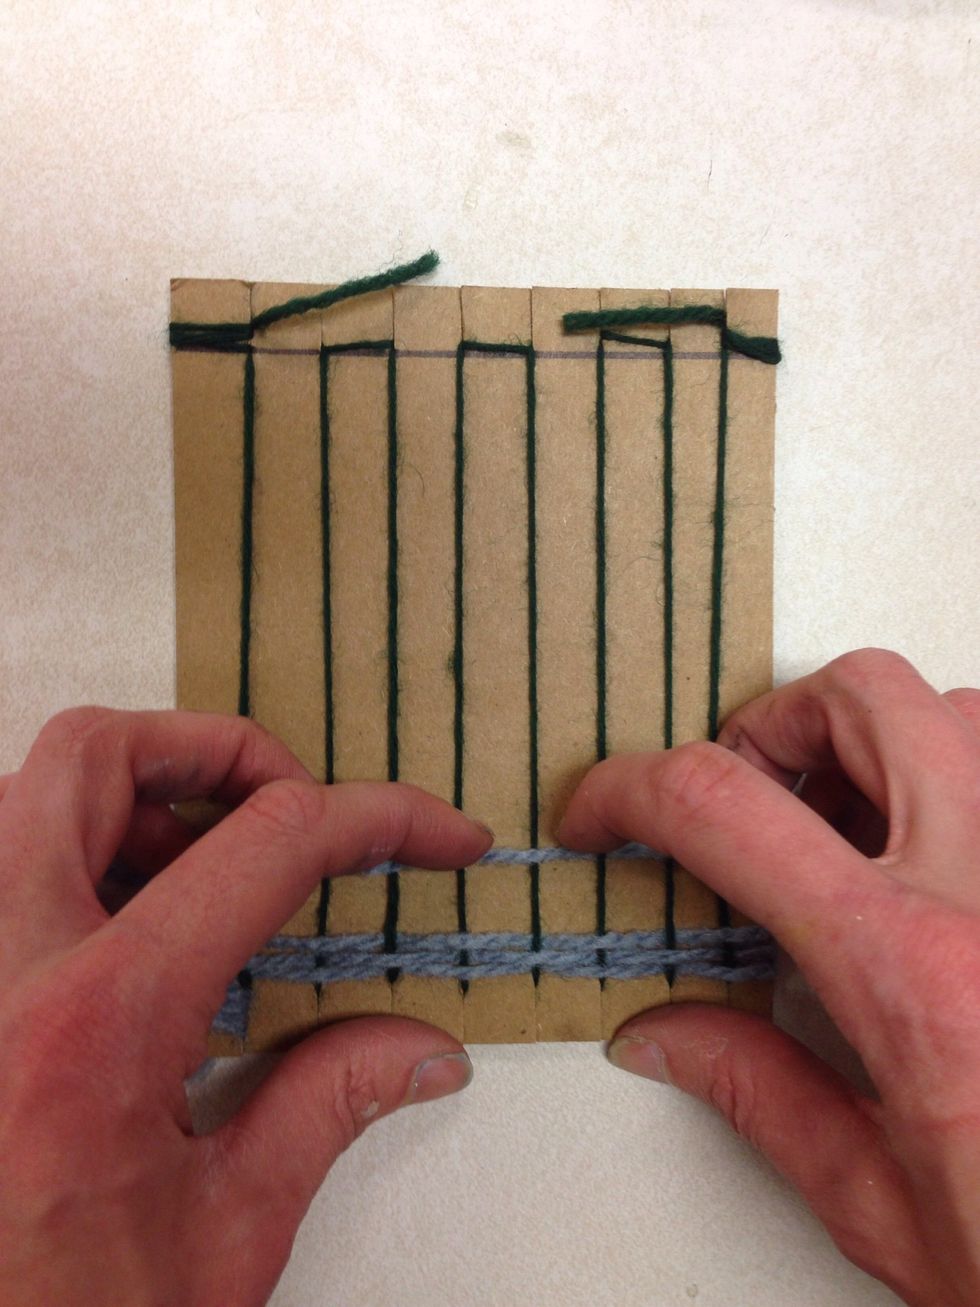
Make sure after each row, you slide them together, make it tight. There should be no gaps between rows.
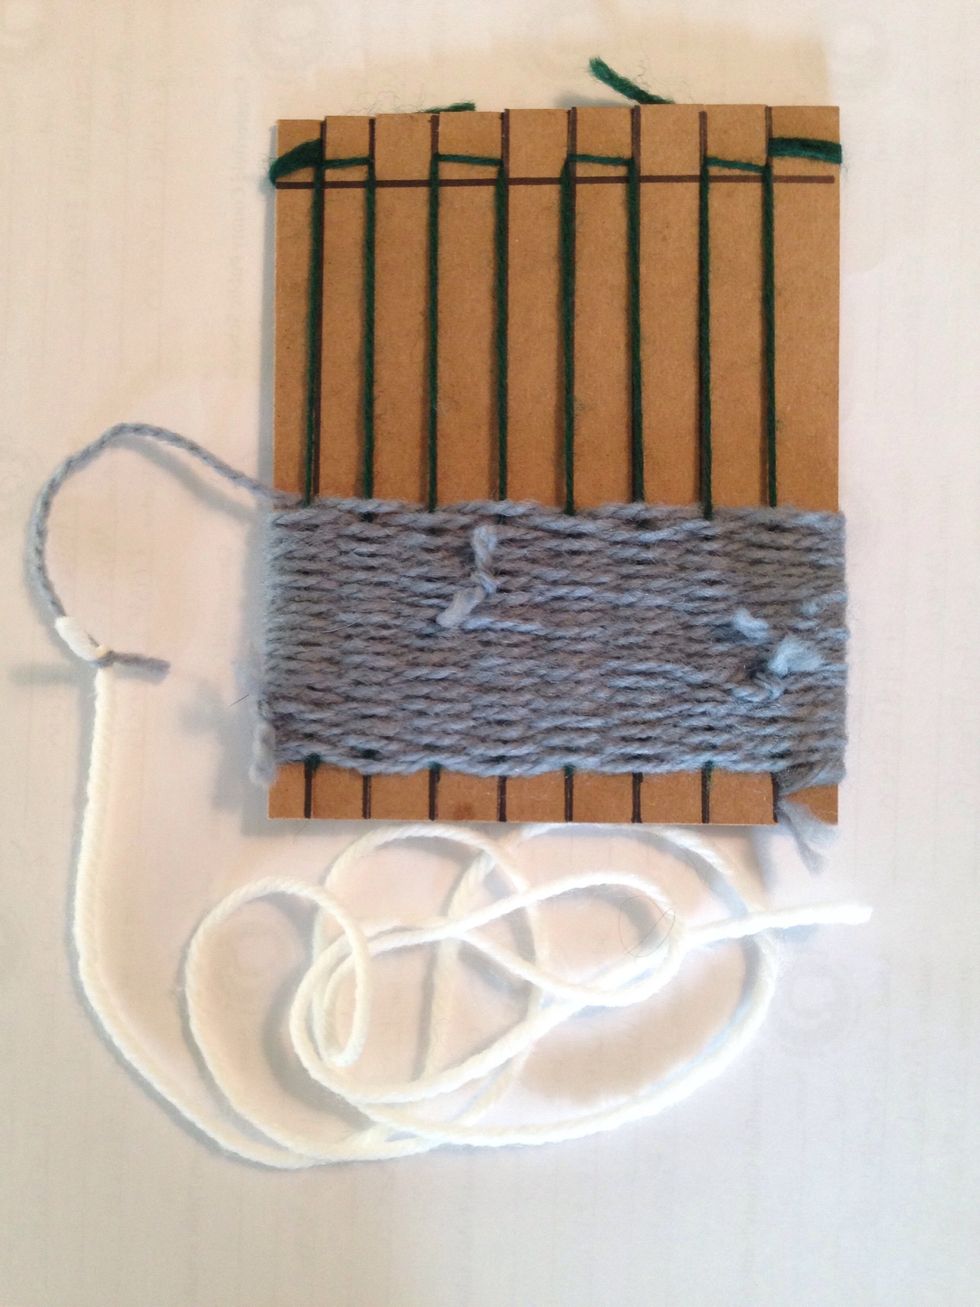
Feel free to change colors, simply tie two ends together in a knot.
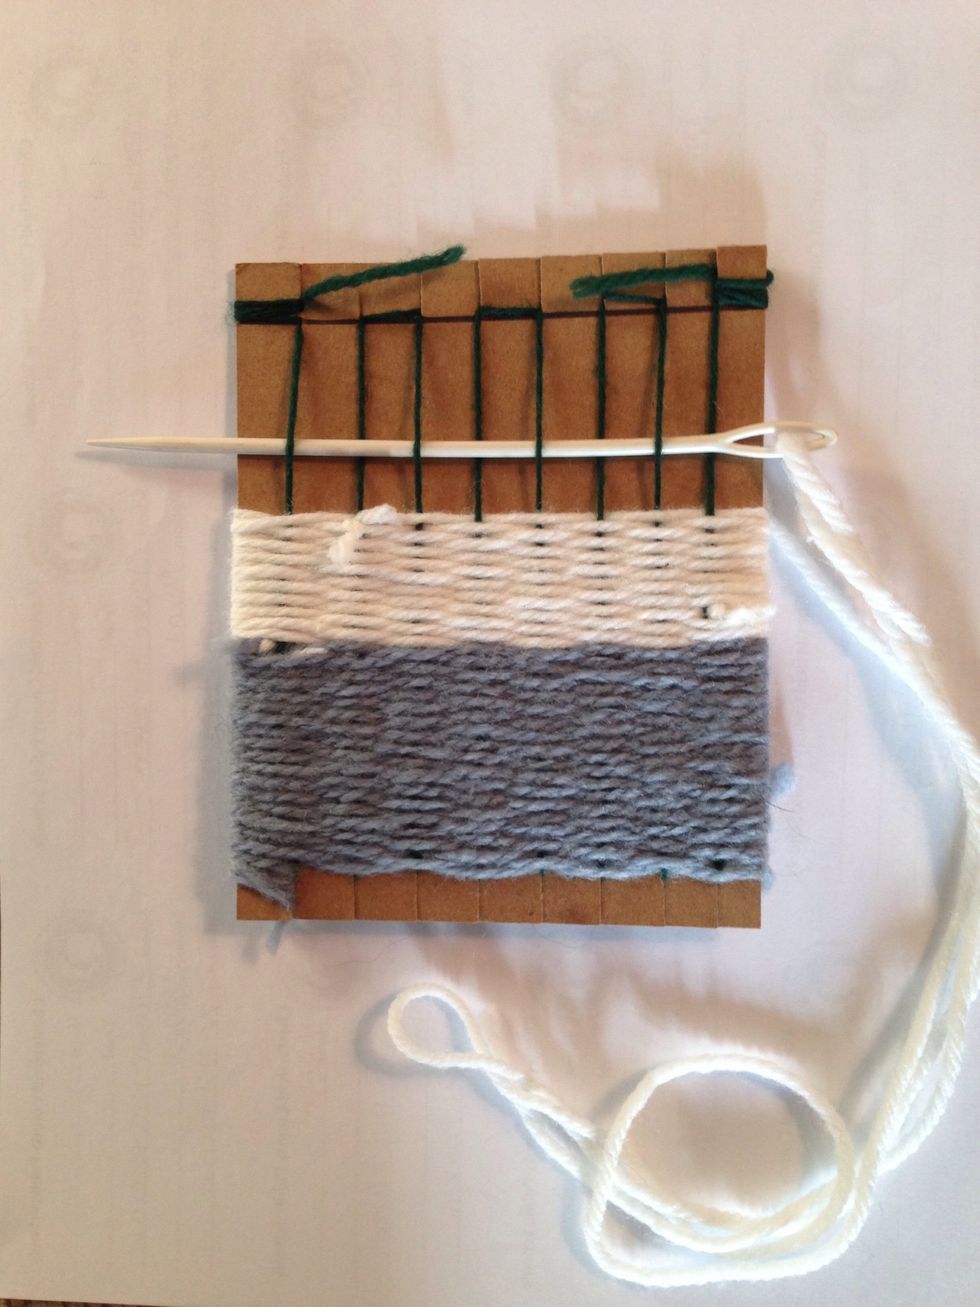
Remember, over, under, over, under.
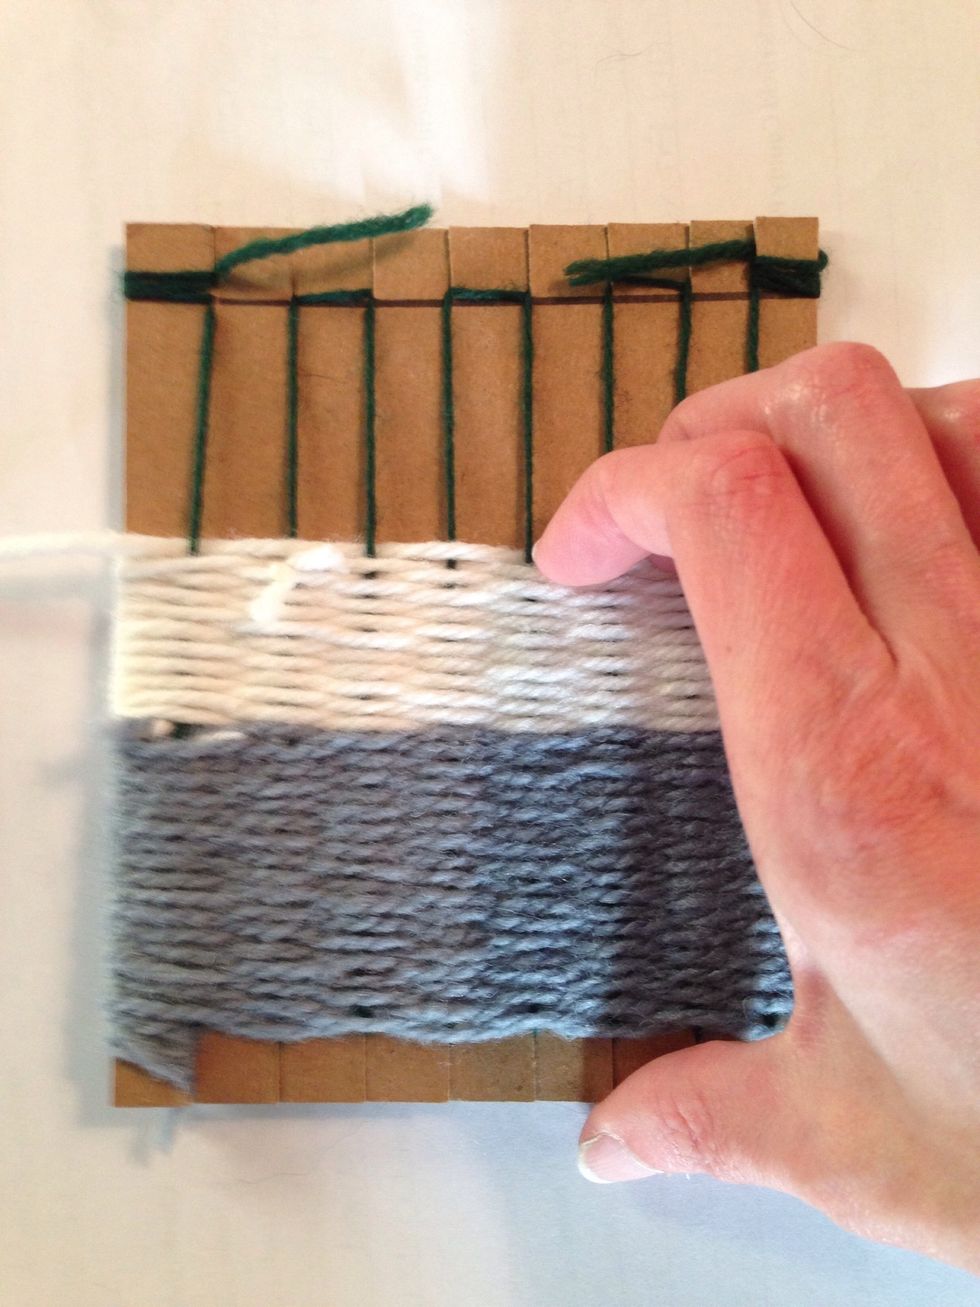
Don't forget to squish it!
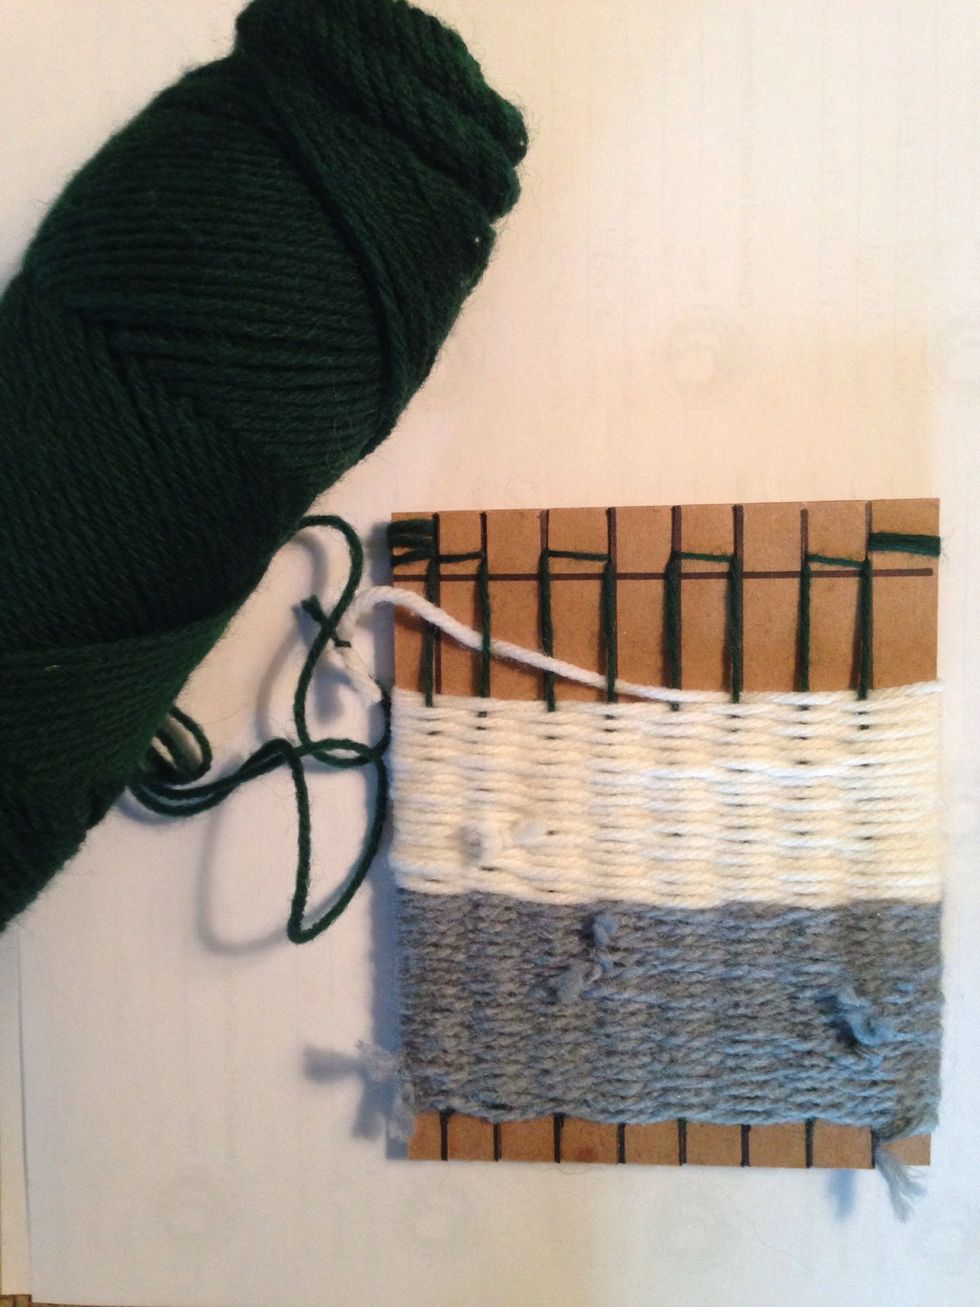
Change colors again if you want!
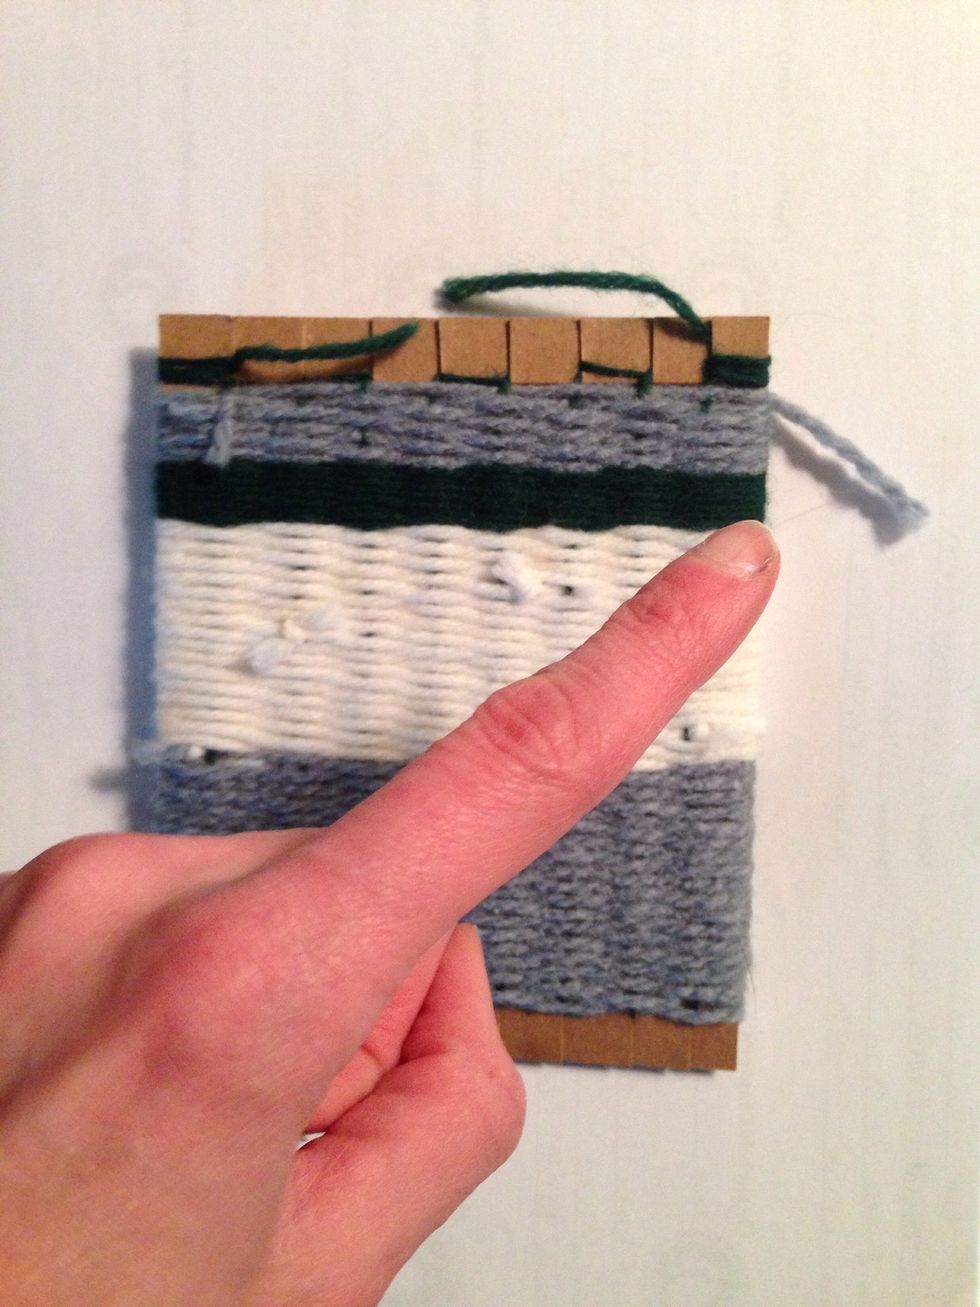
Weave ALL the way to top, should be difficult to weave last row. When done, weave end of yarn back into pouch (tuck it in).
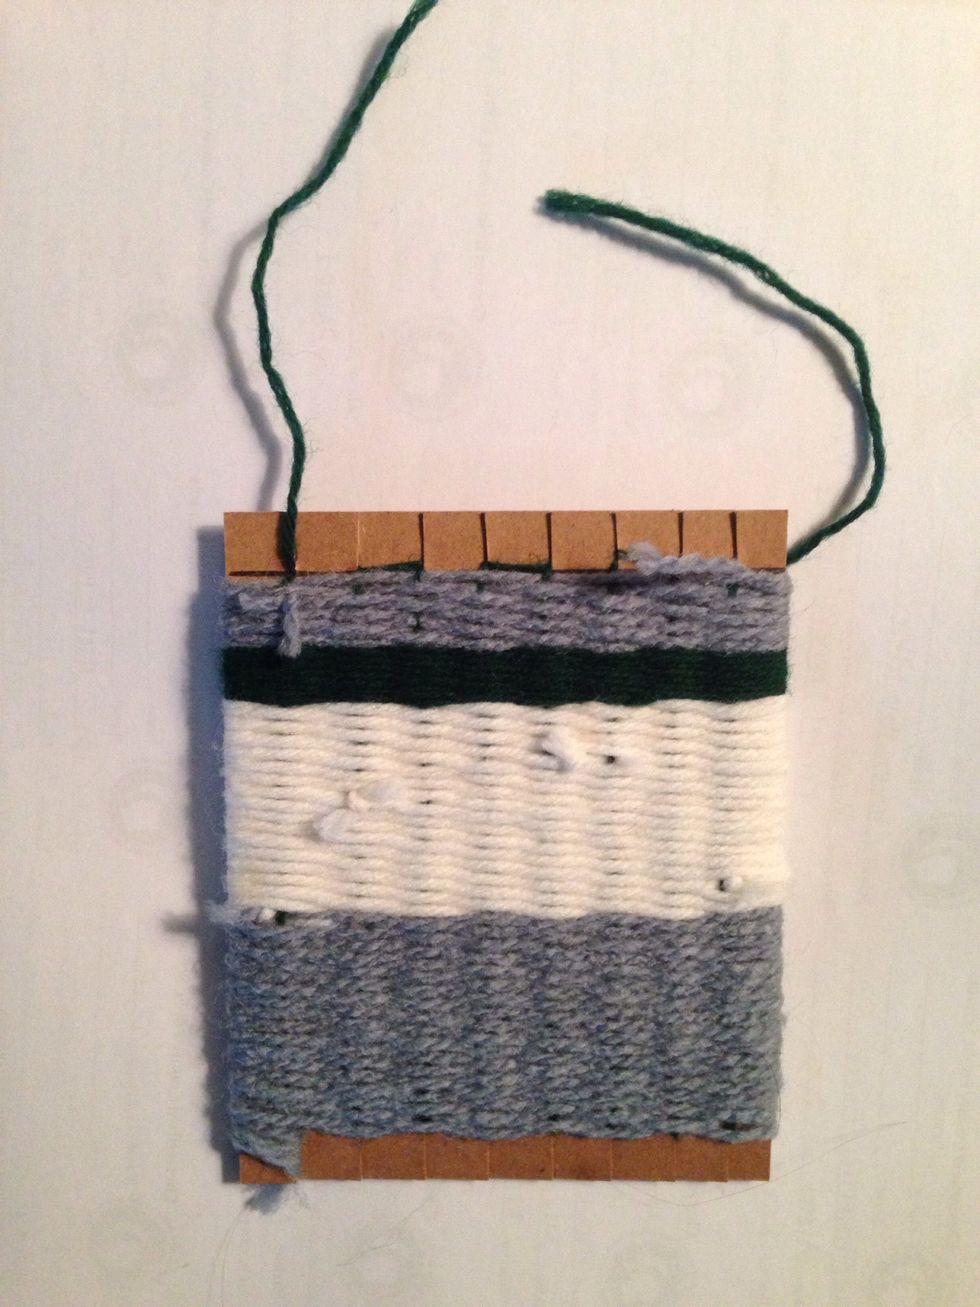
Unwrap skeleton yarn from the two teeth.
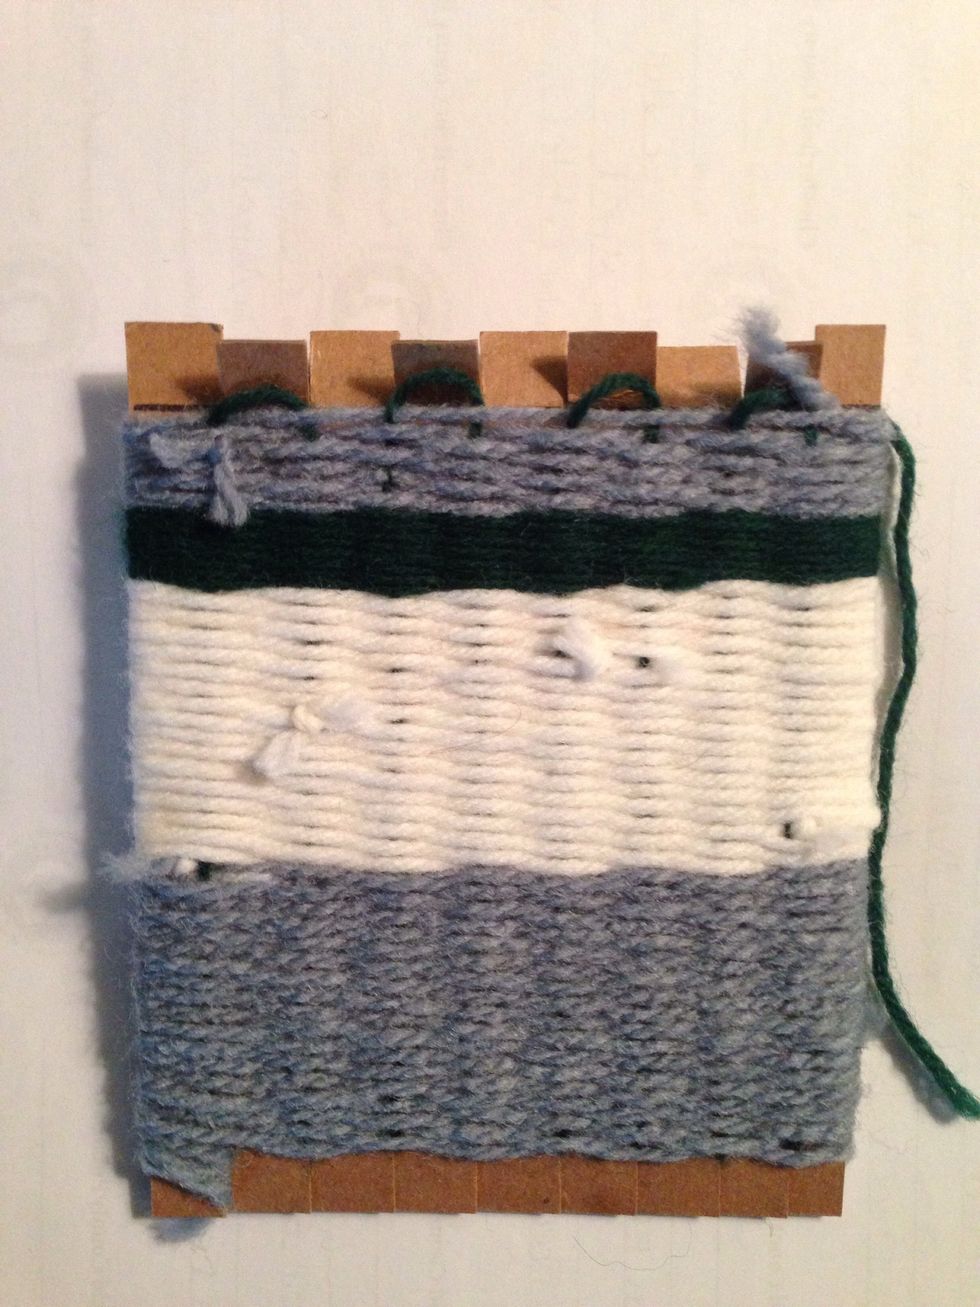
Slip skeleton yarn over each tooth to free it. Bend teeth, makes it easier.
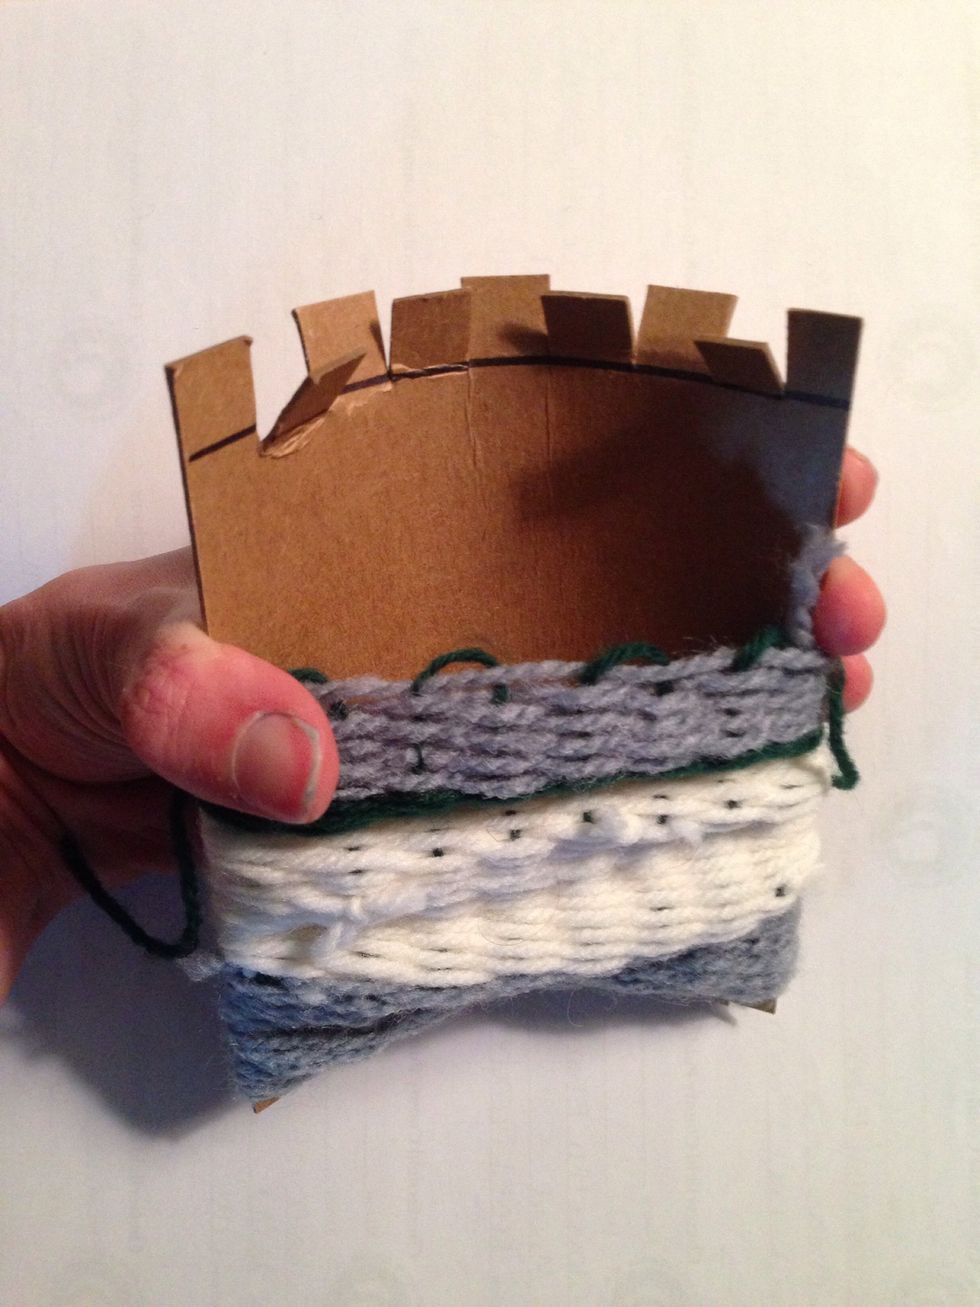
Slightly bend cardboard to slide pouch off.
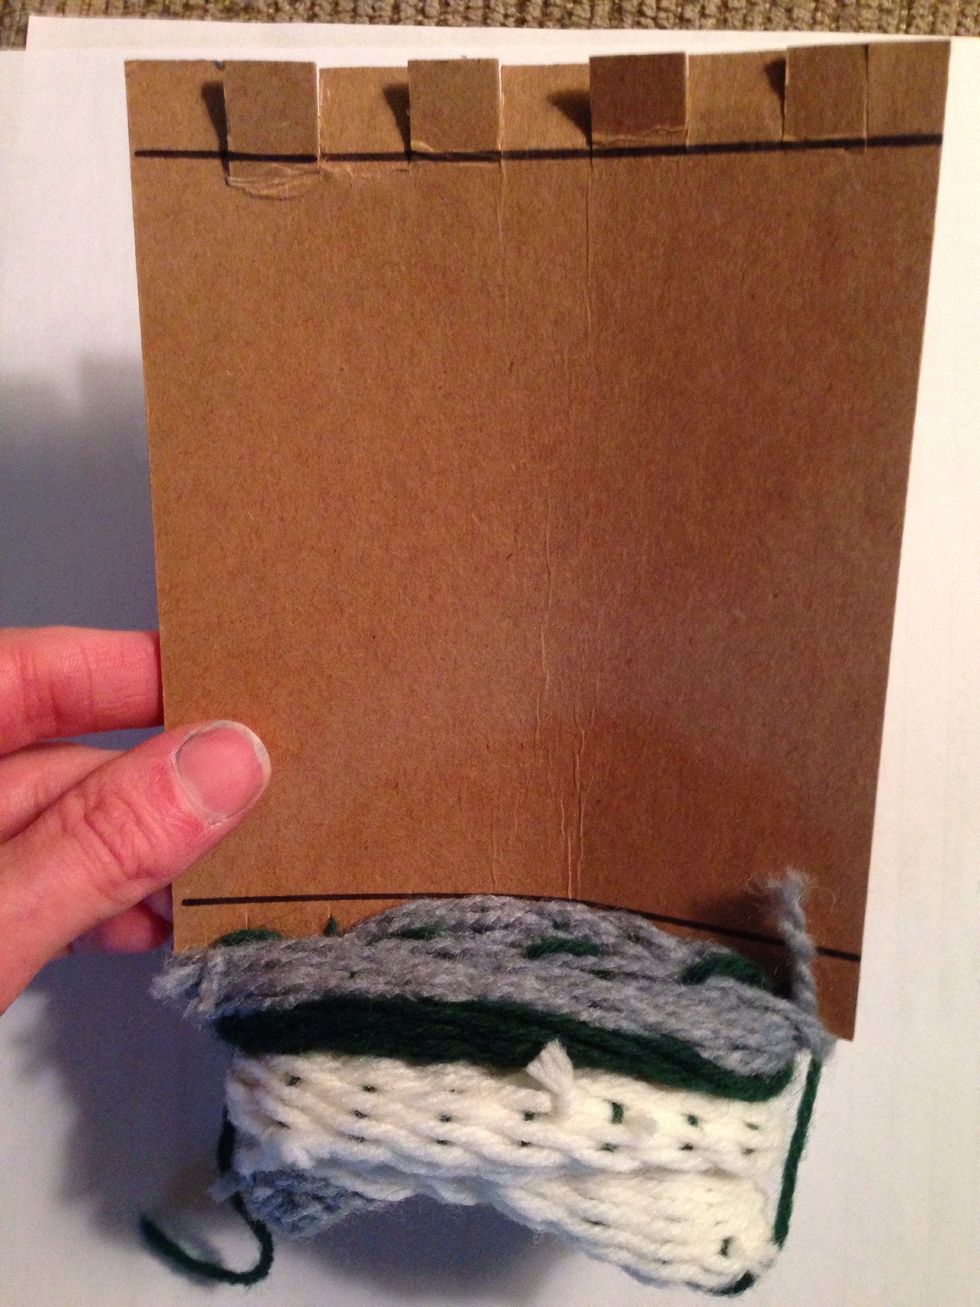
Slide pouch down the cardboard, completely off. When it is off, turn the pouch inside out (this hides loose strings).
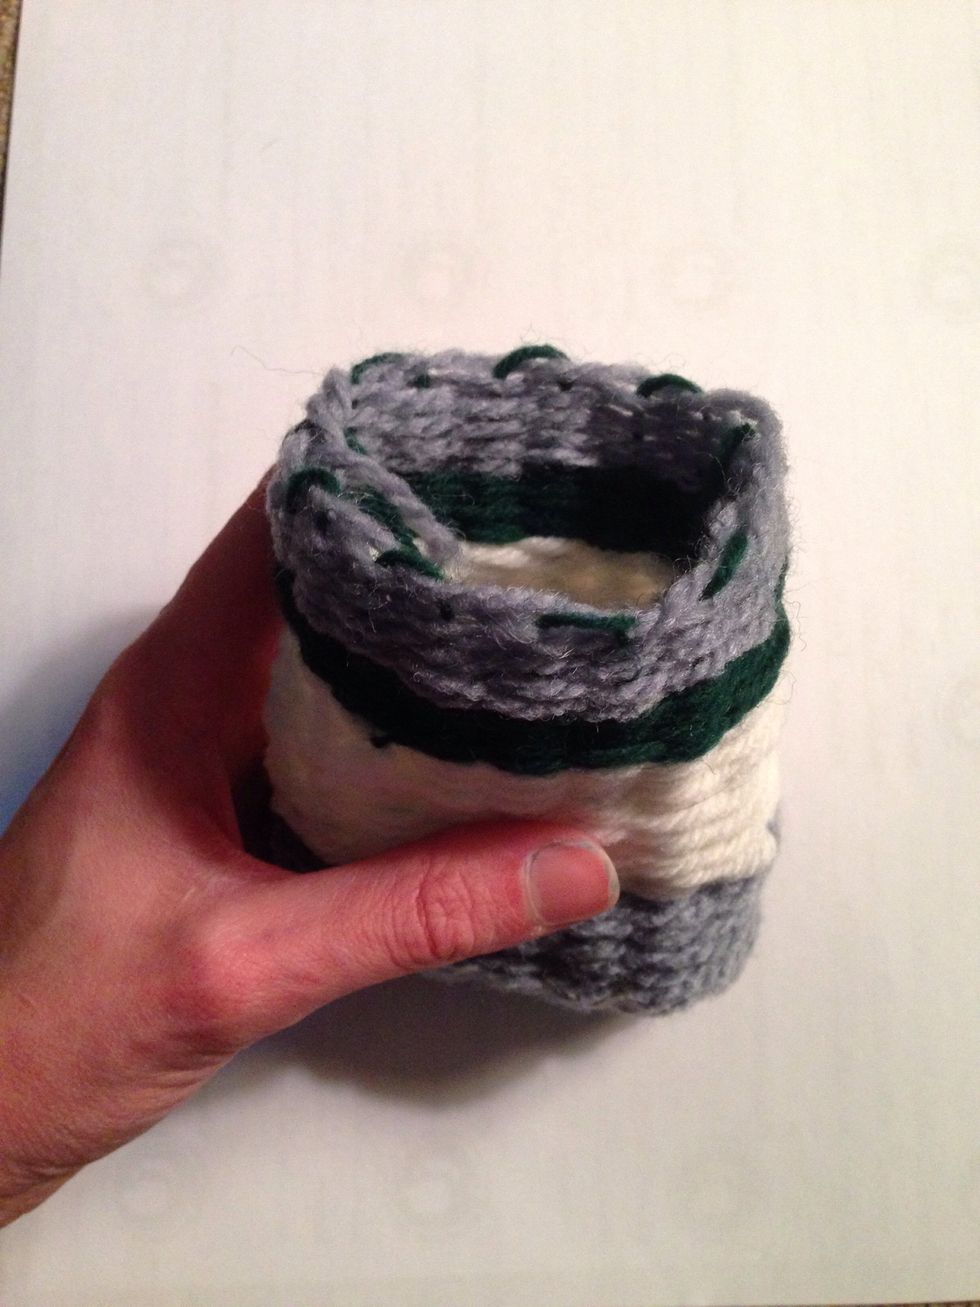
Now you have a beautiful pouch! (Sidenote: if bottom has some open space, simply tie a piece of yarn to a row then sew bottom closed. I usually do this part for the students.)
- Cardboard
- Scissors
- Ruler
- Yarn
- Big plastic needle
The Conversation (0)
Sign Up