The Conversation (0)
Sign Up
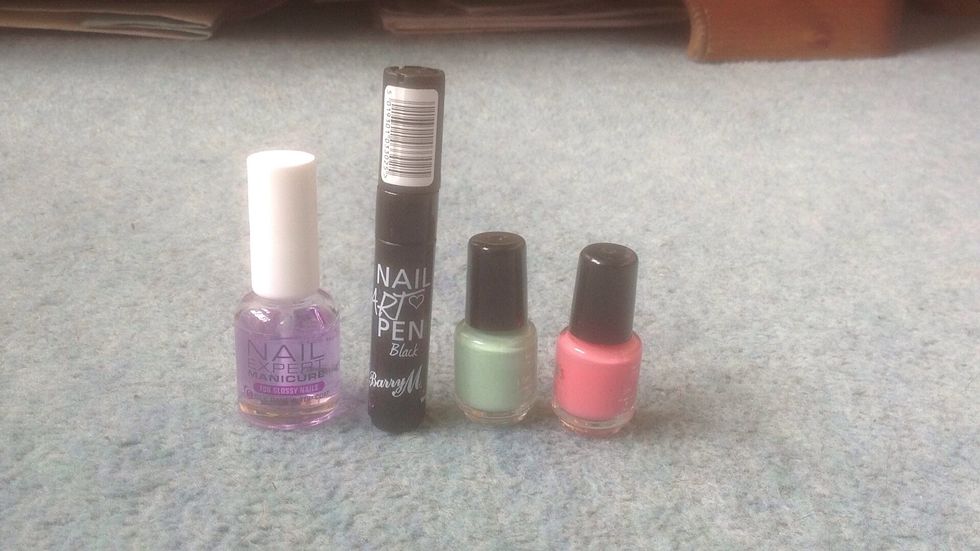
Here are the supplies I am going to use...
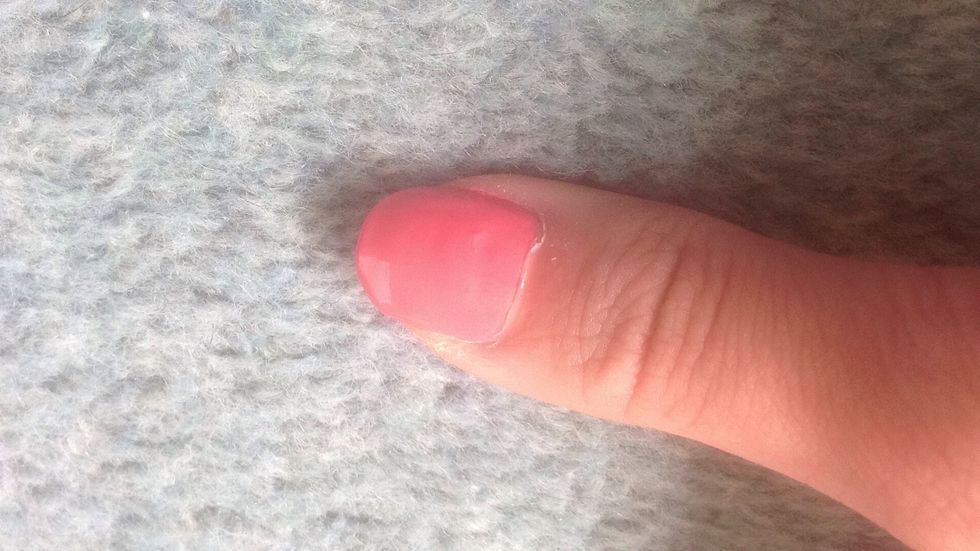
First paint your whole nail pink and leave to dry, this is going to be the watermelon. You may need to do additional coats if the colour if faint 💕

Now paint the tip of your nail green to act as the rind then leave to dry 💚
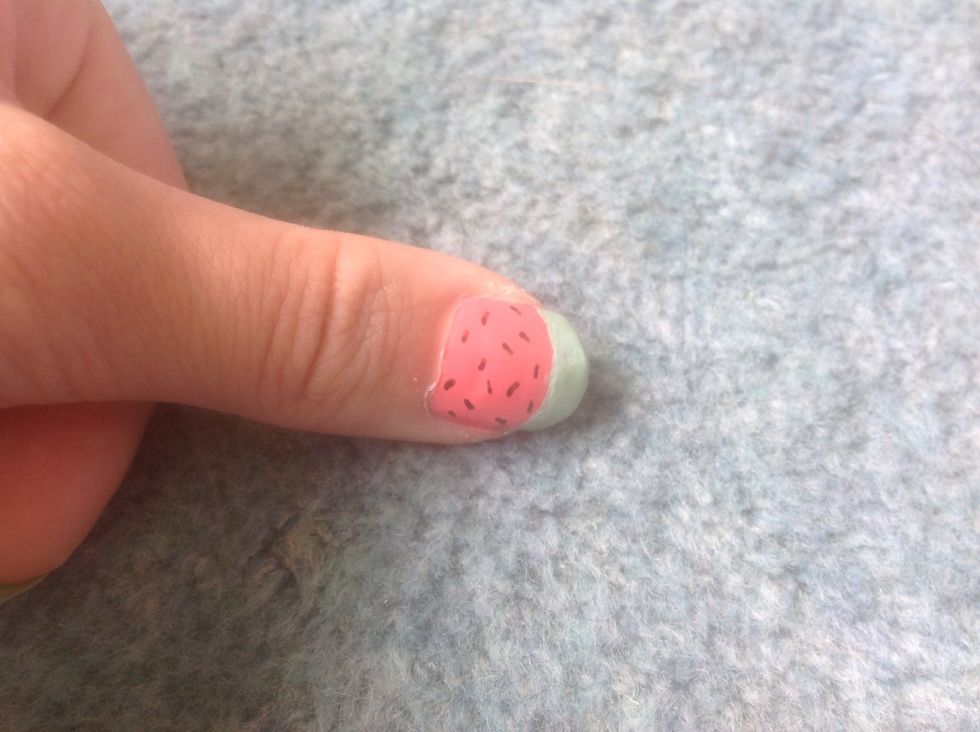
Now add some short black lines for the seeds in our watermelon
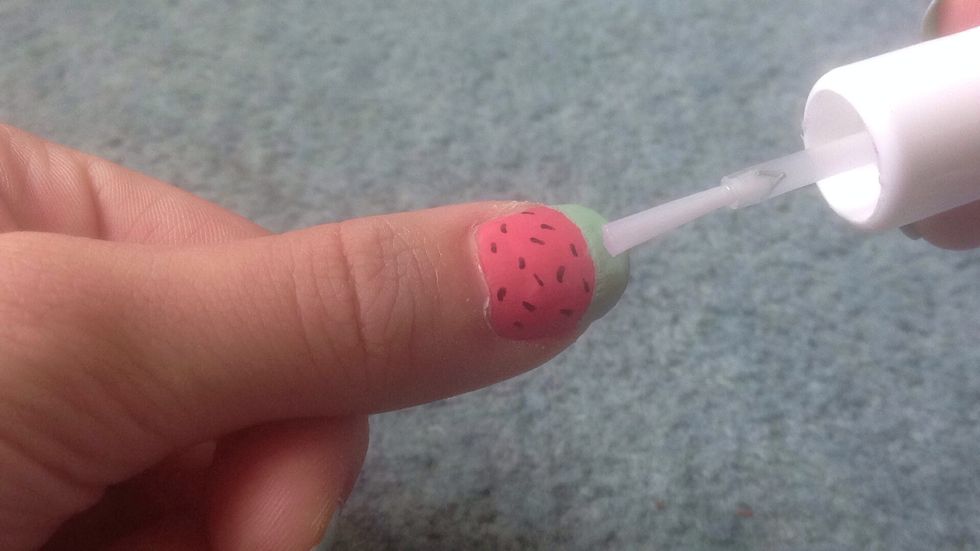
When everything has dried, finish of the design with a top coat to protect your nail art from chipping and it also helps make your nails sparkle ✨
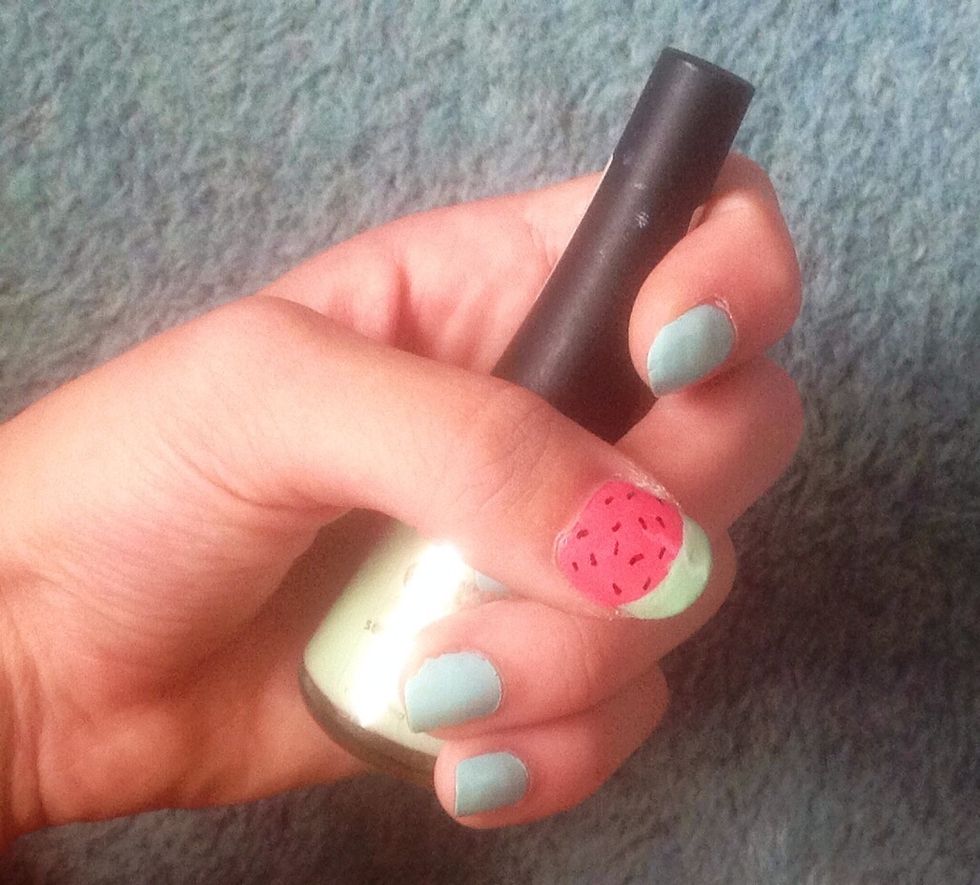
To finish off I painted the rest of my nails light blue because it complimented the colours in the design nicely! 💅