The Conversation (0)
Sign Up
Created for www.10Stops.com using my personal images (ACS Photography). I will be using screen shots, which may require tapping to expand. Therefore, this guide is best viewed using the Snapguide app.
Download the Marksta application from the App Store. At the time of this post, Marksta is listed for $1.99 » https://itun.es/us/7OthJ.i
Locate the Marksta application on your iPhone home screen. Tap to open.
From the Marksta home page, tap on the camera icon to load your photograph.

Choose an option - import or compose & capture an image.

Your initial watermark will default to the text seen in this screen shot, "Tap Here." We will change this.

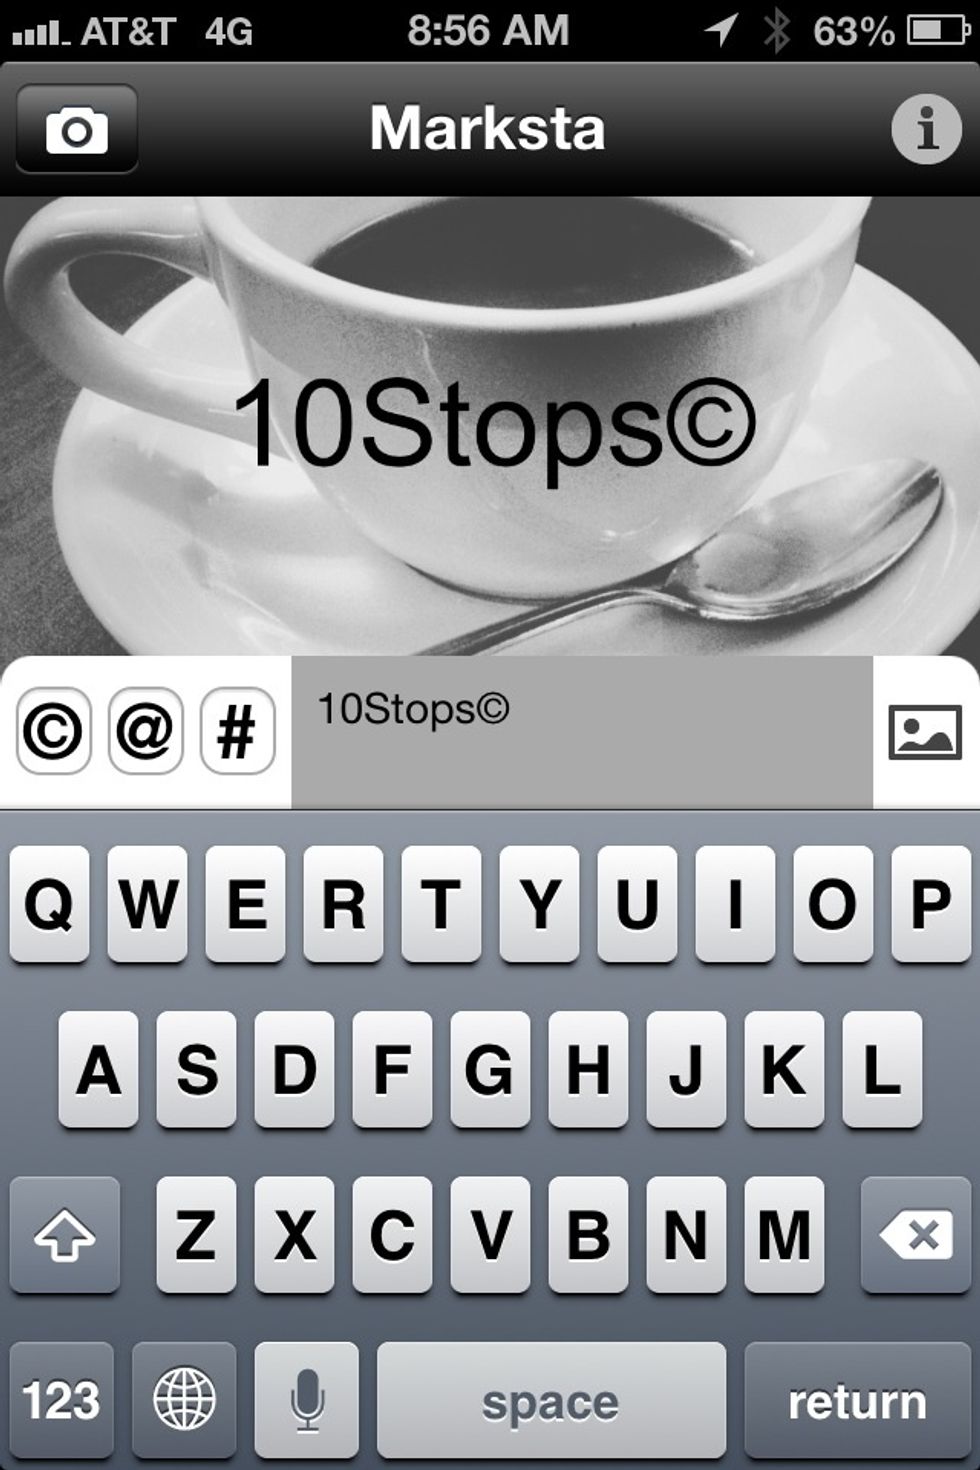
By following the prompt "Tap Here" you will bring up the keyboard. Delete the default text and type in your own. You can also add images, which we will cover (see step 13).

So you've added your text, but it's still in the default location in the default color, black. Let's make some adjustments.

Simply drag the text, using your finger, to the desired location.
Pinch or flick to resize your watermark.
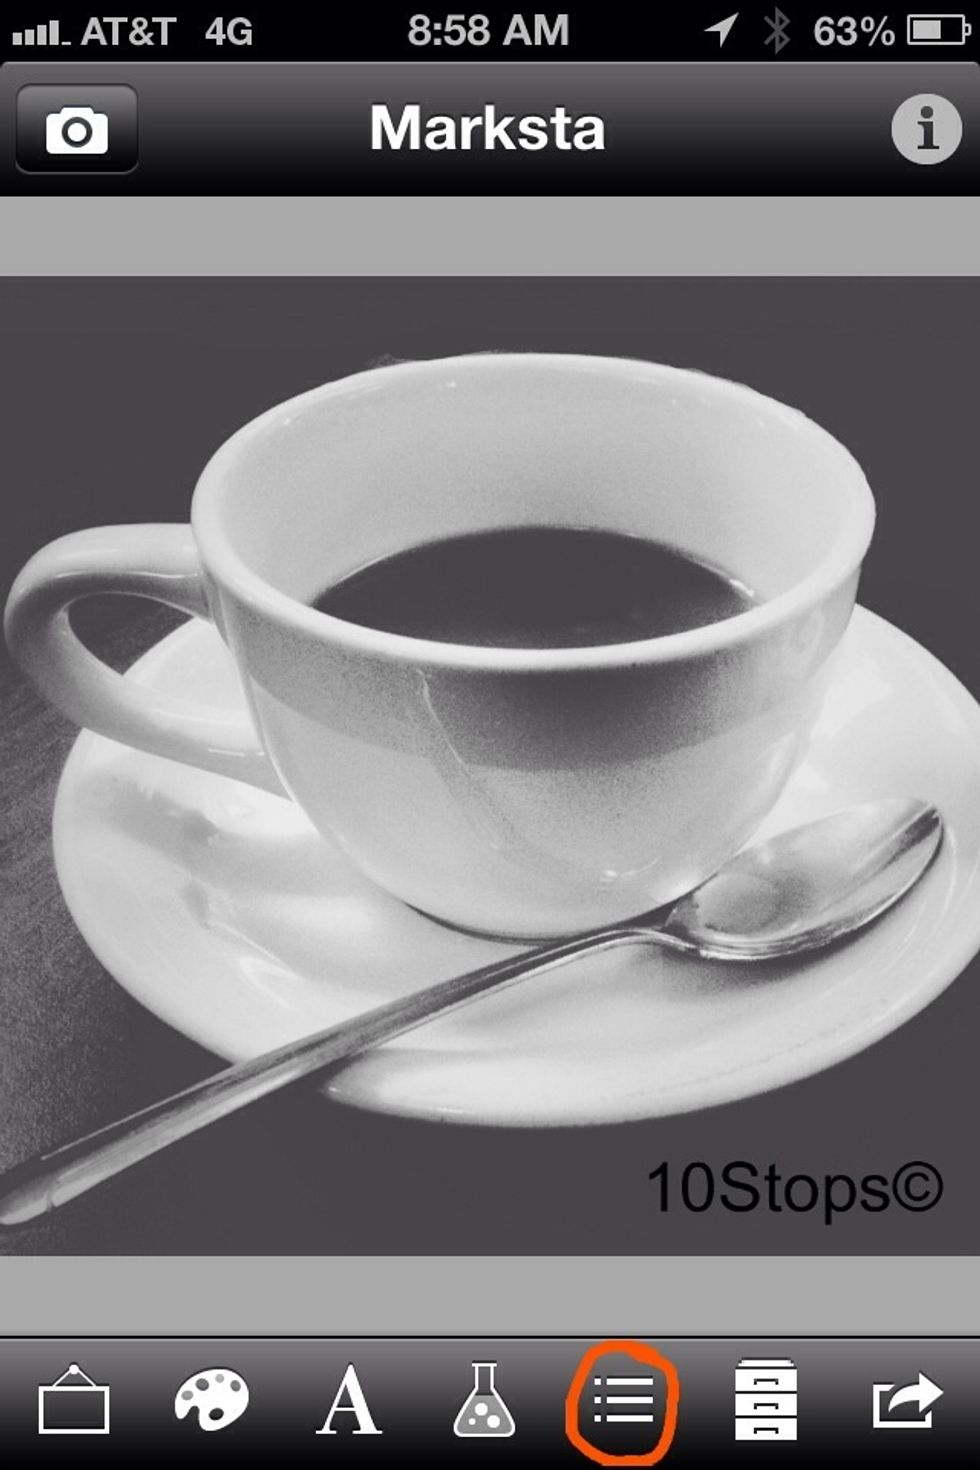
To change the color of your text (I want a white watermark for this image) tap on the color palette icon in the menu. I have circled it for you in this screen shot.
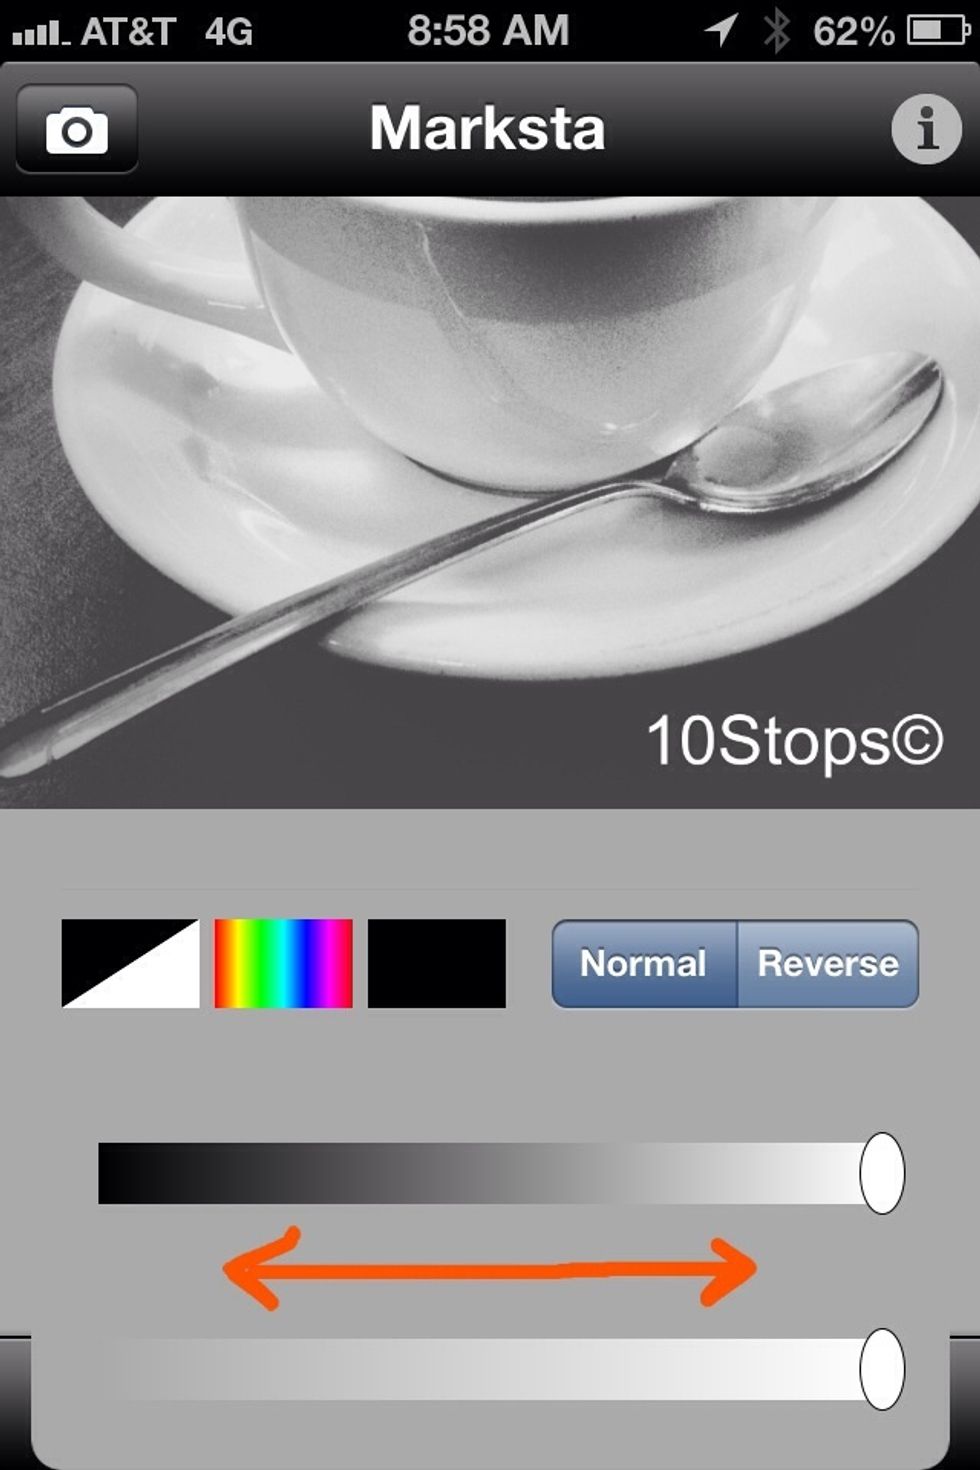
Now drag the slider left or right to change the color. For more color choices - other than black or white - tap the colorful square. If you are only adding text - no images- skip ahead to step 20.
To add an image, you will still need to follow the "Tap Here" prompt. This time, however, instead of entering text as seen in the screen shot, tap the image icon to the right of the text entry field.

Now select the appropriate image, from your camera roll or photo library, to be used as your watermark.
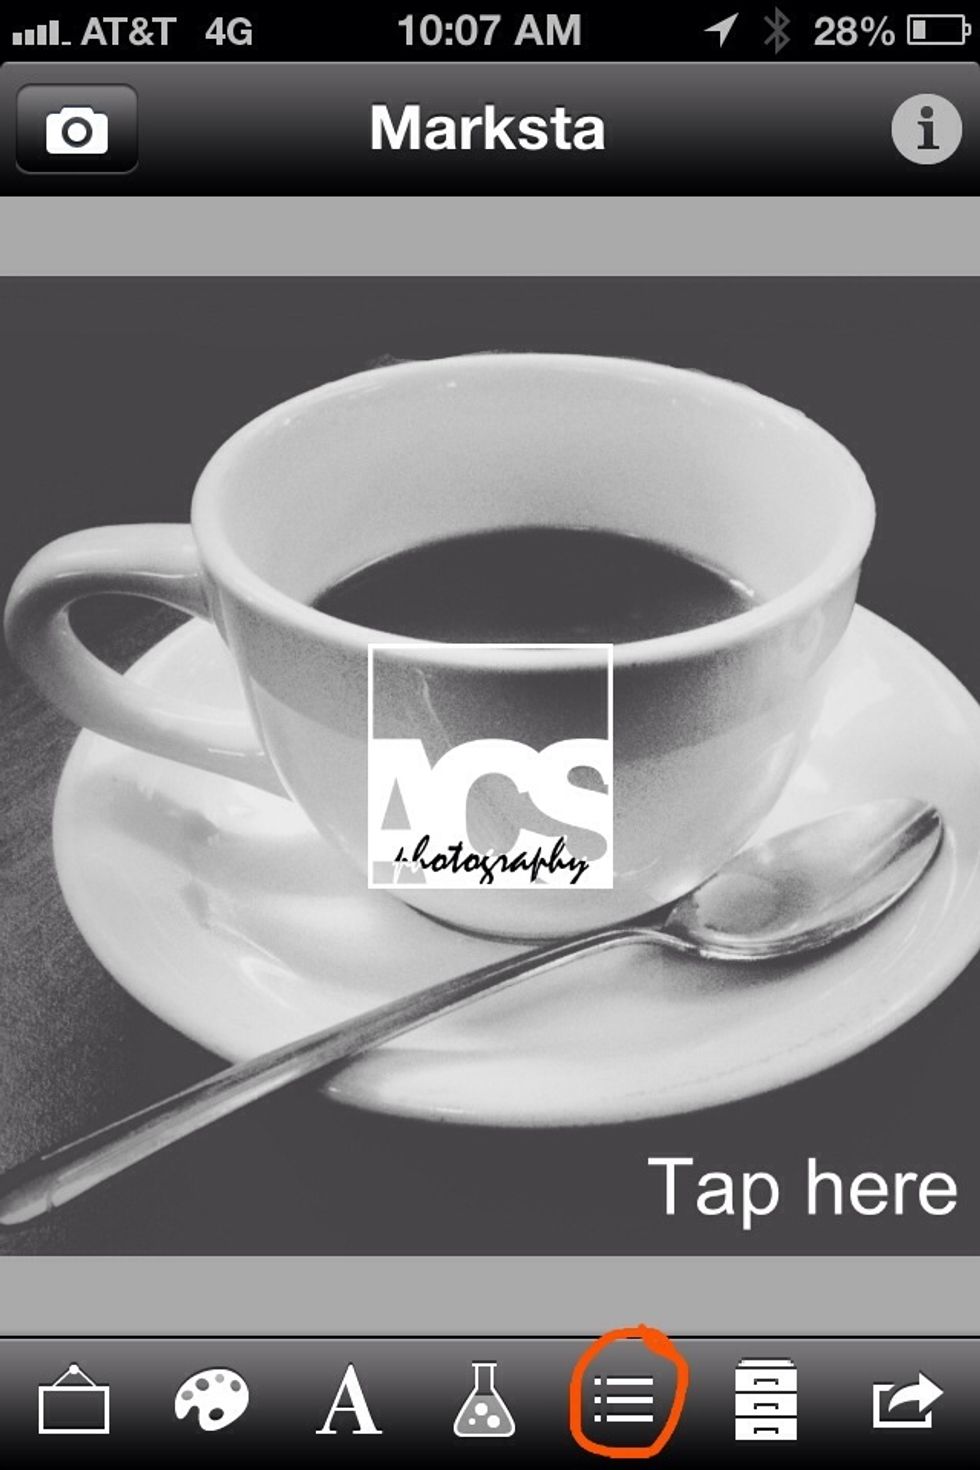
Your image will load center screen, but you will still see the default "Tap Here" text as well. To get rid of that, tap the "row handles" icon in the menu - circled in the screen shot for you.
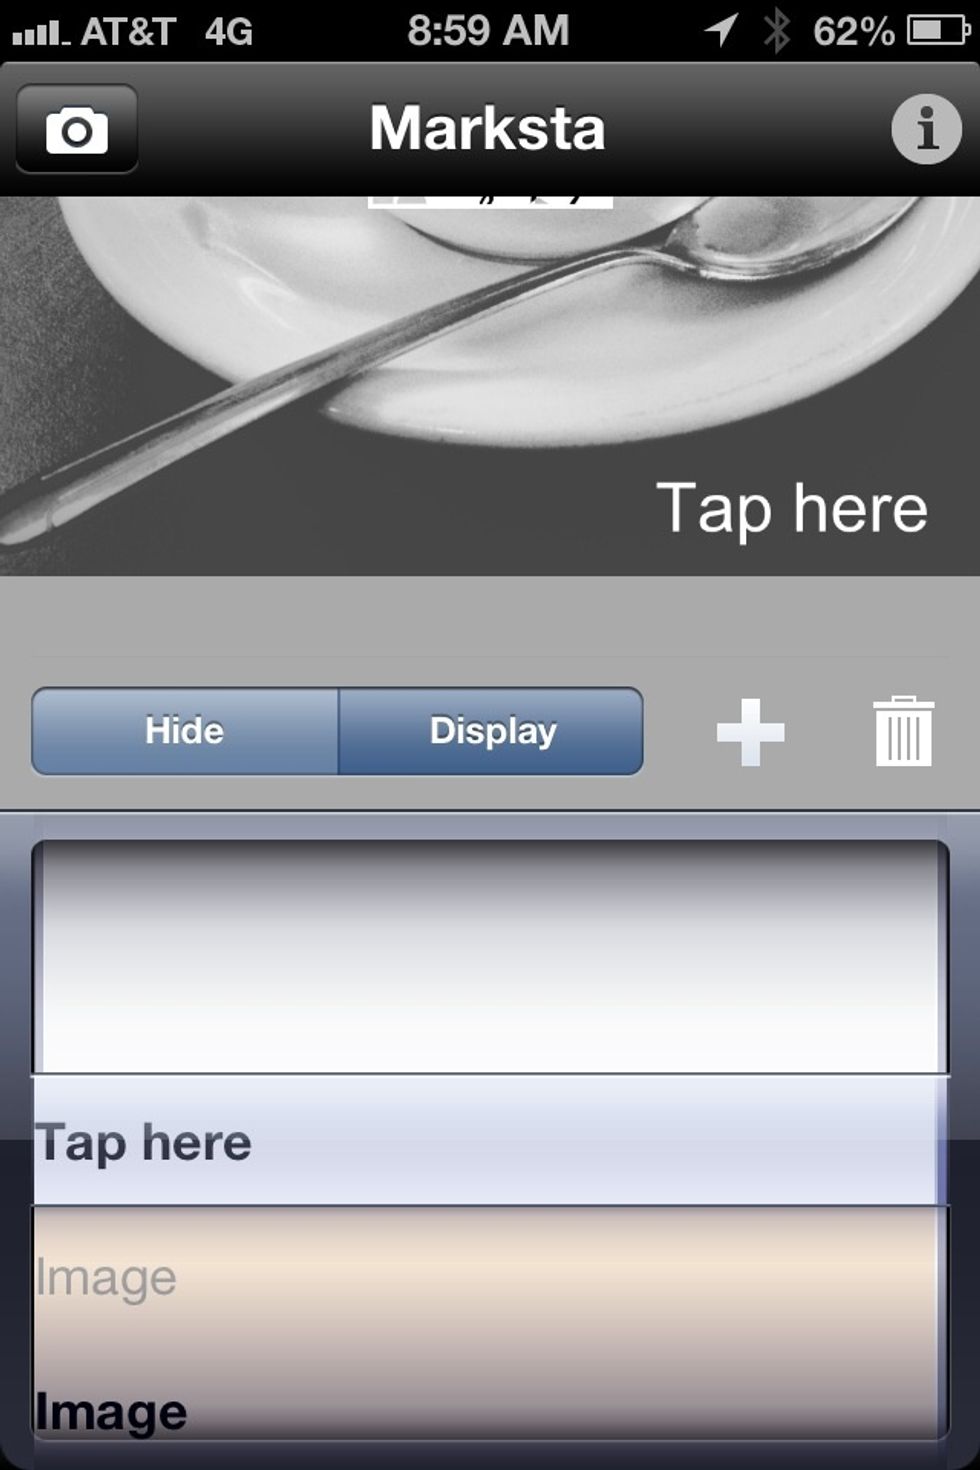
Using the tumblr, highlight the item you want hidden, whether it be an image, the default text, or your own custom text. Here, we are hiding text so we have only our image watermark remaining.
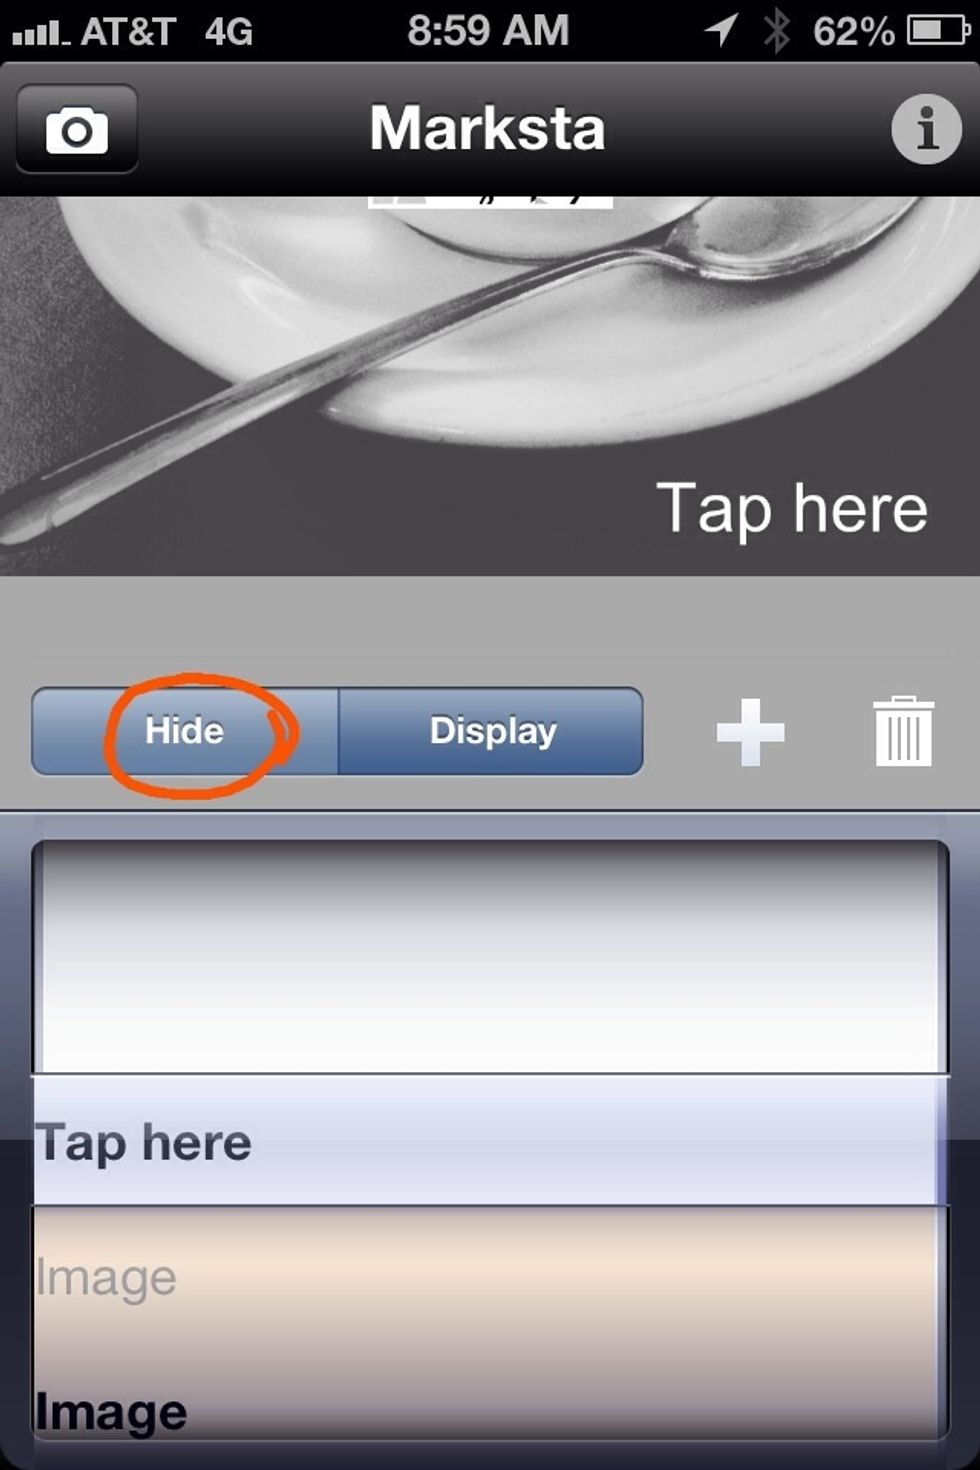
Tap the "Hide" option - as circled in the screen shot - to remove the item from your photograph.
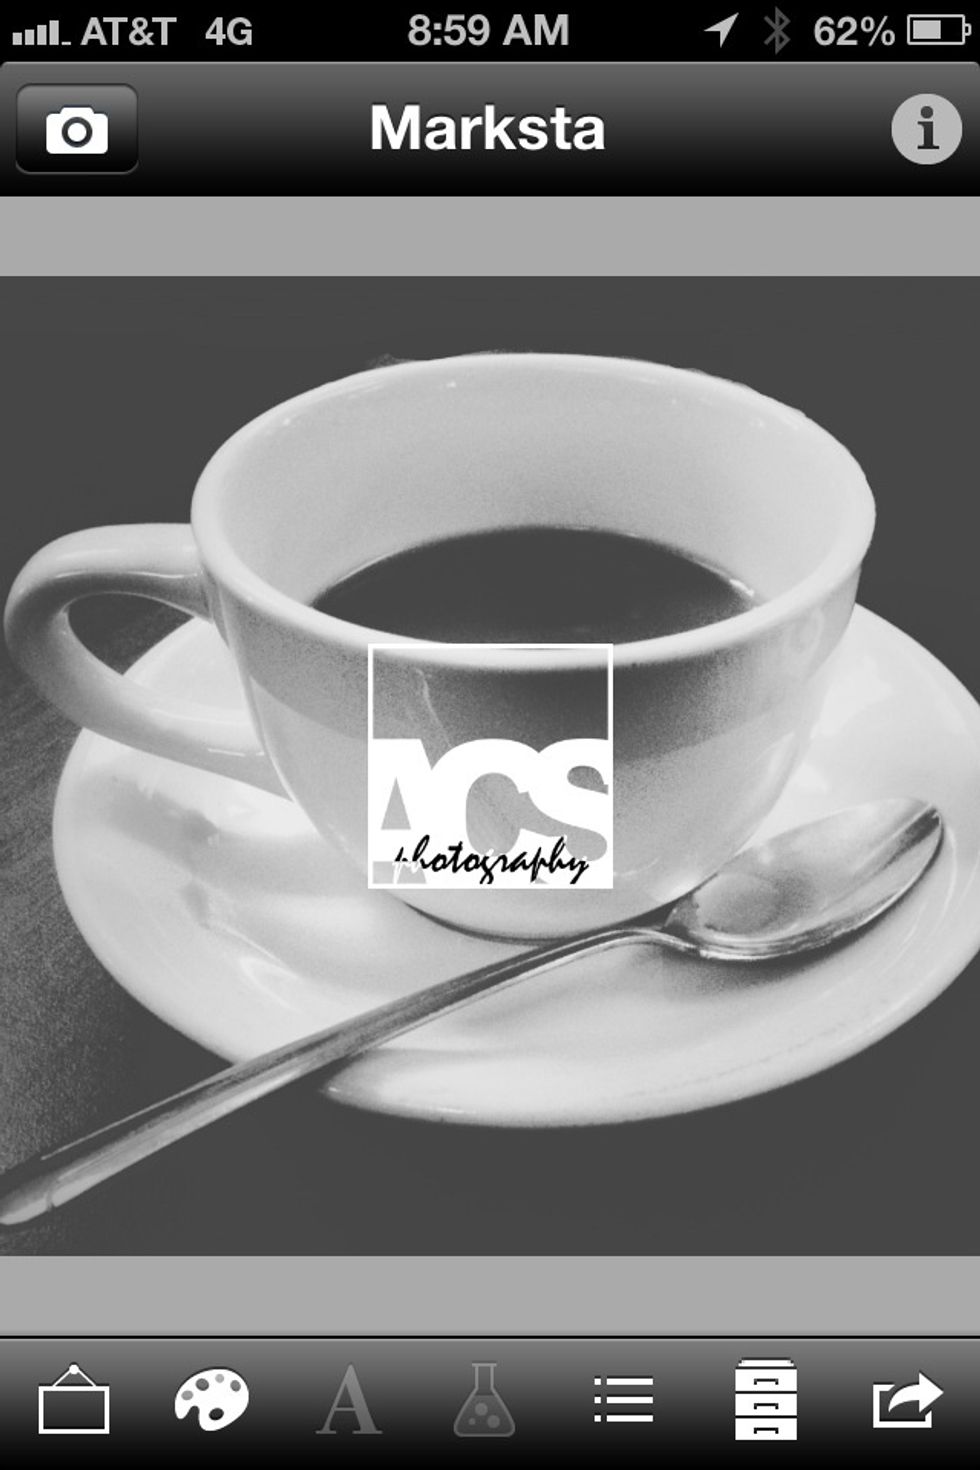
You should be left with something like this.

By pinching, flicking and dragging, resize your image to your liking and place it wherever you see fit. All that's left now, is to save your image.
Tap the, iOS universal, "Share" icon to bring up your save and share options. Choose whichever destination is appropriate and go to town.
Thanks for viewing. Don't forget to visit www.10stops.com - photography news for mirrorless and mobile enthusiasts. Until next time, cheers.