The Conversation (0)
Sign Up
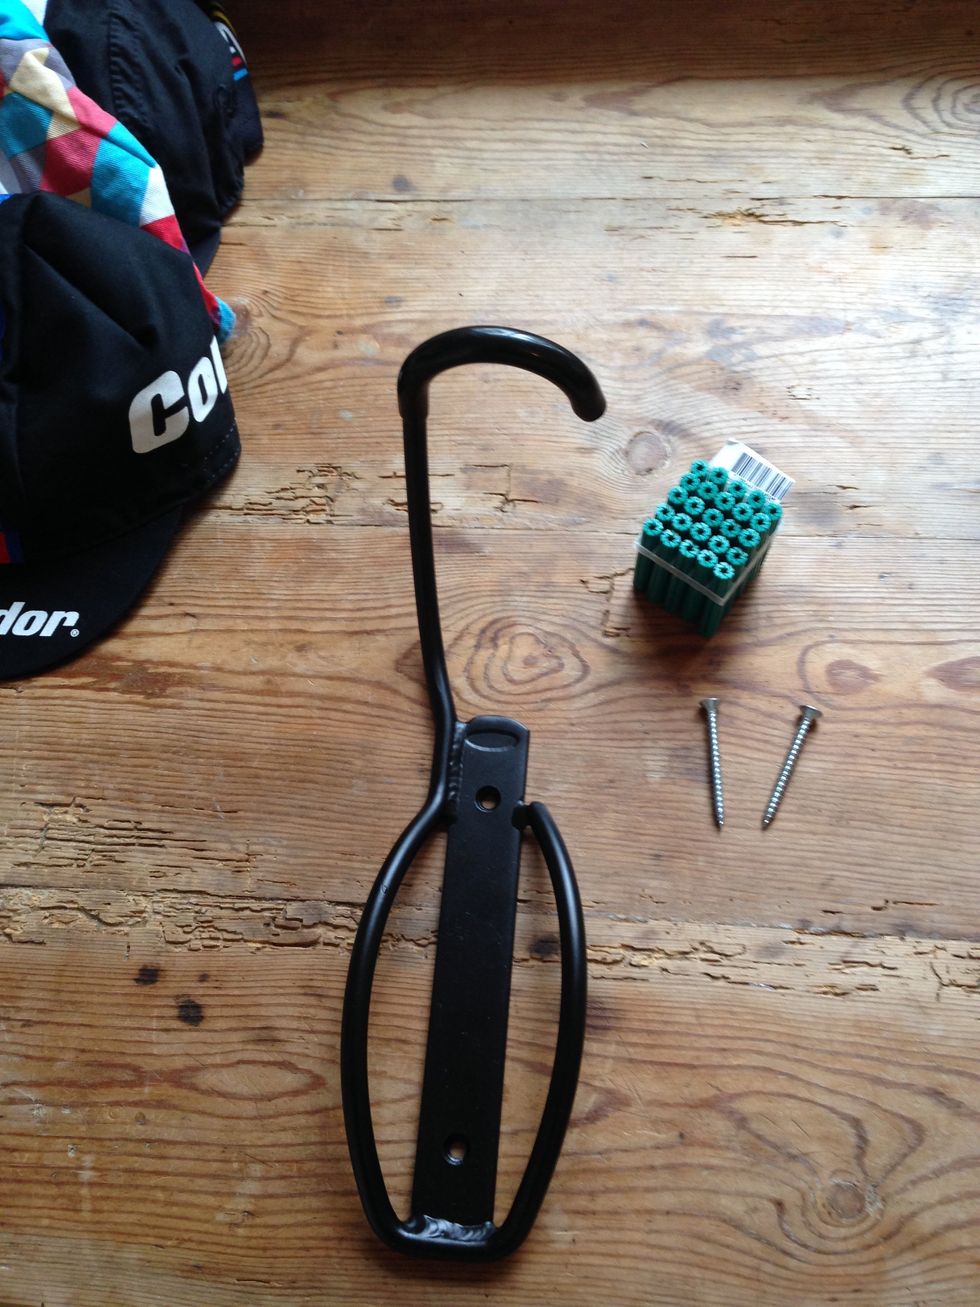
Wall mounted bike racks with a hook feature differ slightly in design but use the same wall mounting concept. Lifeline brand is shown here in DIY instructions which are the same for all brands
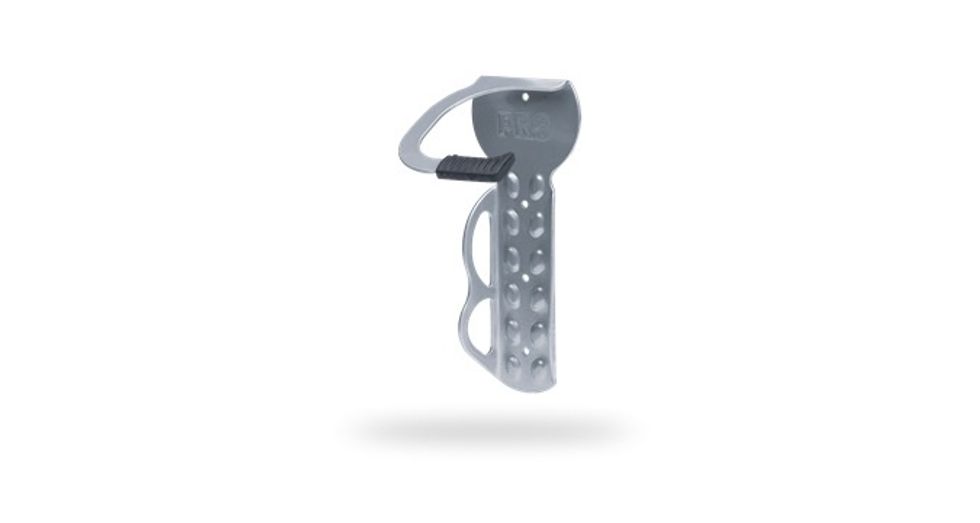
Pro bike wall mount for stockists see www.pro-bikegear.com
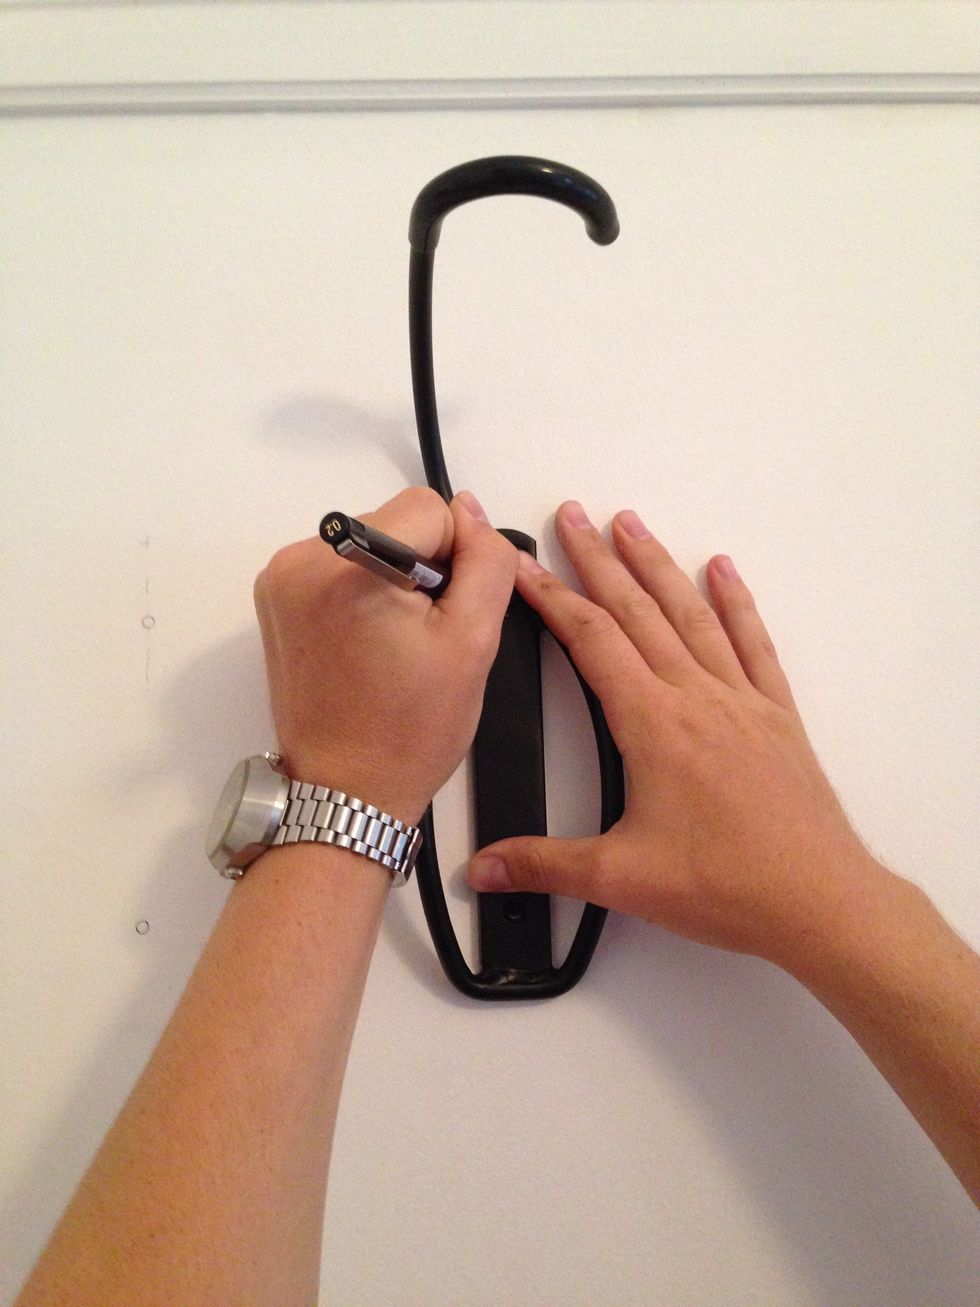
To position your rack just lift the bike up to the desirable height and mark with a pencil on the wall where the front tyre contacts the wall.
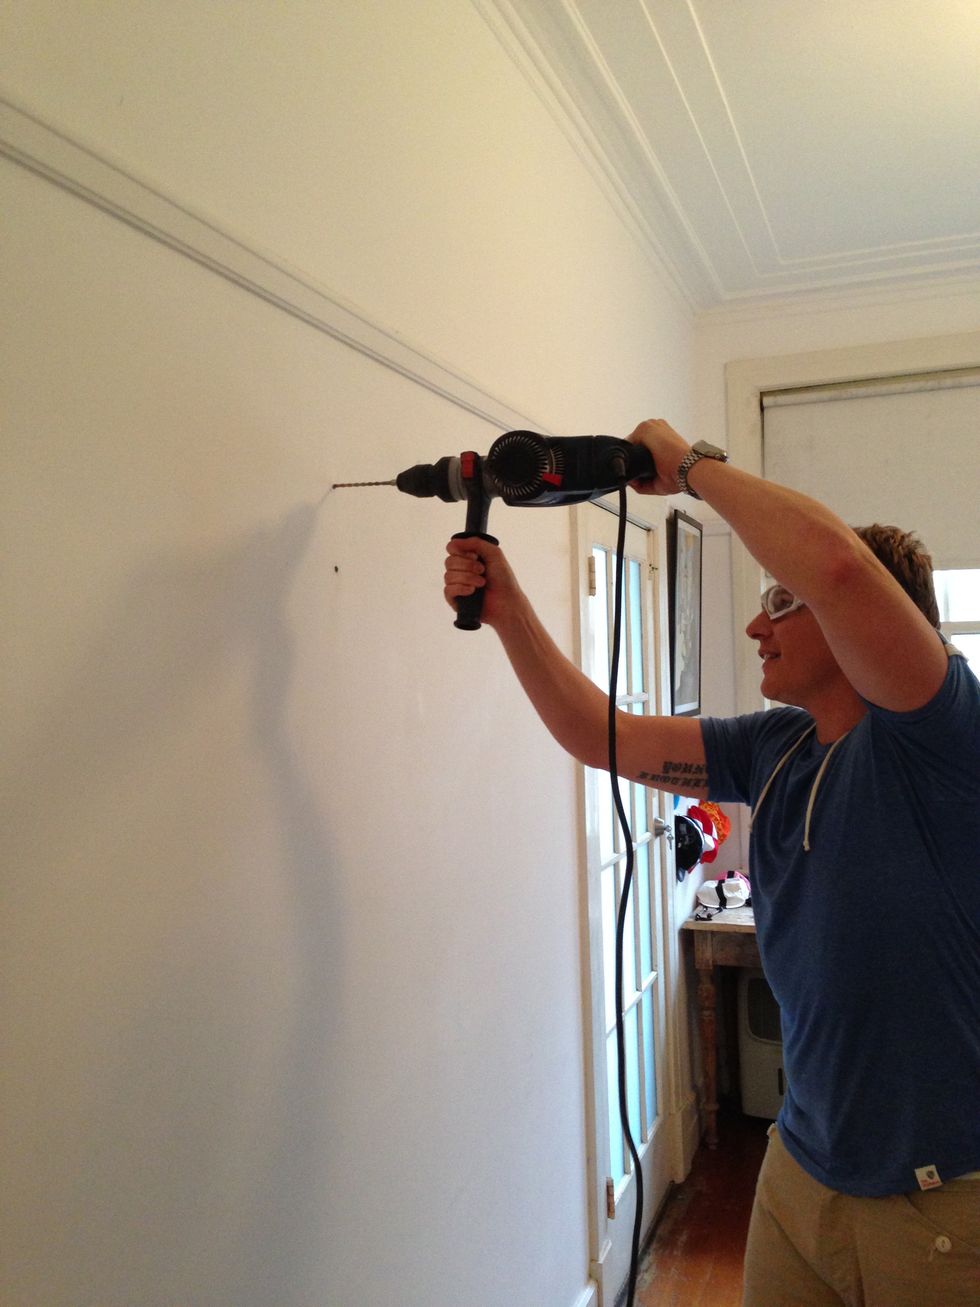
Use a hammer drill to drill holes into the wall marks you have made
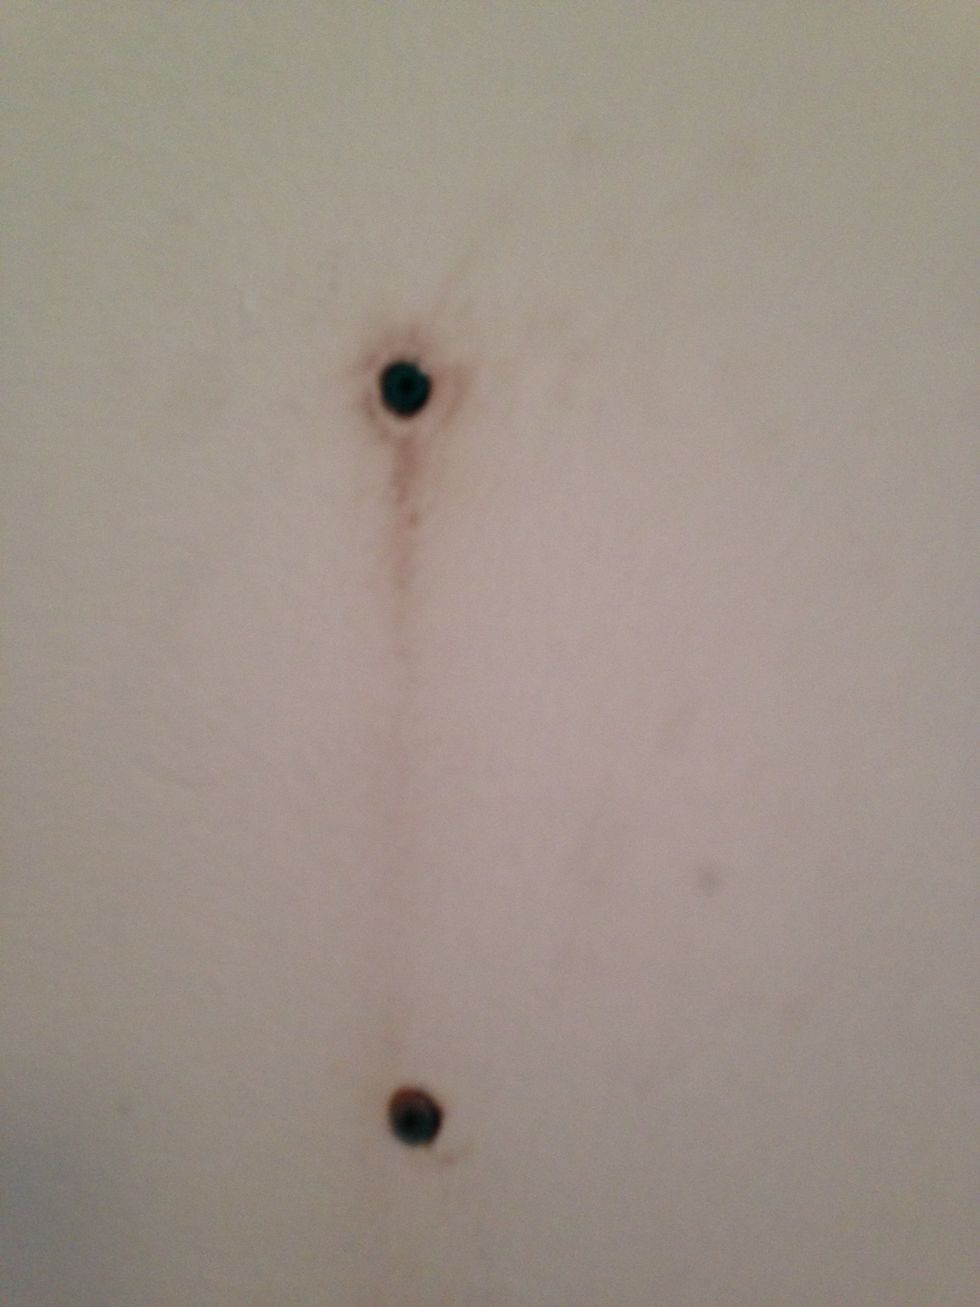
Push the 6m plugs into the hole
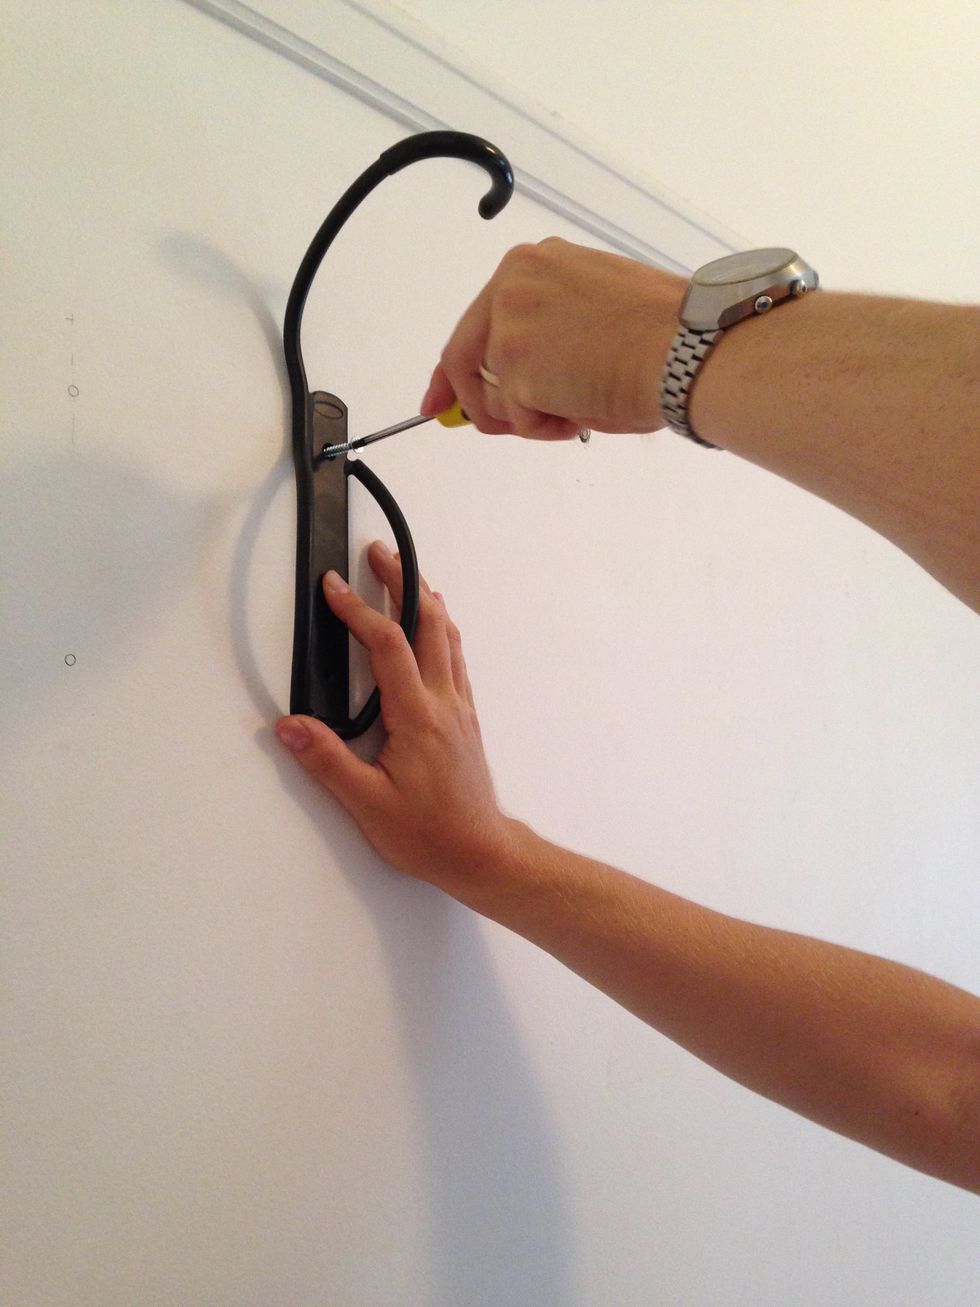
Screw the rack into the wall.
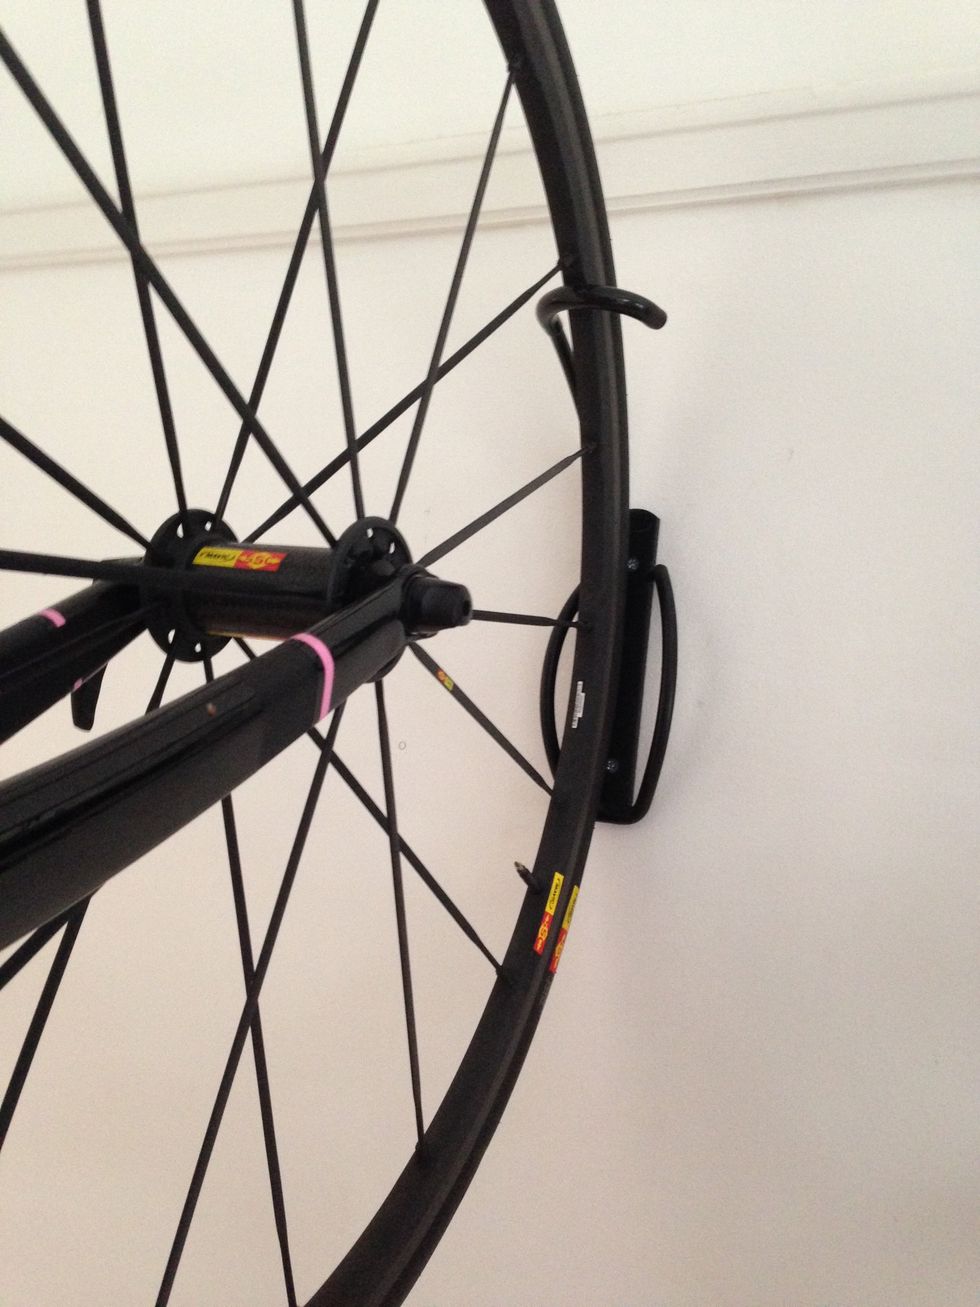
Lift the bike up and hook the rim of the tyre into the rack
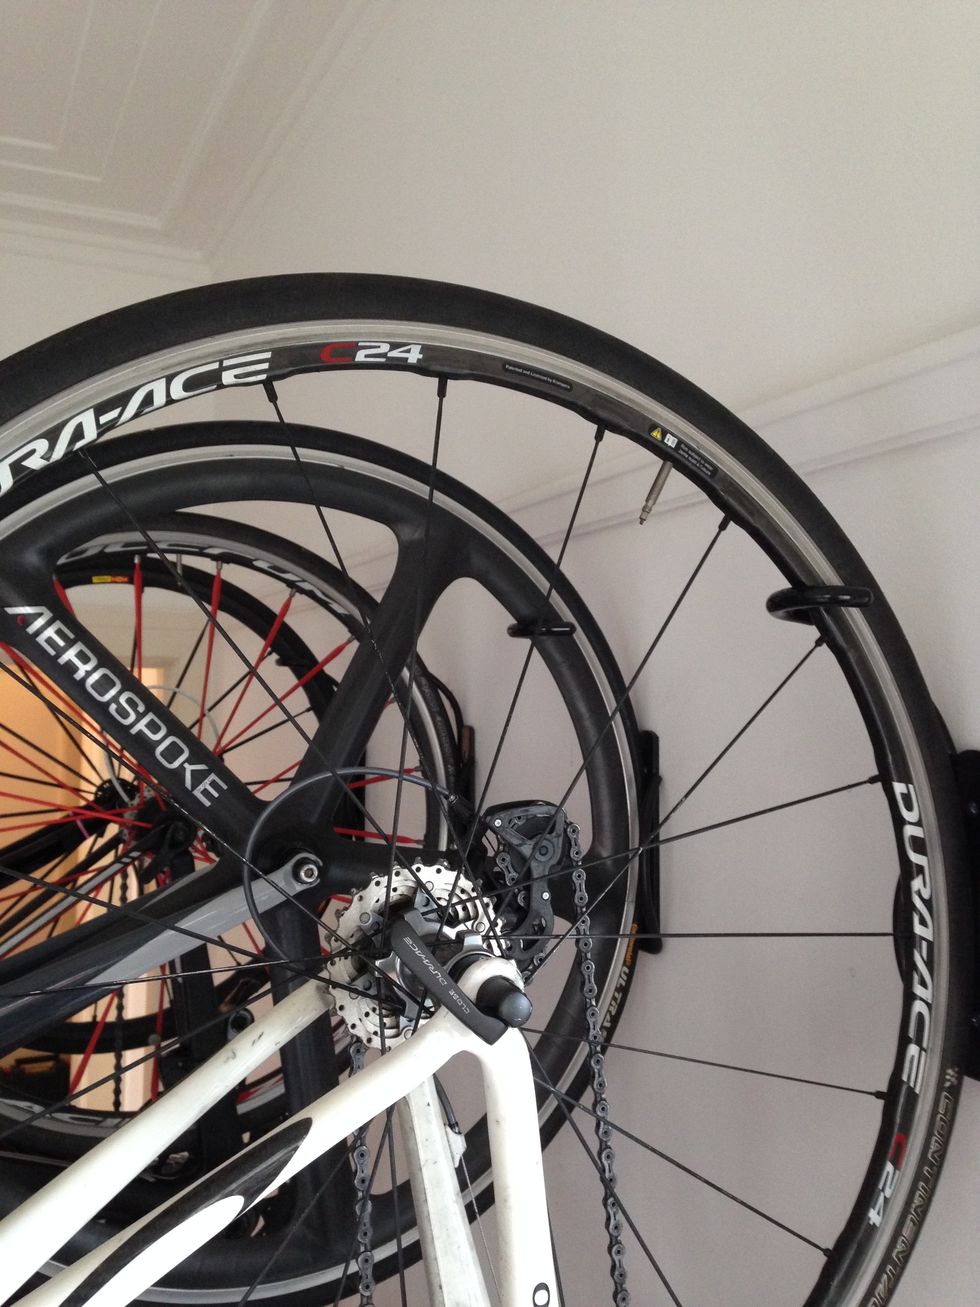
This wall mounted bike rack is so efficient with space that you can place more than one side by side. you can even position the bike top to tail so they can be even closer
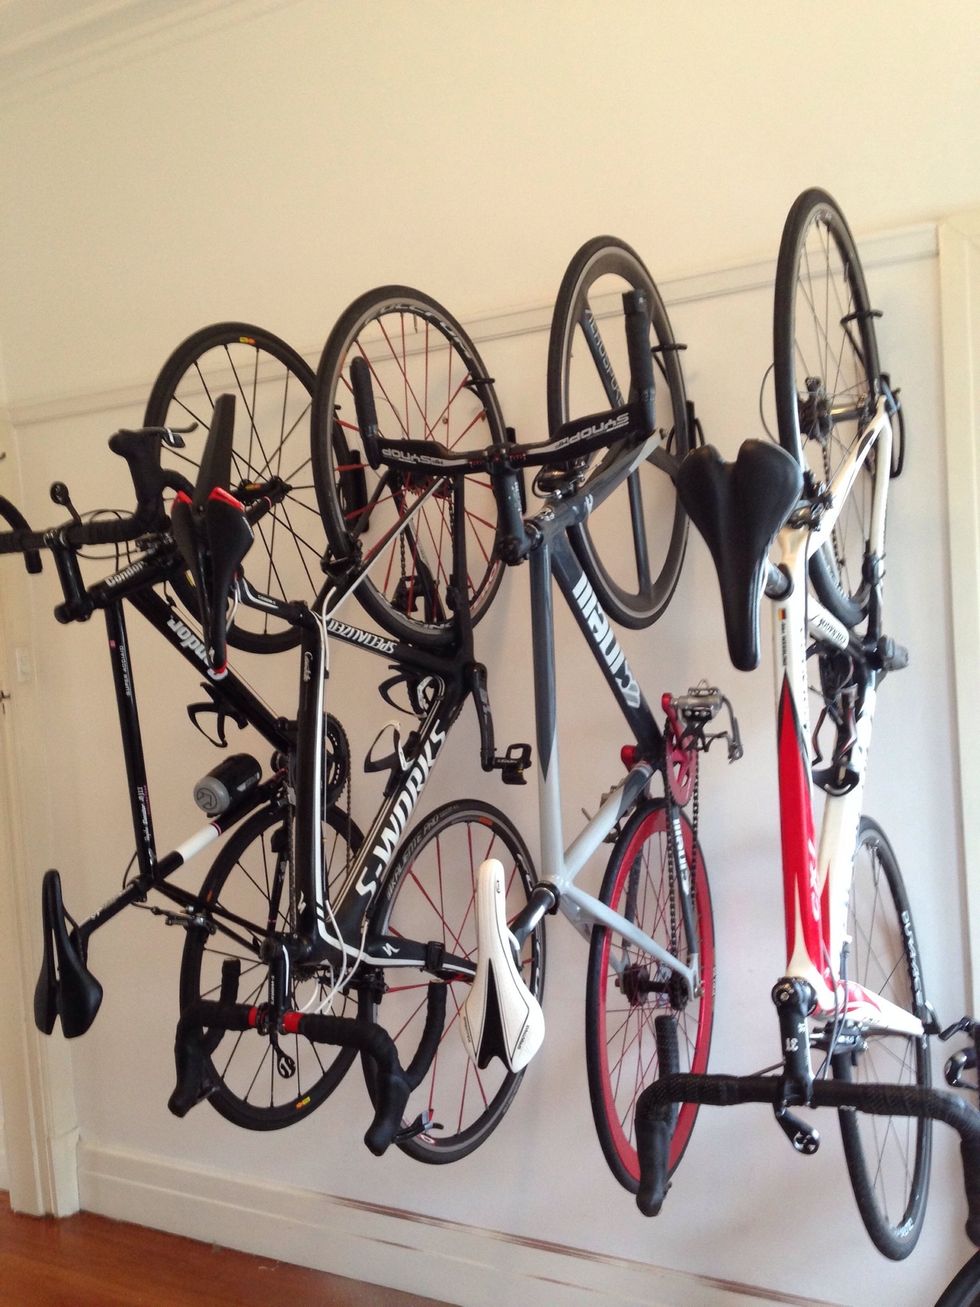
Now there's a bike enthusiast !!

Hi, I'm Liveability Bike Ambassador Jason Young. Drop me a line for any bike related questions. Just use the 'contact us' form on Liveability.com.au