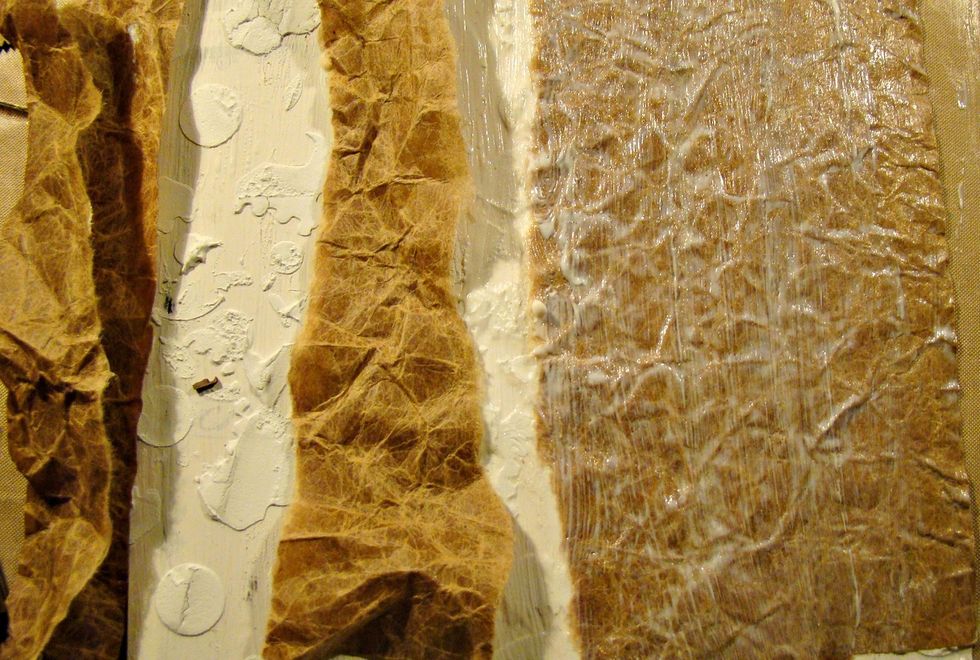
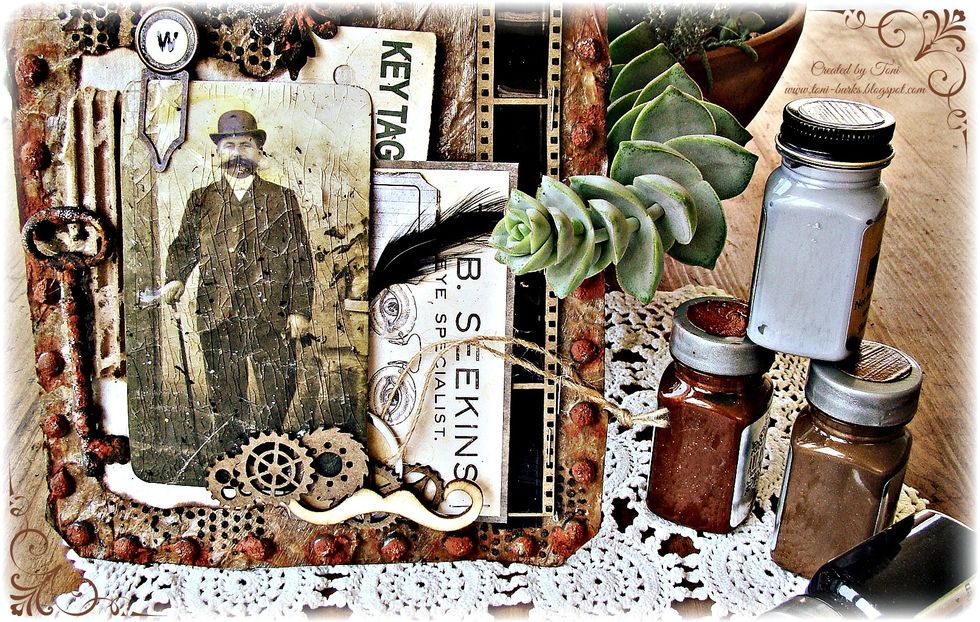
I had an old tag that I started awhile back and decided to cover it with crunched up kraft glassine paper adhered down using 3D Mat Gel in strips.
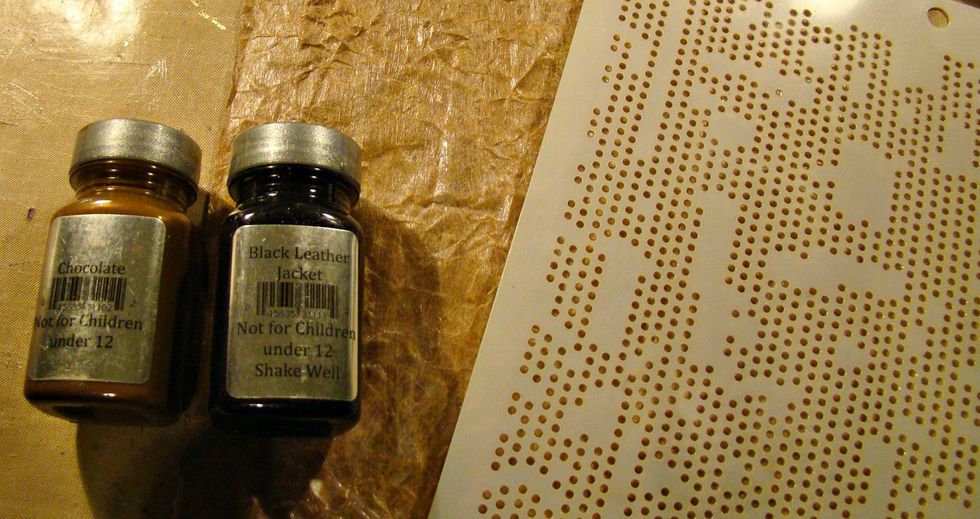
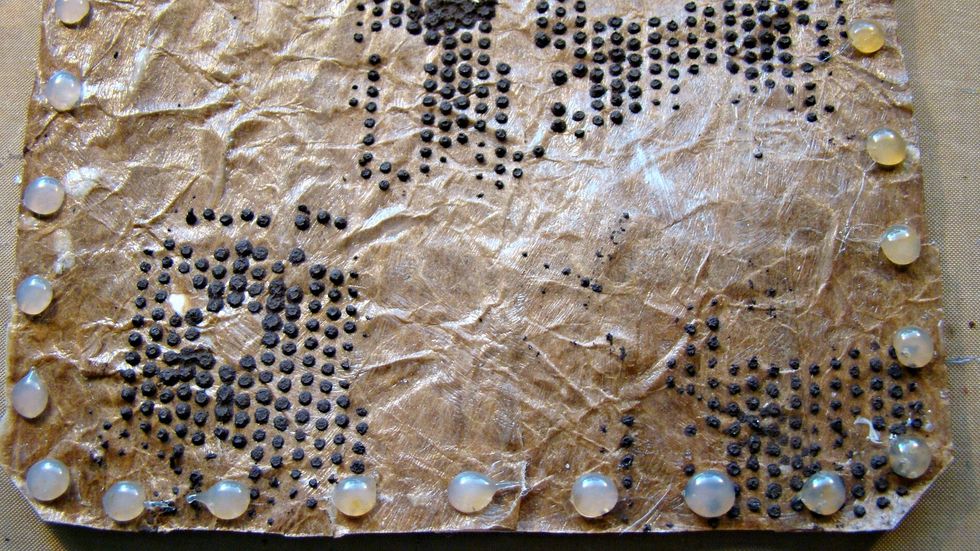
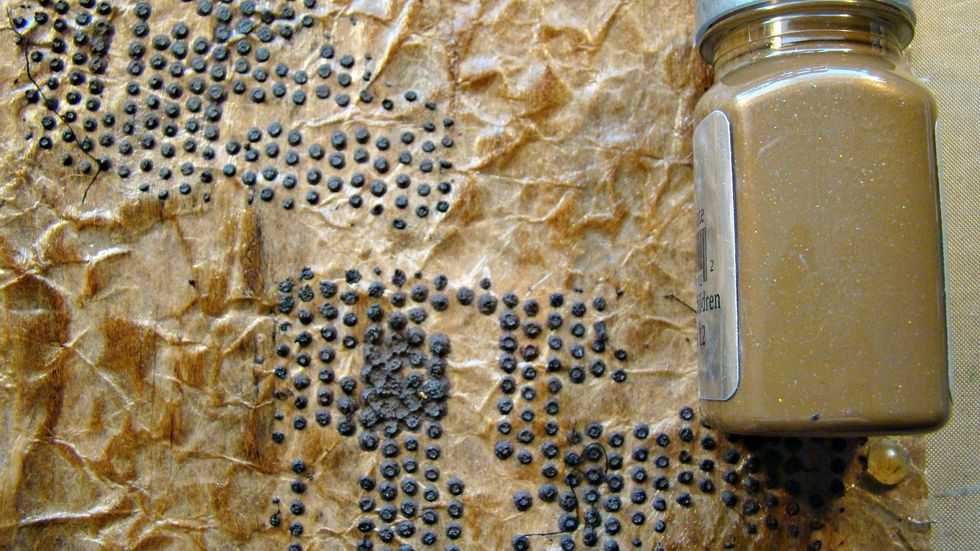
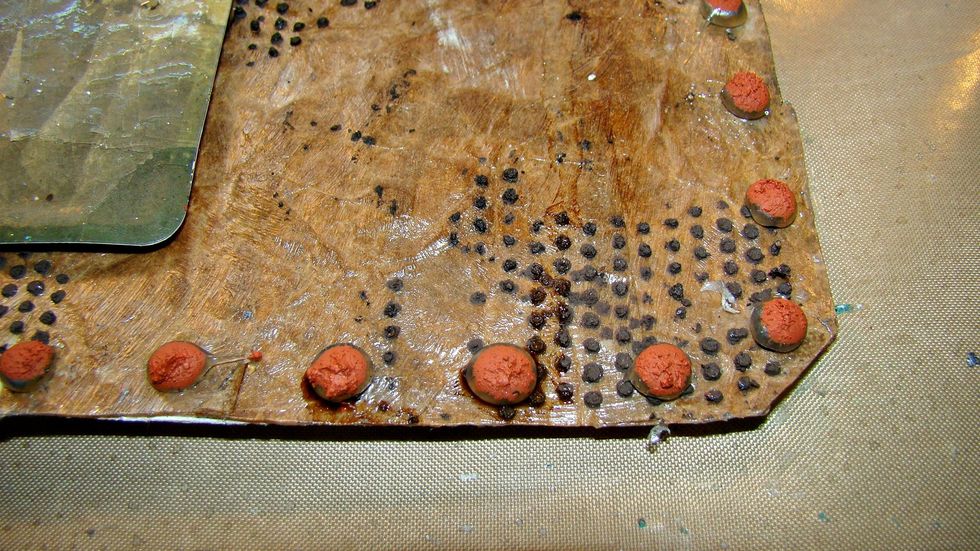
I mixed my two AA paints with craft sand and AA's Mud Texture Paste until very thick and ran through my stencil randomly. Allow to dry.
Using your glue gun make drops giving the appearance of rivets around the board of your tag.
Usng your Chocolate, very lightly with a sponge run over the top of the high parts of your glassine paper and allow to dry. Gives it a leather appearance.
Top with Kenyan Copper mixed with craft sand, spritz with a dab of water to allow to run like rust.
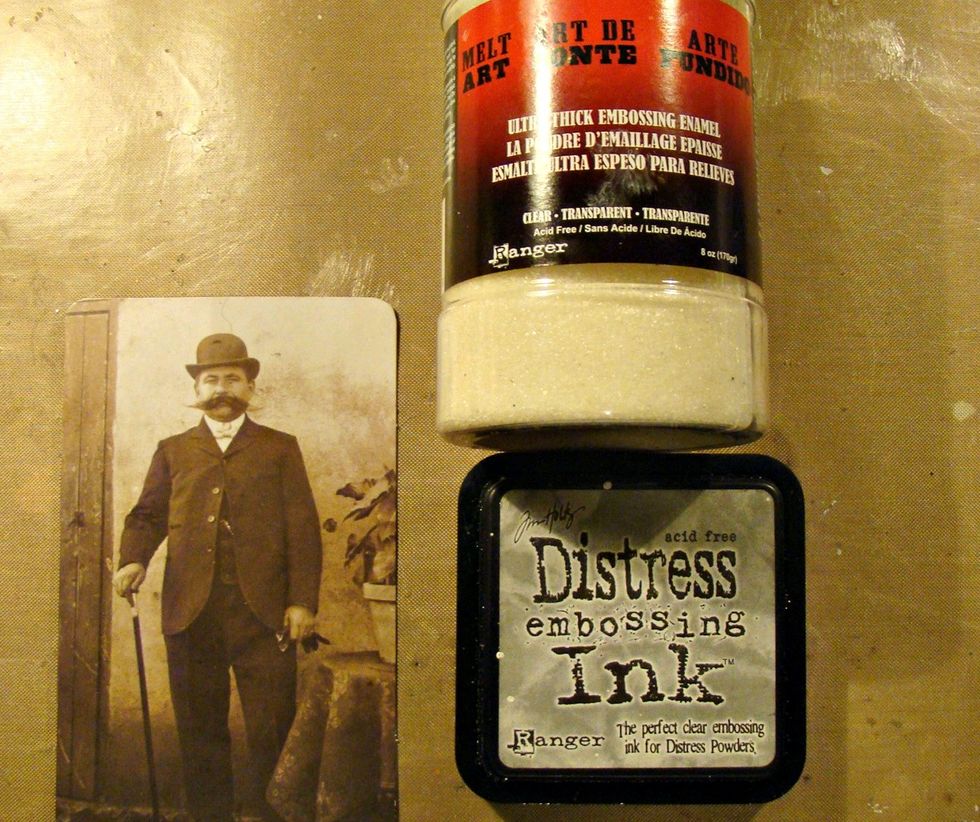
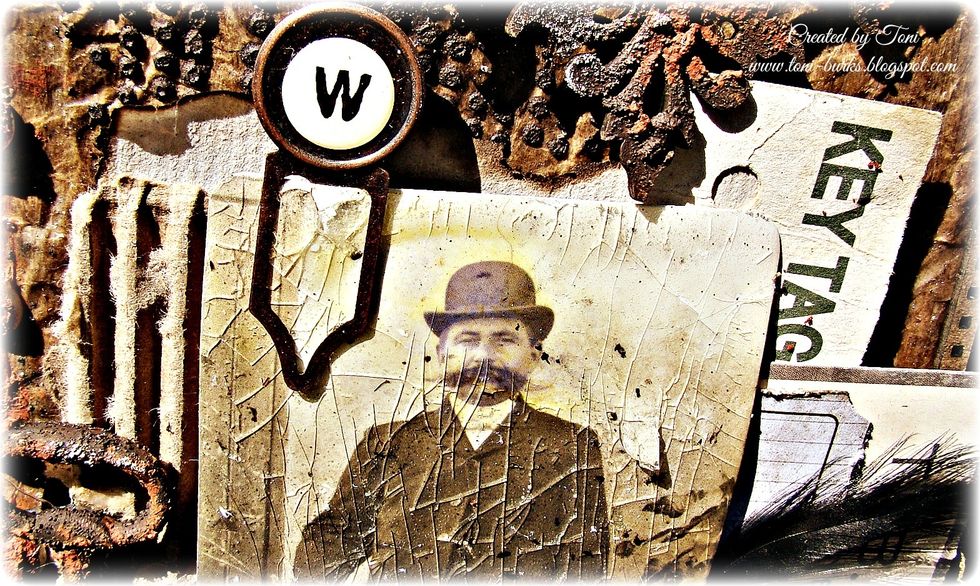
For the freezer crack method.... Take your photo and apply 1 coat at a time of UTEE. Cover at least 3 times, this effect works best with a thick coat of embossing application.
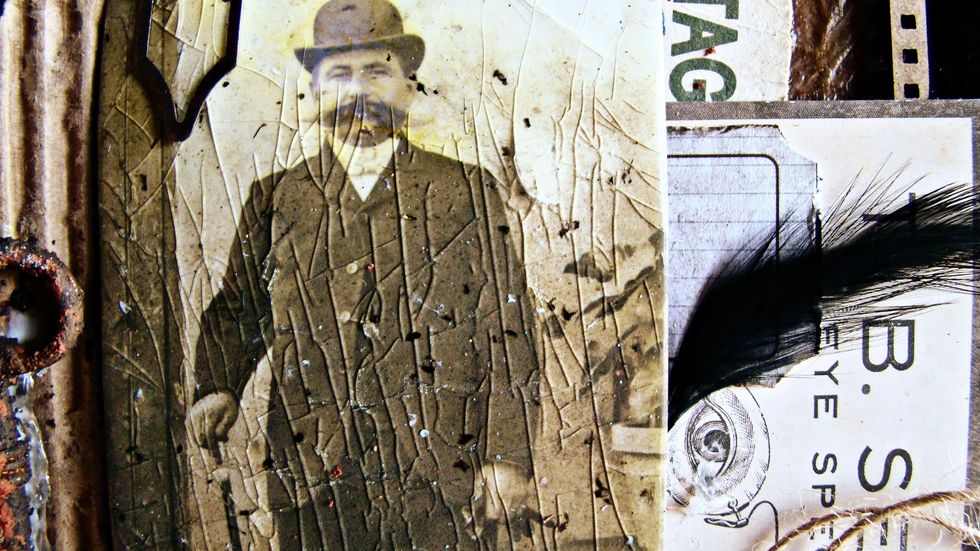
Here is after the photo has been removed from the freezer and cracked !
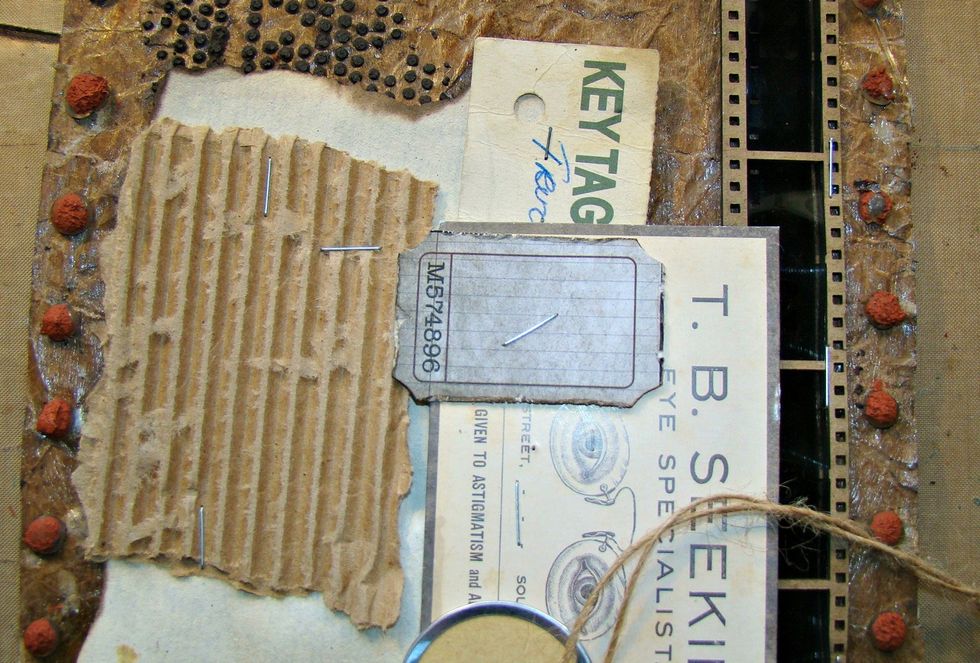
Staple your ephemera together to create a mat for your photo. Adhere to tag.
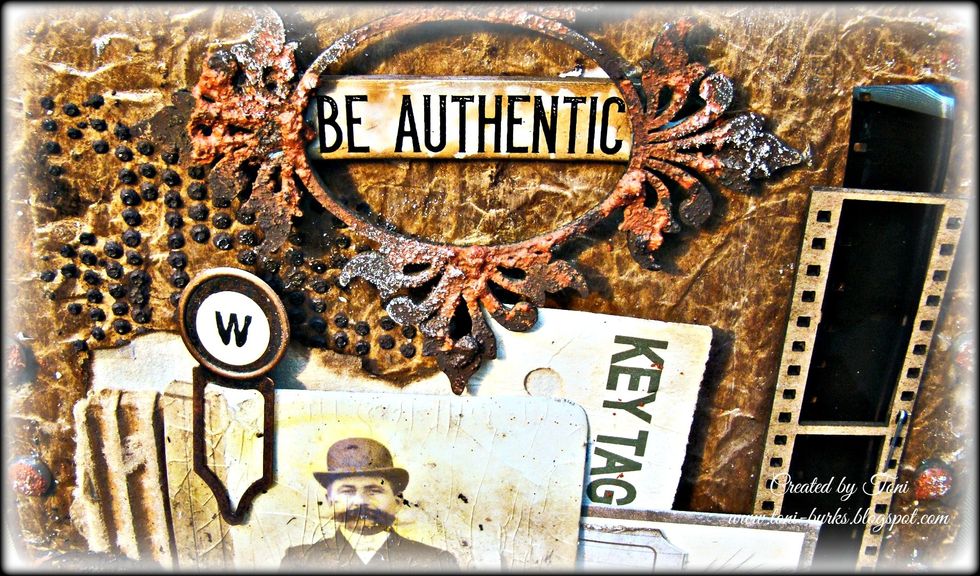
Gather your title and spray with homemade tea allow to dry. , Add your Kenyan Copper/Chocolate/Sand mixture to your frame. Highlight with Silver to give appearance of metal.
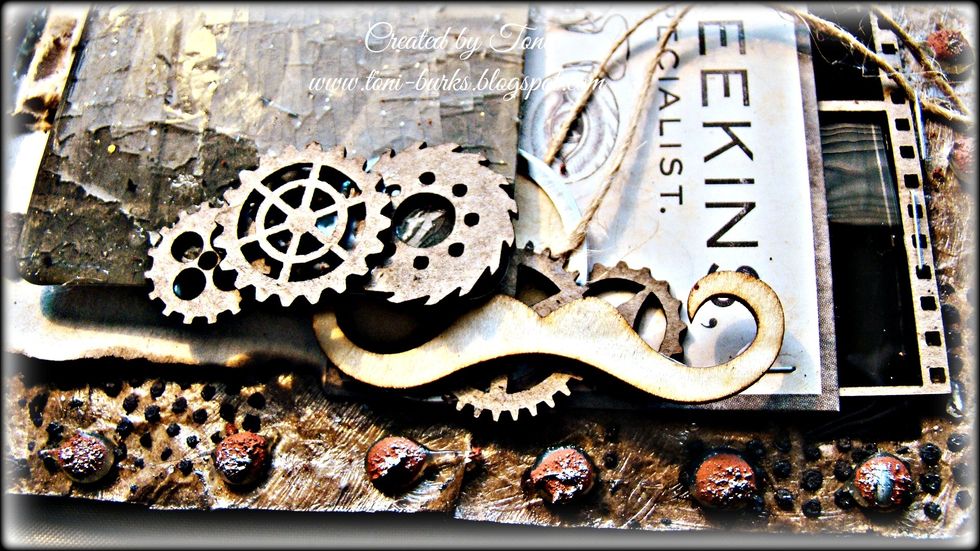
Add your chipboard pieces to your creation.
Hope you have enjoyed the tutorial and it provided new inspiration for your creative journey.
Follow me at http://toni-burks.blogspot.com/ https://www.pinterest.com/tonilburks/ and https://www.facebook.com/toni.burksgrijalva
Products listed in the supplies with * are Art Anthology products and can be purchased here : www.artanthology.net/