The Conversation (0)
Sign Up
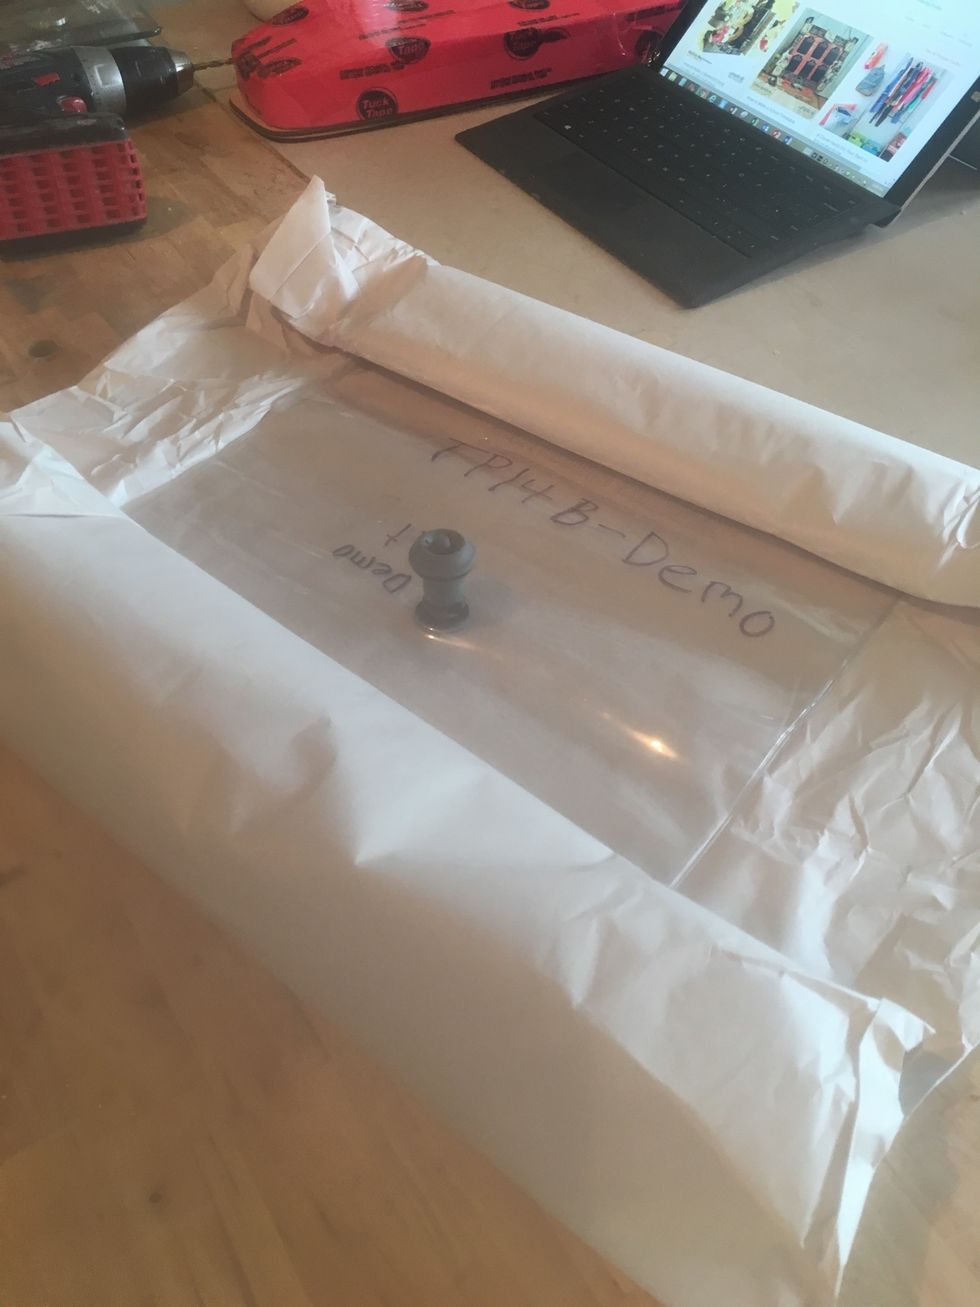
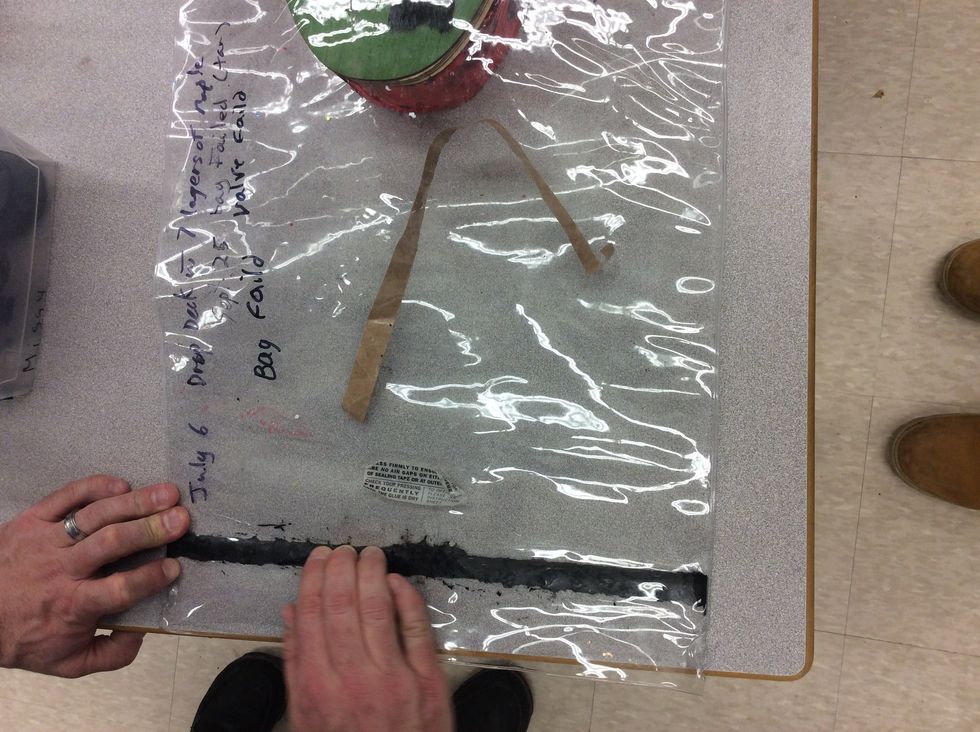
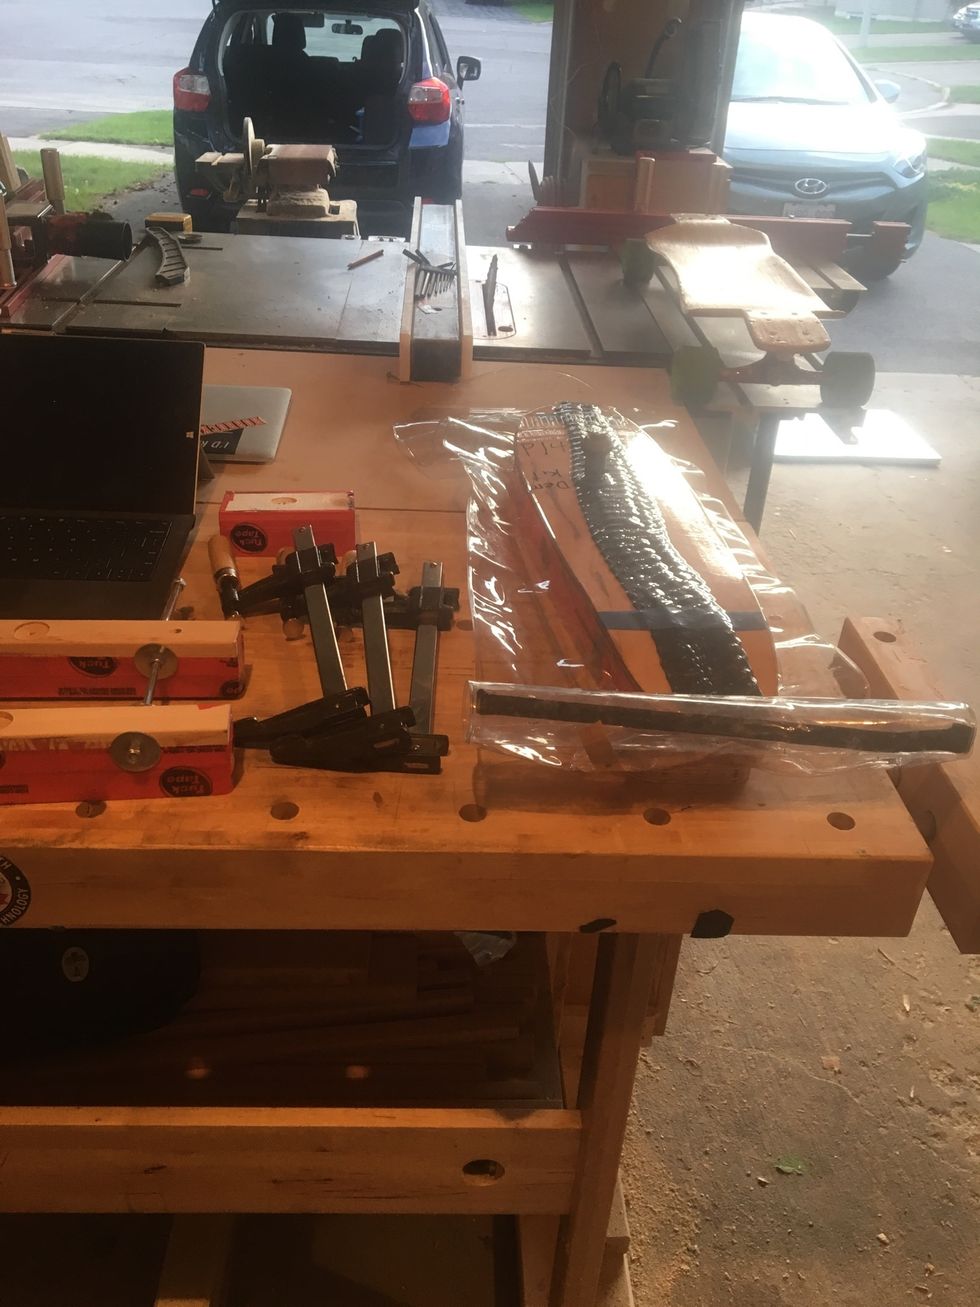
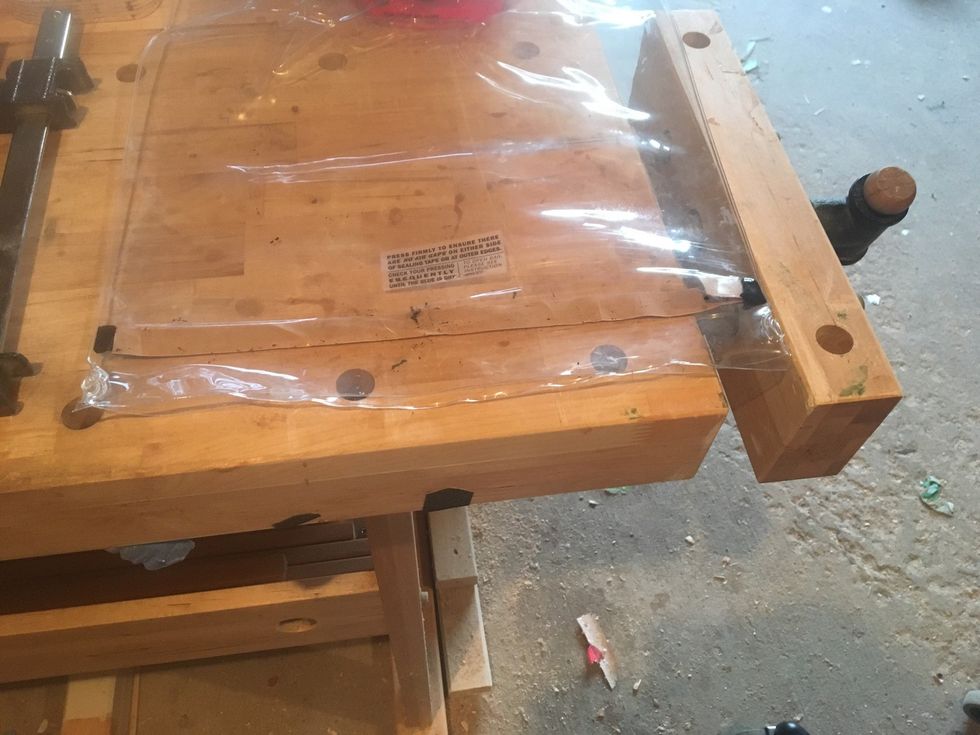
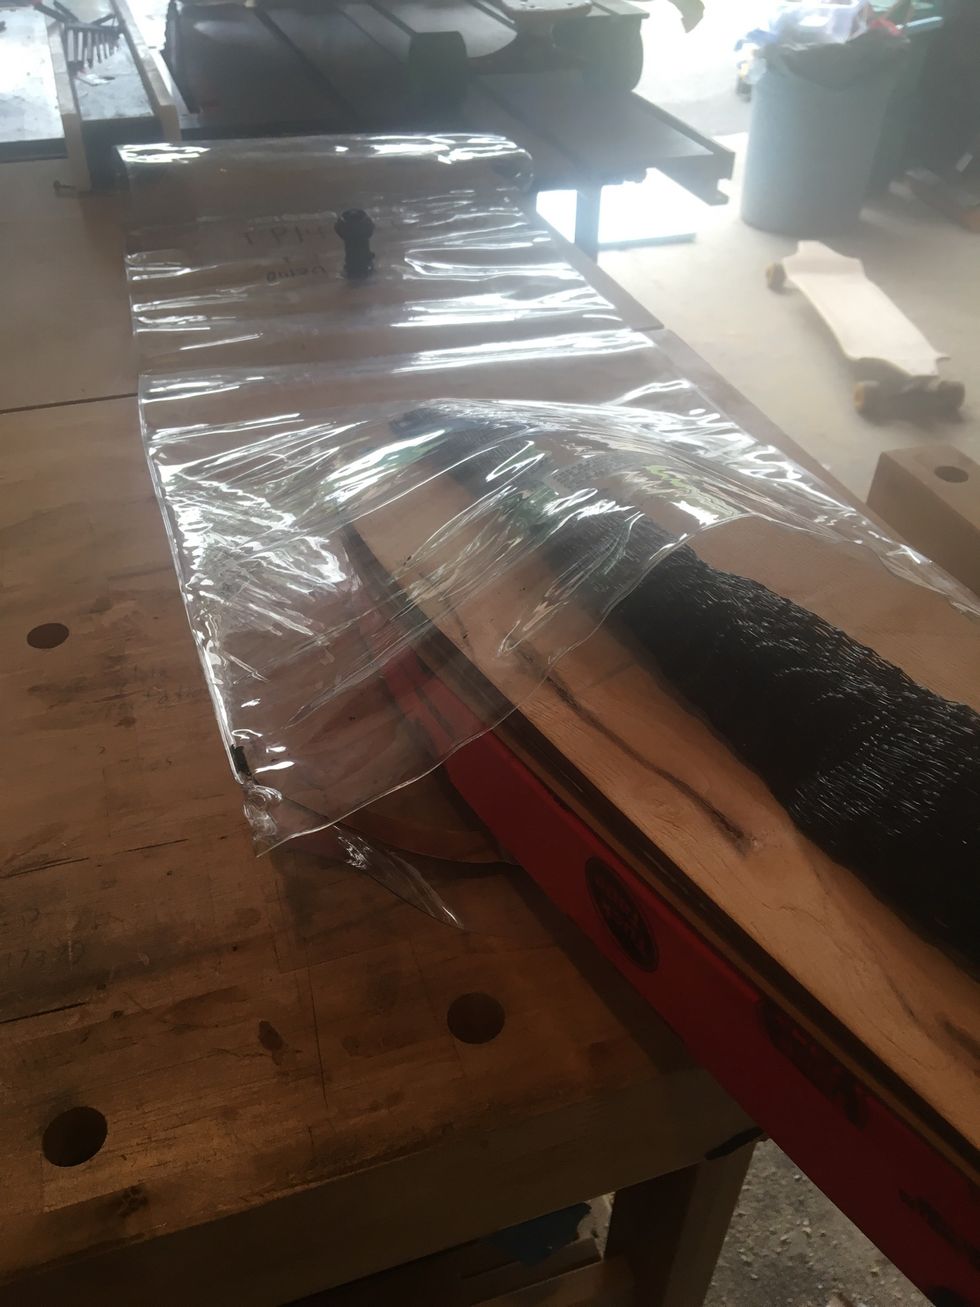
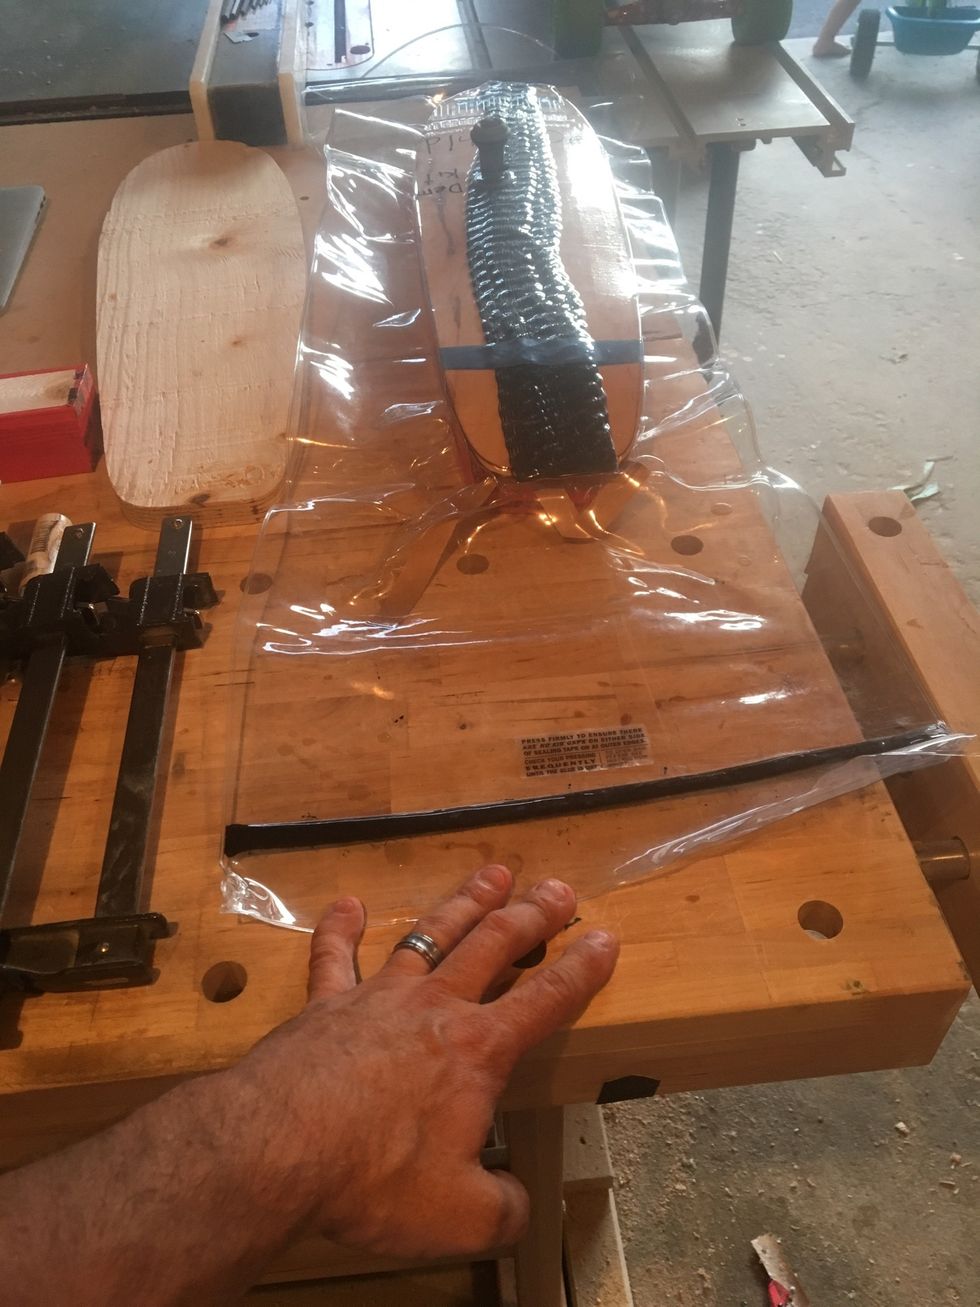
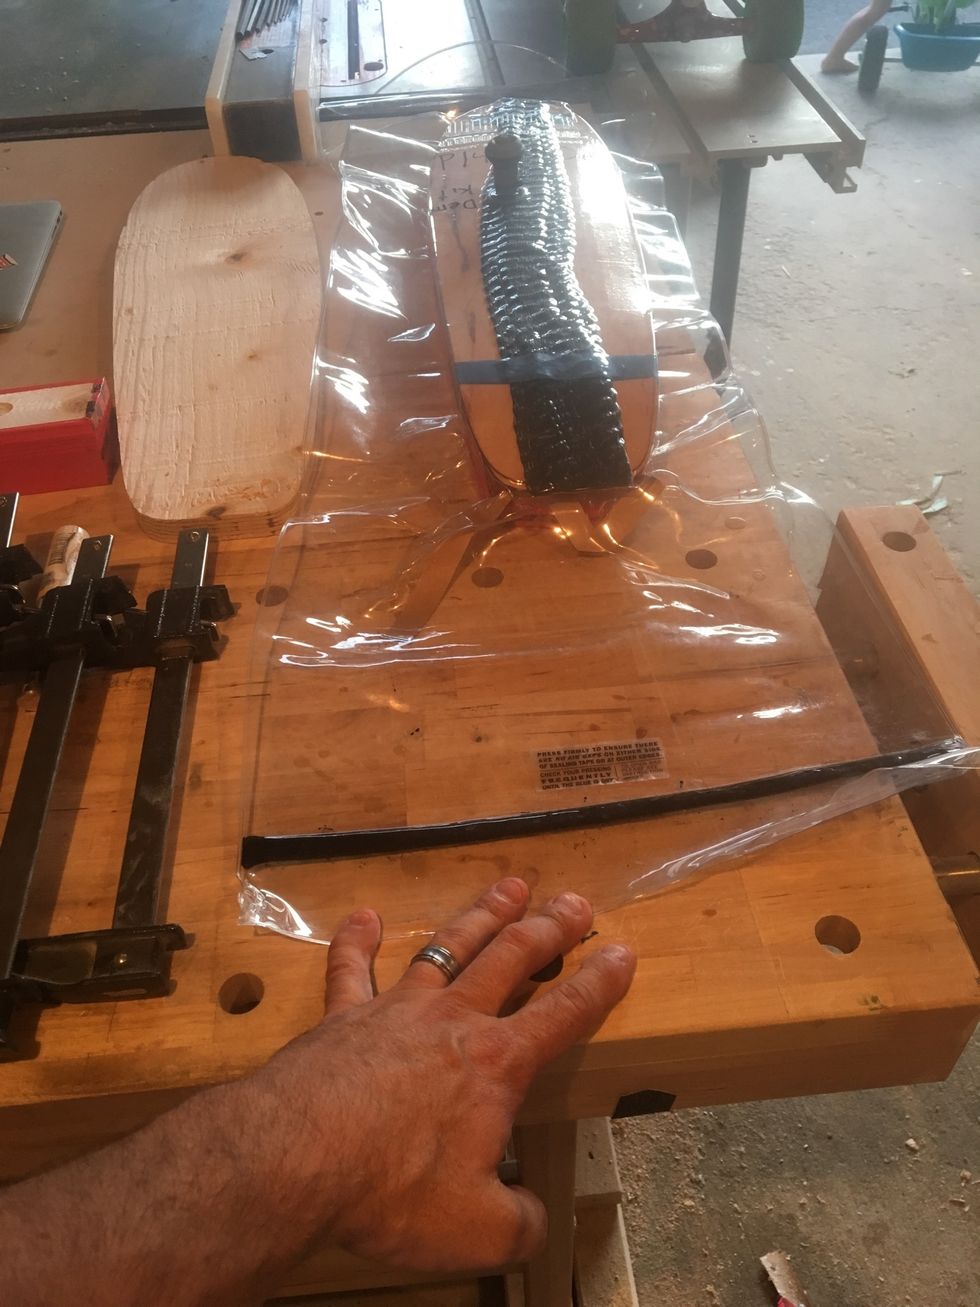
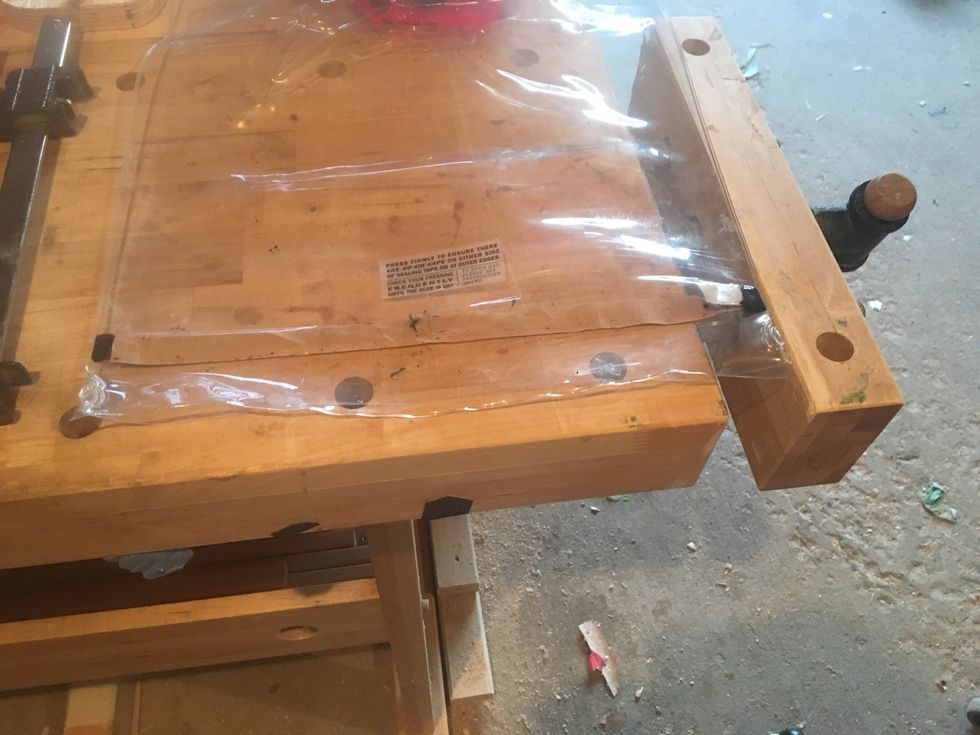
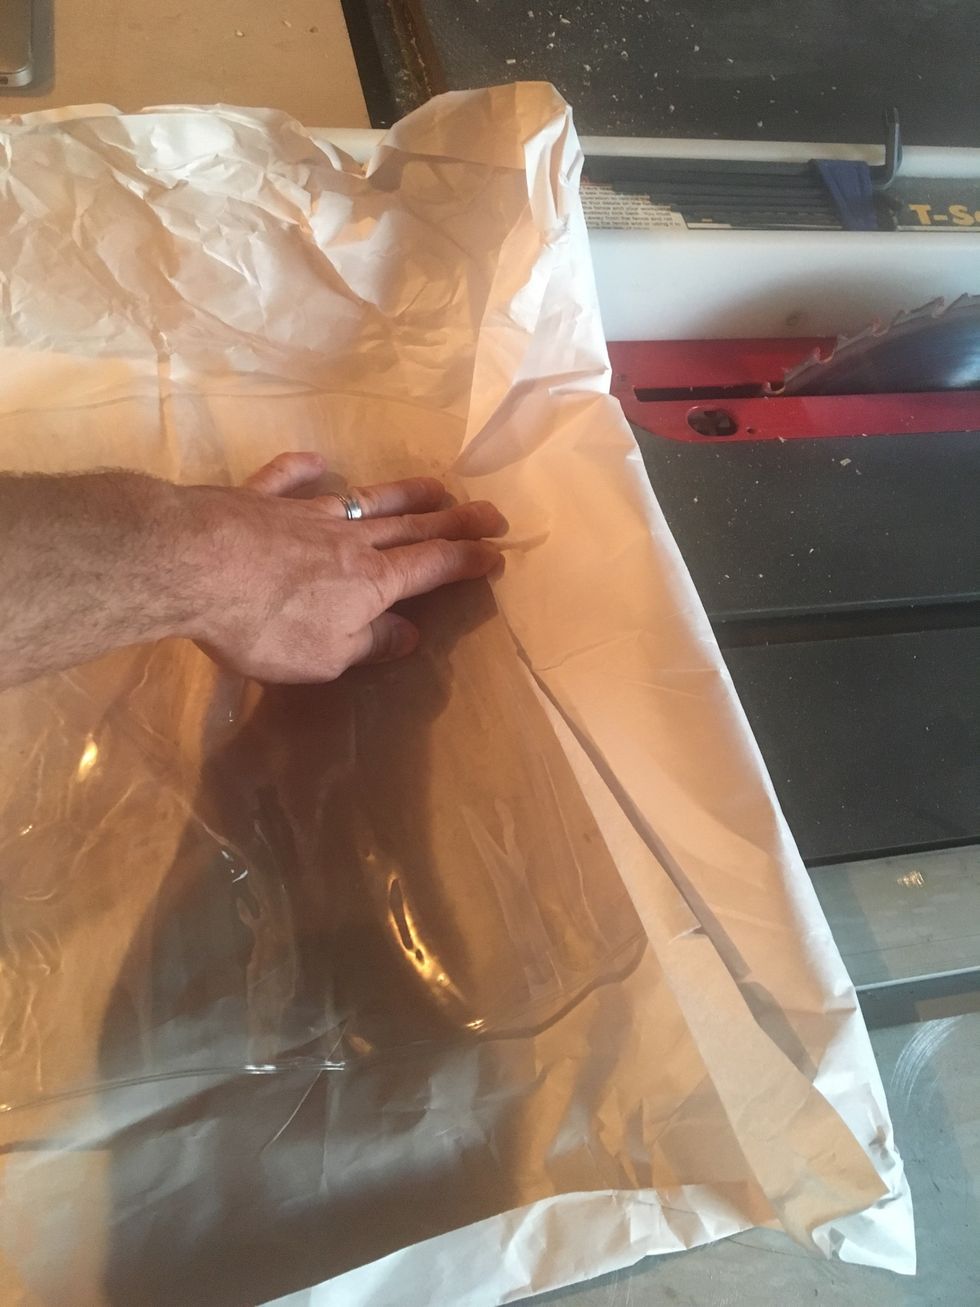
Unroll Roarockit Vacuum Bag.
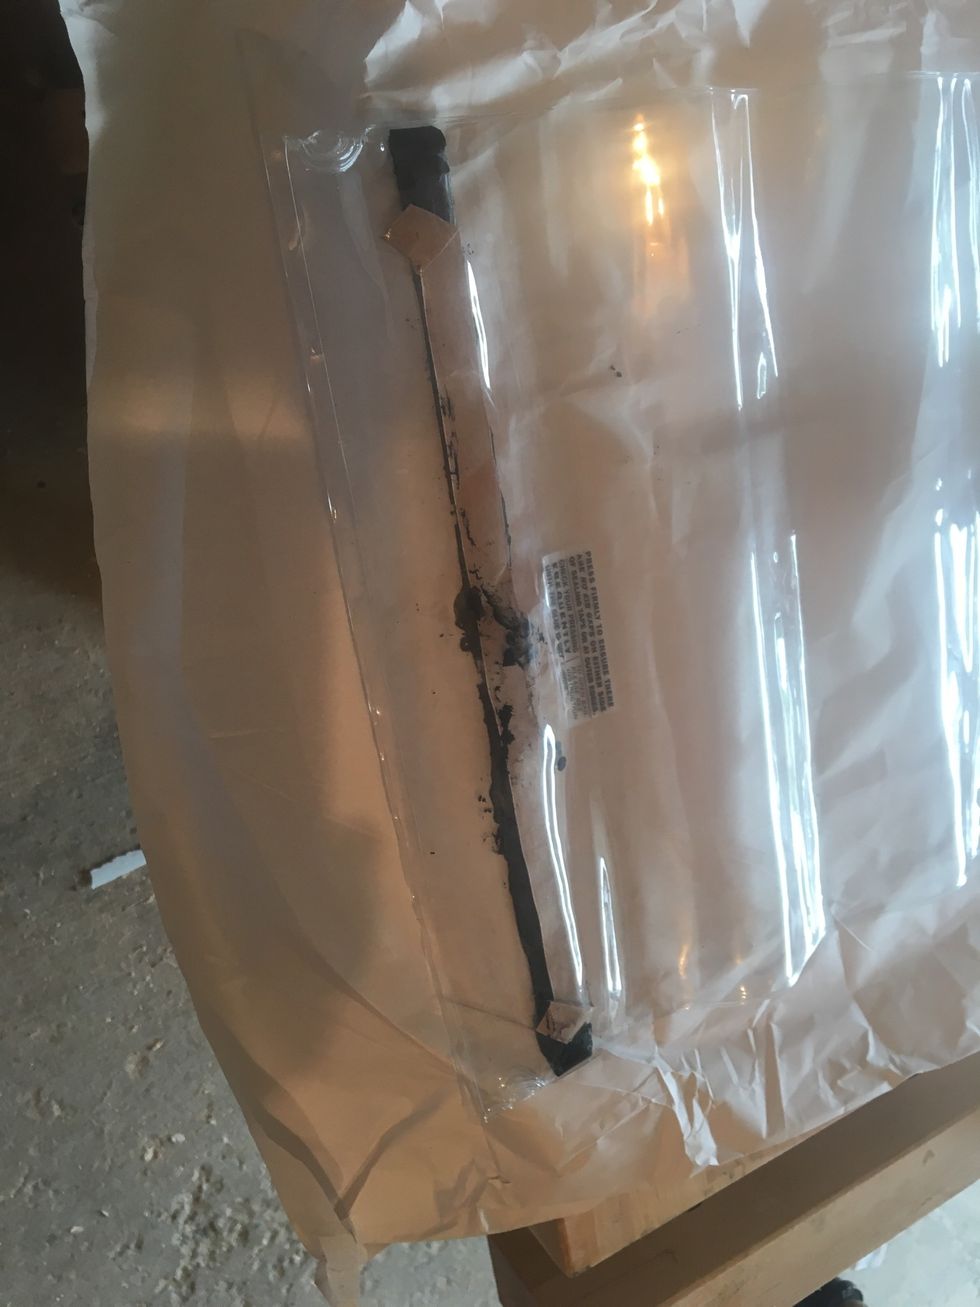
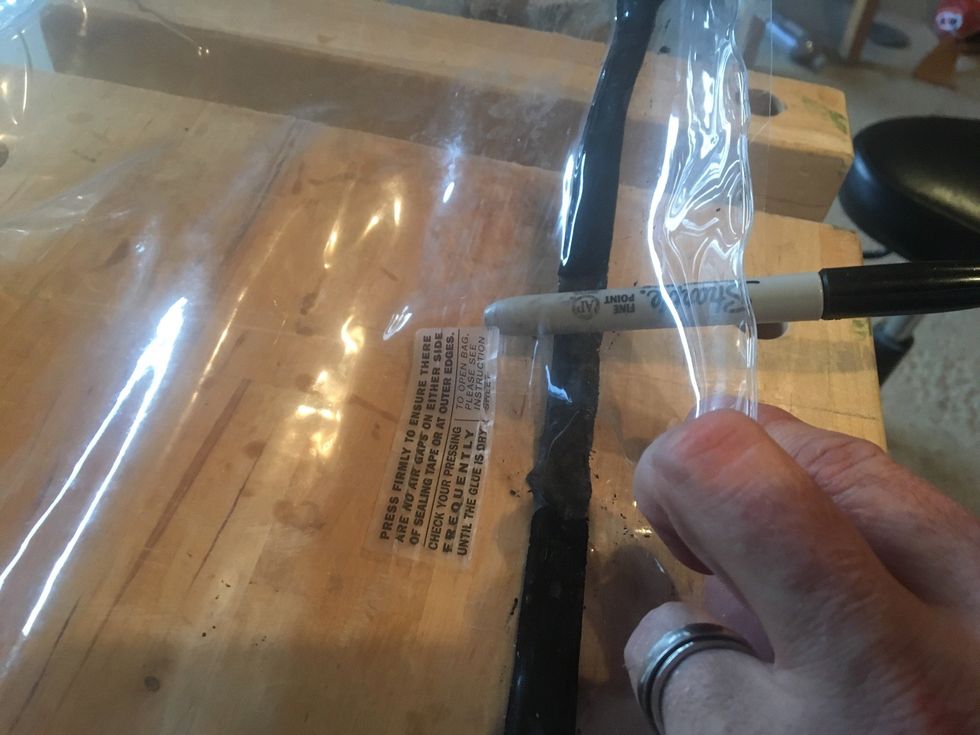
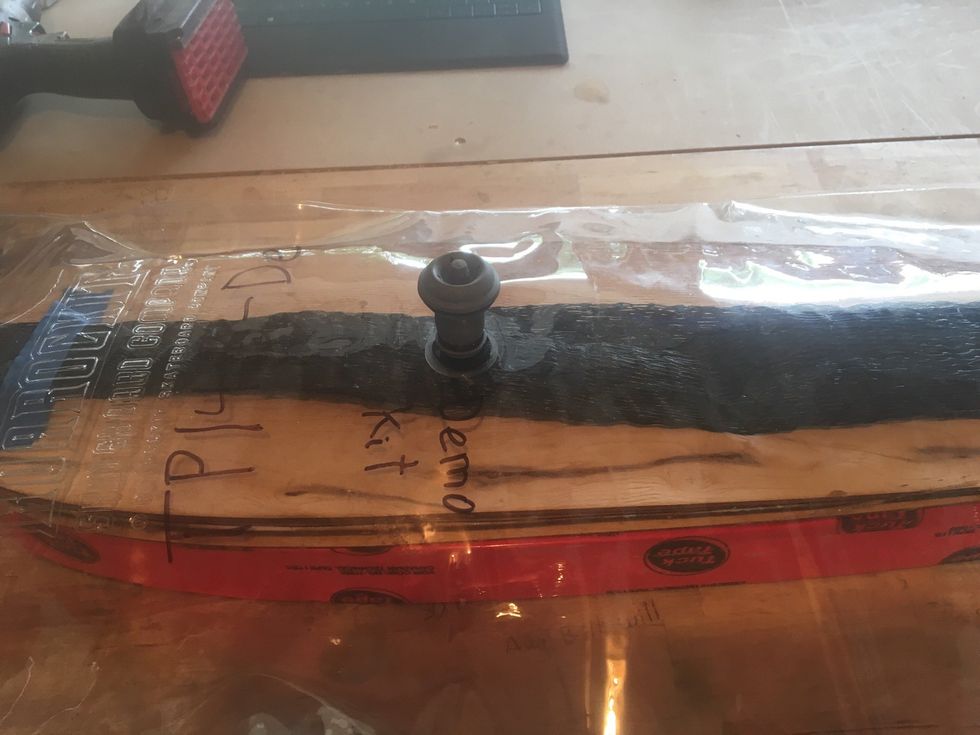
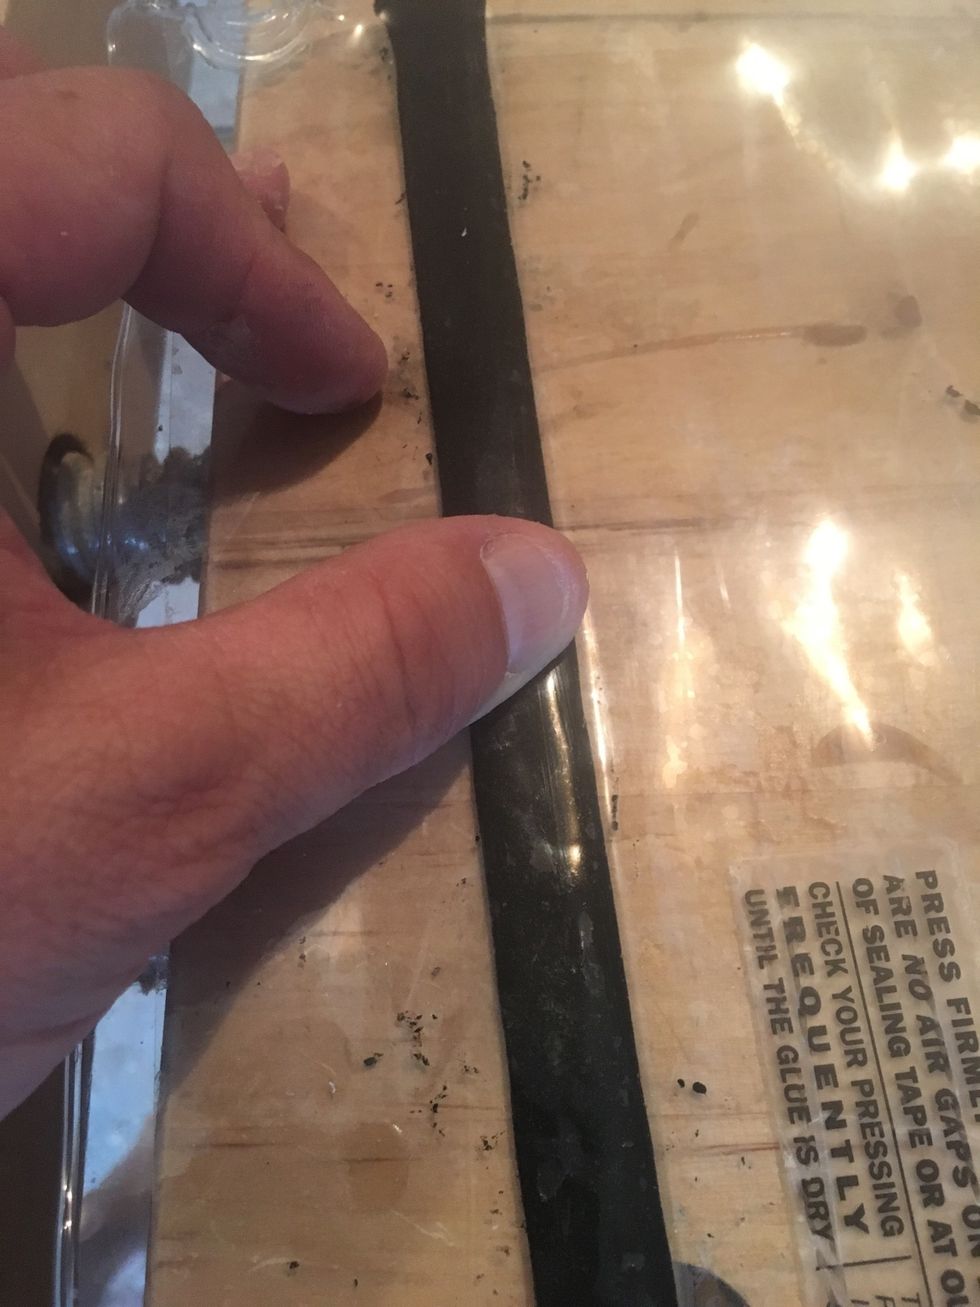
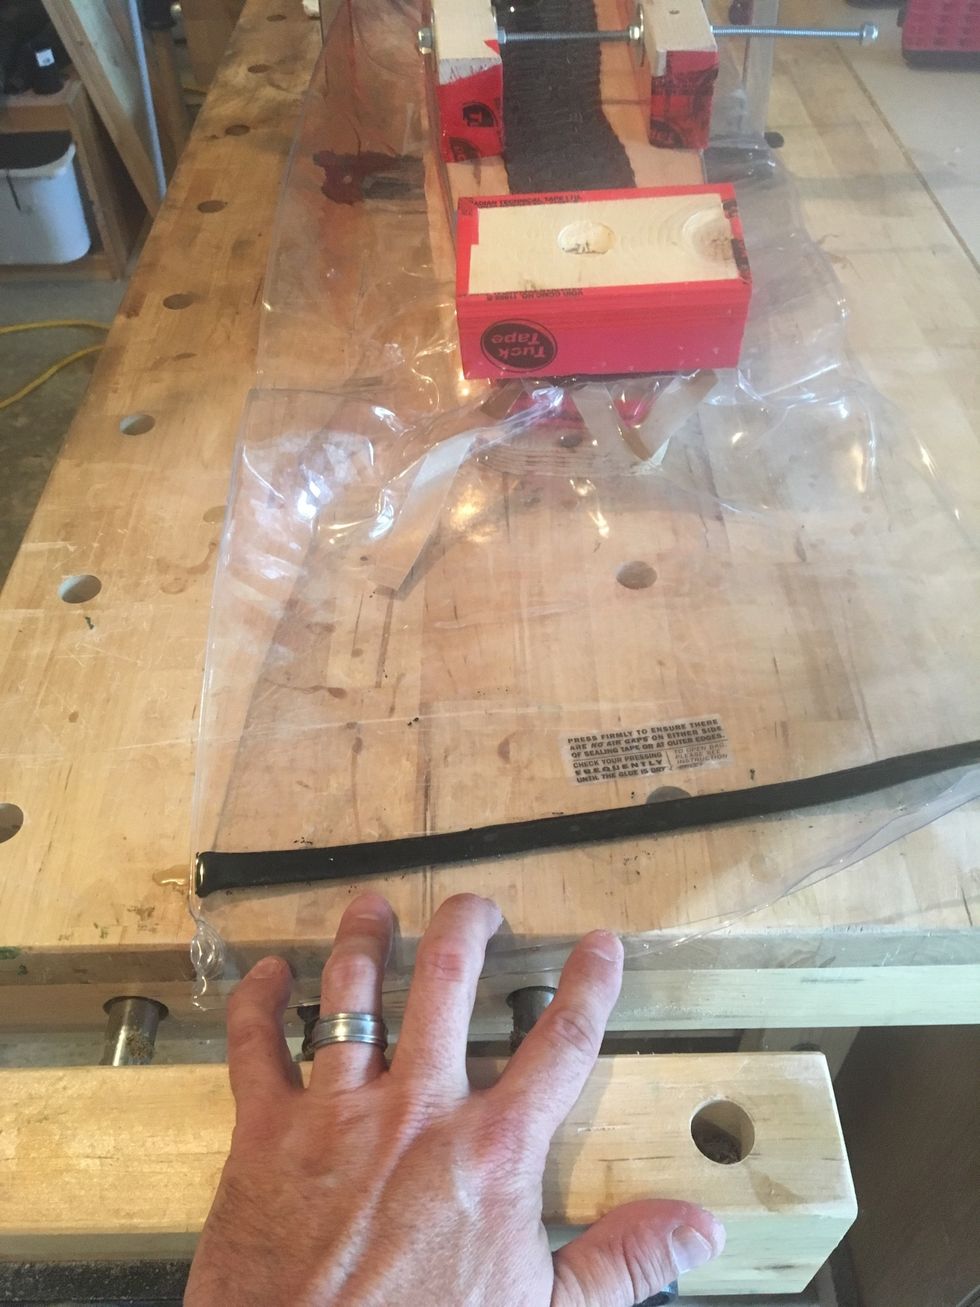
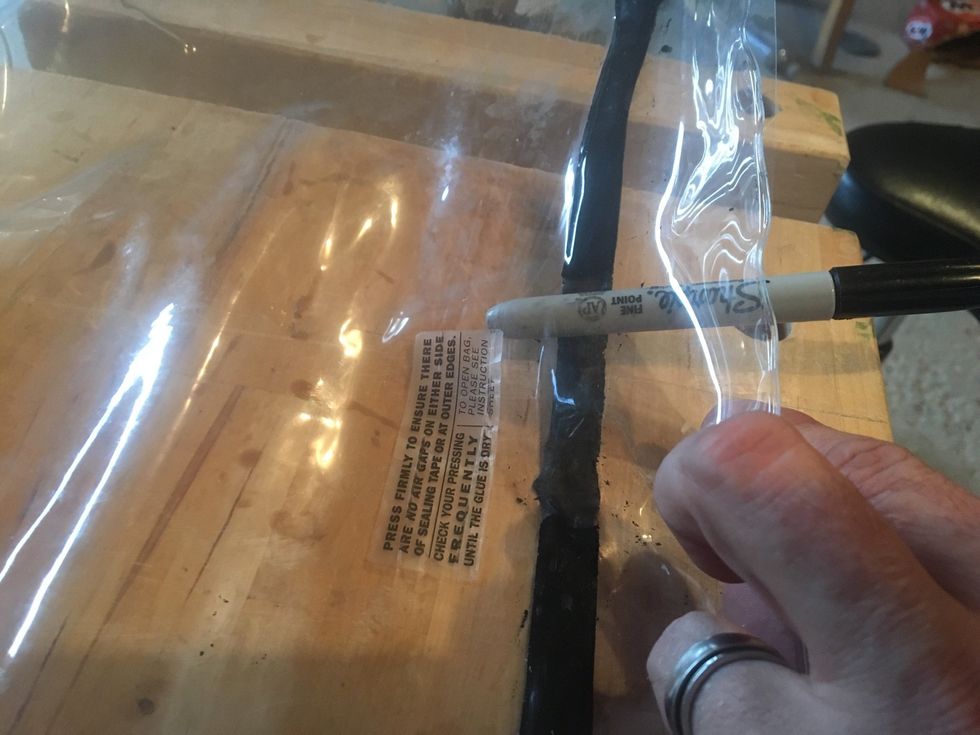
Inspect Sealing Tape.
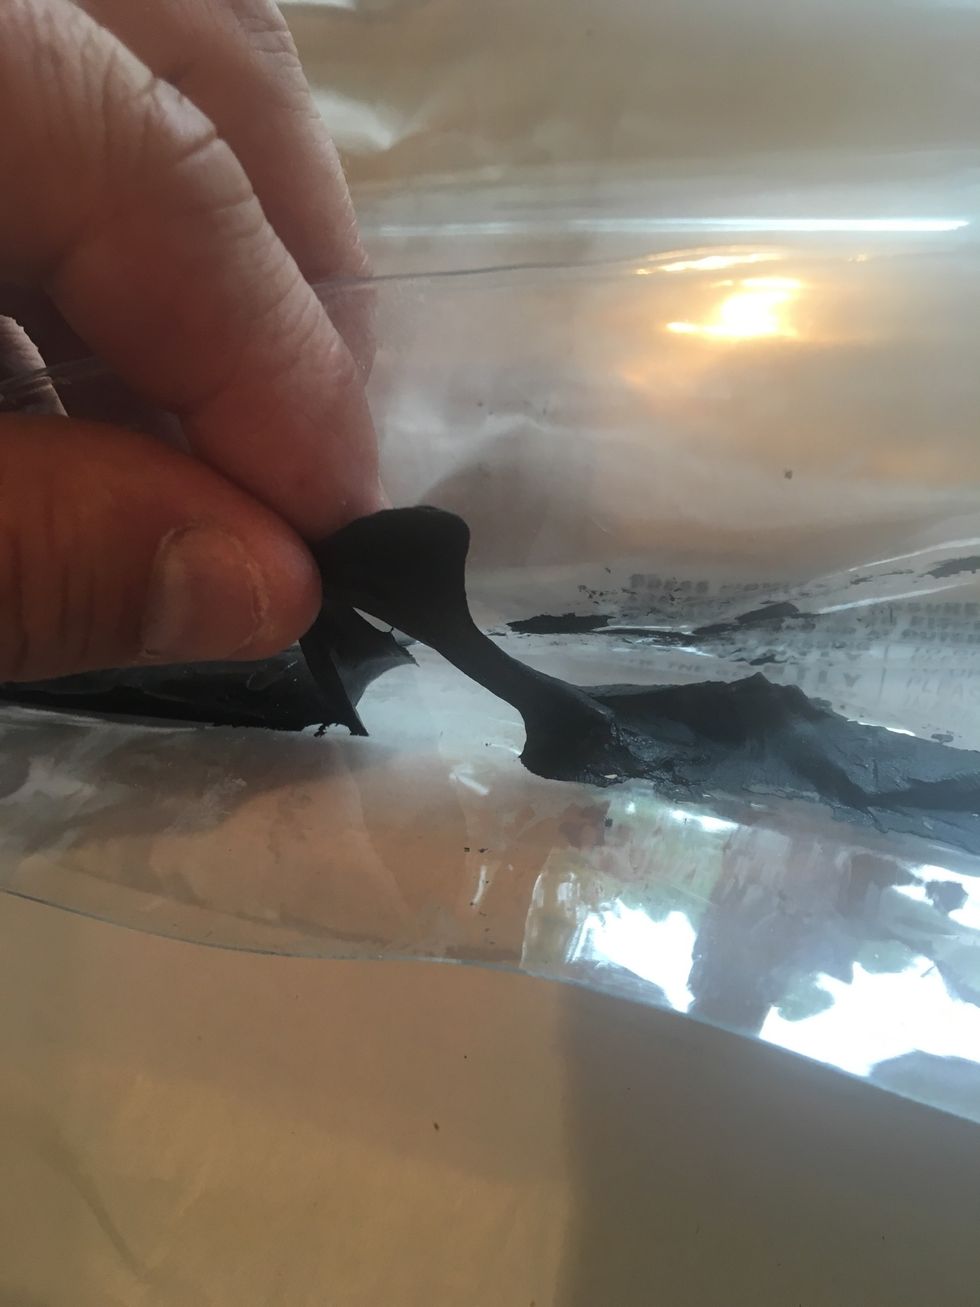
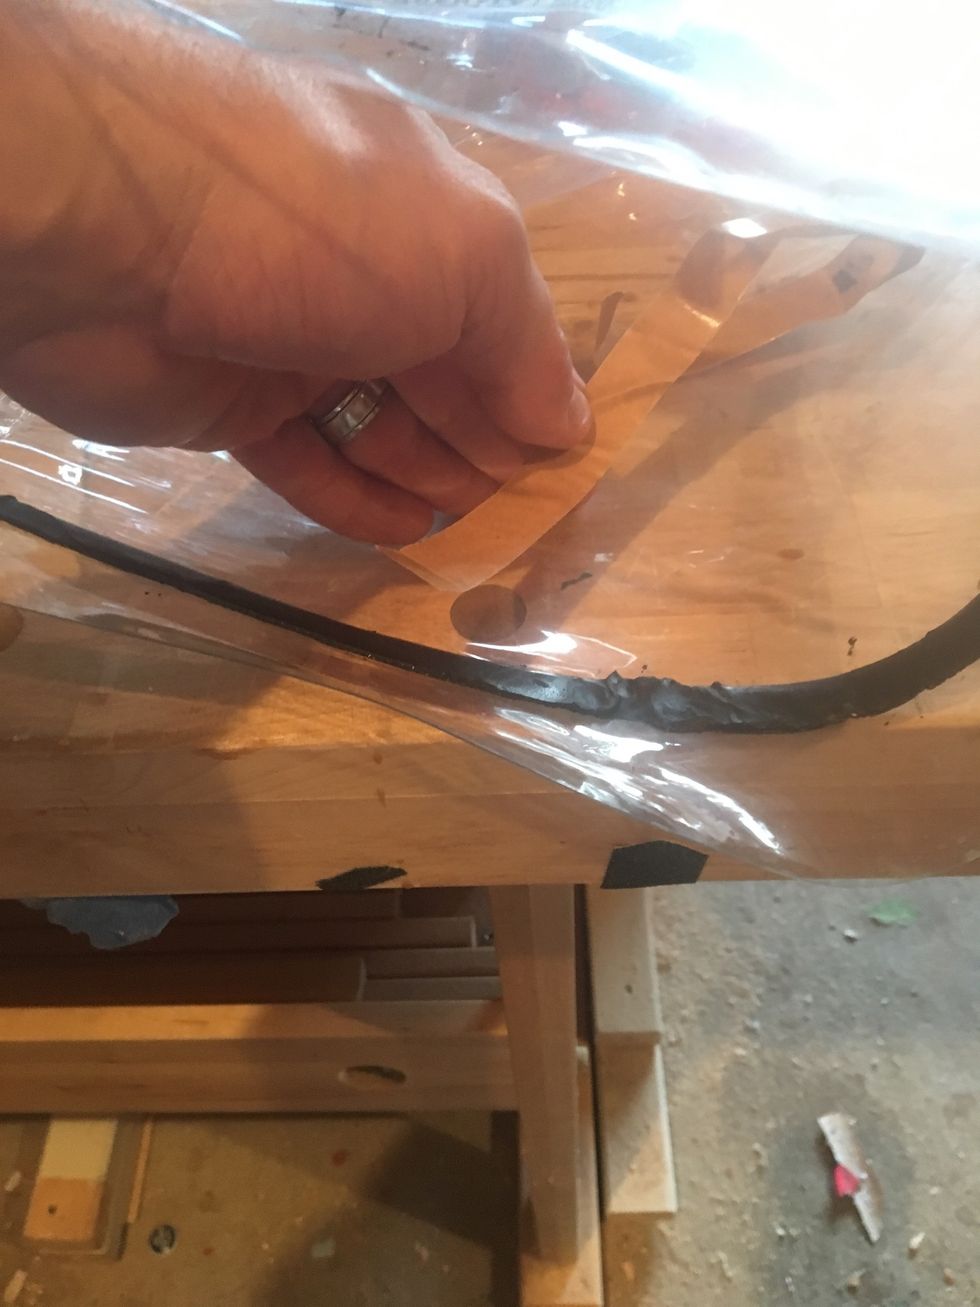
Remove sealing tape, if damaged.

Remove sealing tape, if damaged.
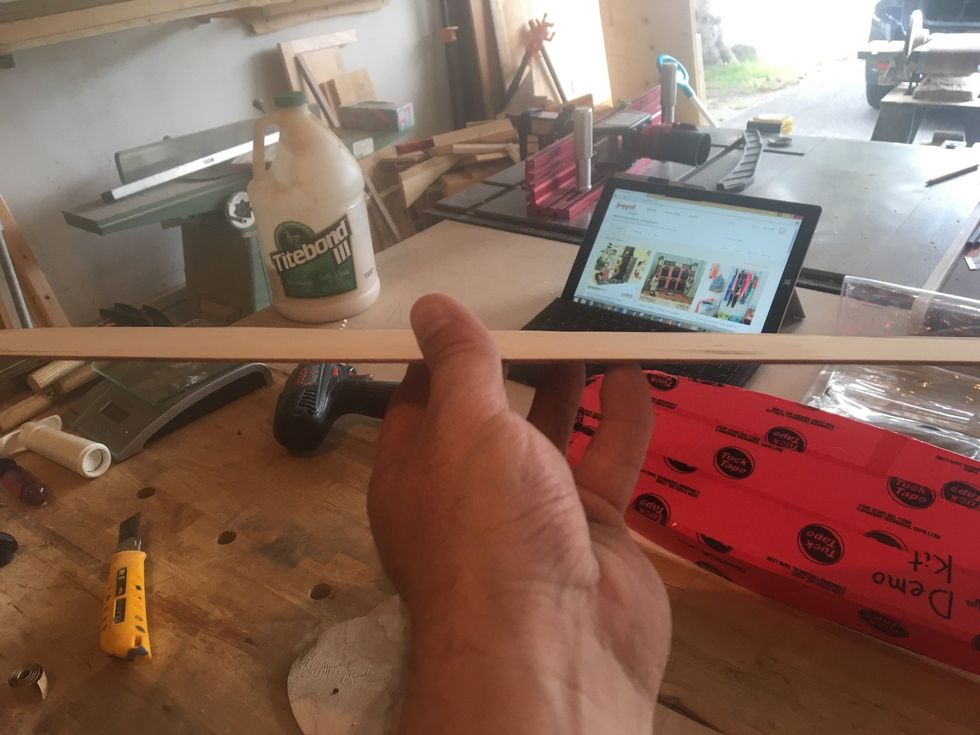
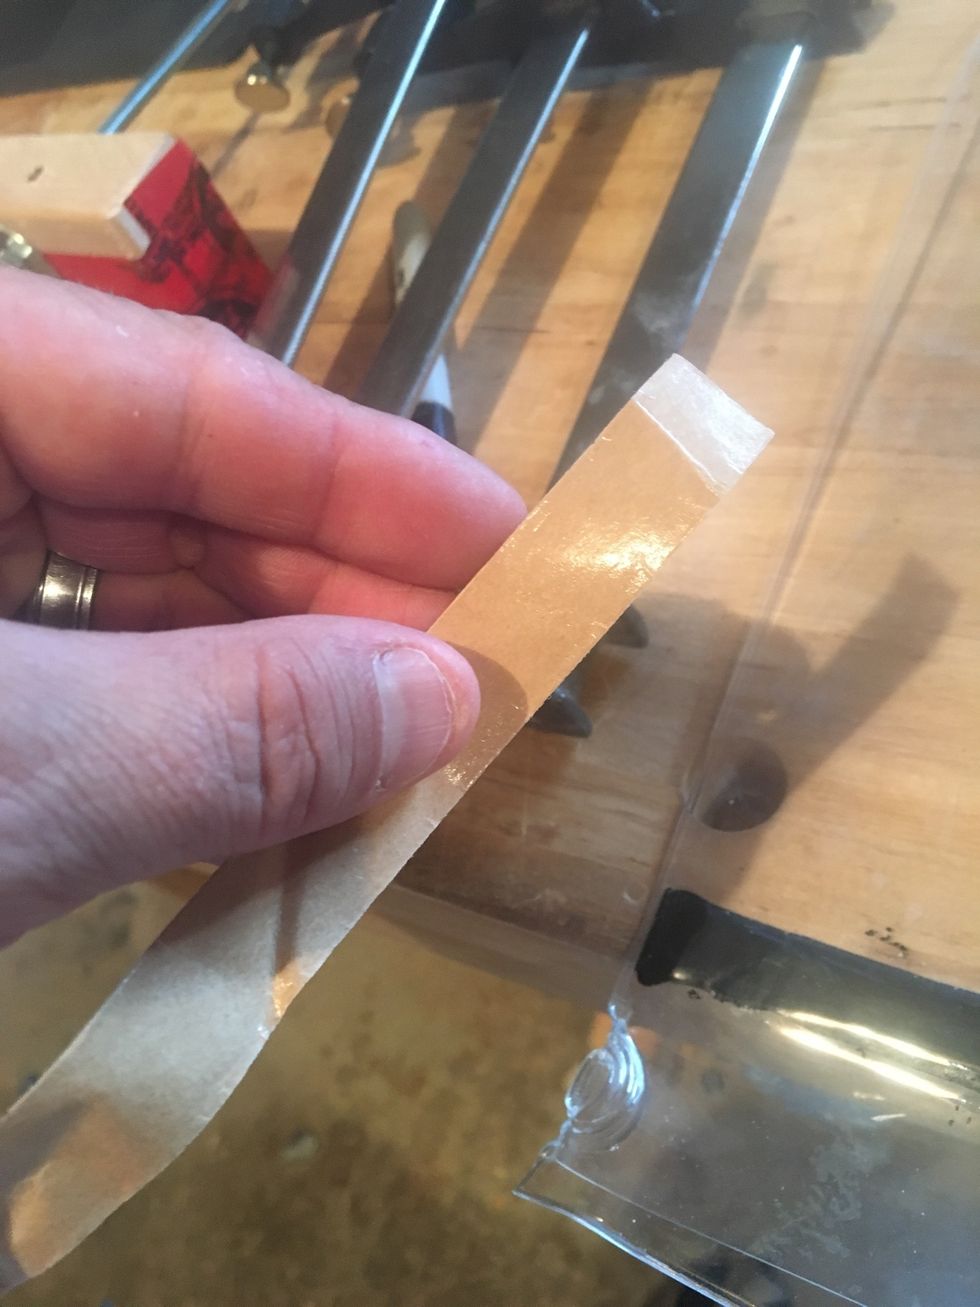
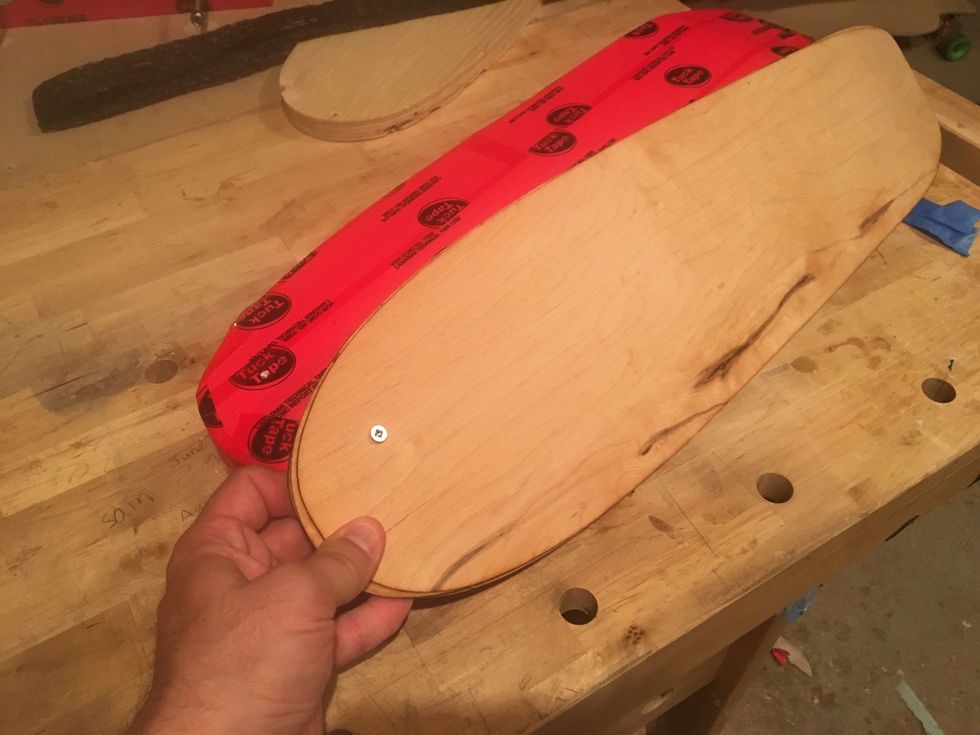
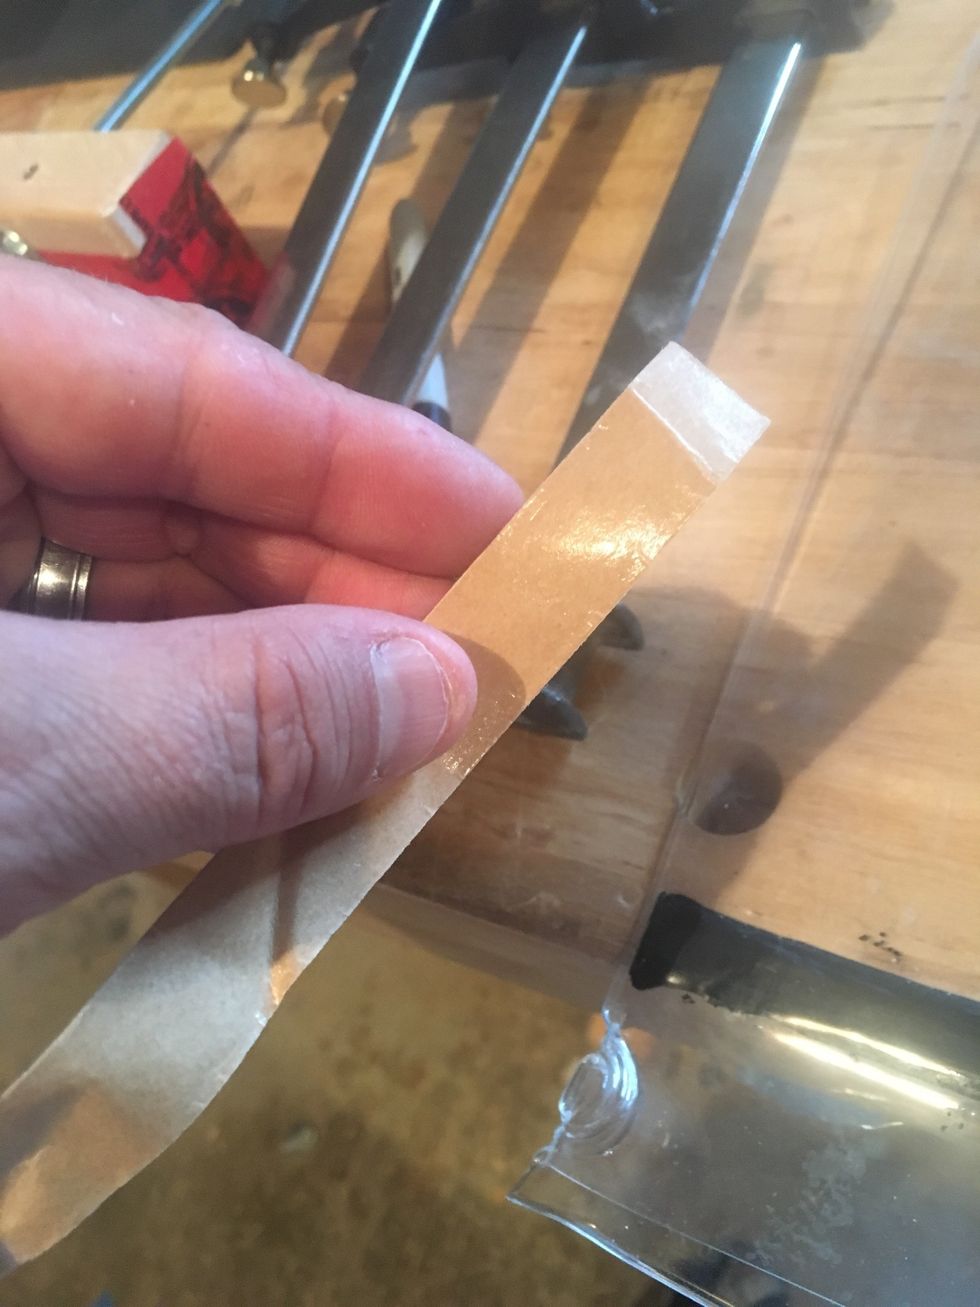
Measure a new length of Sealing Tape.
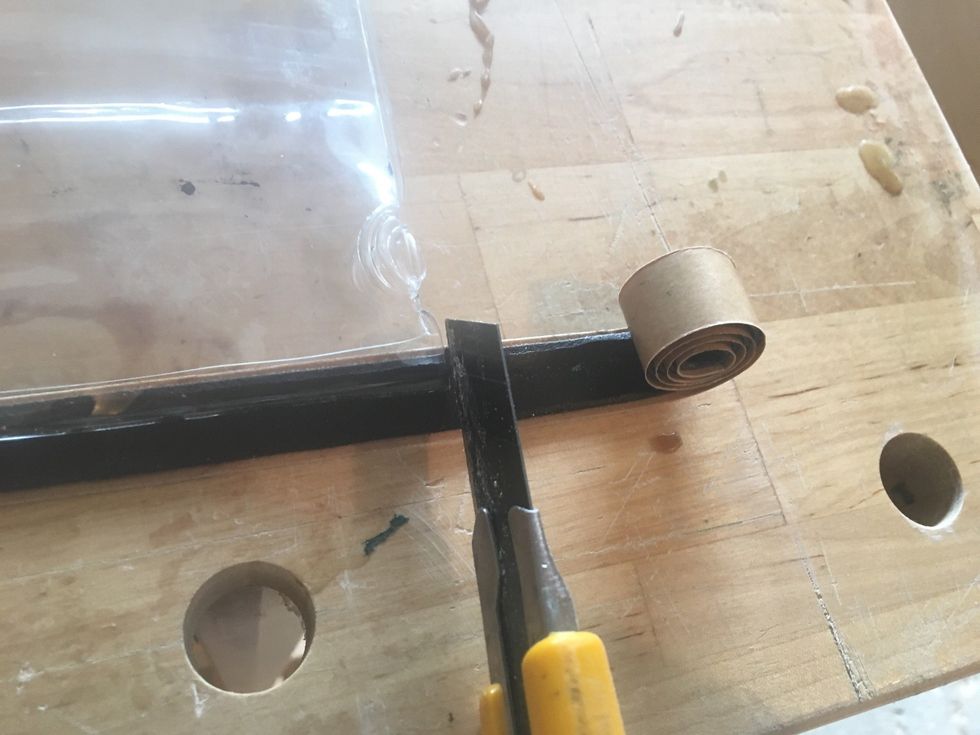
Cut Sealing Tape with a Utility Knife.
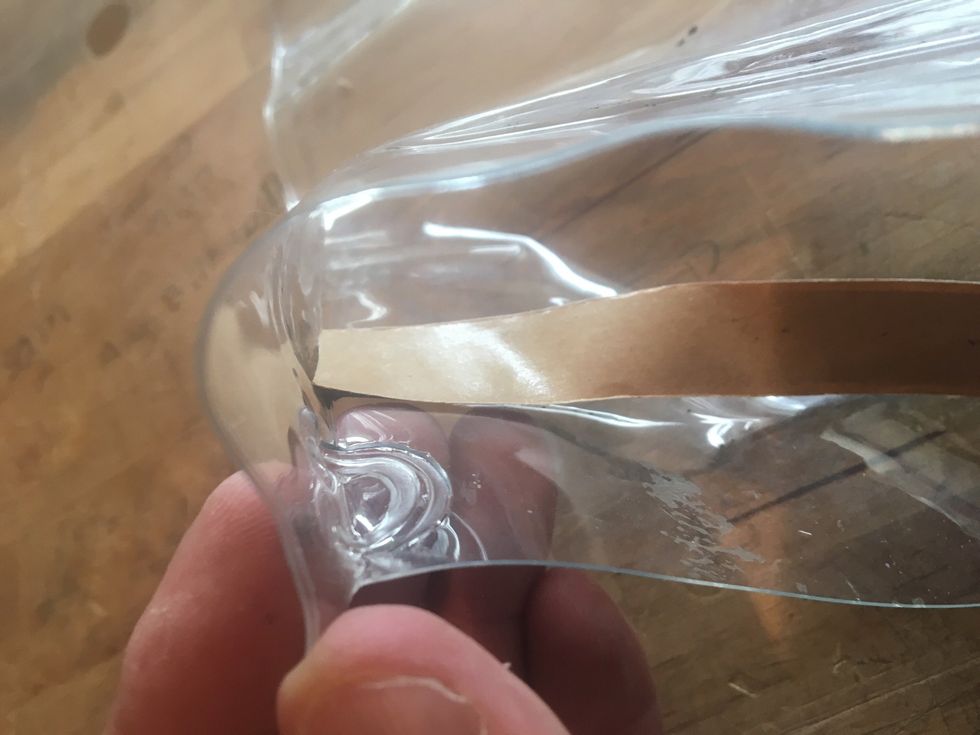
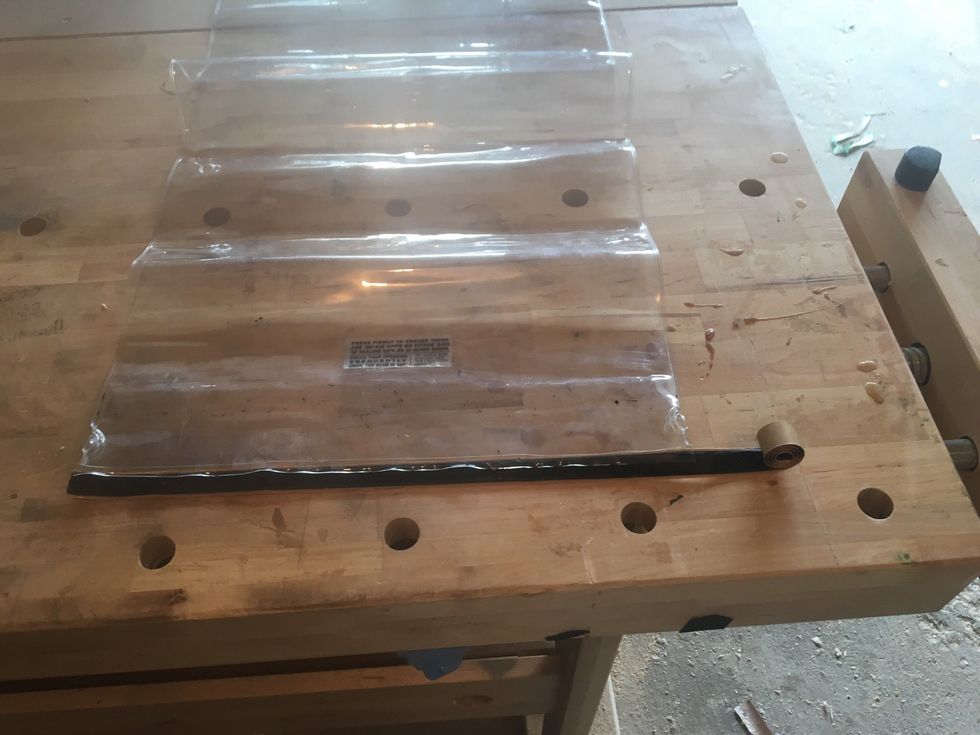
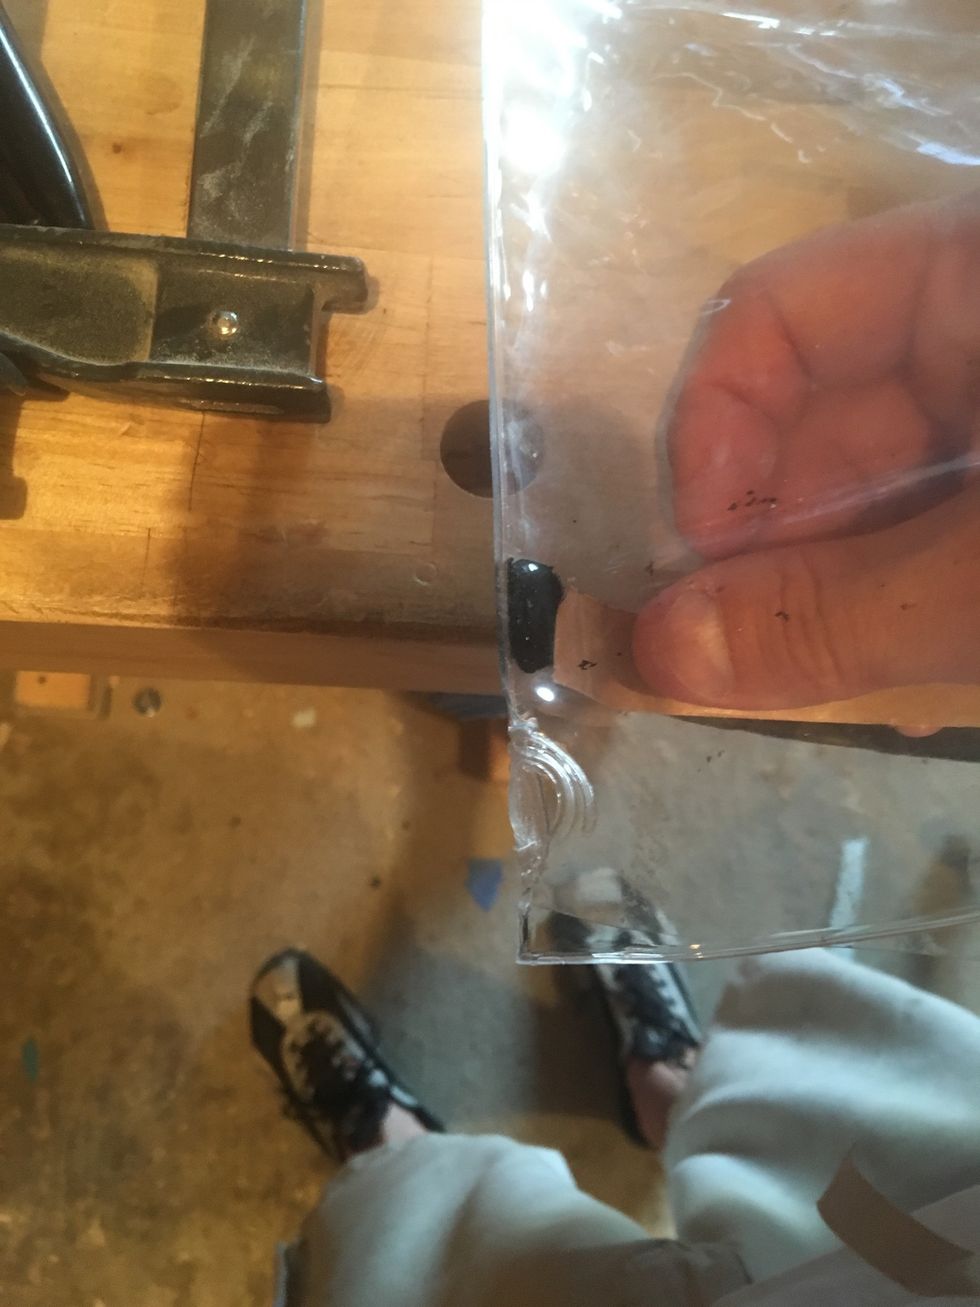
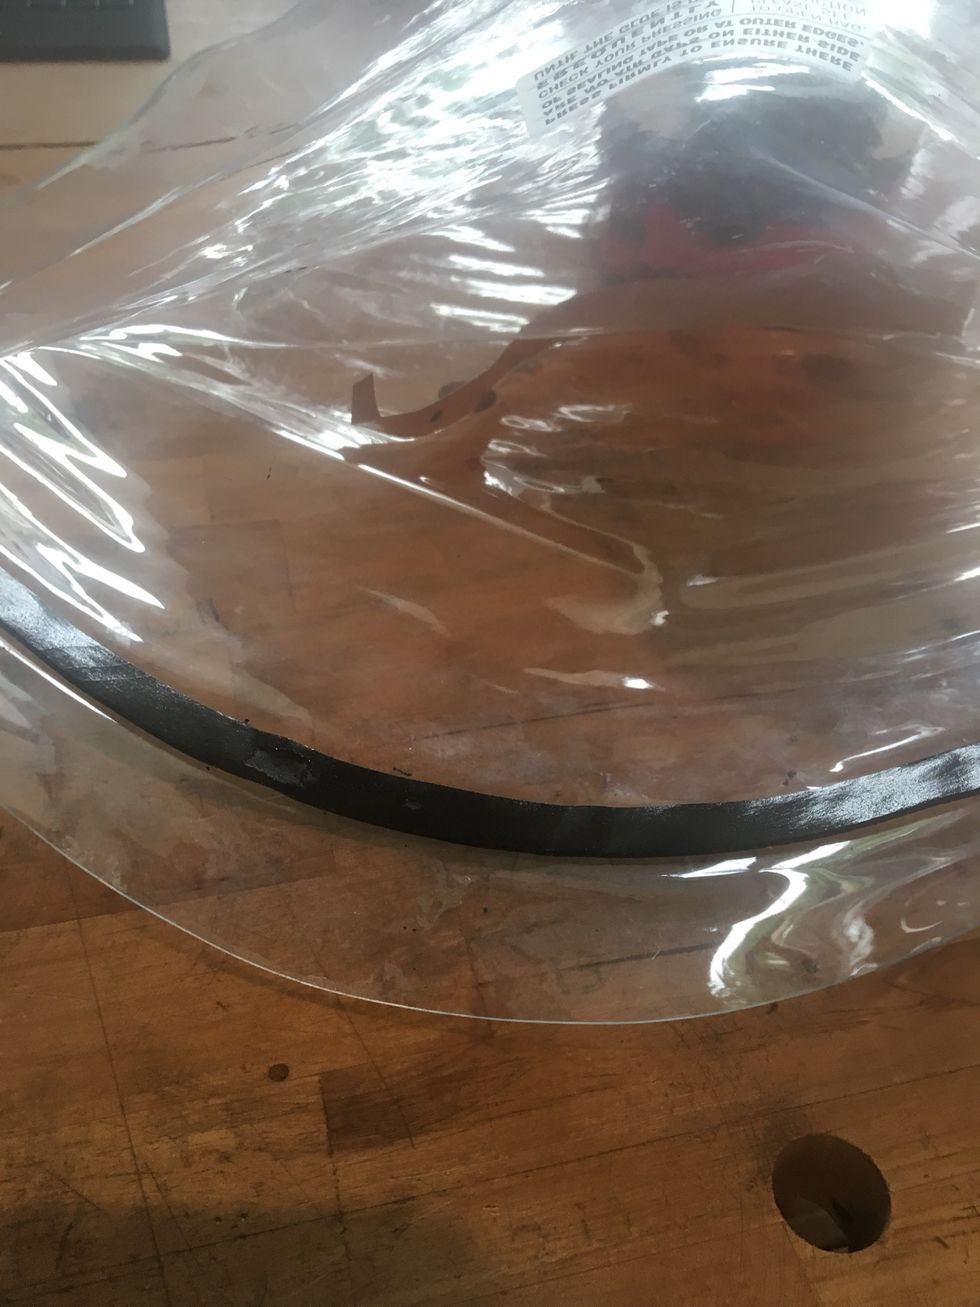
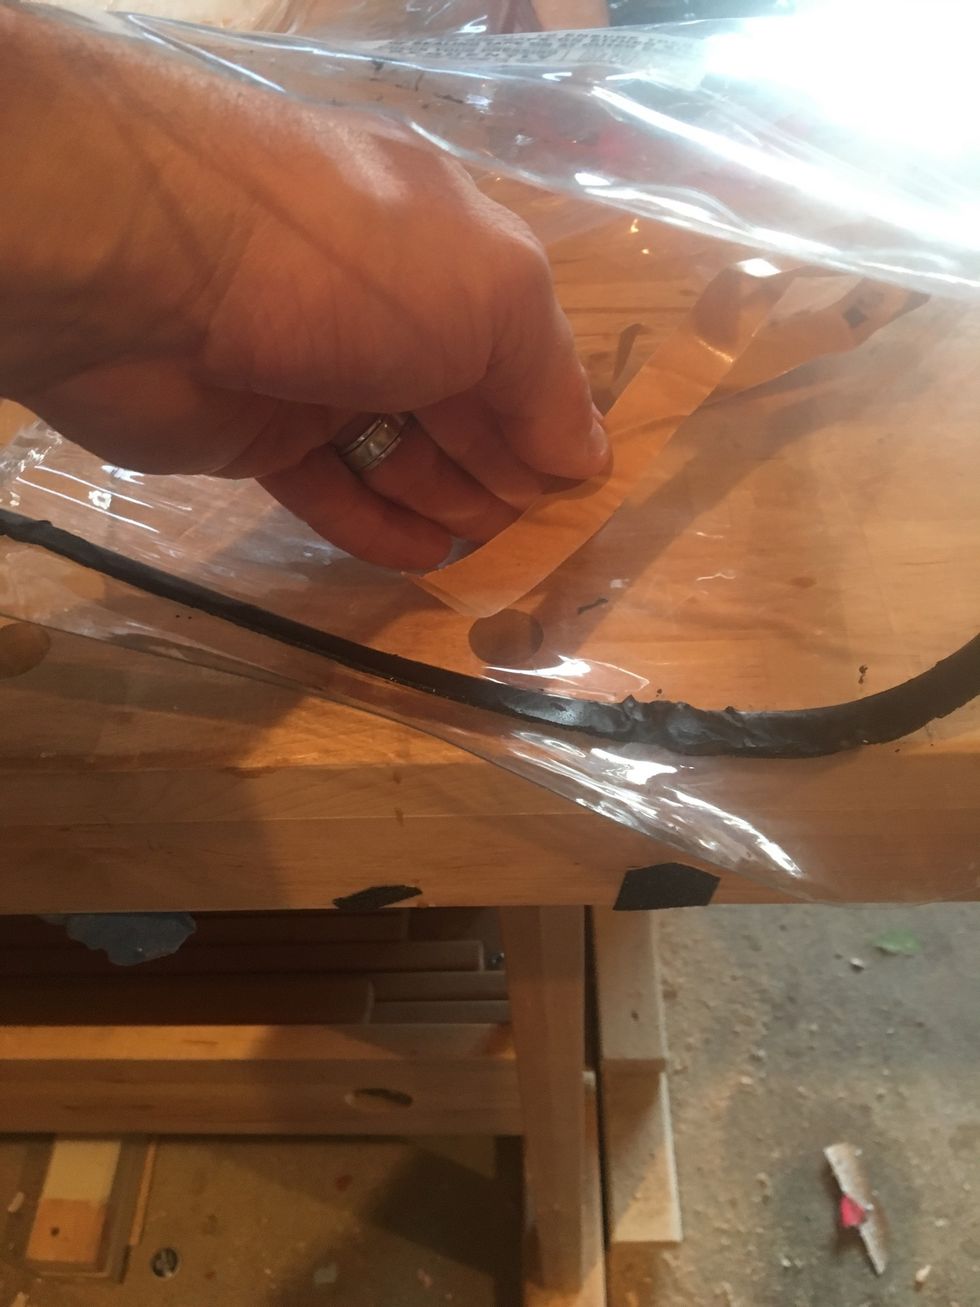
Place new Sealing Tape in the vacuum bag.
Sealing Tape must fit be long enough to contact both sides of the vacuum bag.
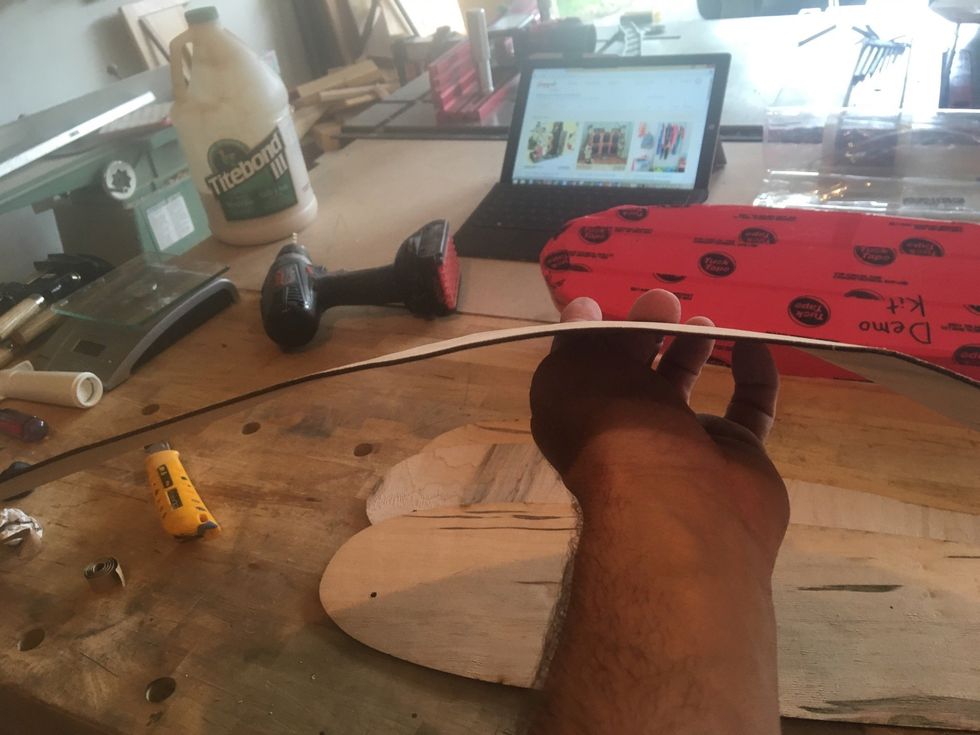
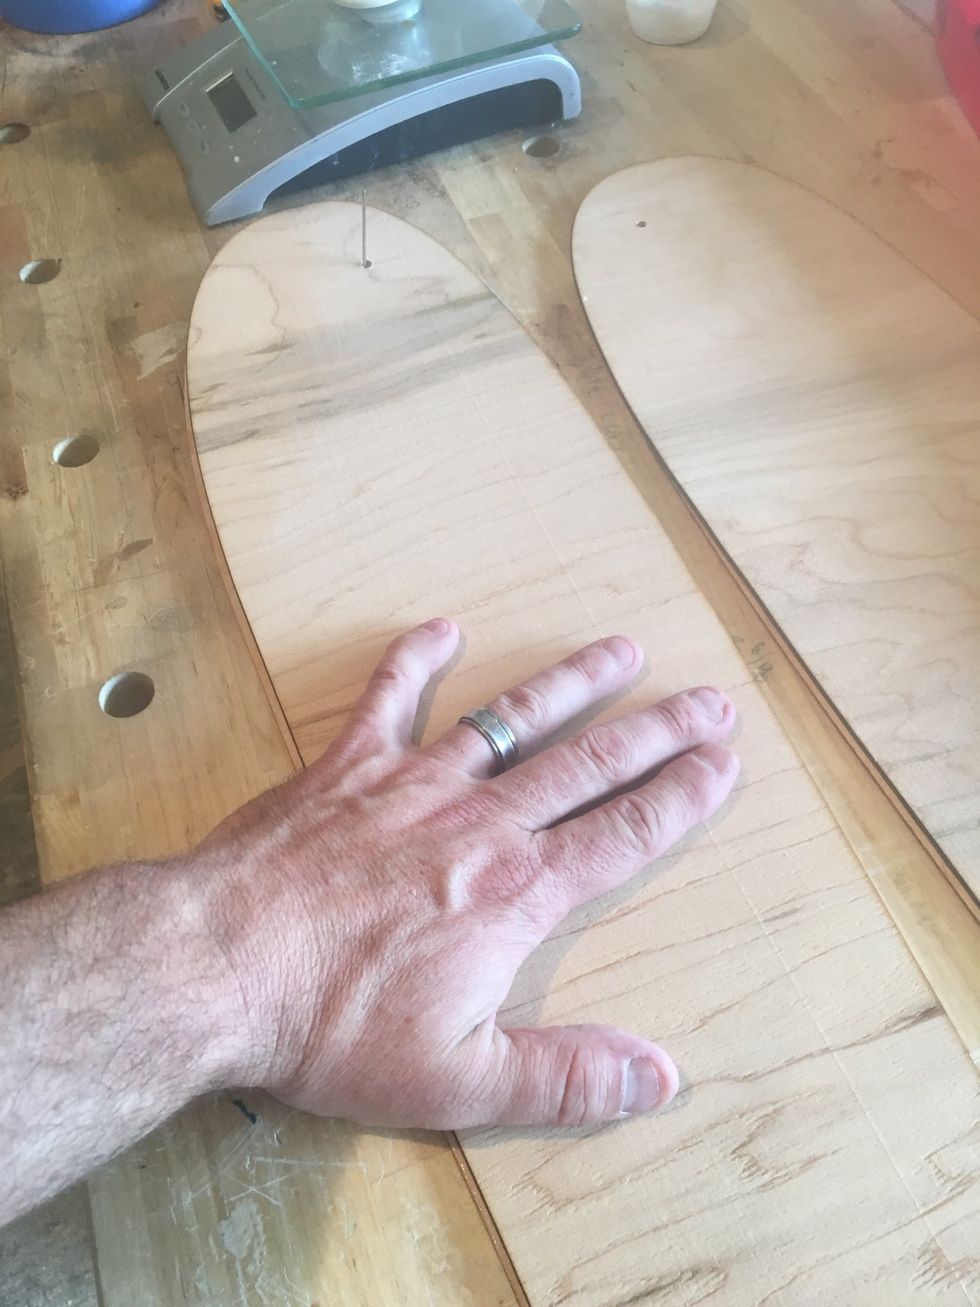
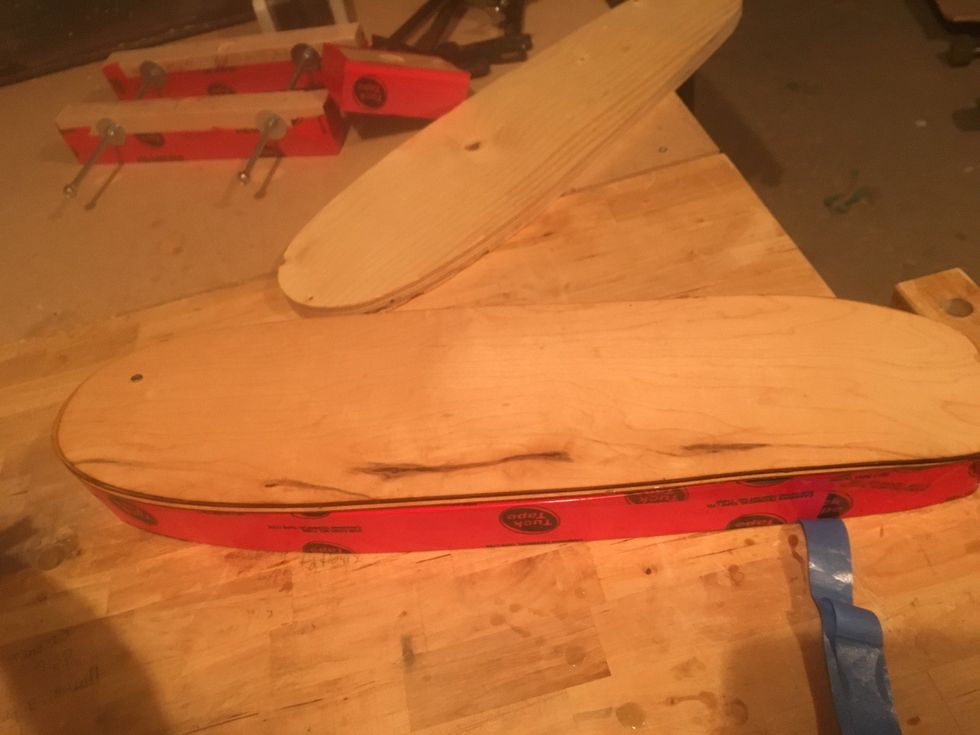
Cross-Grain Veneers with bend when held in the middle.
Long-Grain Veneers will not bend when held in the middle.
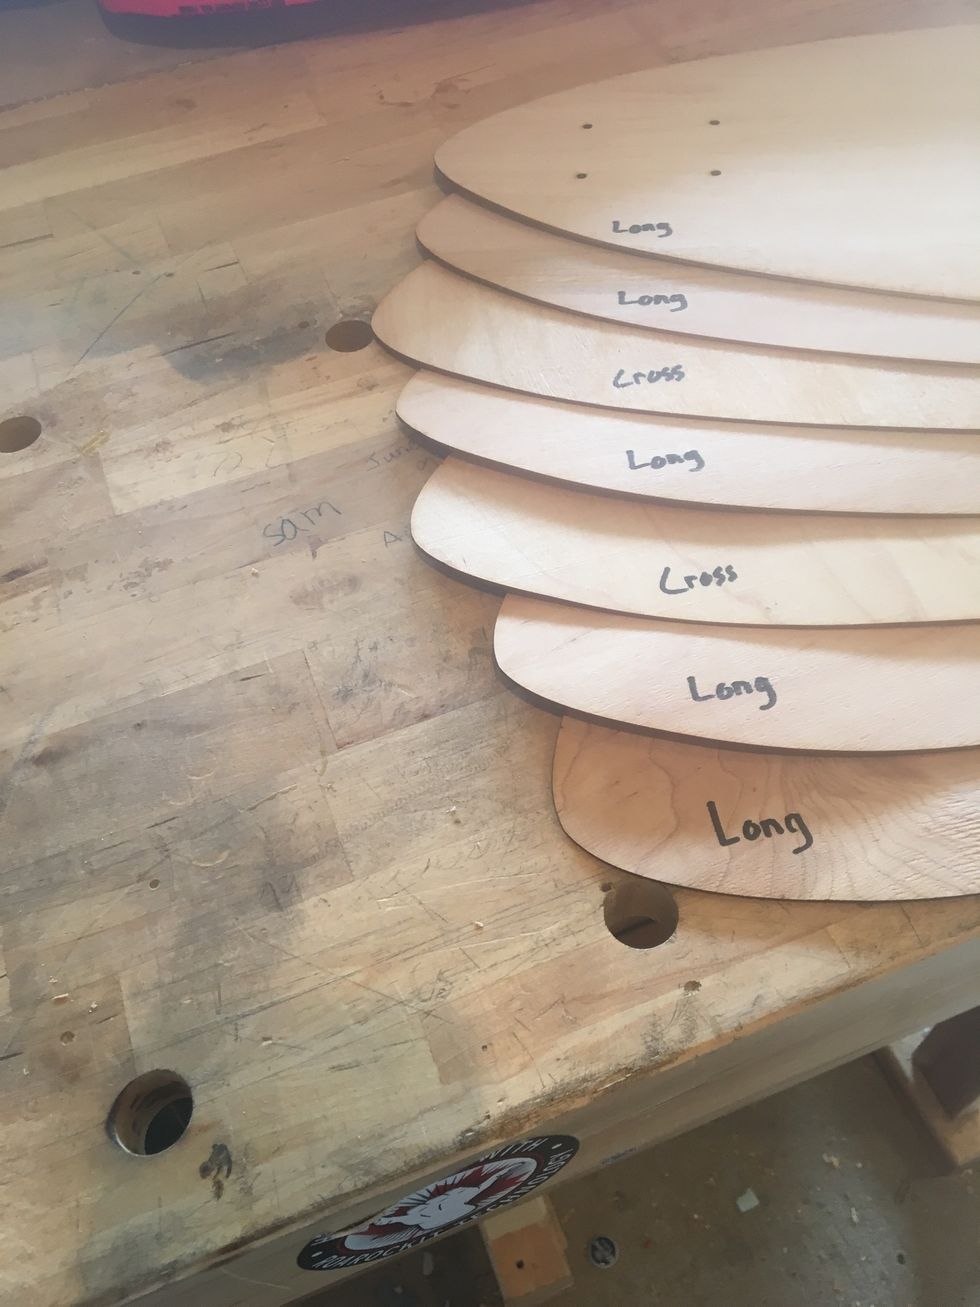
Organize veneers as indicated in picture.
Align veneers to one end
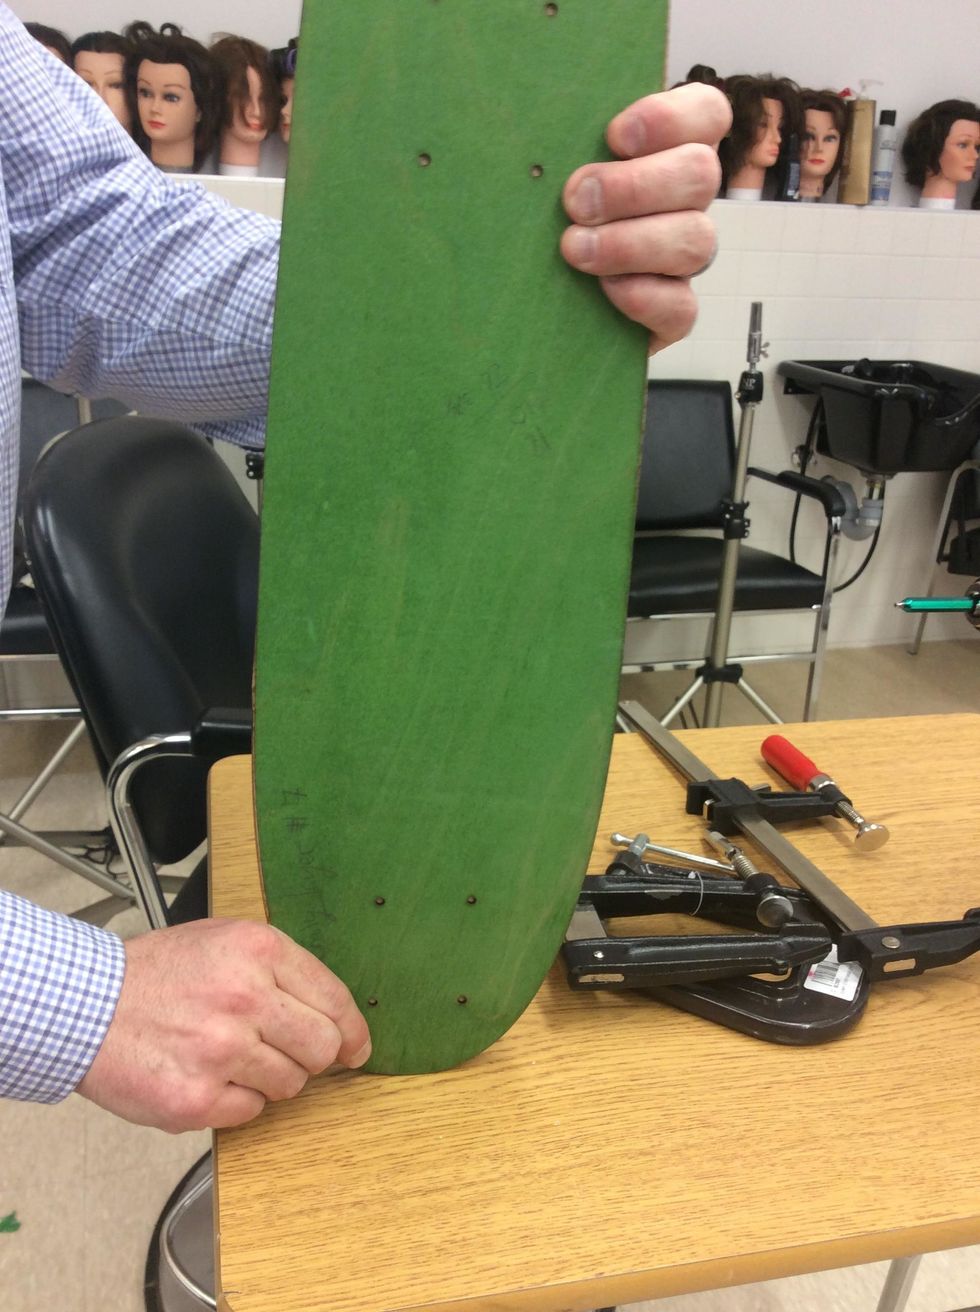
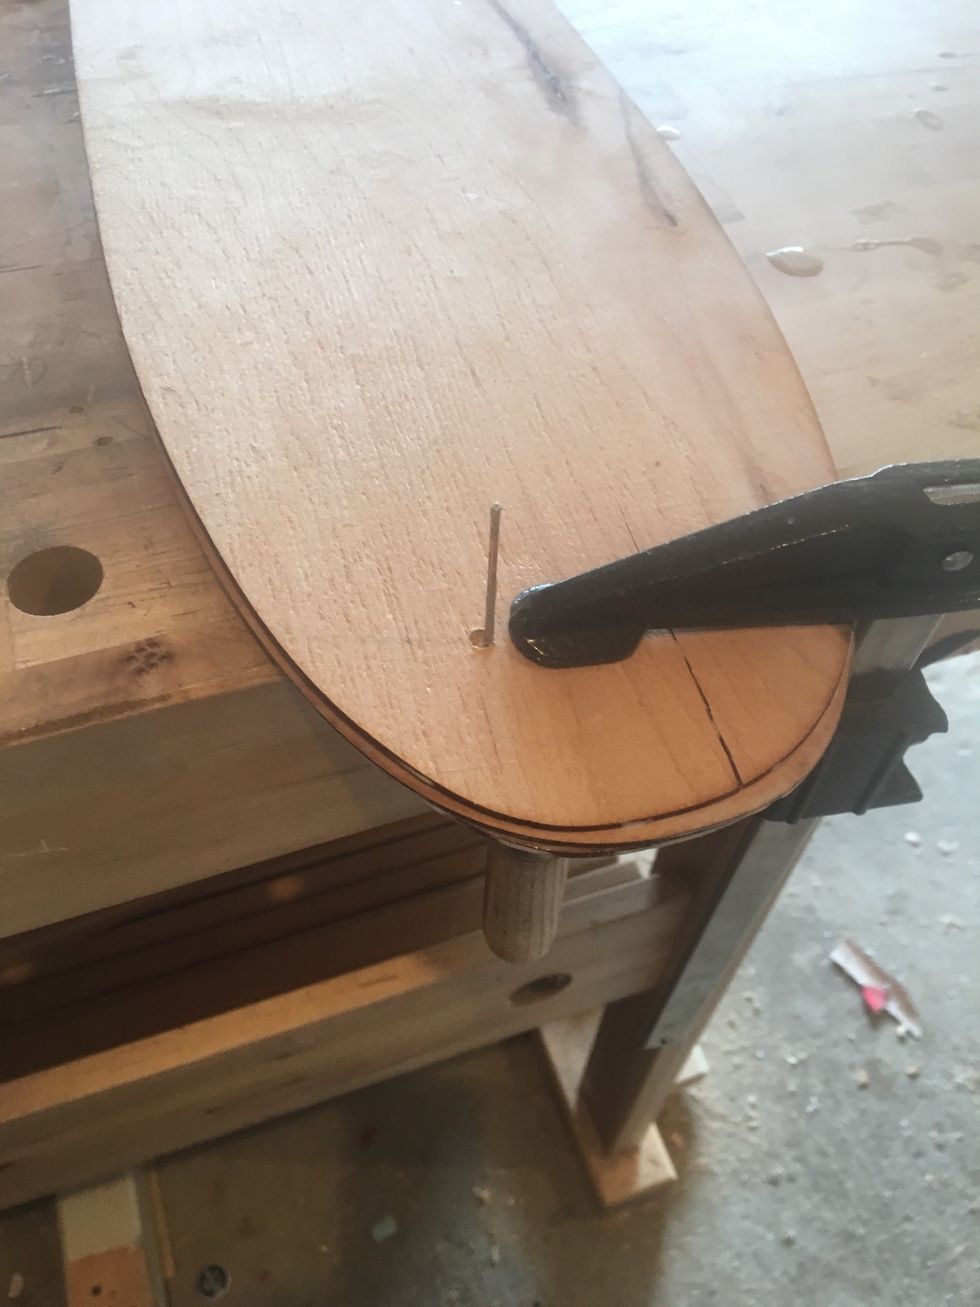
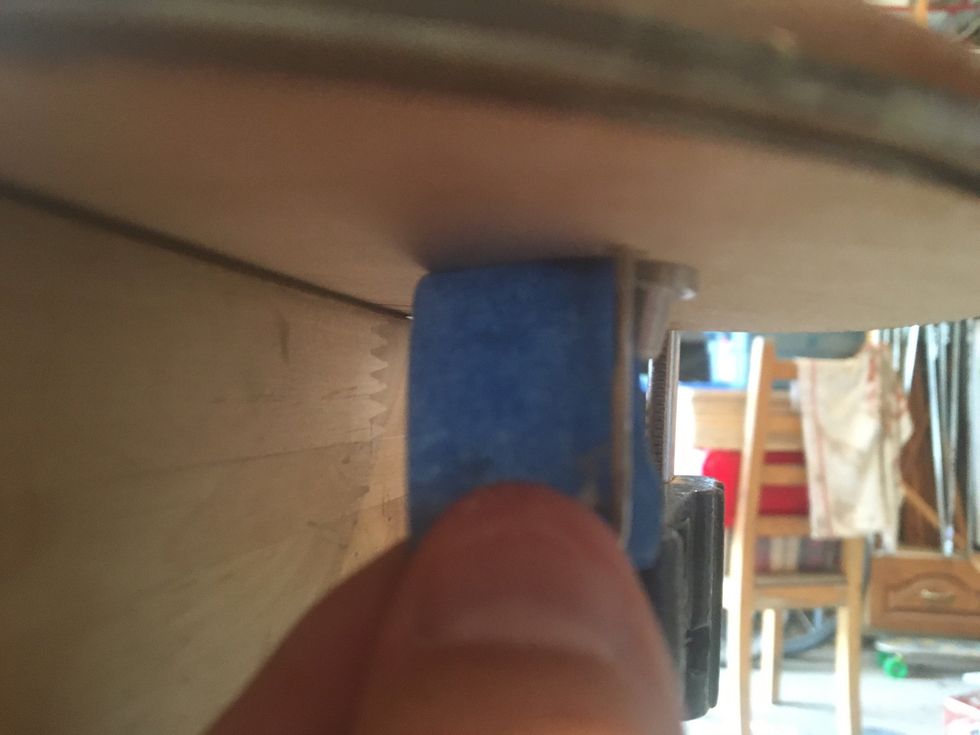
Place a F-Clamp close to one of the pre-drilled holes
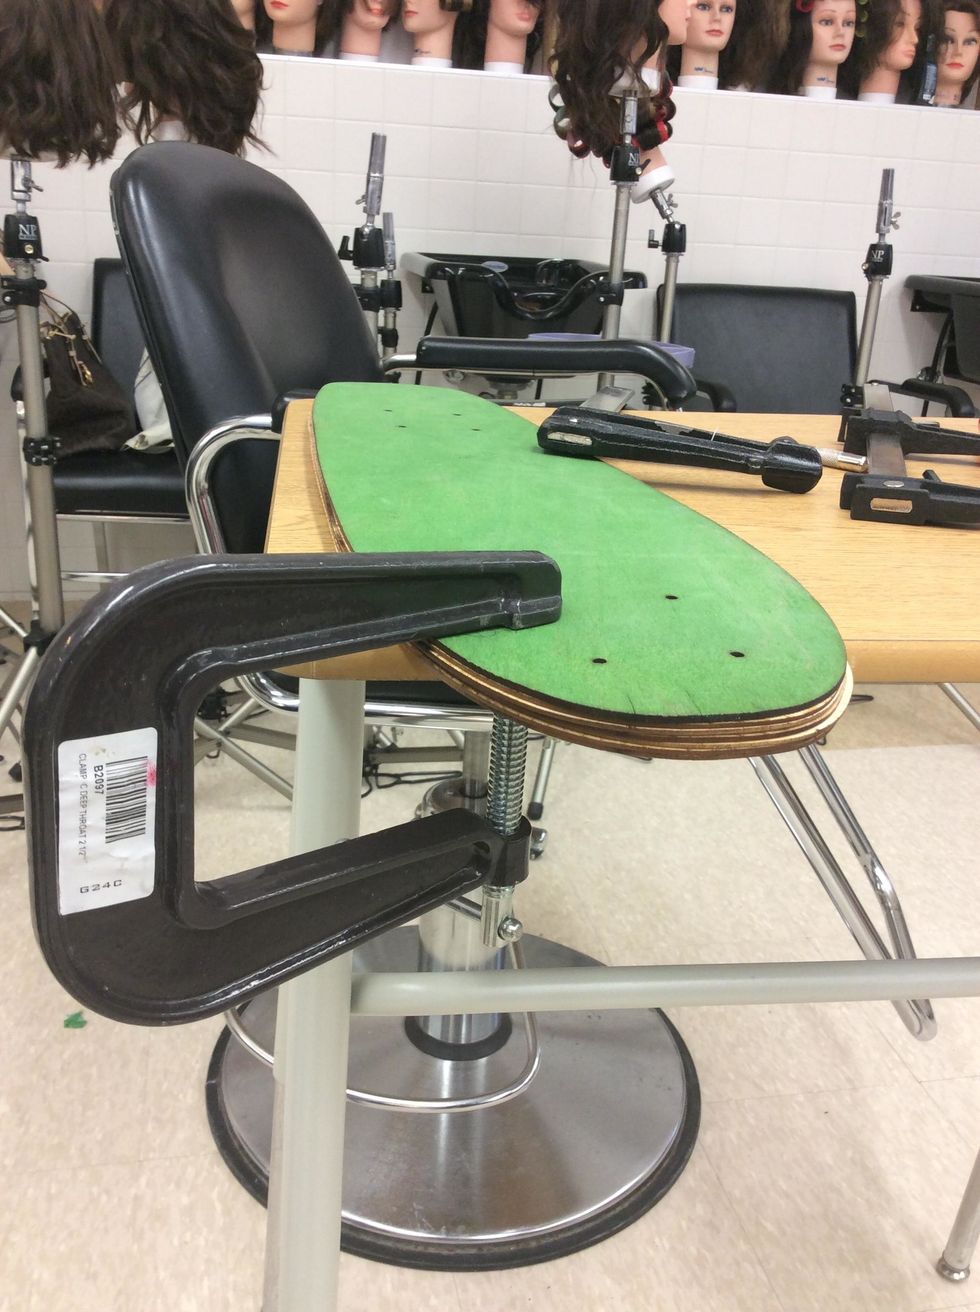
Place a F-Clamp close to one of the pre-drilled holes
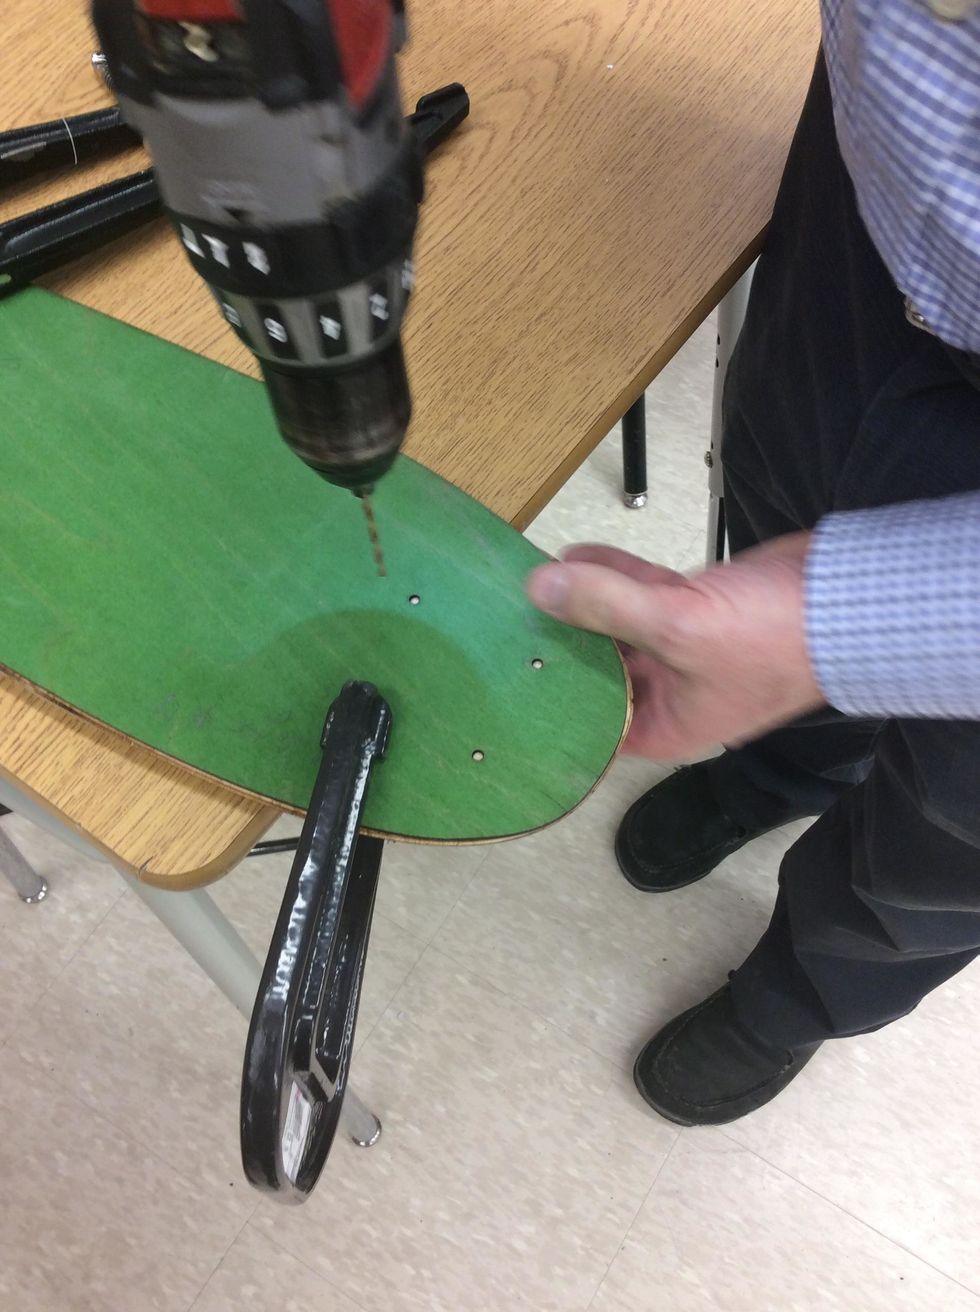
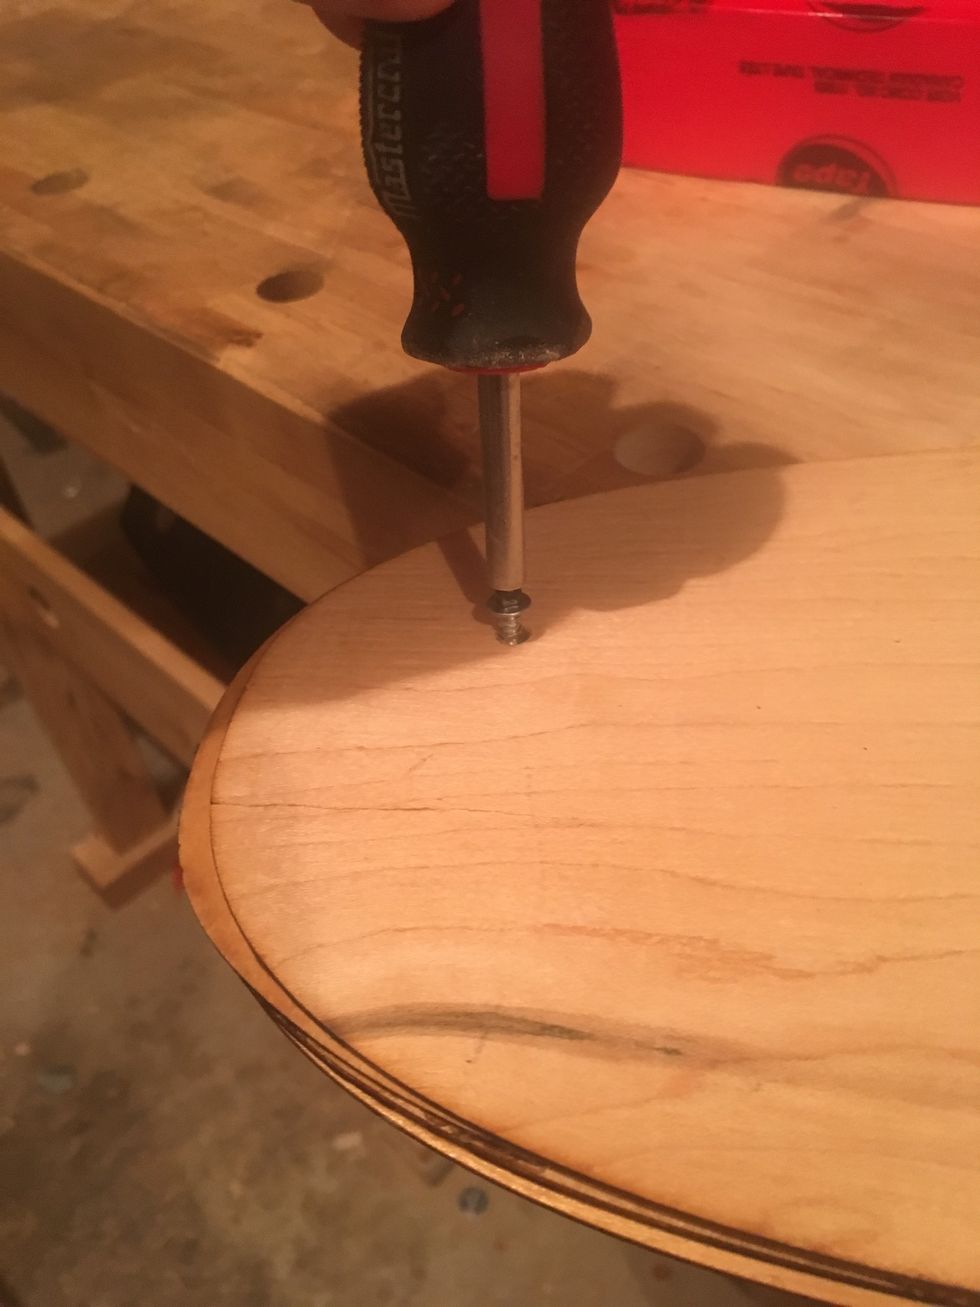
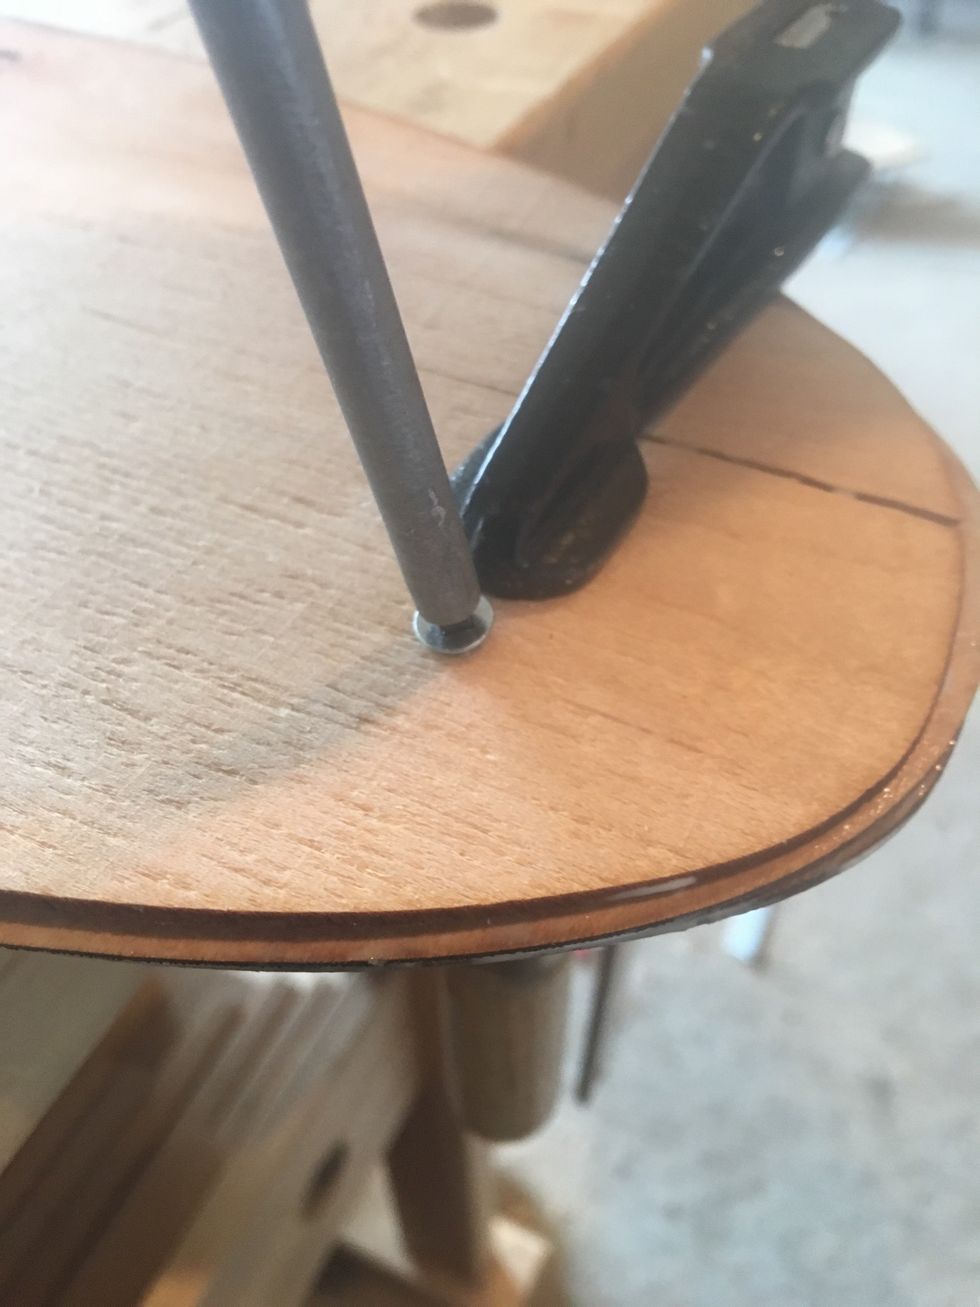
Use a 3/16" bit to drill through the hole closest to the clamp.
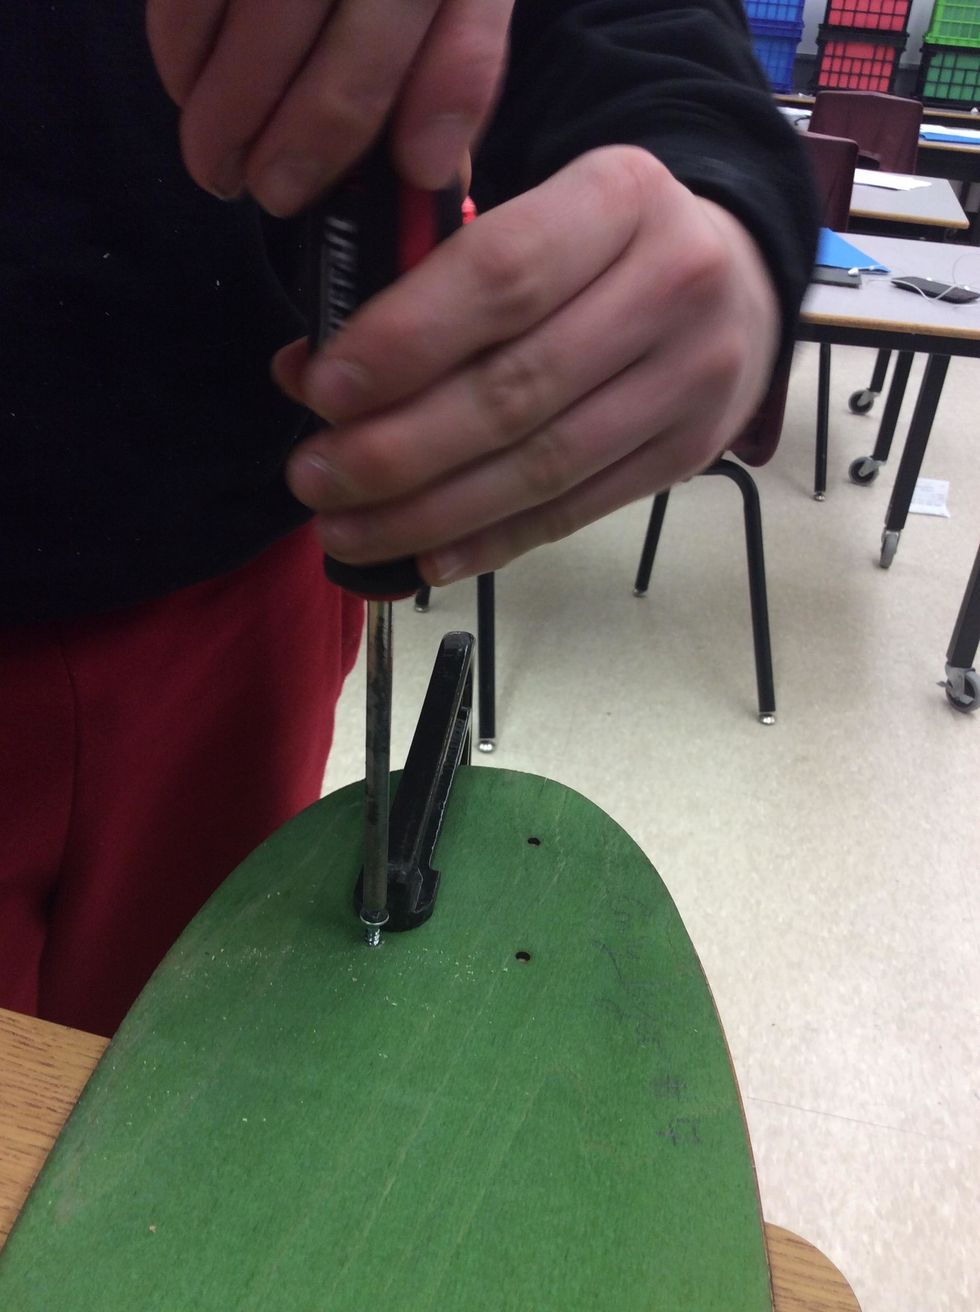
Insert a 3/4" #2 Robertson screw through the hole. Do NOT over tighten.
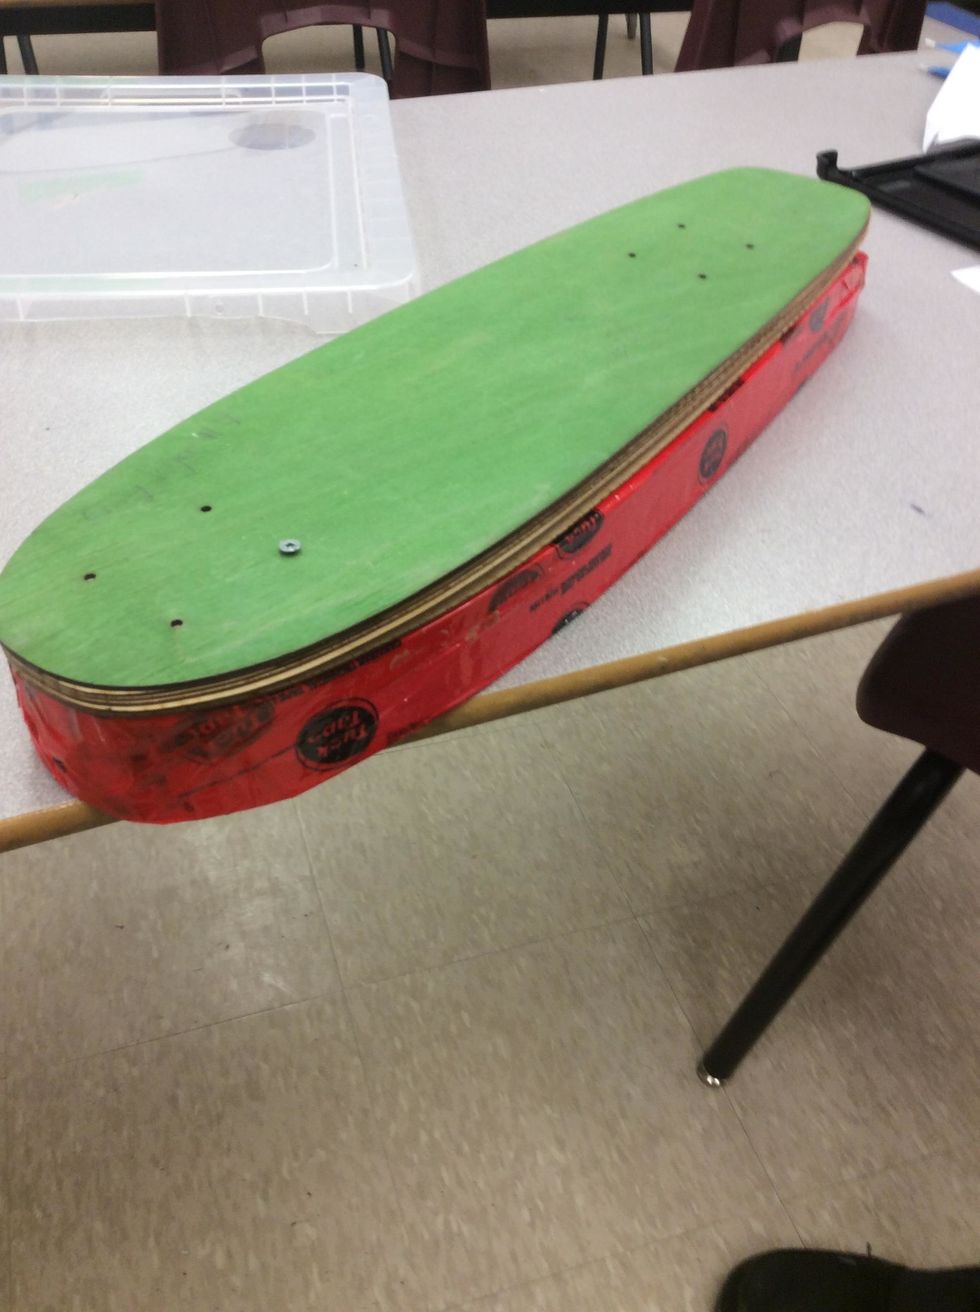
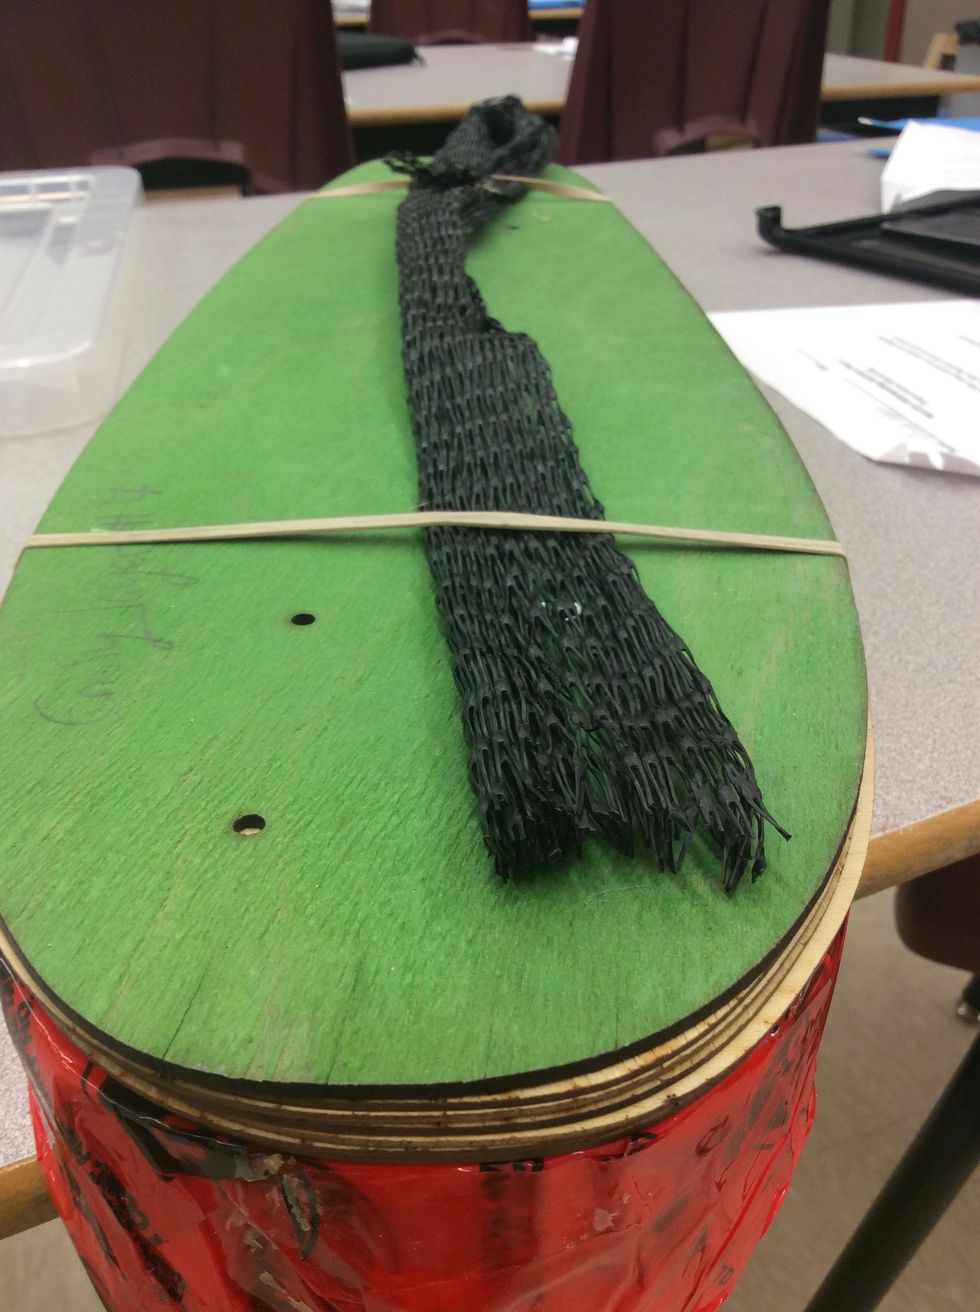
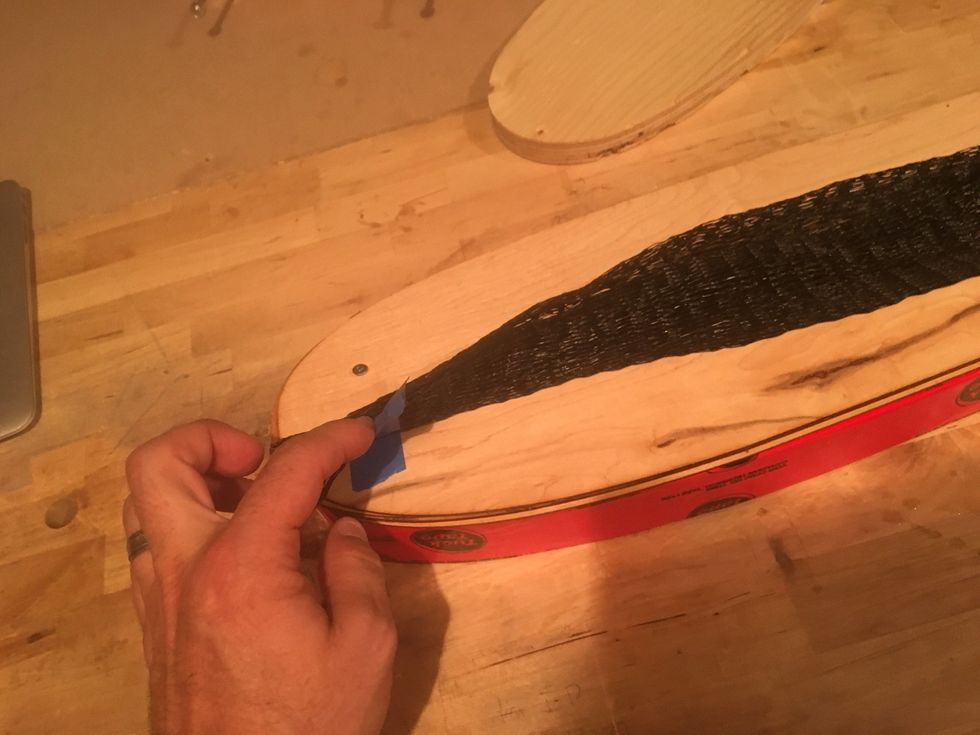
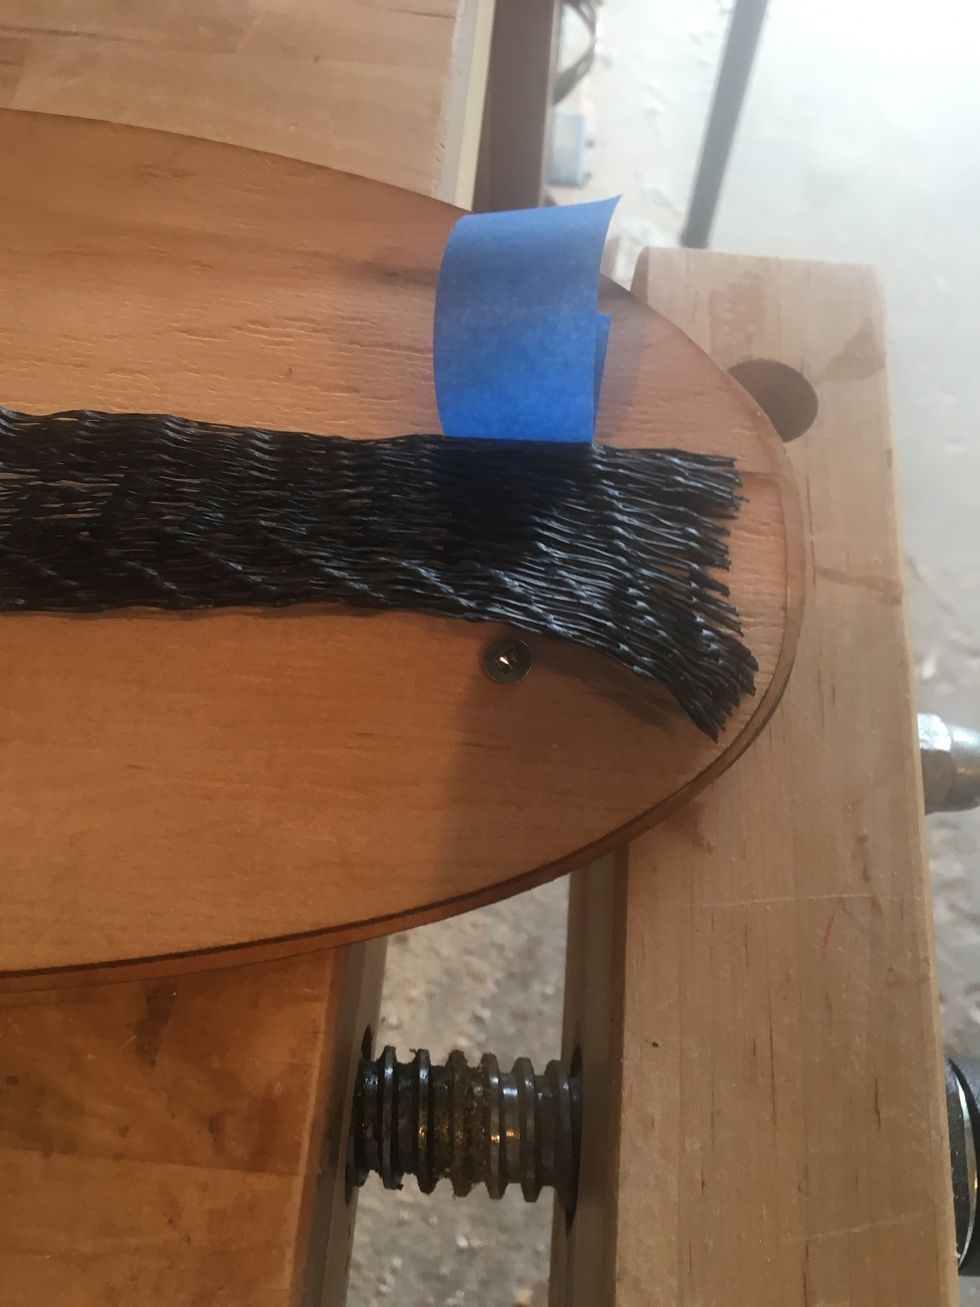
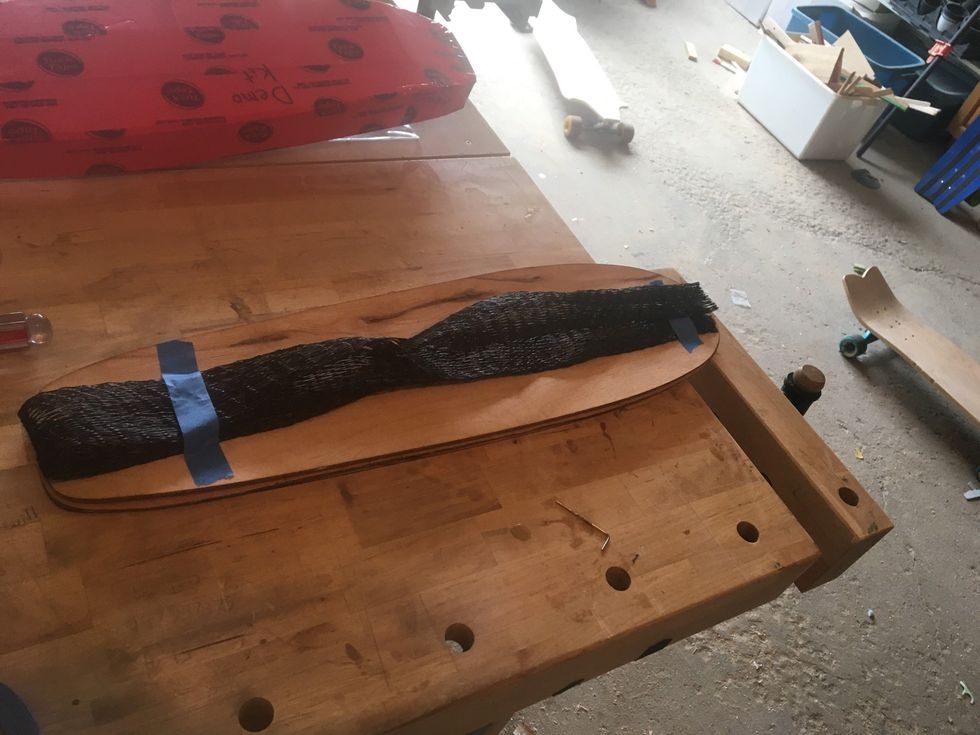
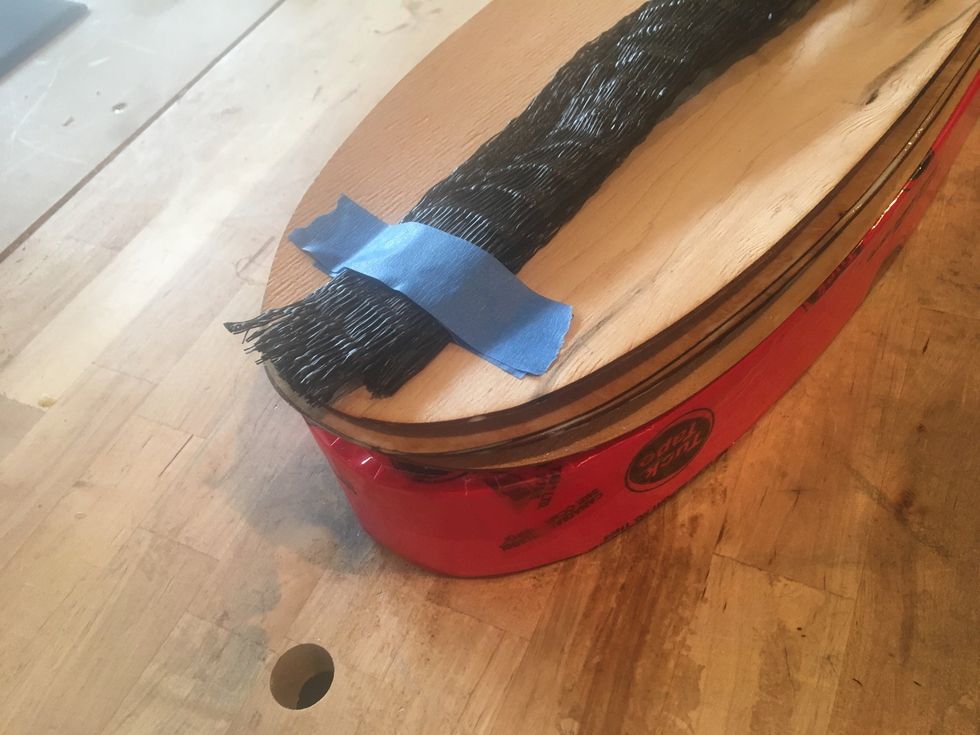
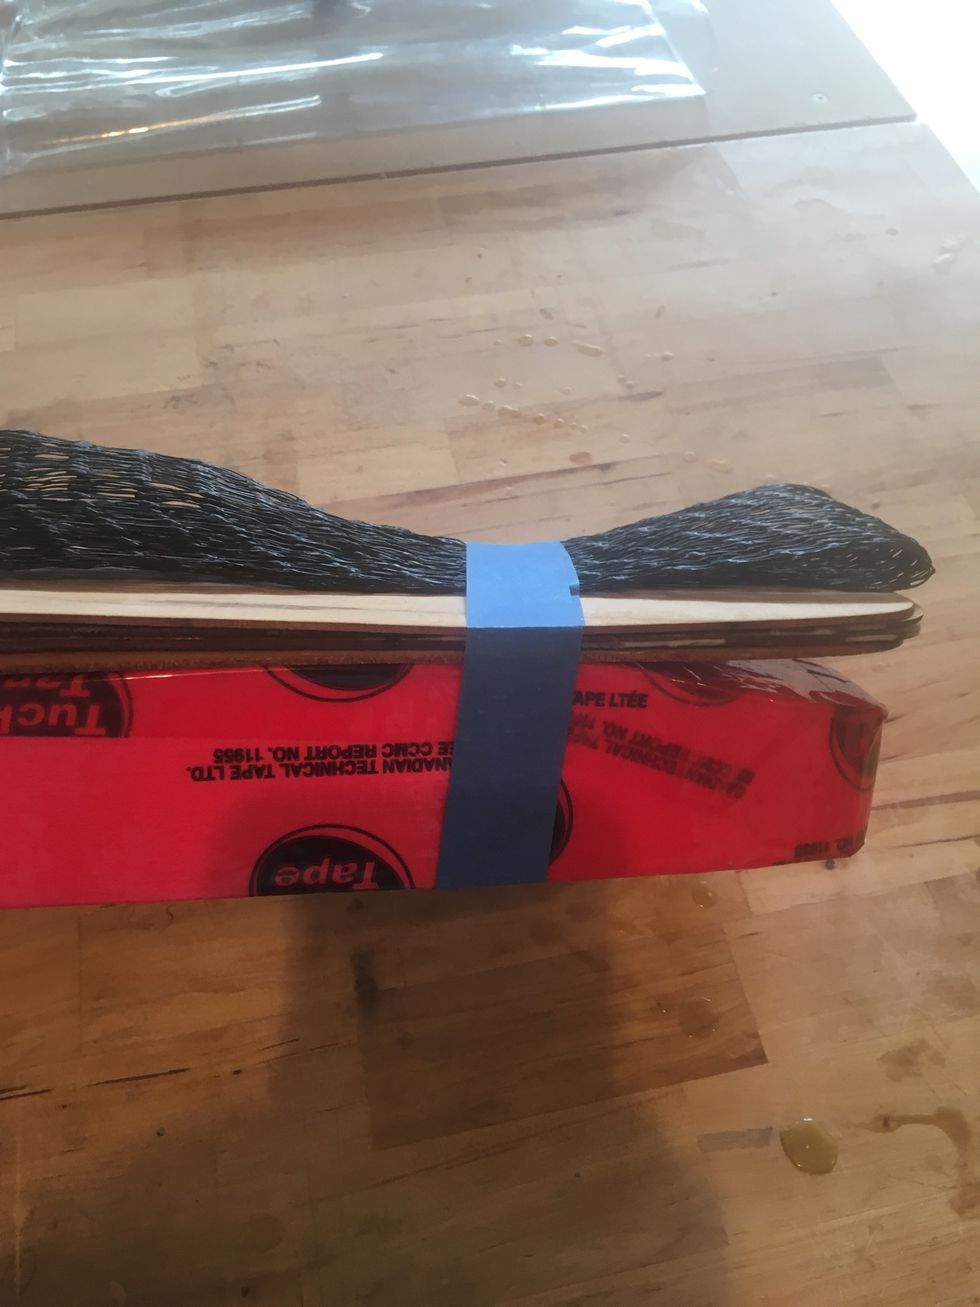
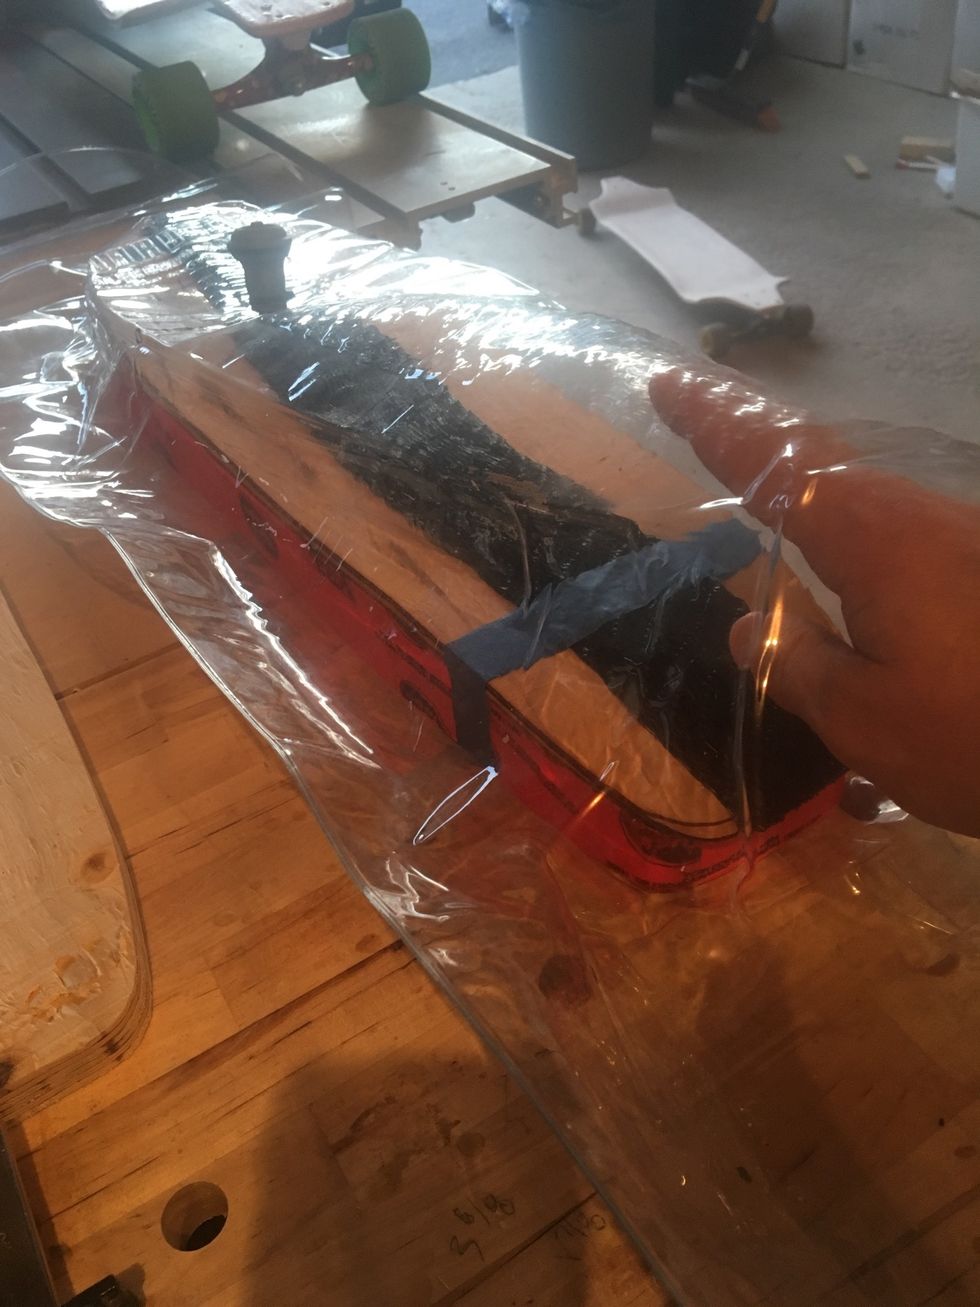
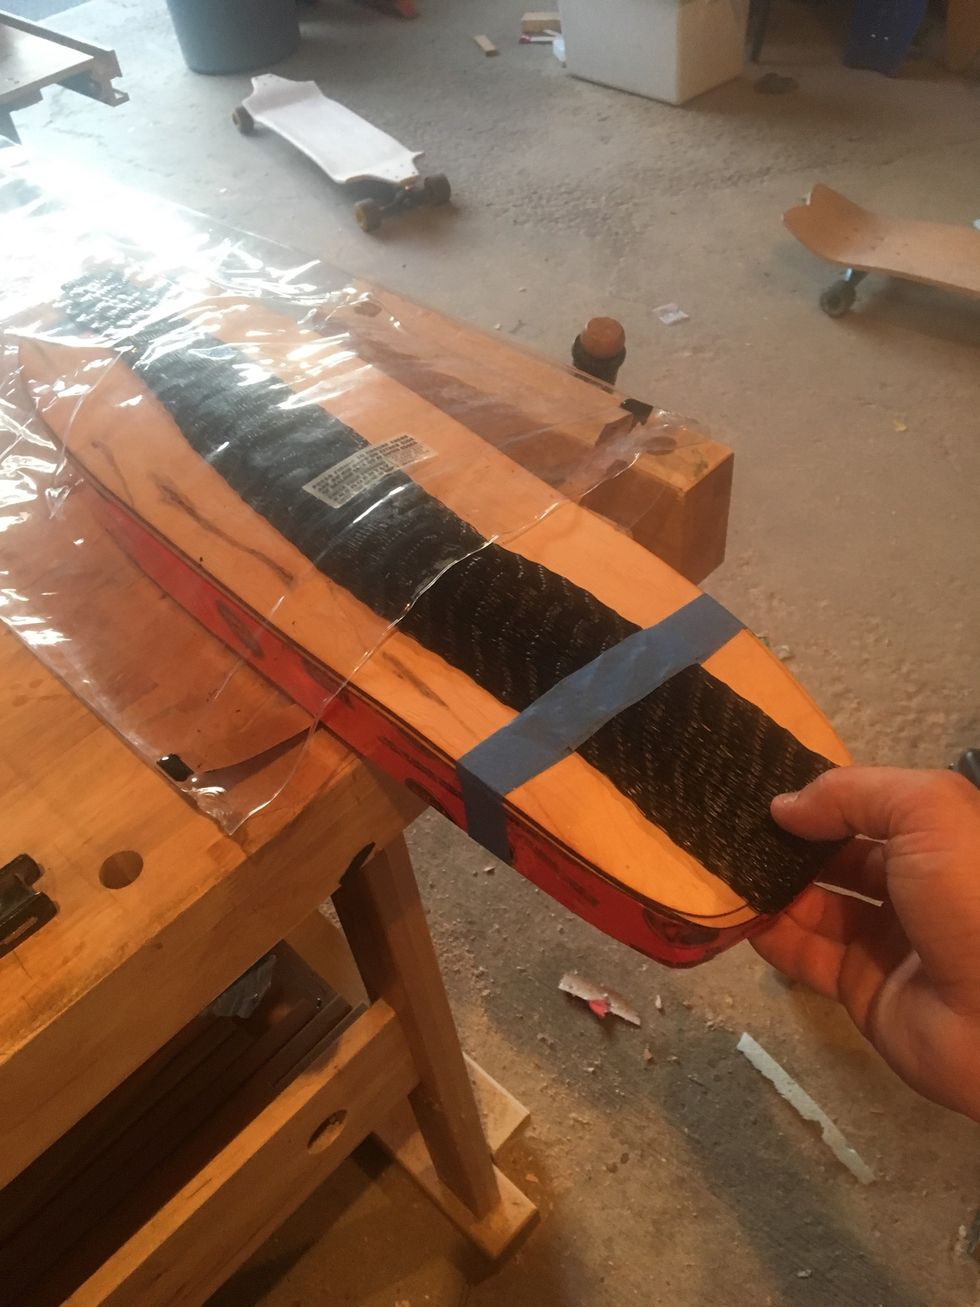
Use Elastics or Painter's Tape to affix Breather Net to the veneers.
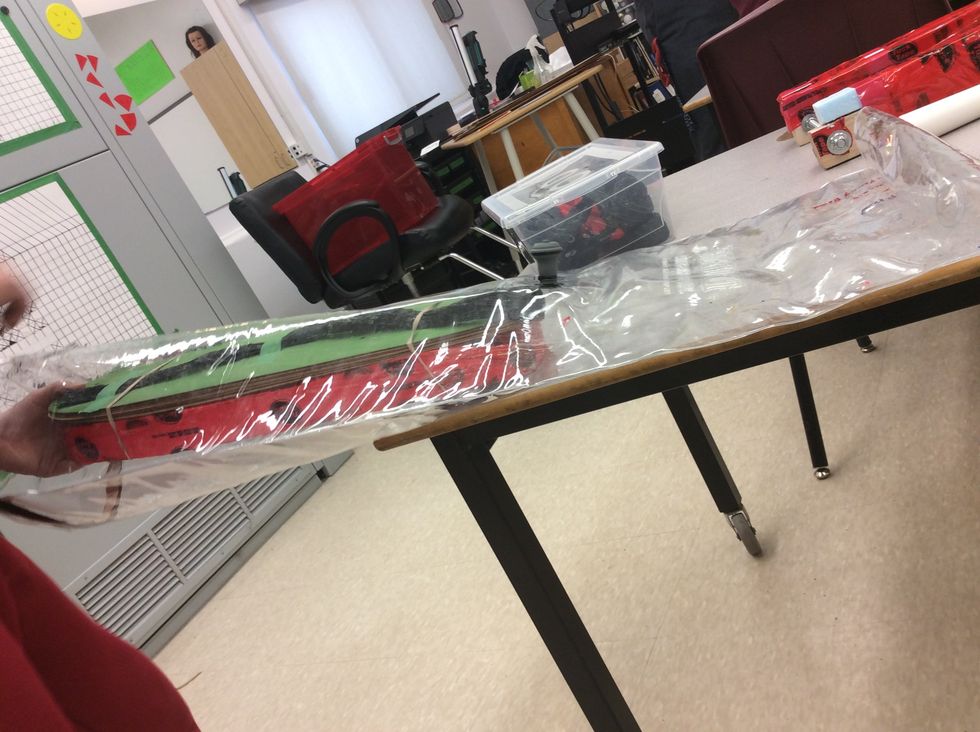
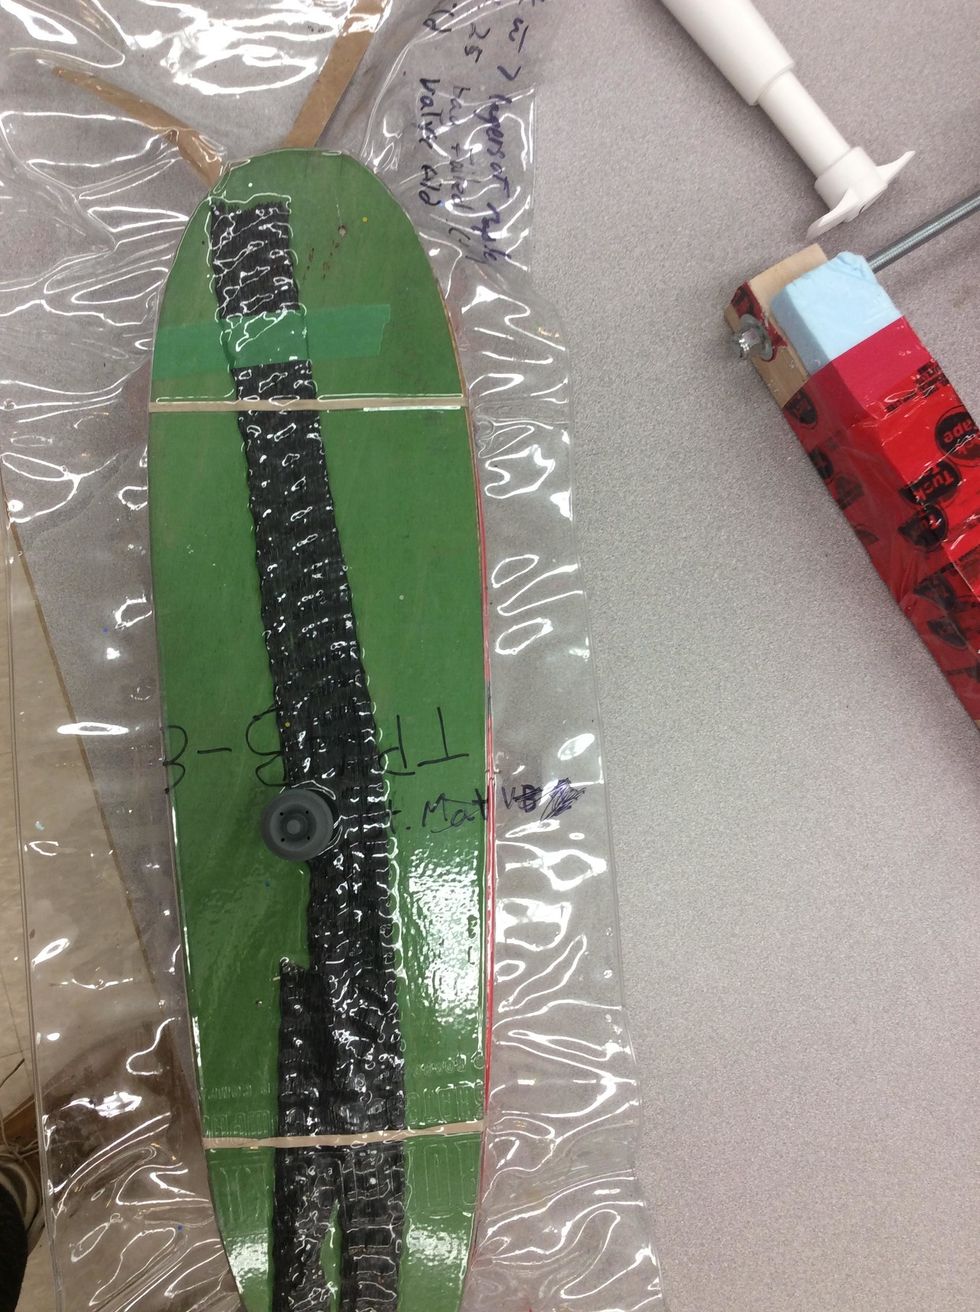
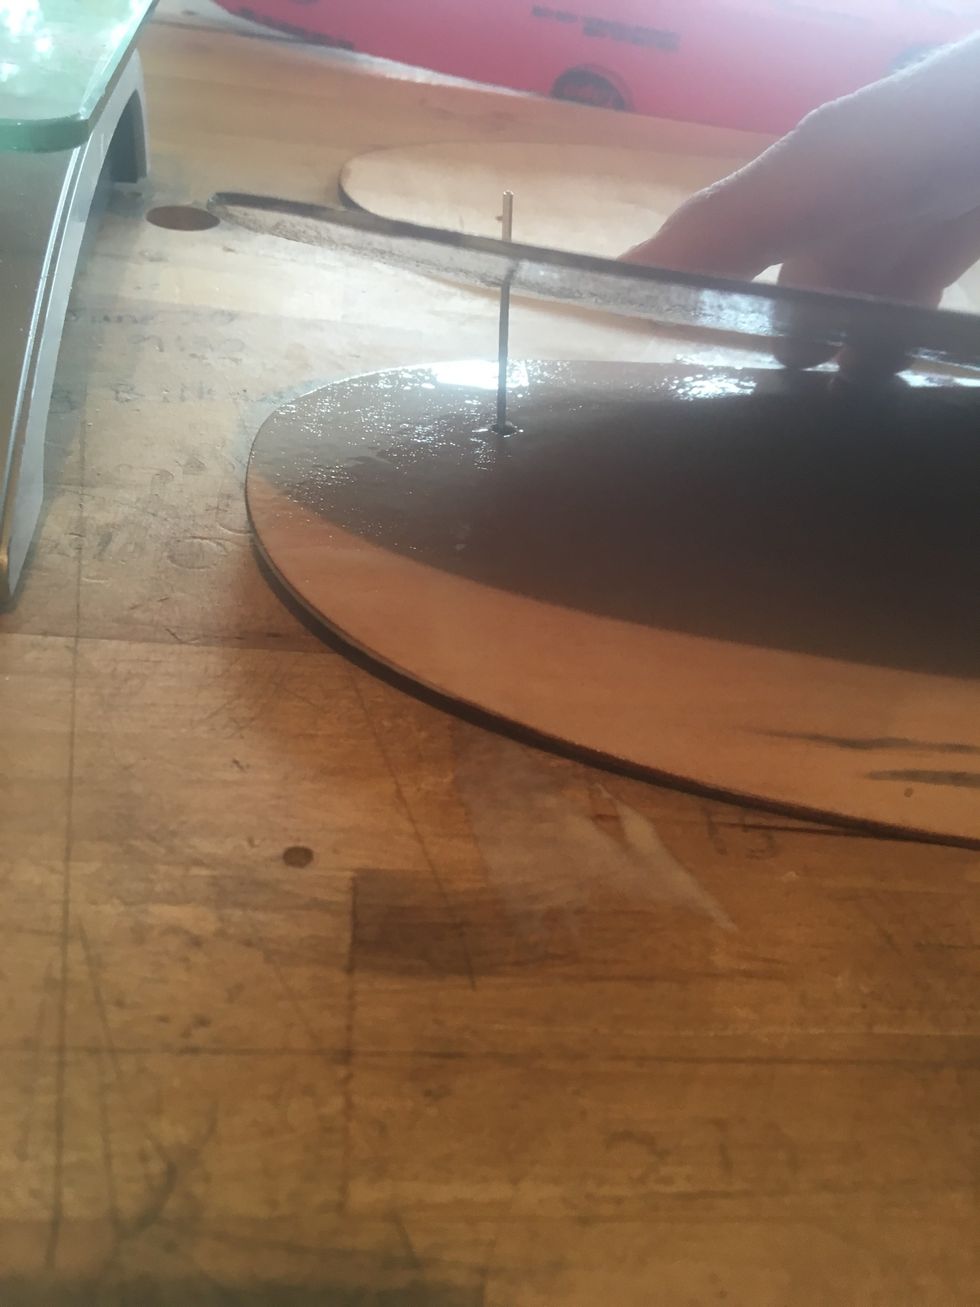
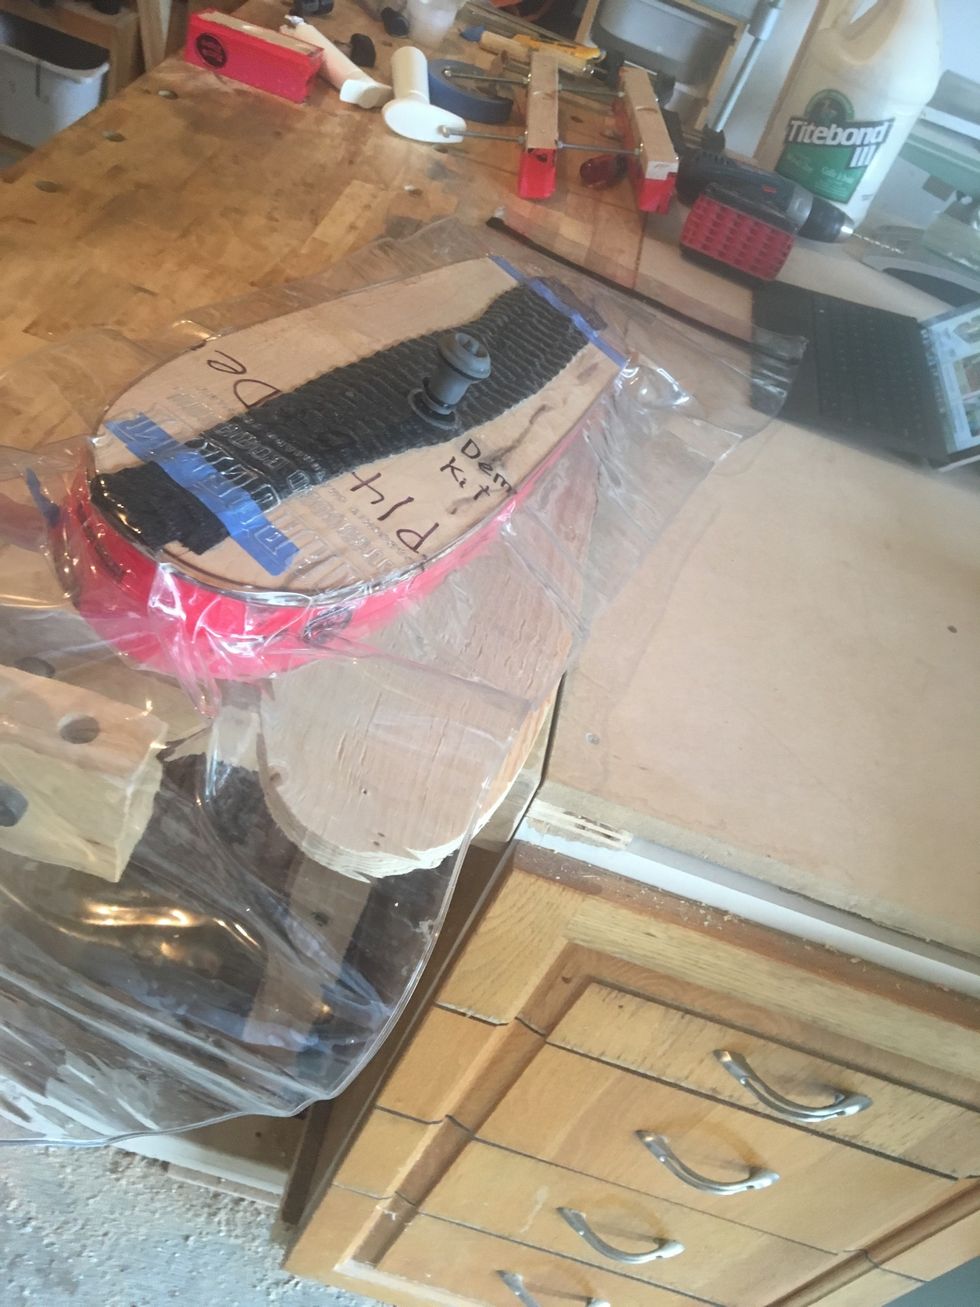
Place veneers in vacuum bag.
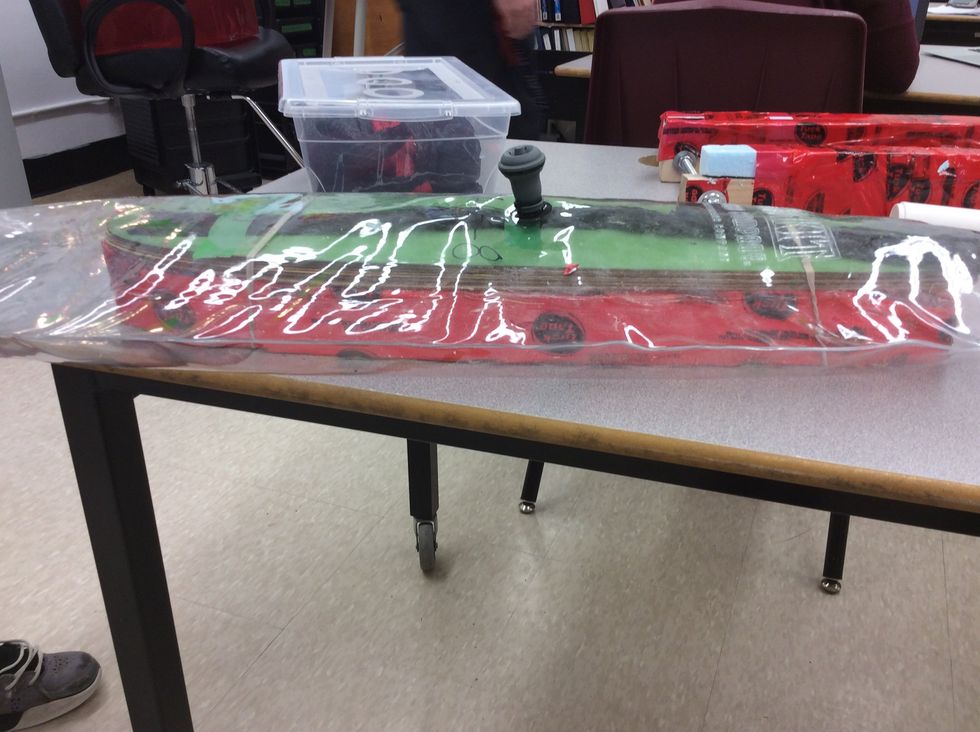
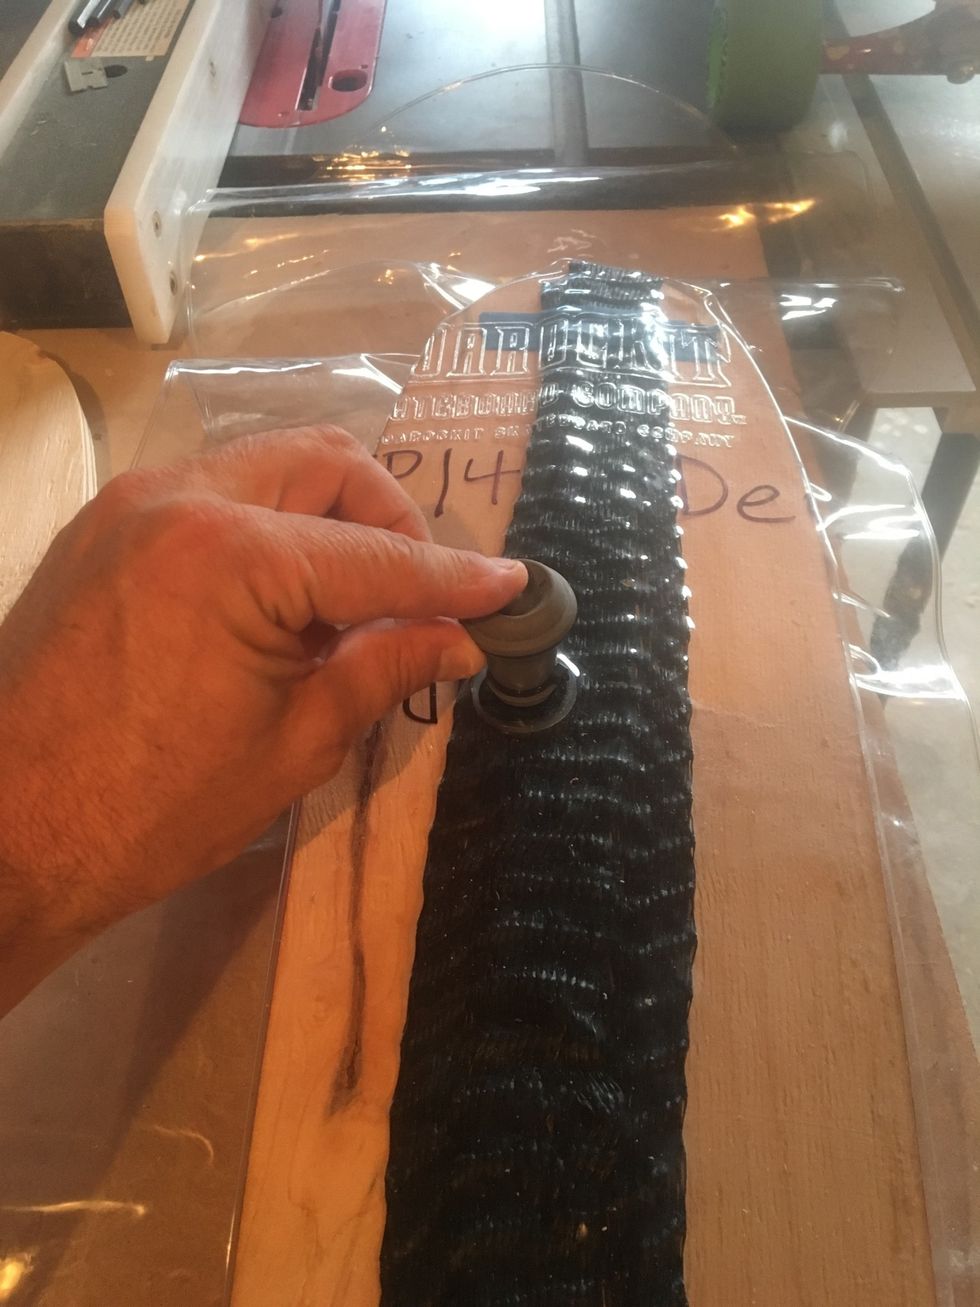
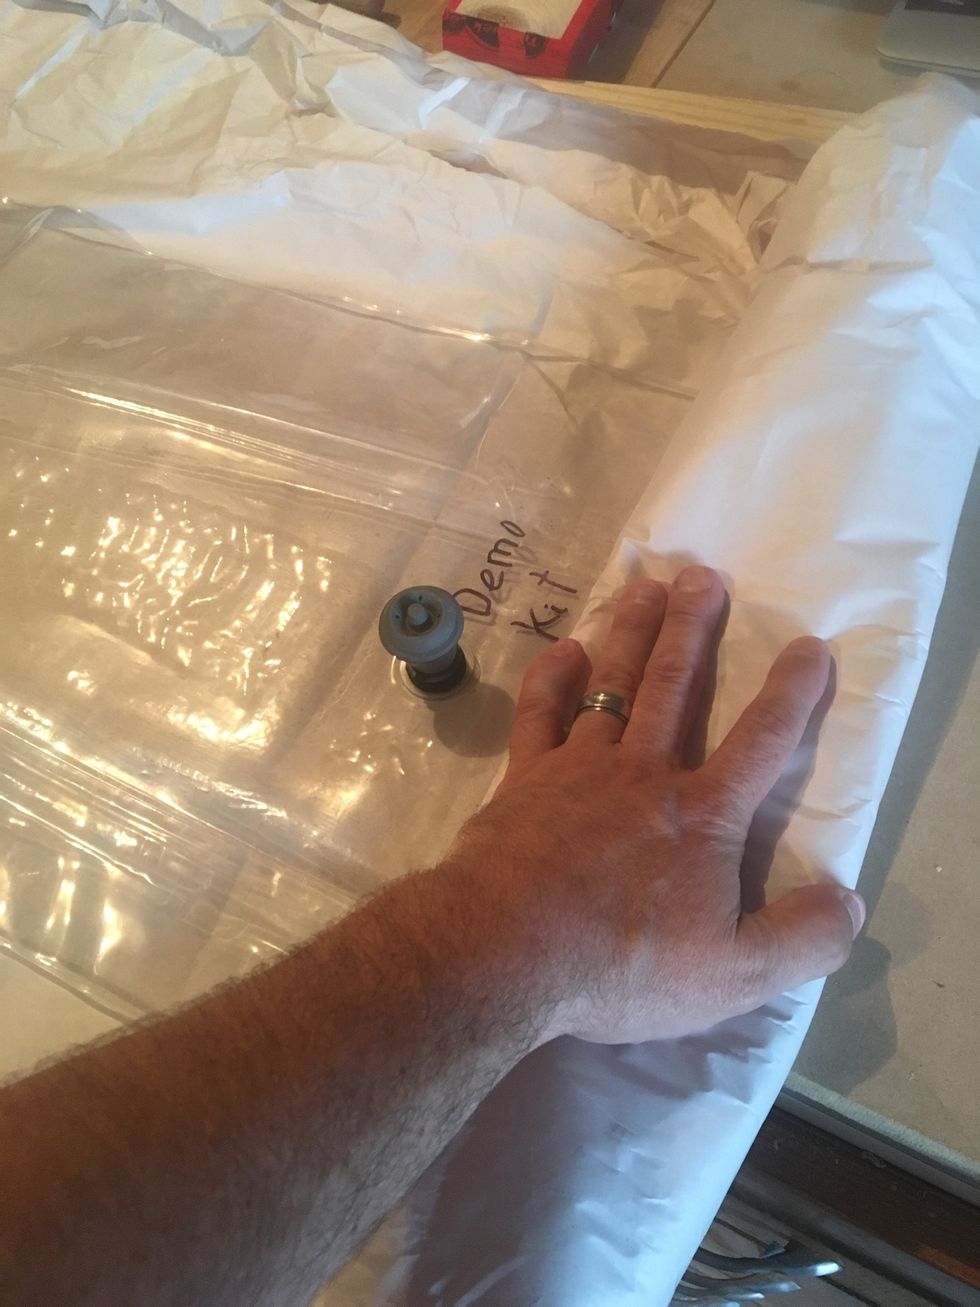
Position valve stem over breather net.
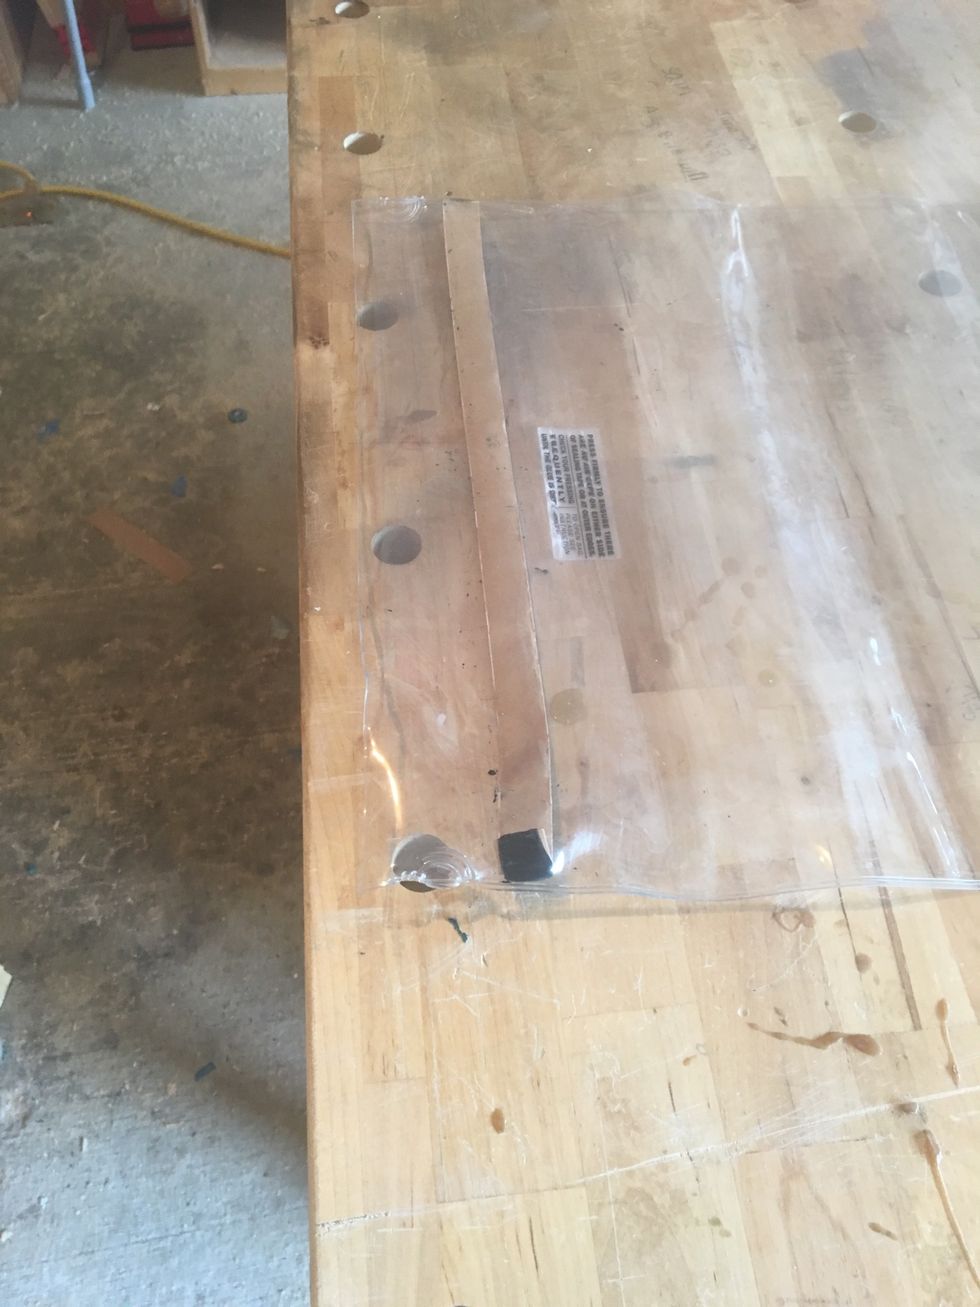
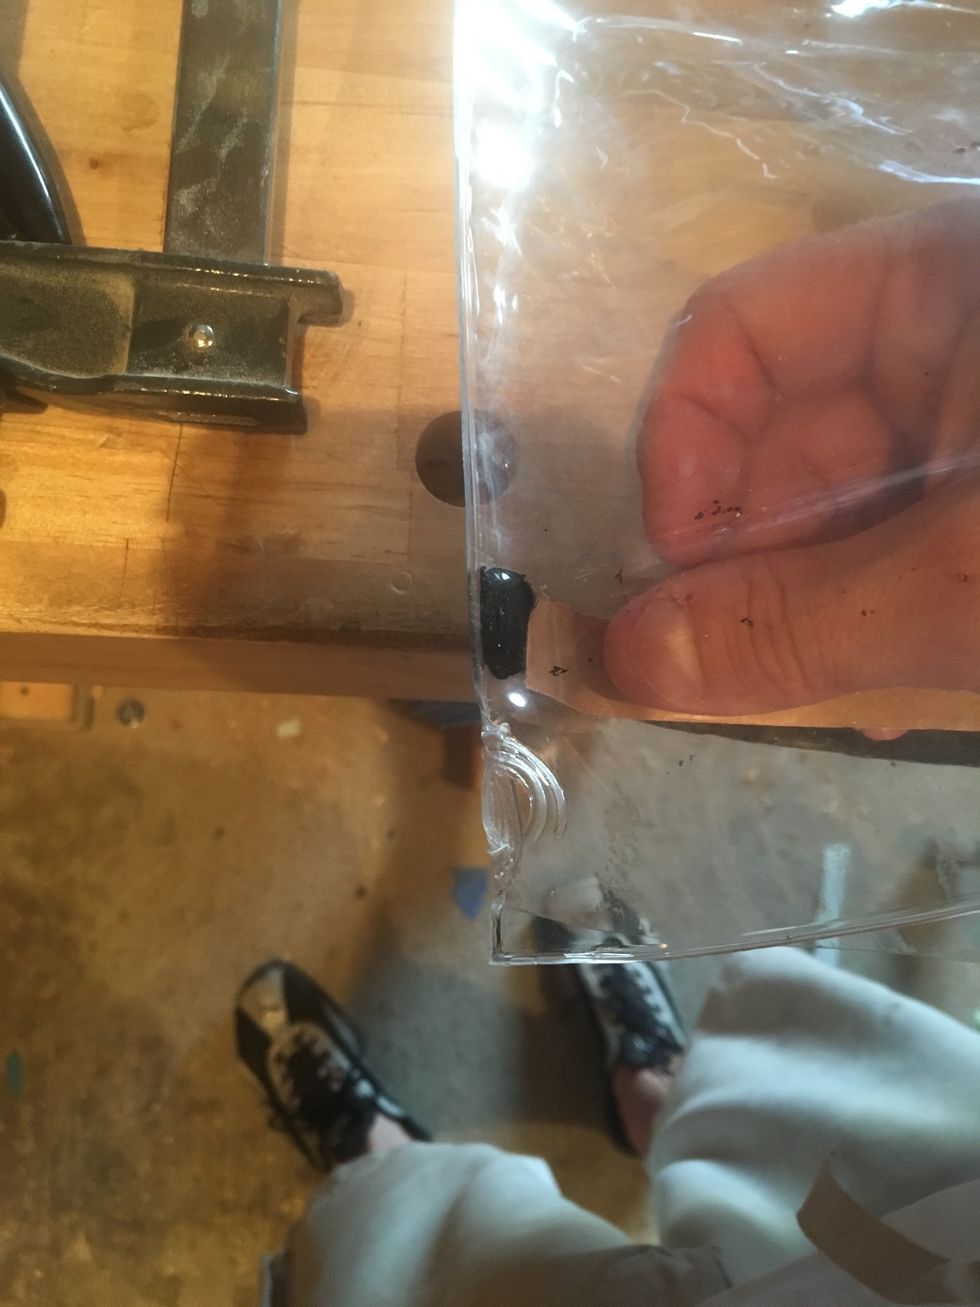
Remove protective paper from sealing tape and place in vacuum bag.
Gently press sealing tape.
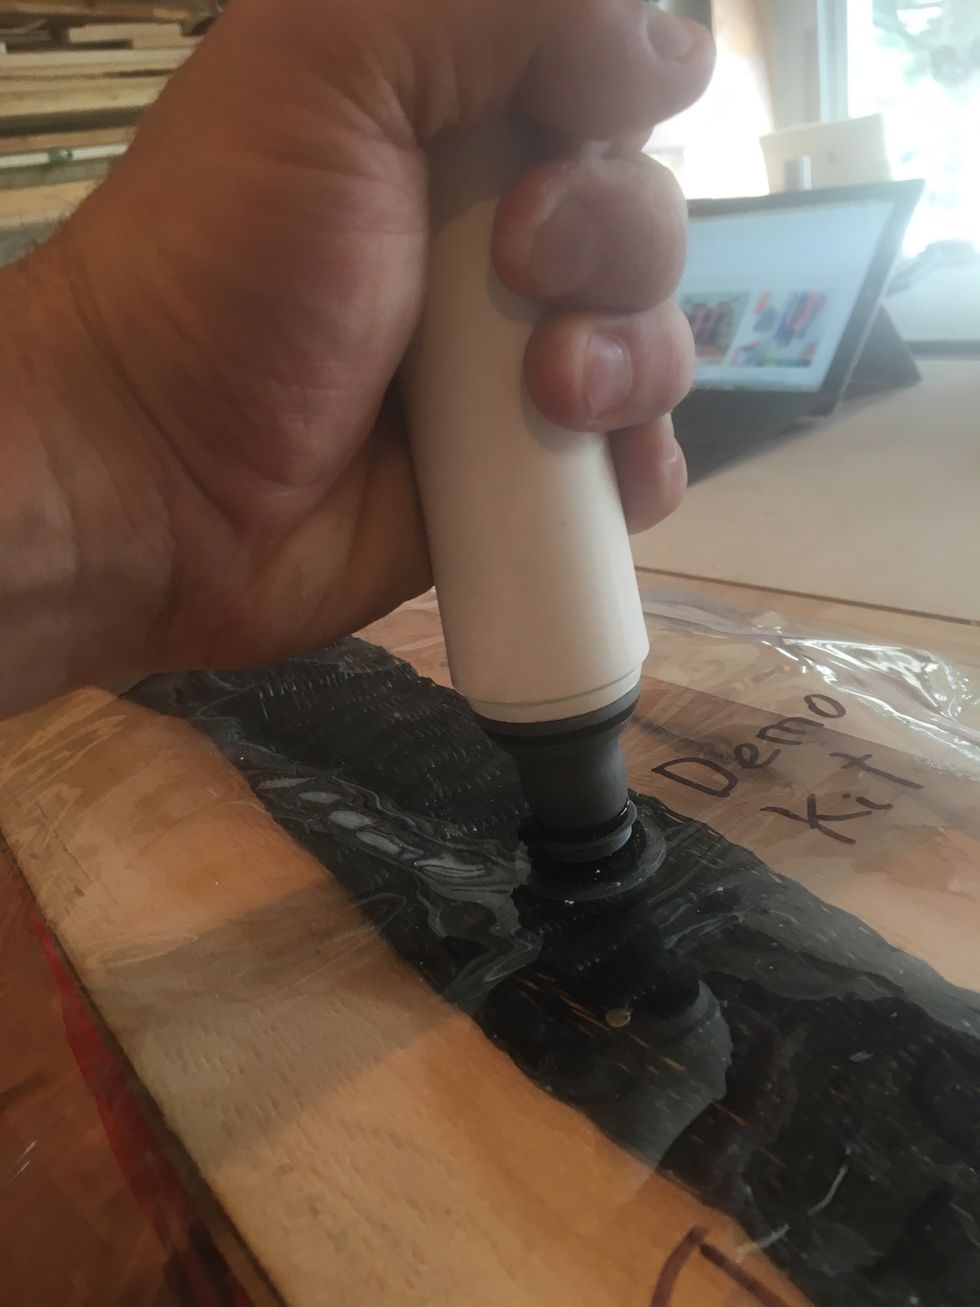
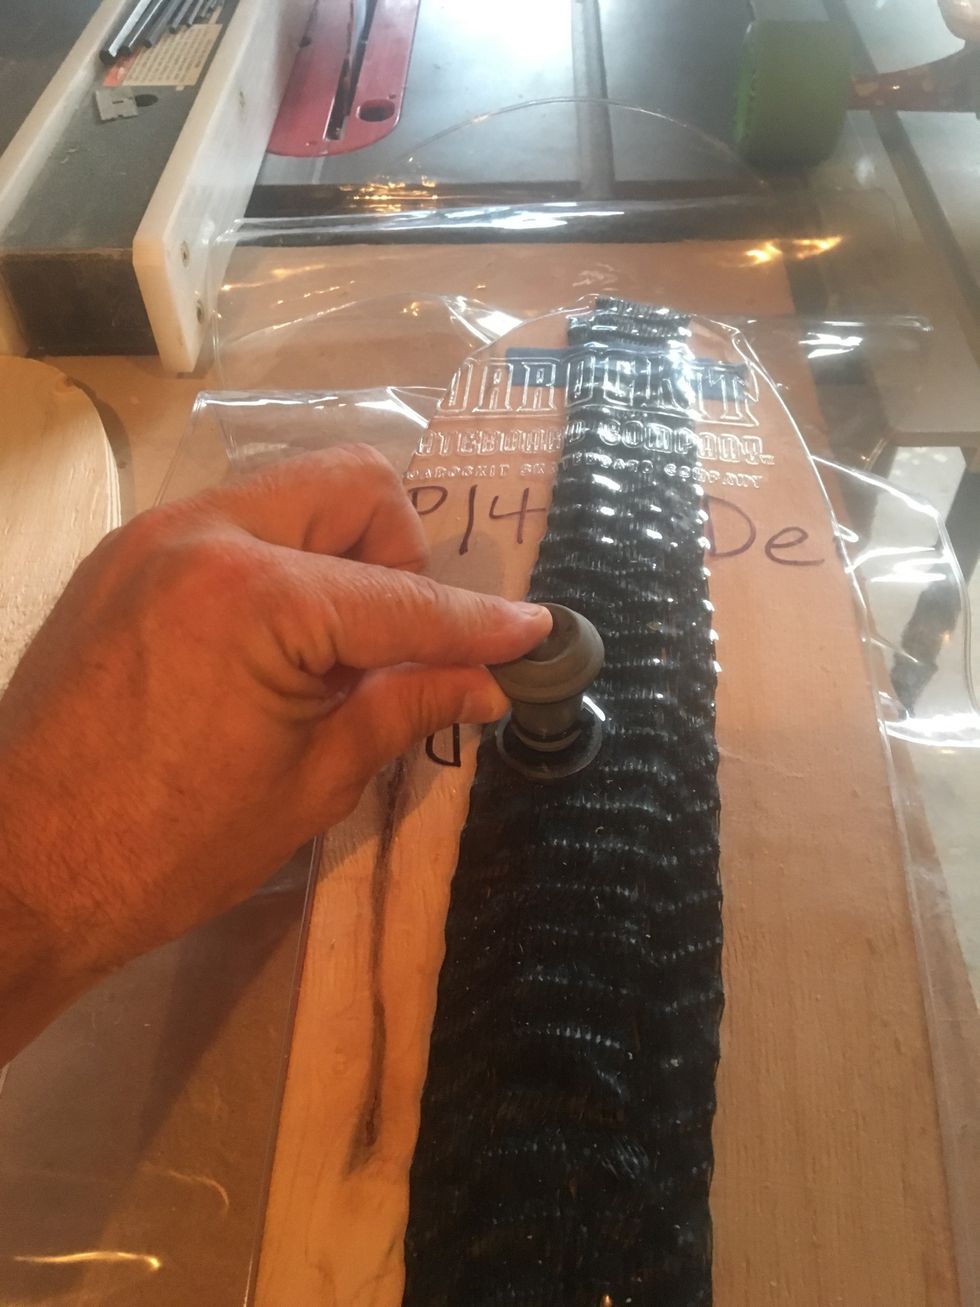
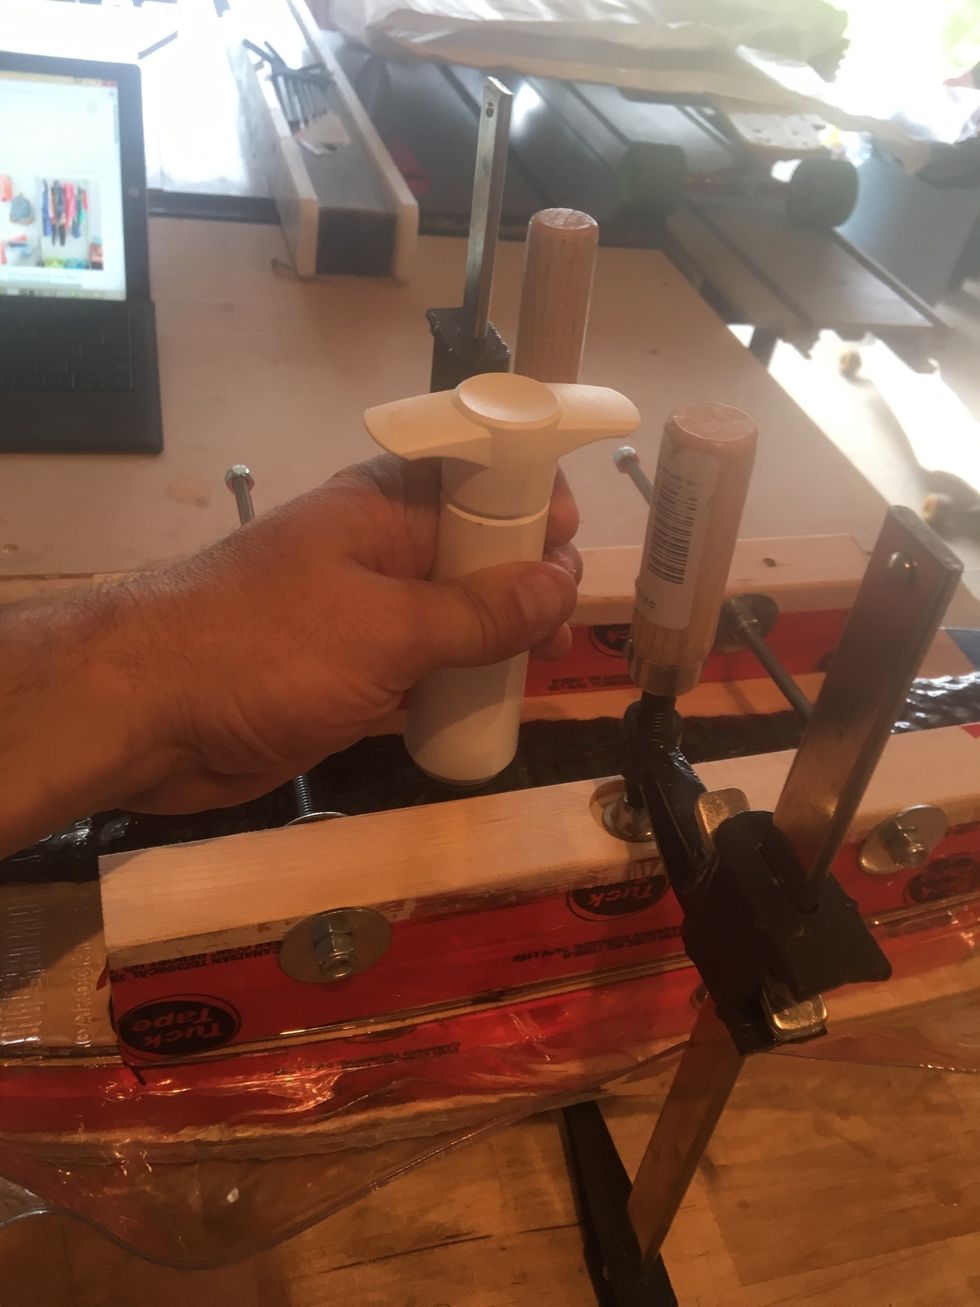
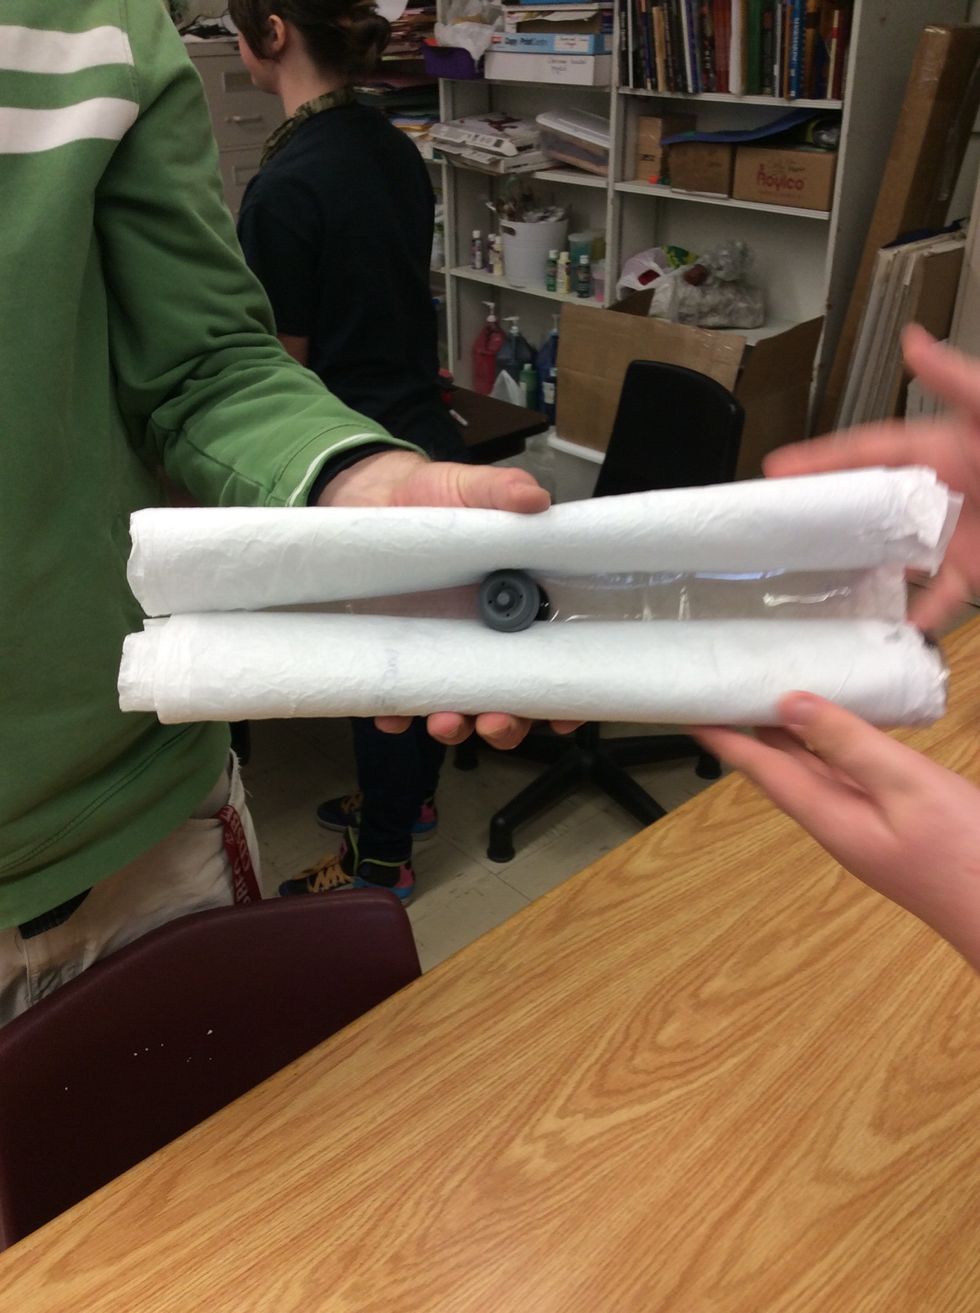
Firmly seat pump on valve and begin to remove air from the vacuum bag.
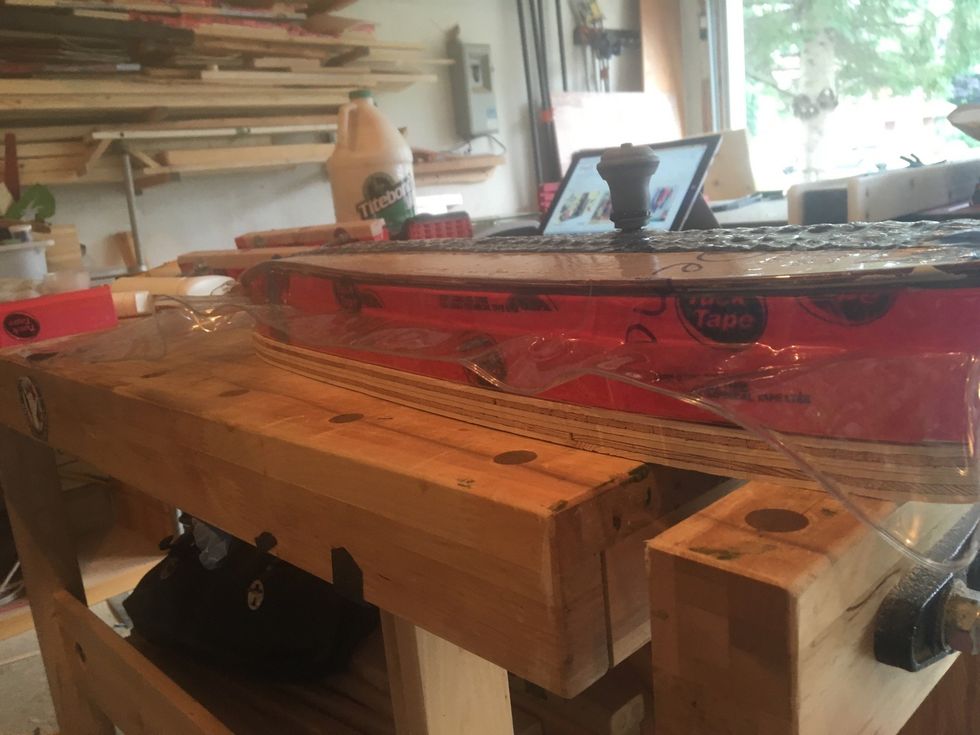
Hold sides of vacuum bag away from veneers as the air is evacuated.
Remove air until the pump makes a clicking sound.
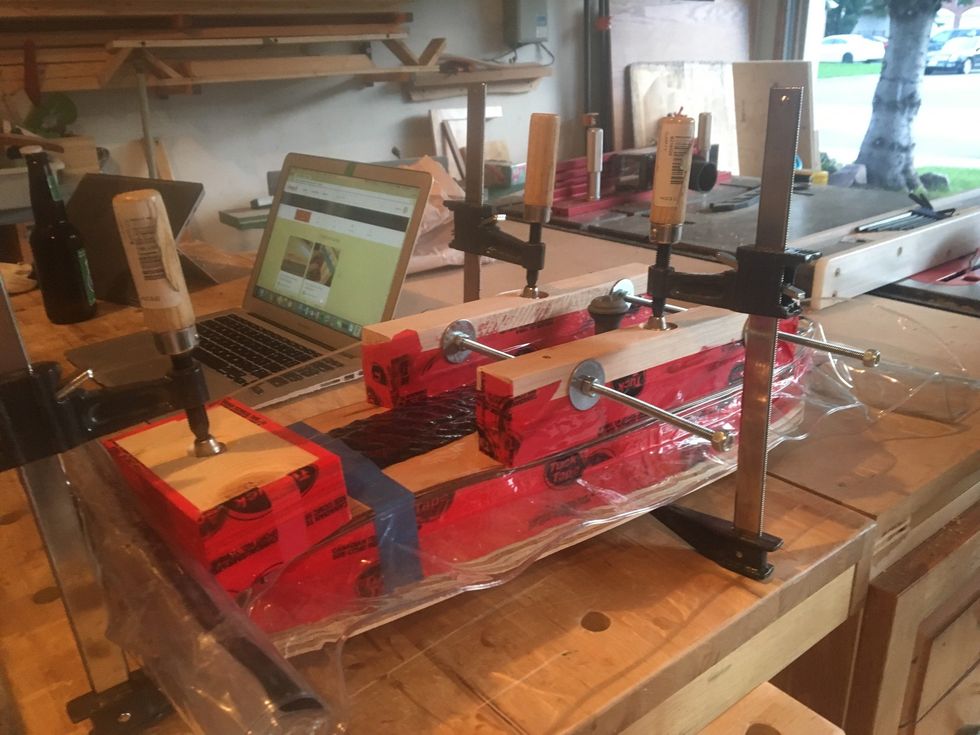
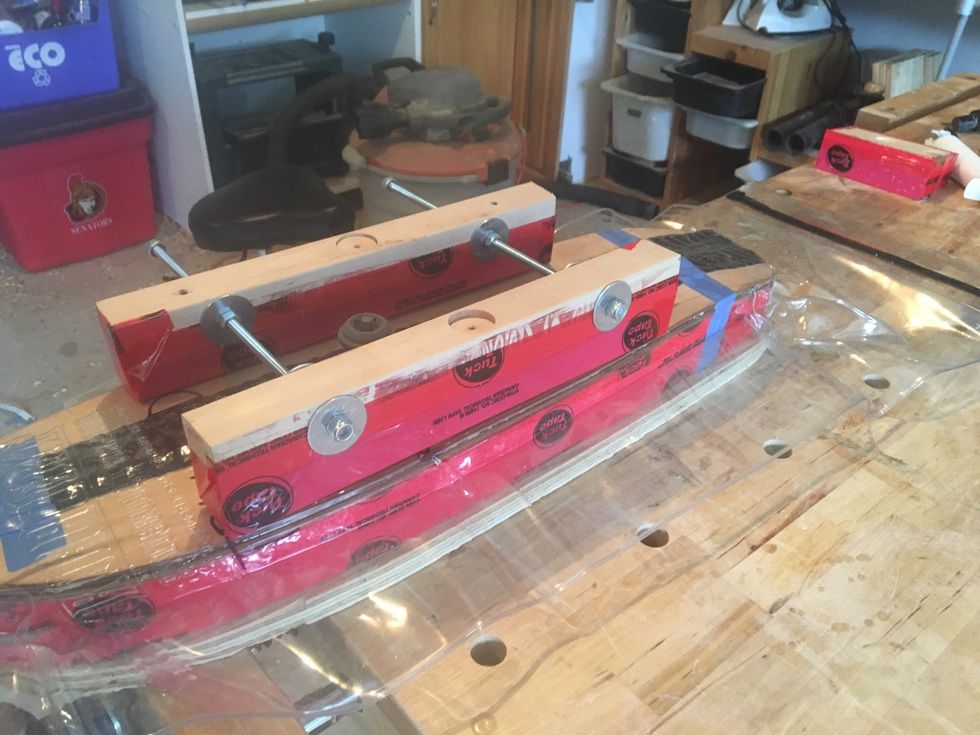
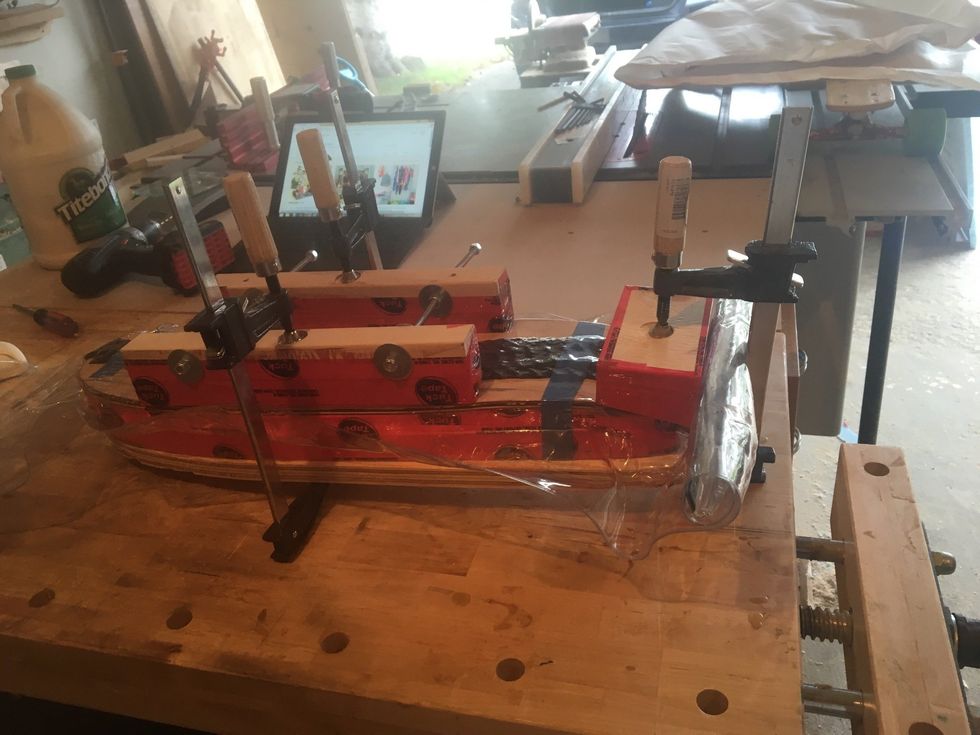
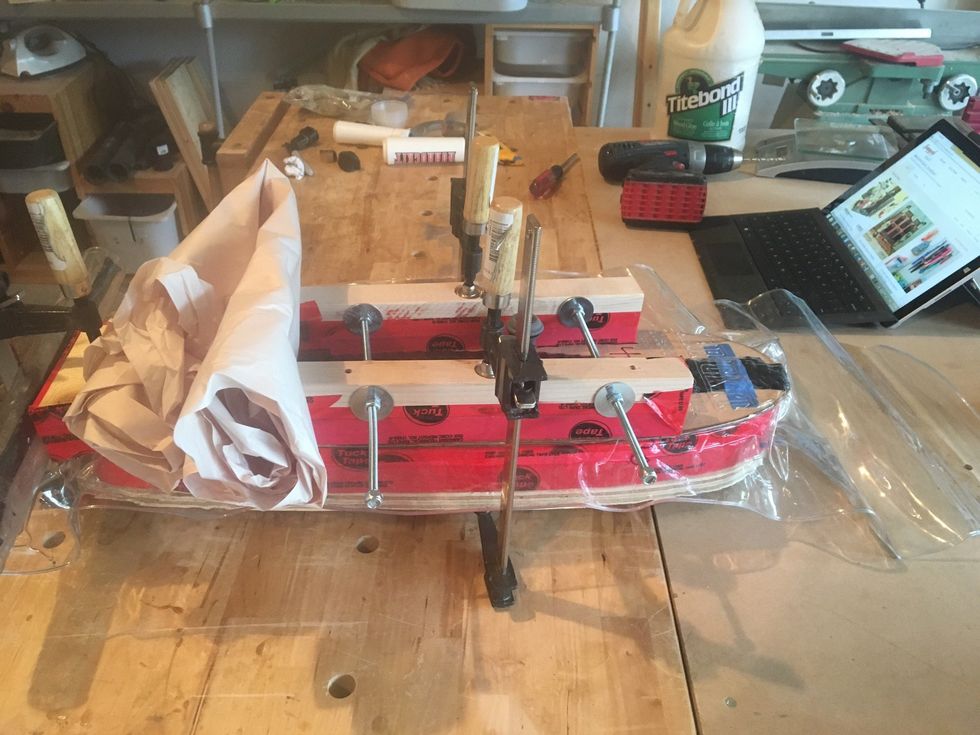
Position vacuum bag on plywood clamping base.
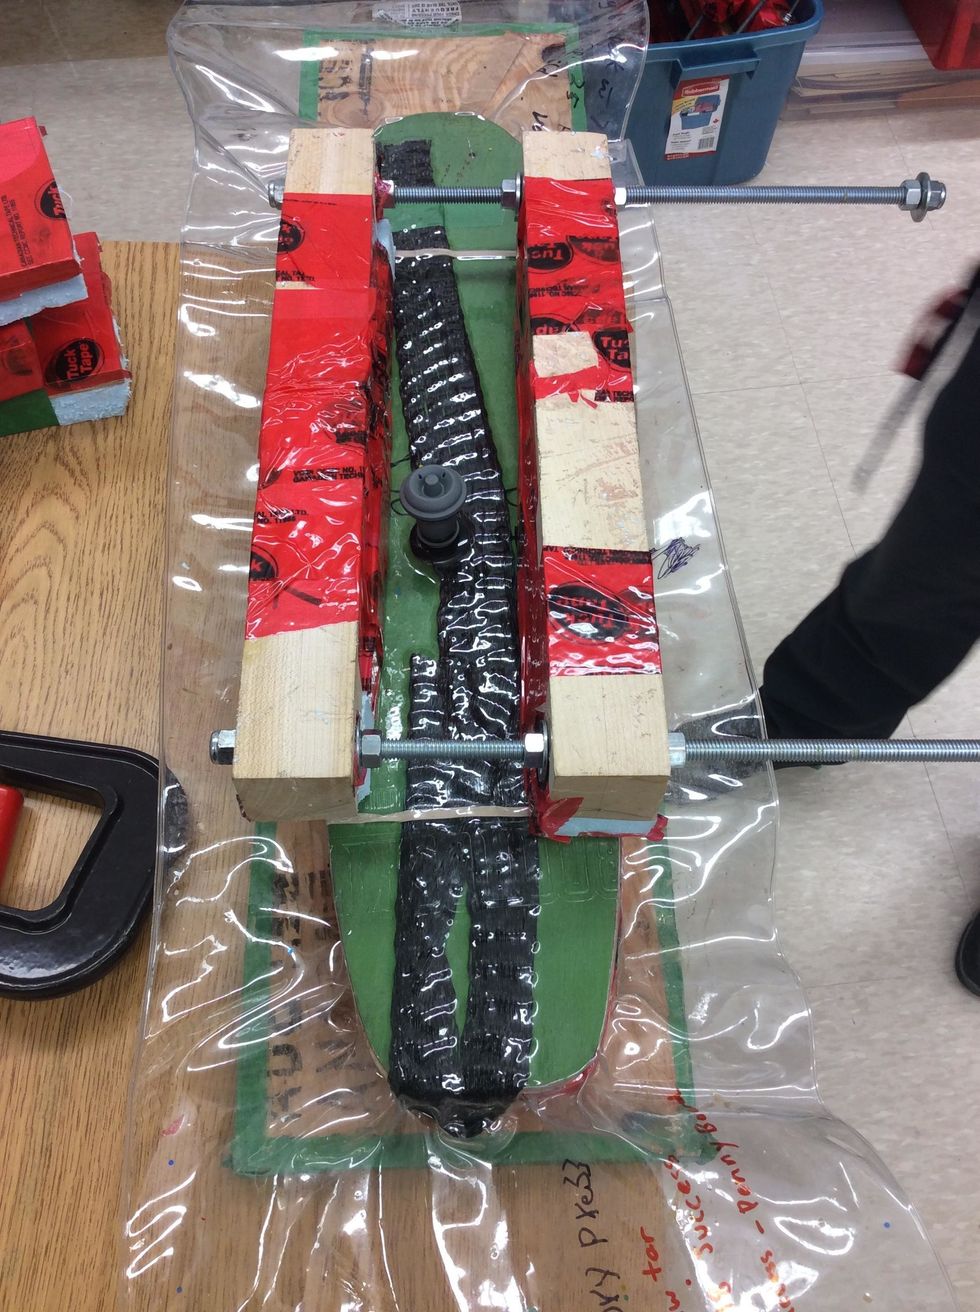
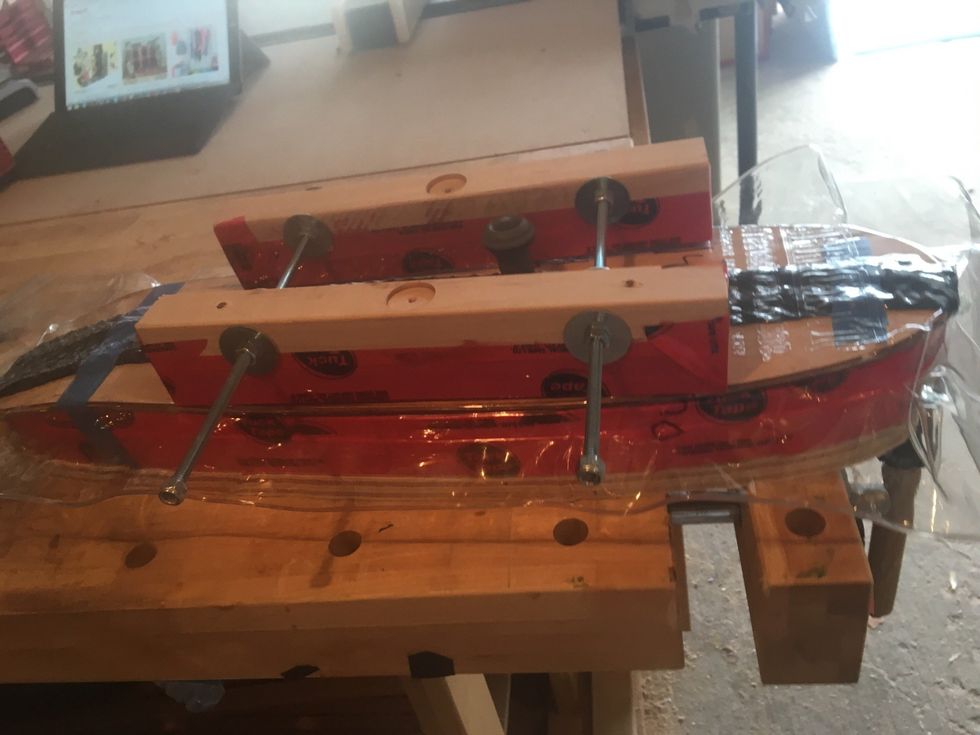
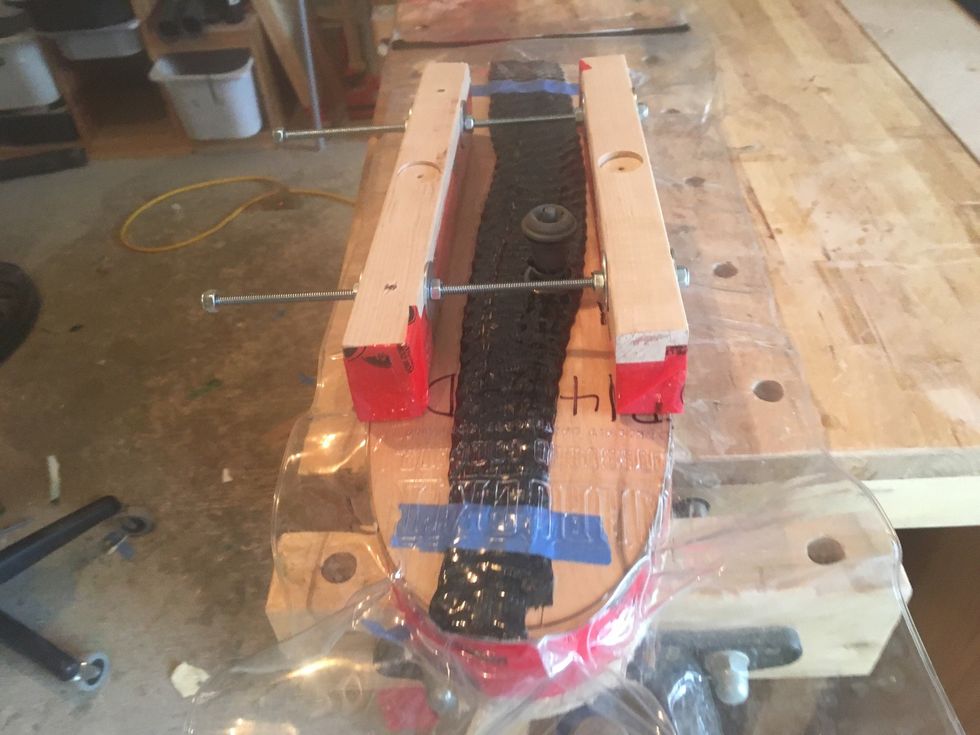
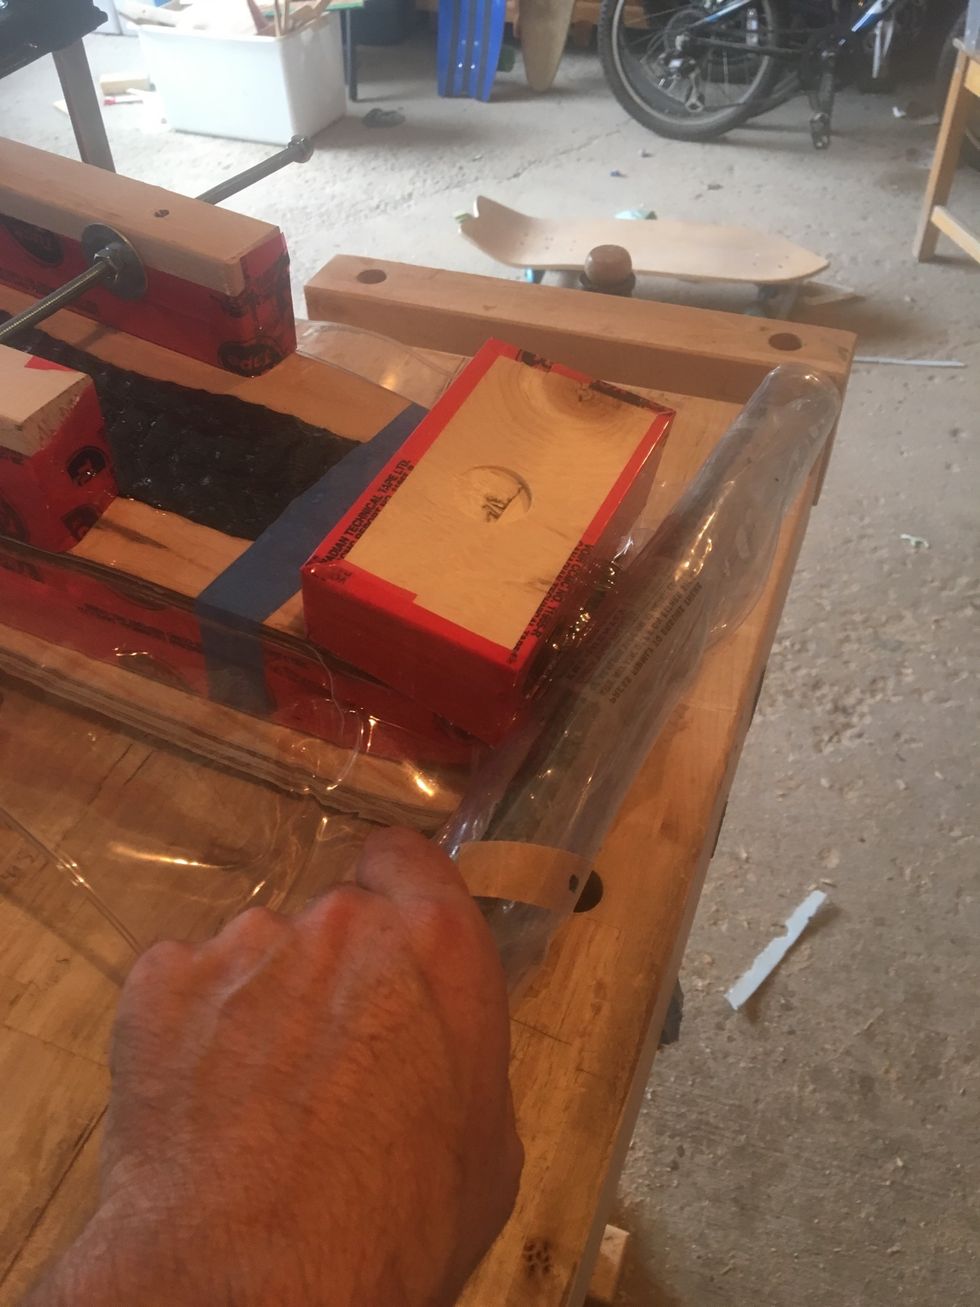
Position Clamping Cauls on vacuum bag.
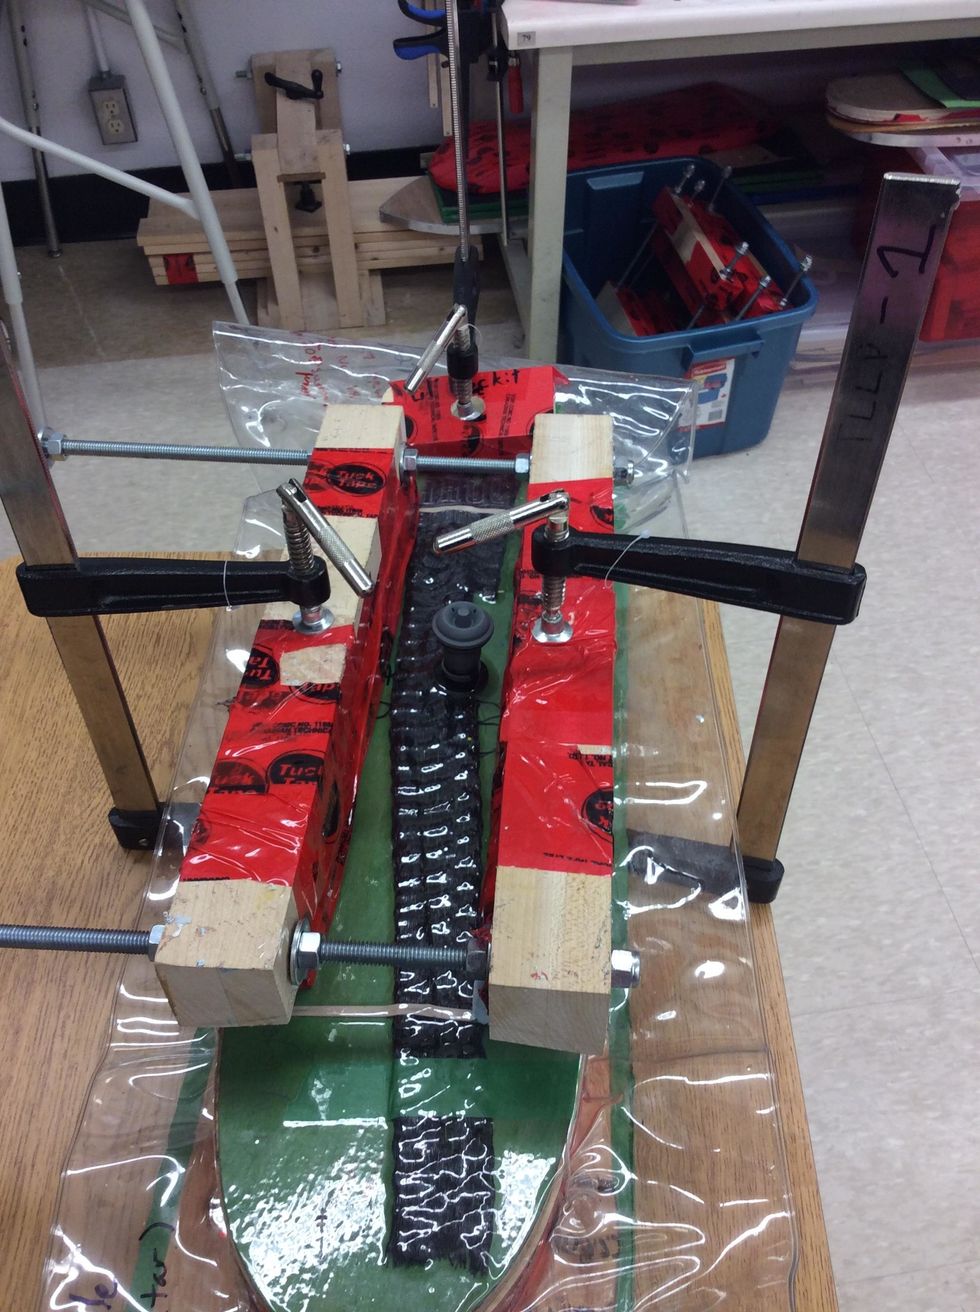
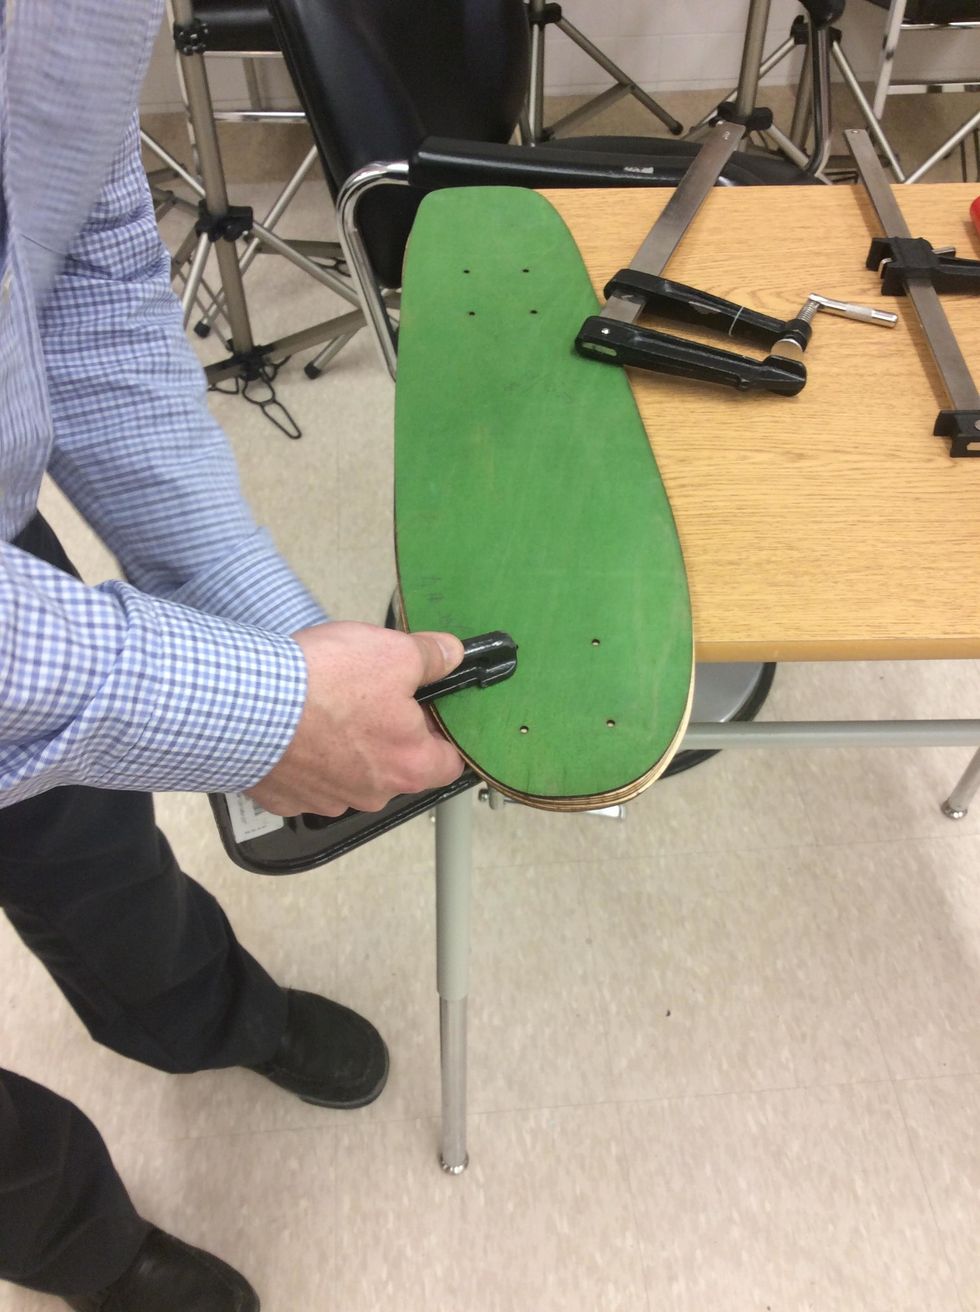
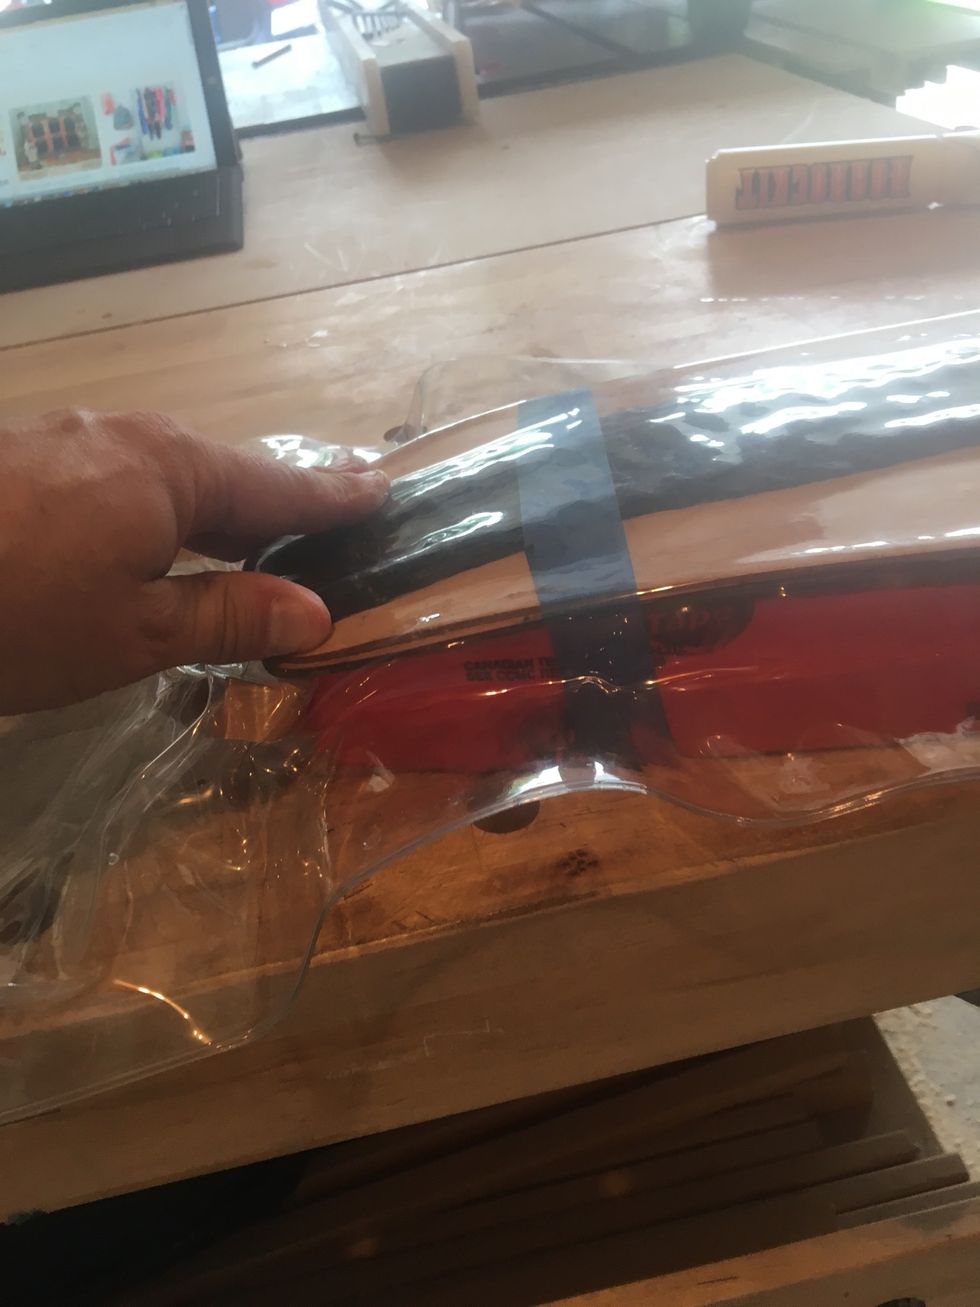
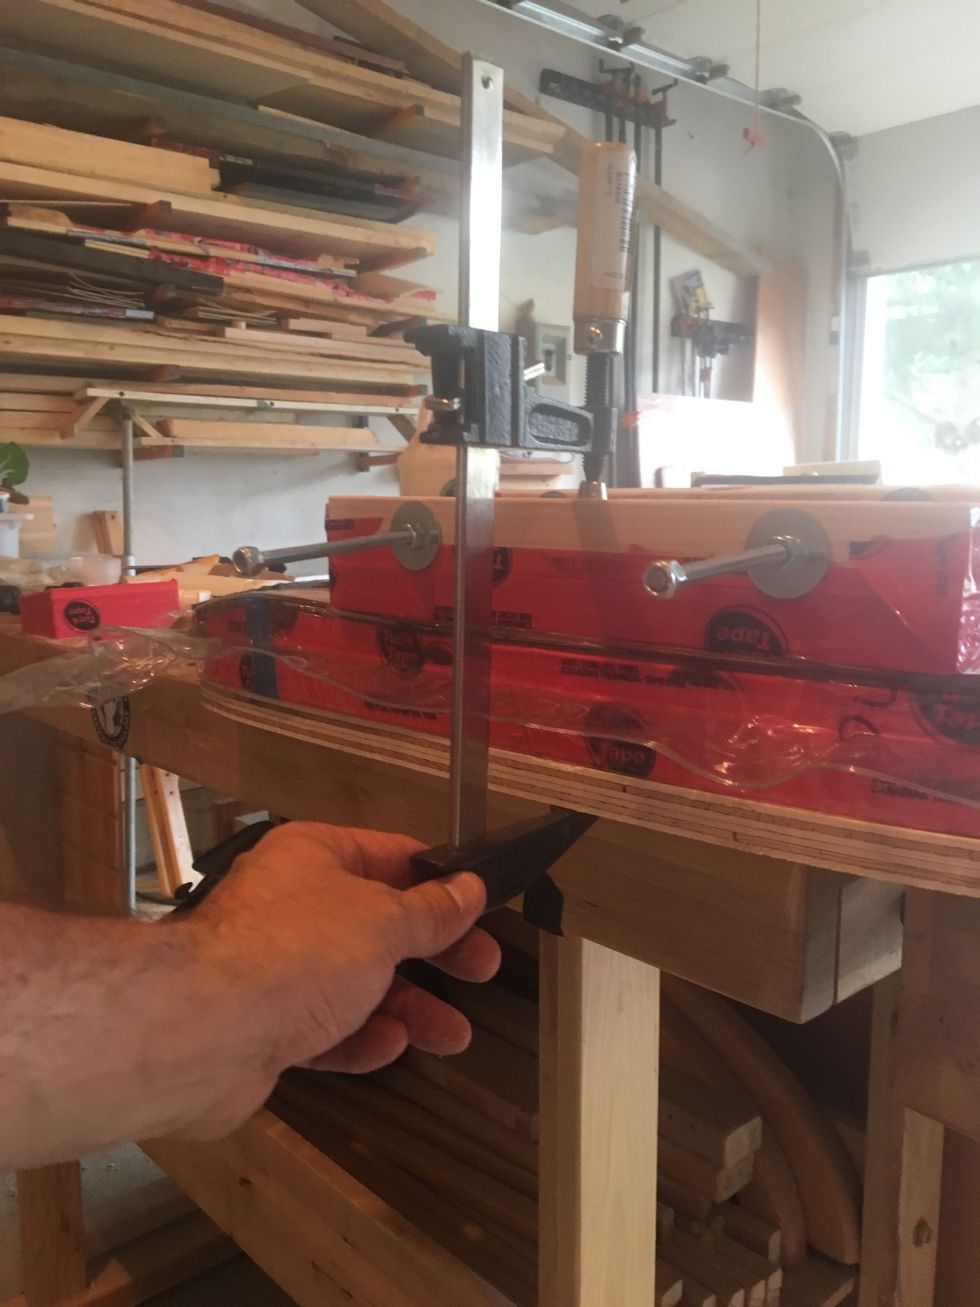
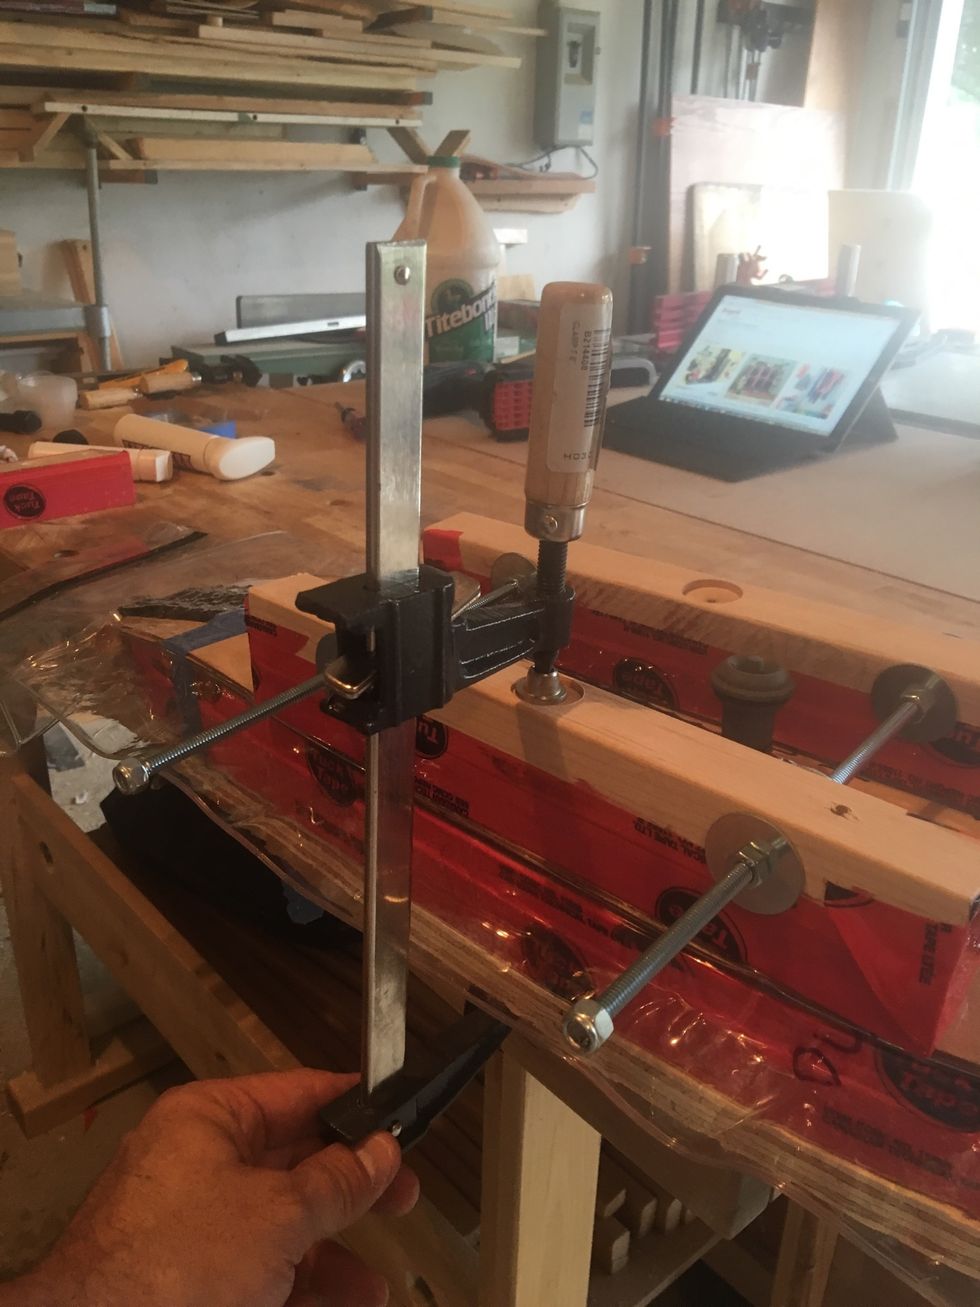
Use F-Clamps as indicated in picture.
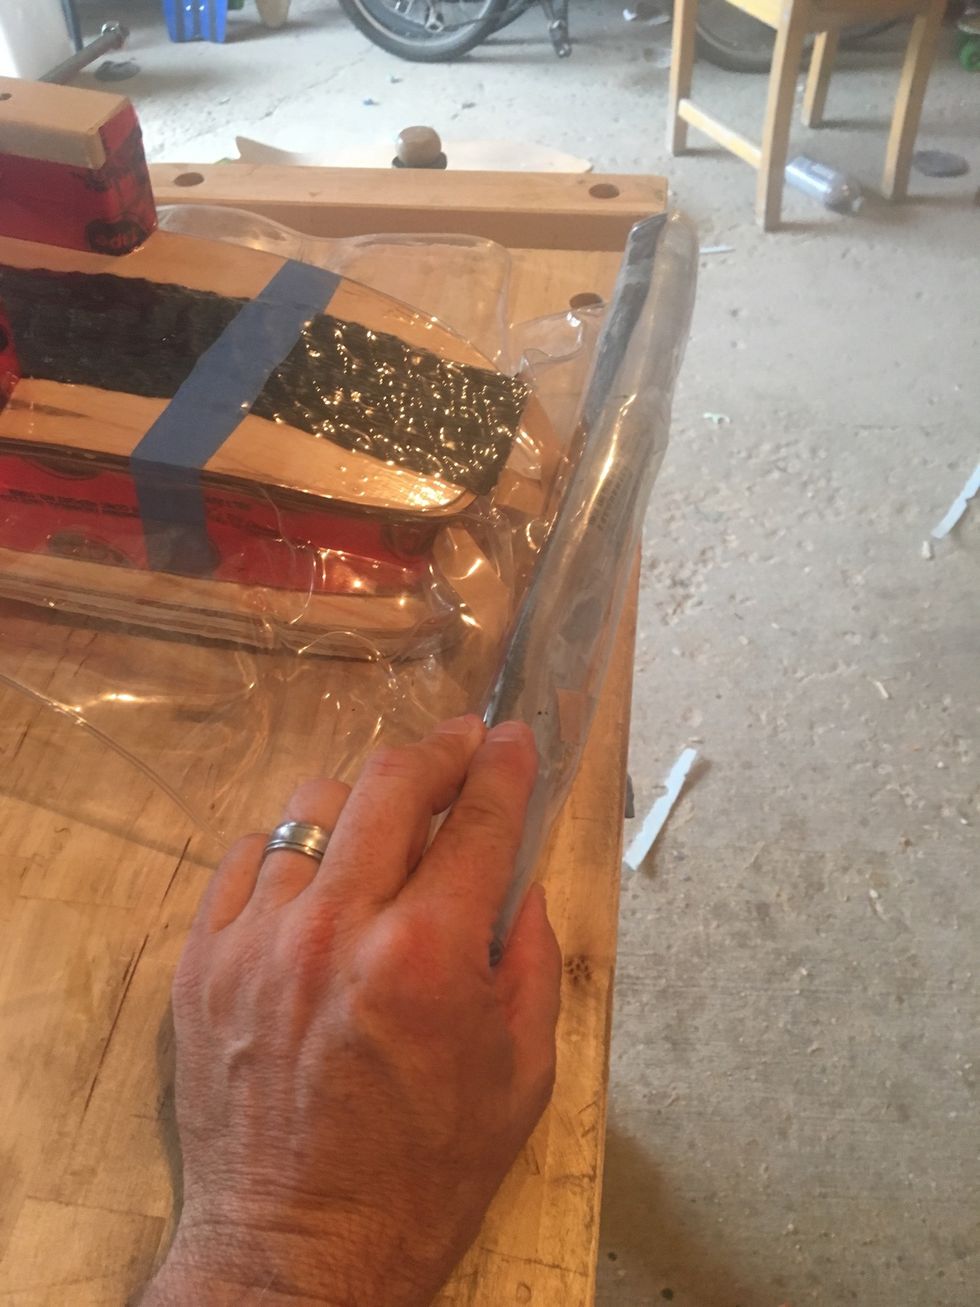
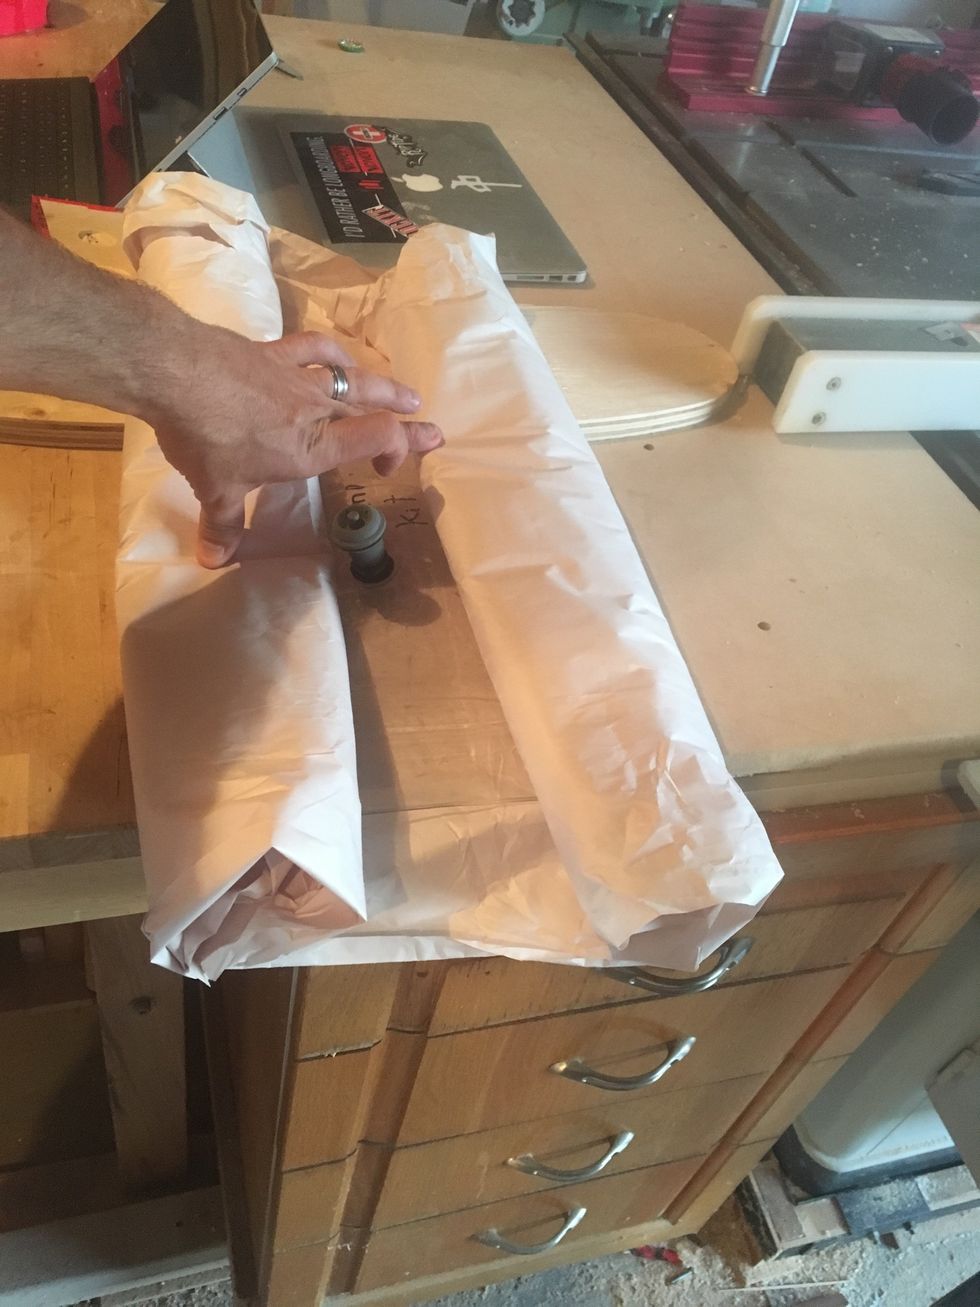
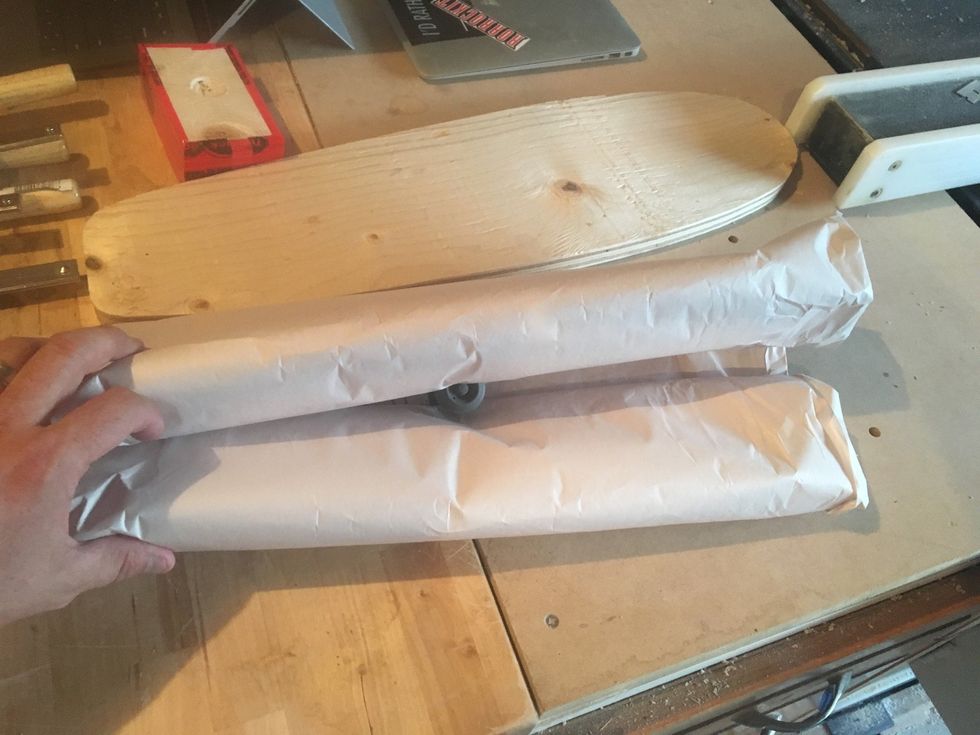
Carefully roll up vacuum bag on the tail end of veneers.
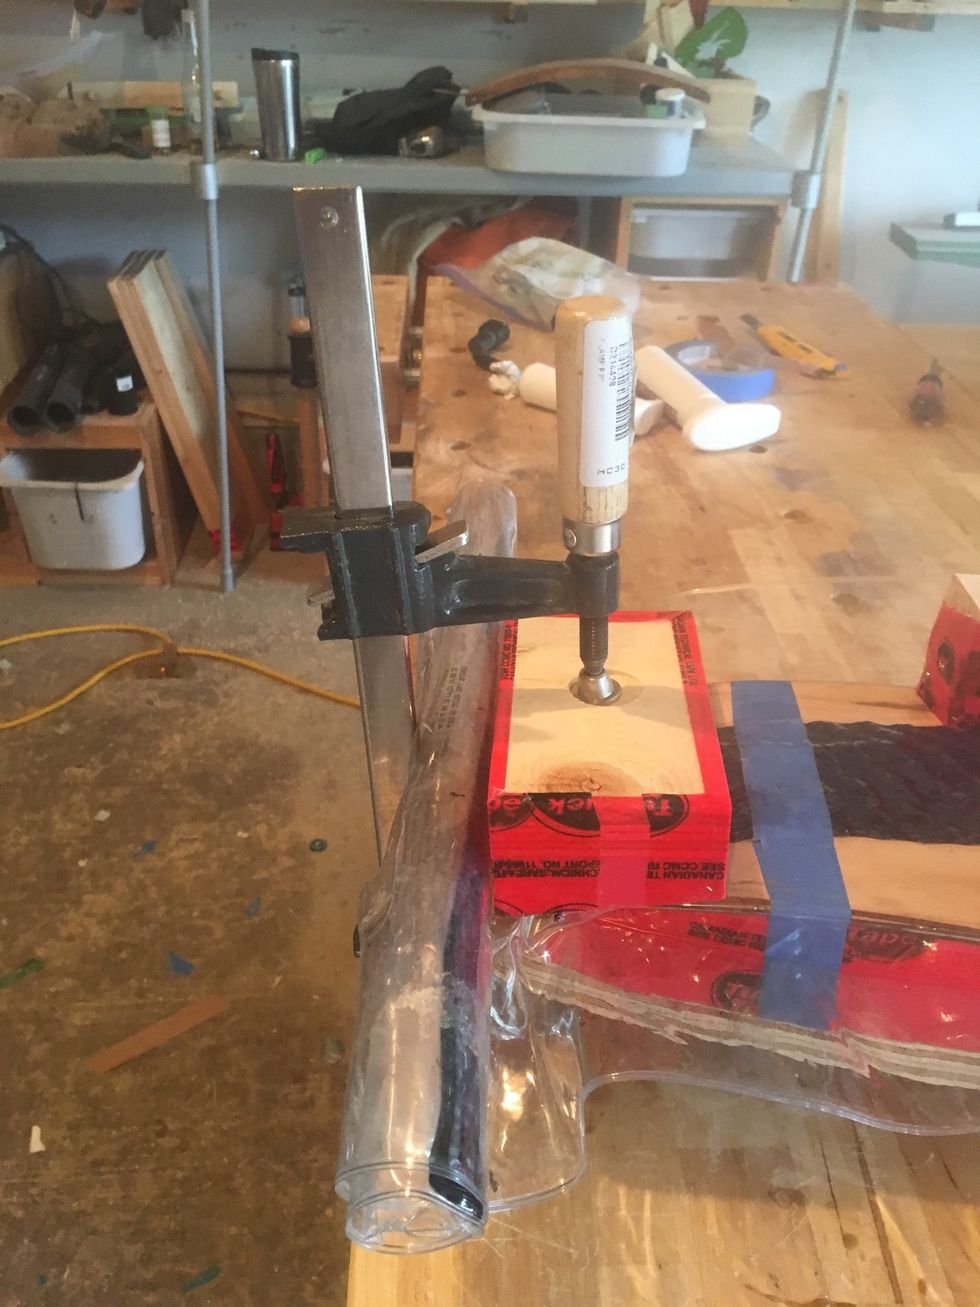
Position Tail Caul as indicated in picture and use F-Clamp press veneers to the mold
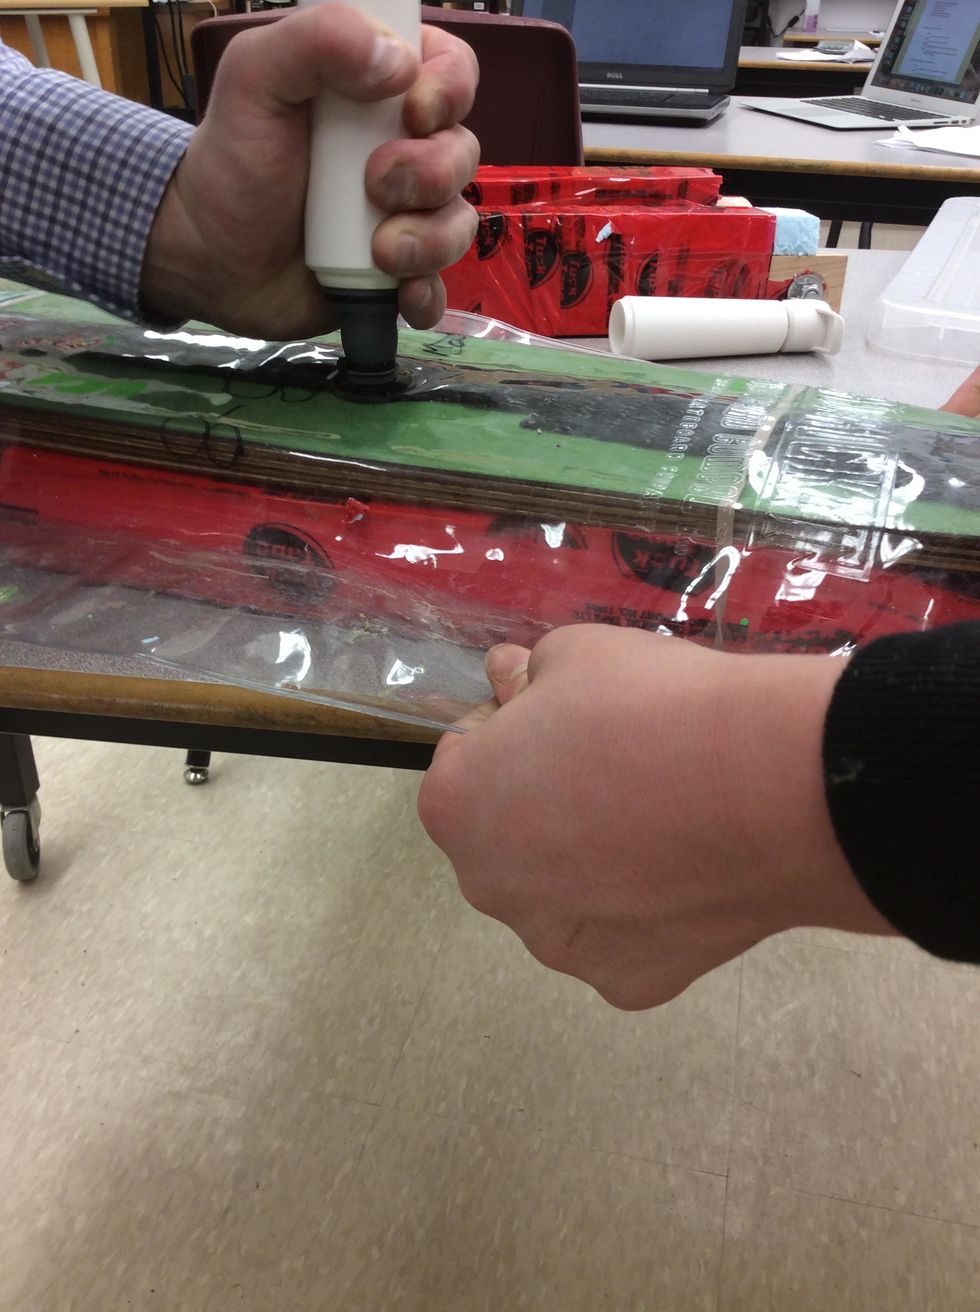
Check Vacuum pressure by seating vacuum pump on valve and counting the number of pumps until clicking sound.
If it requires more than 20 pumps to reach full vacuum, recheck sealing tape.
Check vacuum every 20 minutes for the next 2 hours.

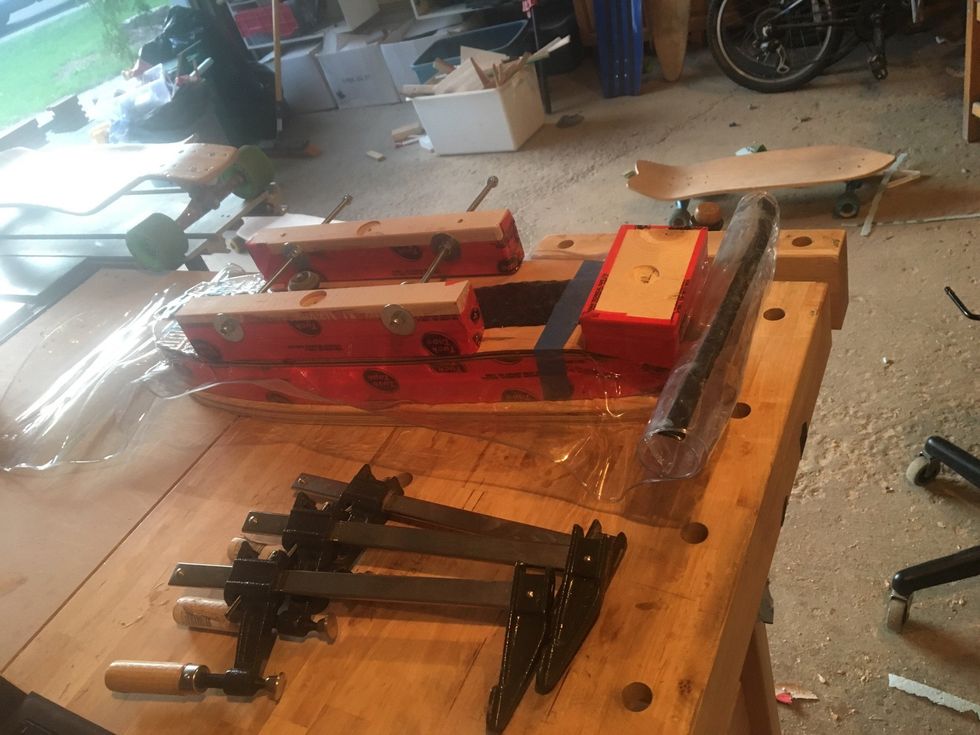
Remove F-Clamps.
Remove Clamping Cauls.

Take vacuum bag off plywood clamping base.
Push centre of valve to release vacuum.
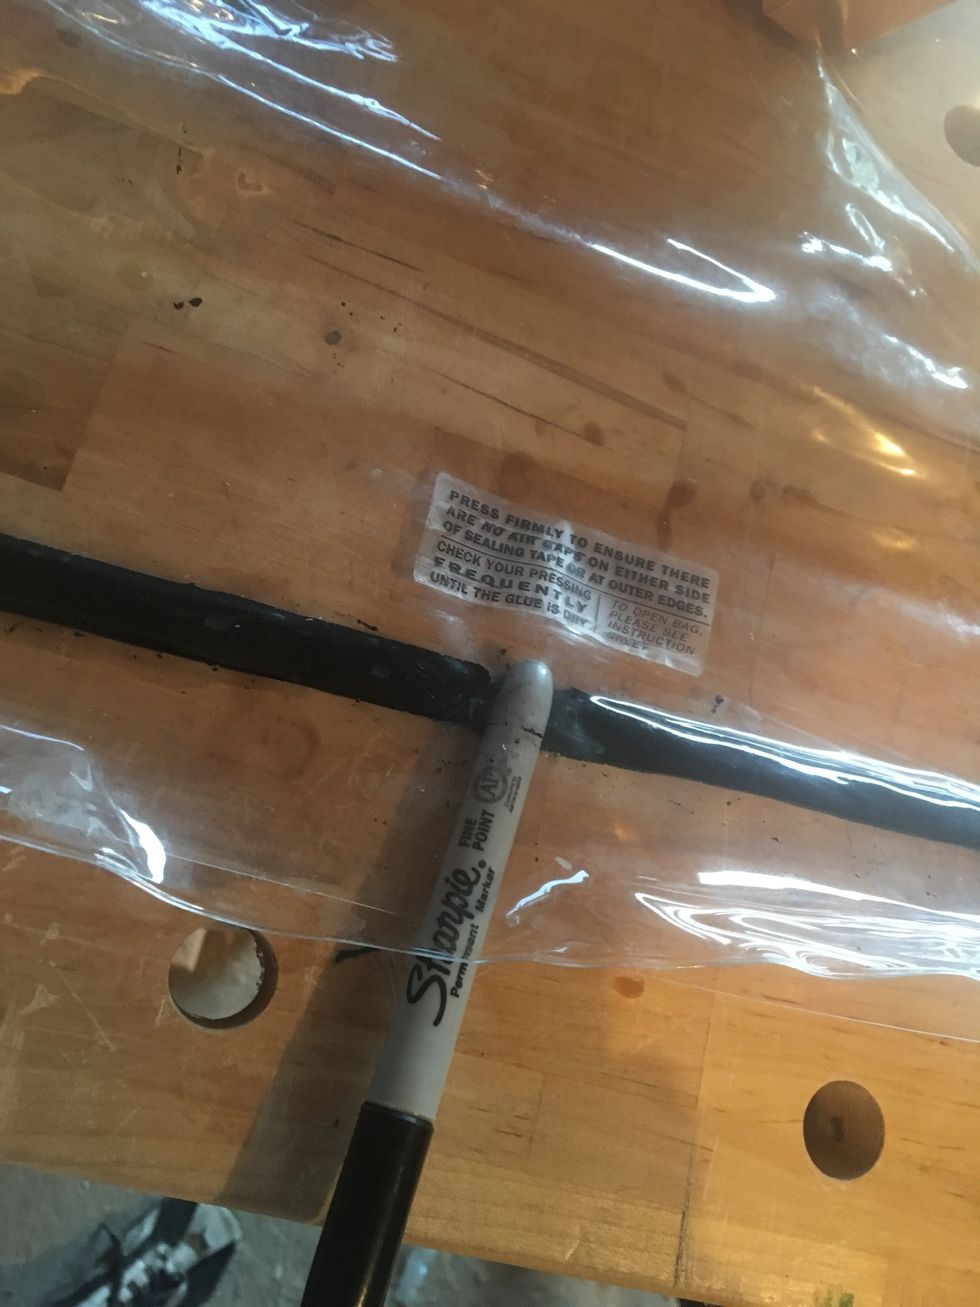
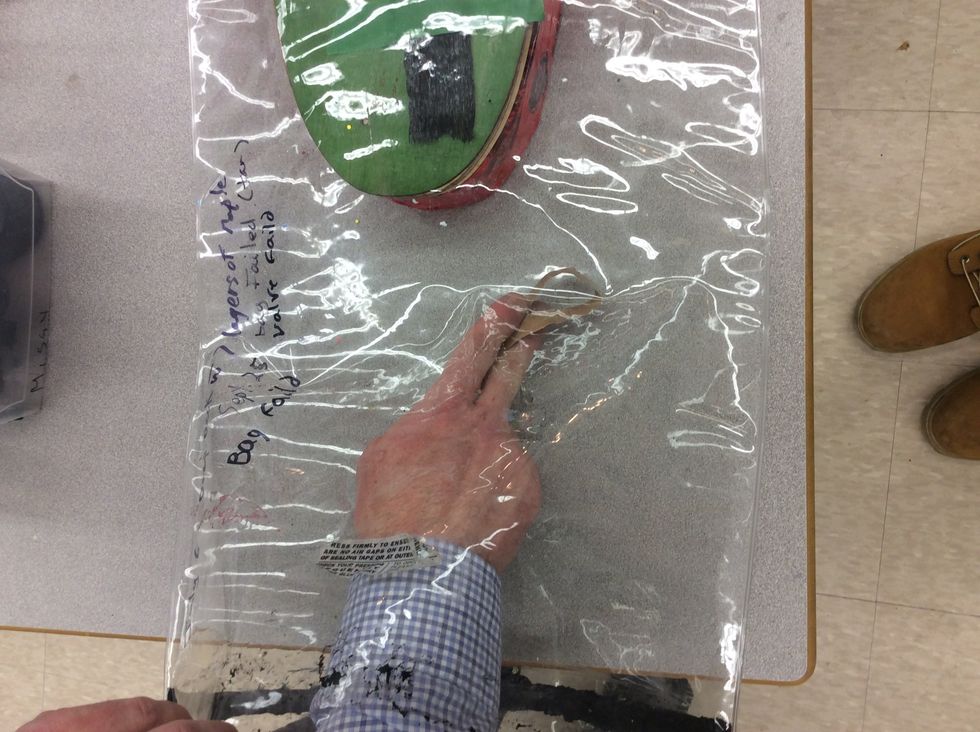
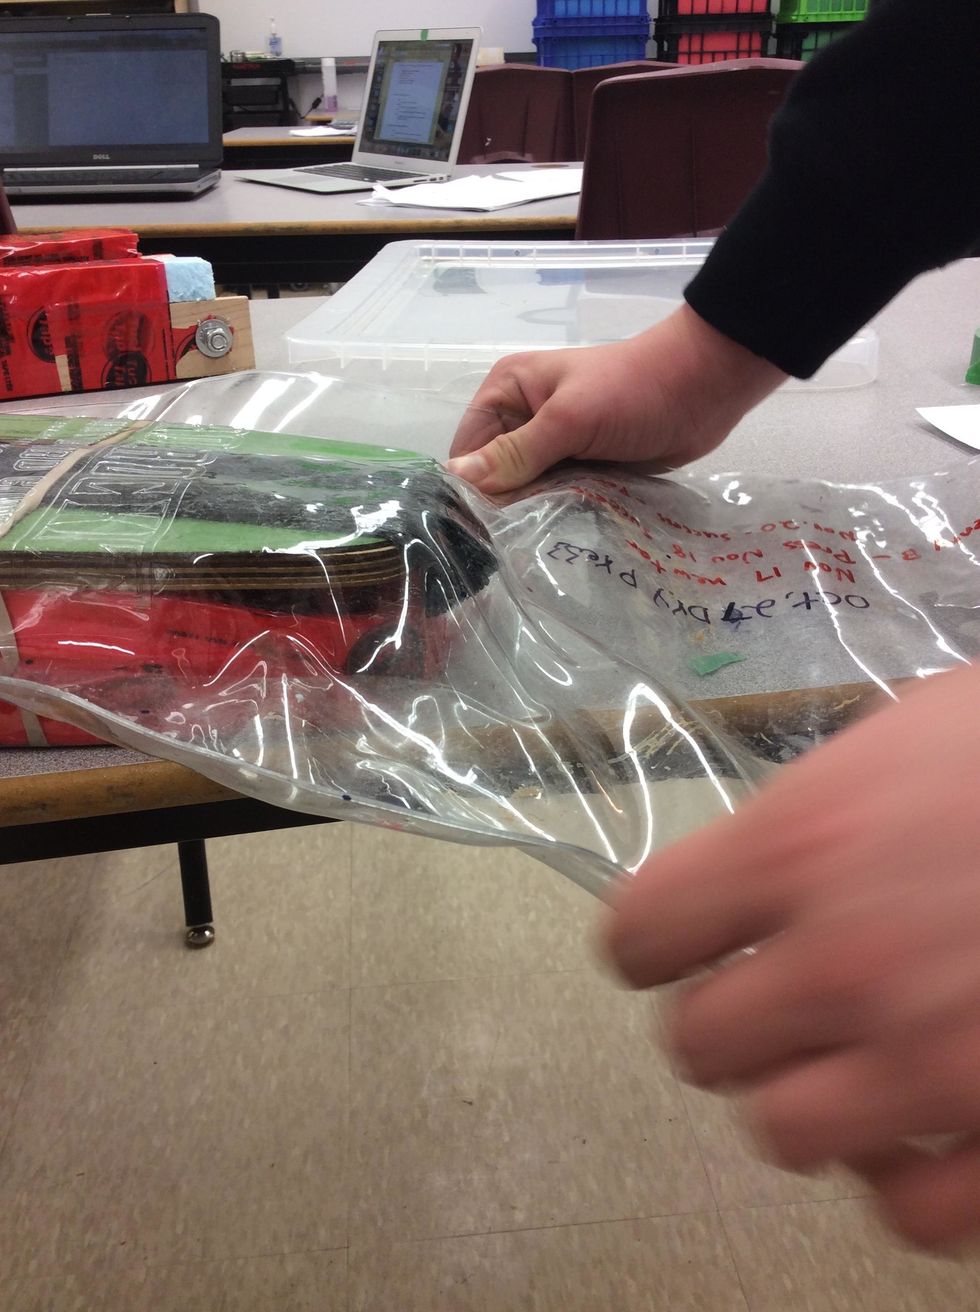
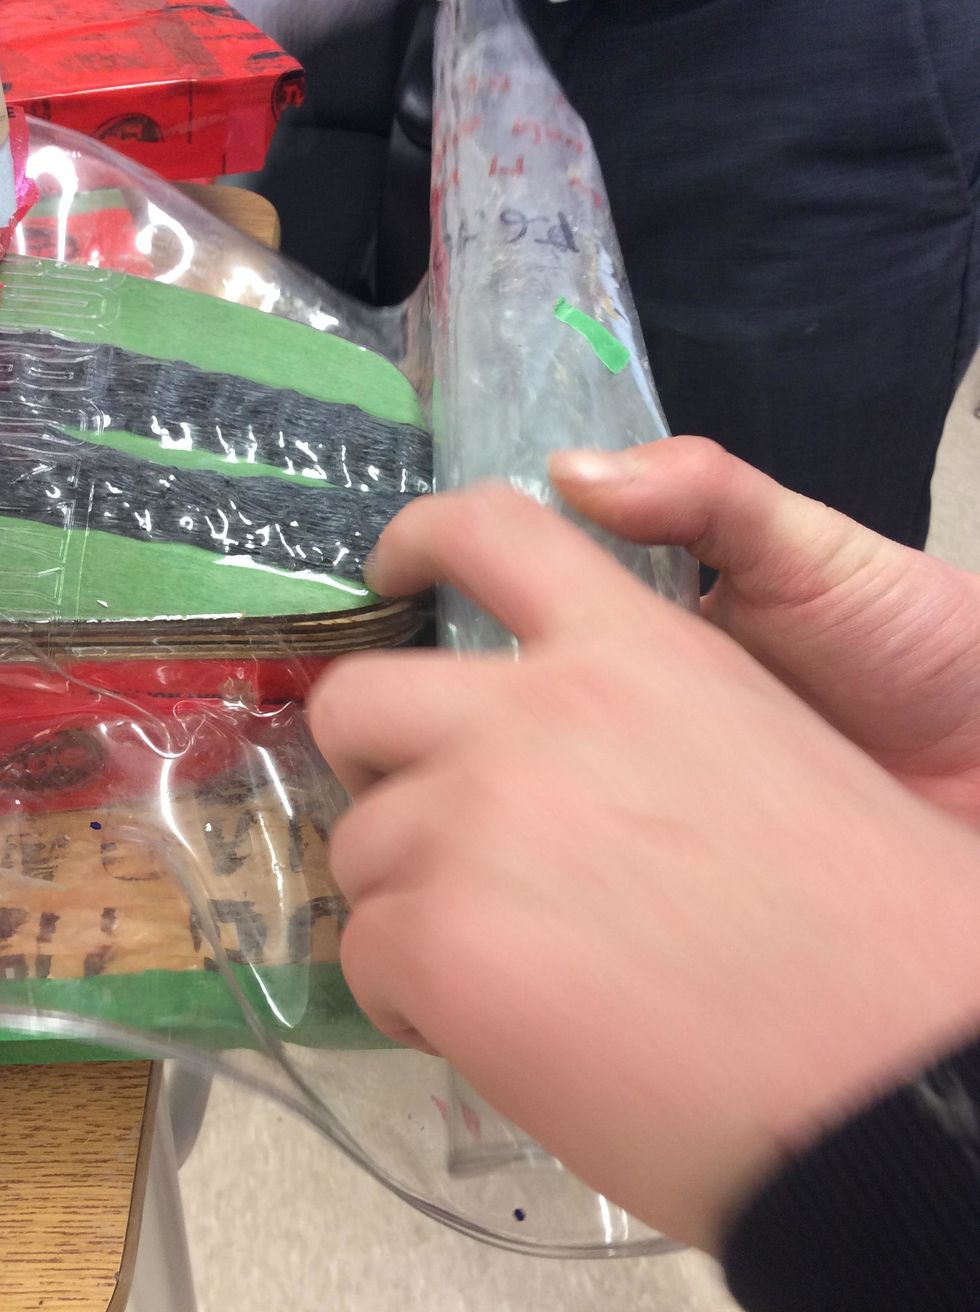
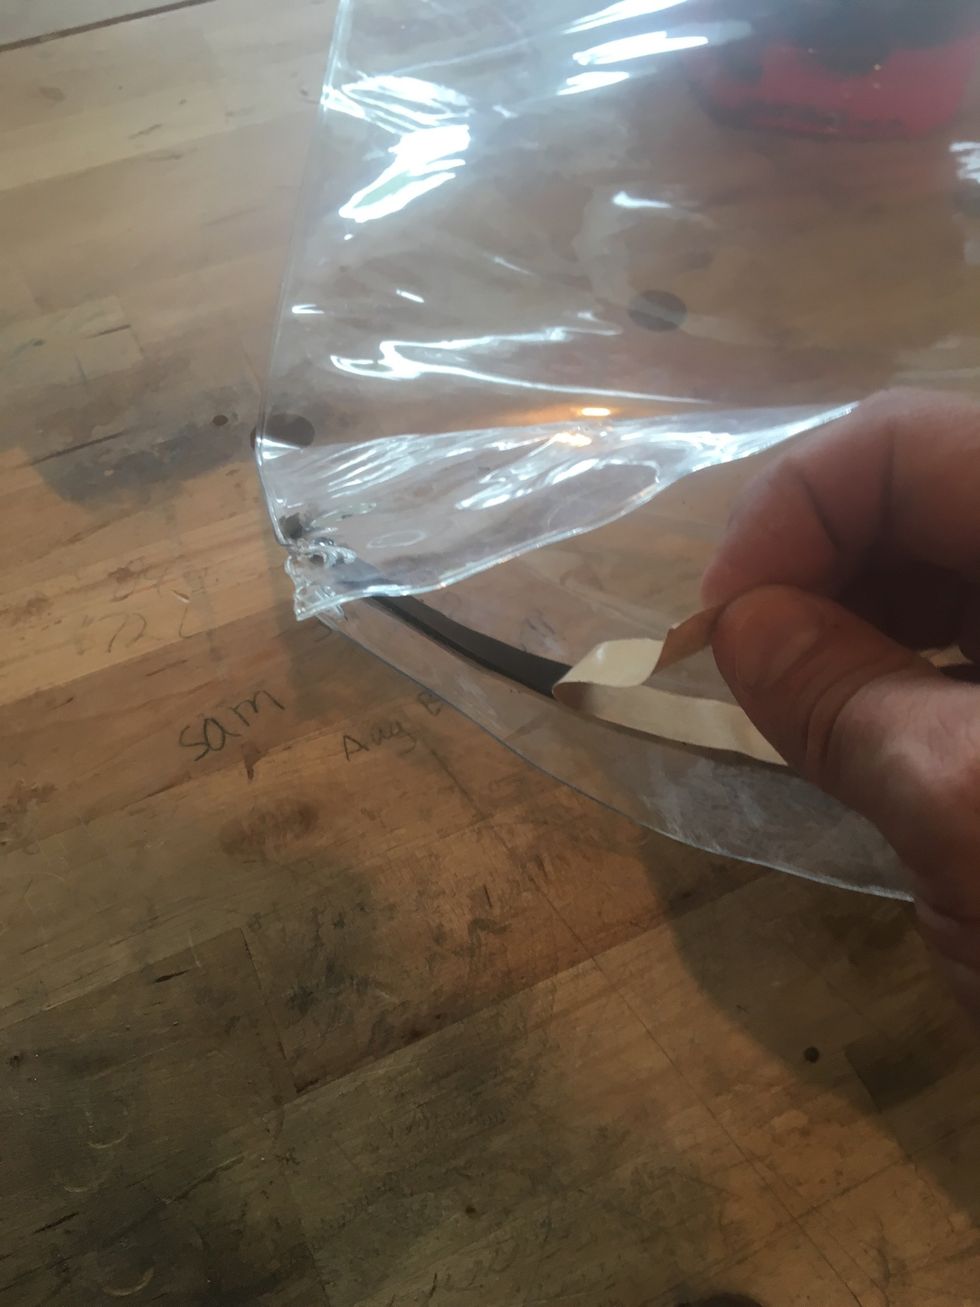
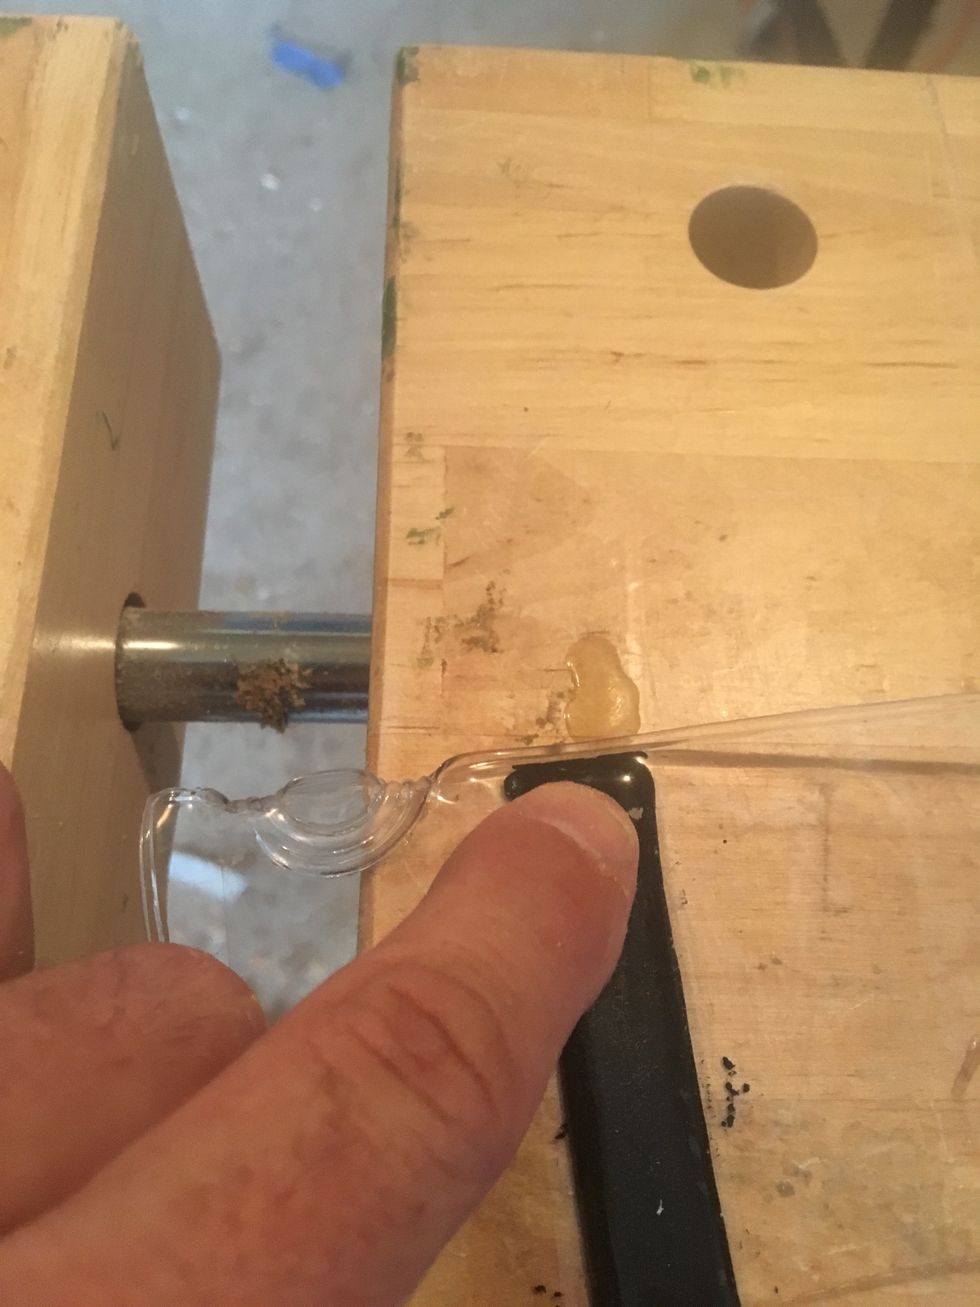
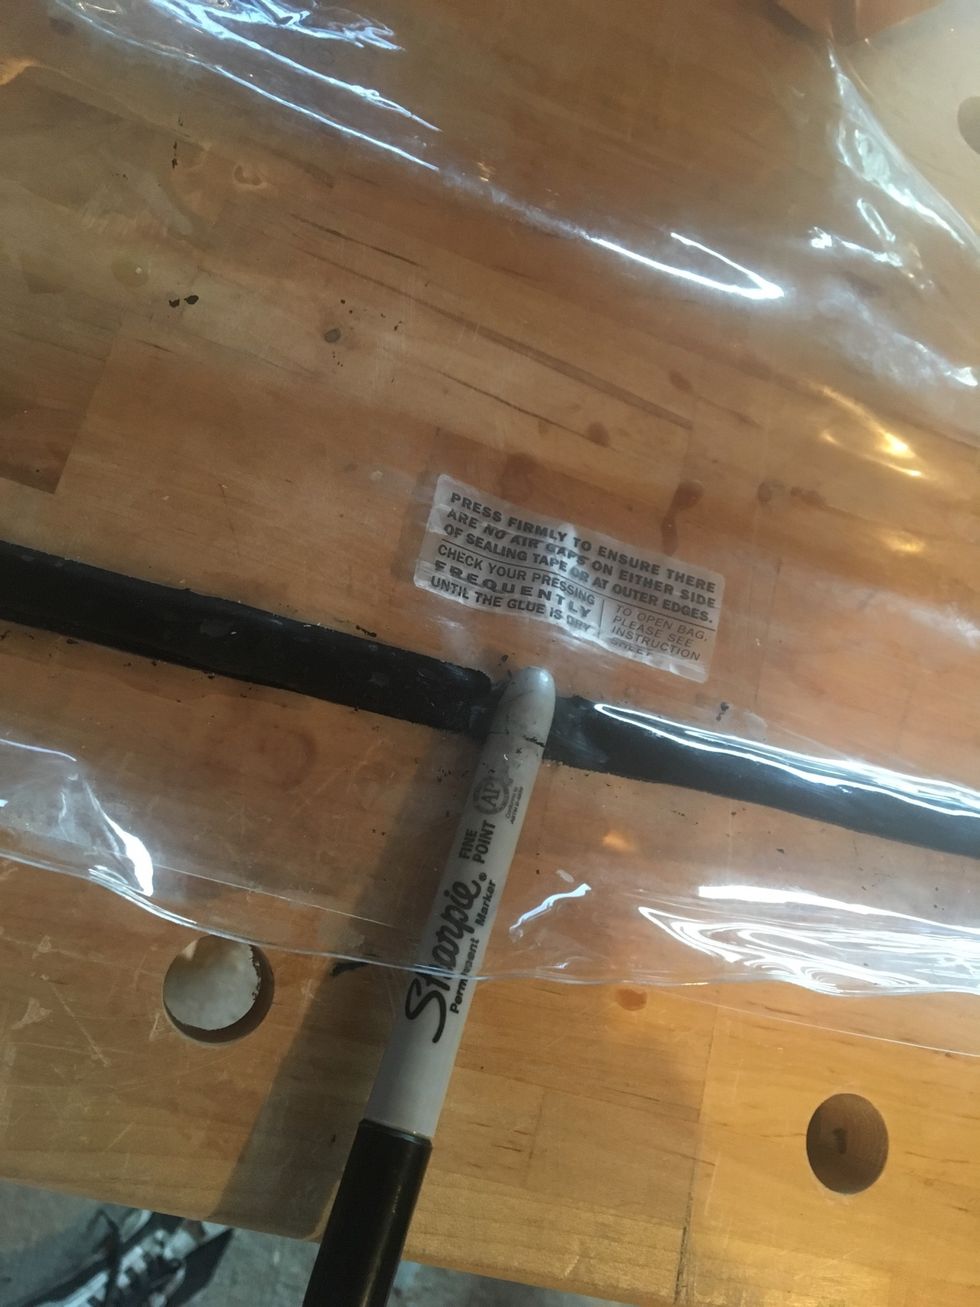
Gently push a blunt object through the sealing tape. (try to keep sealing tape on one side)
Continue rolling blunt object along sealing tape until the vacuum bag is open.
Retrieve sealing tape from inside vacuum bag.
Place shiny side of sealing tape cover on sealing tape.
Place shiny side of sealing tape cover on sealing tape.
Place shiny side of sealing tape cover on sealing tape.
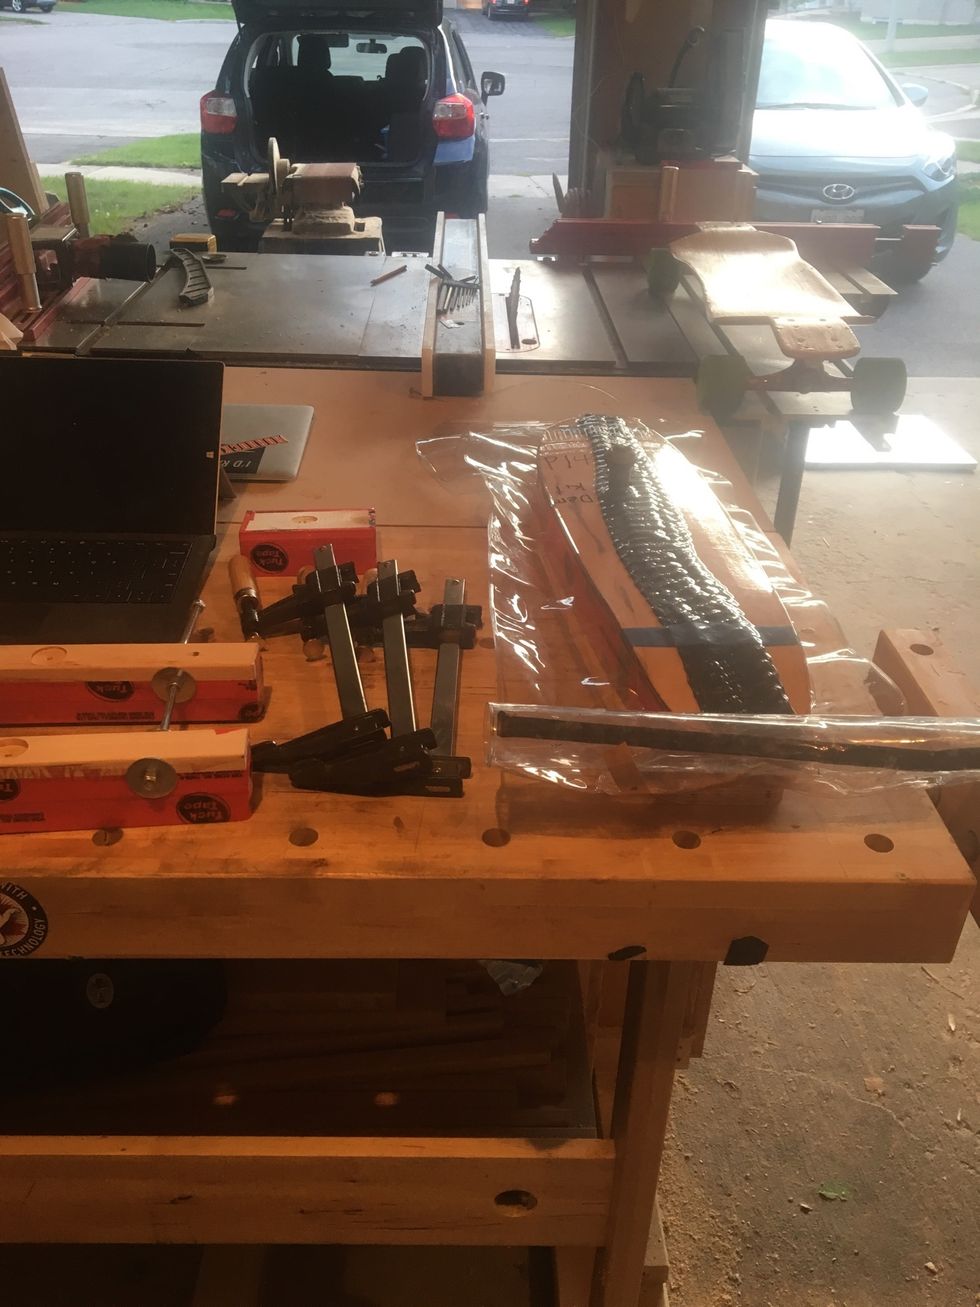
Remove breather net.
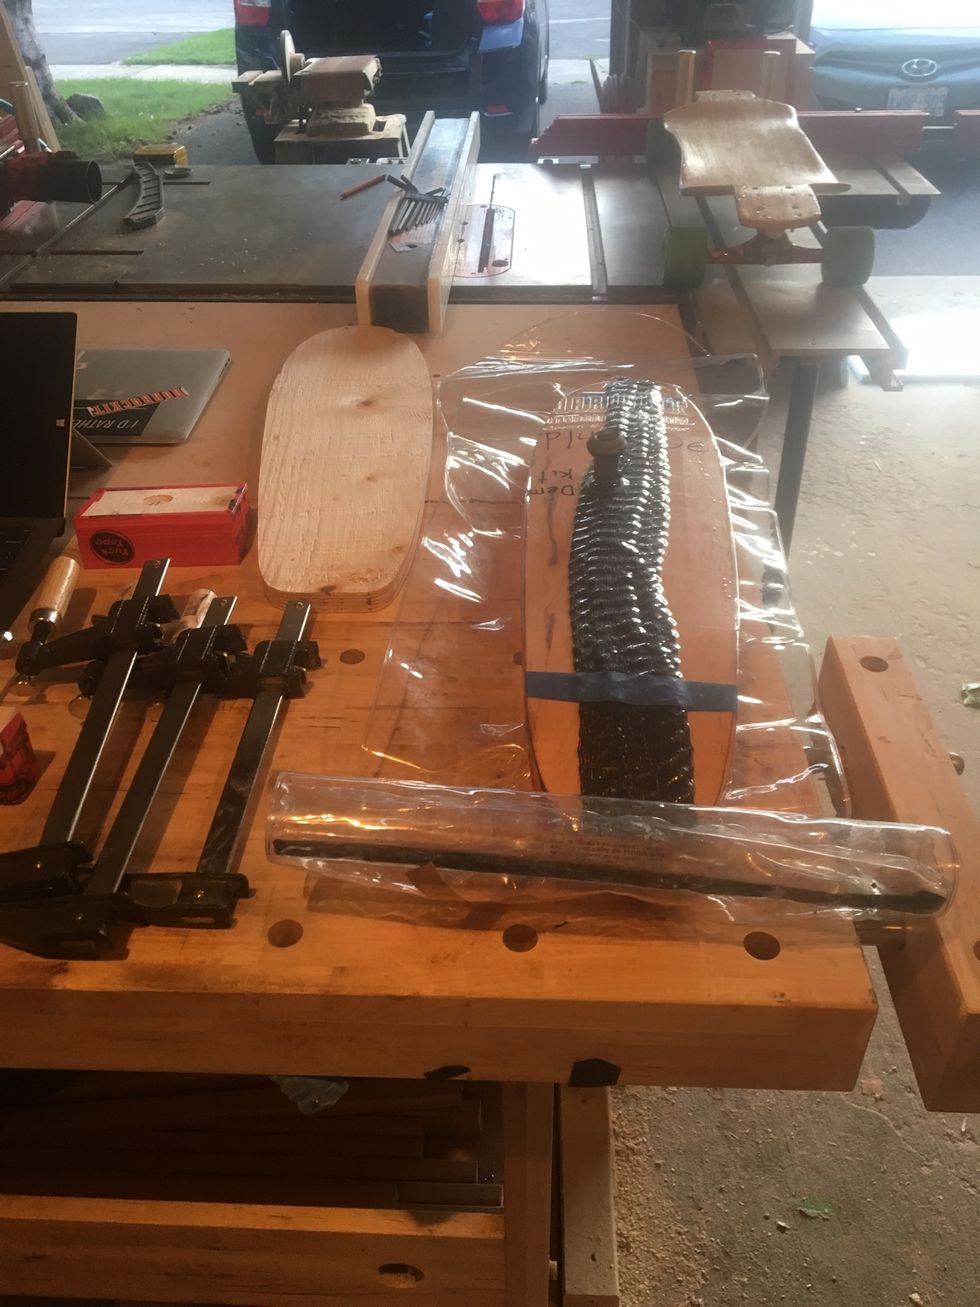
Take veneers off foam mold.
Remove screw.
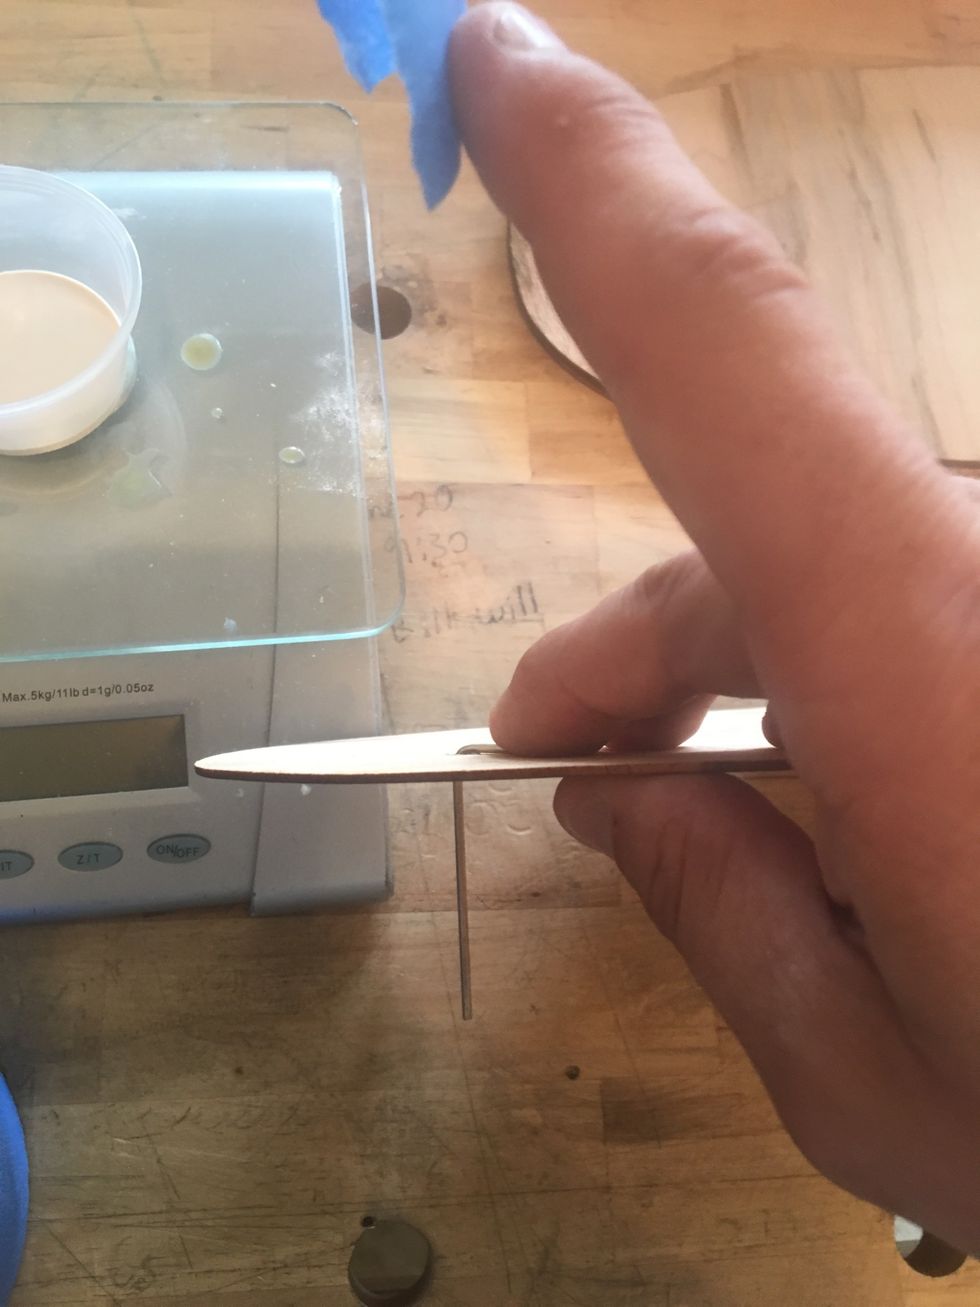
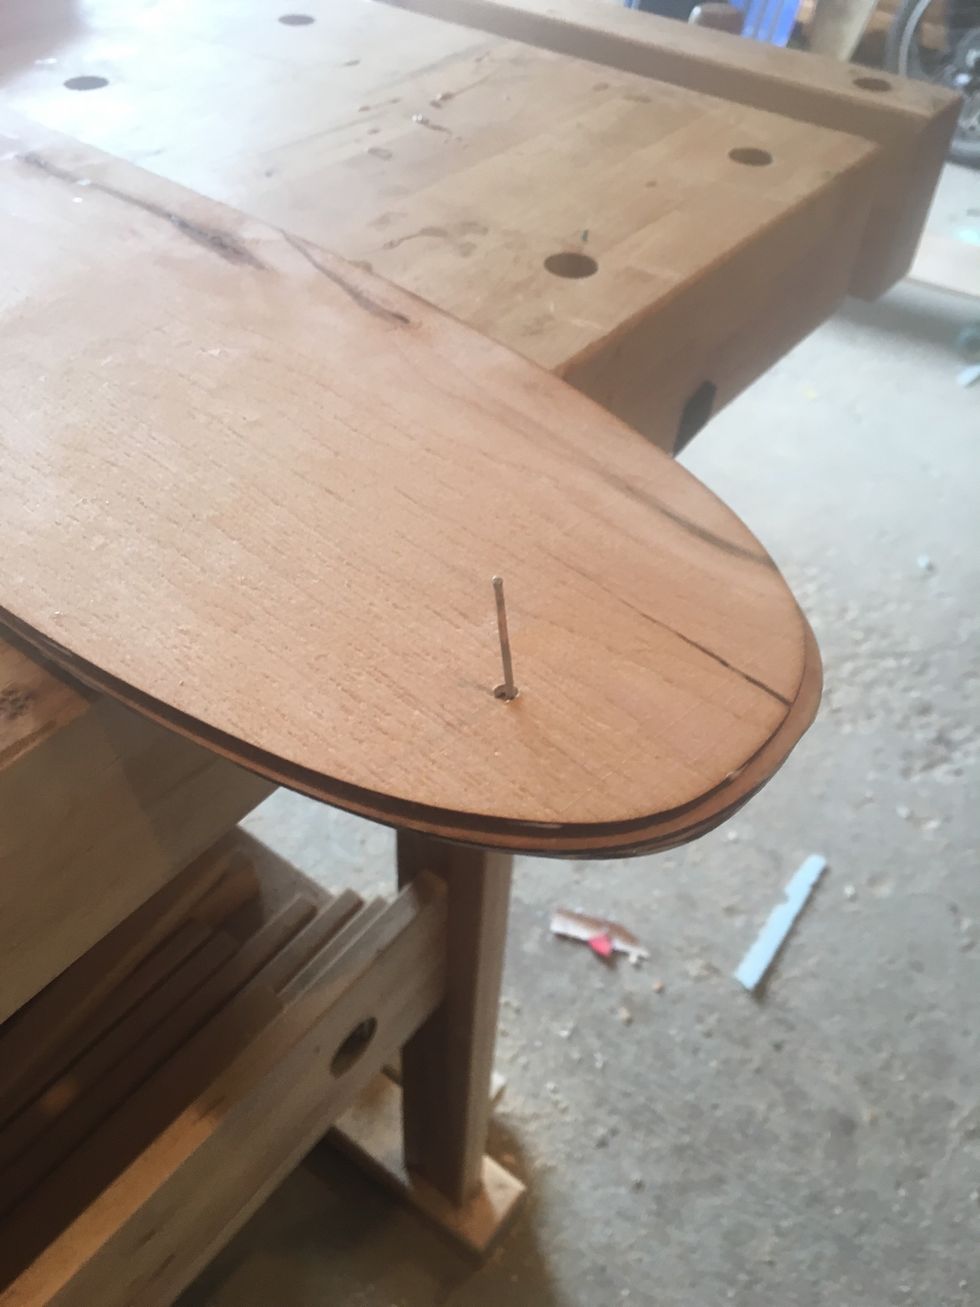
Place a small hex key through the TOP veneer. (this will be the side you stand on)
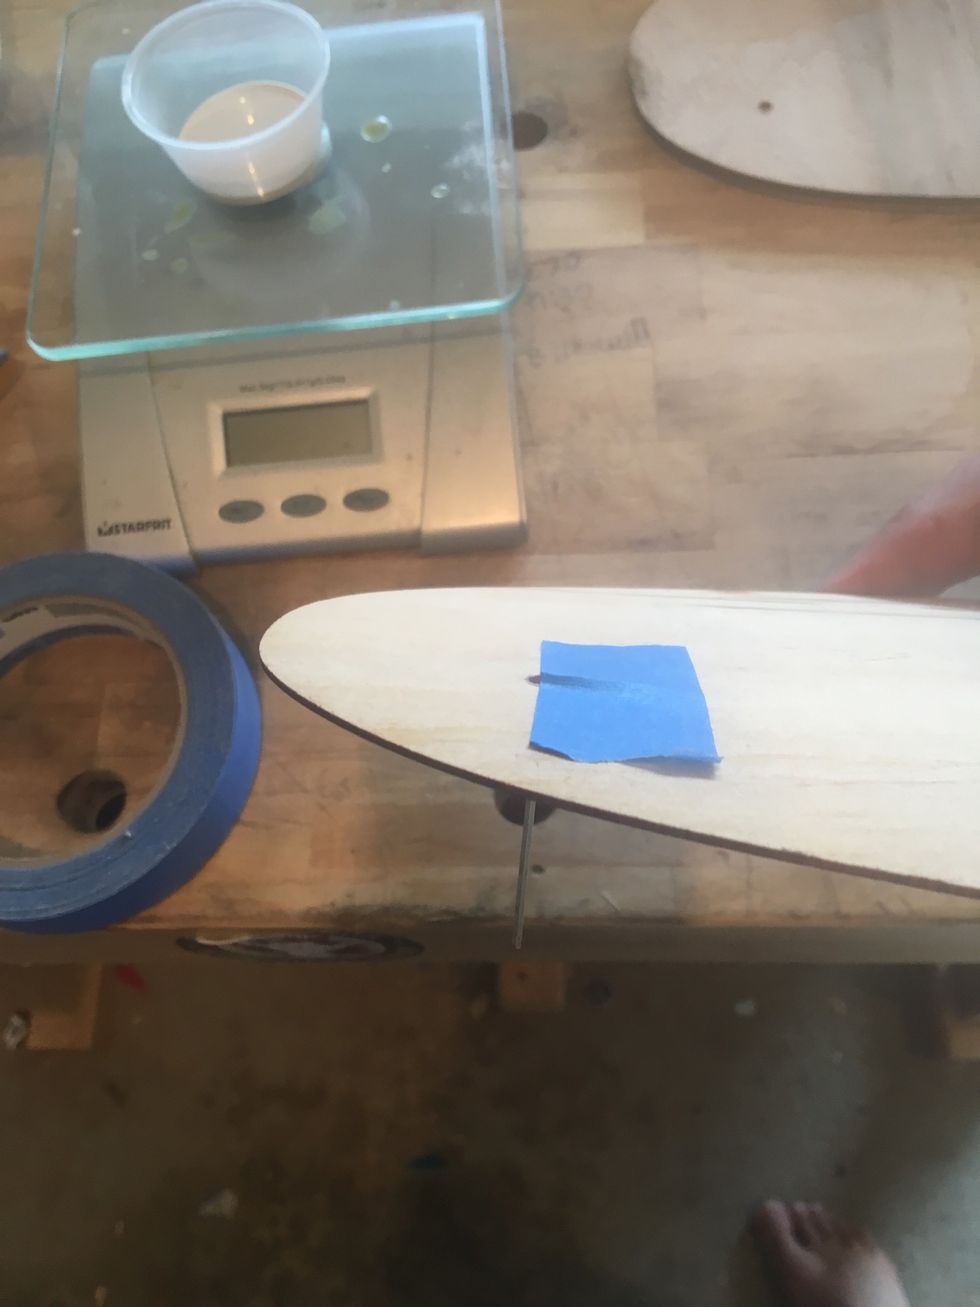
Tape hex key as depicted.
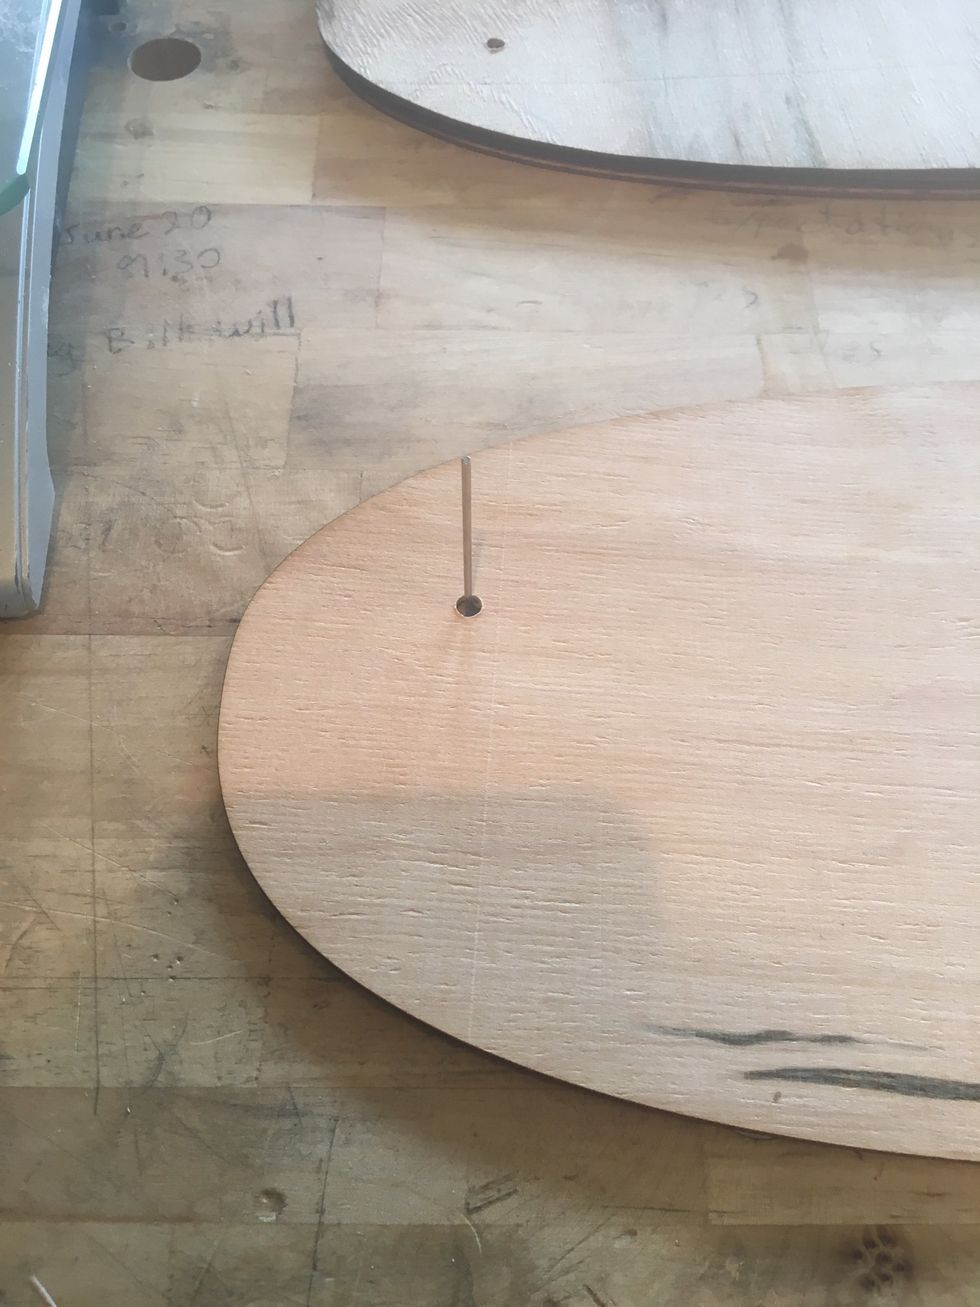
Place veneer with hex key facing up.
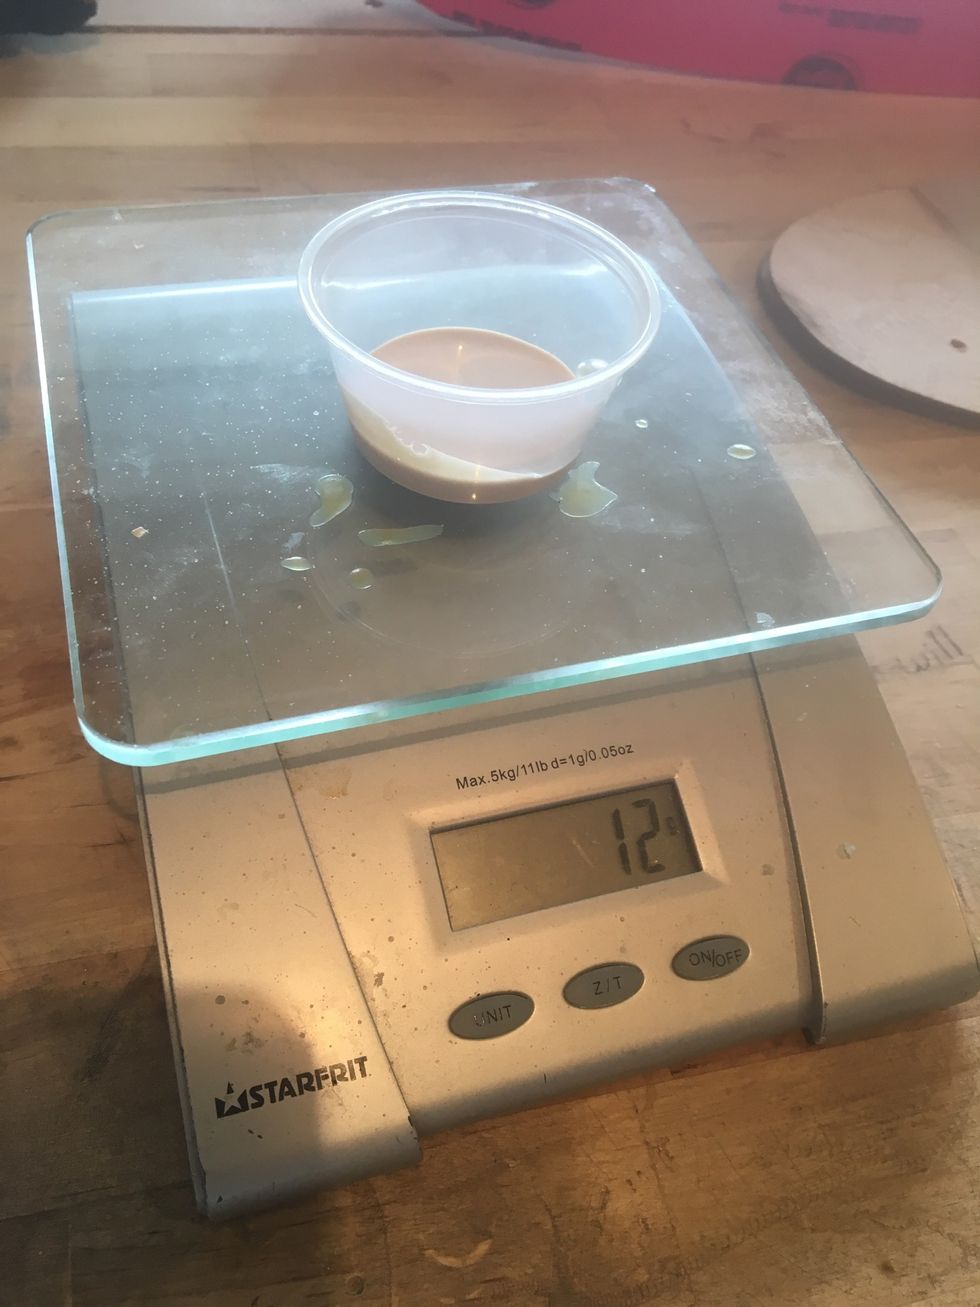
Measure 12-14 grams of Titebond III into a small container.
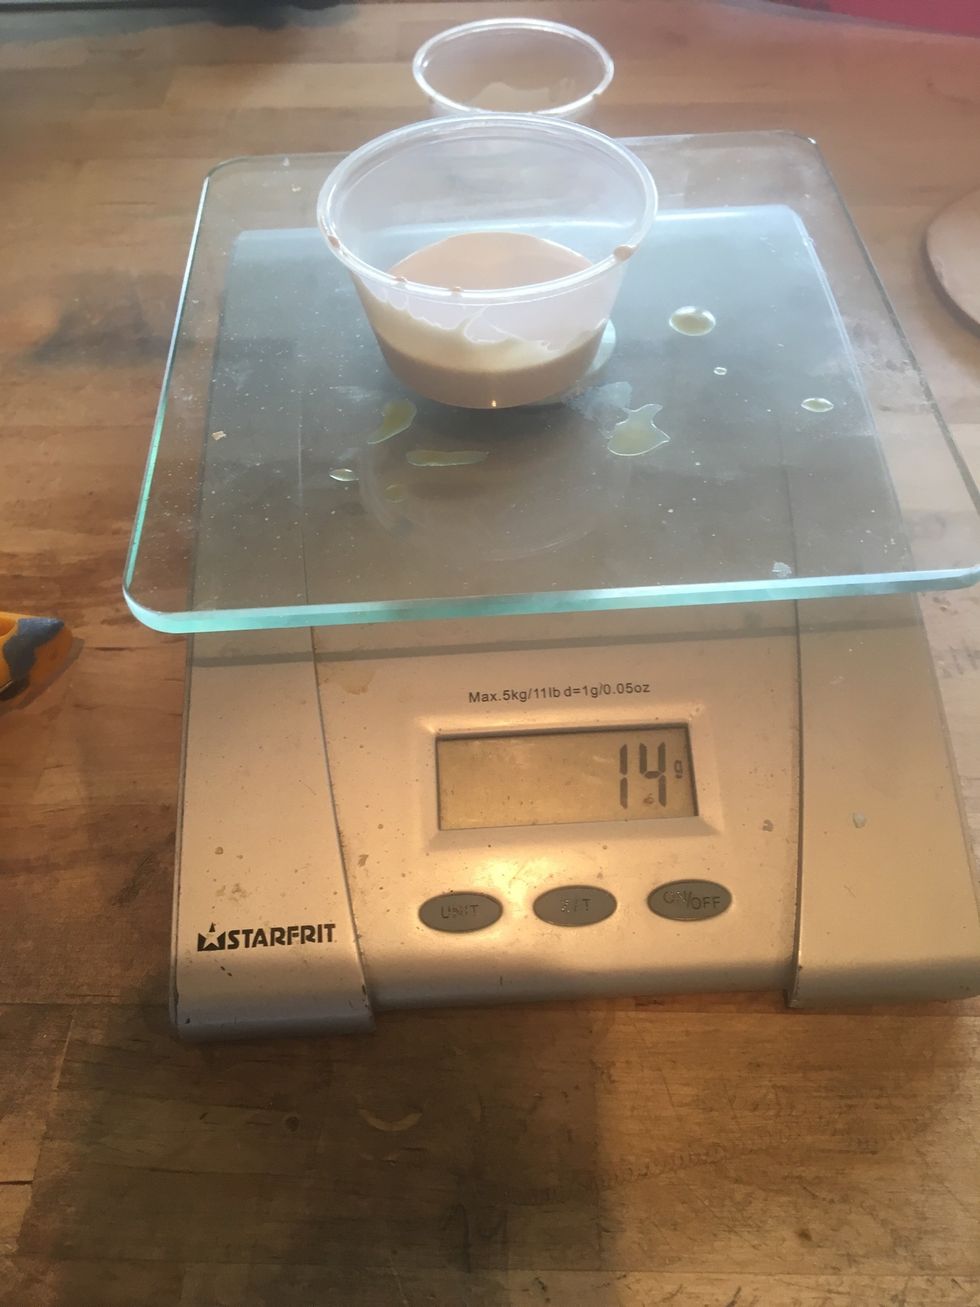
Prepare 12 containers of glue.
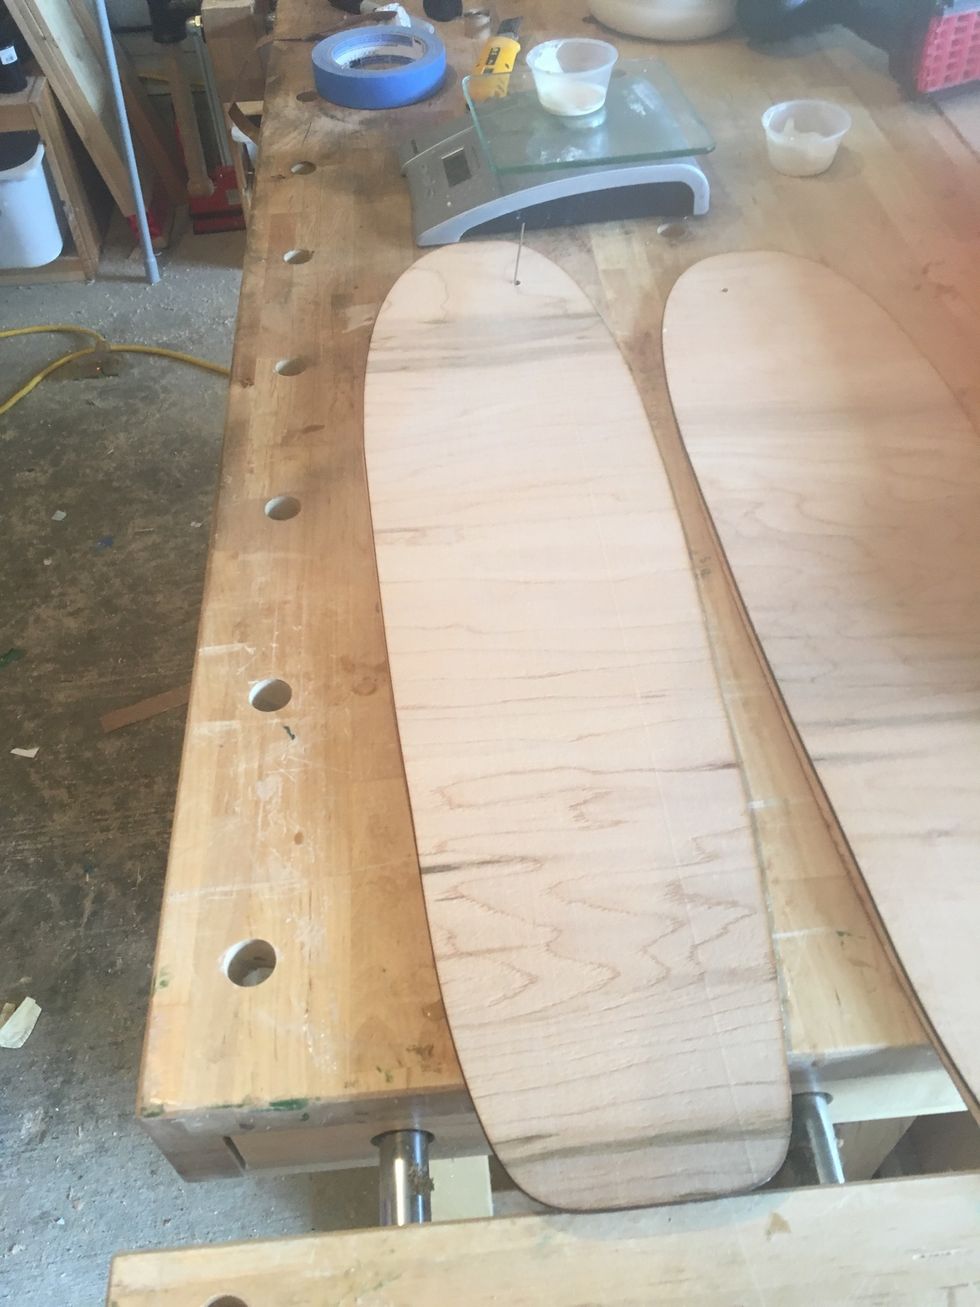
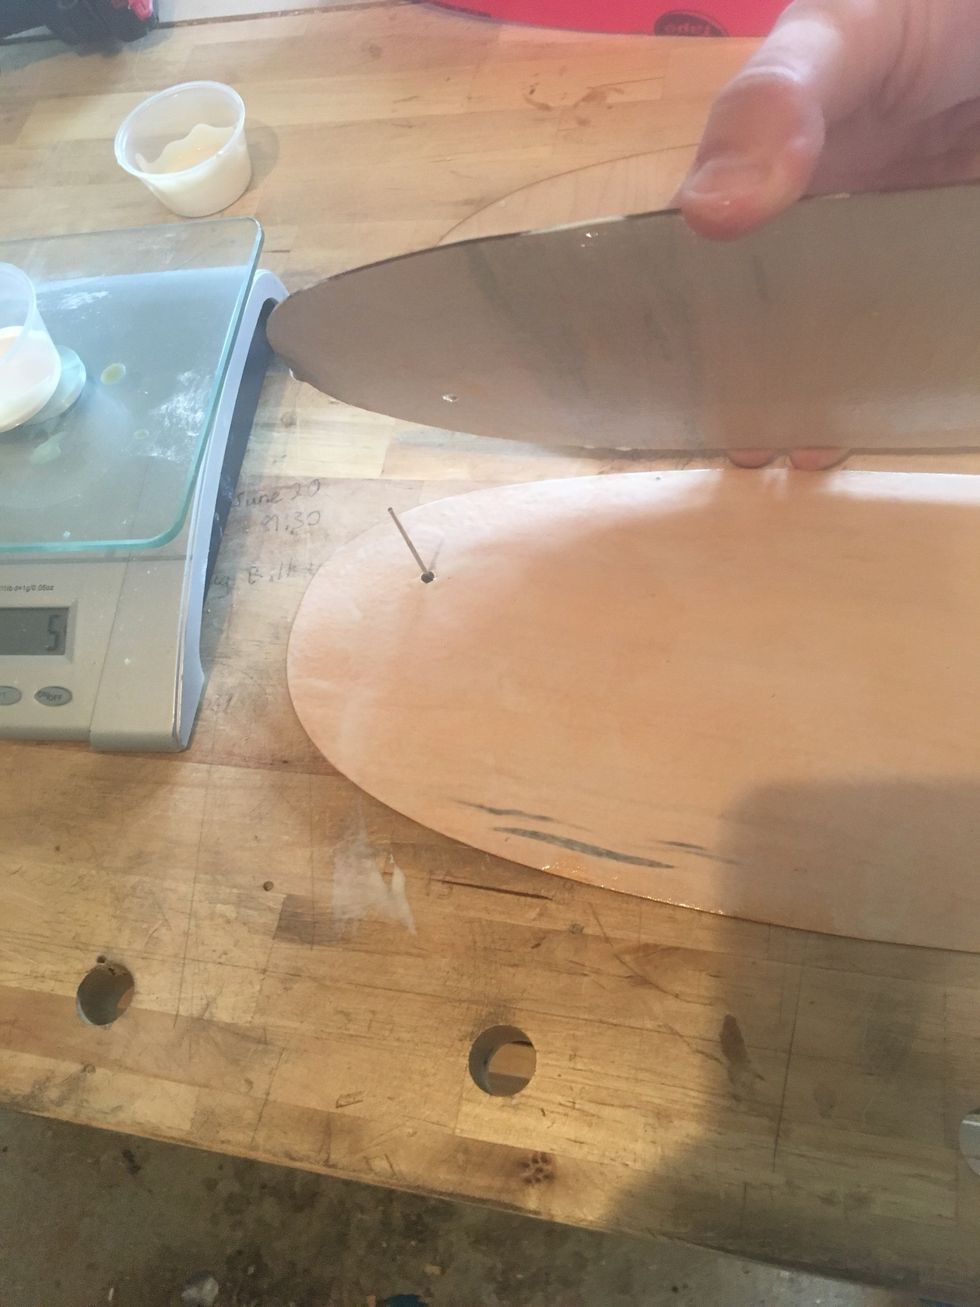
Lay veneers side by side.
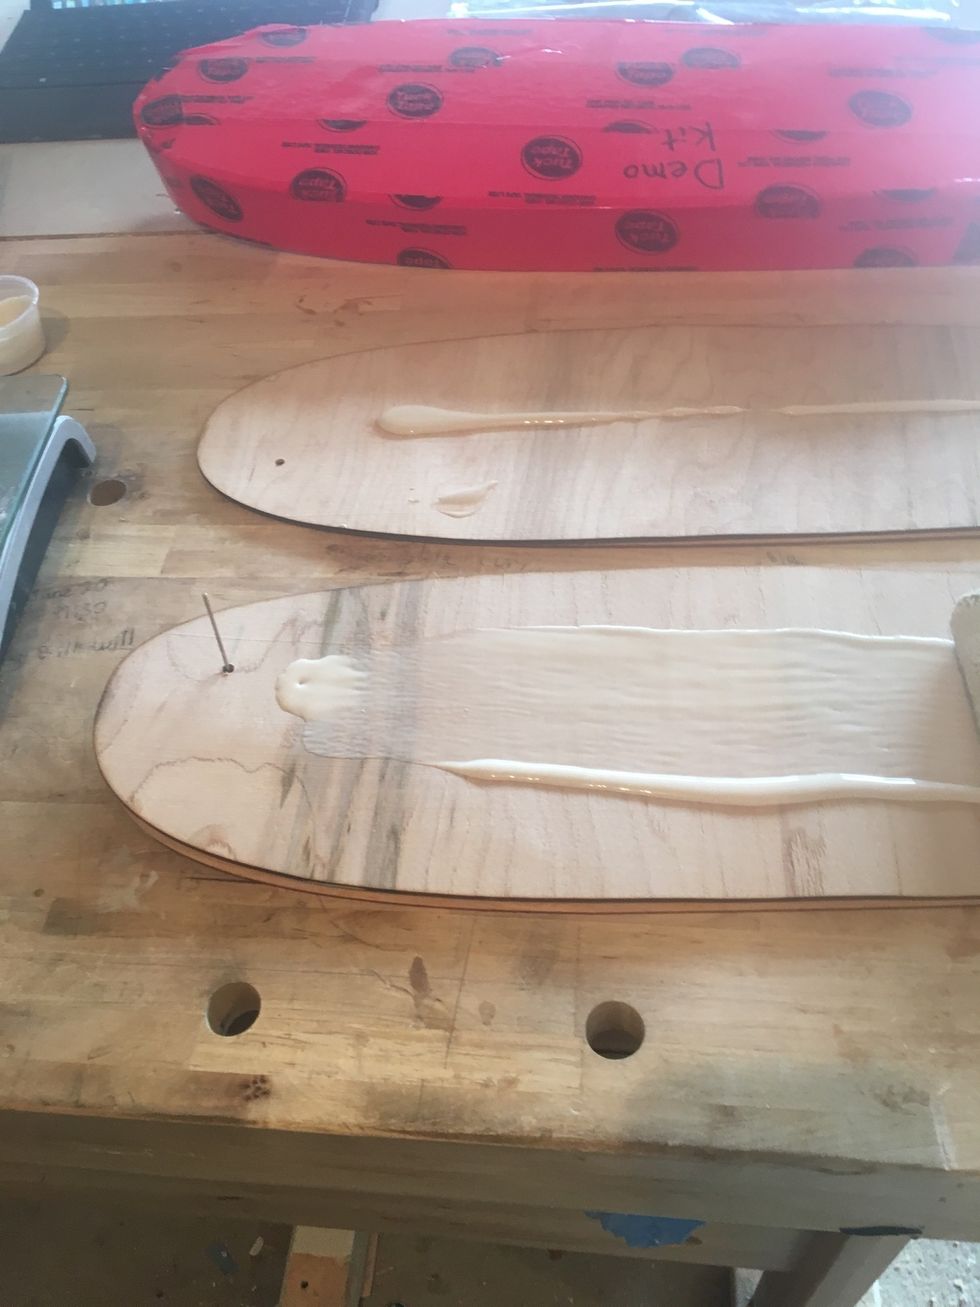
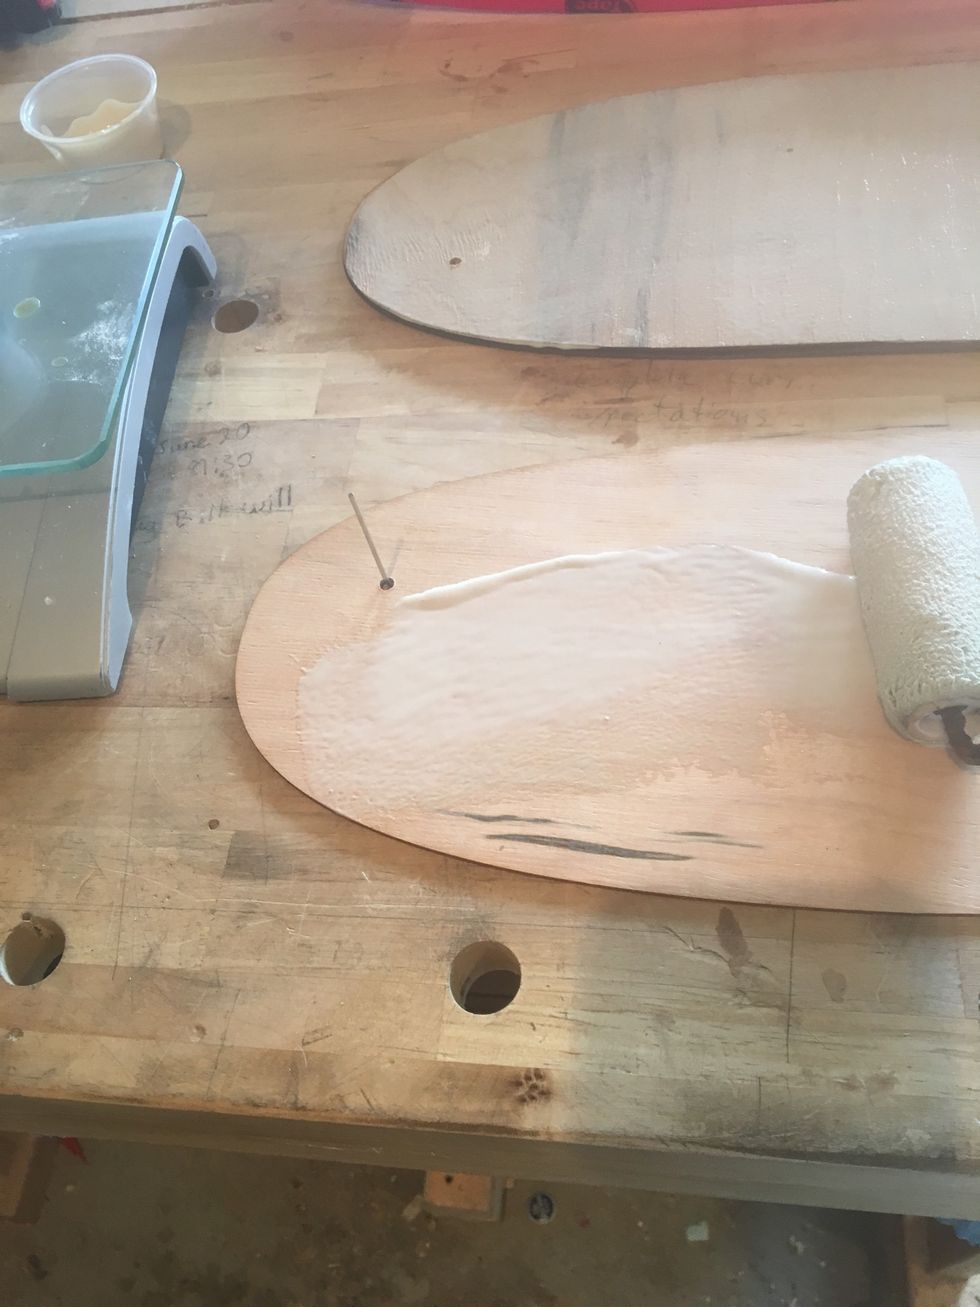
Apply 12-14 grams of Titebond III to each surface.
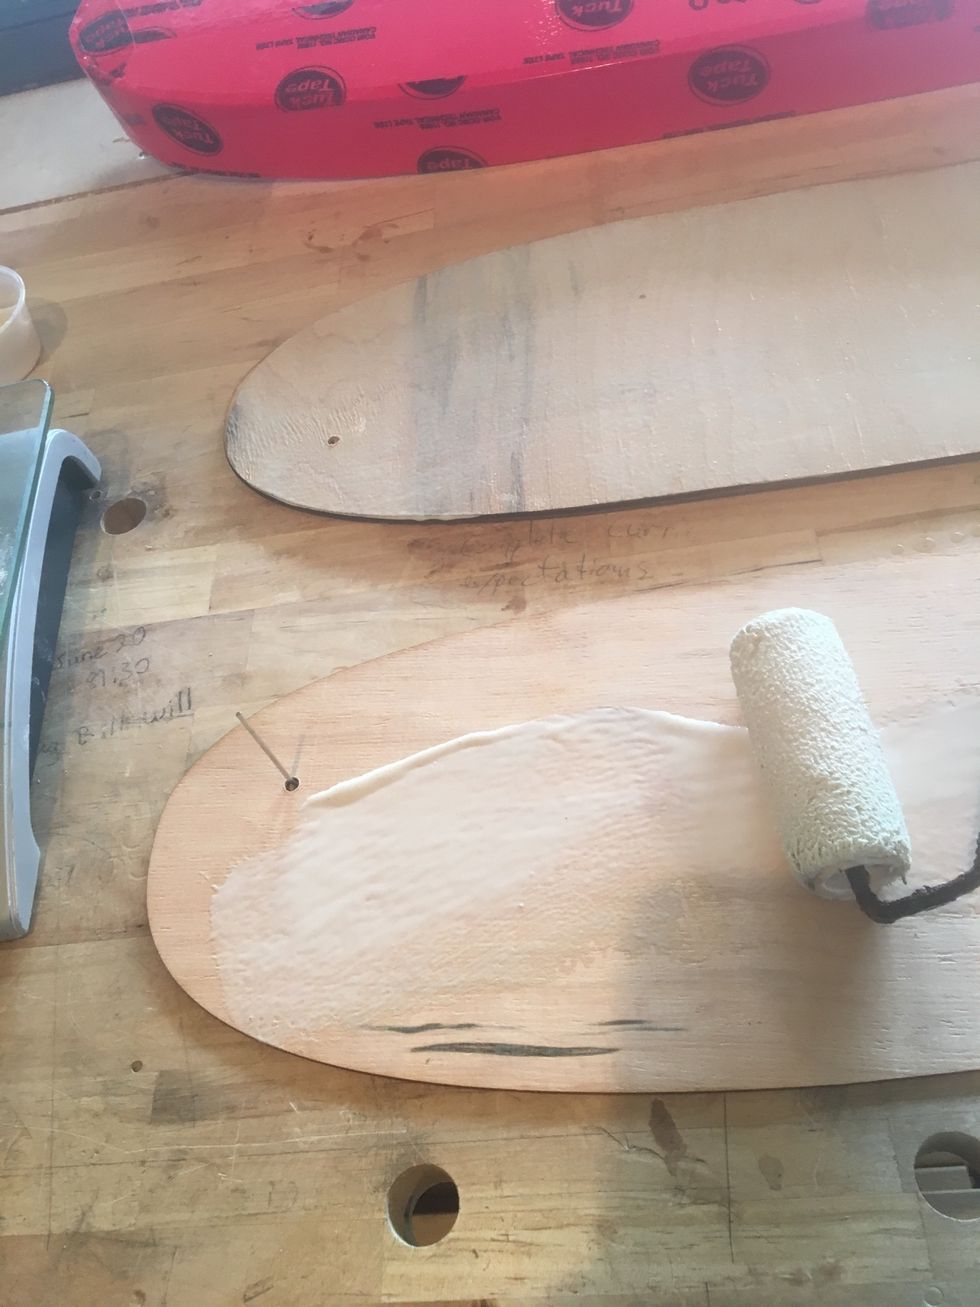
Use a glue roller to distribute the glue evenly.
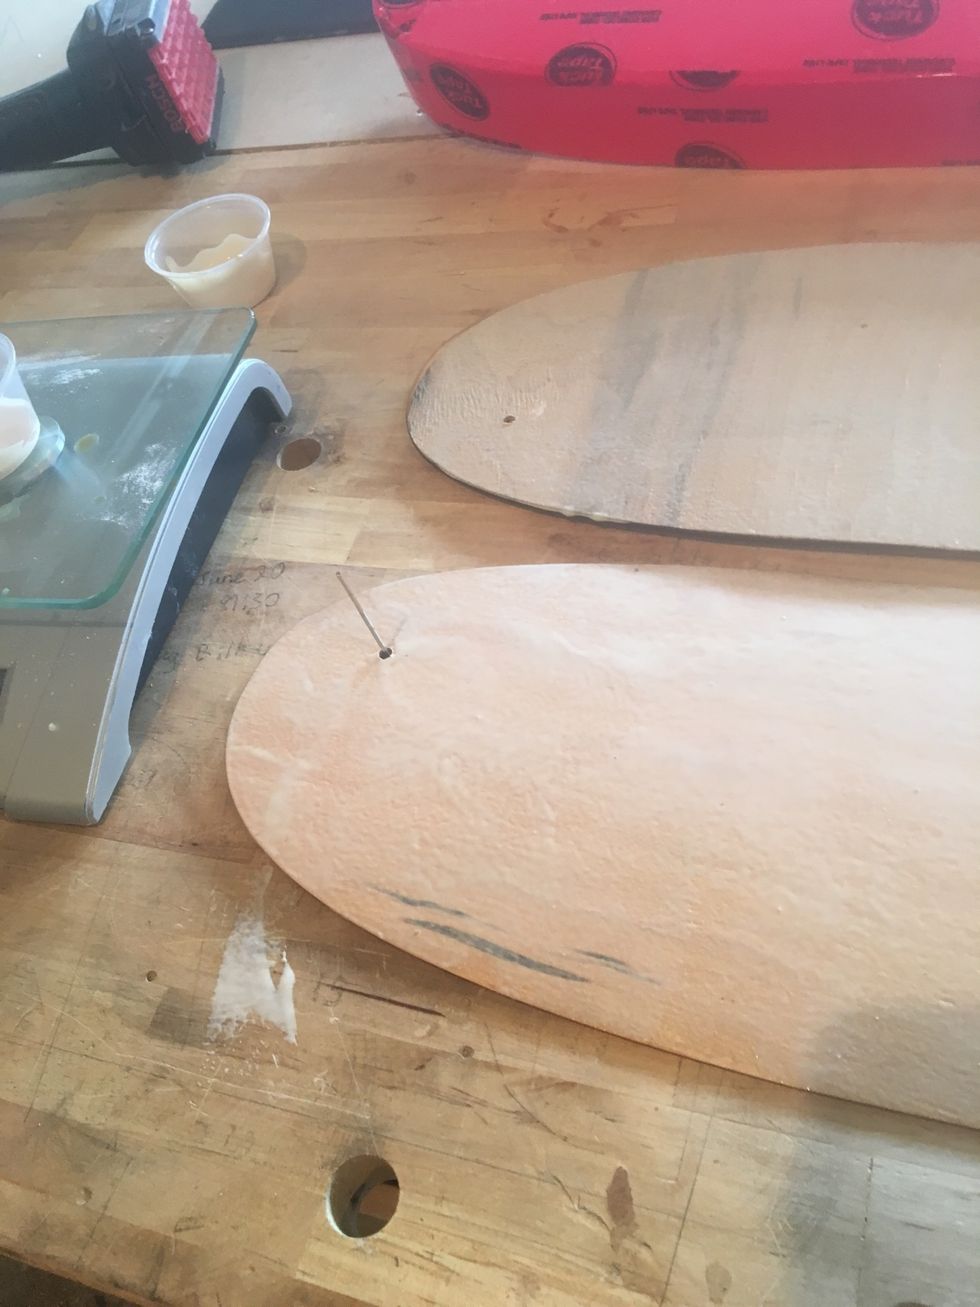
Place one veneer on top of the other. (glue surface to glue surface) Align veneers using pre-drilled hole and hex key.
Position veneers and firmly press with hand.
Repeat glue application for all interior surfaces.
Repeat glue application for all interior surfaces.
Repeat glue application for all interior surfaces.
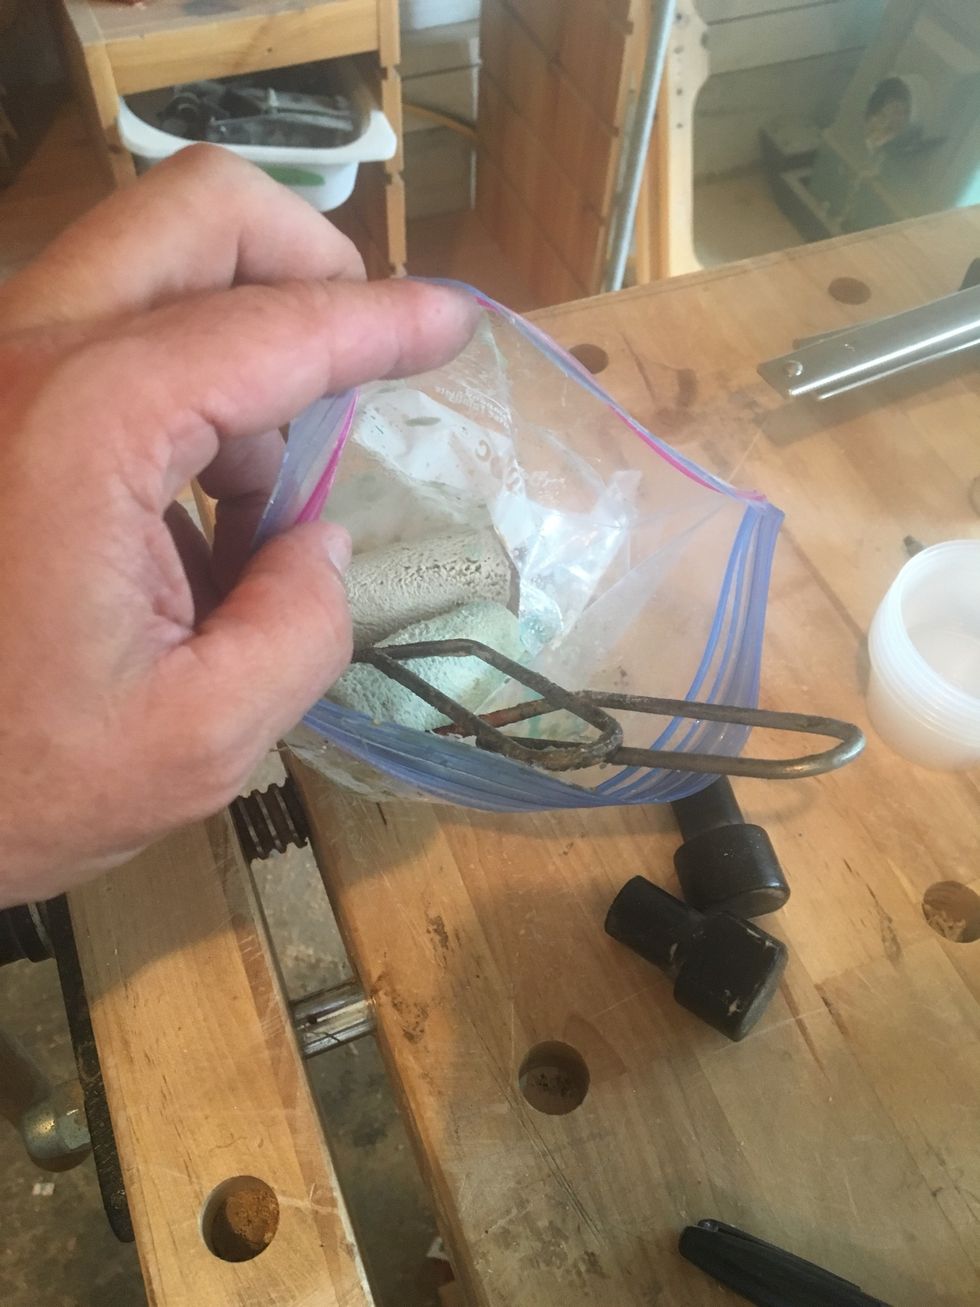
Seal glue rollers in a freezer bag.
Place a F-Clamp close to the hex key.
Remove hex key.
Insert a 3/4" #2 Robertson screw through the hole. Do NOT over tighten.
Use Elastics or Painter's Tape to affix Breather Net to the veneers. Position breather net over screw head.
Use Elastics or Painter's Tape to affix Breather Net to the veneers.
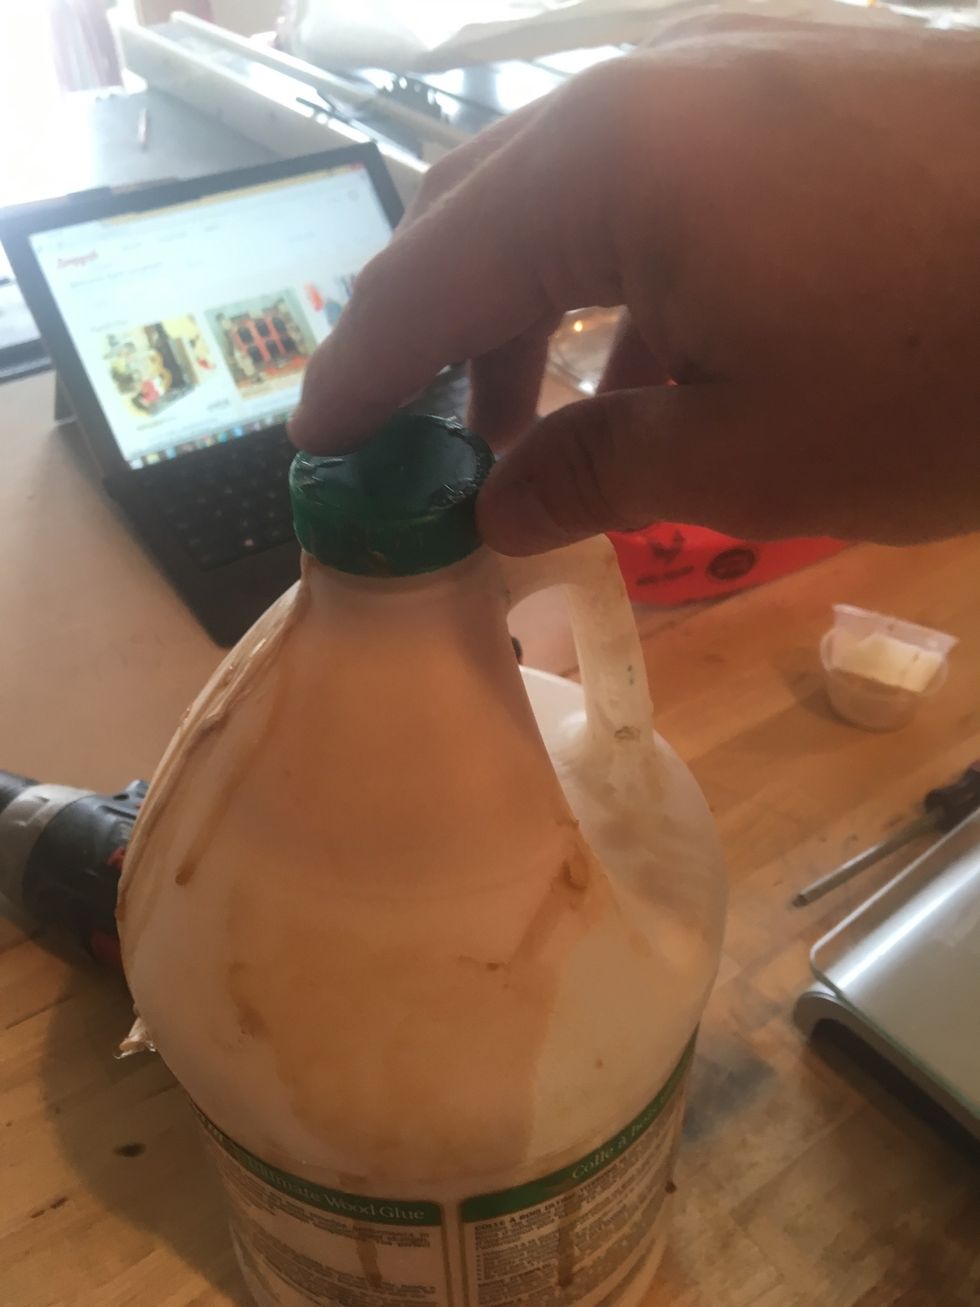
Replace glue cap.
Position veneers on foam mold.
Use Painter's Tape to secure veneers to foam mold.
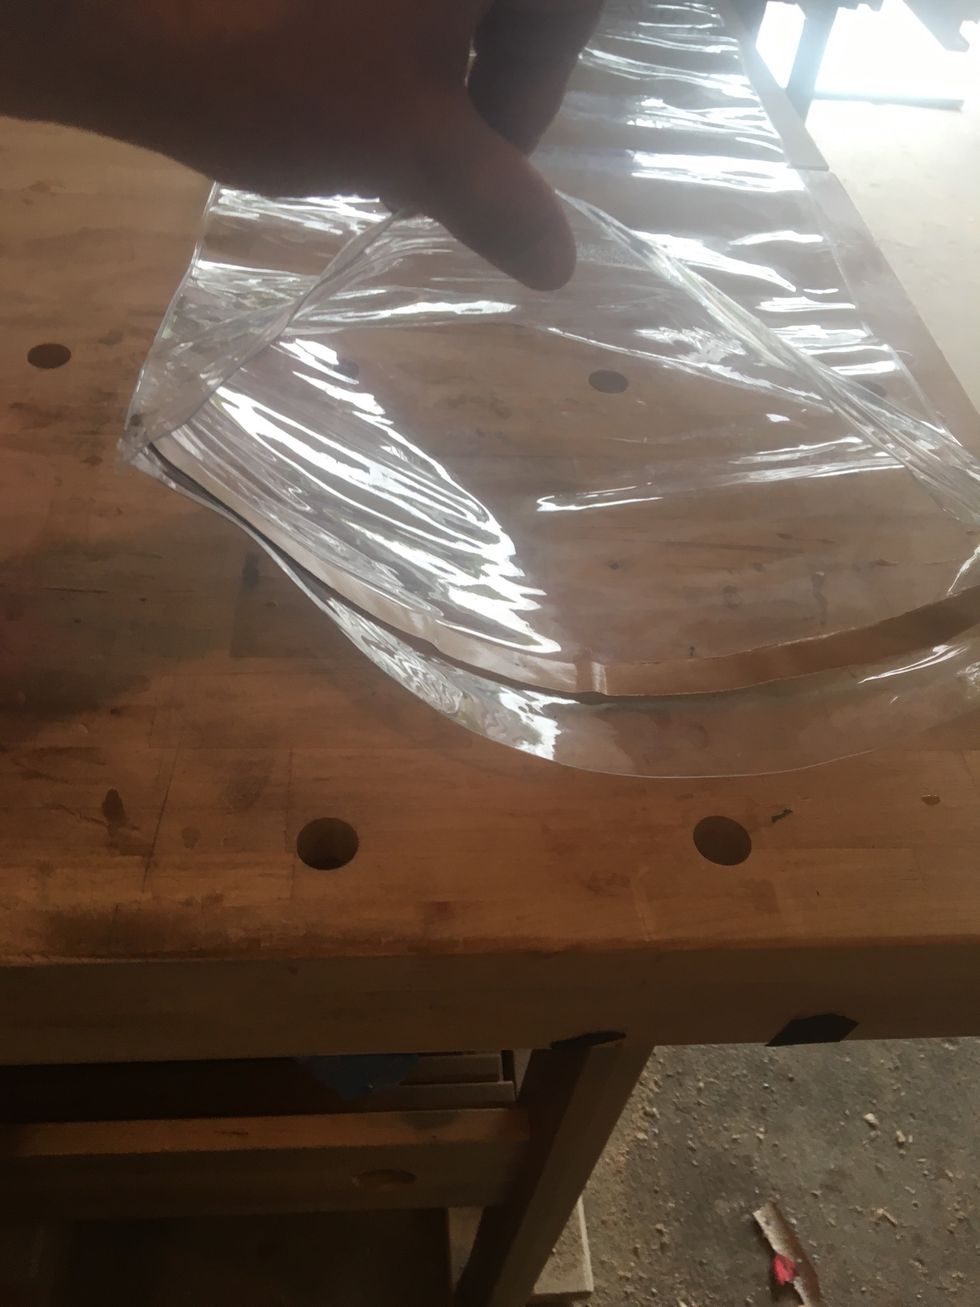
Open vacuum bag.
Place veneers in vacuum bag.
Position valve base on breather net.
Remove sealing tape cover.
Place sealing tape cover inside vacuum bag.
Gently press sealing tape.
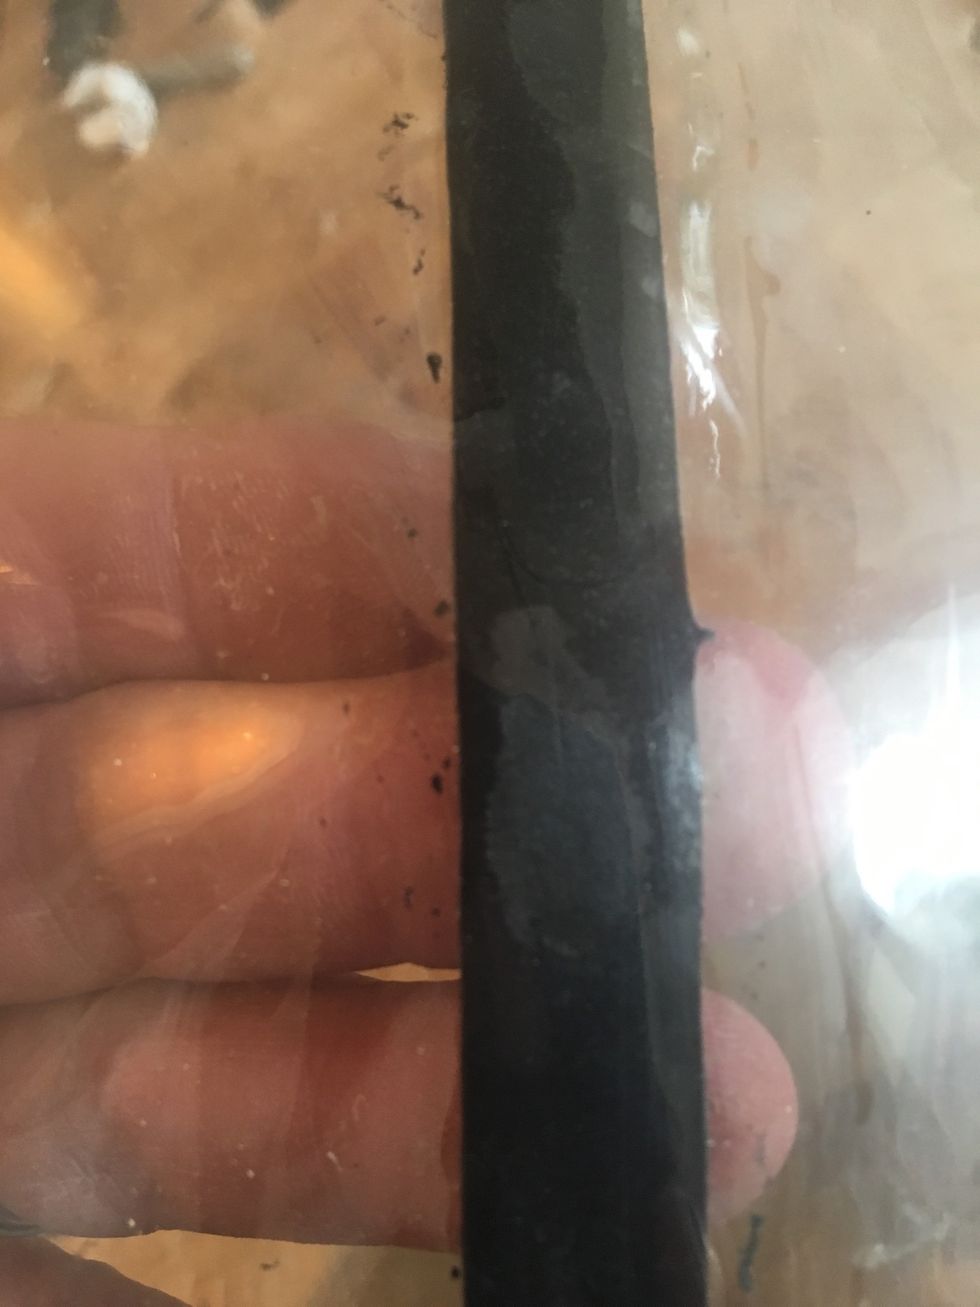
Inspect sealing tape for points of poor contact. (will appear dull)
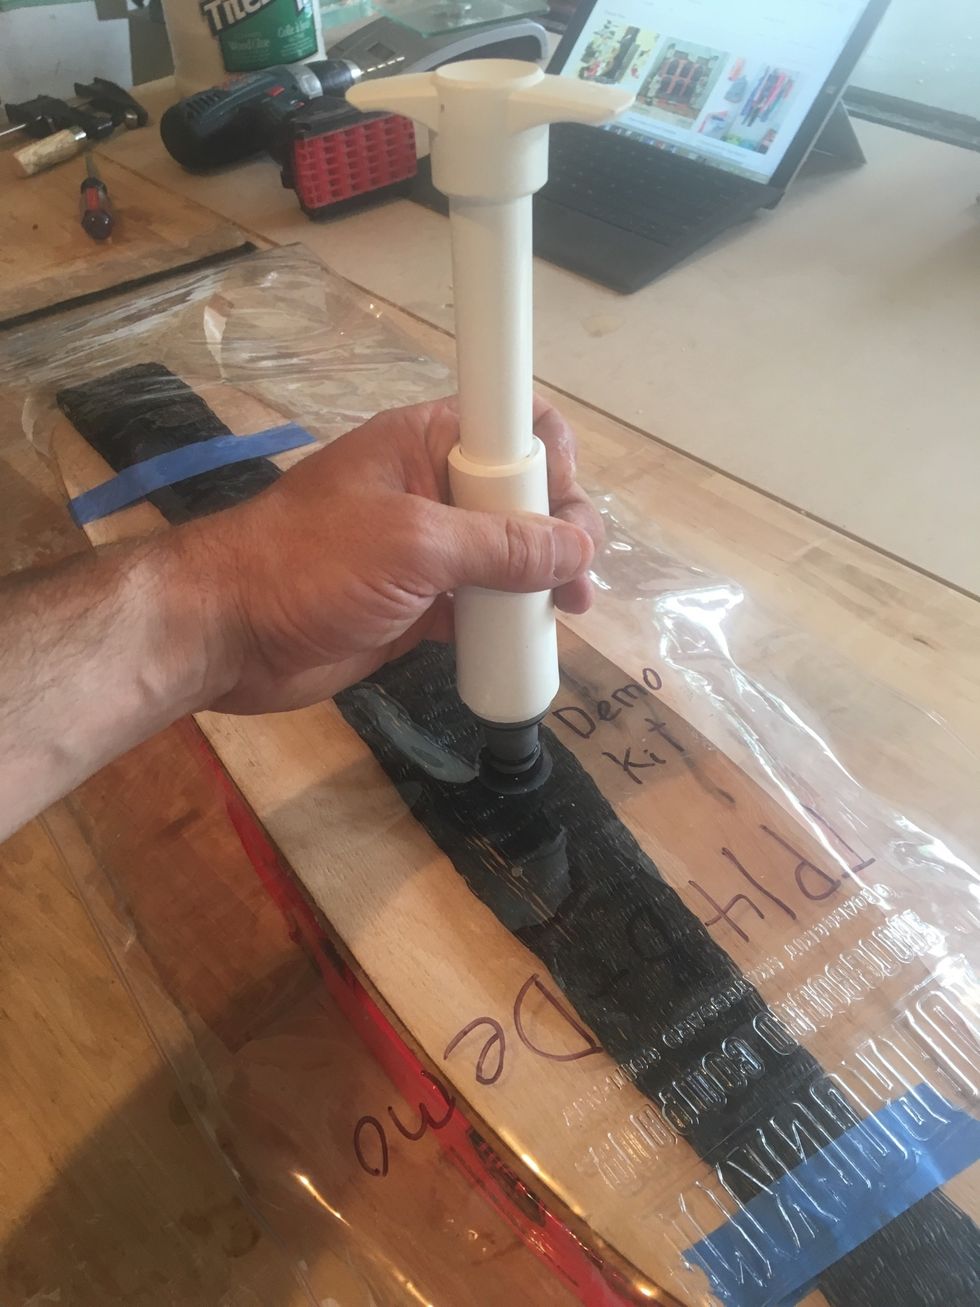
Use pump to remove air from the vacuum bag.
Push veneers into foam mold as air is removed from the vacuum bag.
Place vacuum bag on plywood mold.
Position the pair of clamping cauls to ensure access to the valve.
Position the pair of clamping cauls to ensure access to the valve.
Position the pair of clamping cauls to ensure access to the valve.
Use F-Clamp to compress as depicted.
Gently roll up vacuum bag on the tail end.
Position tail caul as depicted.
Clamp tail caul as depicted.
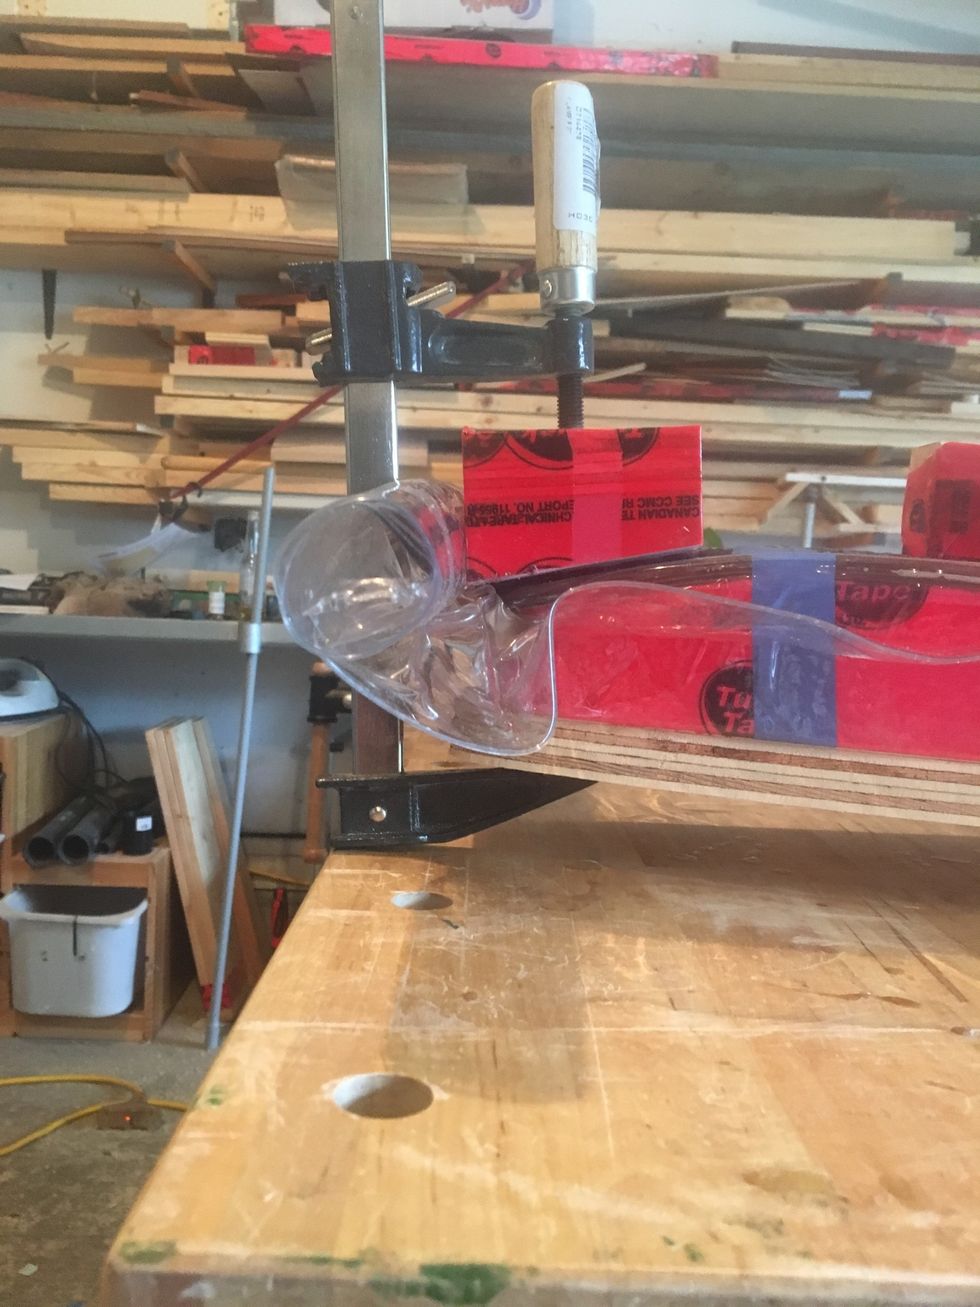
Make sure the vacuum bag is not being pinch by the F-Clamp.
Check vacuum every 20 minutes for the next 2 hours.
If it requires more than 20 pumps to reach full vacuum, recheck sealing tape.
Leave Veneers in vacuum bag for a minimum of 6 hours. (best to leave overnight)

Remove F-Clamps the next day.
Remove clamping cauls.
Take vacuum bag off plywood clamping base.
Depress valve to allow air into the vacuum bag.
Push a blunt object between the sealing tape and the vacuum bag.
Roll blunt object along sealing tape until vacuum bag is open.
Retrieve sealing tape cover.
place shine side of sealing tape cover on sealing tape.
Place shine side of sealing tape cover on sealing tape.
Place shine side of sealing tape cover on sealing tape.
Gently remove Veneers.
Gently remove Veneers.
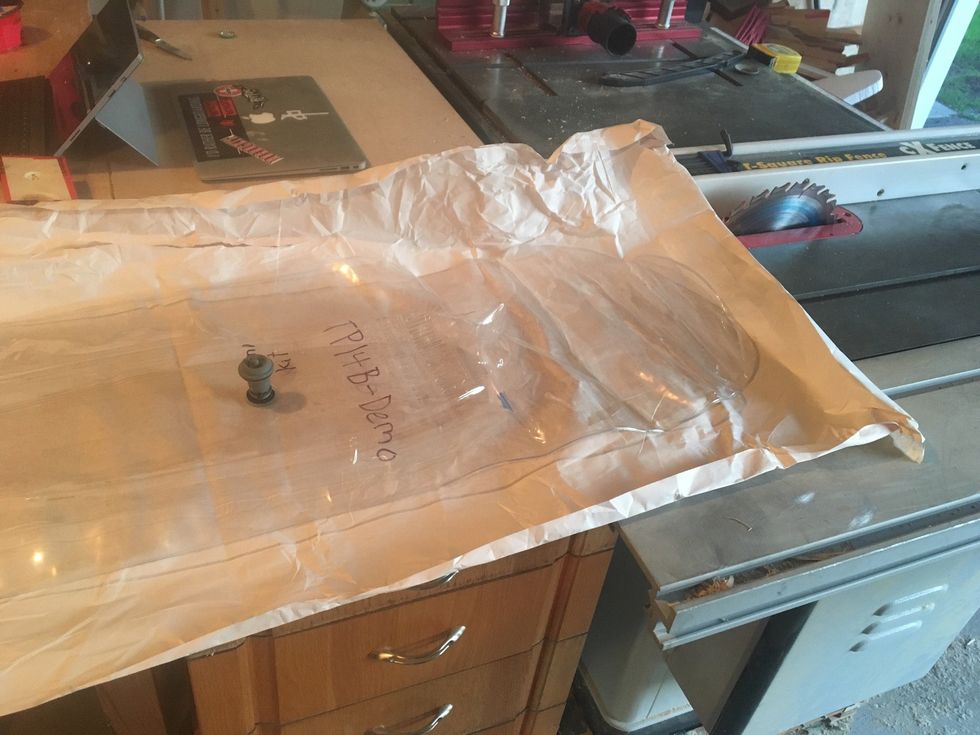
Place vacuum bag on protective paper. (valve up)
Fold paper over the closed end of the vacuum bag.

Fold vacuum bag toward valve.
Fold vacuum bag toward valve.

Repeat with open end of vacuum bag.
Depress valve to remove excess air.
Fold both sides over valve.
Fold both sides over valve.
Take veneers off mold.

Remove 3/4" screw.