How to use your homemade cold porceline
Now that you've let your cold porcelain sit over night in the fridge, you can start using it. Here are some tips and ideas.
144
STEPS
TOOLS
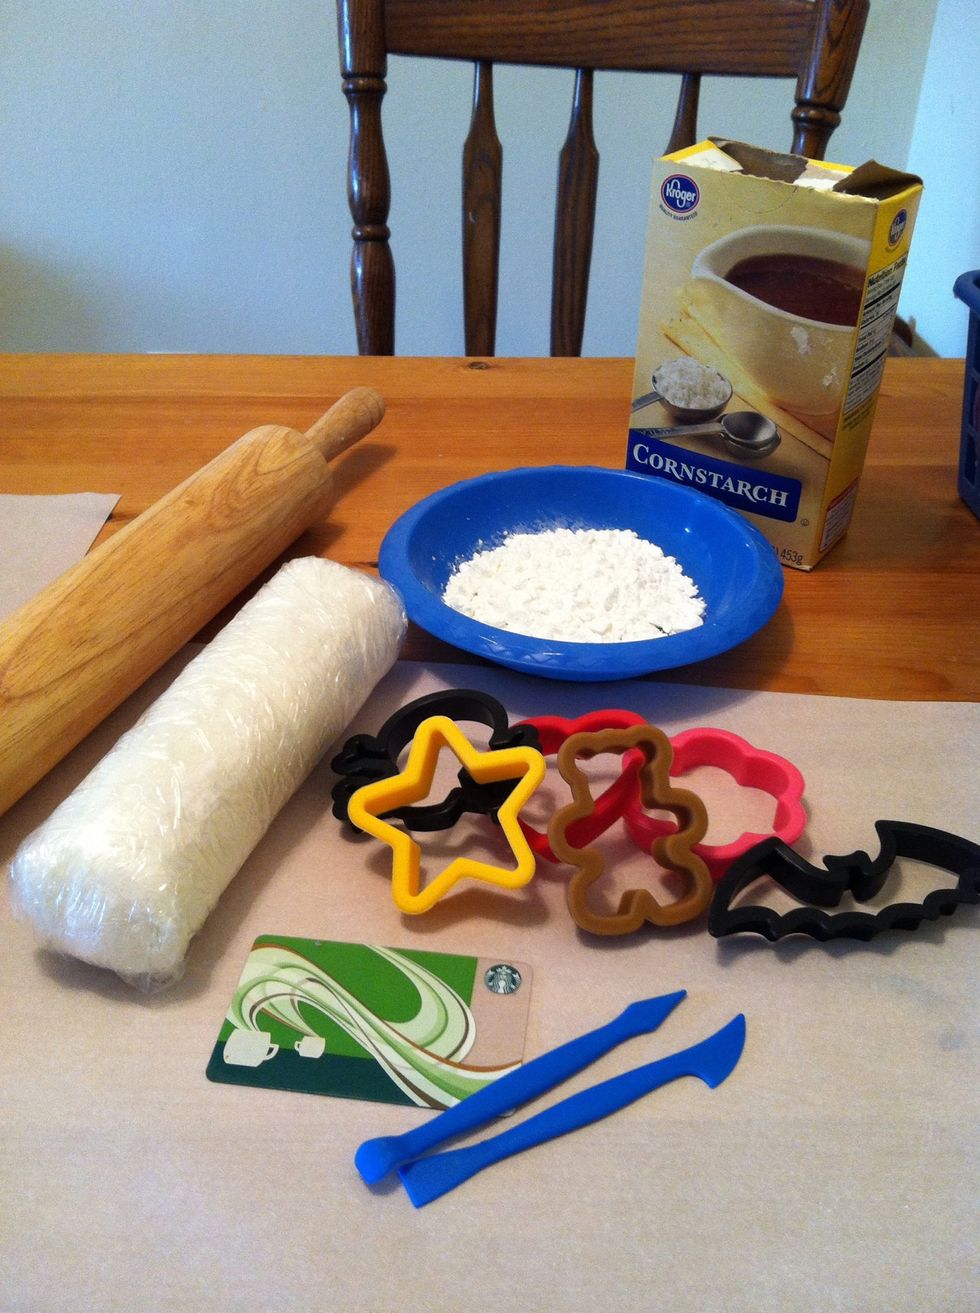
Here are some basics. Rolling pin, cutters, clay tools. I use the gift card as a cutting utensil. And more cornstarch (corn flour), in a deep dish or shallow bowl.
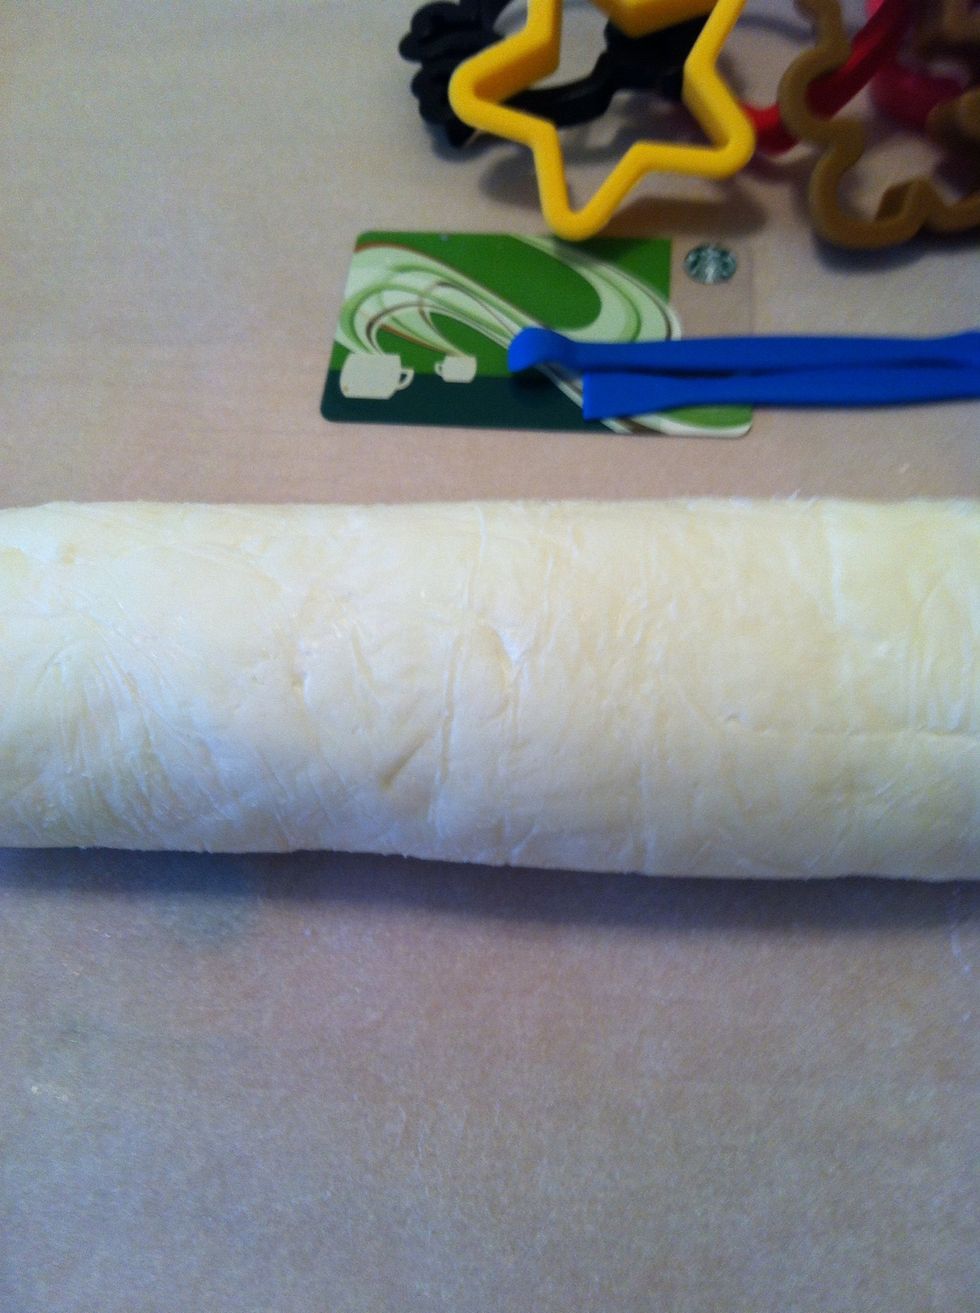
Unwrap your 'clay'. It'll be cold and a little tacky.
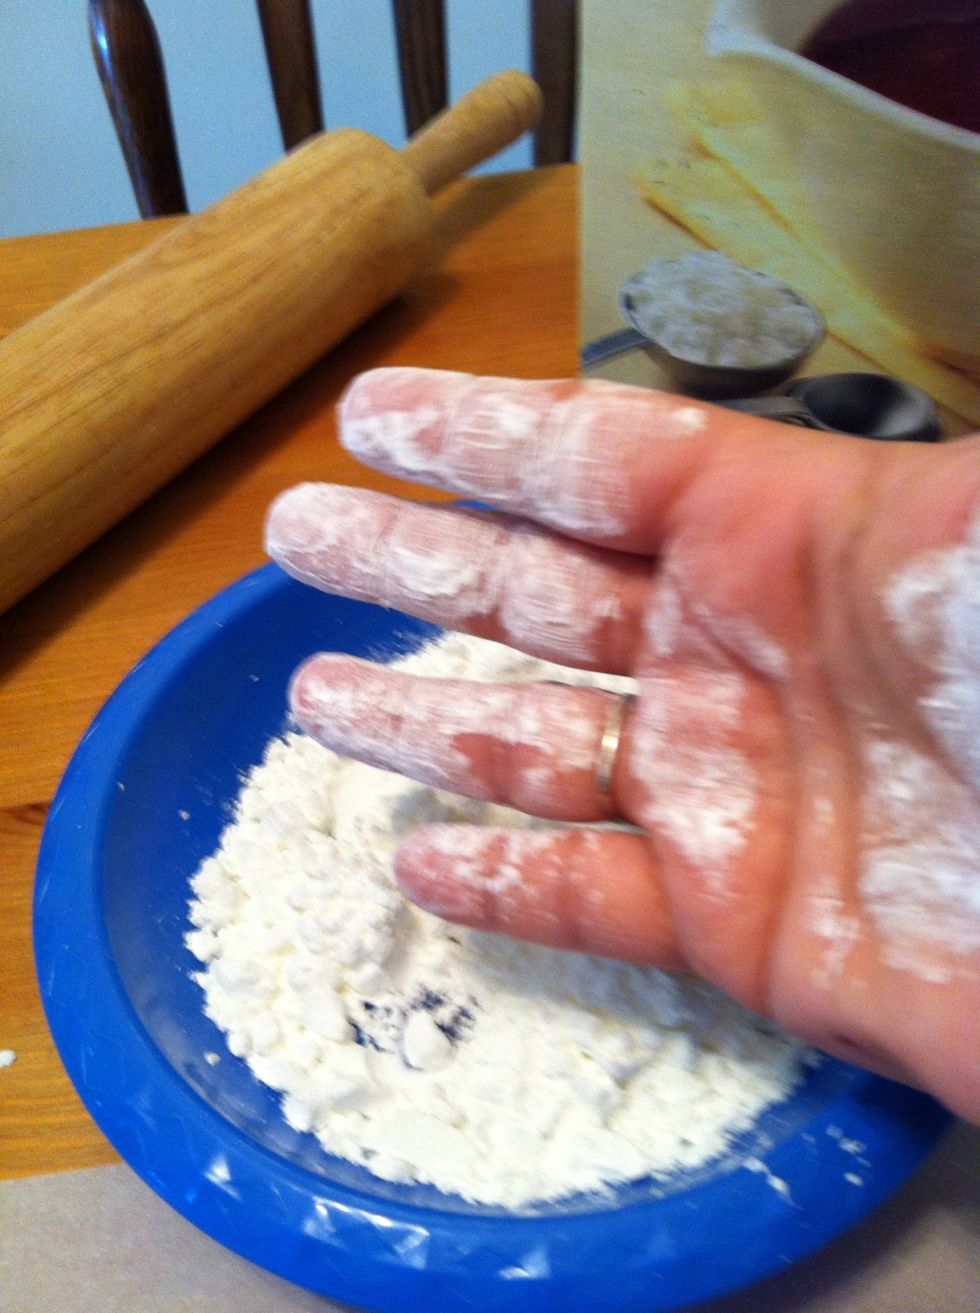
Put some corn flour on you hands. Not too much, just enough so it won't stick.
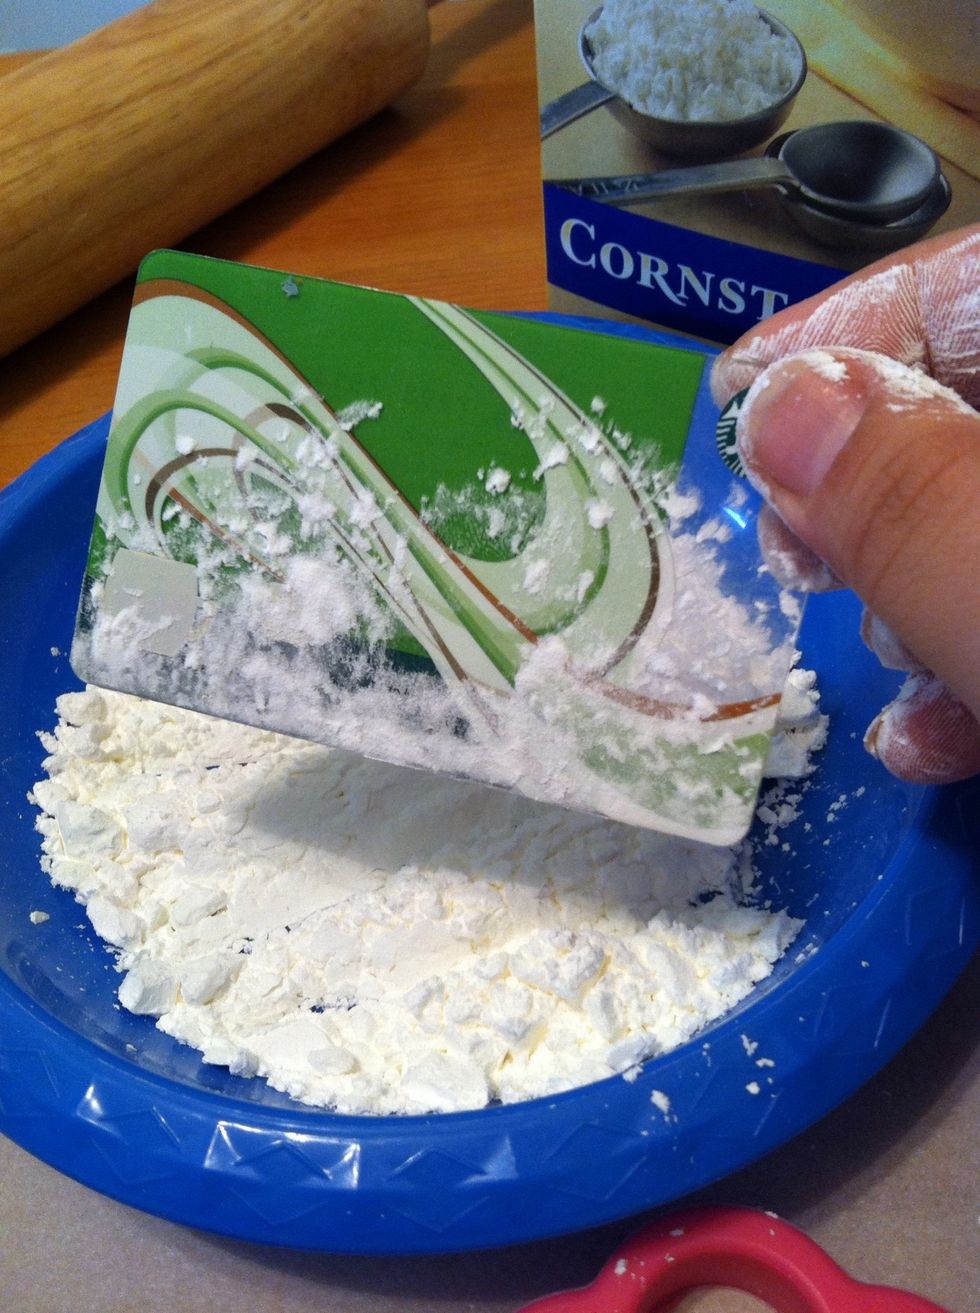
Flour your cutting utensil.

Cut a piece off.
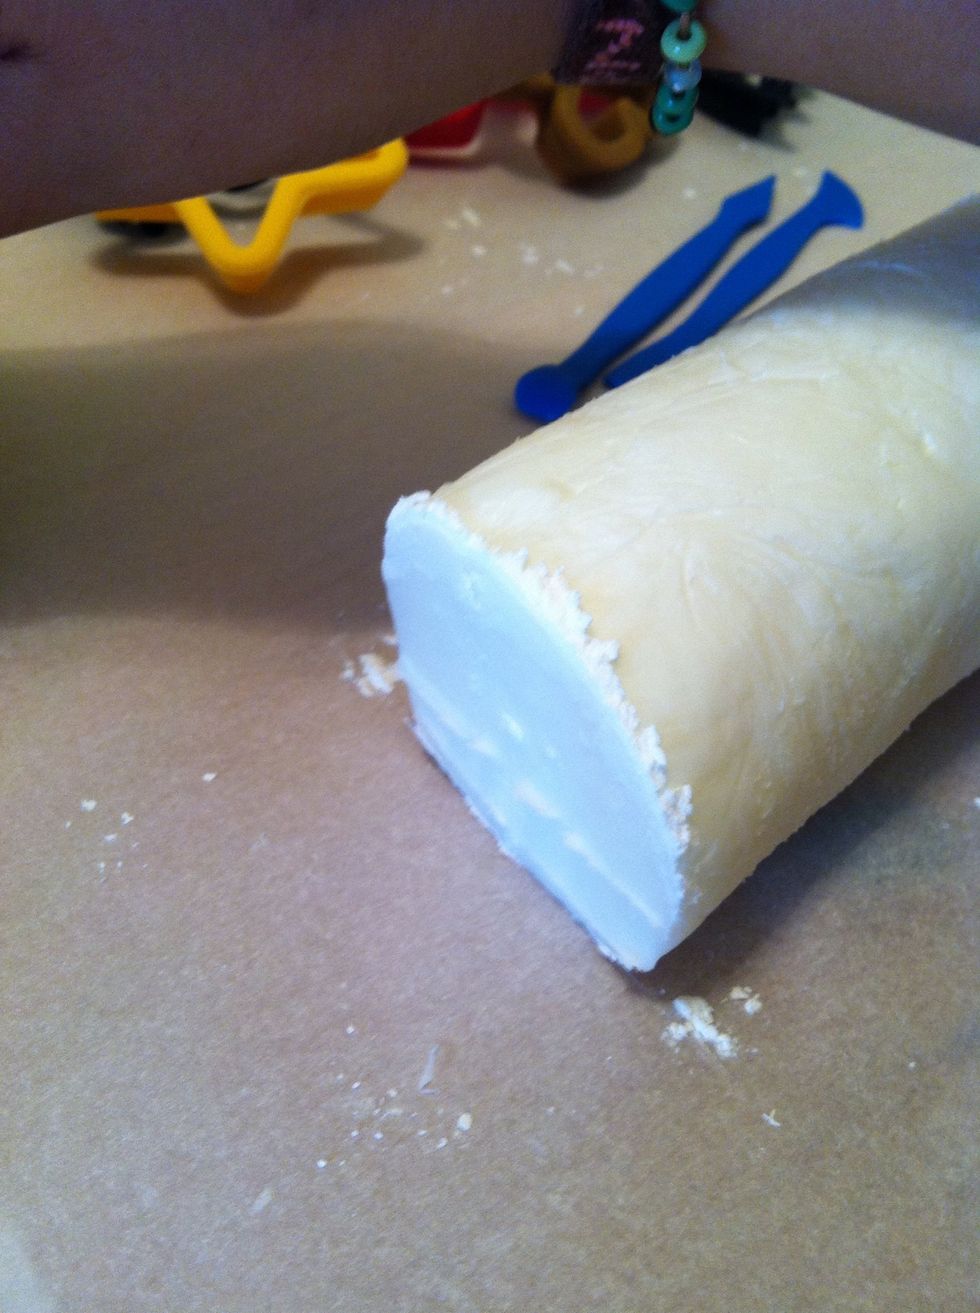
Nice clean cut.
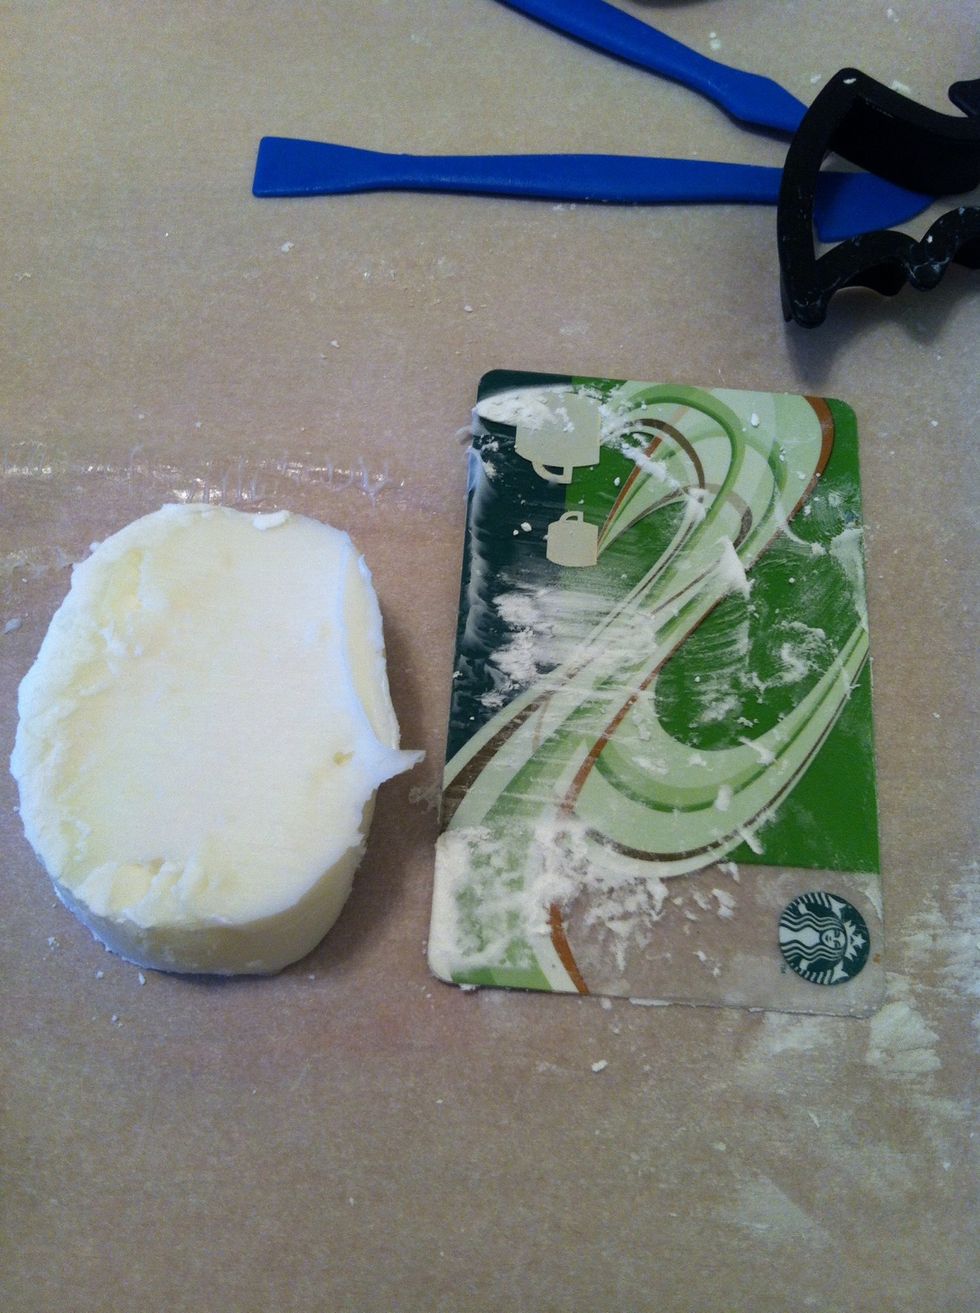
This was the size of the piece I used, for reference. A little goes a long way.
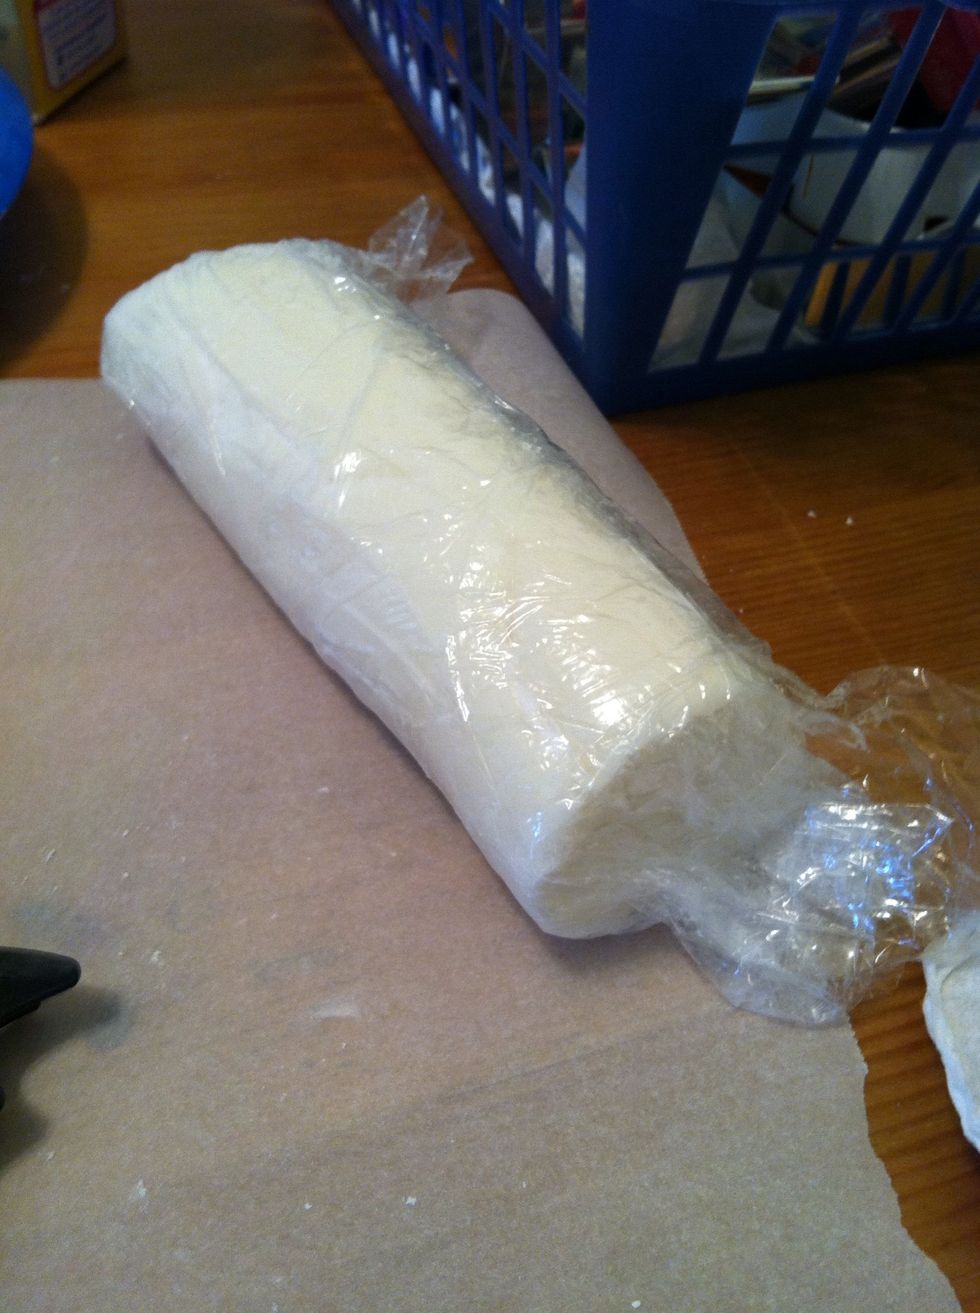
Rewrap the rest of it. This is very important! It will dry out pretty quickly and form a crust if not wrapped.
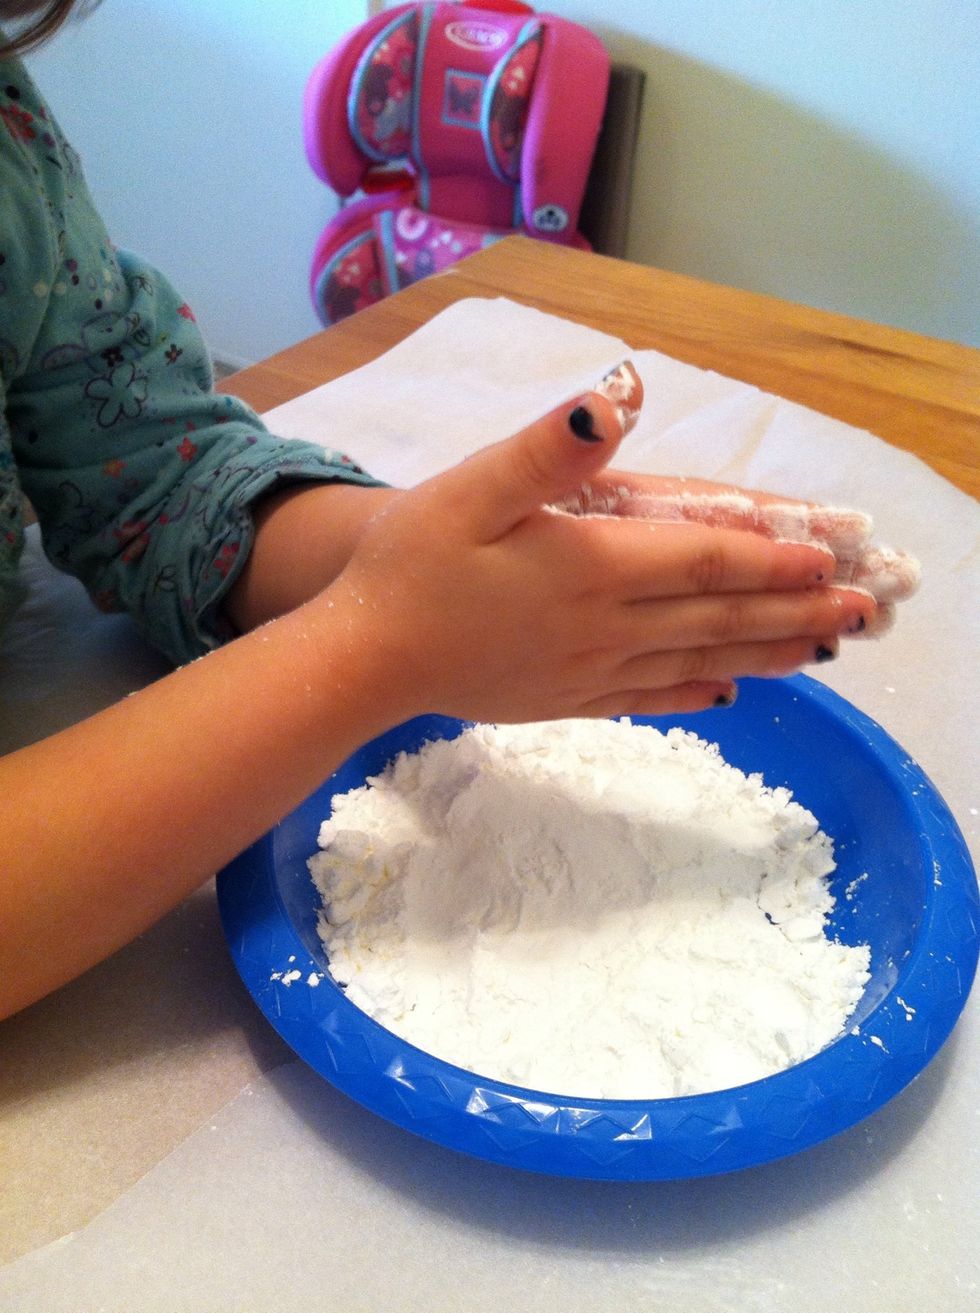
Flouring the hands is important, it helps keep the 'clay' from getting too wet from your skin. Be careful not to do it too often though or it can cause drying out and cracking.
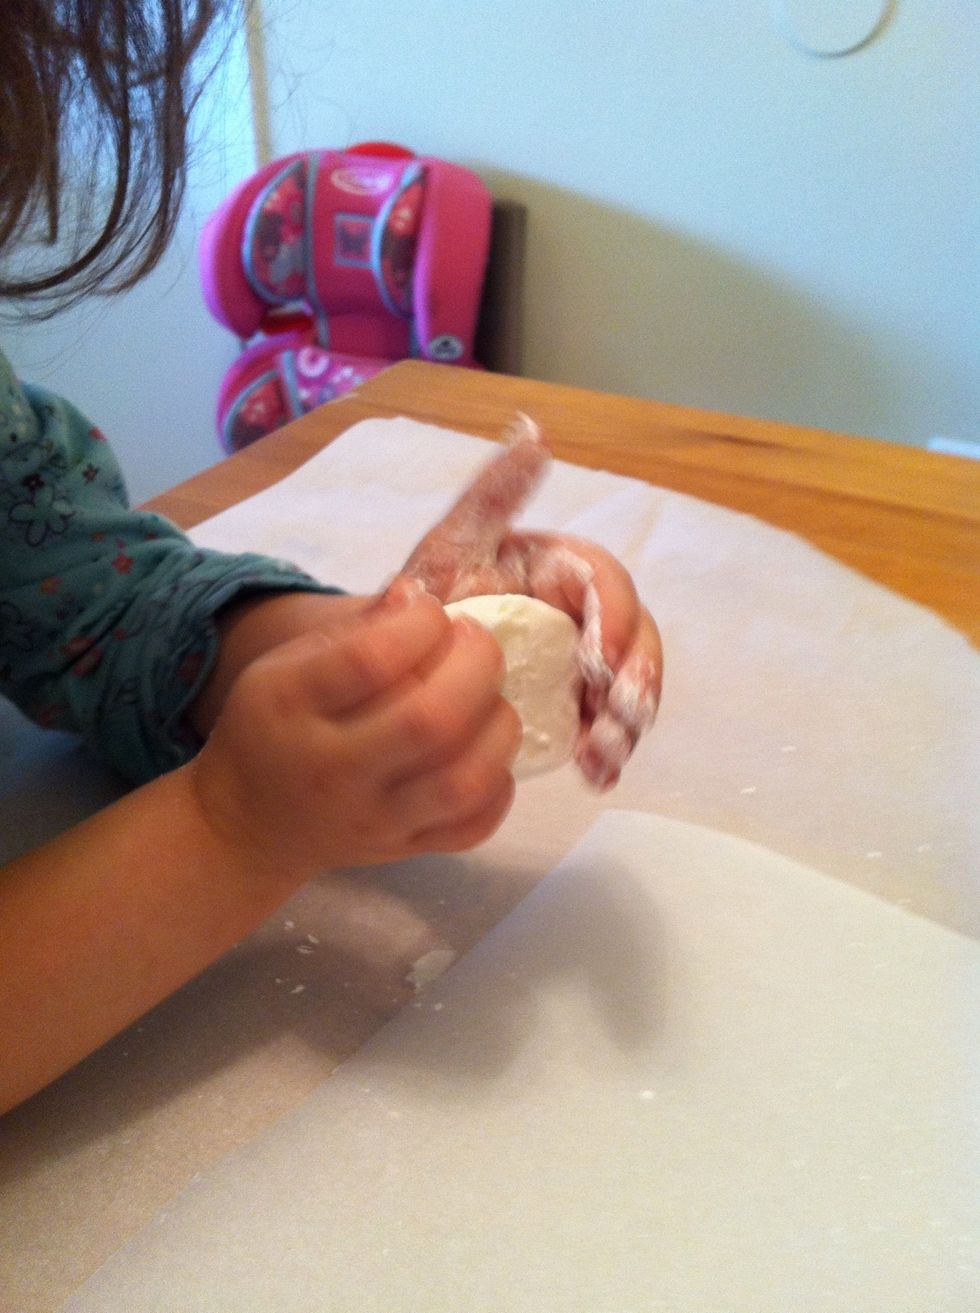
Work your piece a little. Just kneed it till the stickiness is gone.
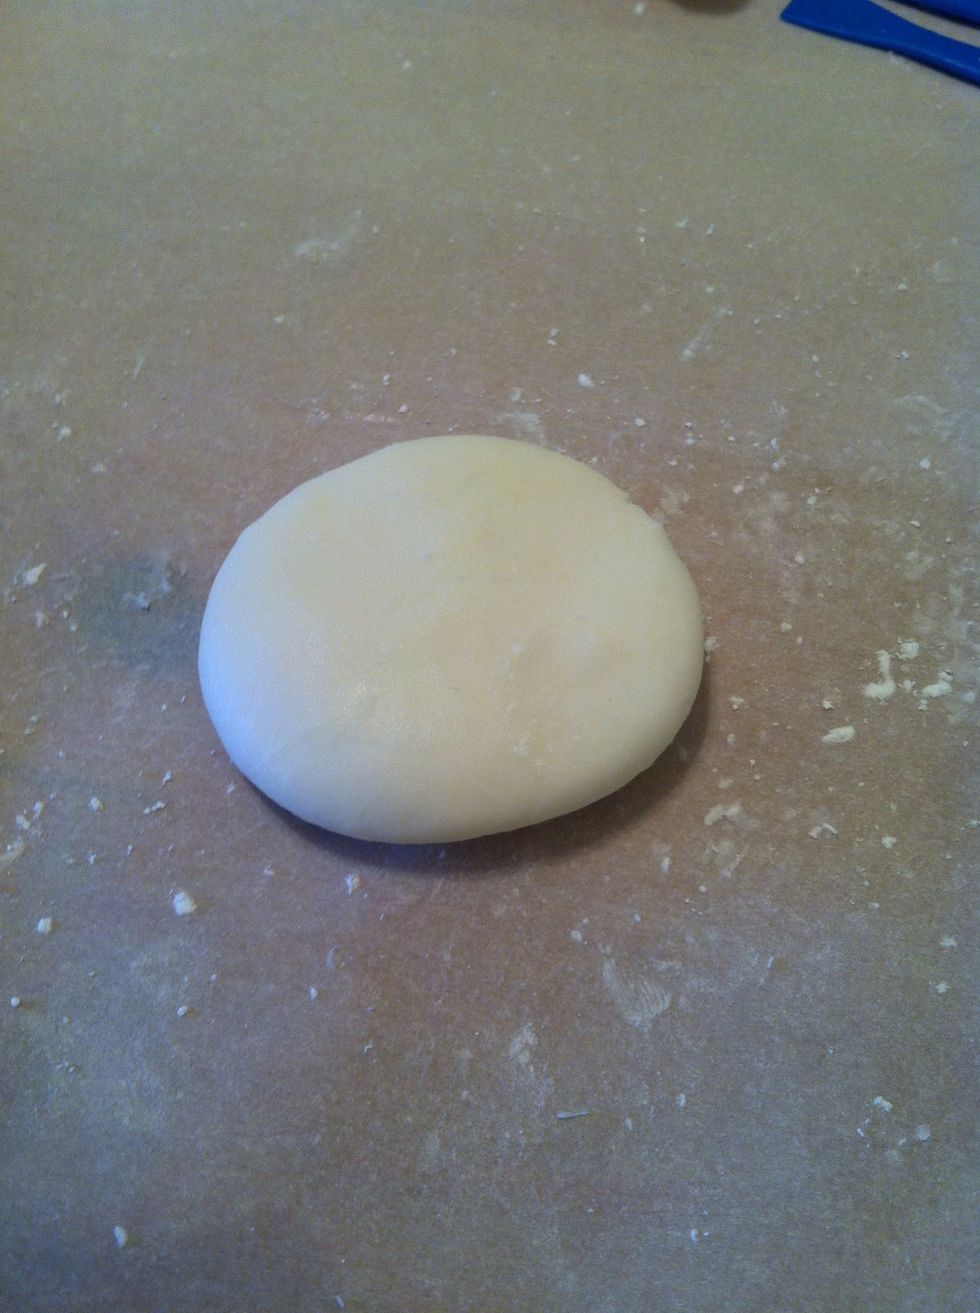
Beautiful. When this dries, it will be semi translucent. Not quite clear but not completely white and opaque.
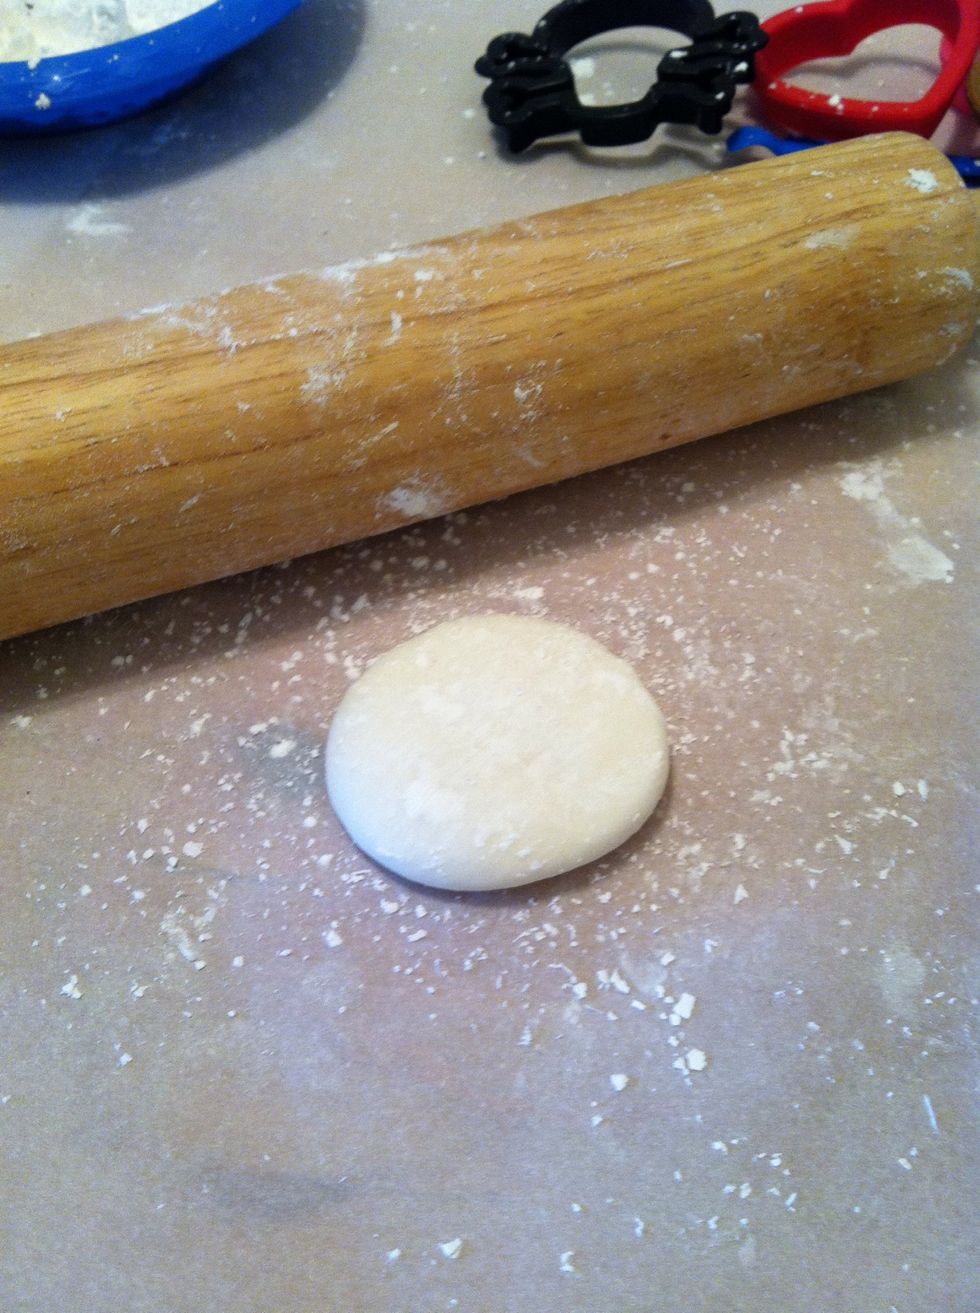
Flour your rolling pin and a tiny bit on your 'clay'.
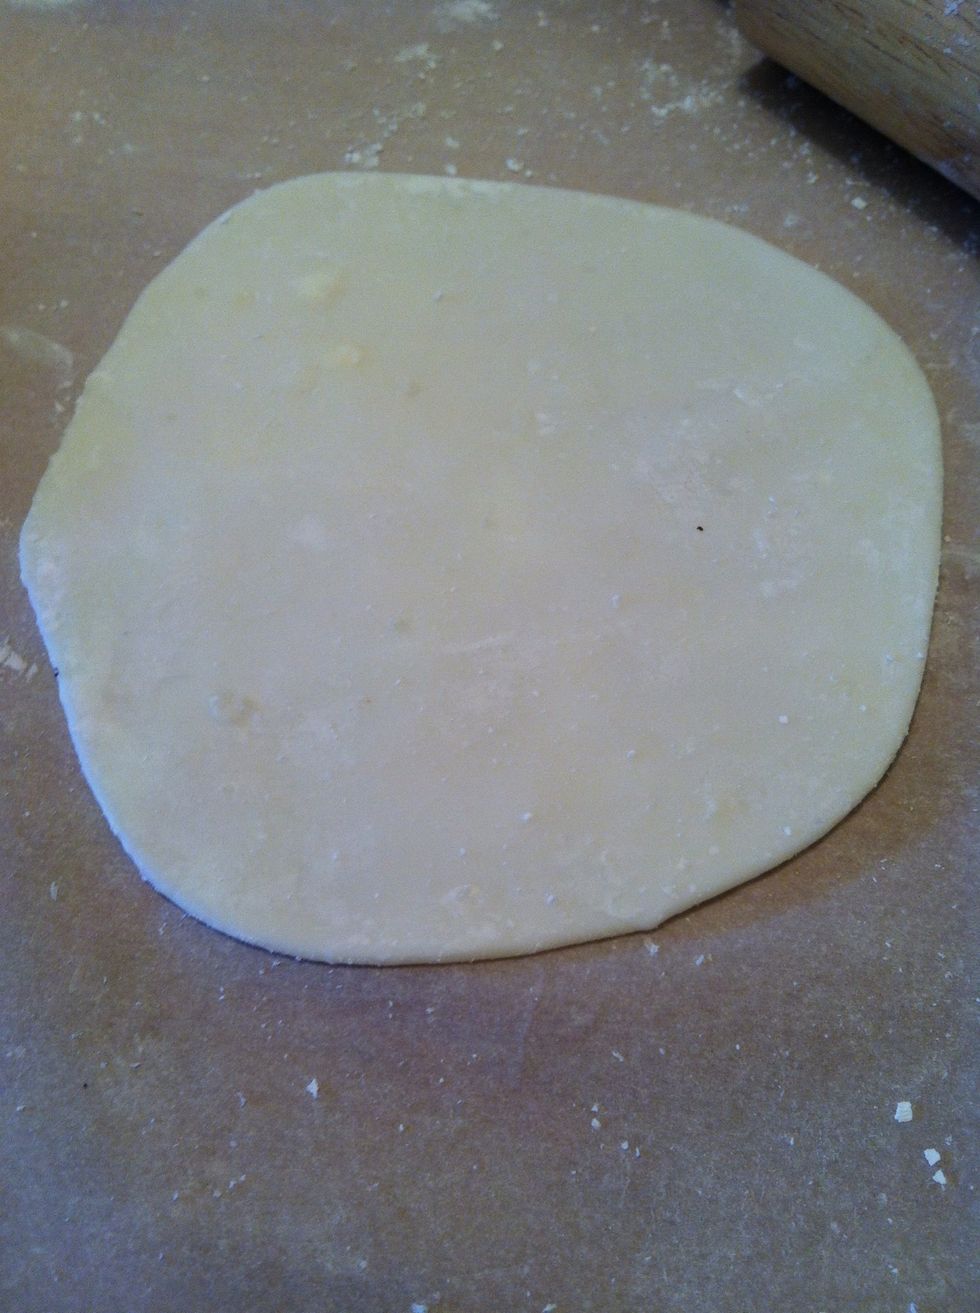
Roll it out. If its too thin it will curl while drying, but I'll give you some tips on dealing with that later in the guide.
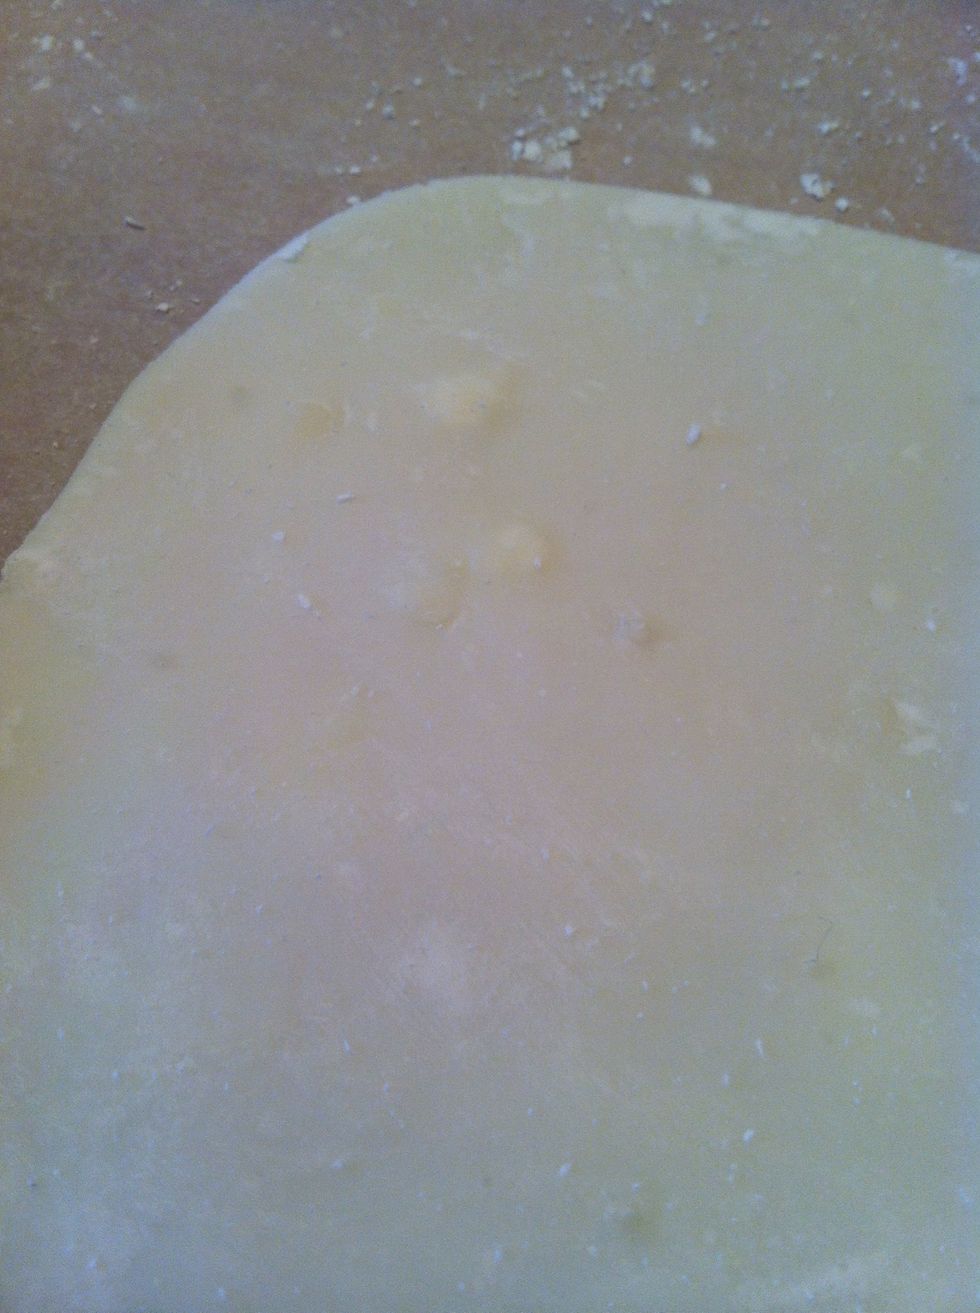
Important!! I completely forgot to mention in the last guide (I'll be updating when I'm done with this) if you don't sift your corn flour when you make you 'clay' it will leave hard lumps. 😔
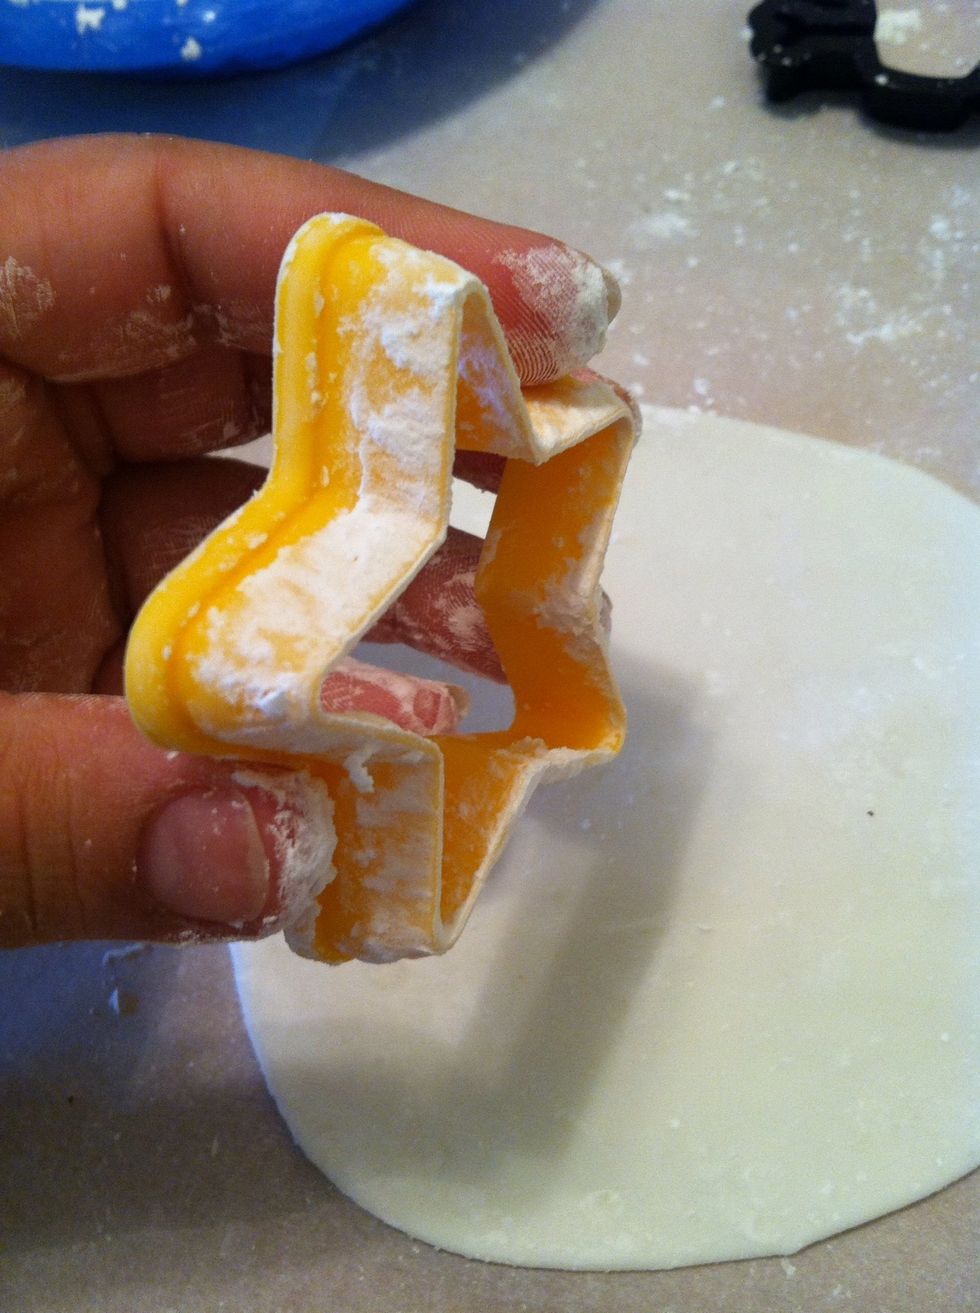
Flour your cookie cutter.
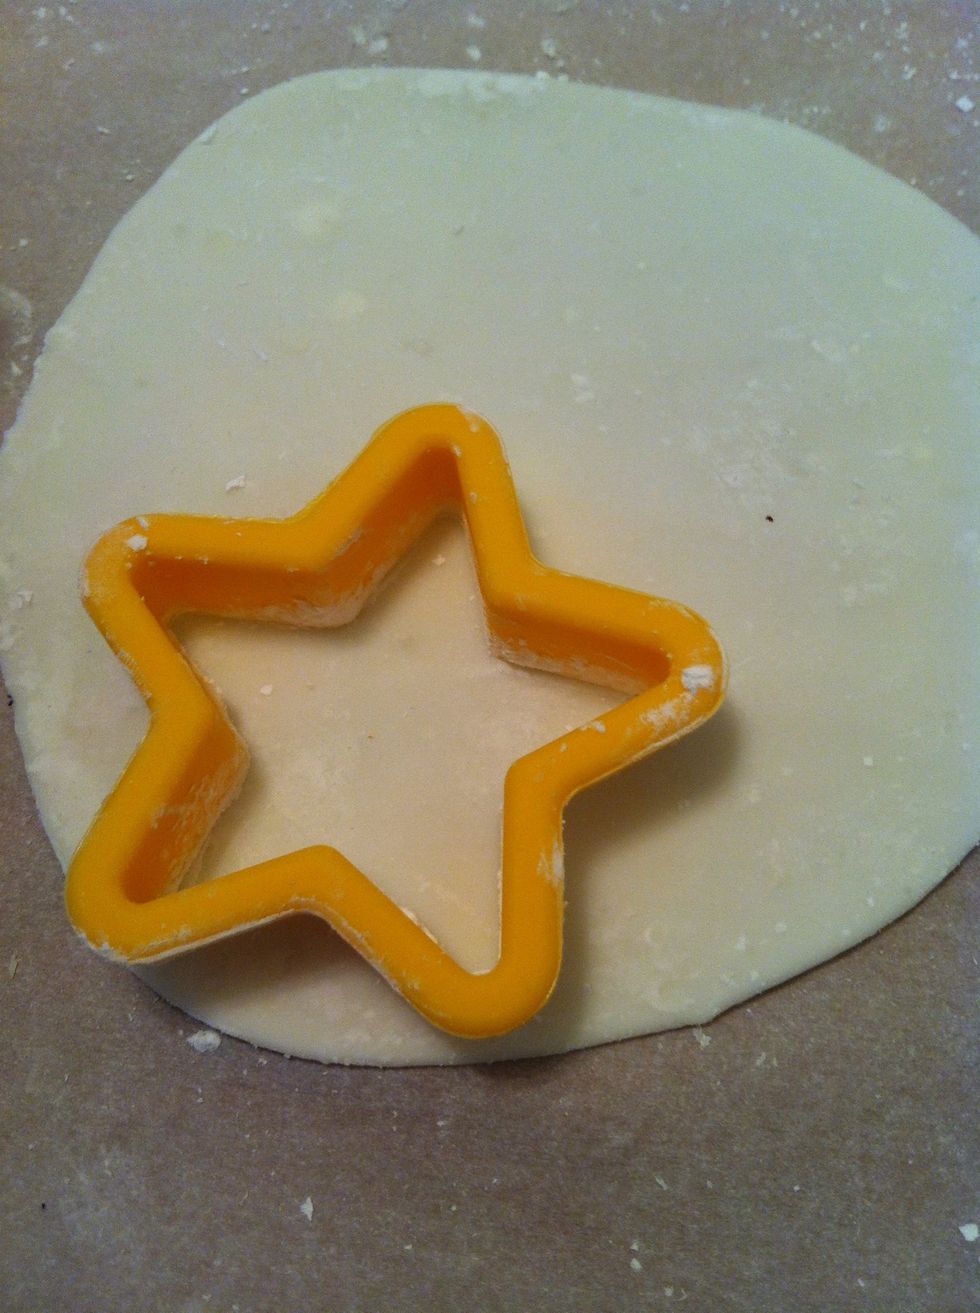
Lay it flat.
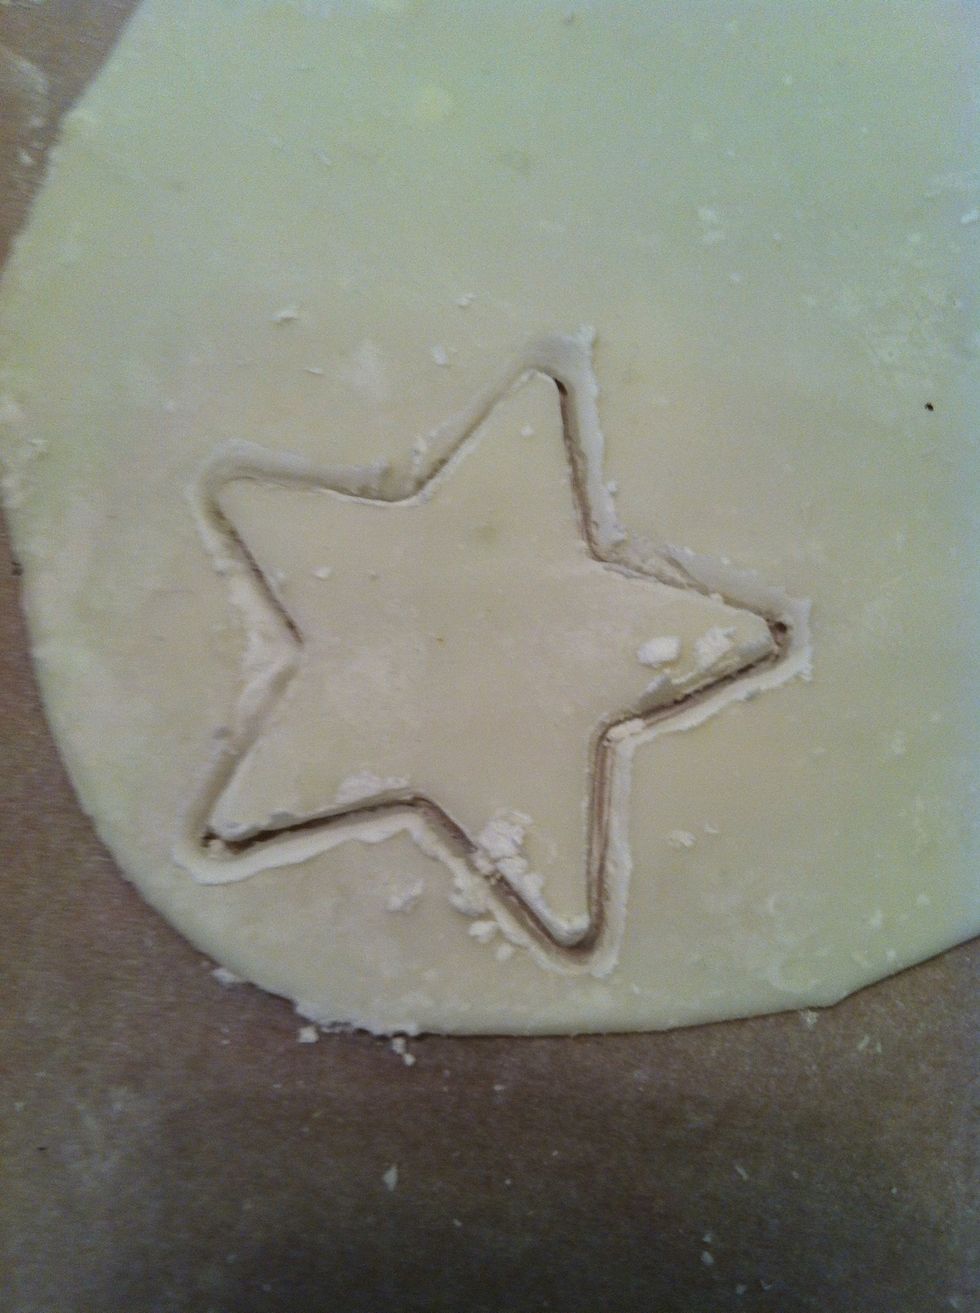
Push down with a flat palm and even pressure. Wiggle a very small bit.
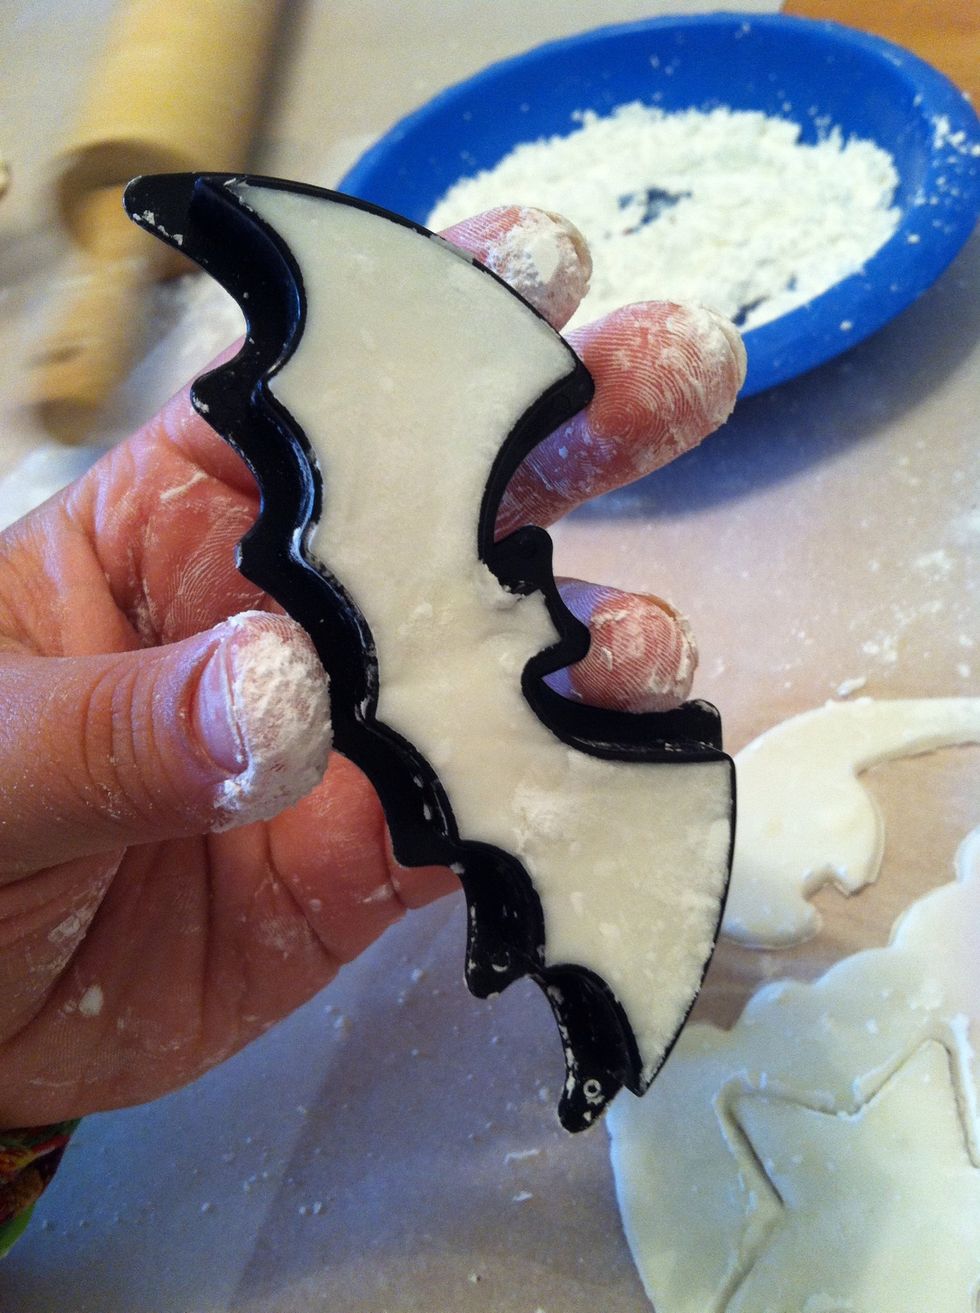
This was a cheepy plastic one from Walmart or the dollar store. It didn't hold the corn flour very well. It still worked but not as nicely.
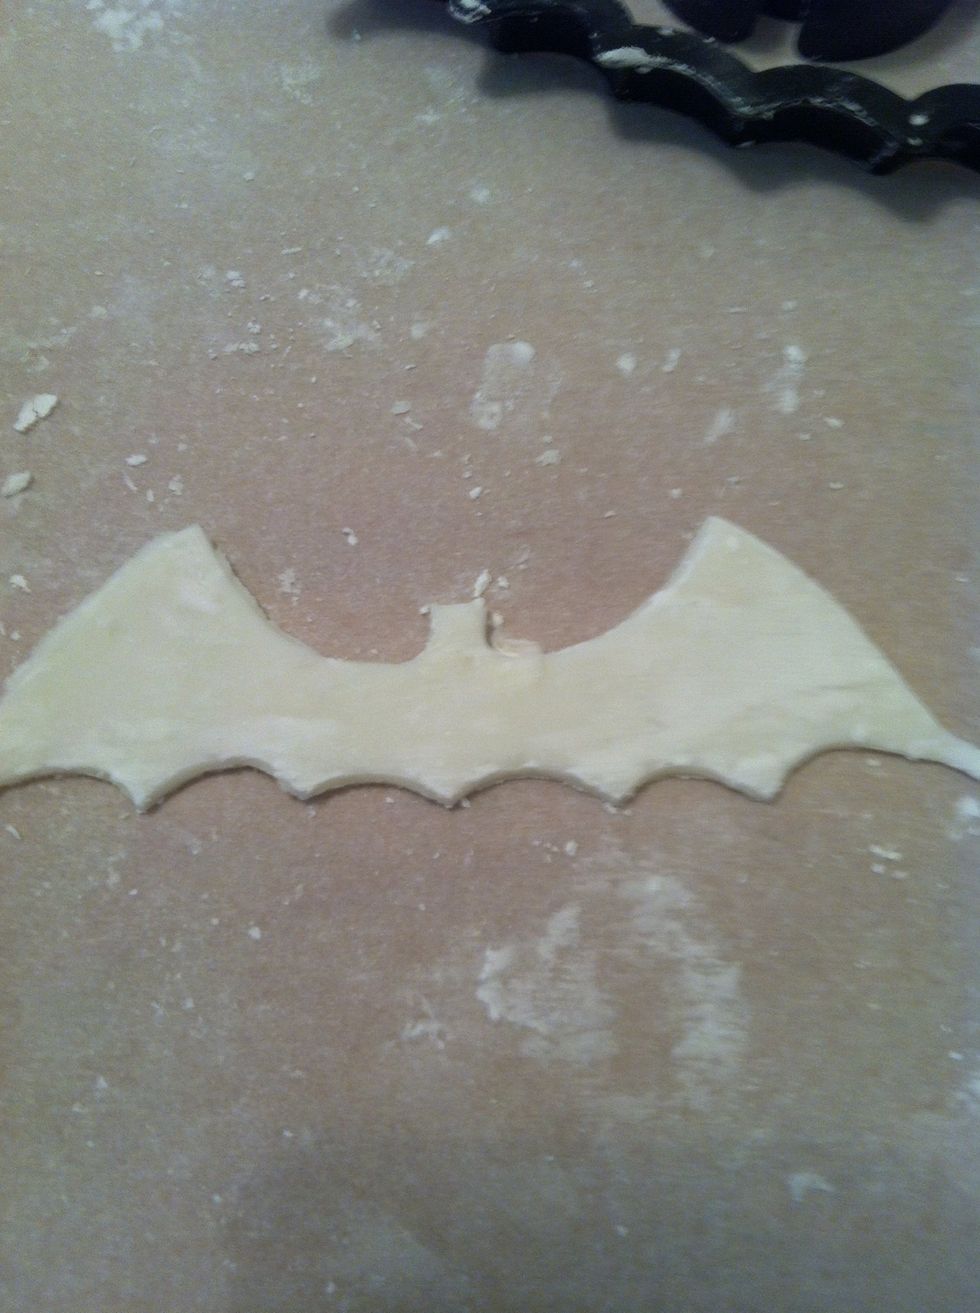
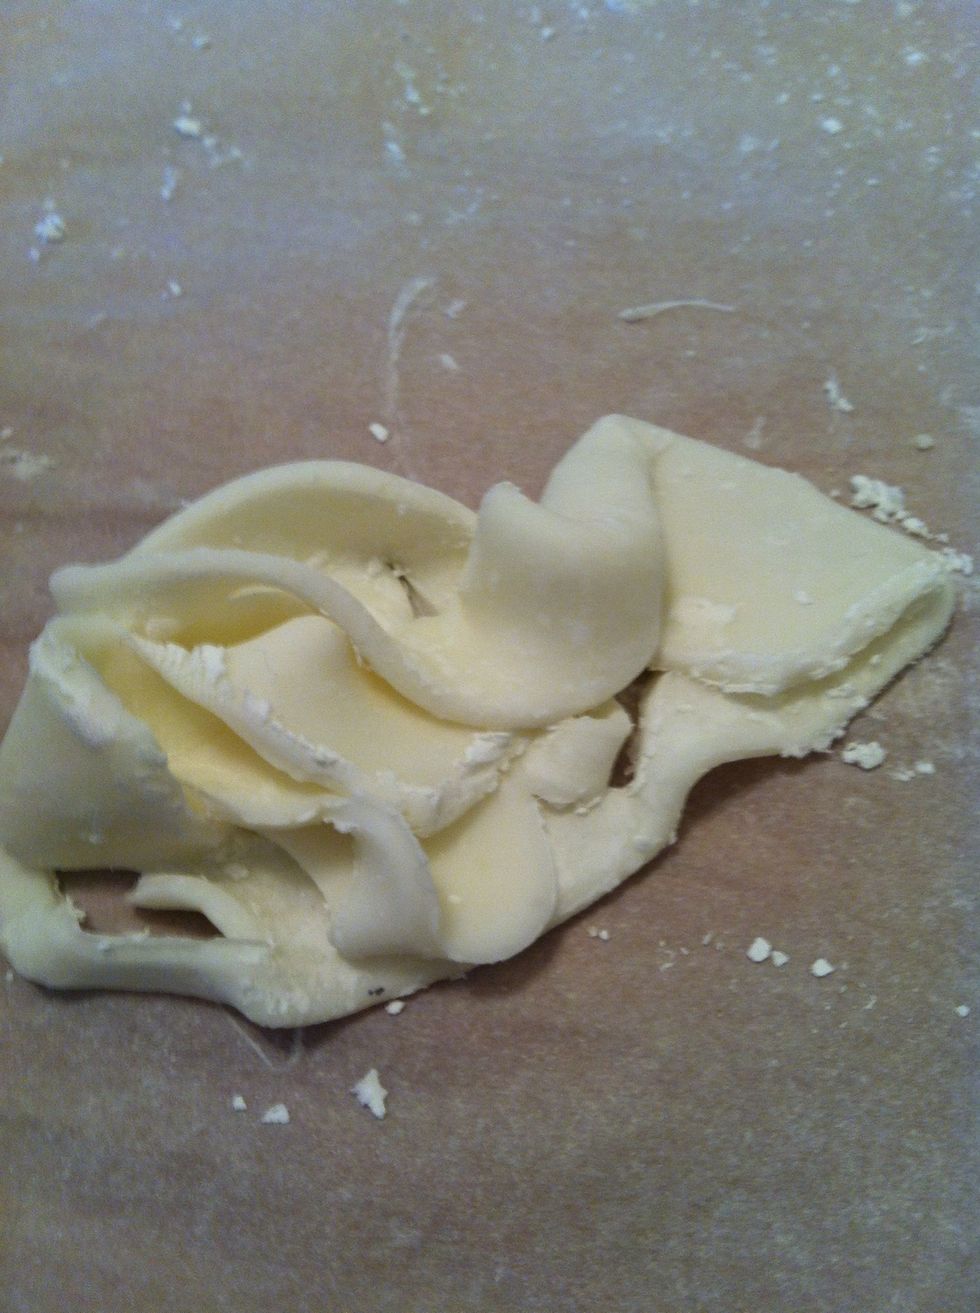
Remove your shapes and fold up your scraps to Reuse.

It's still making a teardrop pull, so it's not dried out yet. Doing good :)
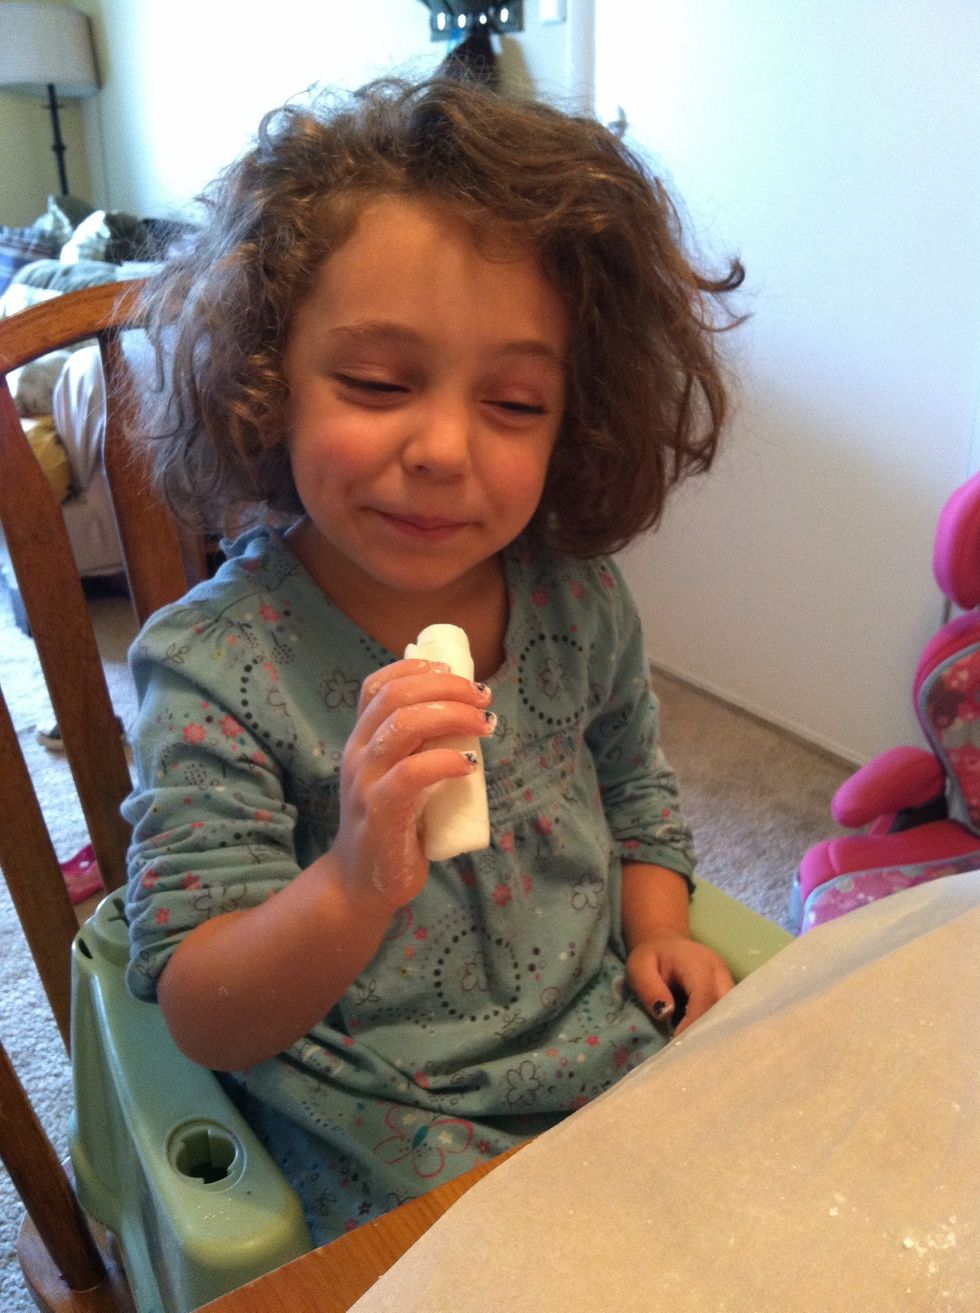
Reilee made a burrito lol
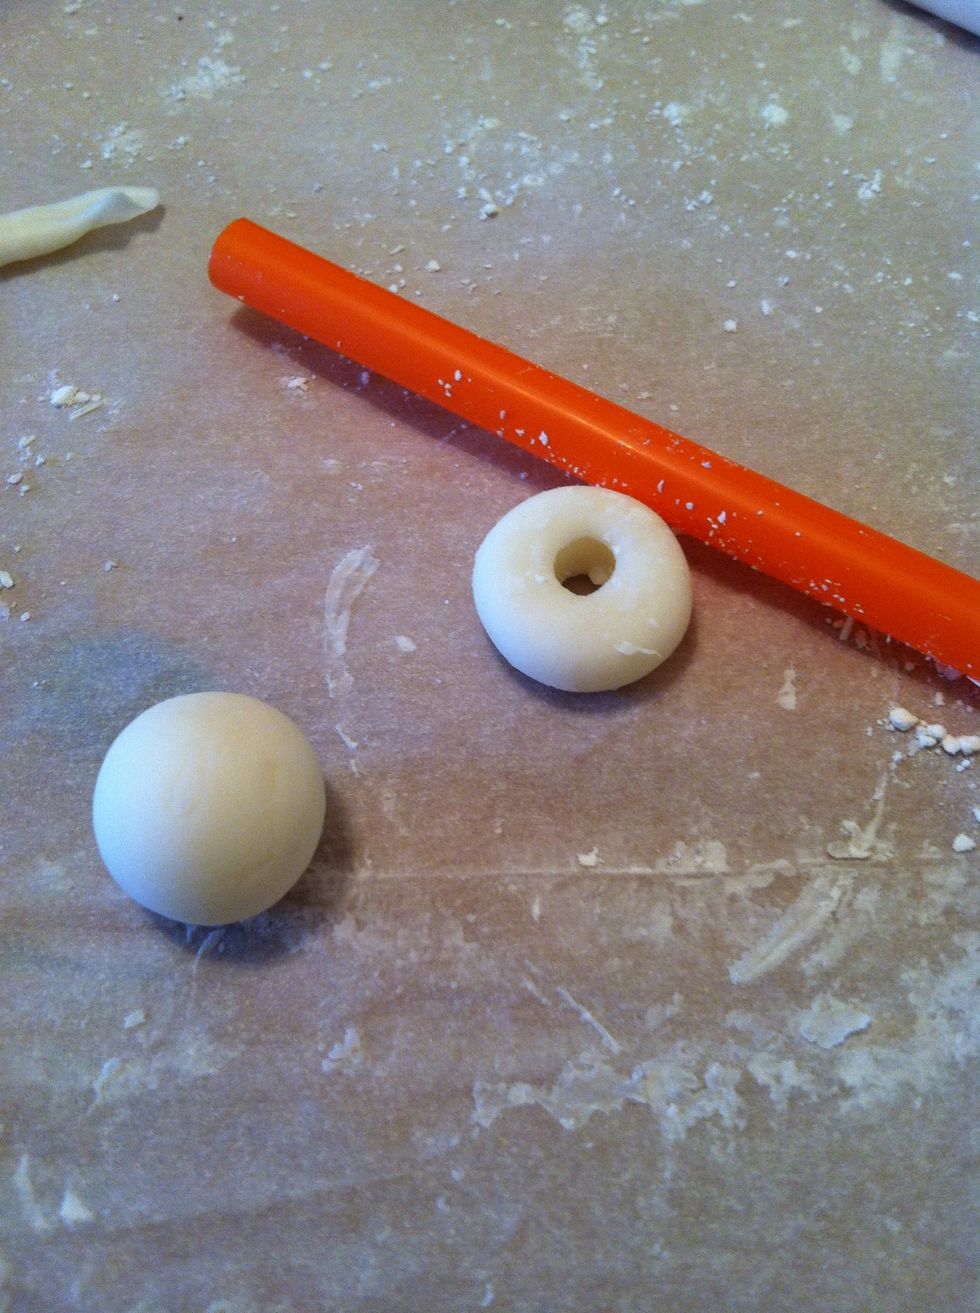
To make some thick bead washer like beads. Roll, insert straw, flatten slightly.
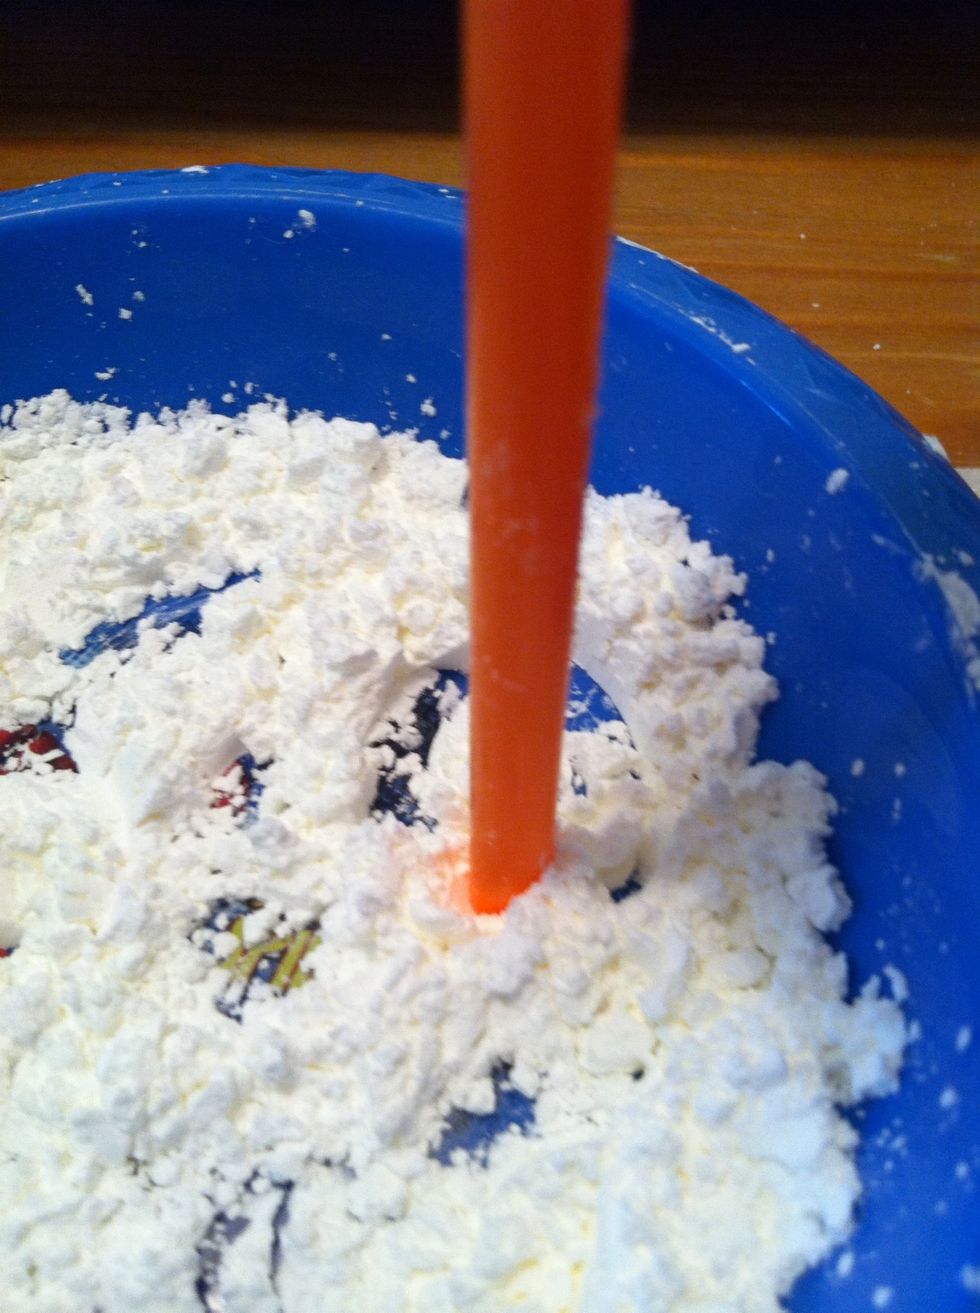
Make sure to flour the straw.
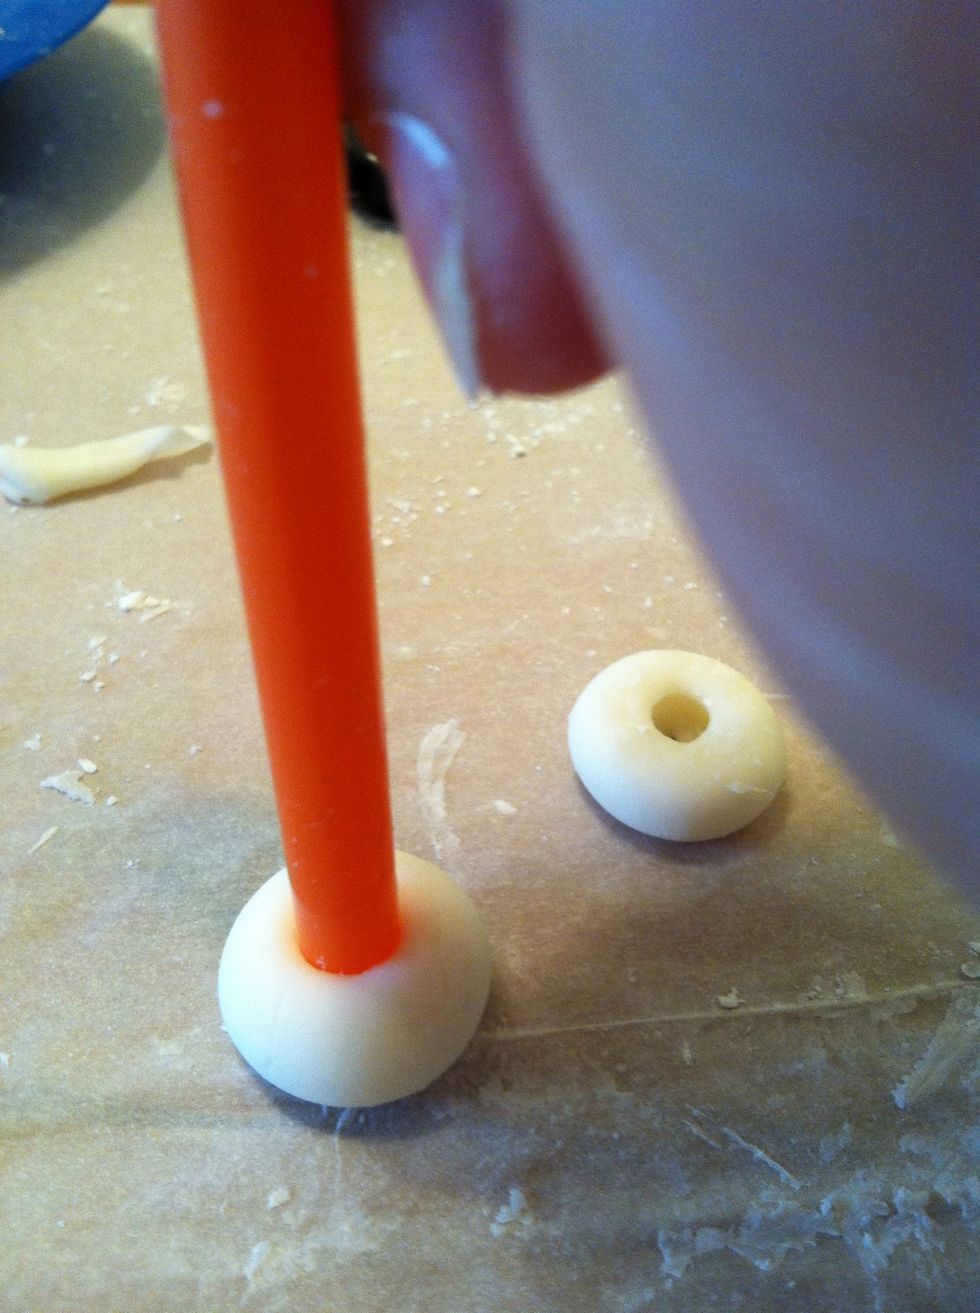
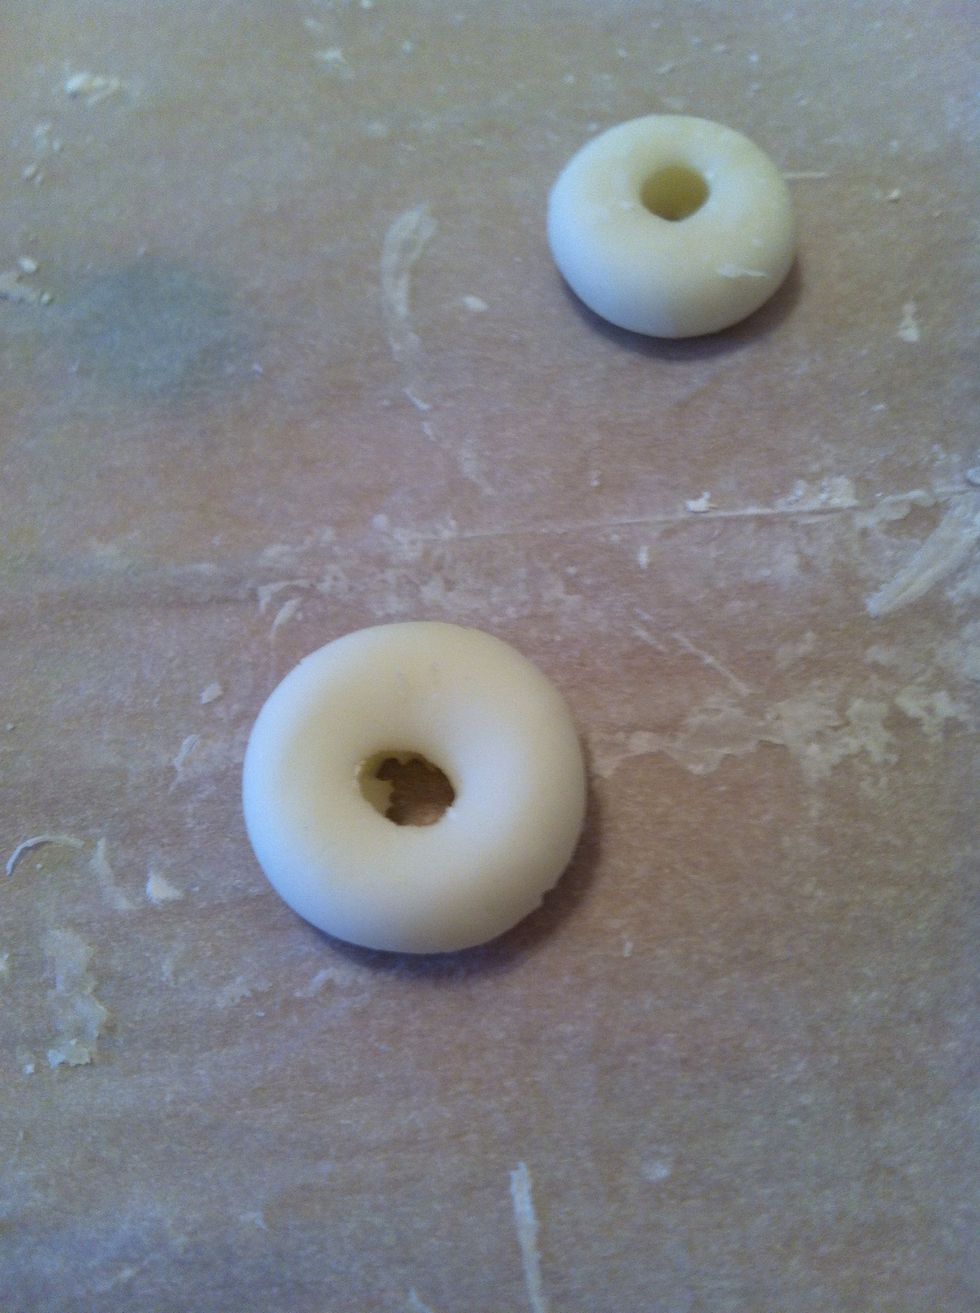
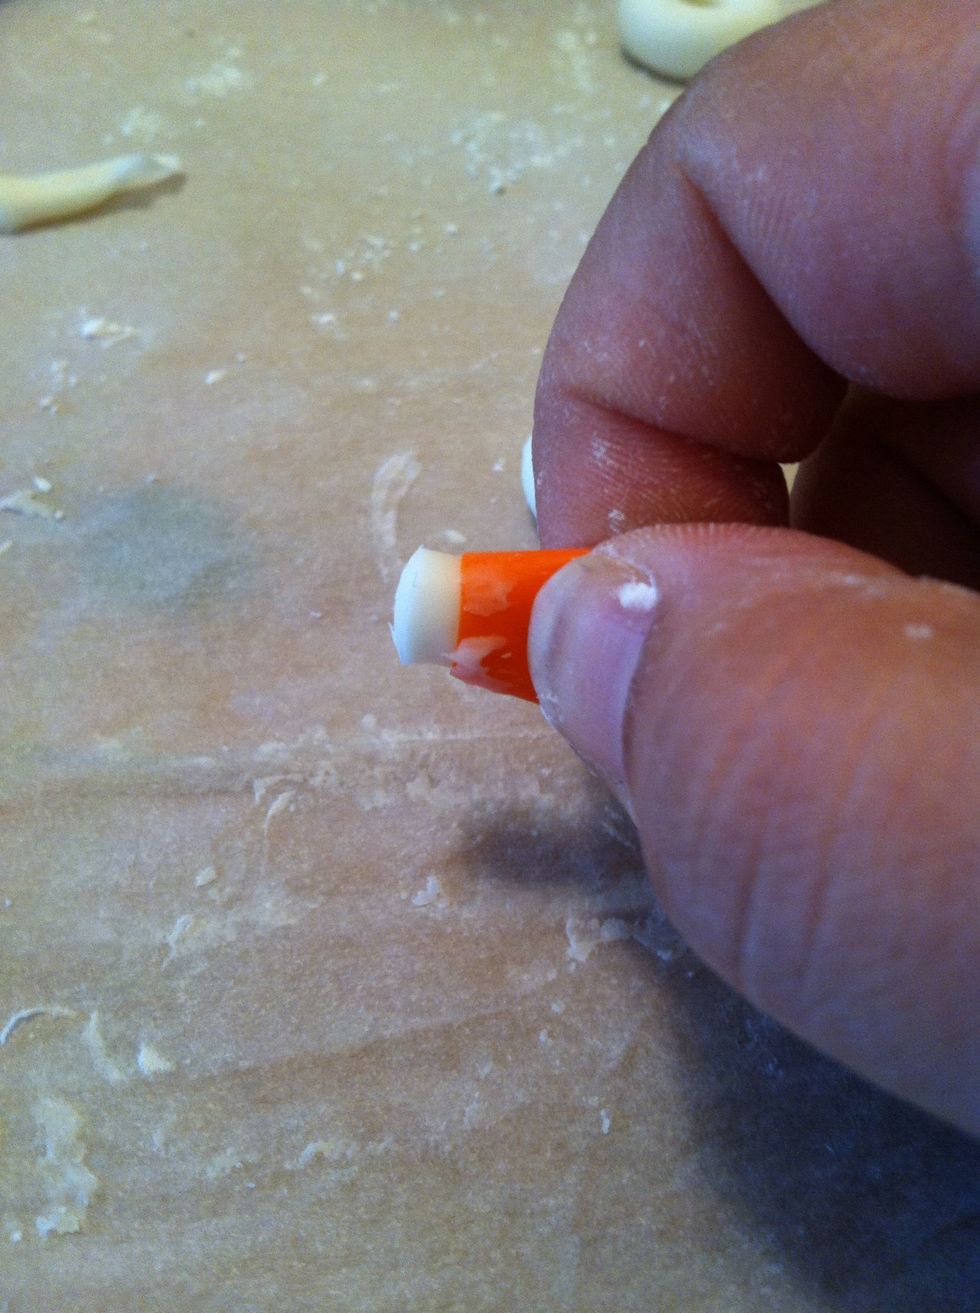
When done pinch the straw right above where the 'clay' is and push.
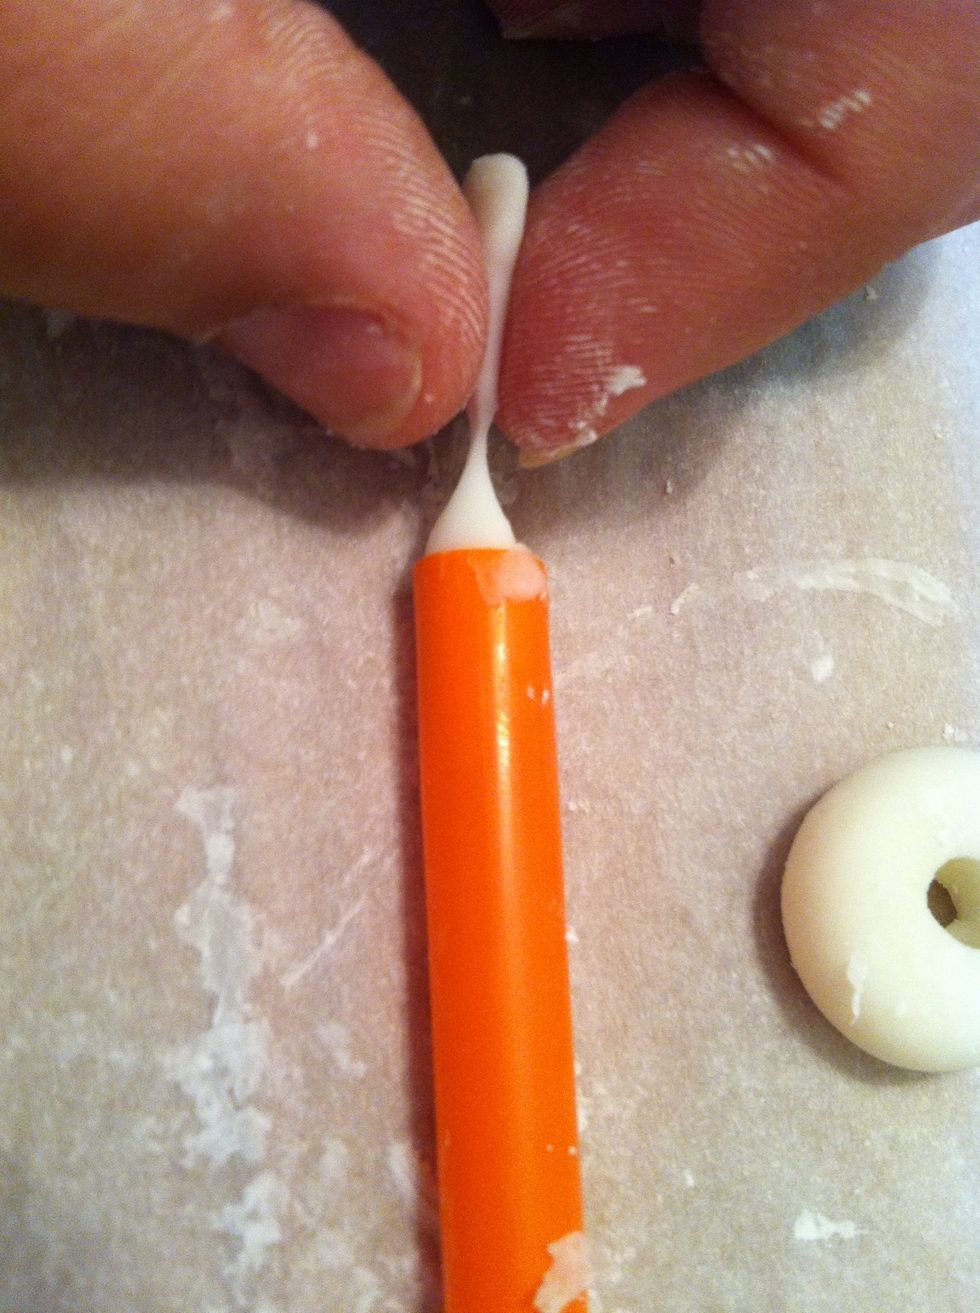
Pull it out. Sometimes this works better than others. Especially if you floured.
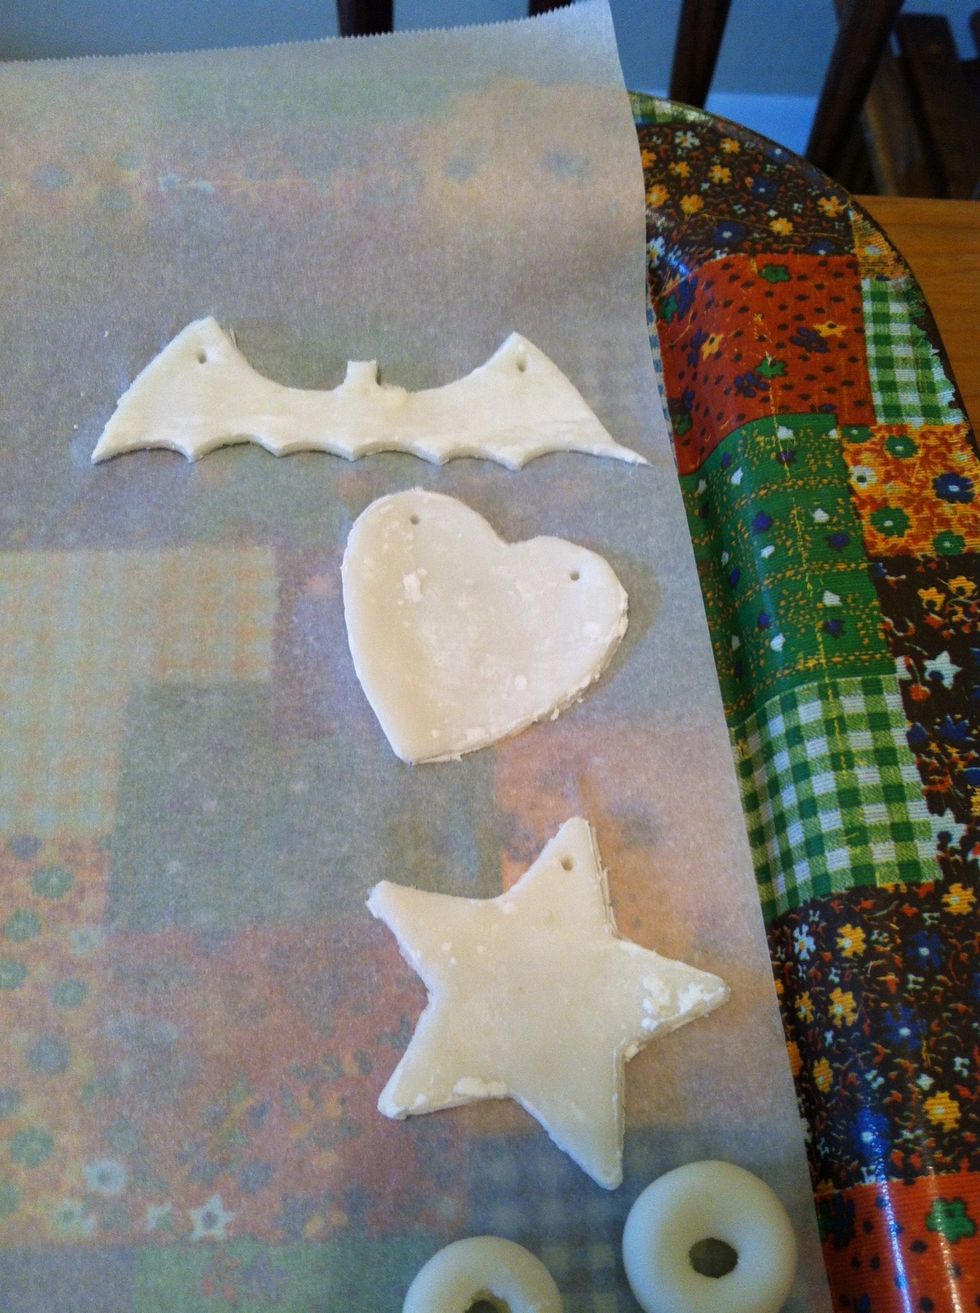
Add holes before they dry.

You can use the 'clay' to make stamps for future projects.
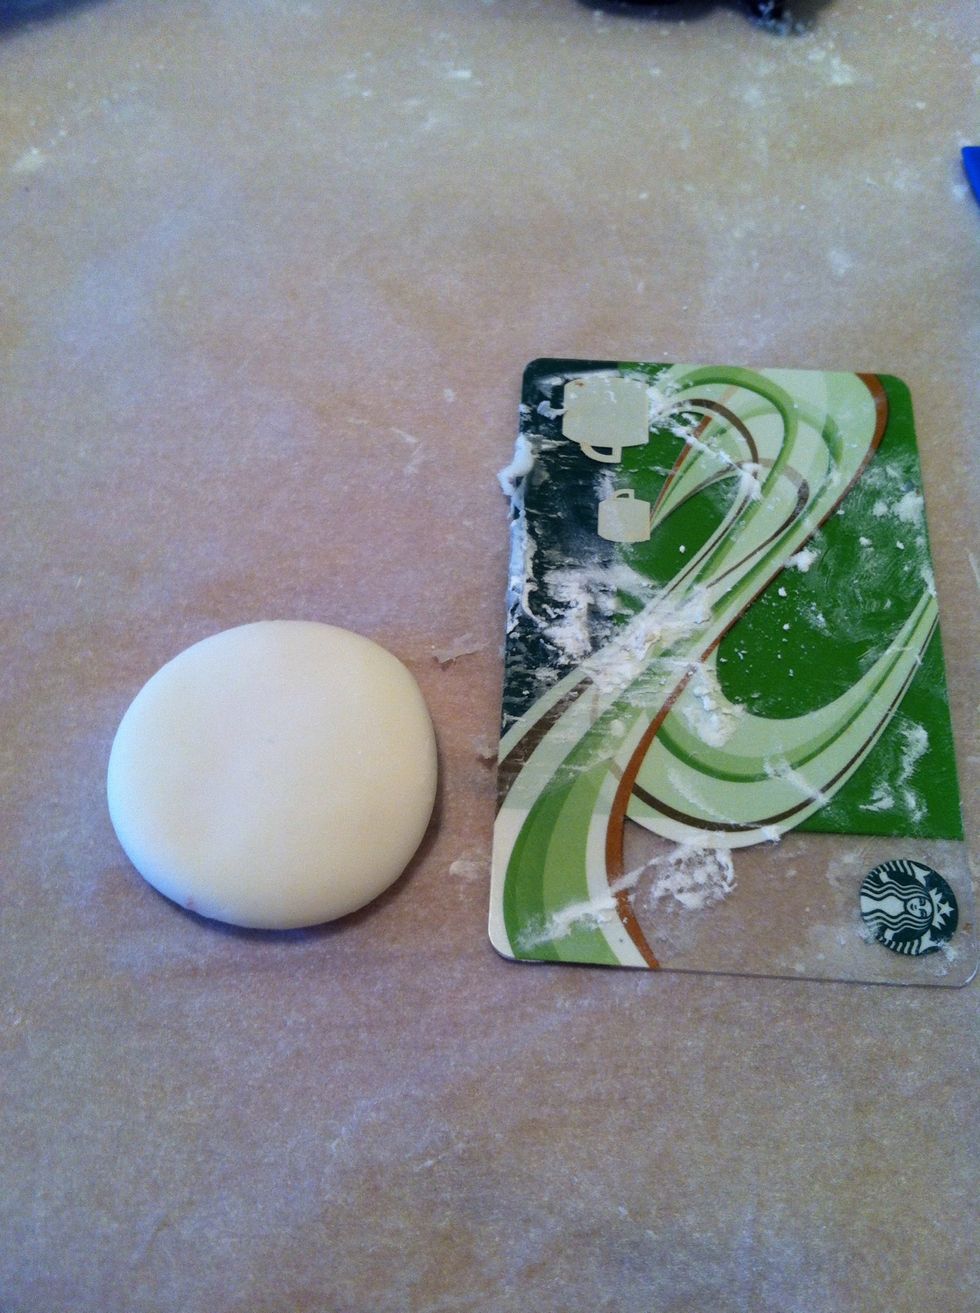
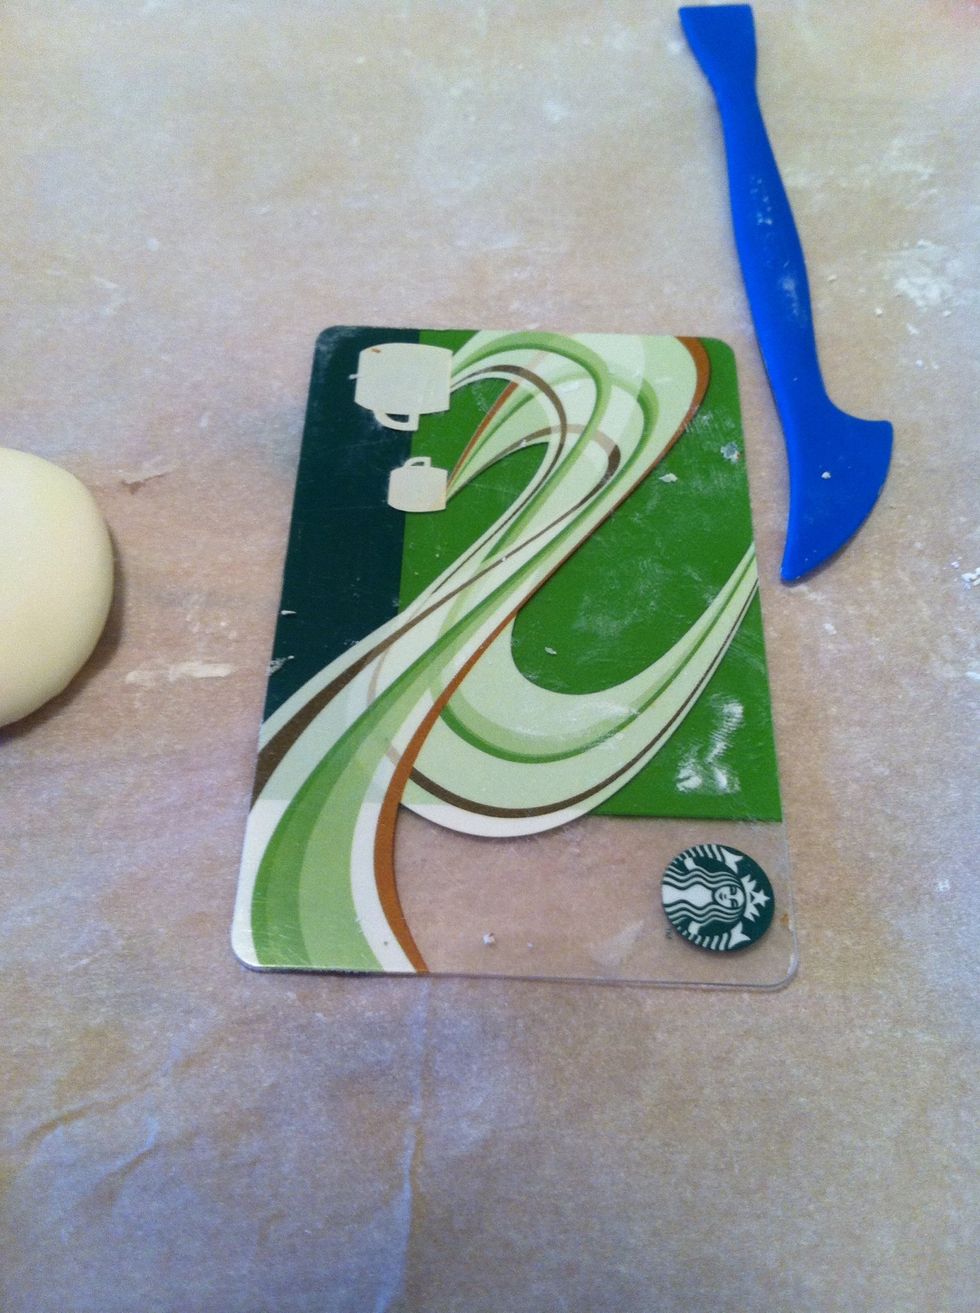

Make a design, any design. If you mess up just start over, as long as you don't add too much corn flour it's very forgiving.
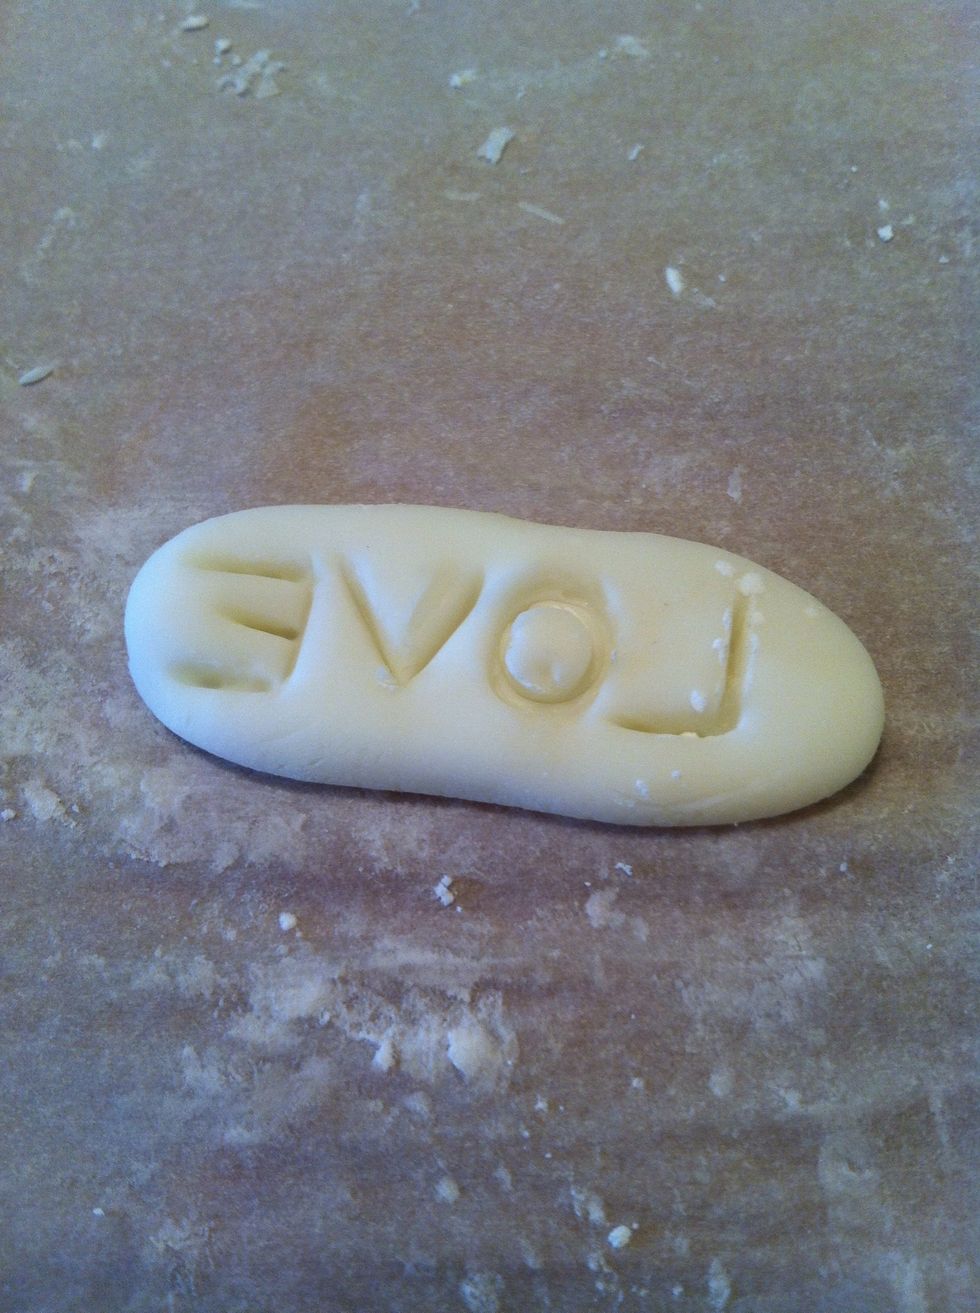
Remember if you make words to rite it backwards.

To color it you have two or three options. 1 is the marker technique. You can use any kind of marker. Many people suggest washable markets but I had no trouble with permanent.
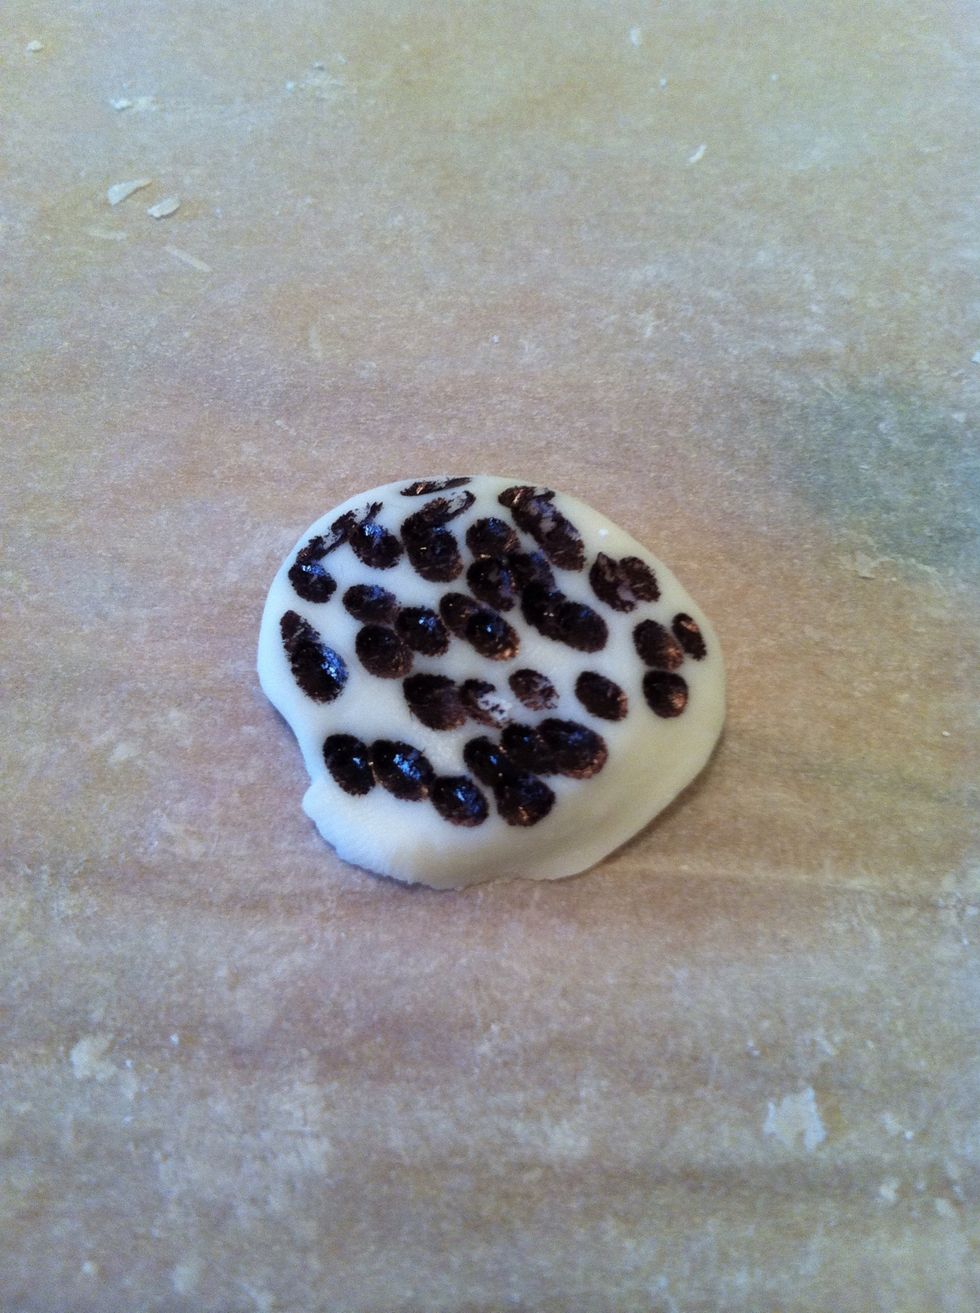
Simply dot your piece of 'clay'

And kneed. This was after 1time, see the difference. This method will dry more opaque but still slightly translucent. The depth of color won't change much.
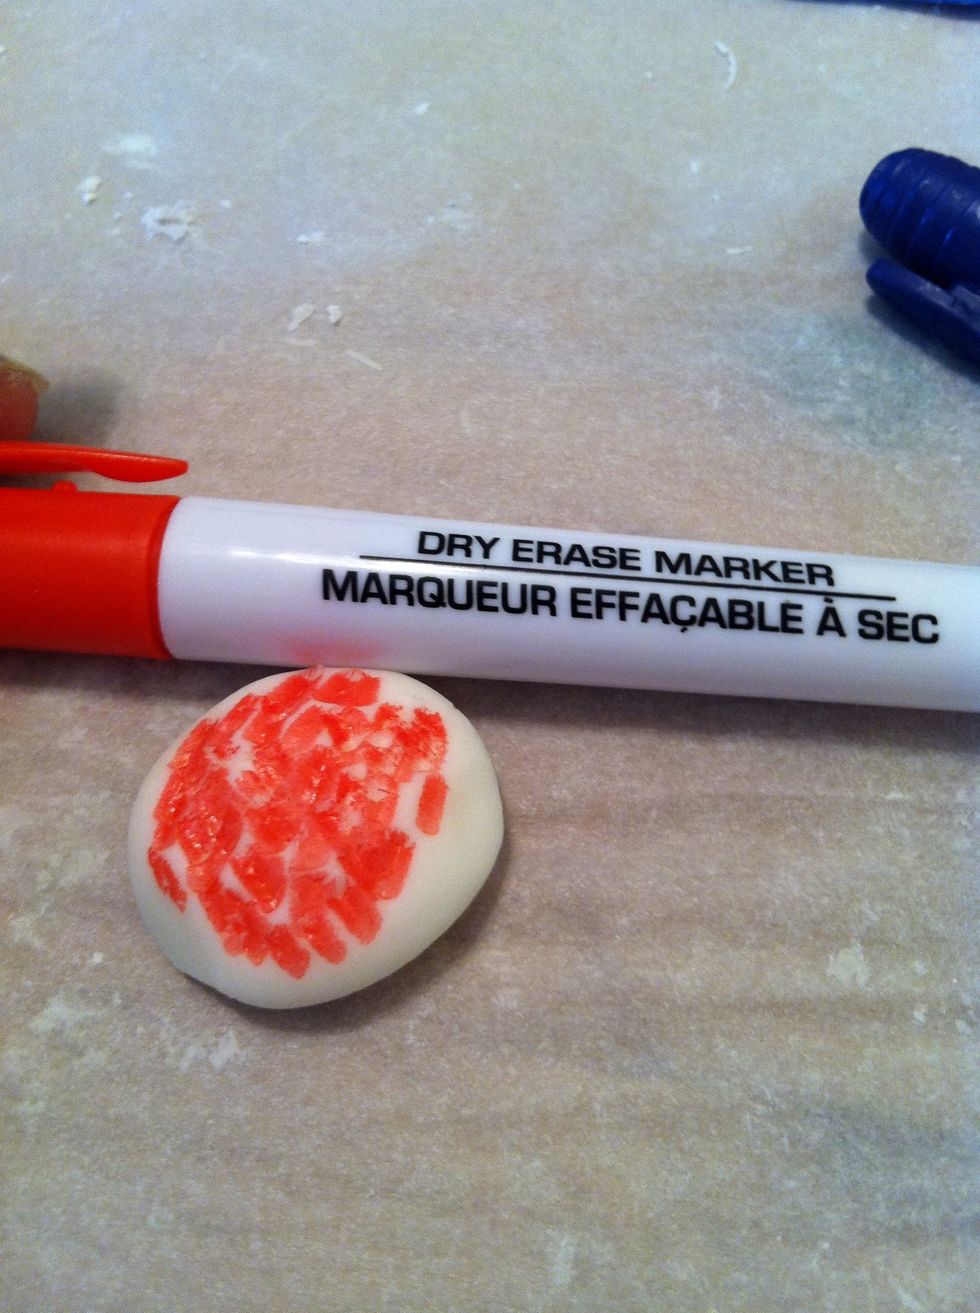
I tried it with dry erase also. It worked fine.

The second method is acrylic paint.
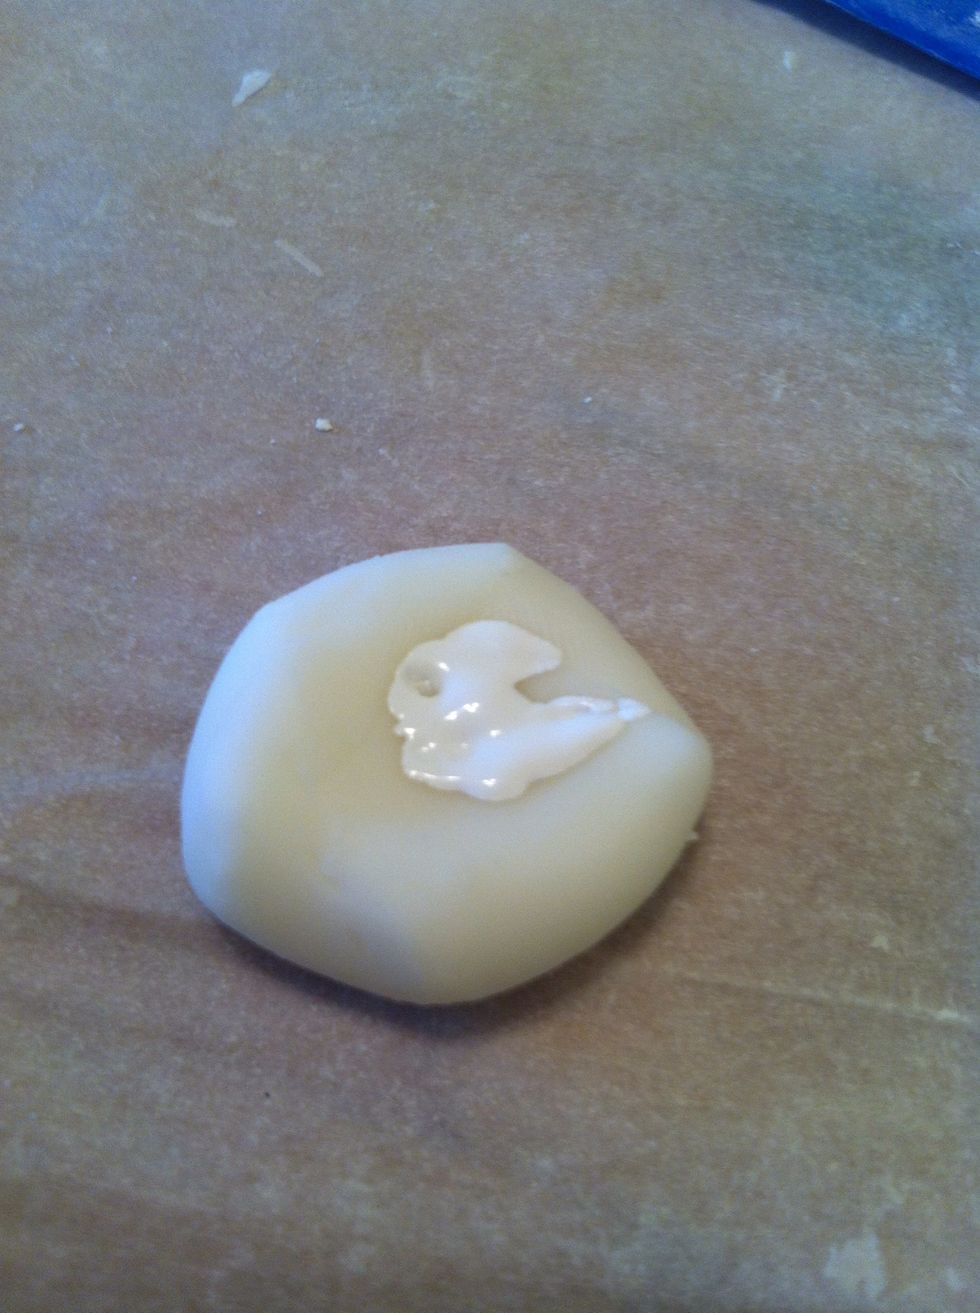
You only need a dot of it. I suggest white first for good coverage. If you do just white it'll dry opaque.
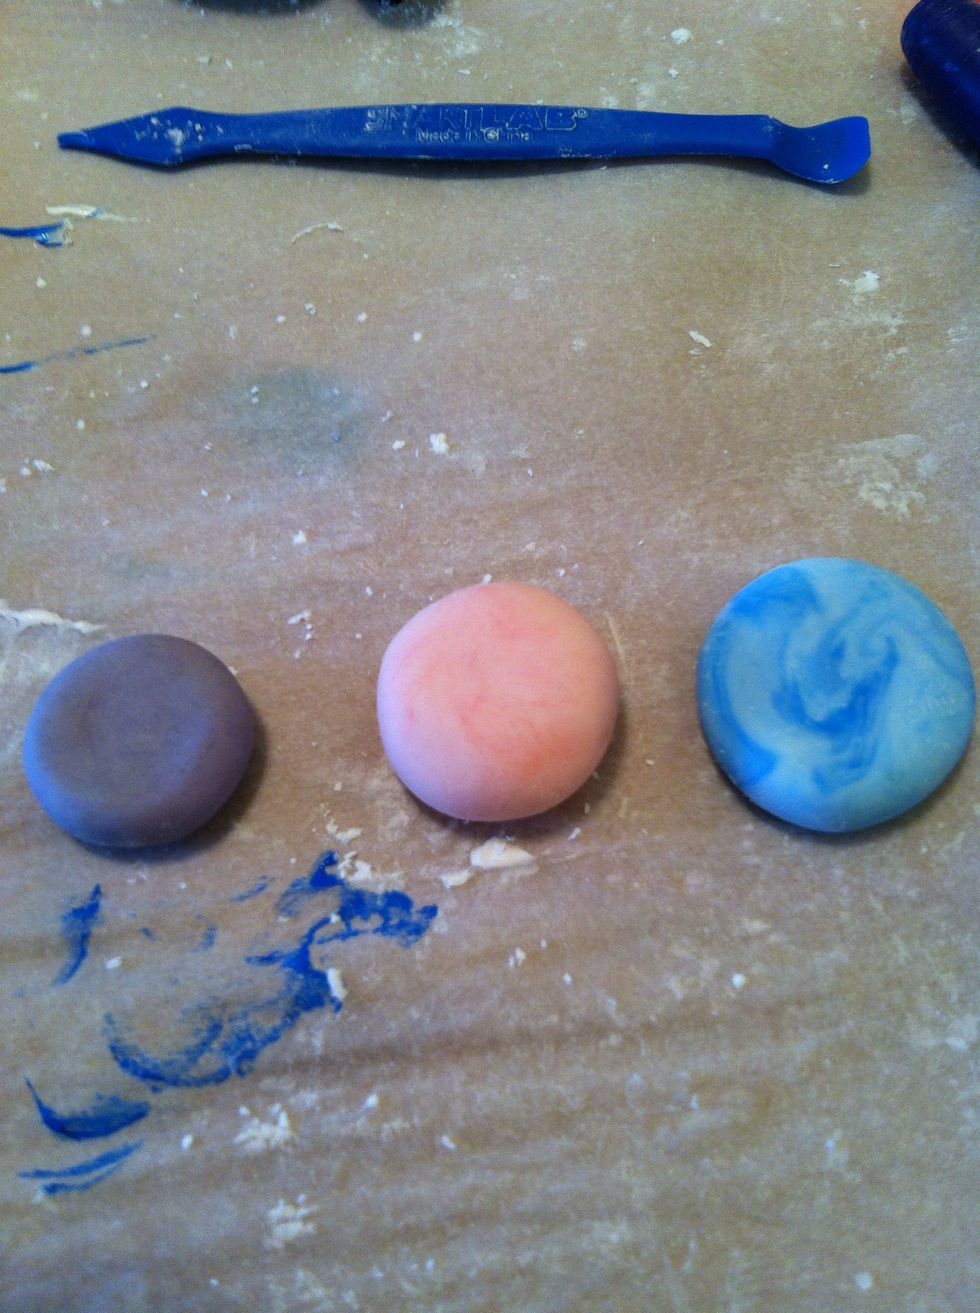
Here are the three when I was done. I left the blue marbled on purpose. I did the black twice and added a little red, to make a deep purple.

Make something. This isn't very good I was in a hurry lol.
Set all your pieces on parchment paper and set somewhere out if the way.
To anyone who read the tip on laying a magazine on top to stop curling... ❌🚫❌ scratch that! Lol the pieces didn't dry after 3 days or so. That's what I get for tipping before I test! Sorry!
The creator of this guide has not included tools
Rane Body Decor
I love finding new ways of doing the same ol' thing. Making things is my passion. \nFollow me for food, crafts and tips on an assortment of things.
Knoxville, Tennessee
The Conversation (0)
Sign Up