The Conversation (0)
Sign Up

Cut the inner piping bag which contain the cream clay. Remember just to cut a small opening so that the cream clay could come slowly.

Place the tip in-between two piping bags and then cut a small opening of the outer piping bag.
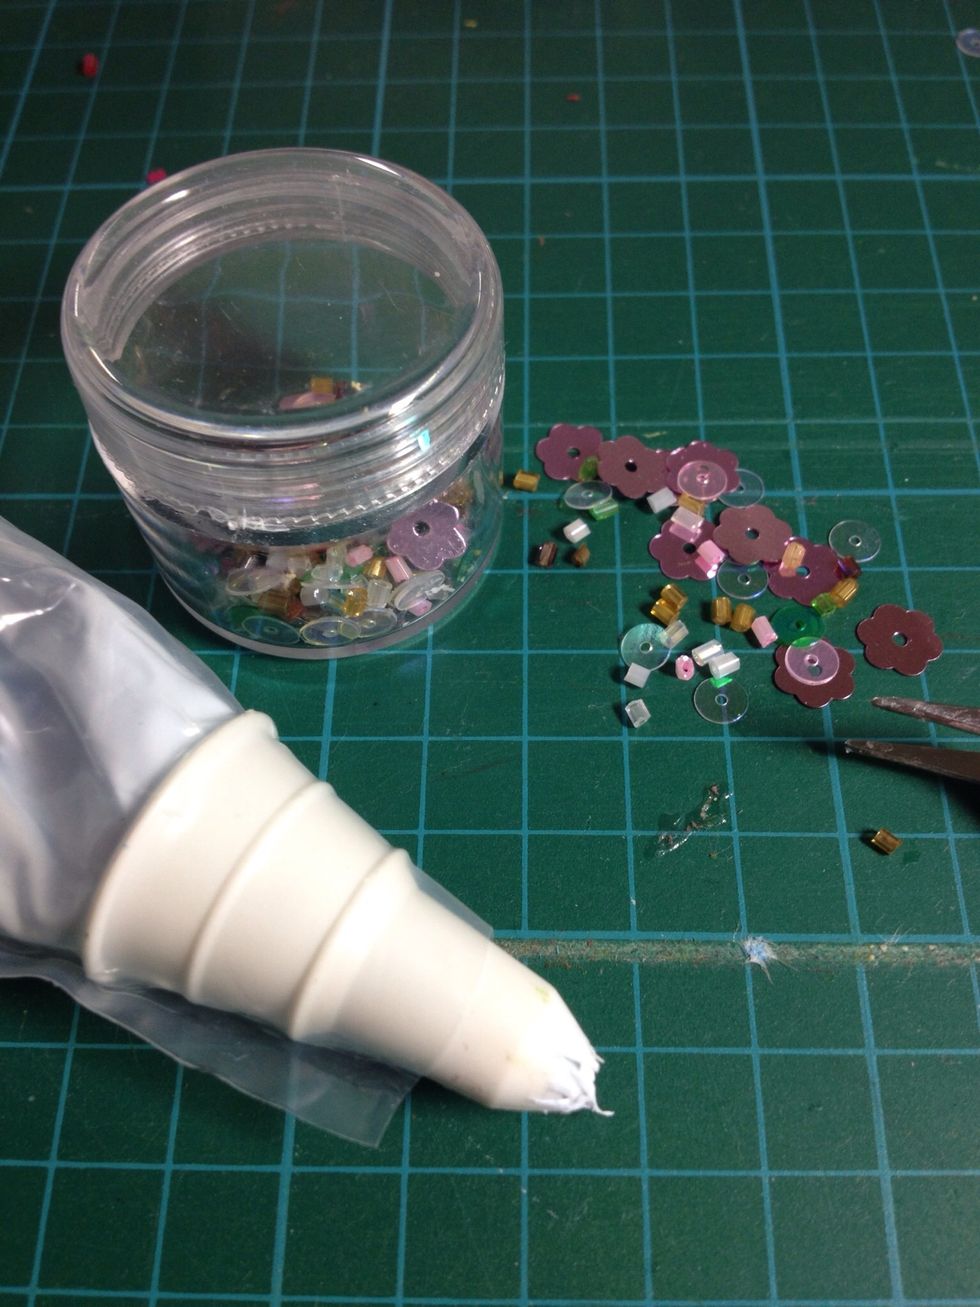
Get the other materials ready.
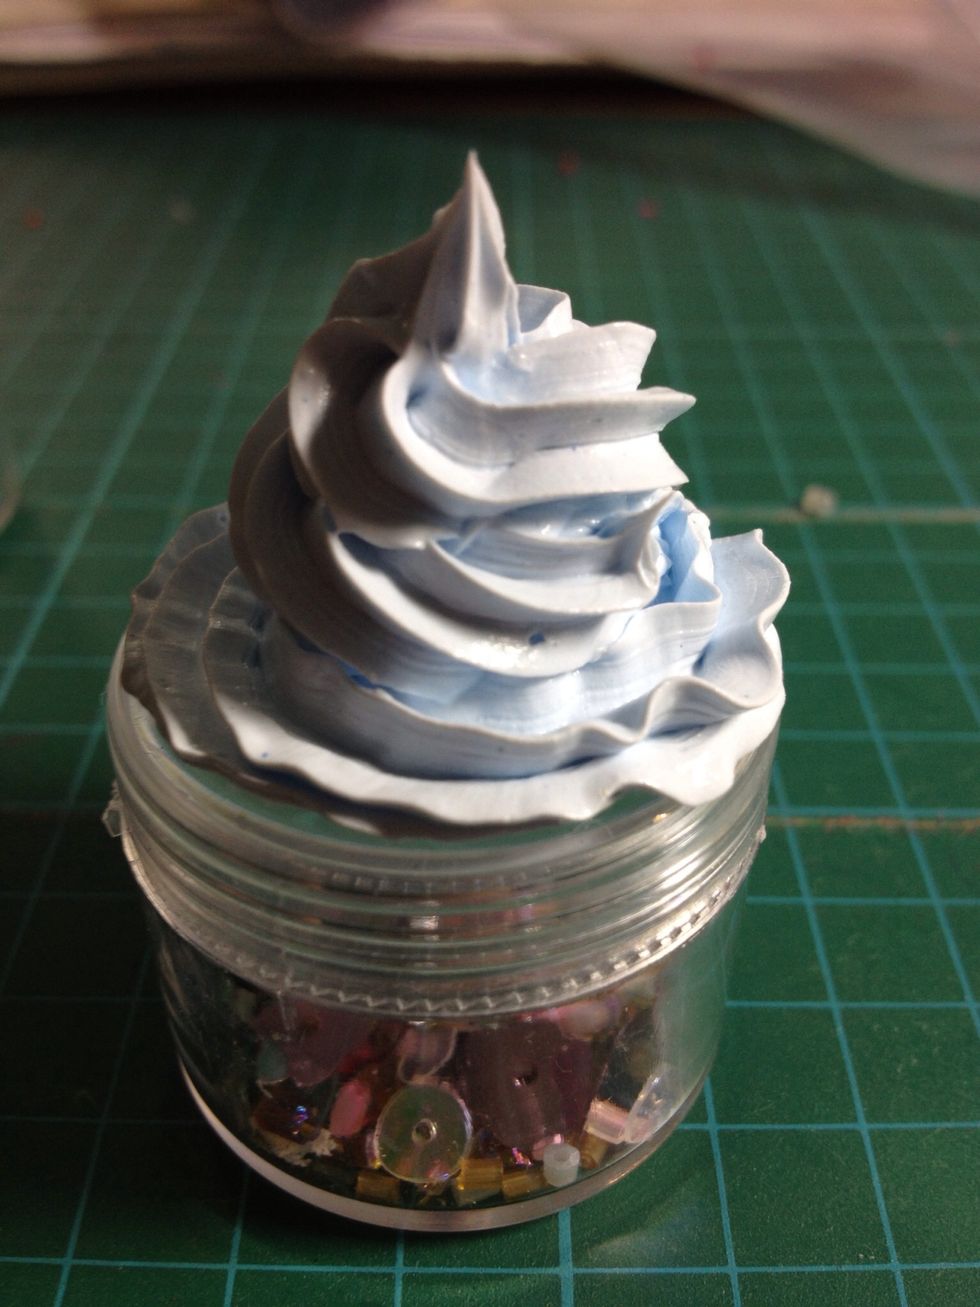
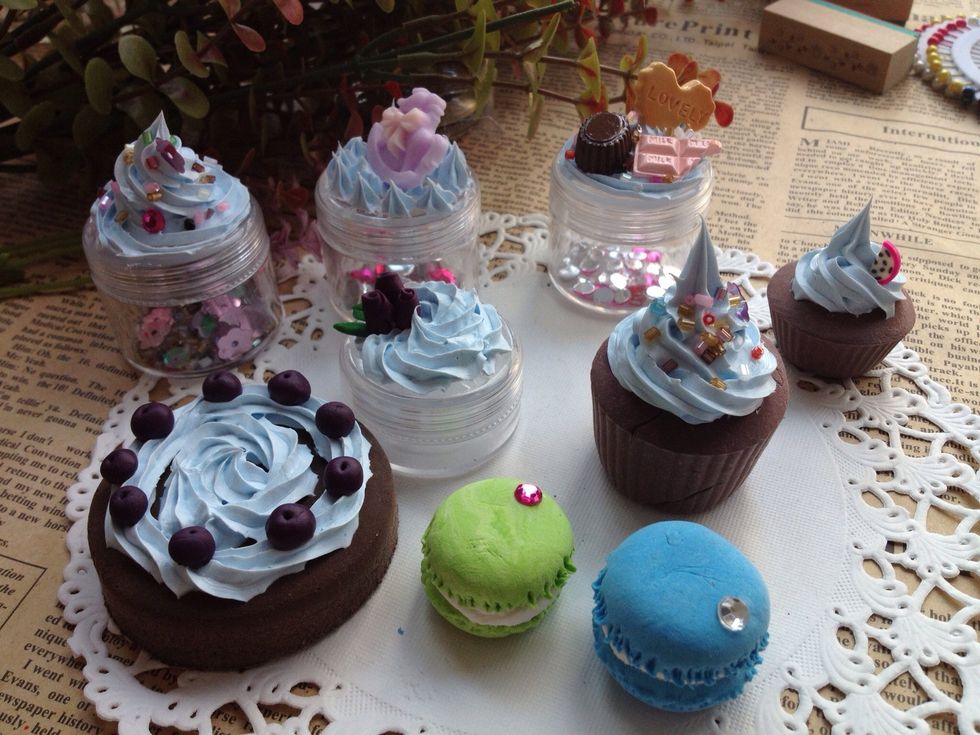
This is whipped cream in cone style. The tips to make a nice cone shape is slowly squeeze the cream clay out from the tip.
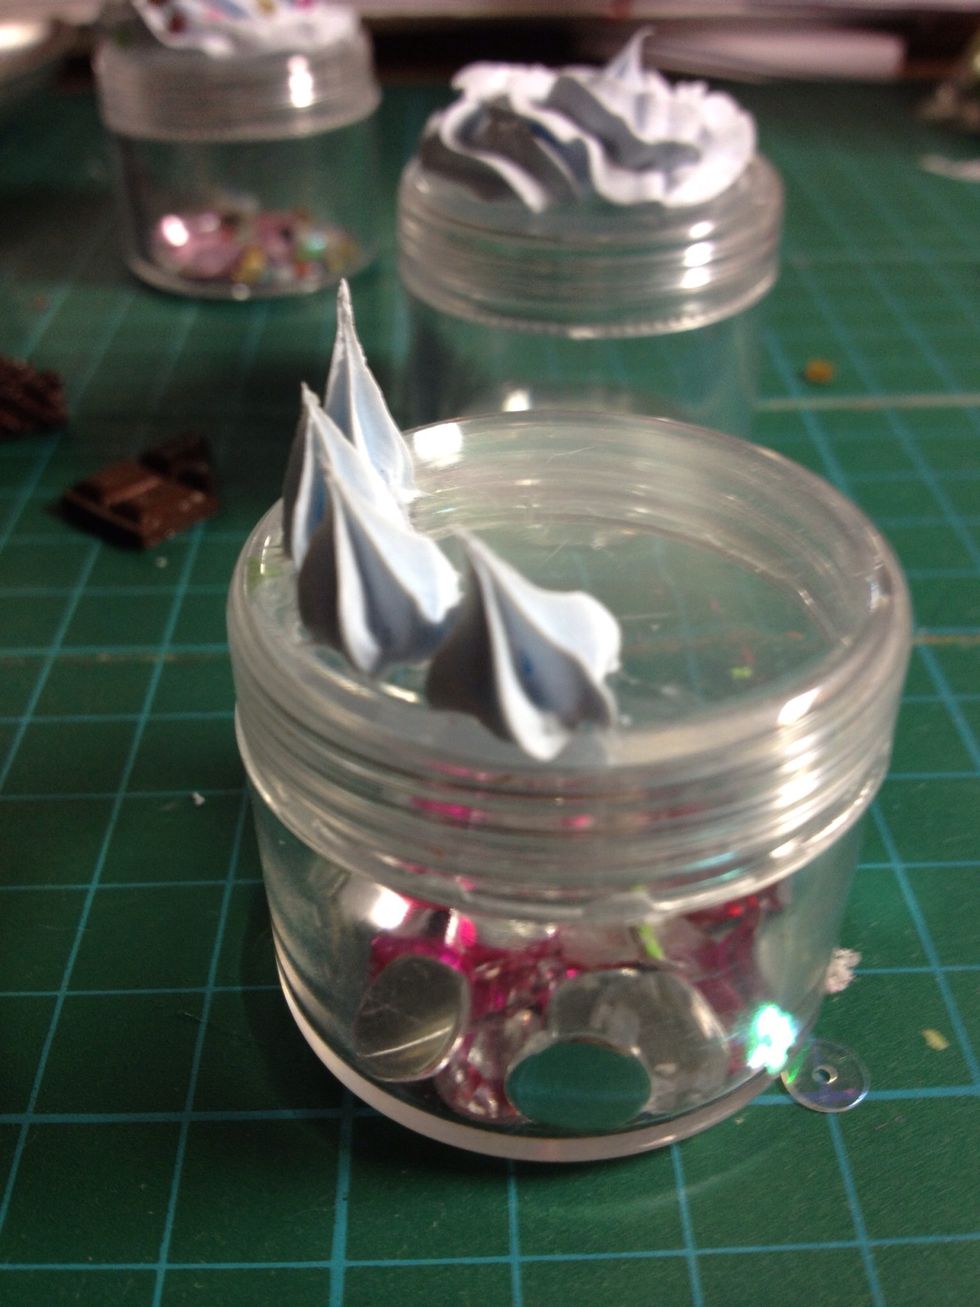
This is whipped cream in flat style.
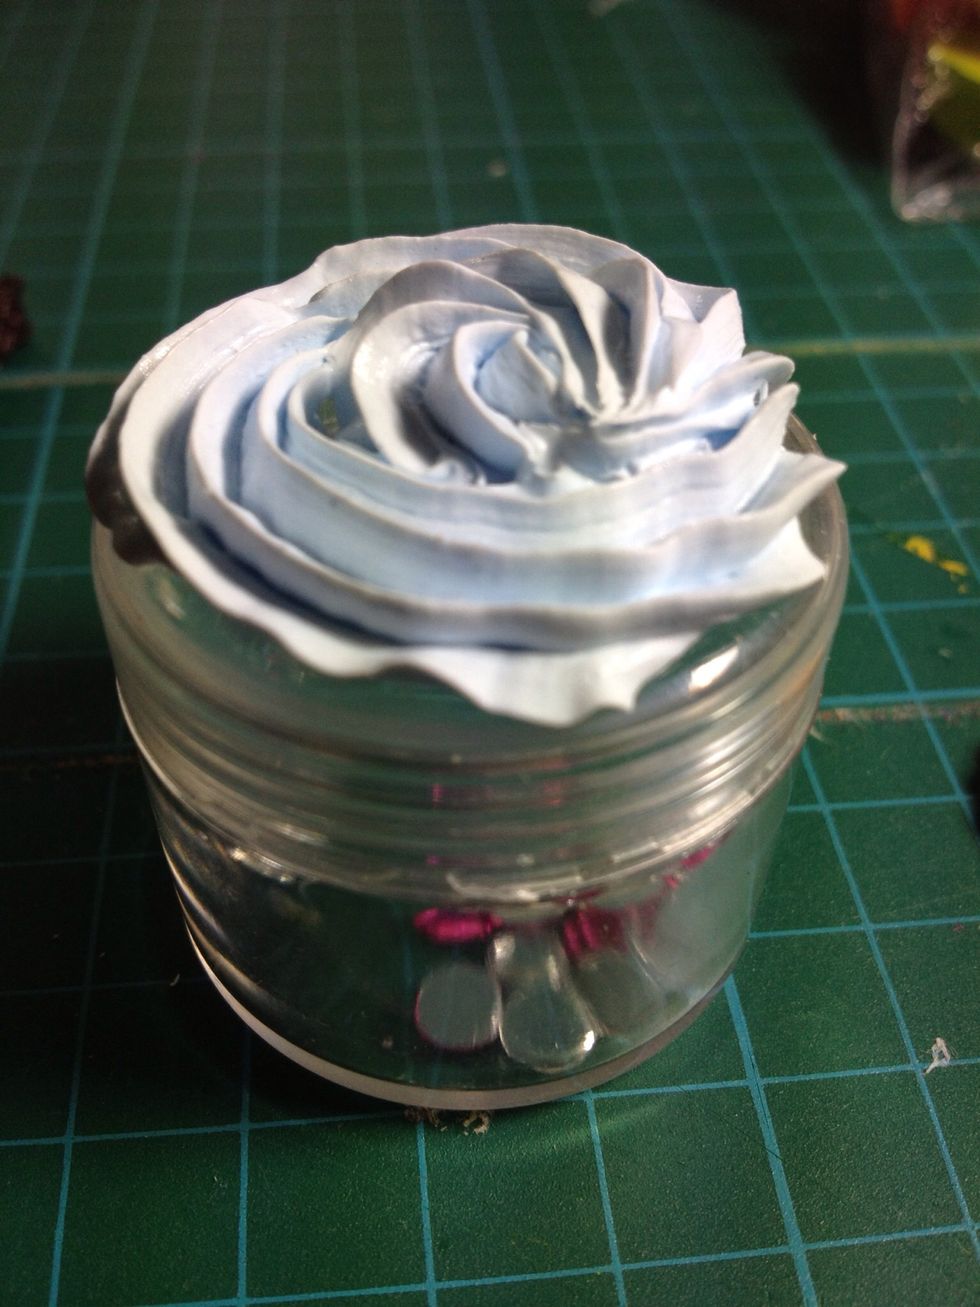
This is whipped cream in cream head style.
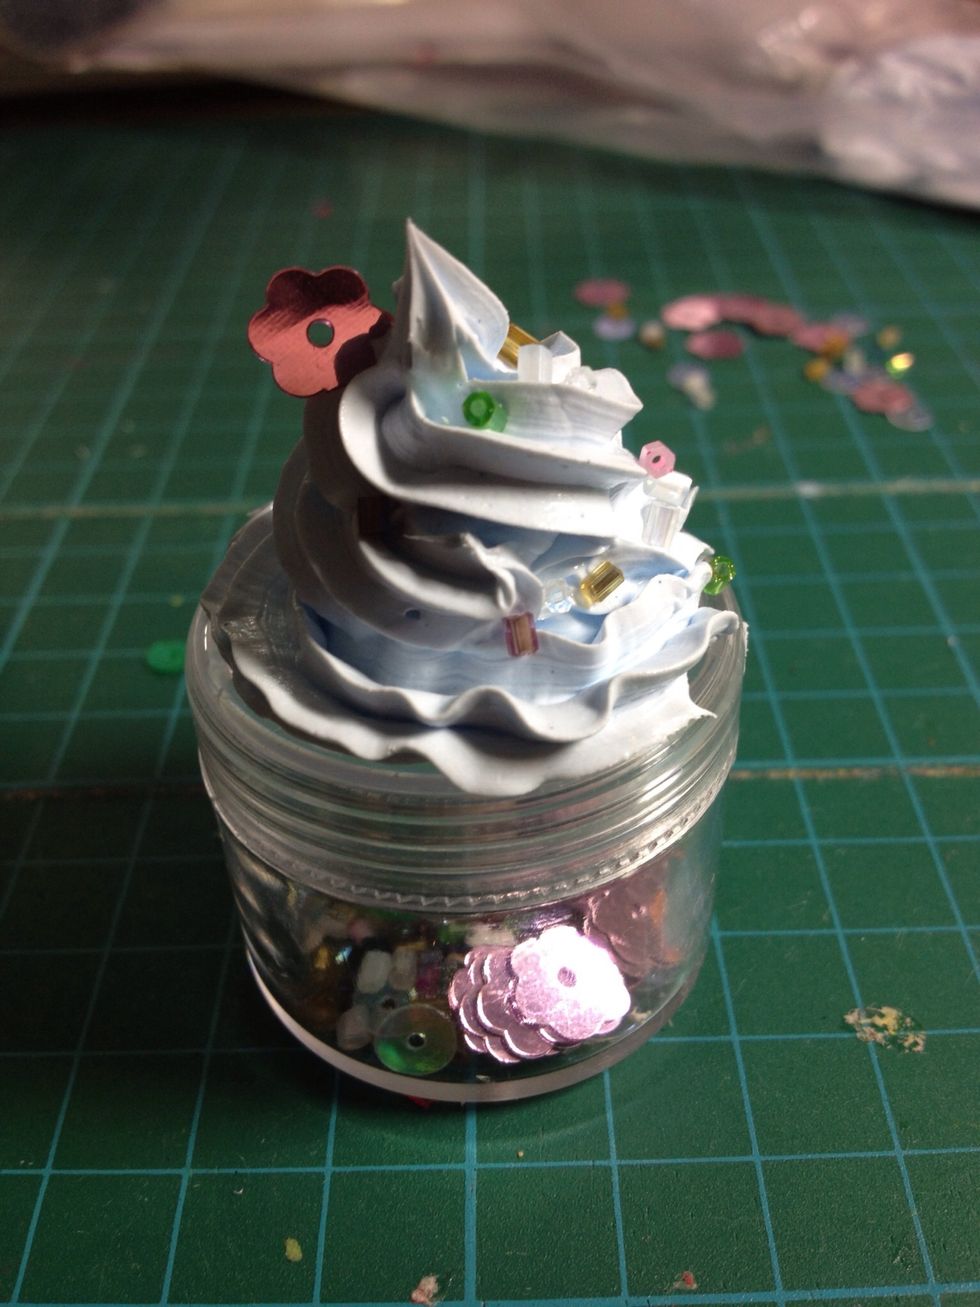
Then, we could apply different decoration such as cabochon, beads and sequins etc.
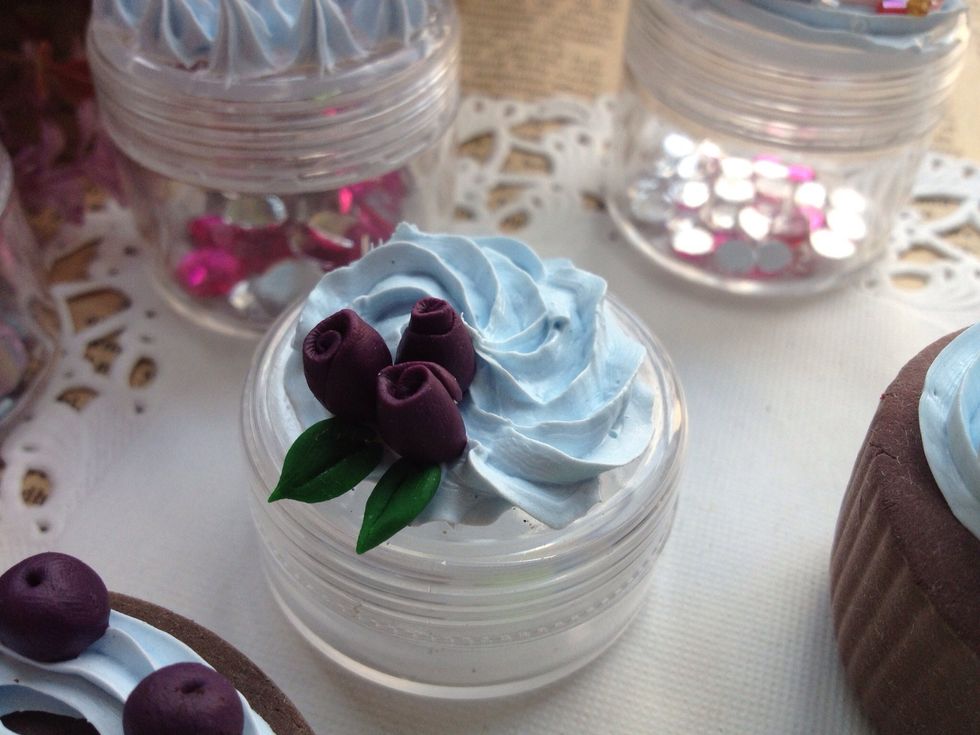
This is decorated with clay roses. *For clay roses making, please refer to my another snap guide.
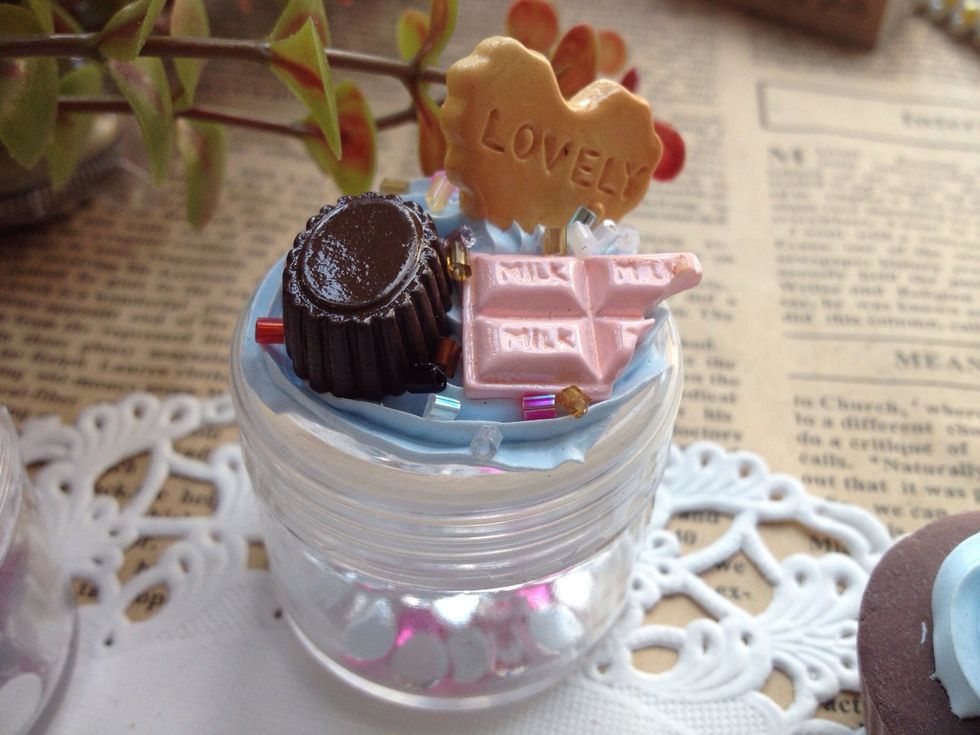
This is decorated with food theme resin cabochons.

This is decorated with baby theme cabochon.
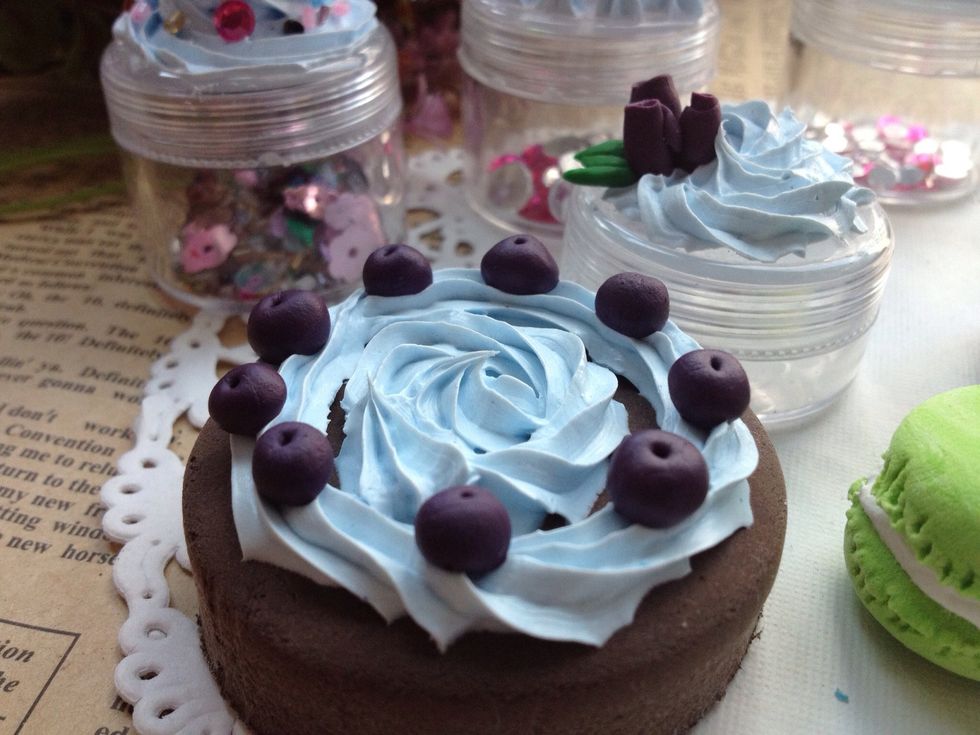
This is whipped cream clay applied on clay cake and then decorated by clay blueberry.

Whipped cream cupcake with beads decoration.
Enjoy the fun with cream clay!