The Conversation (0)
Sign Up
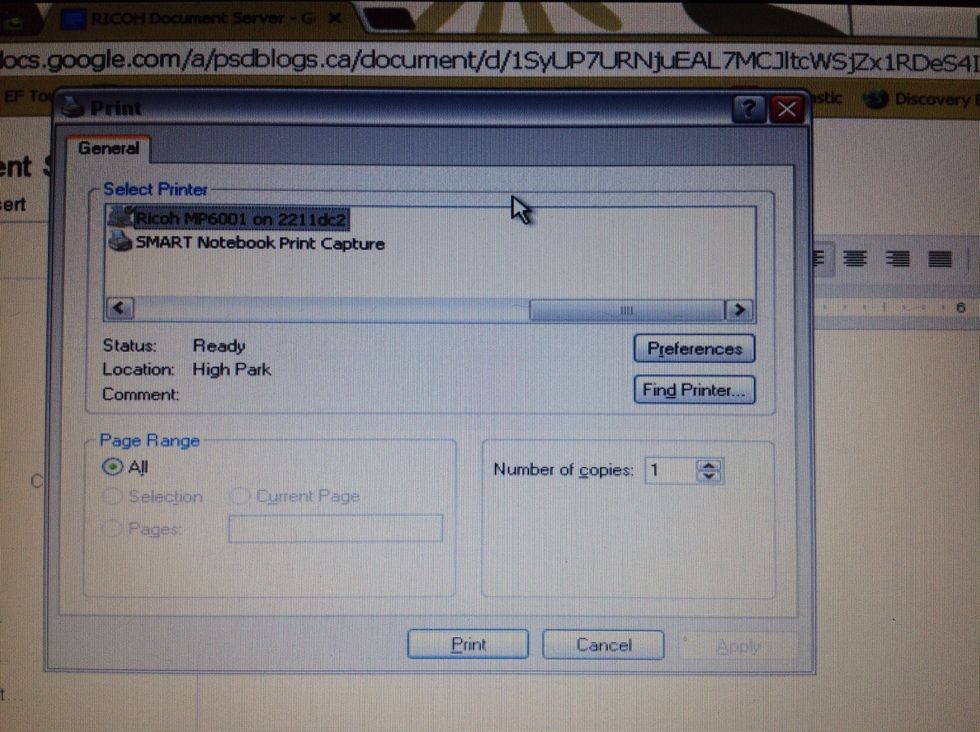
Choose the Ricoh printer and click on Preferences
Click on the arrow to the right of Normal Print under Job Type
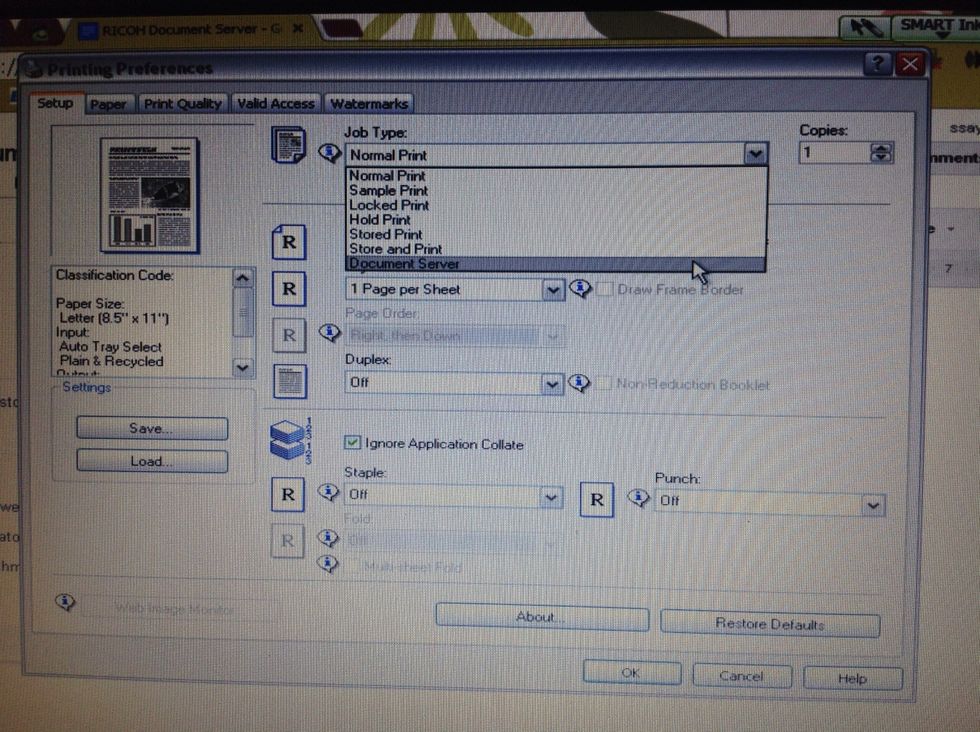
Choose Document Server
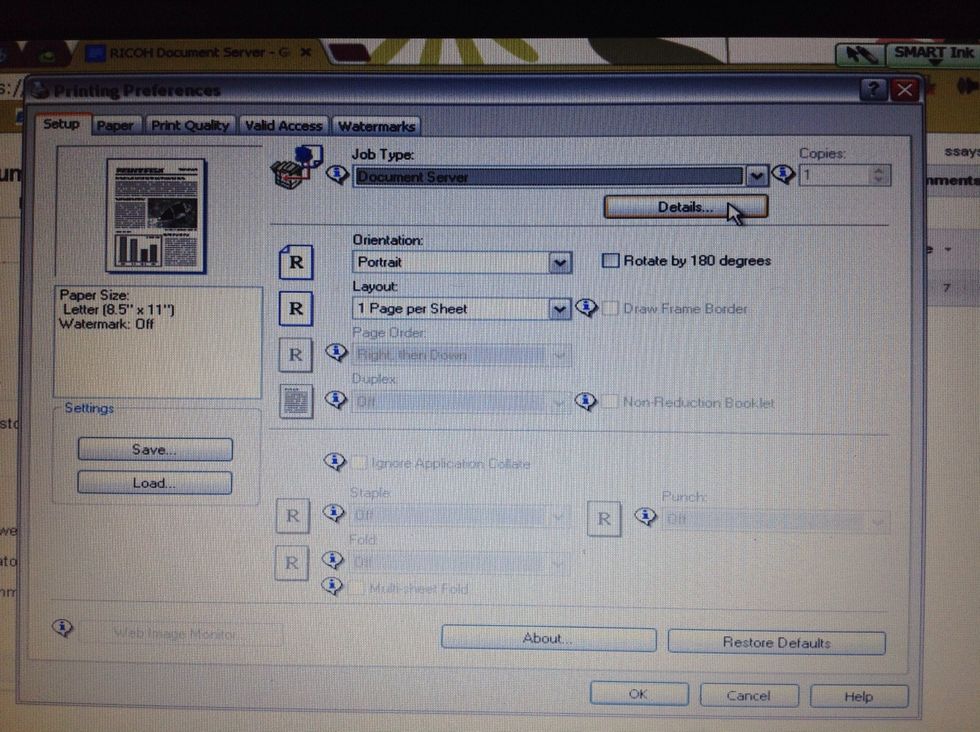
Click on Details once you have selected Document Server

Enter your User ID and create a name for your file (not creating a name for your file makes it hard to tell your files from those of others using the Document Server). You can use a password or not.
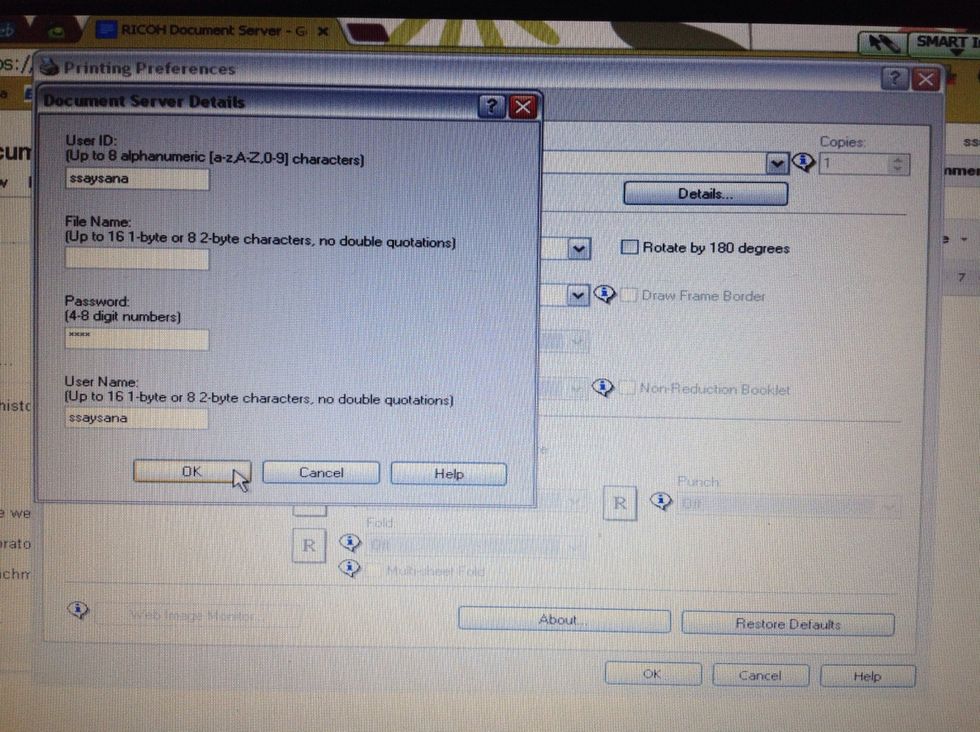
Click OK
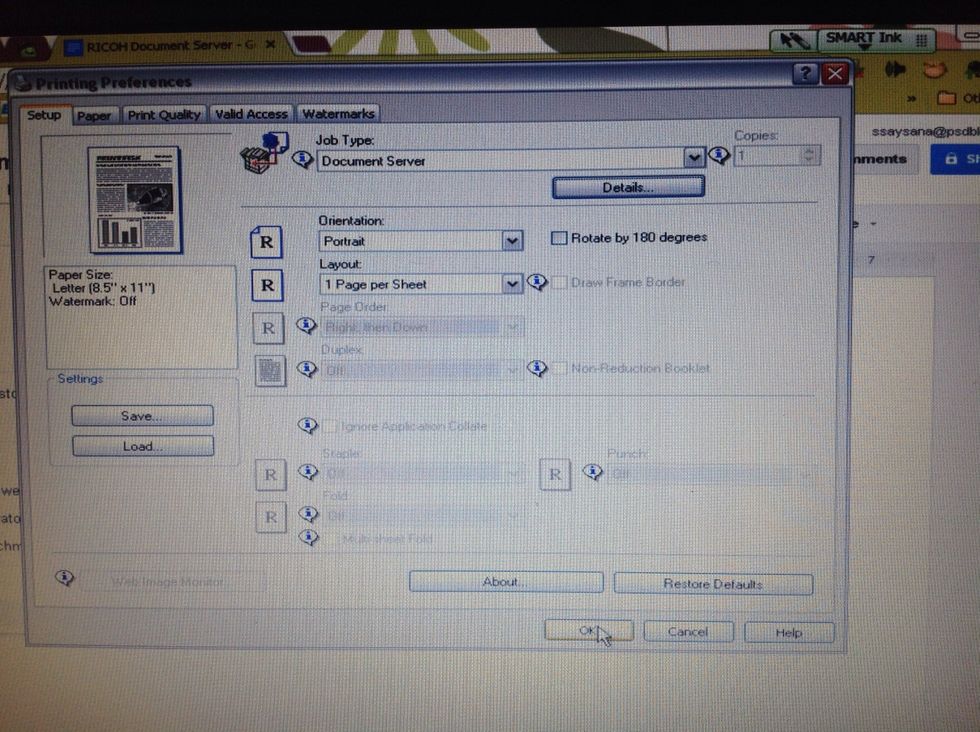
Once back to the printing preferences screen, click OK to send your document

When you get to the copier, click on Document Server on the left-hand side.

Click on the file you wish to print and enter your password if you used one. Click on To Printing Screen in the bottom right-hand corner.
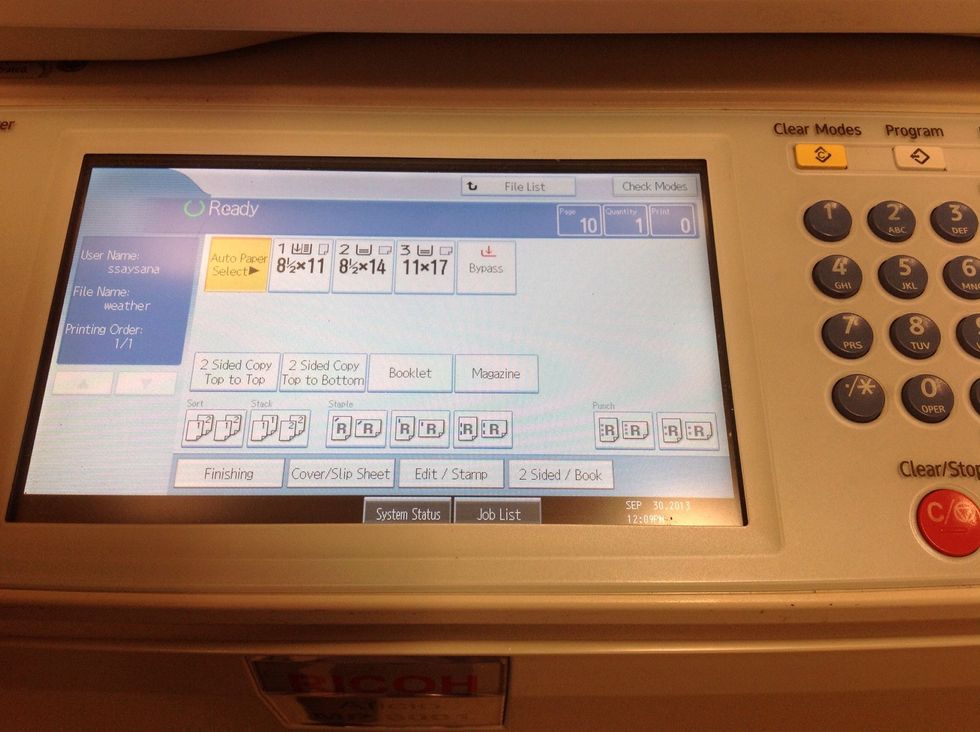
The printing screen is very similar to the copy print screen, though a bit simpler. Proceed as you normally would. Once your document is printed, click on File List at the top.
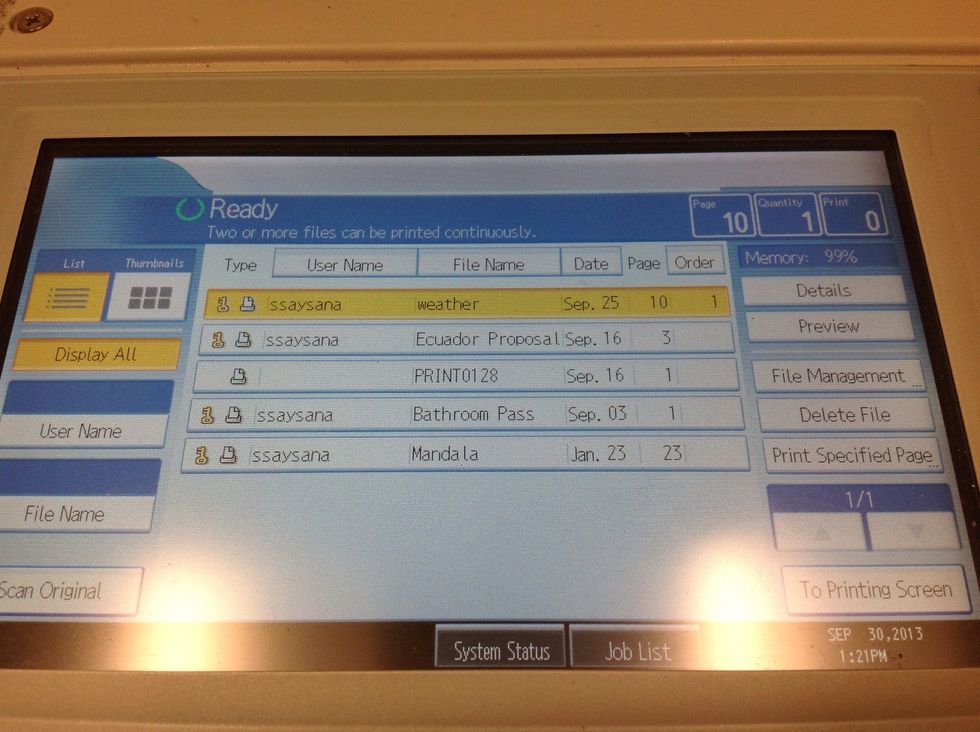
Please delete files once you are done printing them using the delete file button on the right-hand side. If files aren't deleted, the memory will fill up and no one will be able to use the Doc Server.