The Conversation (0)
Sign Up

Tim Holtz Blending tools are an amazing item to have in your creative tool box. Designed to use with varying Ranger products, you will reach for it over and over, when you see what it is capable of.
Recently released, the mini tool and it's matching foams are great to get into small areas, around images and because it's round, it's easier to get a smooth, blended finish with out the risk of lines
Just ink it up with Distress ink and blend into your work from off the edge, in a circular motion. Re ink when necessary.

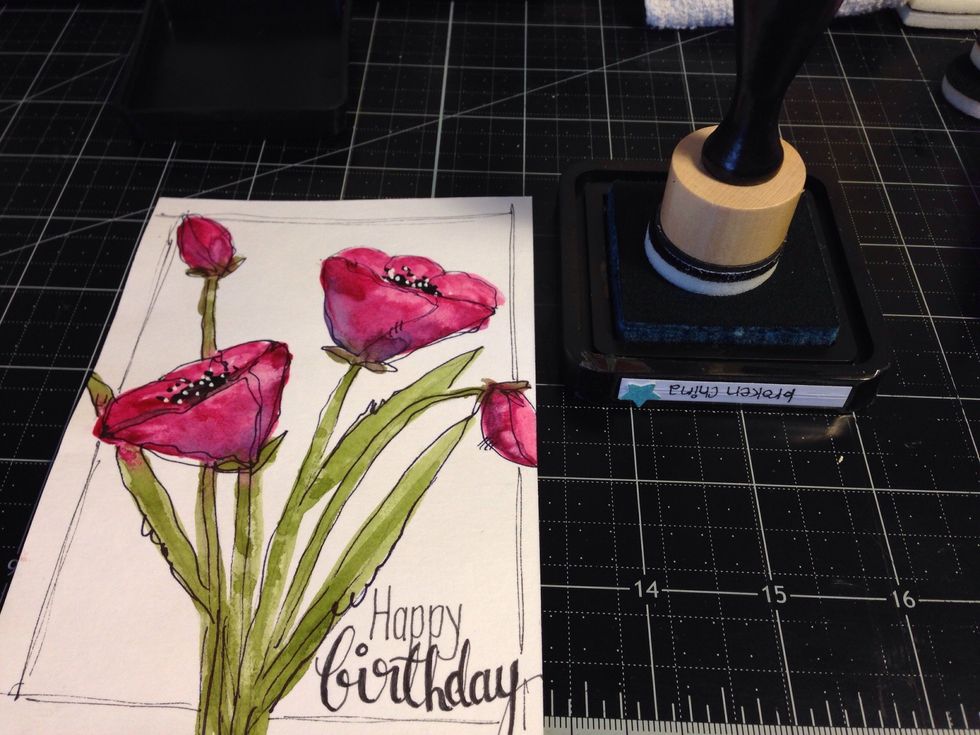
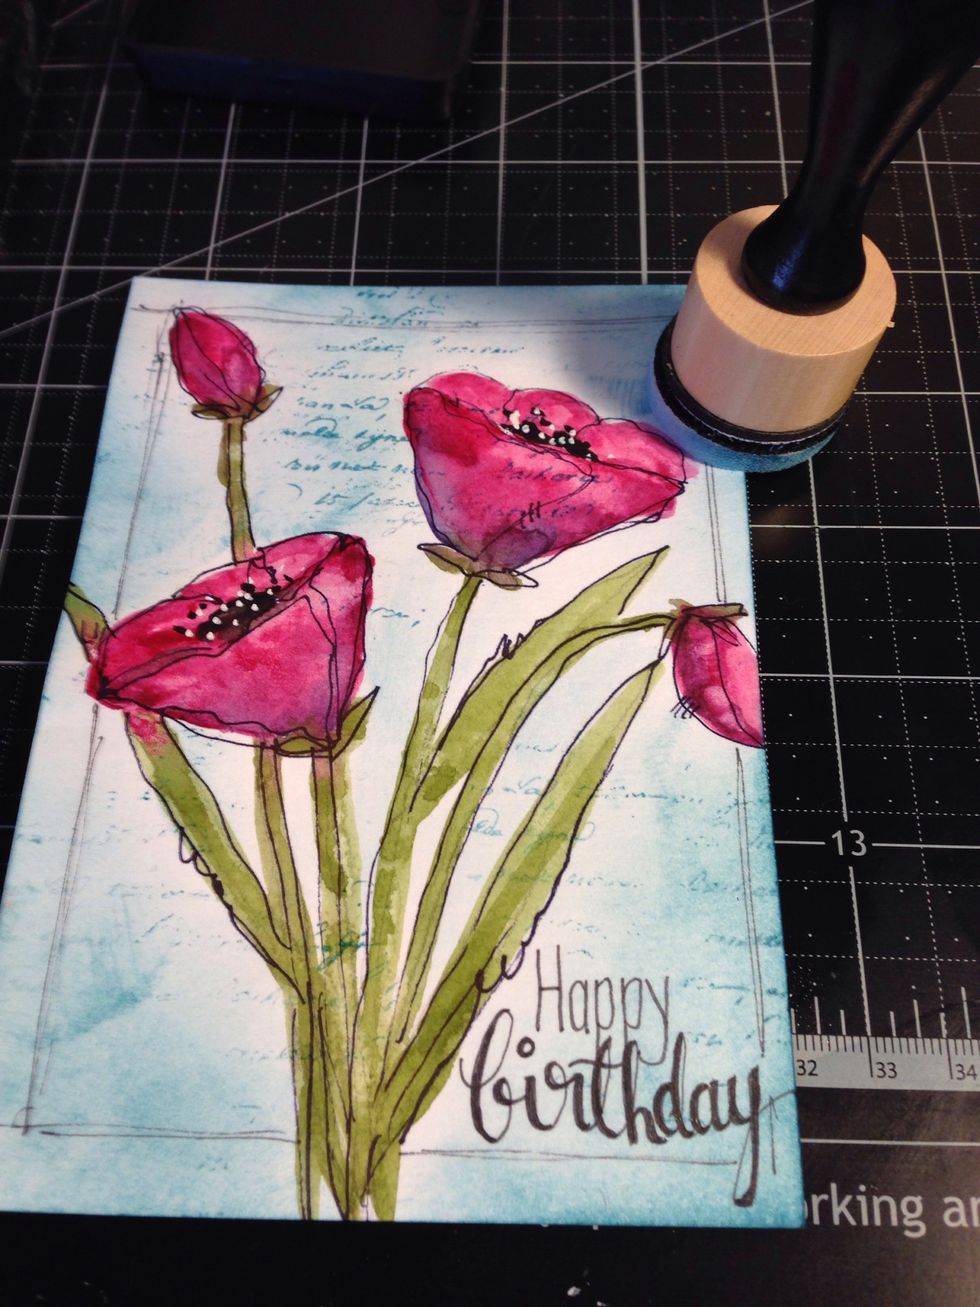
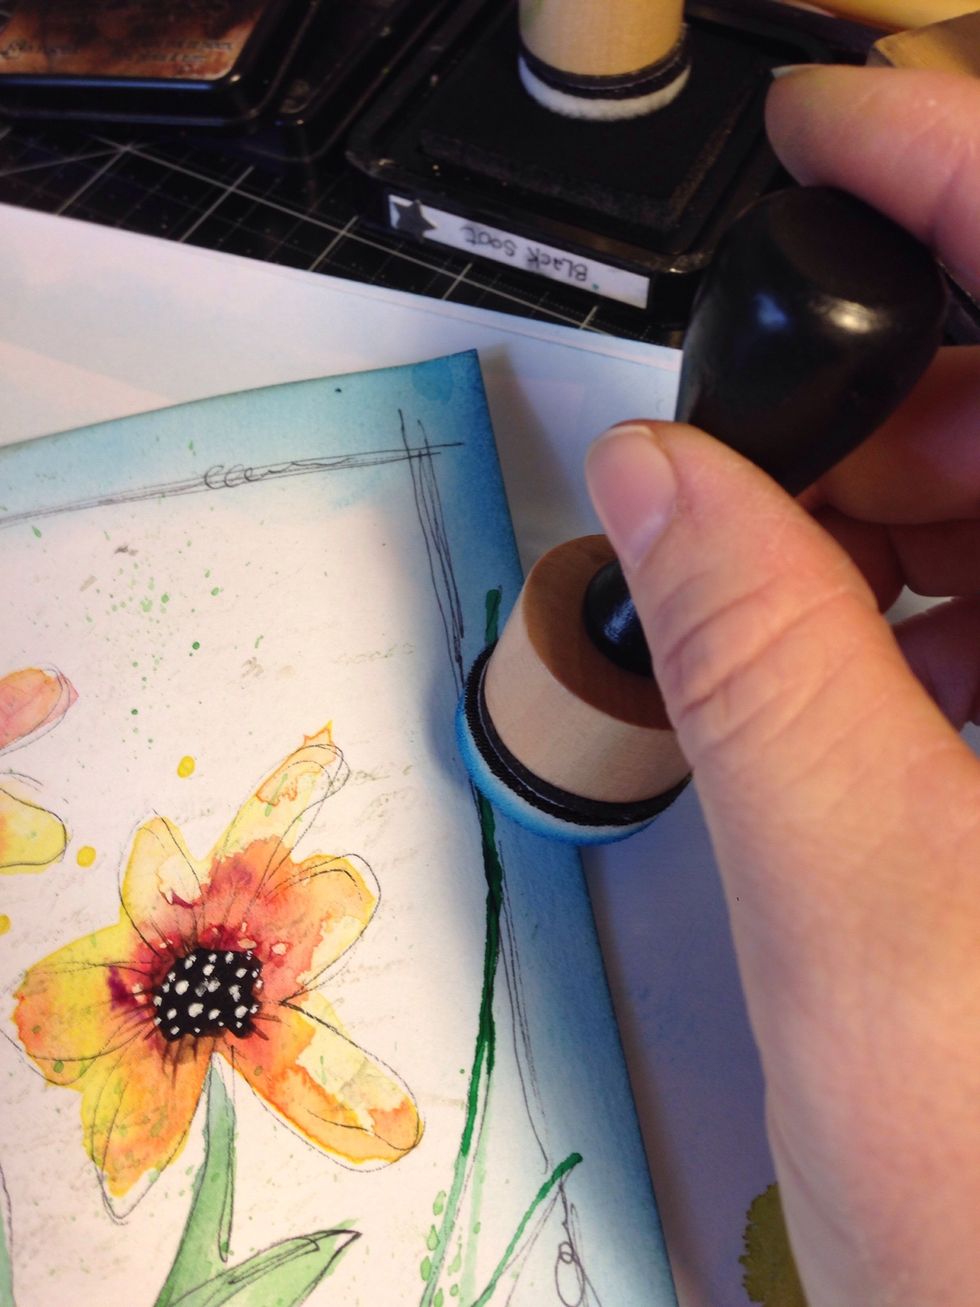
One of my favourite ways to use the rectangle tool is with black or walnut stain distress inks, to ink the edges of a piece. I love the depth it gives, and helps it stand out.

Just run the tool down the edge of the paper, away from you-tilting into the edge a little to deepen the colour.
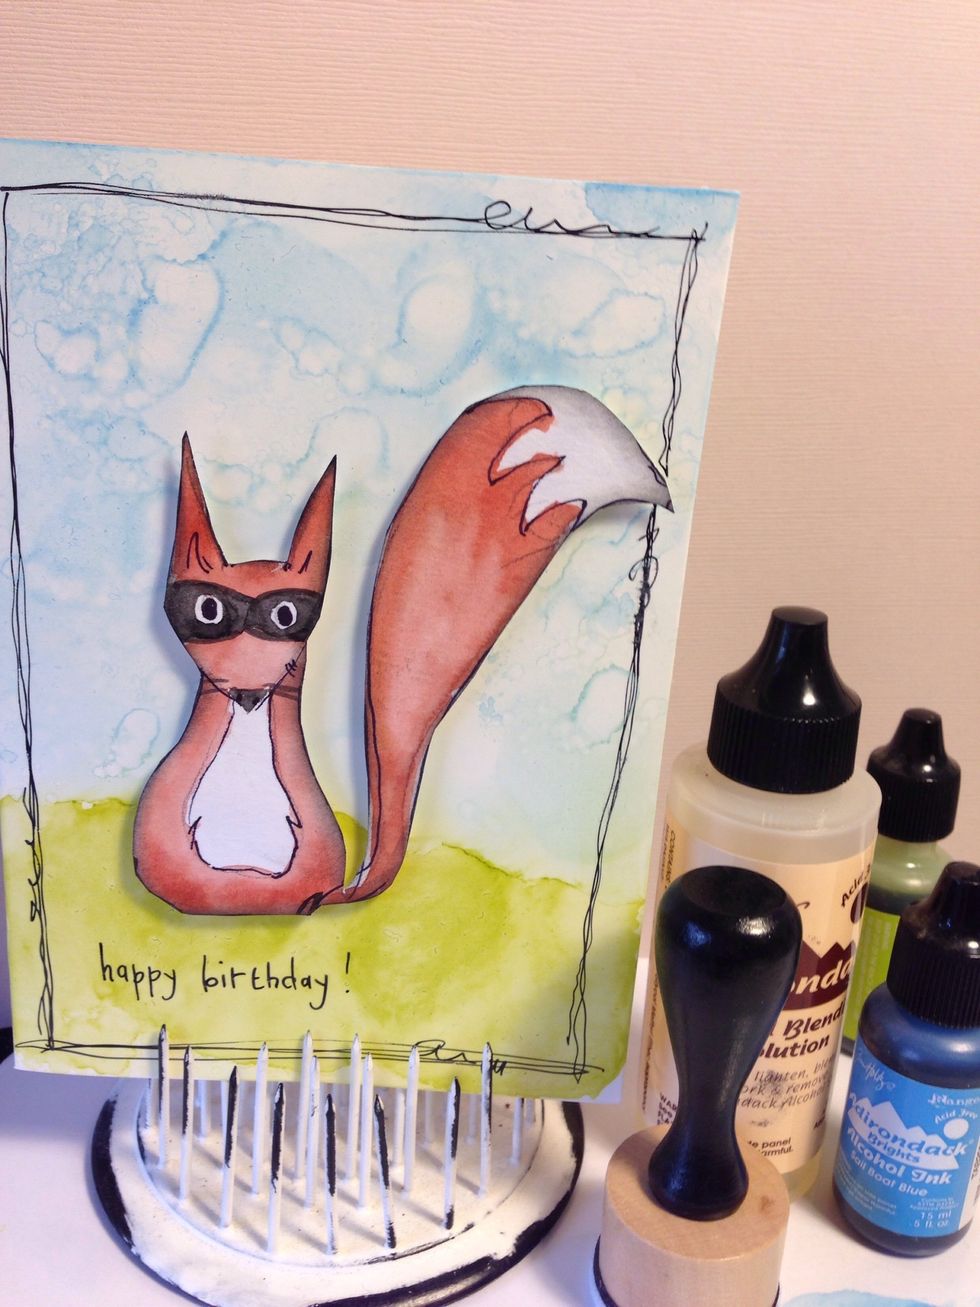
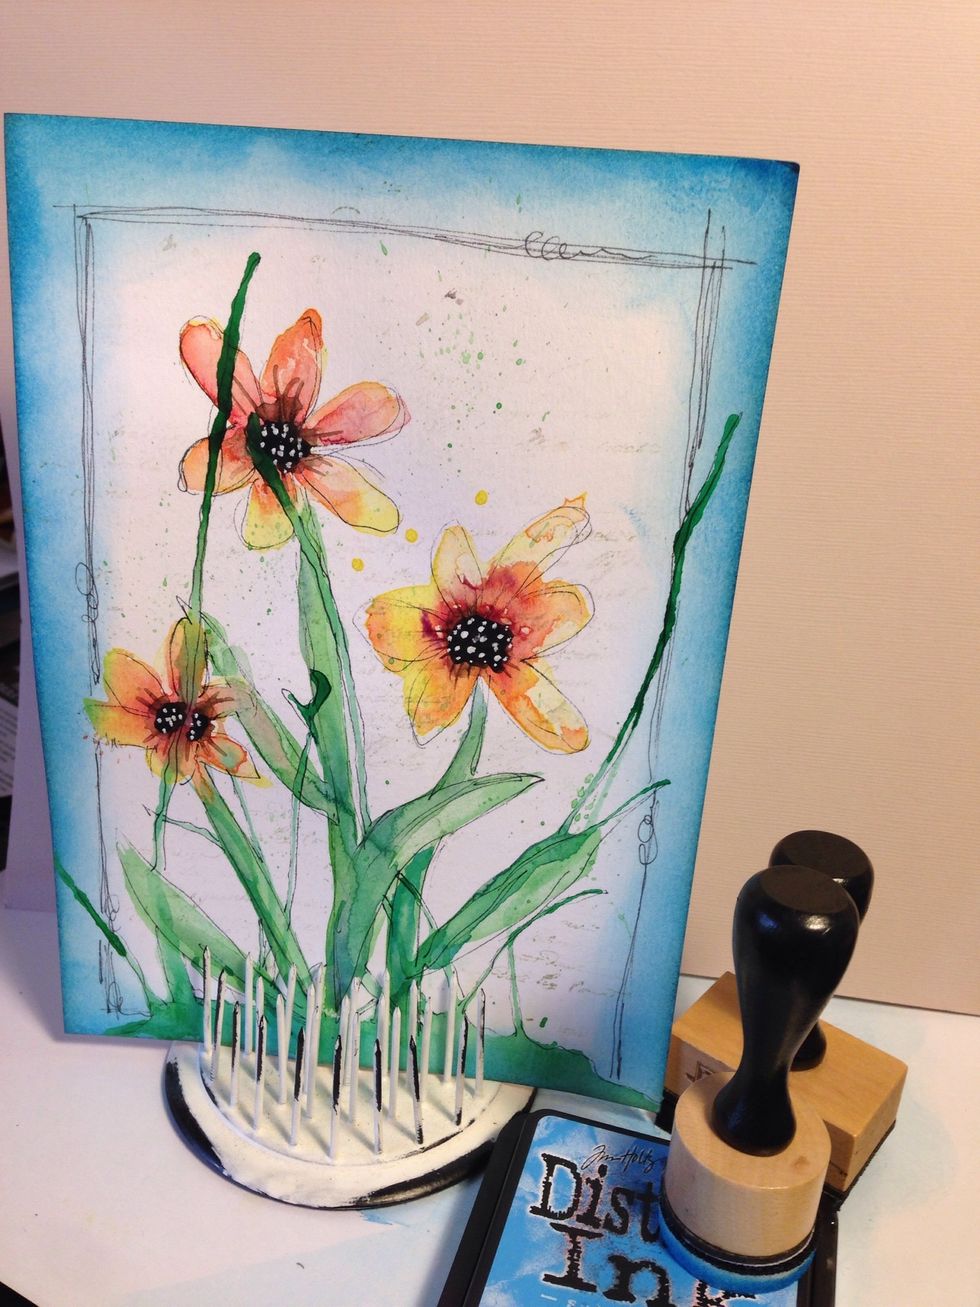
You can see it a bit here, but it doesn't really shine until you lay it on a background. This piece was done on watercolour paper and became a sweet card!
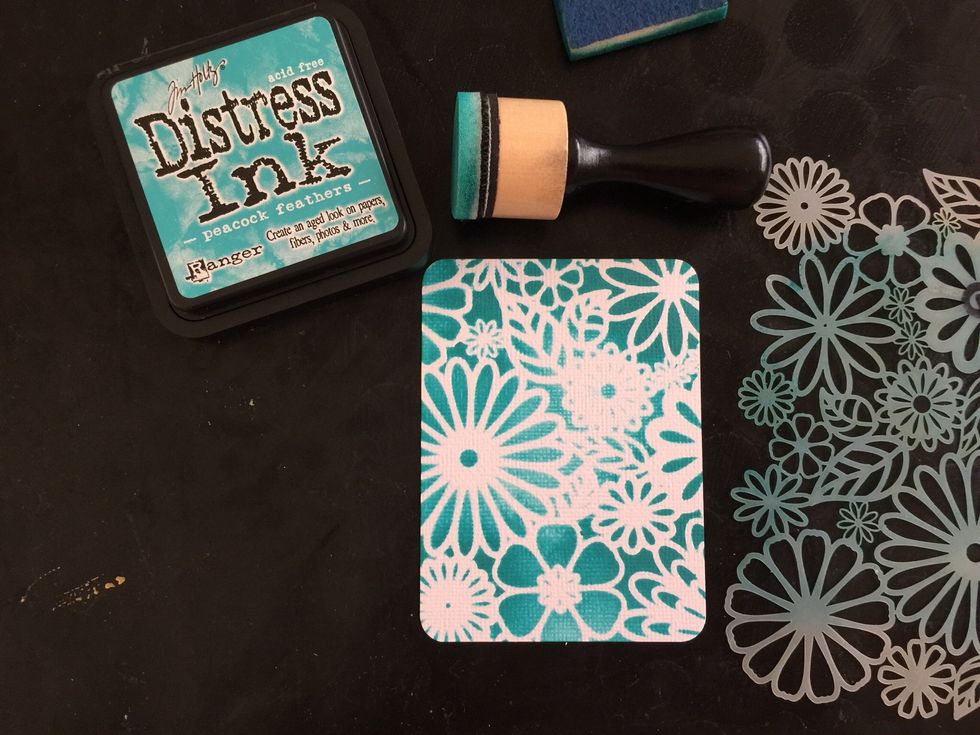
Here is an example of the Mini tool getting into a tight spot! Perfect! This would be really tricky with the original blending tool.
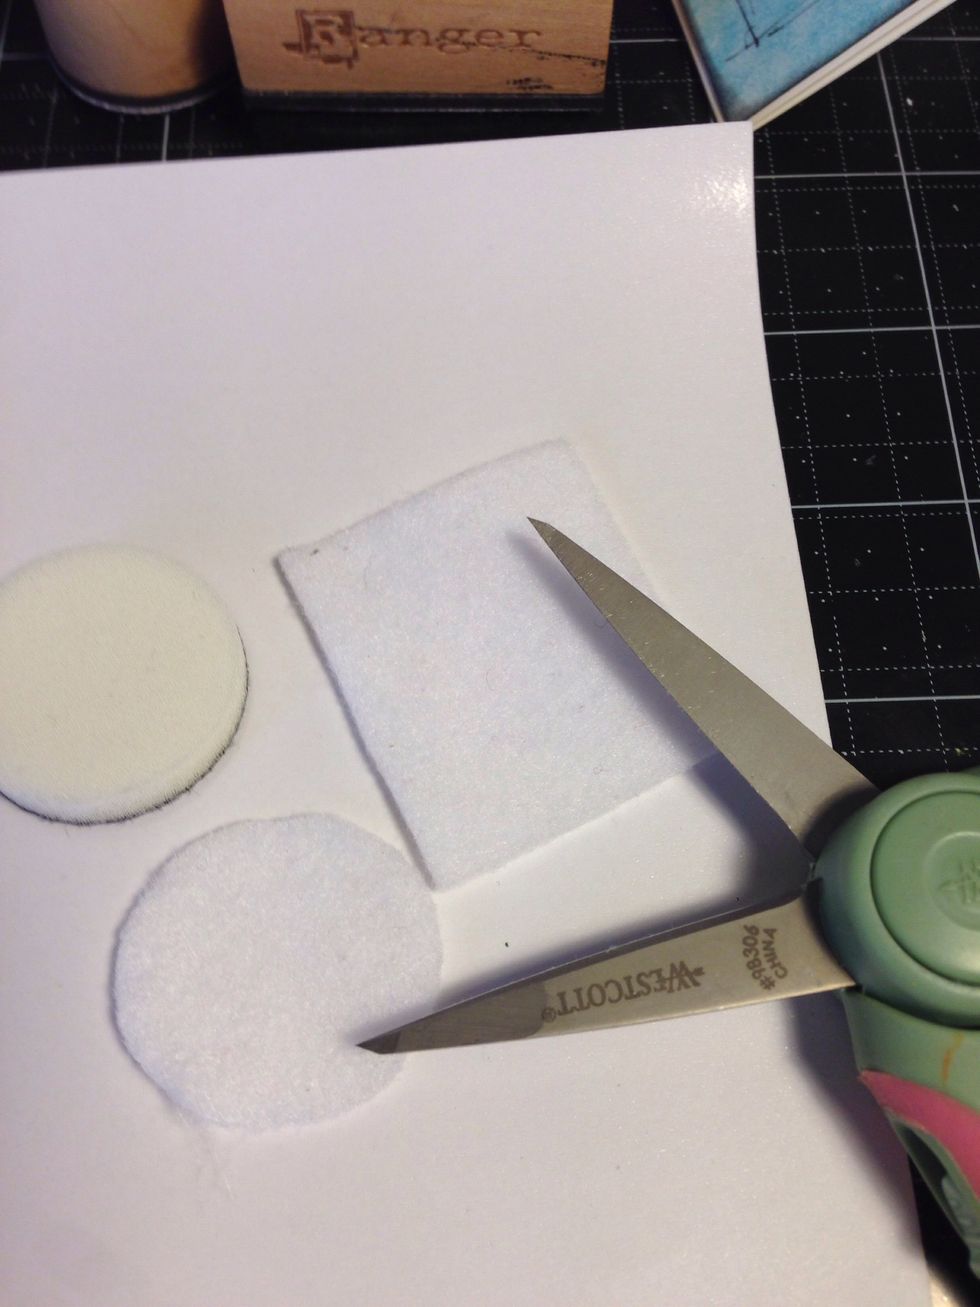
I am using felt here to use the blending tools with alcohol inks as well. You can buy packs of felt refills which go with the tools.
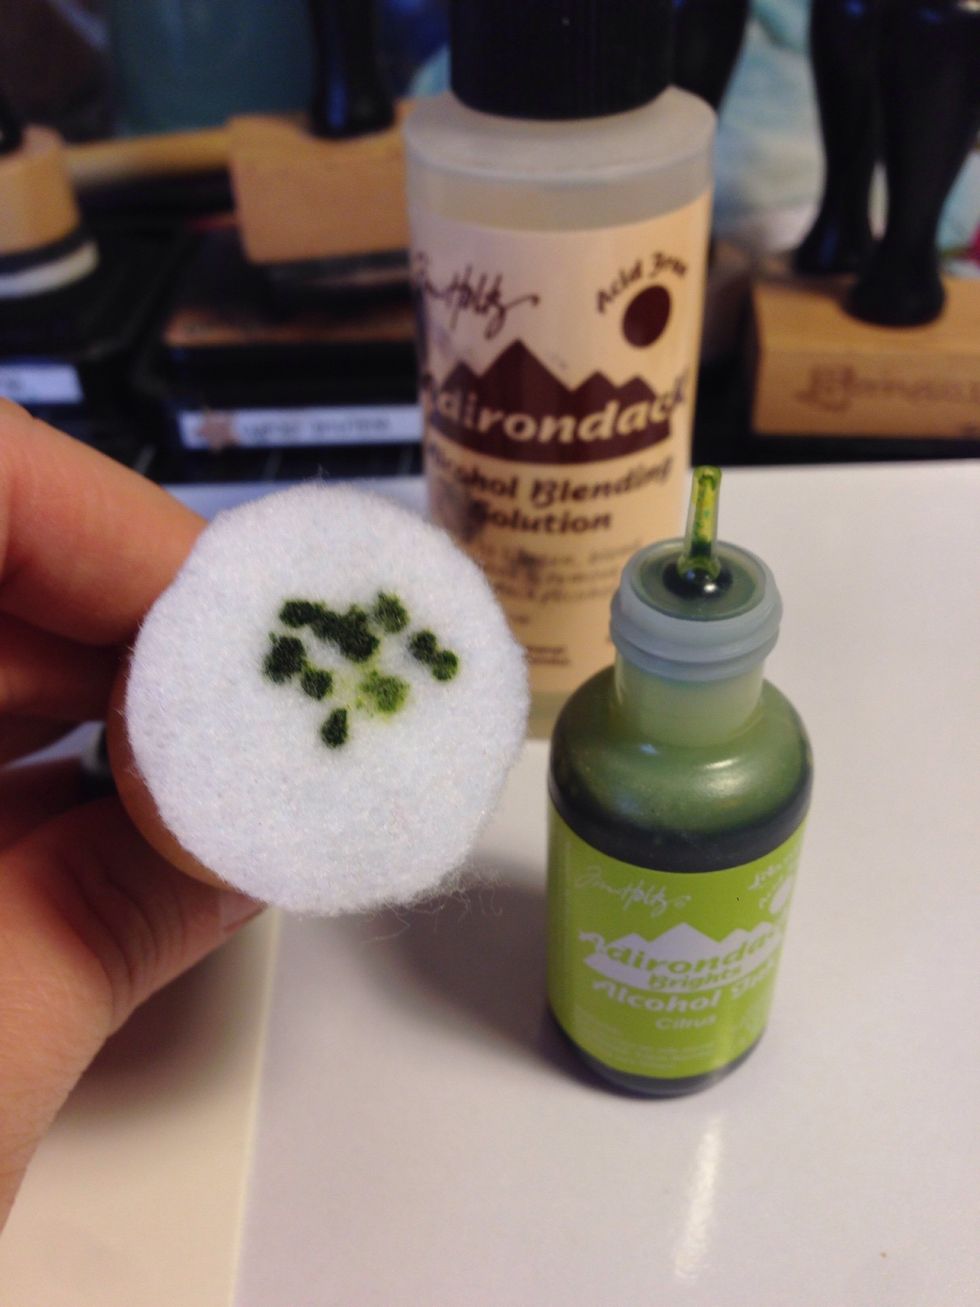
Just add a few drops

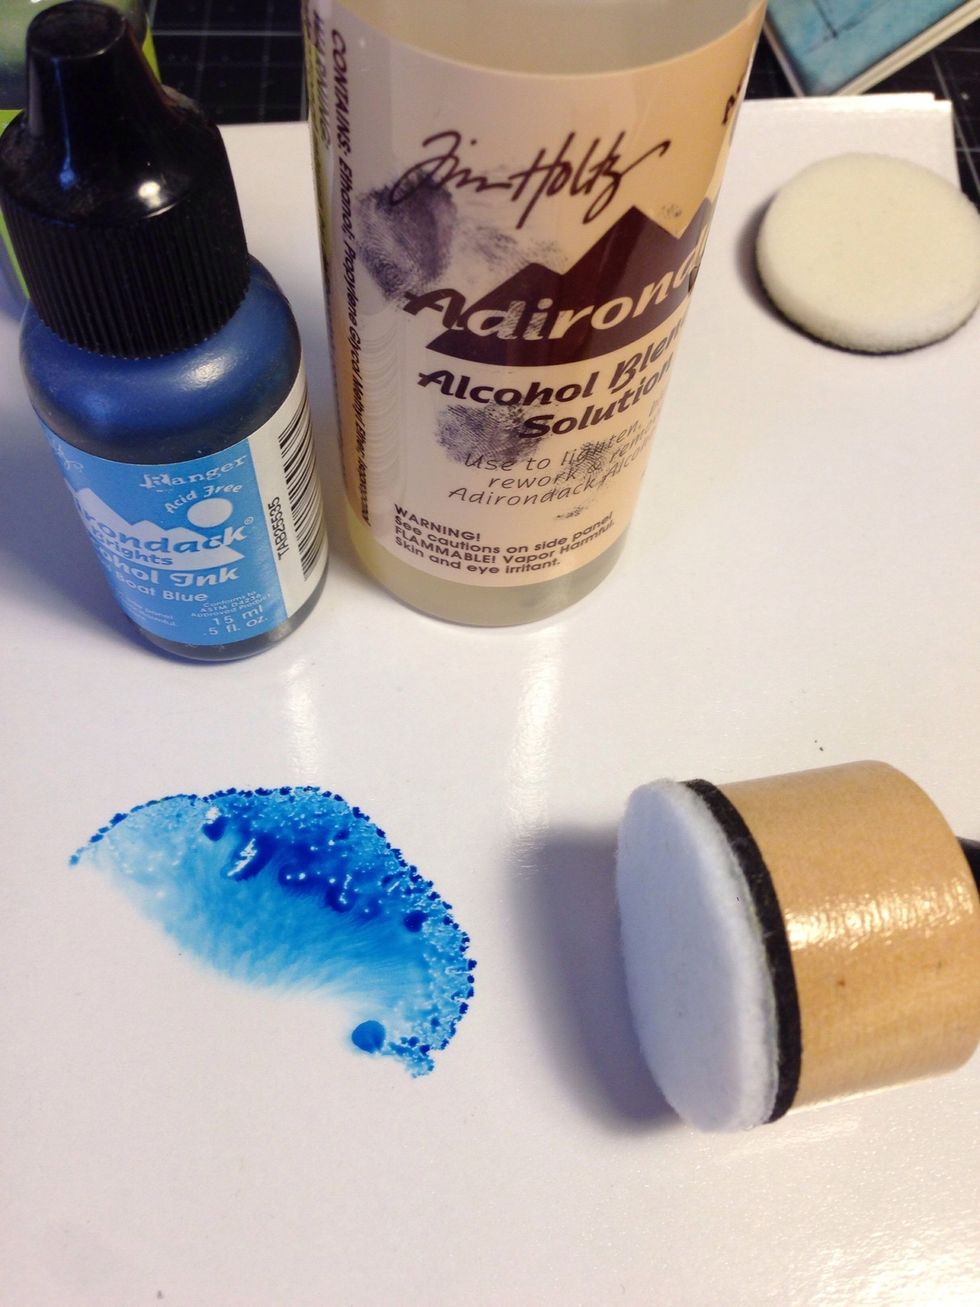
Add some blending solution, (to blend the colors)
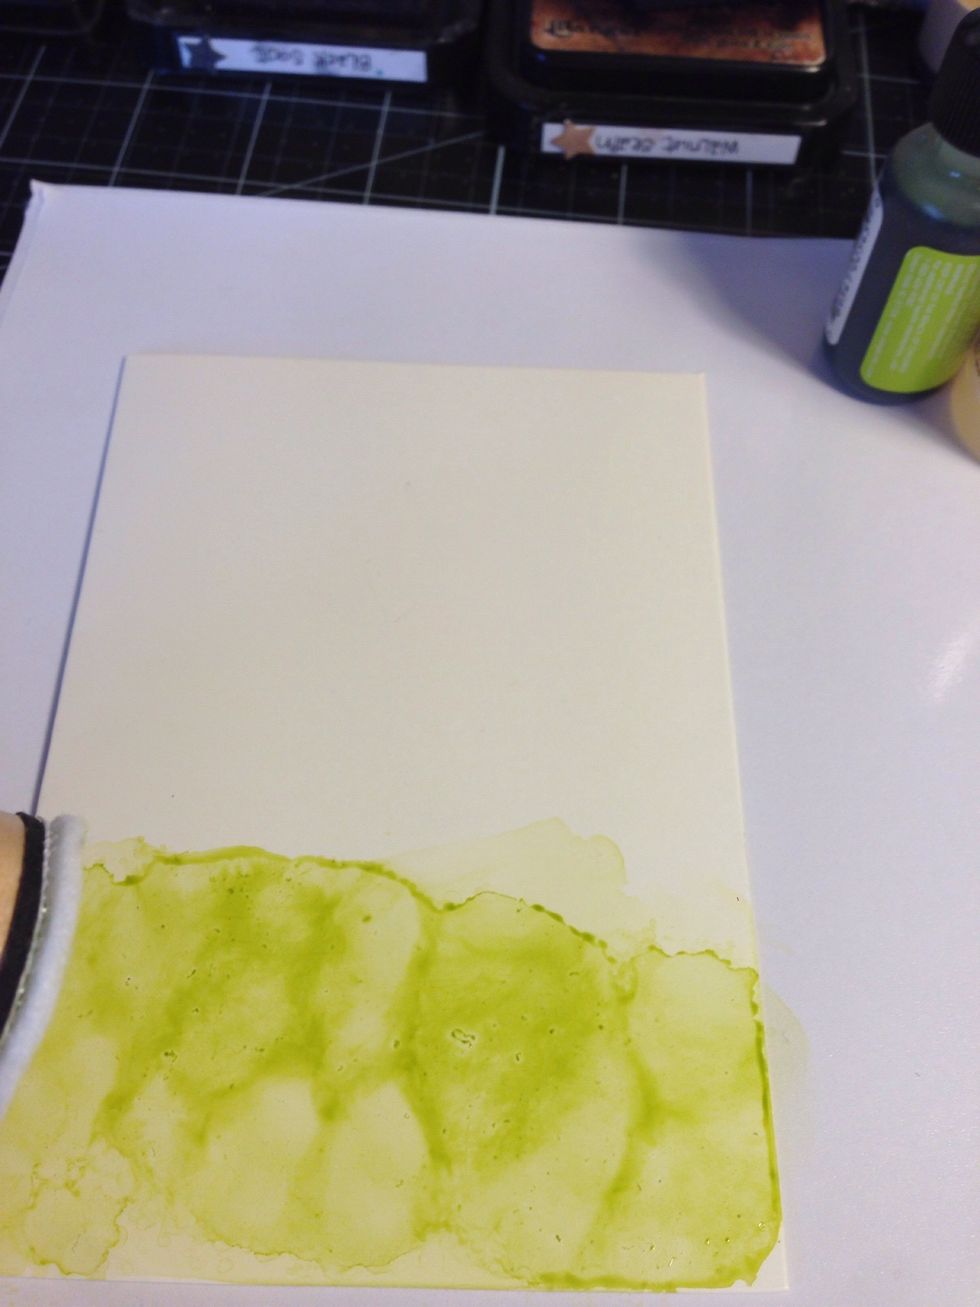
And rub it in a circular motion fairly quickly on glossy cardstock to colour. It dries fast!
This time I added the ink and the solution and blended on a sheet of palette paper then applied it to the card. Just a softer look.
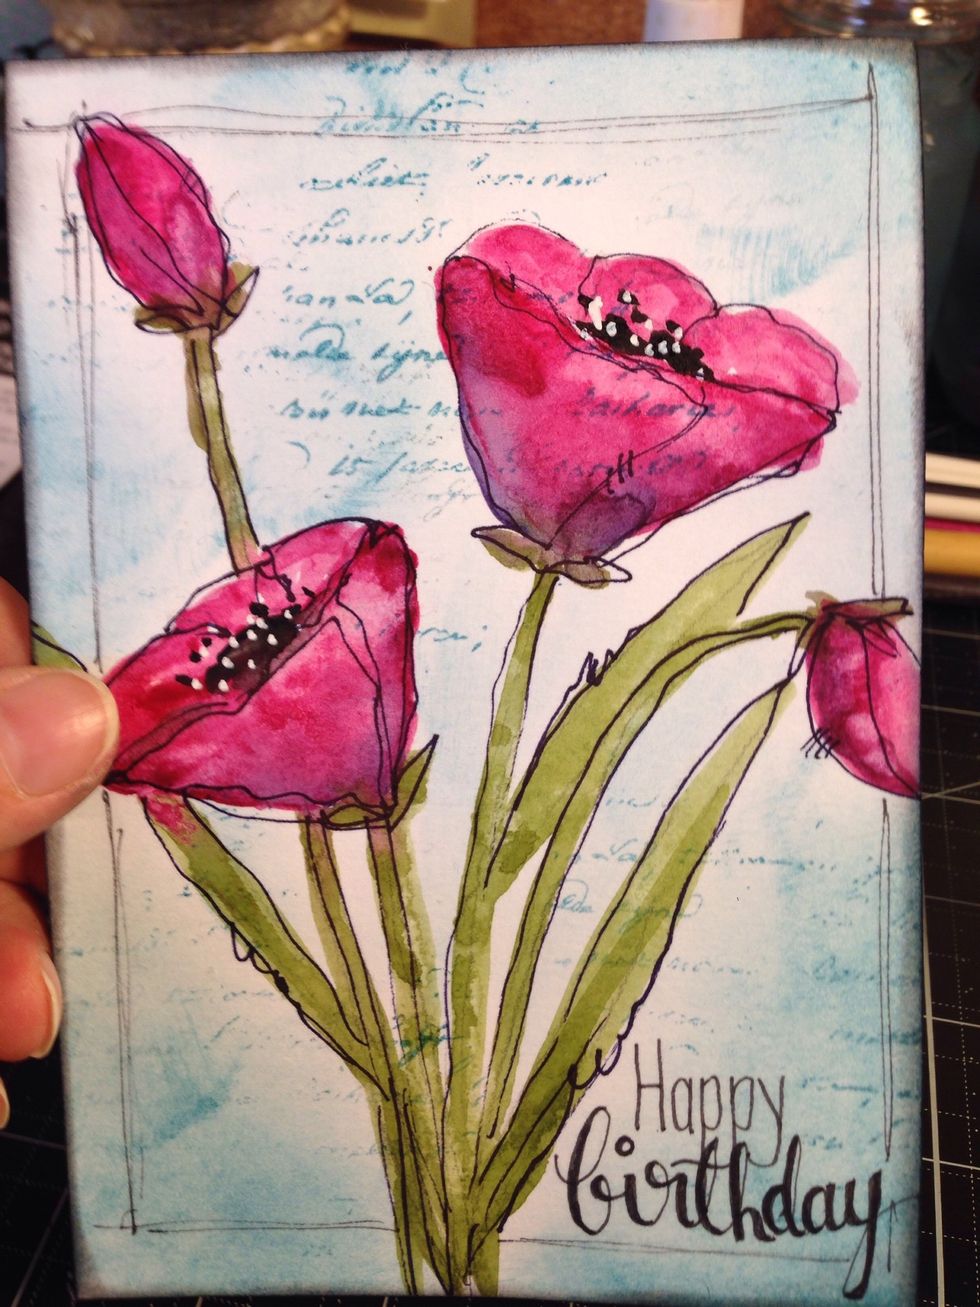
And a cute and easy little card!

Here is a sample of just the very edge inked again.
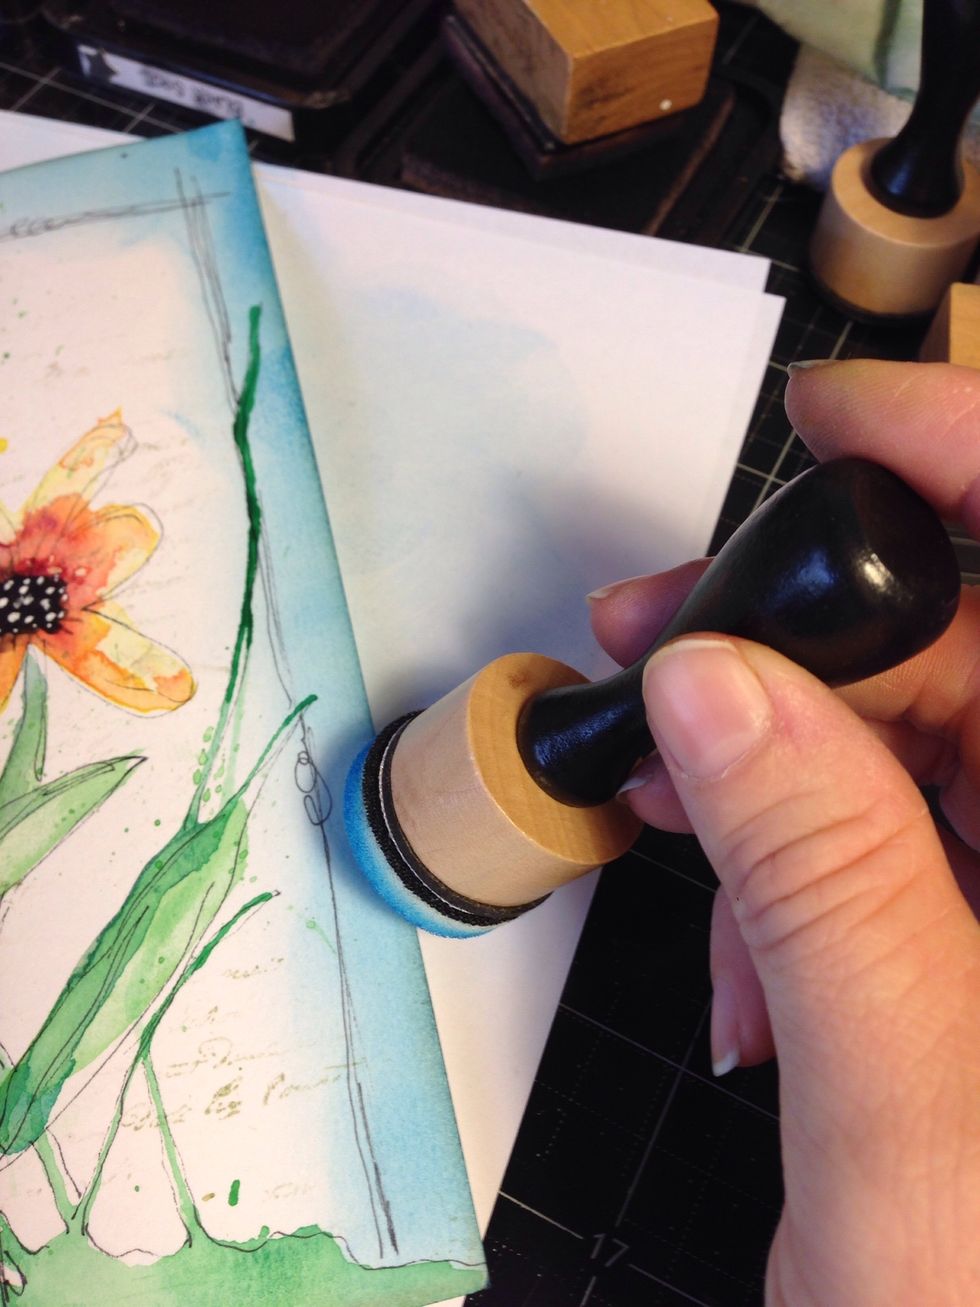
Now the mini tool getting into area that might be trickier with the rectangle one. No hard straight edges....

You can also apply your ink to a craft sheet and pick it up from there for a softer look.....
The edge of this image is soft rather than having lots of ink on the foam straight off the pad.

Just swiping straight down this time, rather than in a circular motion. This easily colors a strip.
You can go around the very edge closer to make the colour darker at the edges. Looks really effective when colour is built up.
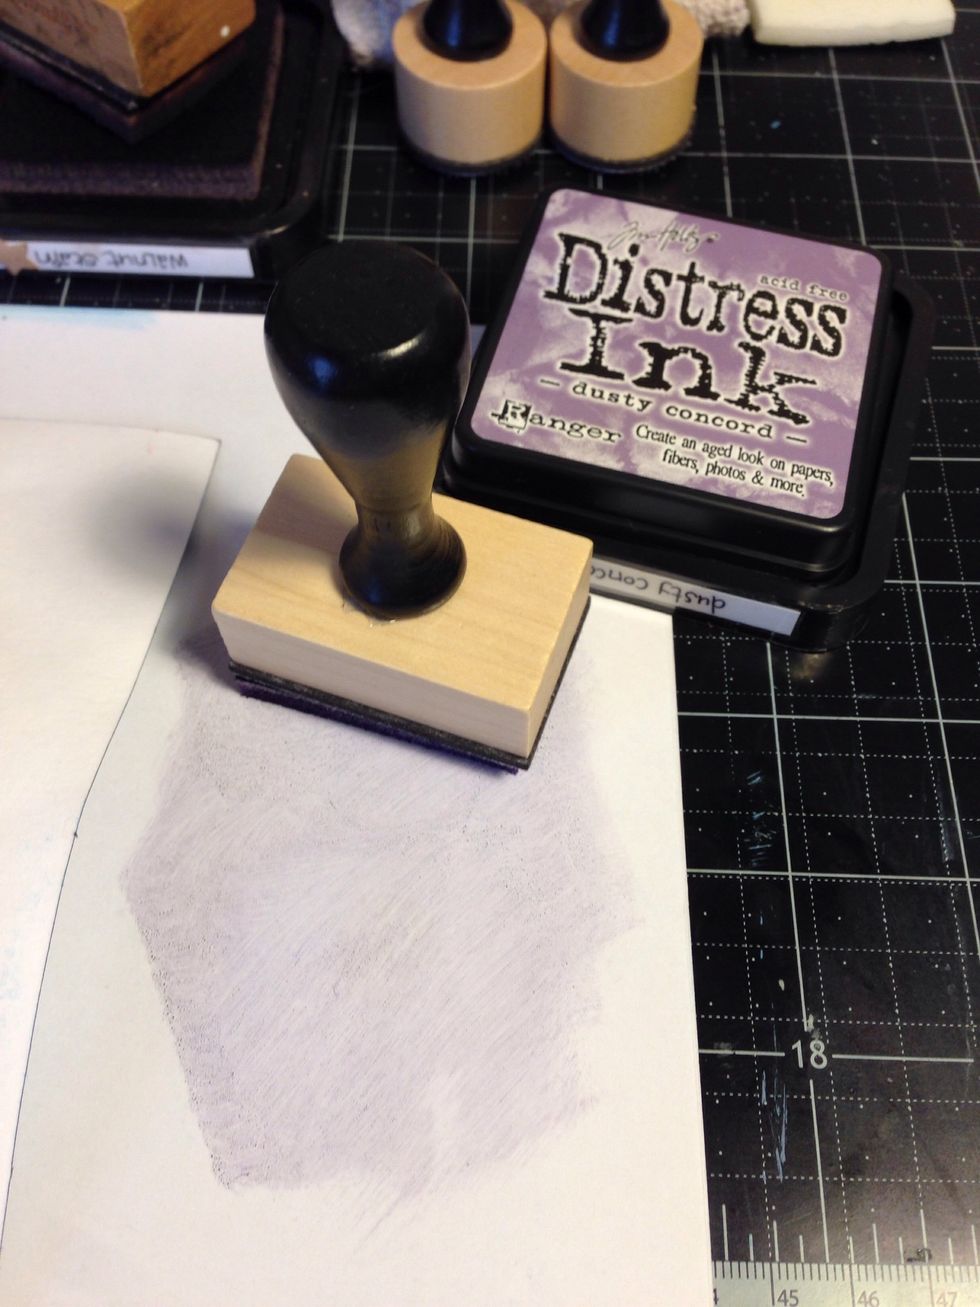
Jumping back to the rectangle tool now. I am adding the ink to the craft sheet and am building the colour.

I am after a motley, uneven look here in the background so I am purposely pressing to get marks and lines as I swipe the colour on.

Now I am swapping to another colour (swap foams for the new colour too). And blending the new colour in.
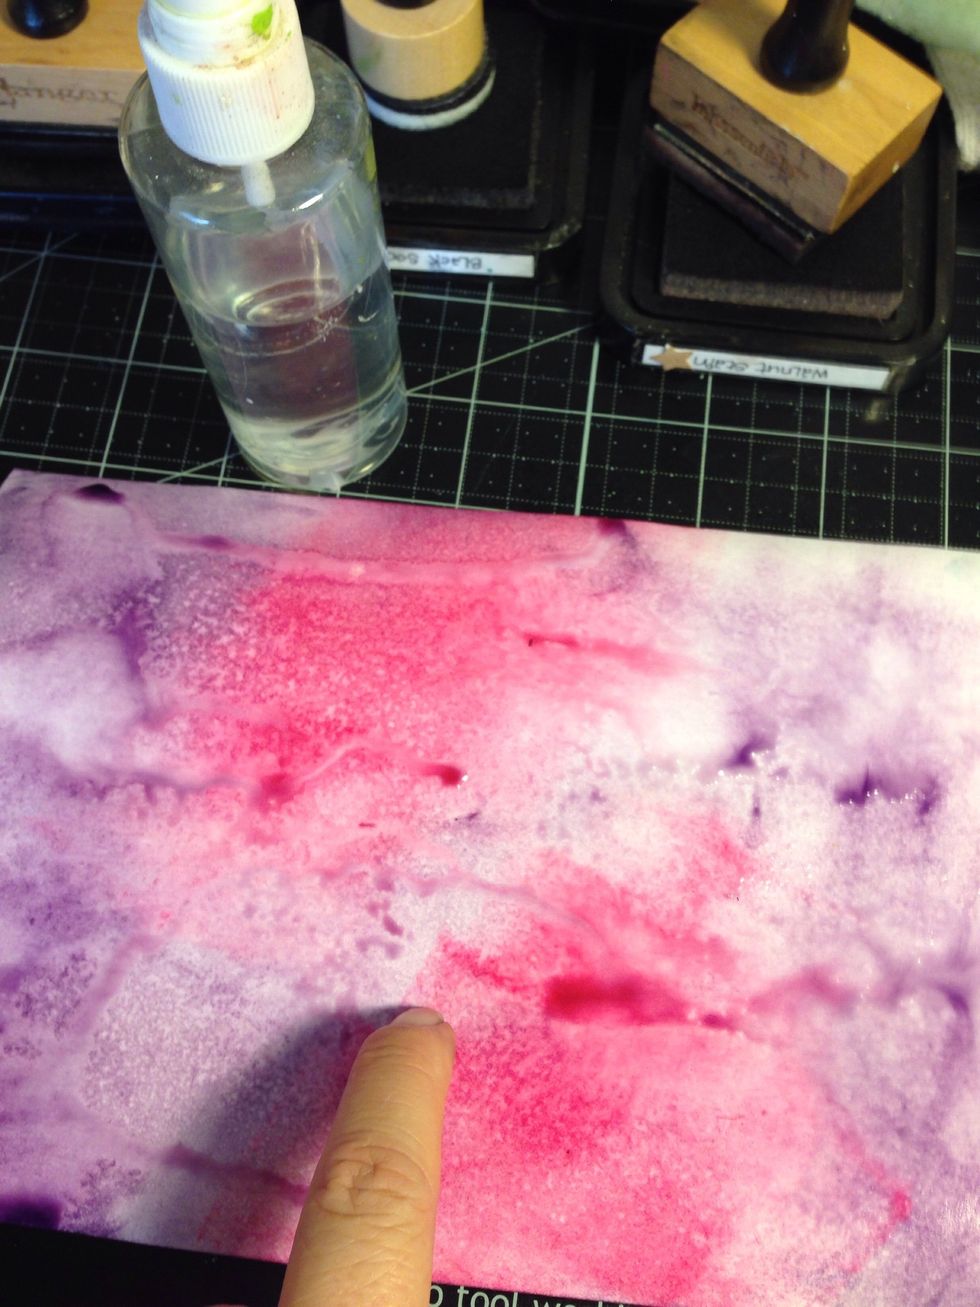
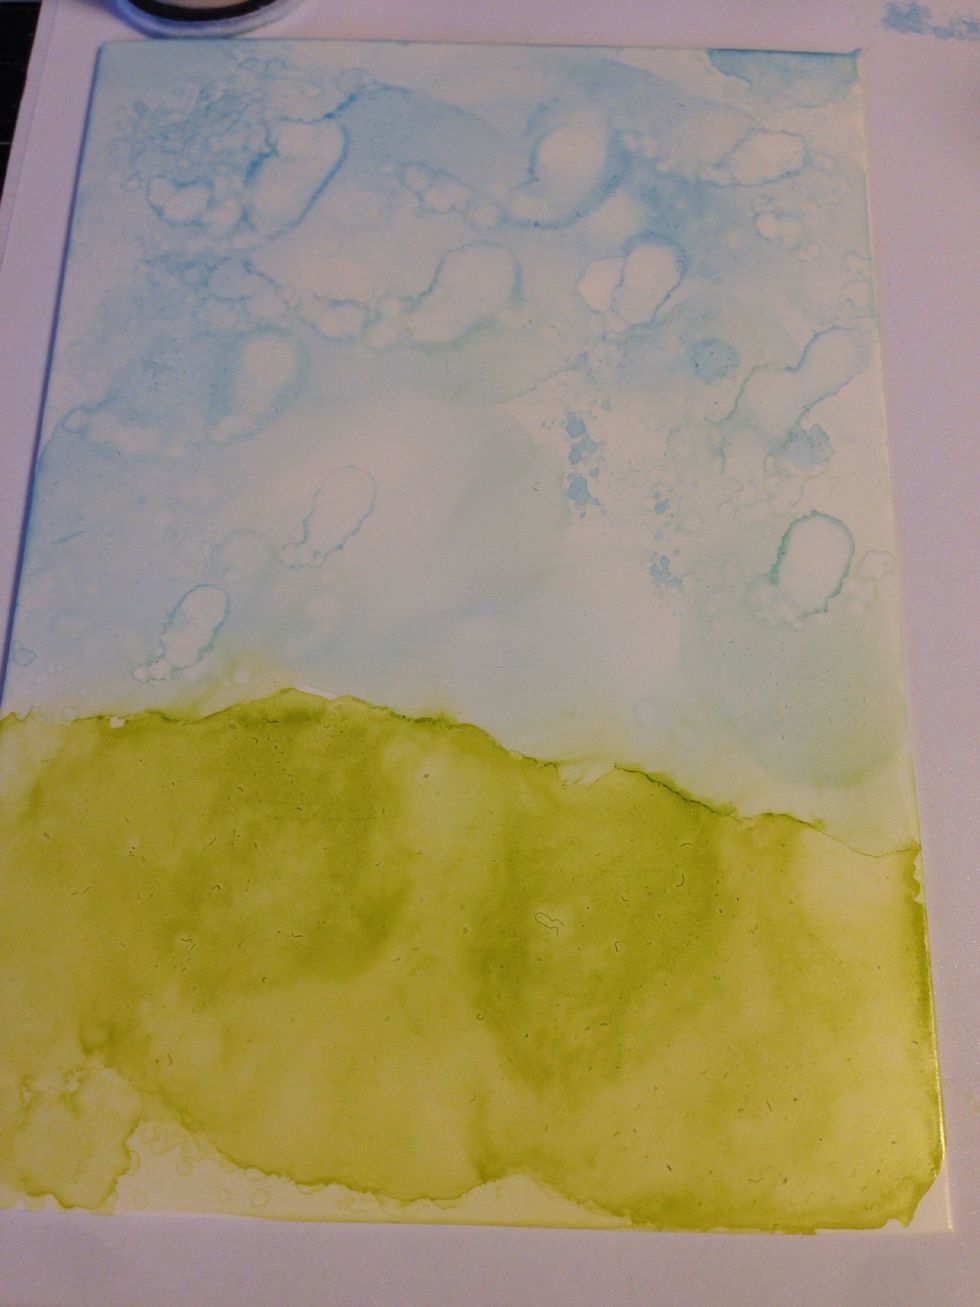
Distress inks are reactive with water so when it's sprayed, it moves about.
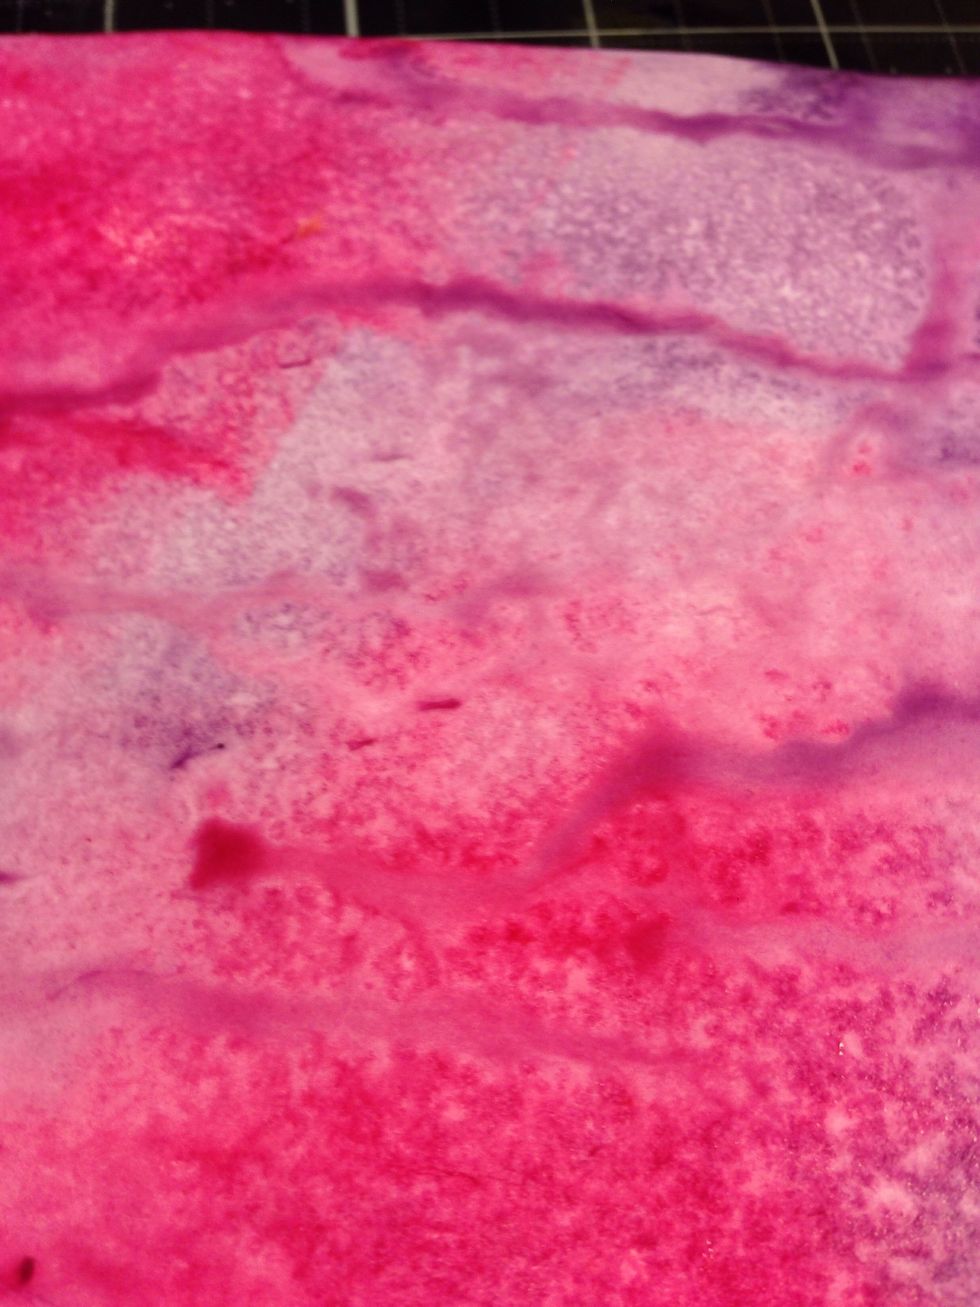
I love this part. This is where the ink transforms...so pretty!
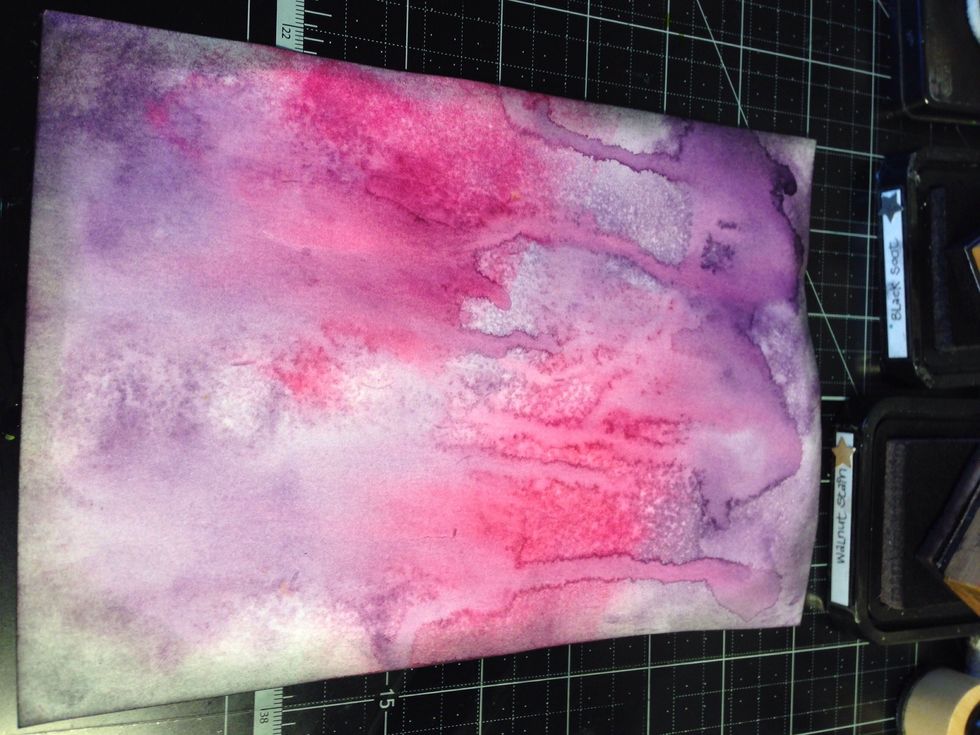
Tilt it to make it run and blend together even more.

Here's another simple background. A colour applied around the edges getting lighter into the middle.
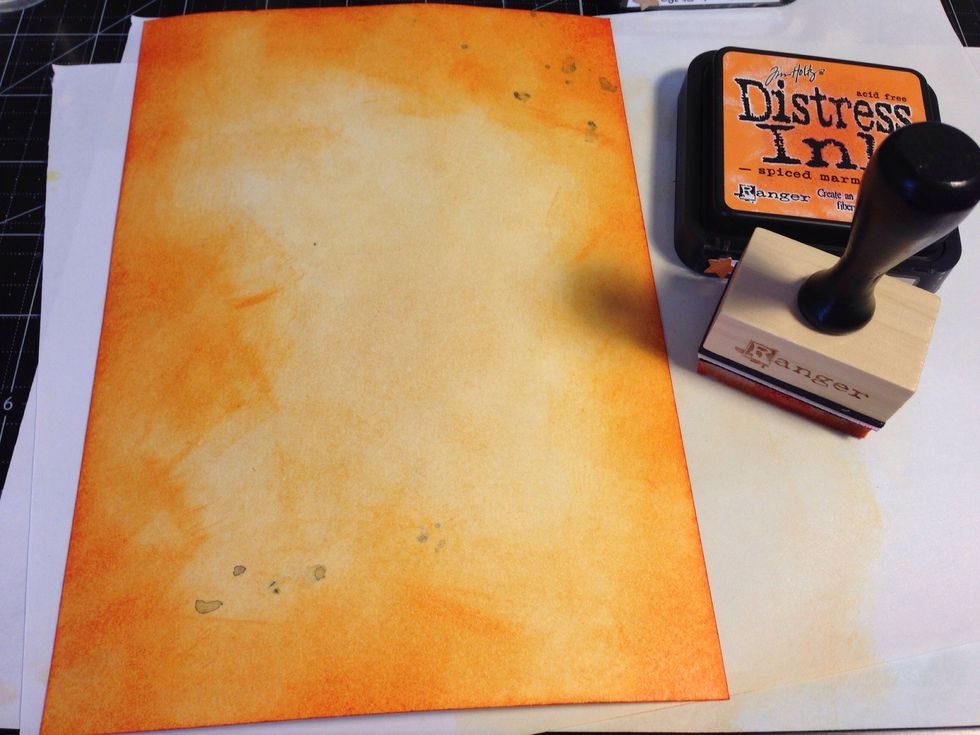
Build up the colour more on the edges creating depth. You can use either tool for this.

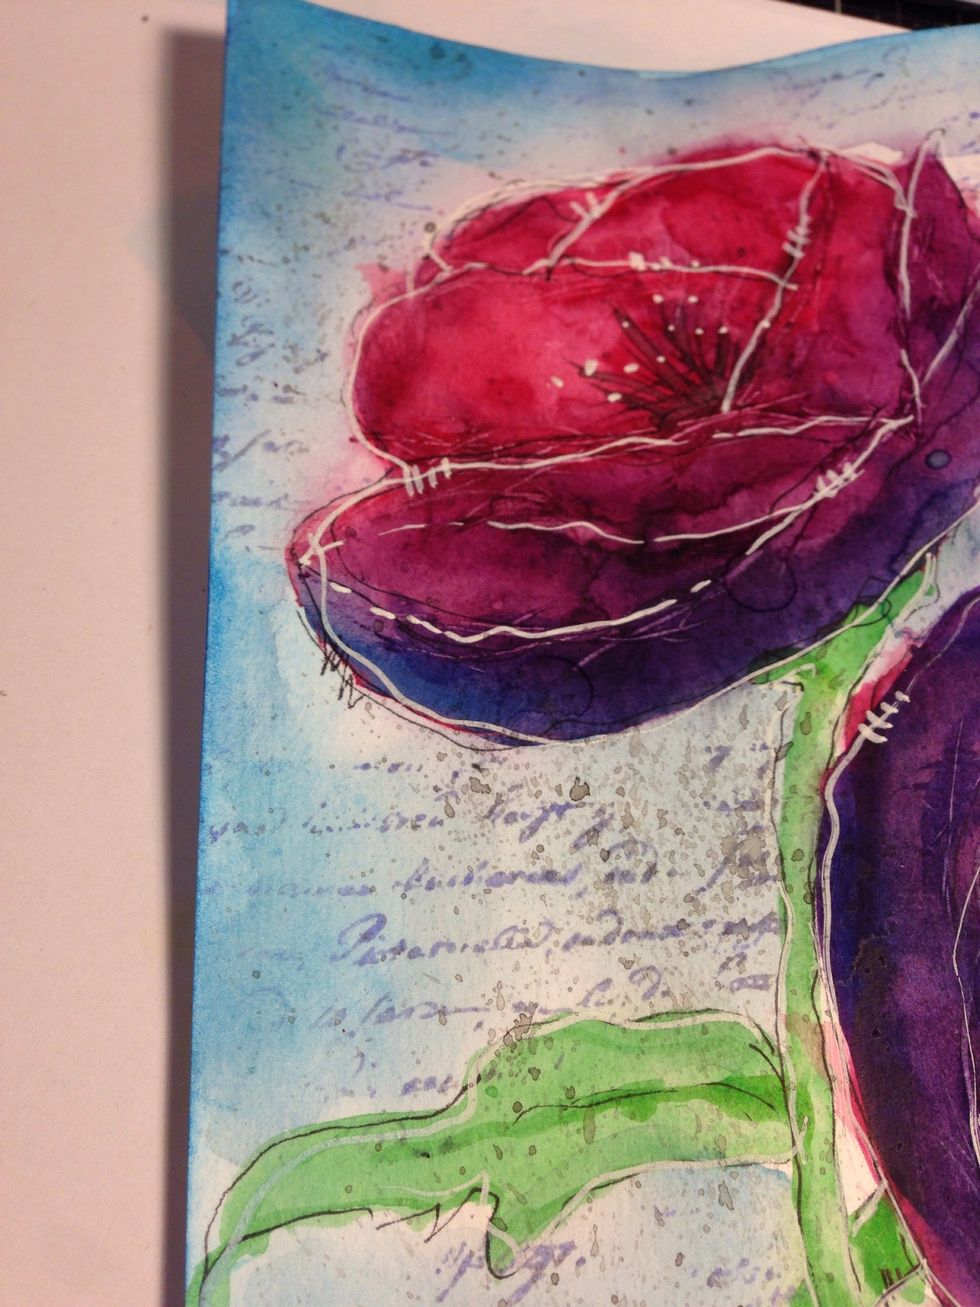
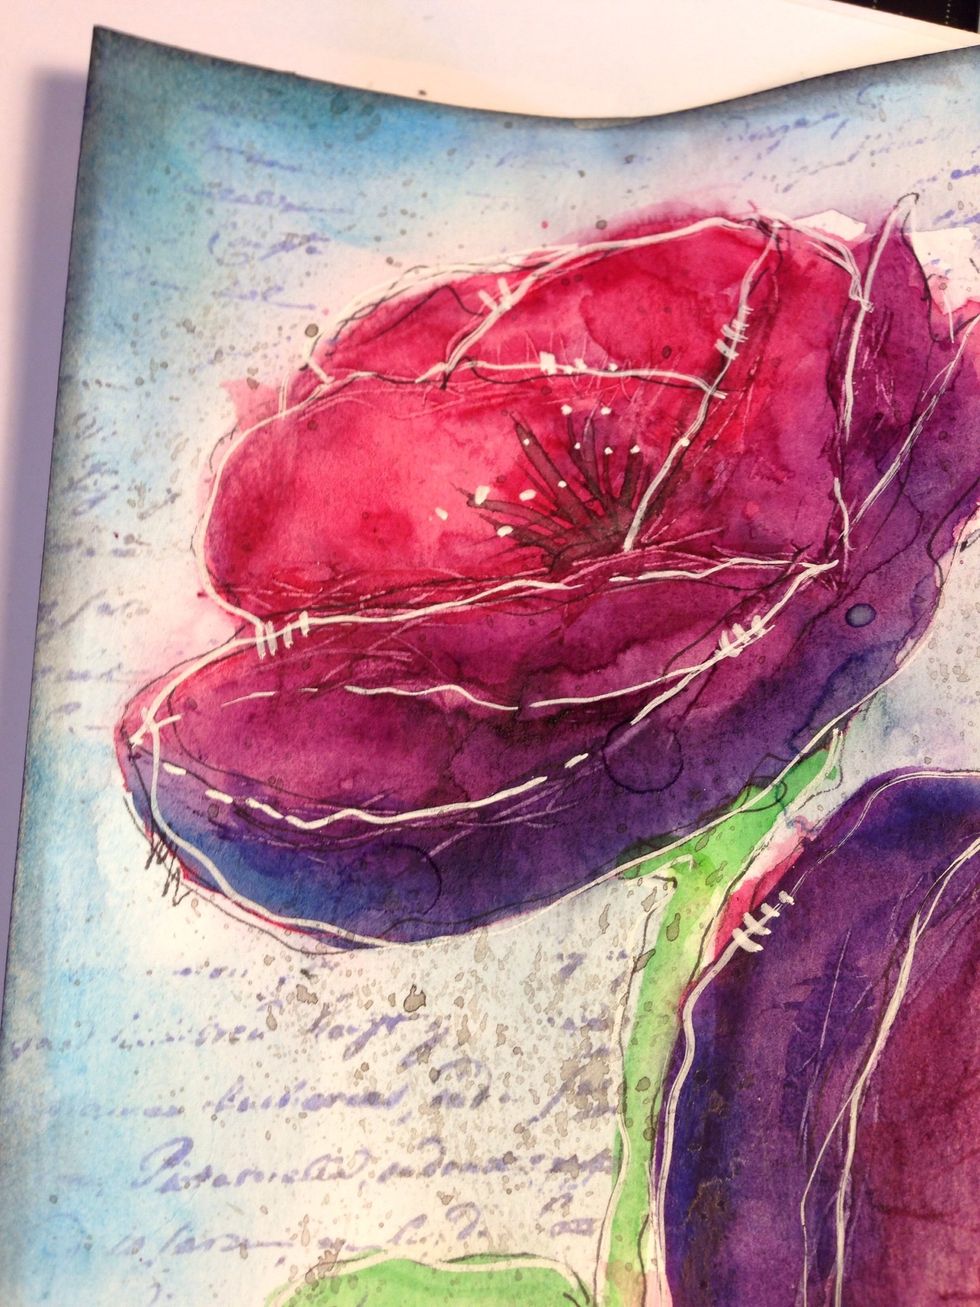
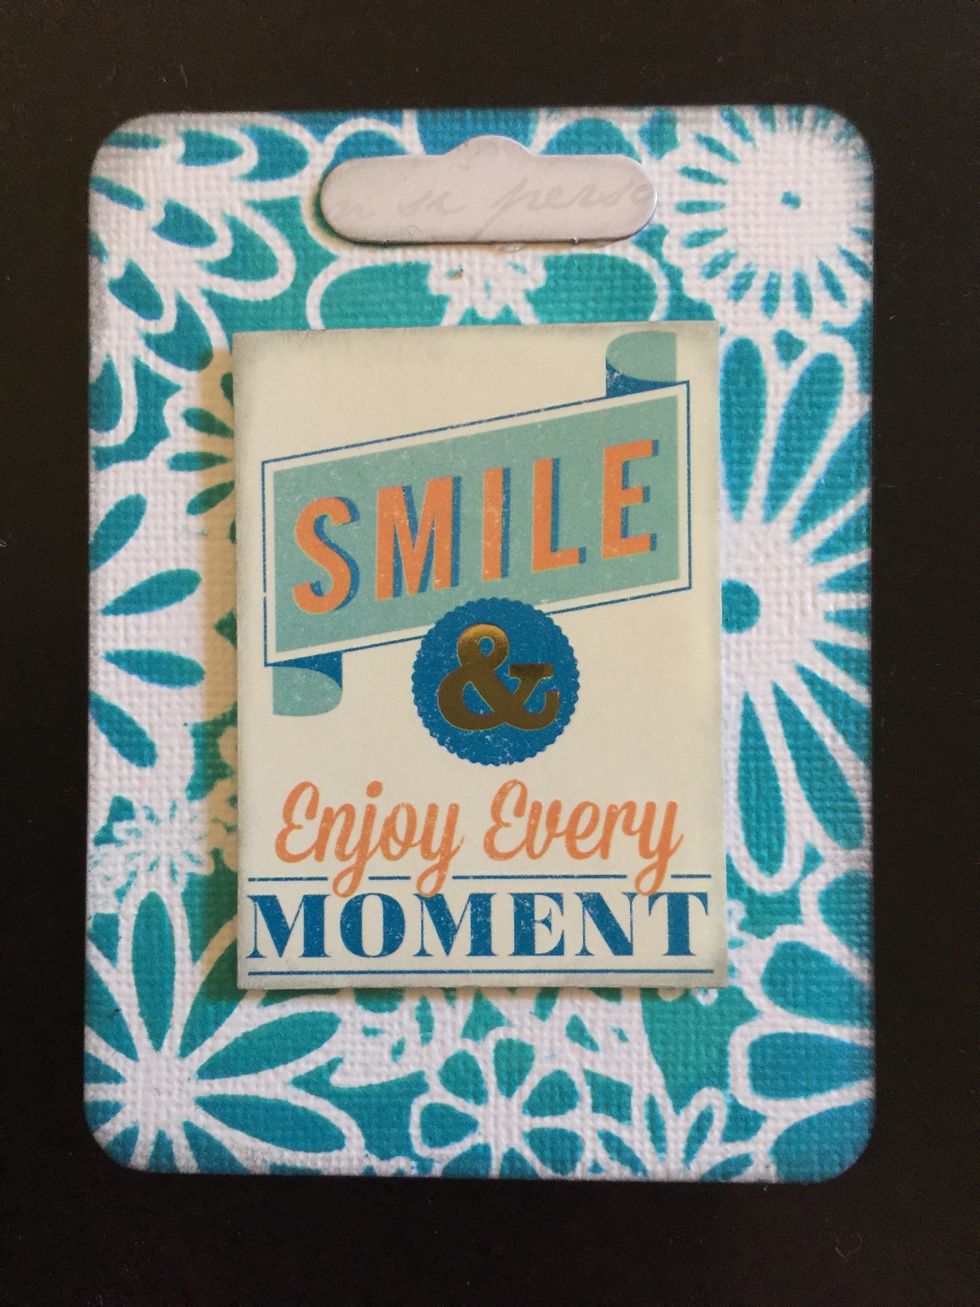
I added a little text stamping to the outside....now it's ready for a collage or a drawing of some kind!
The ink tool works beautifully through stencils. I chose the round tool for this to get a smooth blend. I used two colors.
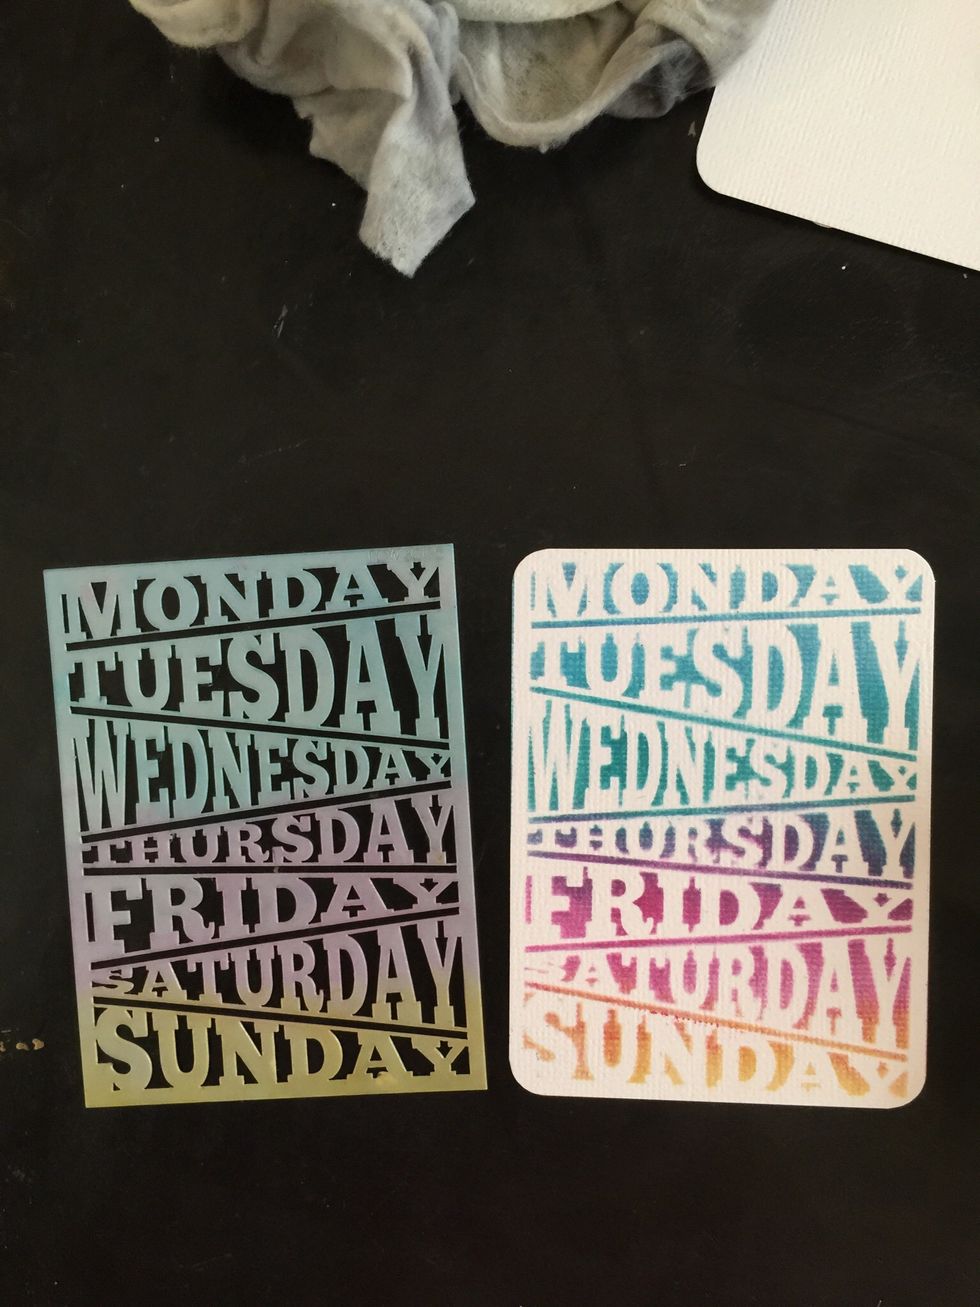
The ink tools blend colors together seamlessly. Just love this look. For best results have a foam for each colour so you don't contaminate colors.
So these clever little tools are a must have in everyone's scrapping toolbox! I use mine every time I create! They work with almost all Tim Holtz mediums, distress ink, reinkers,

Distress paints, distress sprays, anything wet and liquid! You can wash them out and use them over and over again, and buy refill packs when ever you need!