The Conversation (0)
Sign Up
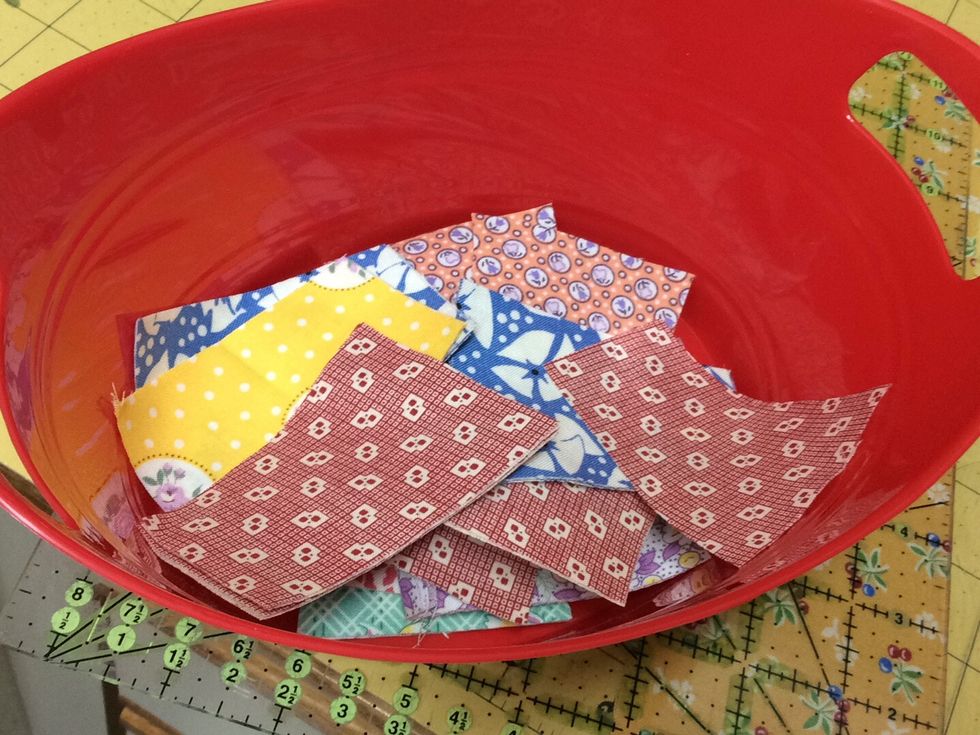
Cut your arc fabric into 3 inch strips. Then use your QuiltSmart template to cut the arc pieces. I stored mine in a little bucket for easy access
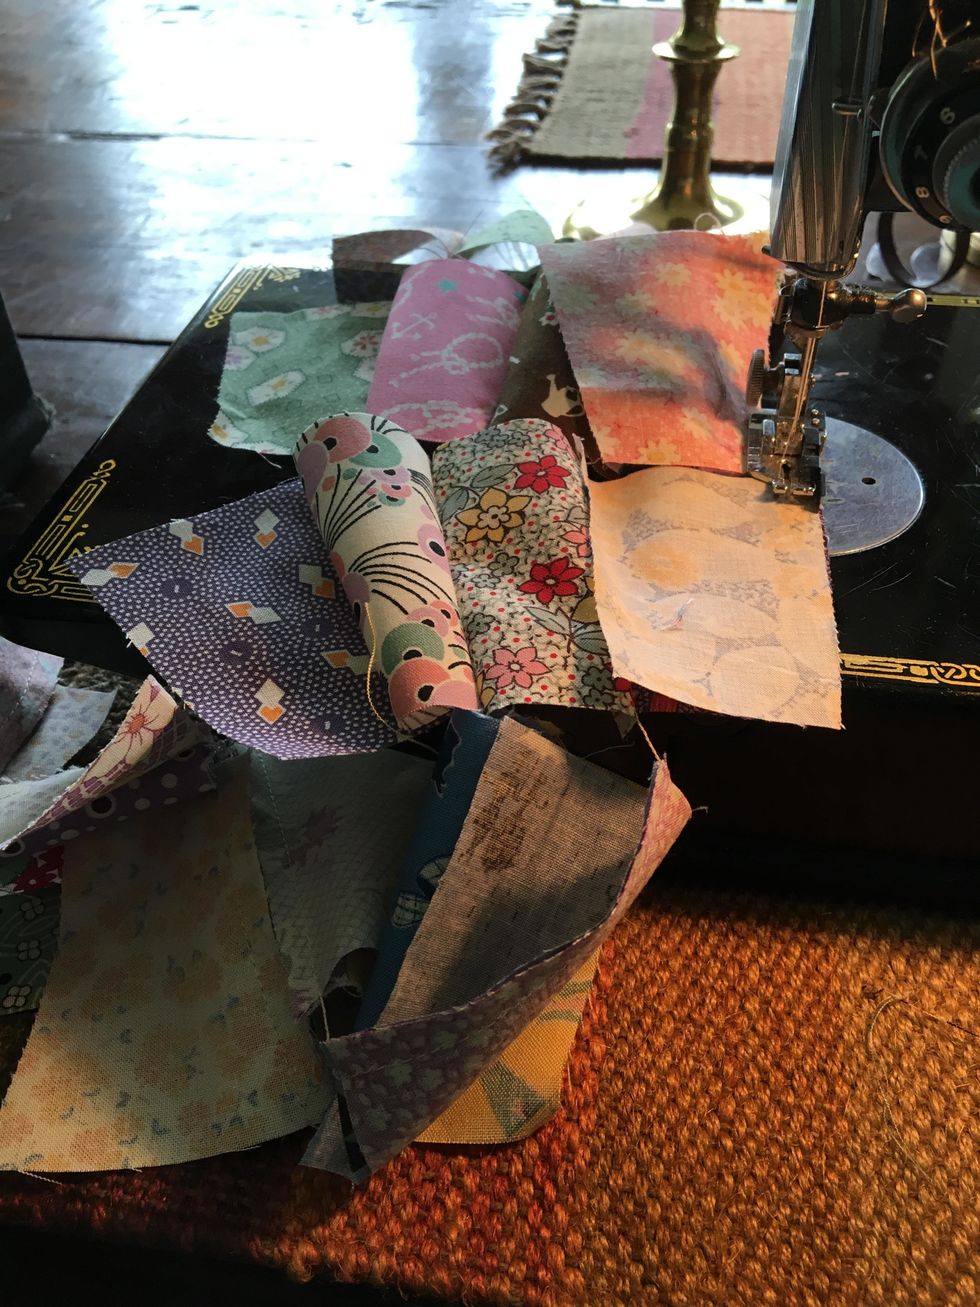
Chain piece your arcs together. Each arc has 6 pieces, You need 4 arcs for your block.
Press each arc with seams going the same way.
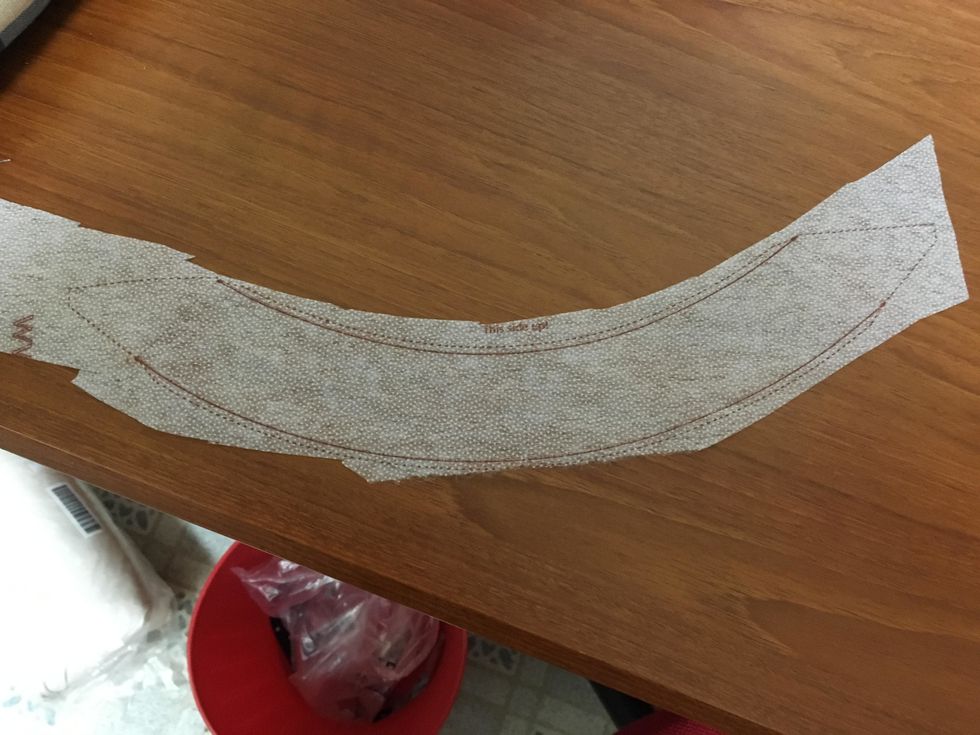
Cut your Quilt Smart interfacing arcs apart, leaving a little space past the dotted line. Place your interfacing arc on the right side of your fabric arc.
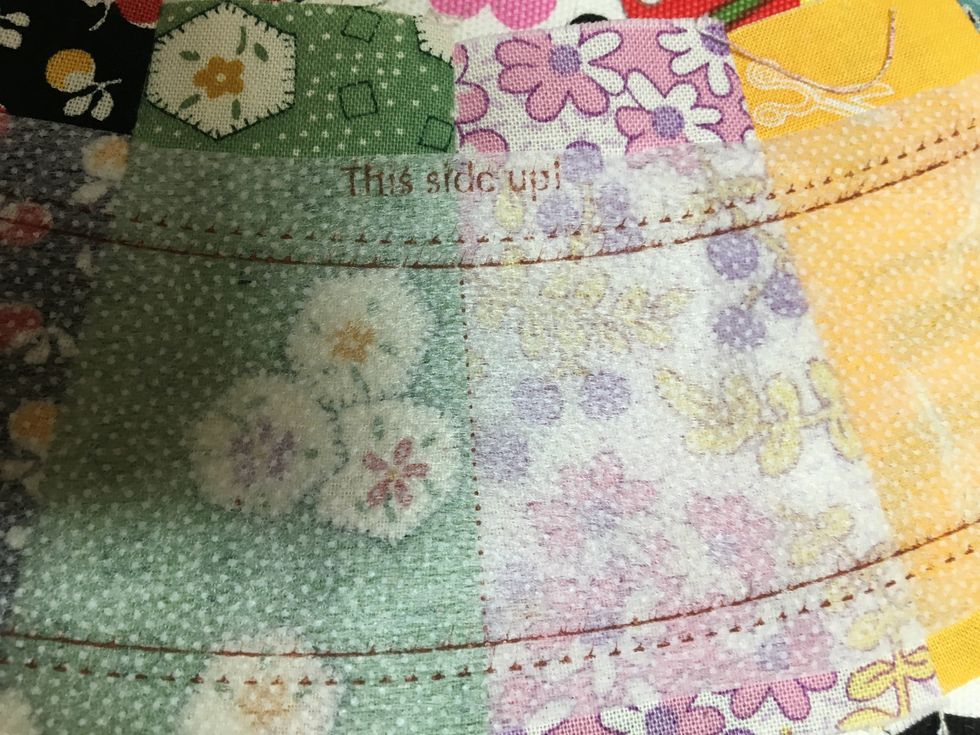
The interfacing arc will say, This side up. Match the center line with the center seam of your arc. Pin.

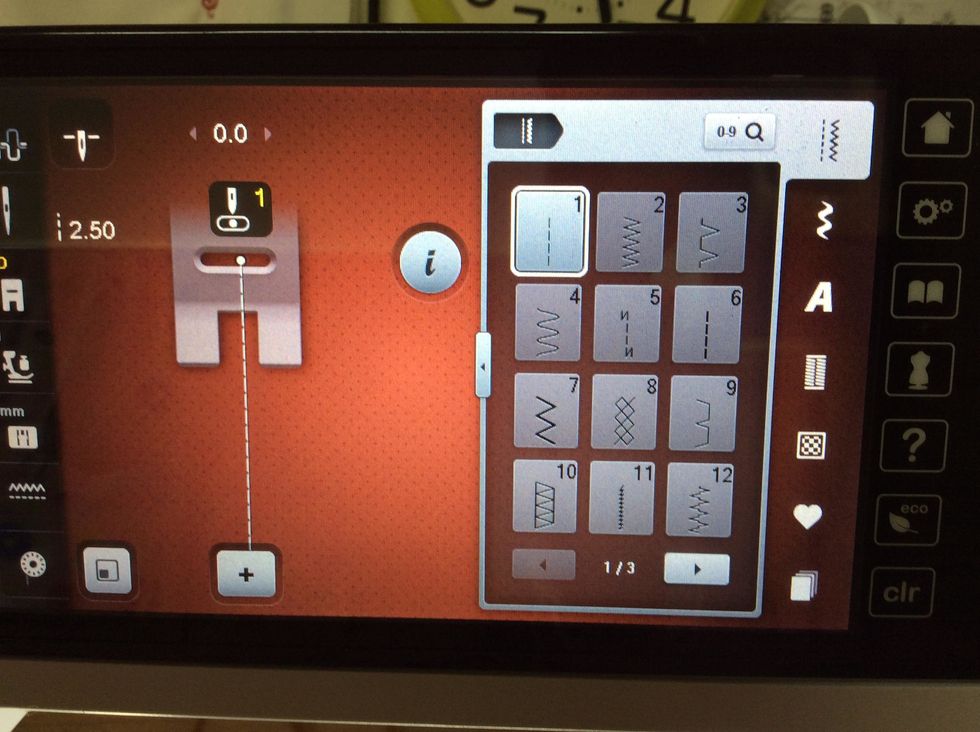
Lower your pressure foot pressure, lower your stitch length when you are sewing with the interfacing

Sew on the sold line, one on the top of the arc, the other on the bottom of the arc, each end is left open

Cut on the dotted line, just on the top and the bottom of the arc, leave the ends alone for now.
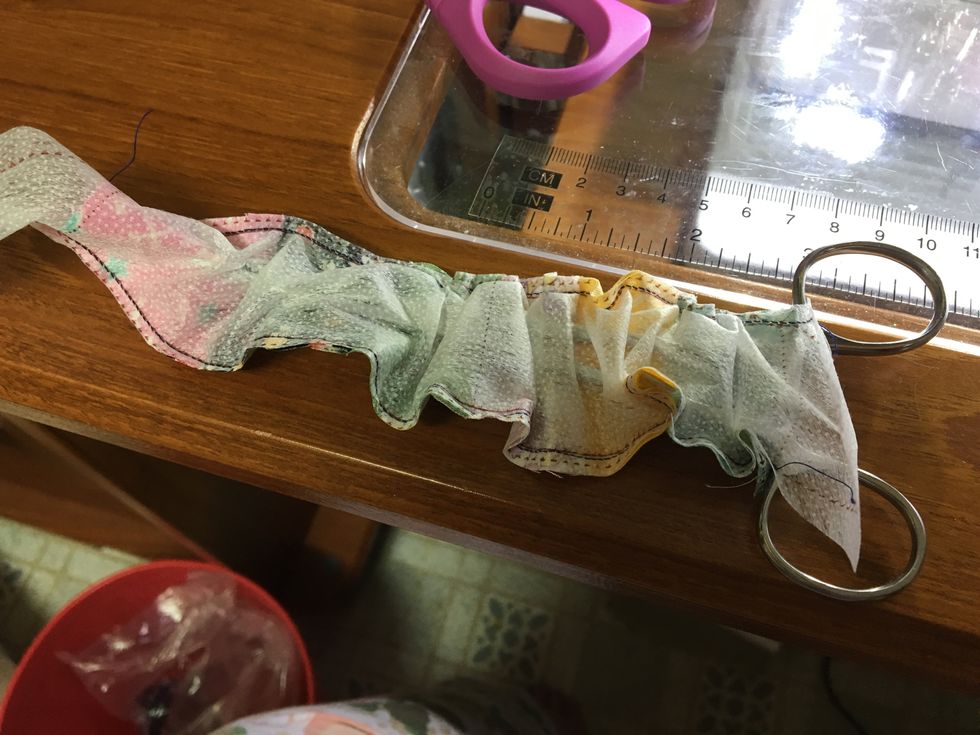
Using a hemostat turn your arc right side out. Roll it with your fingers to get it into the right shape.
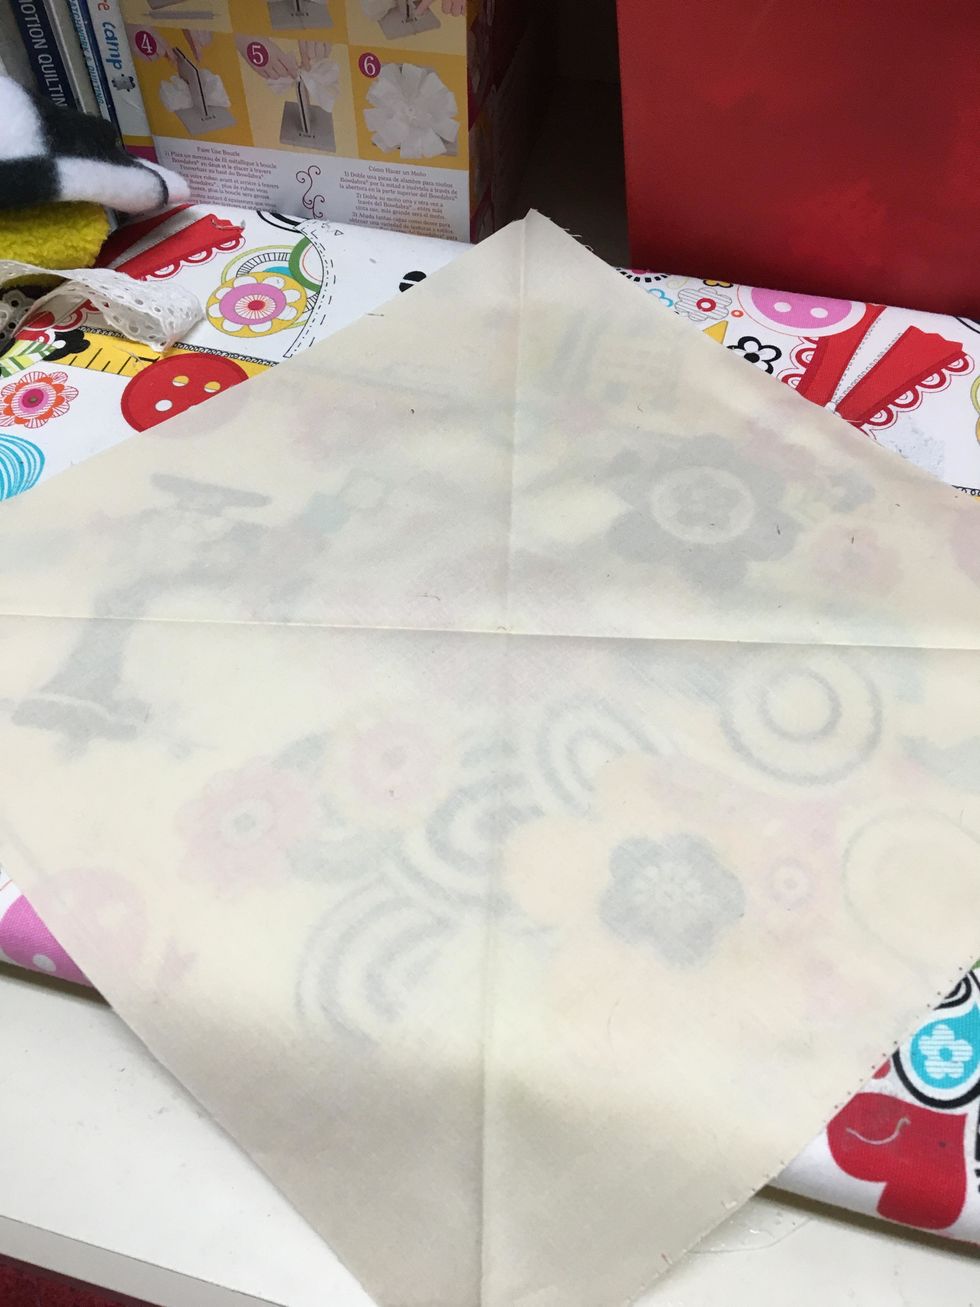
Take your background square and press it on both diagonals. I sprayed a little spray starch on it.

Place your arc on the background square lining up those corners on the ends.

Line up the other end of the arc with the corner. When it is all lined up, press the arc to the background square.
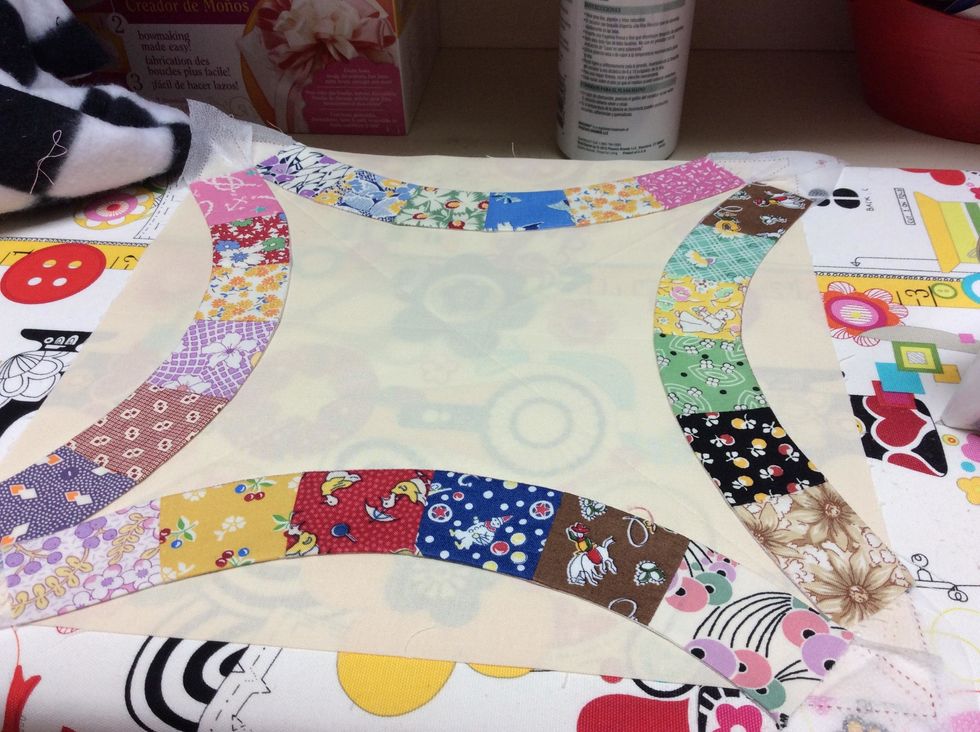
Do all 4 arcs the same way.
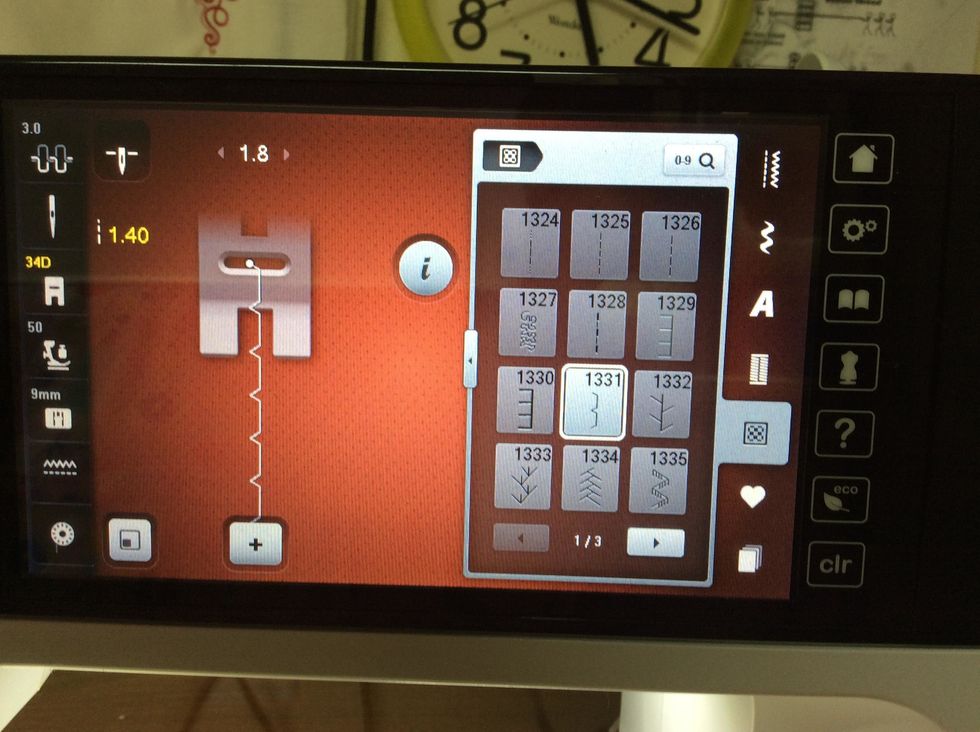
Set up your machine for a small blindstitch.

Keep your needle to the edge of the arc, it will take a small "bite" into the arc... Stitch all sides of the arcs.
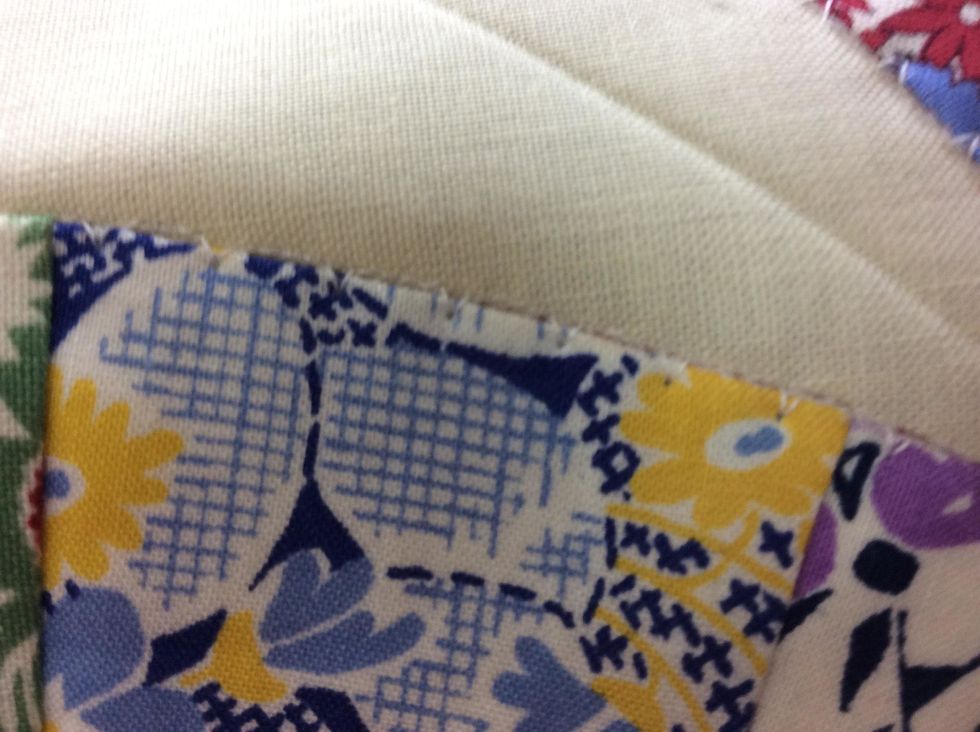
You can use invisible thread, I have a hard time using it, so I chose white thread. Can't see it from a galloping horse.. so it works! :)

Cut your corner triangle fabric into 2 1/2 inch squares. Mark the diagonal line on each square
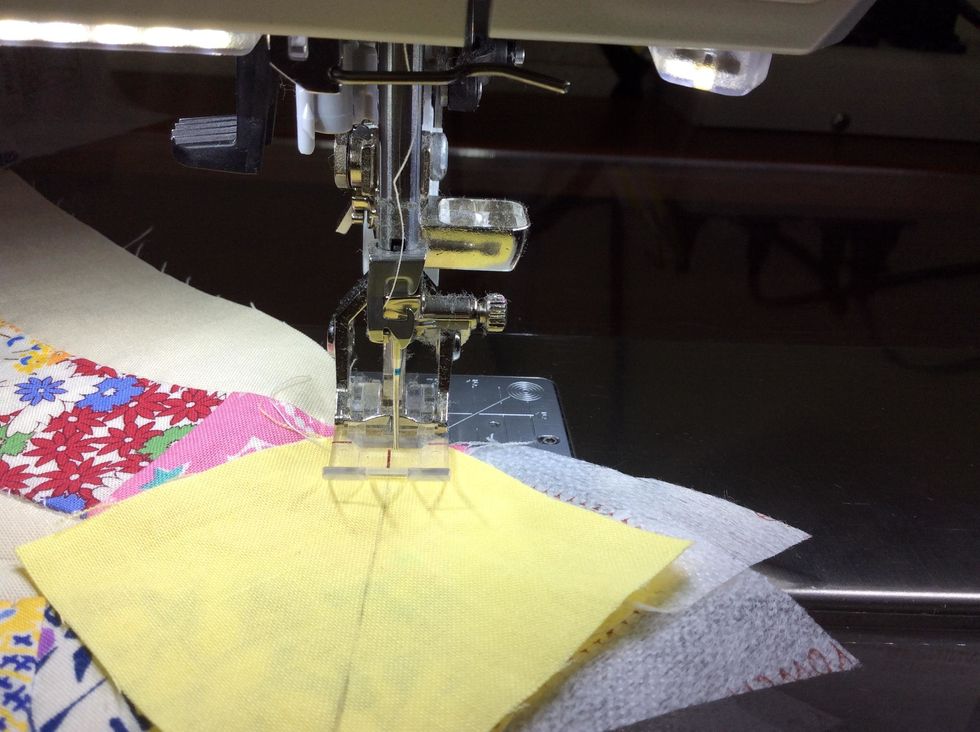
Place your square on the corner of your block, matching edges.
Move your needle one click to the right
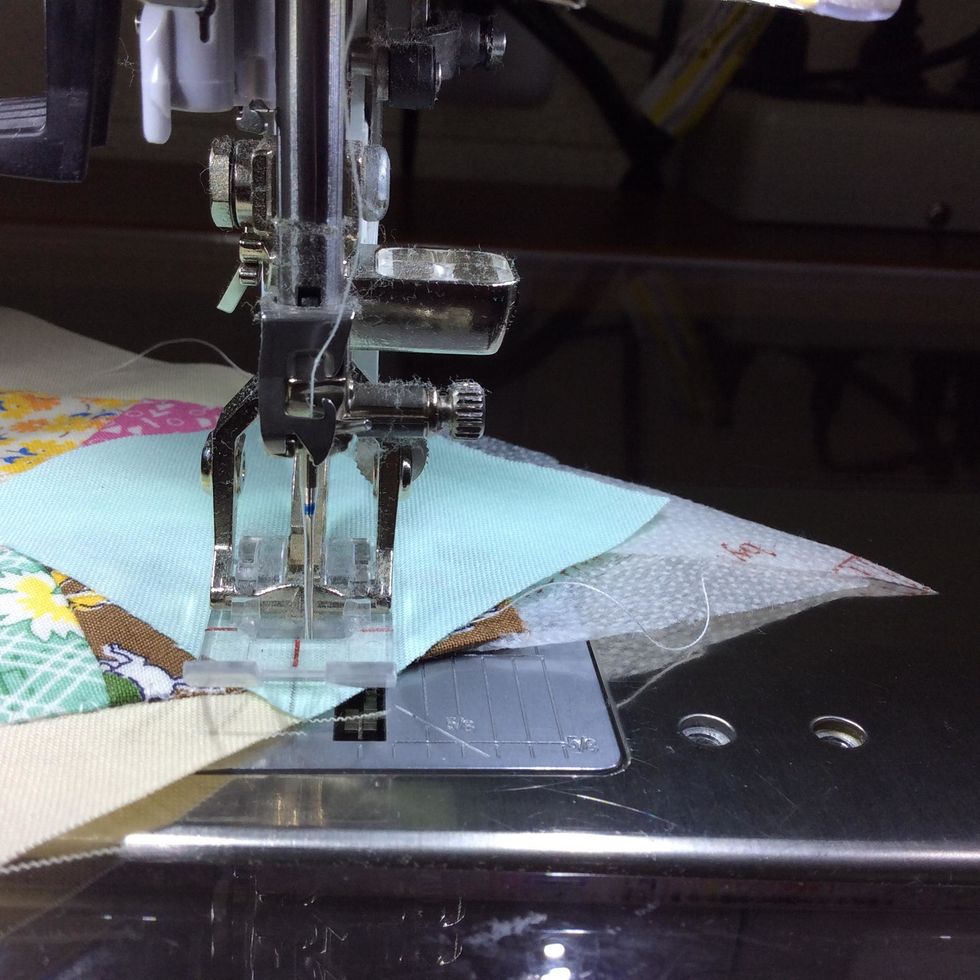
As you sew, the center line on the presser foot will be on your drawn line, your needle is 1 thread away.
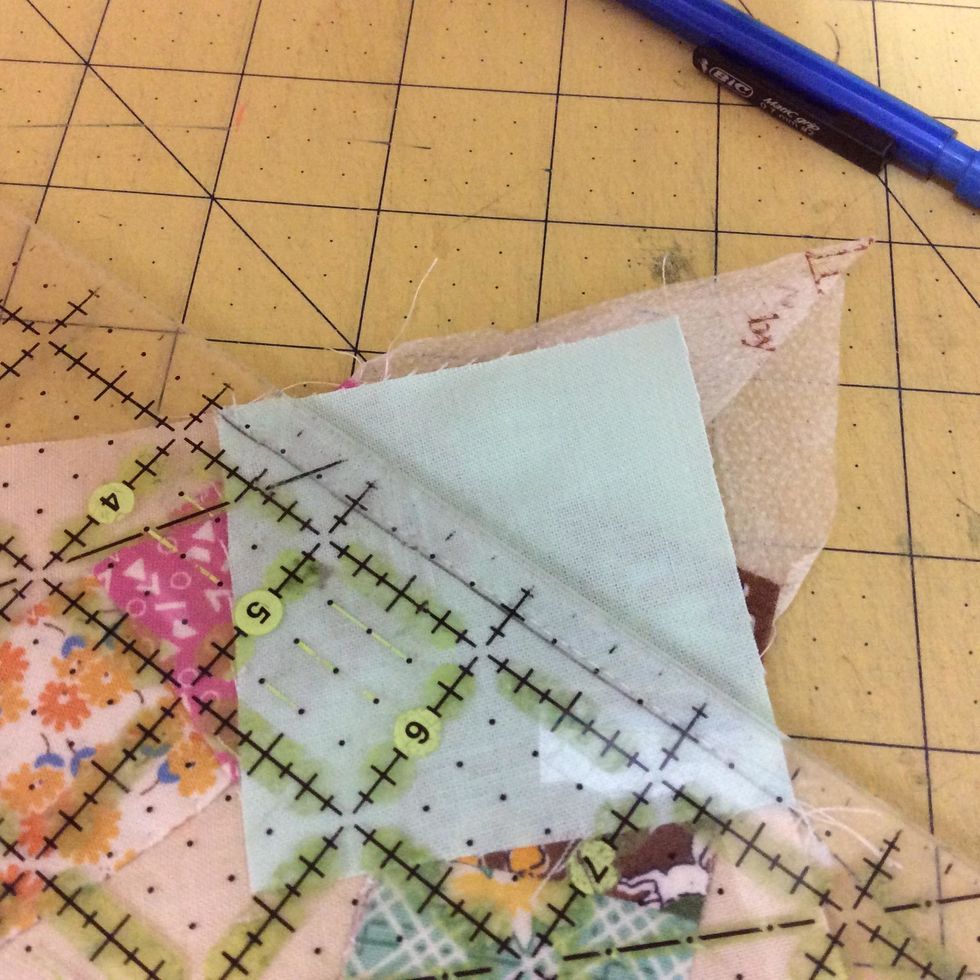
Cut 1/4 inch seam allowance. Press the triangle in place
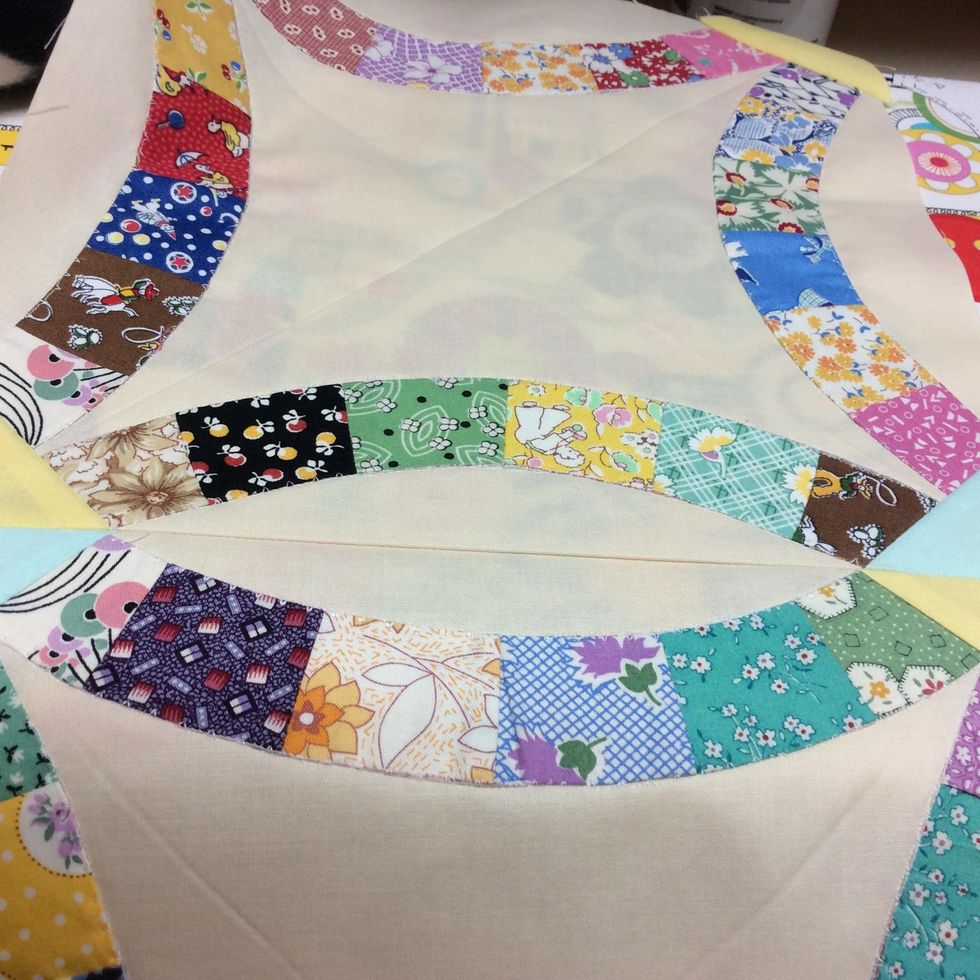
When you sew your blocks together, you want your arcs to line up and your corner triangles to line up.