The Conversation (0)
Sign Up

The ArtStudio app has had a number of updates since I made my first guide. So this guide will walk you through the basics of its new interface. It just keeps getting better and more photoshop like.
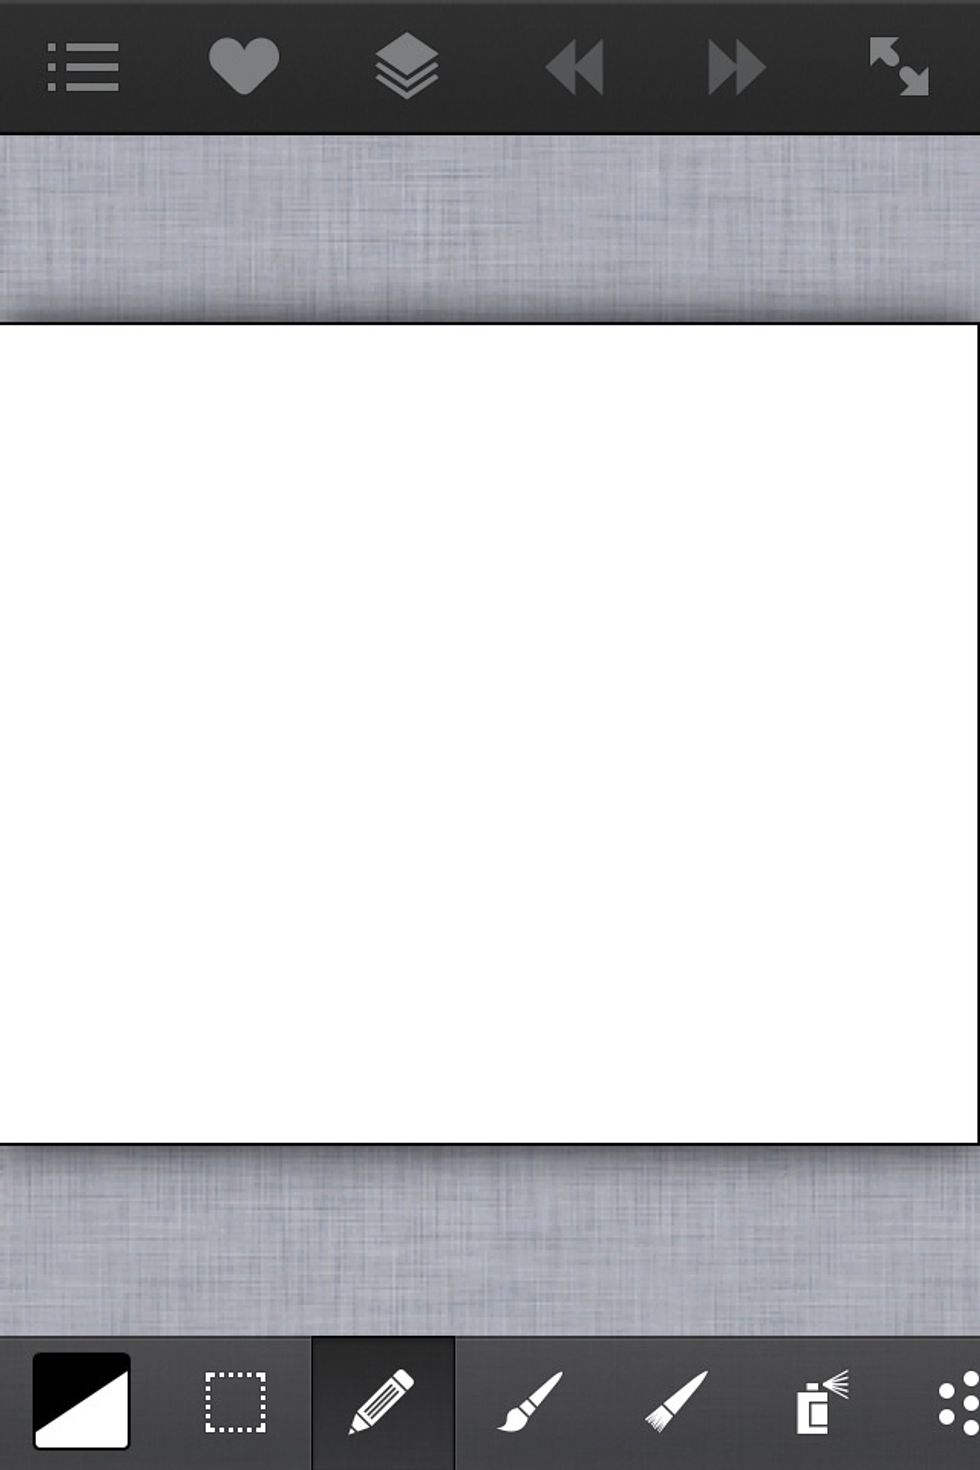
Here's the new layout. On top you have the main menu, brushes, layers, undo/redo arrows & full screen. Below are tools you can scroll left or right. Double tap any of the below tools for its options.
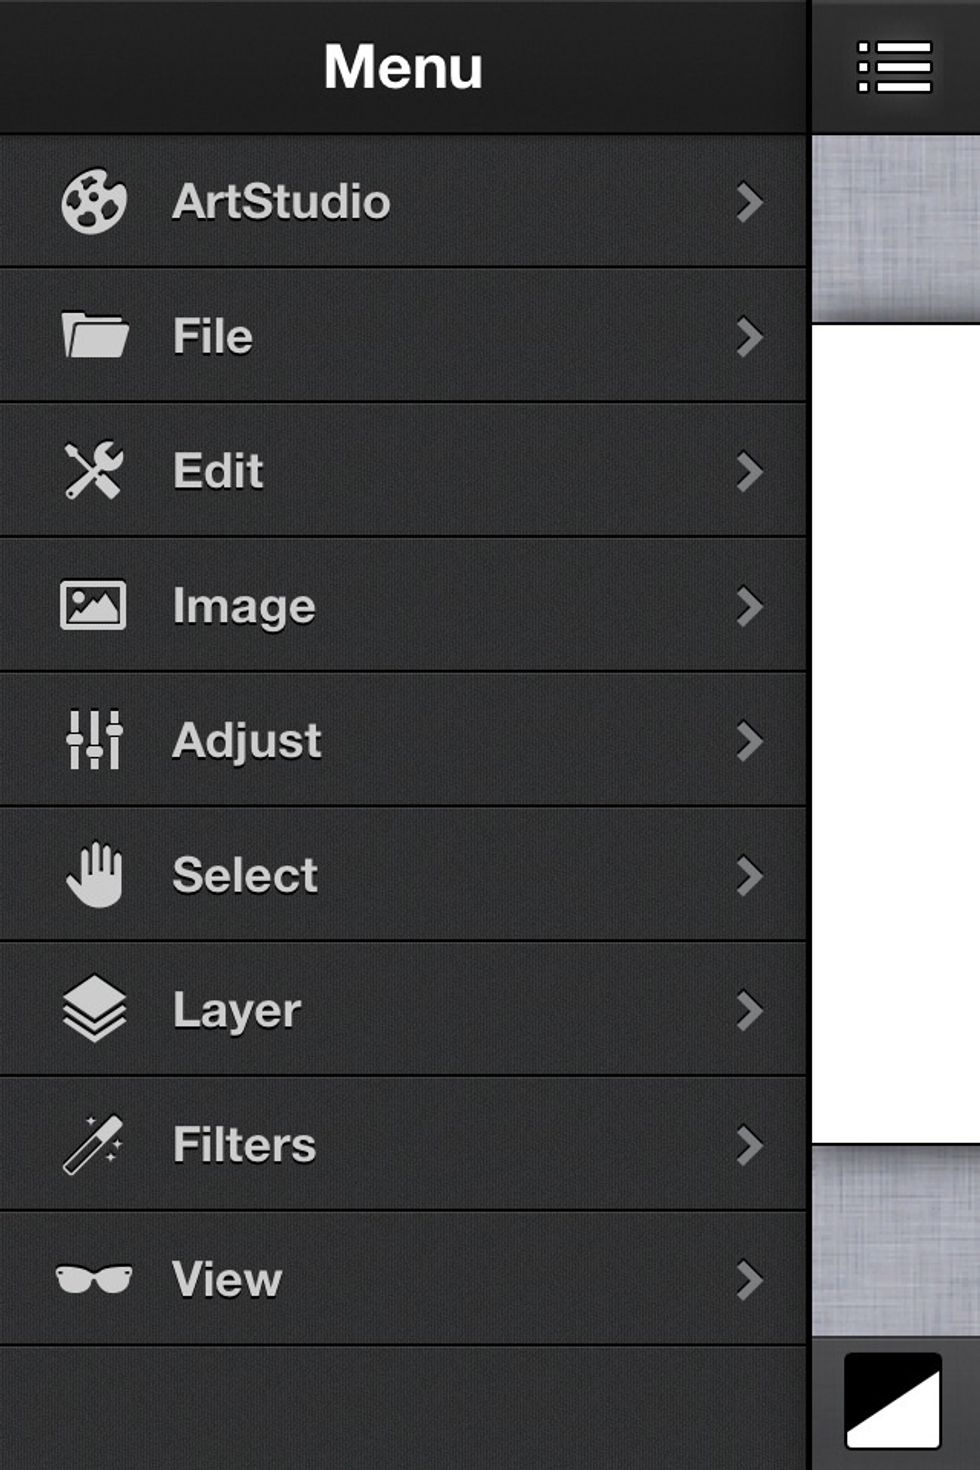
Most of the tools and functions are now found in the main slide out menu.
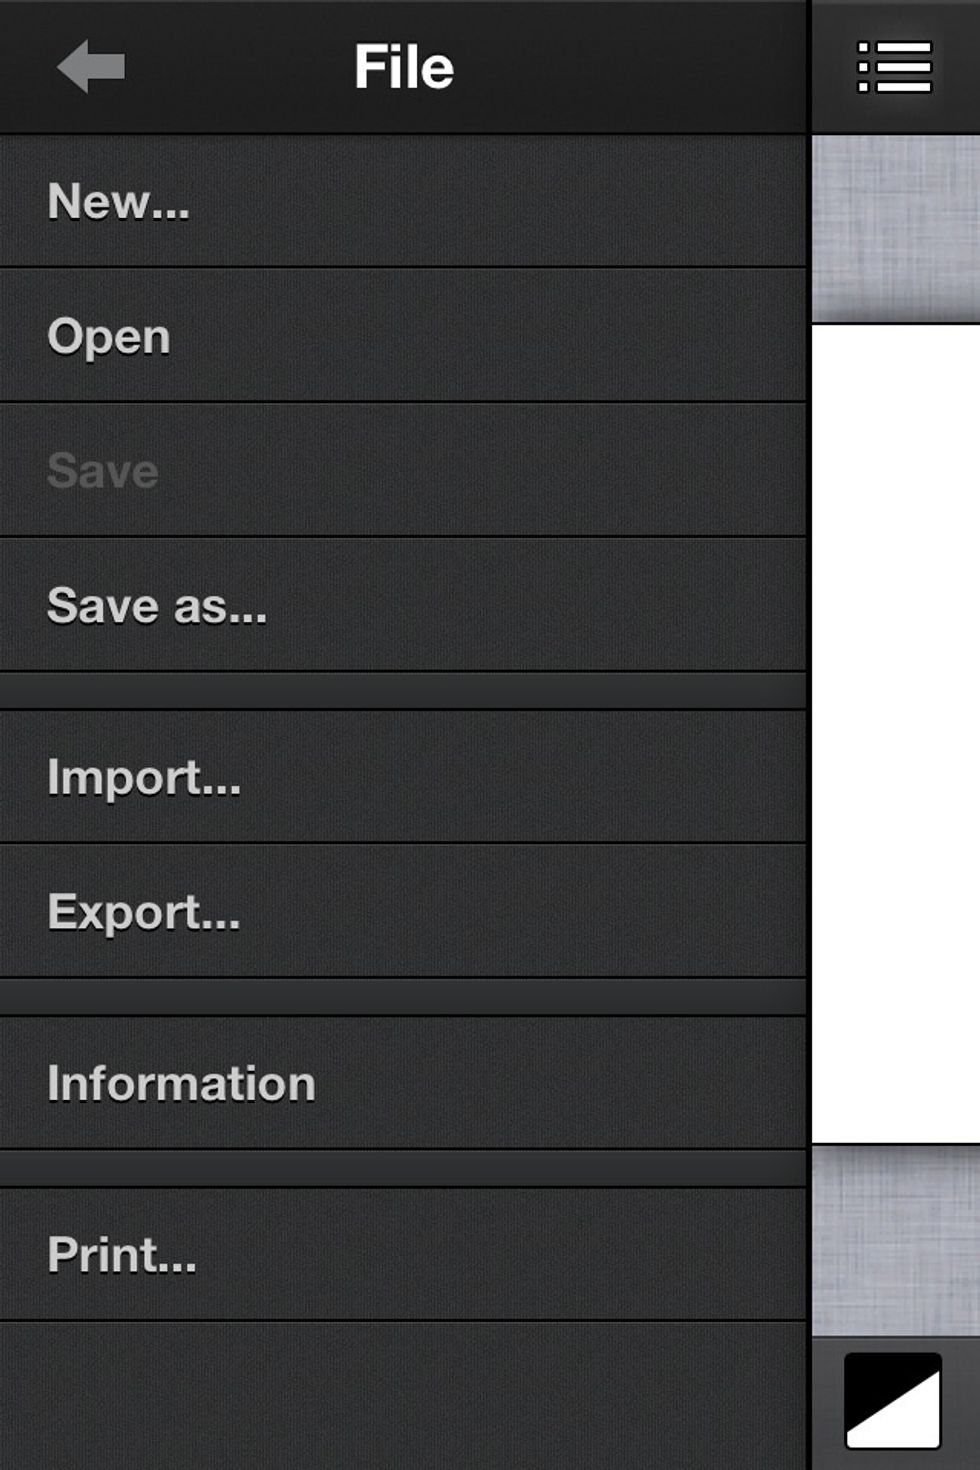
In Files you can load, import, save, export and create new images.
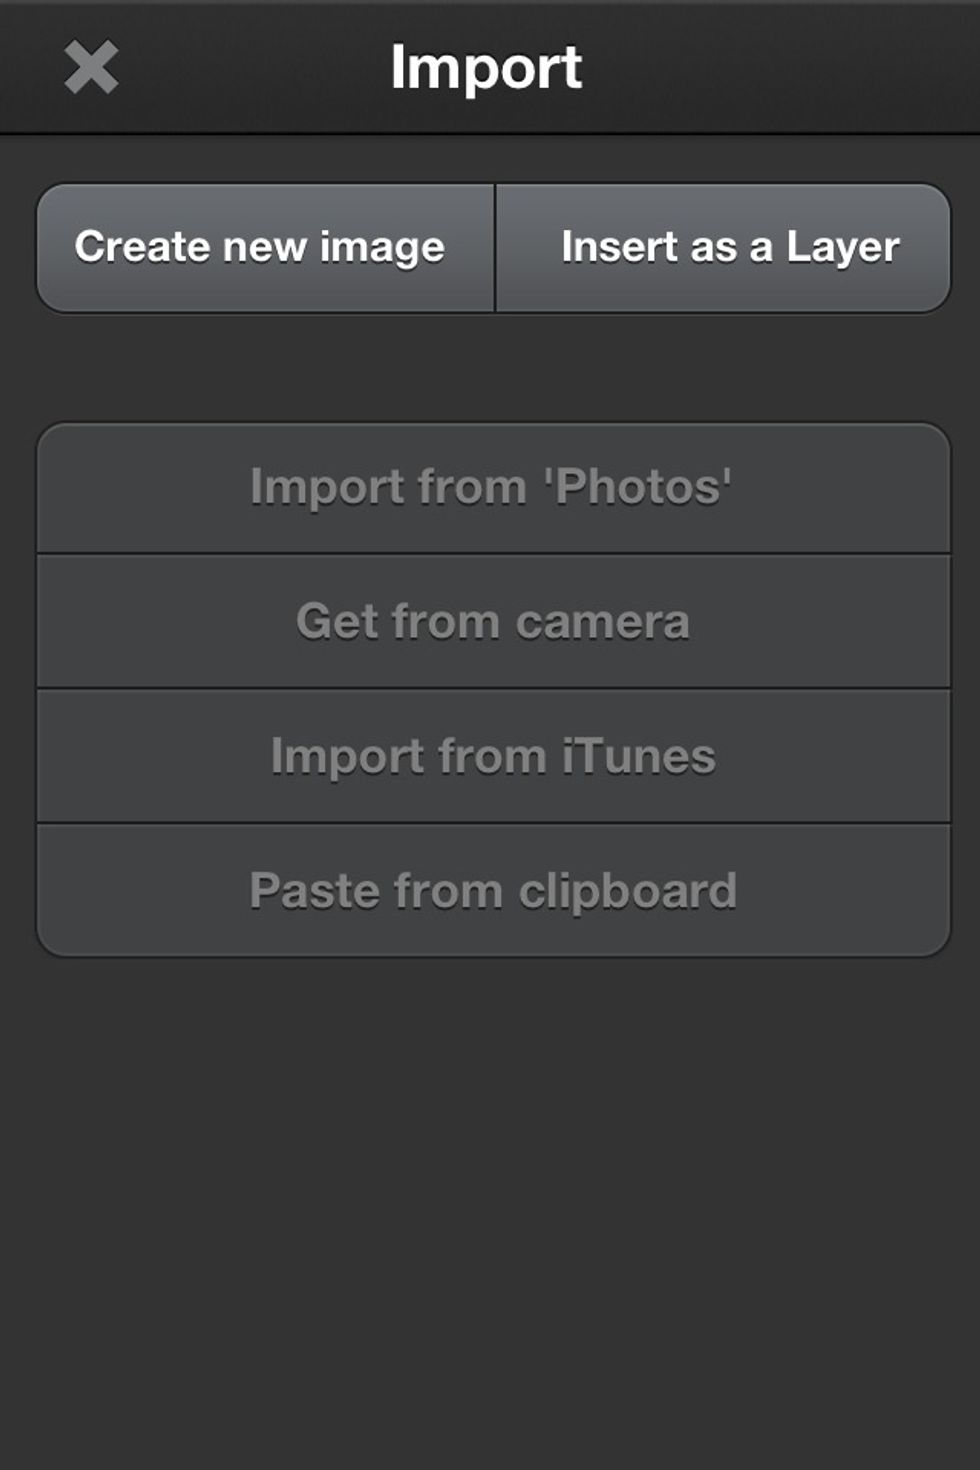
When you import an image. You have a choice of importing it as a new image. Or to add it as a new layer on an image you're already working on in the app.
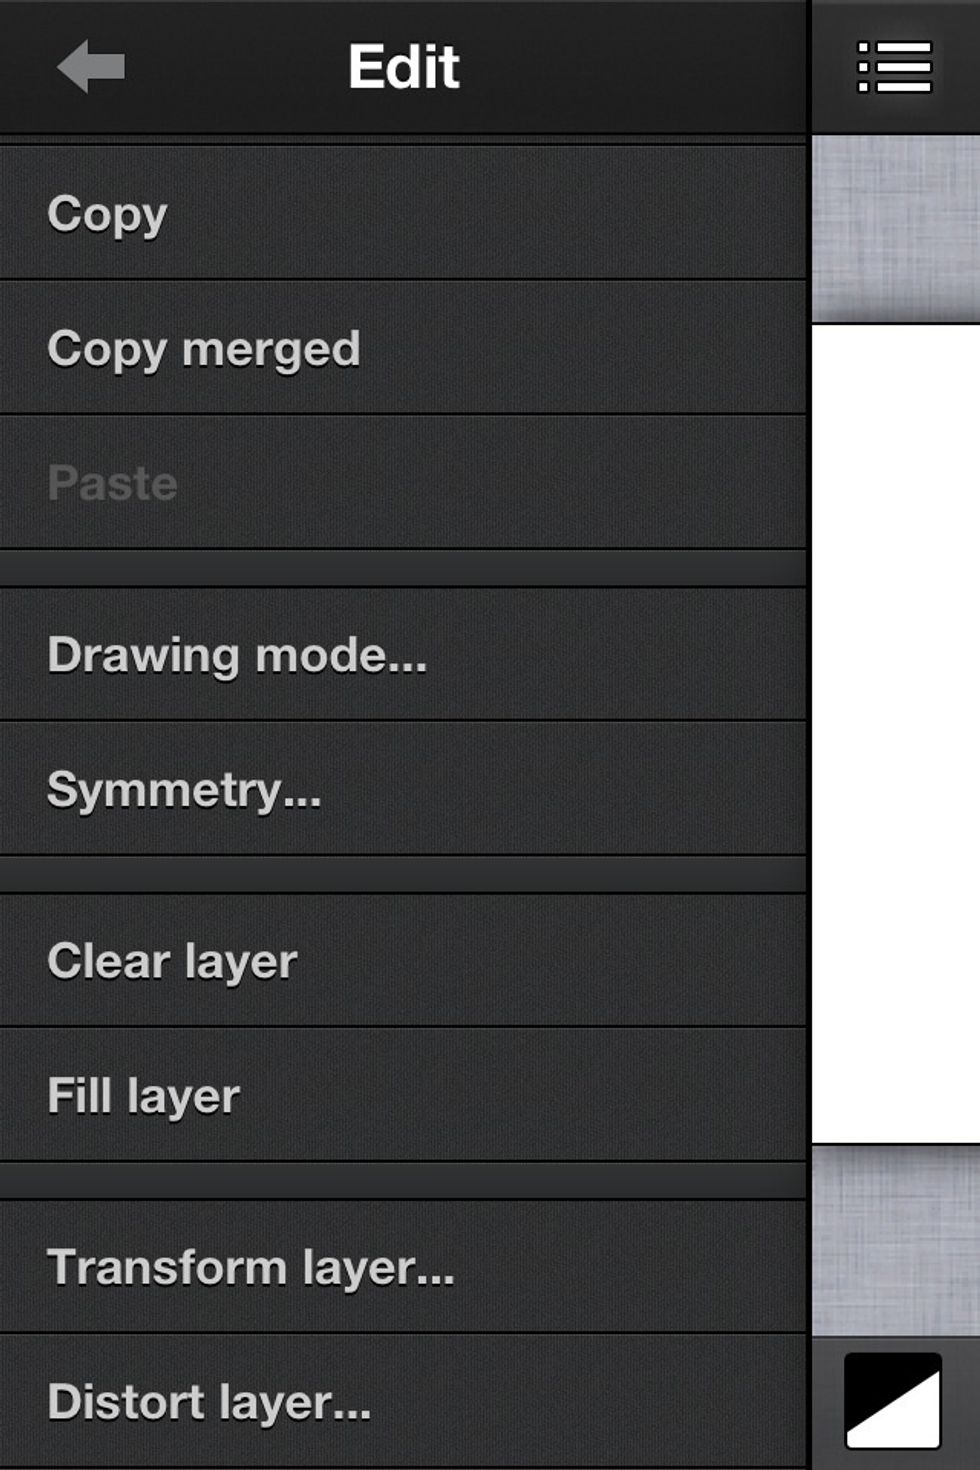
Here's the edit menu choices.
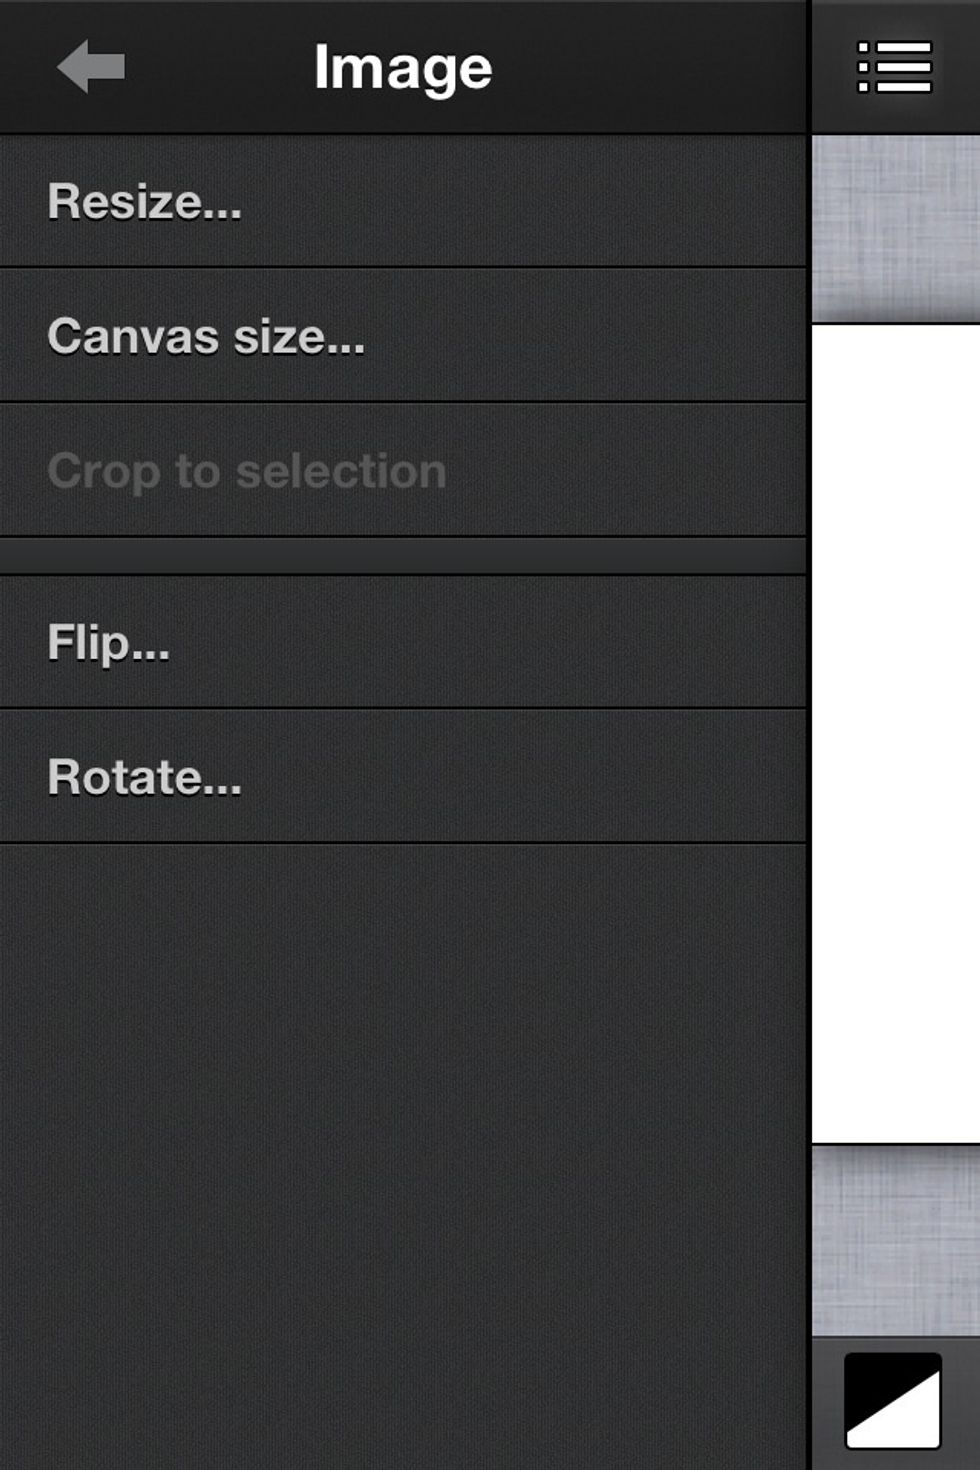
Image menu choices.
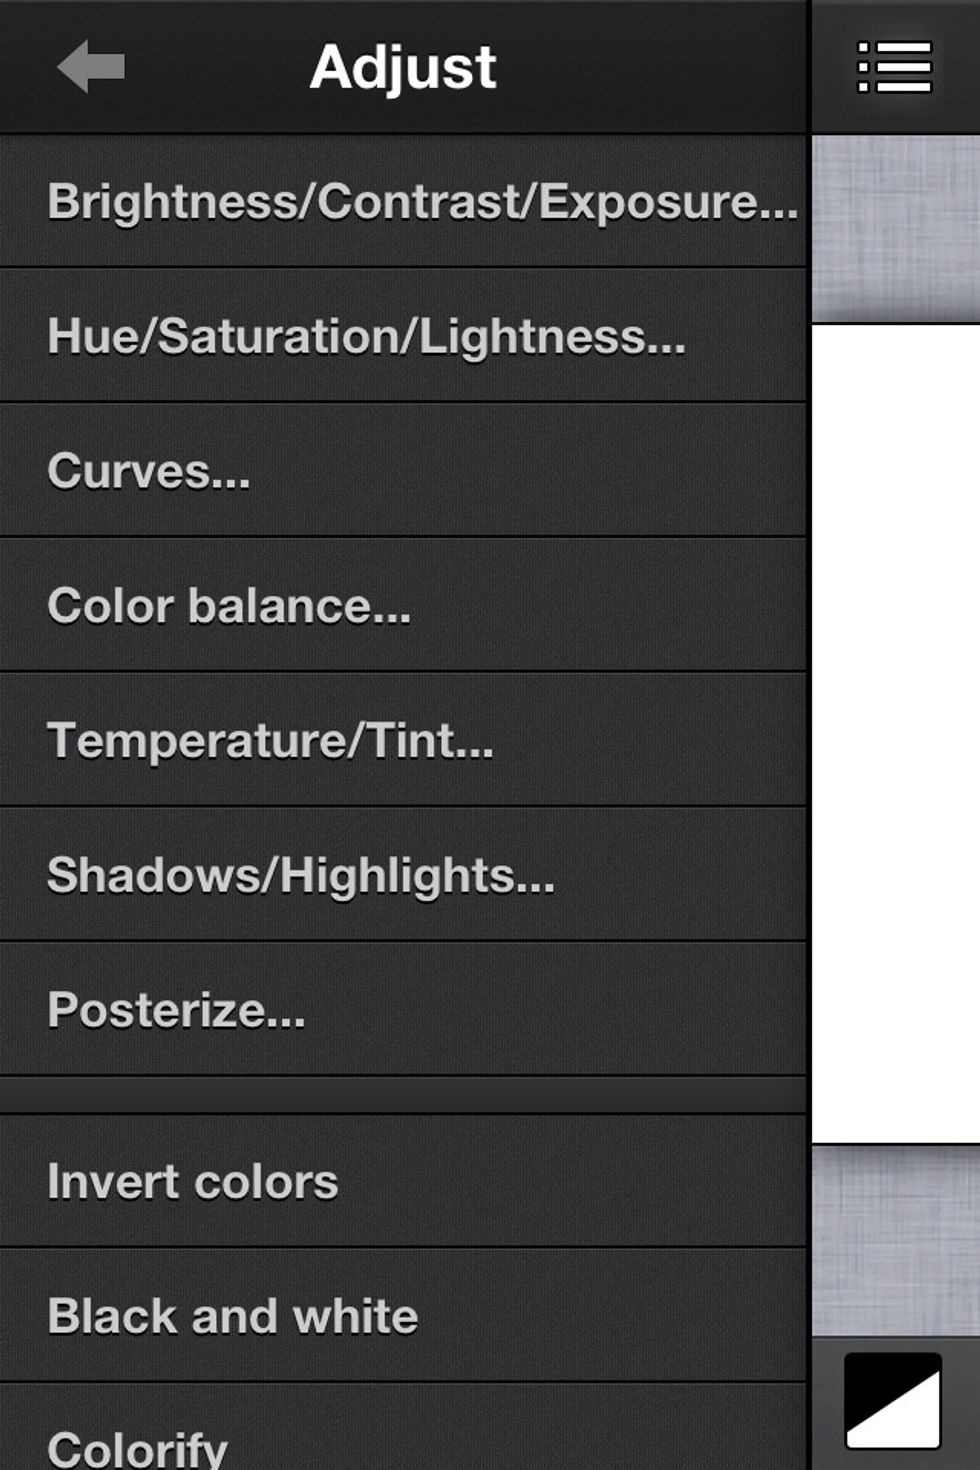
The adjust menu has many useful tools. I suggest you experiment with them. If your familiar with programs like photoshop you'll have a good idea of what these tools do.
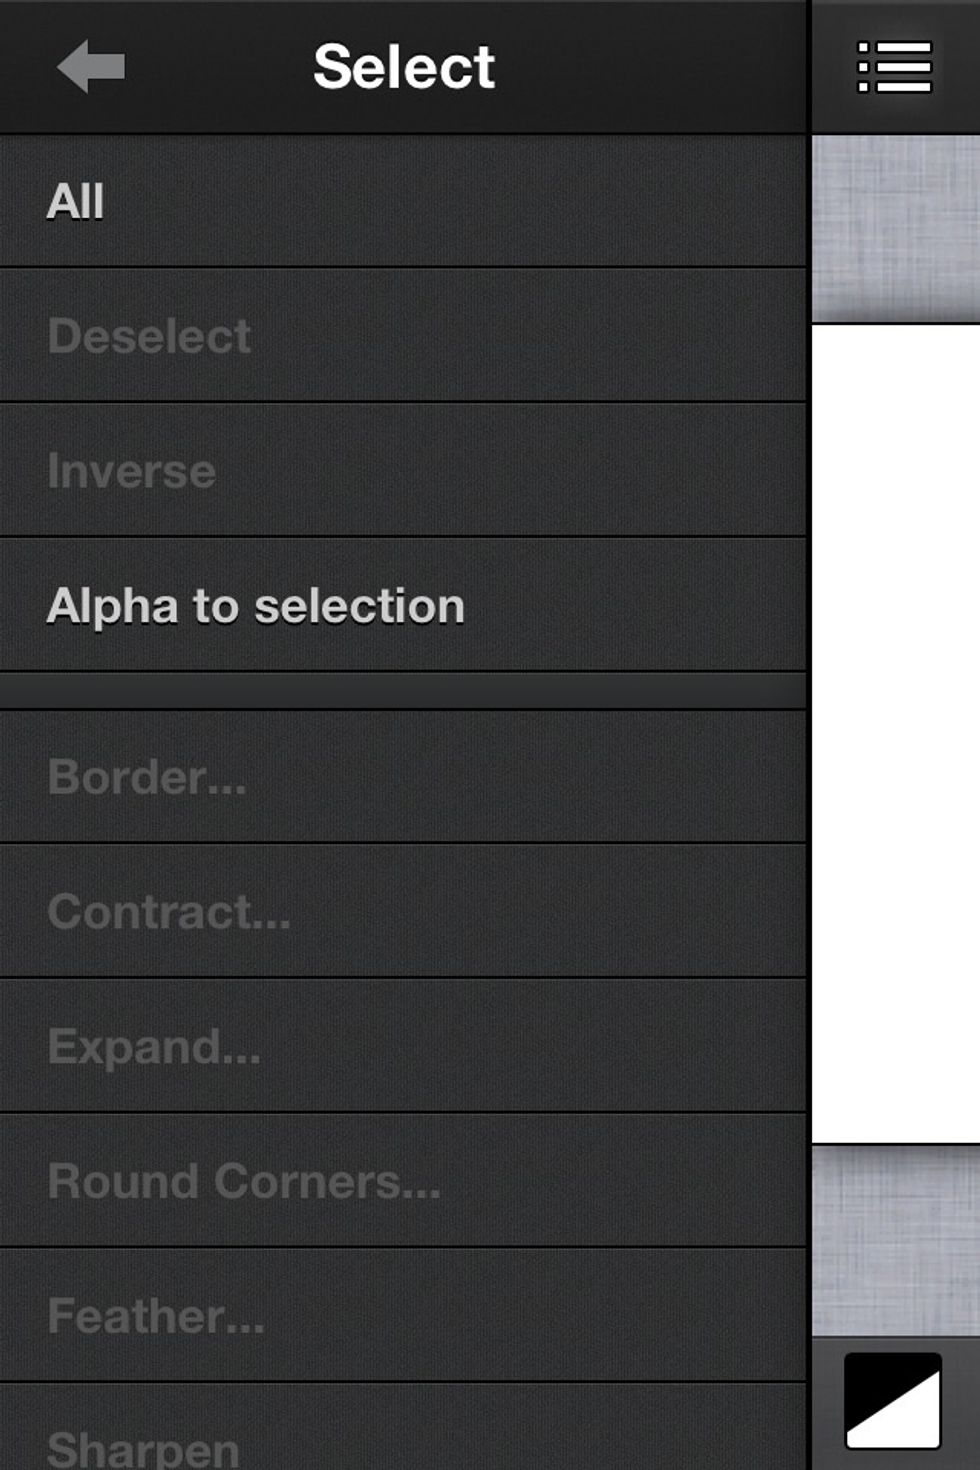
Select menu. As you can see they've really added many useful tools to this app.
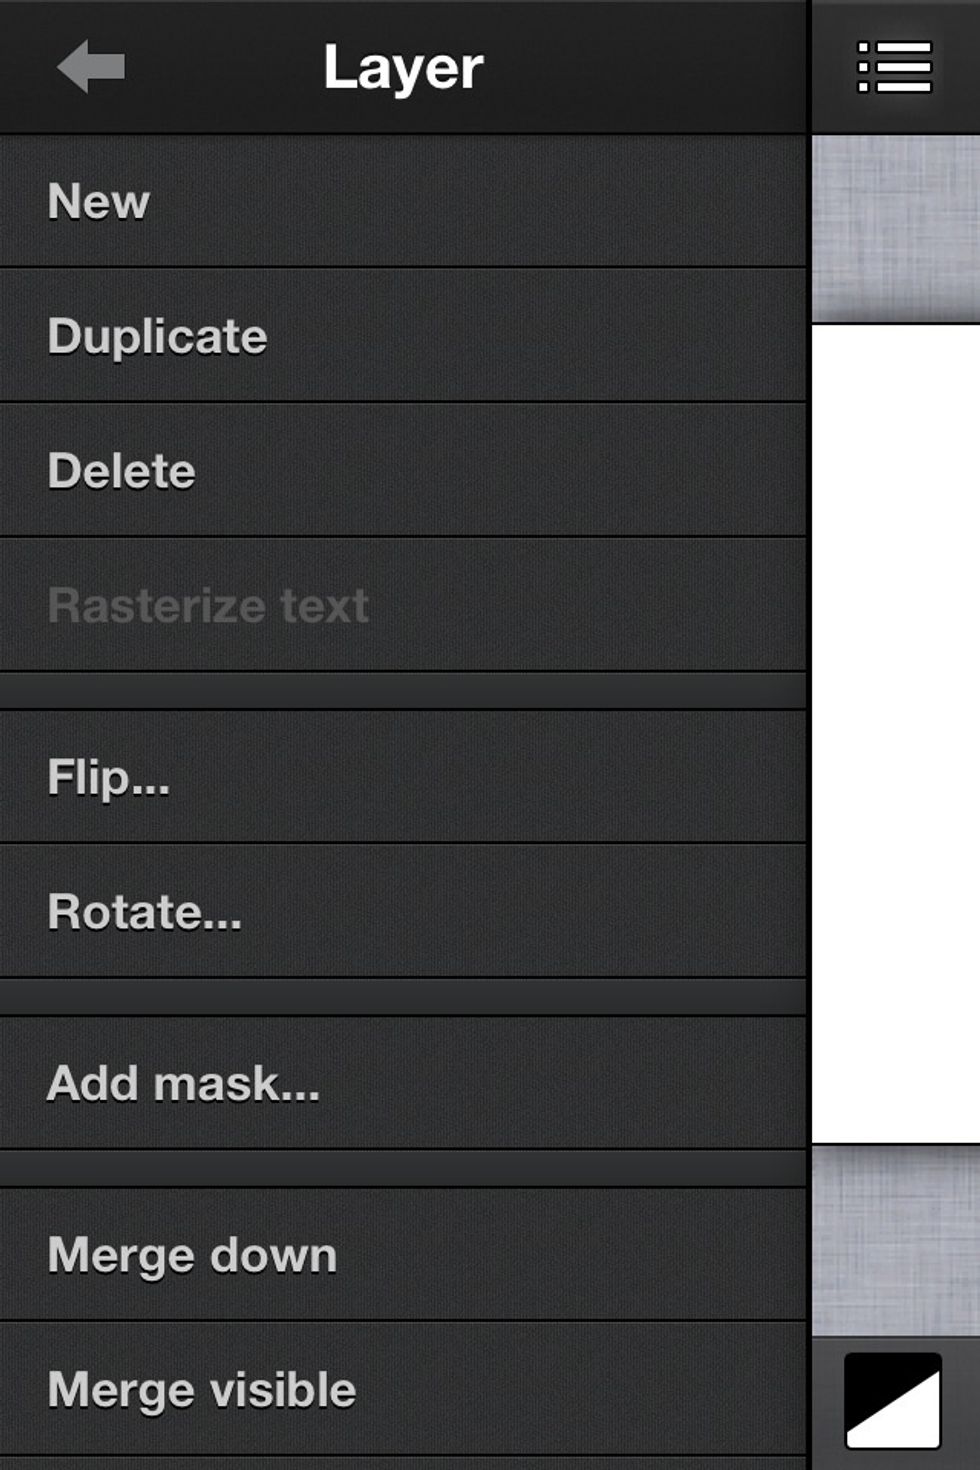
Layers menu. This is looking more and more like photoshop isn't it.

They've added quite a few new filters such as drop shadow, clouds, etc…
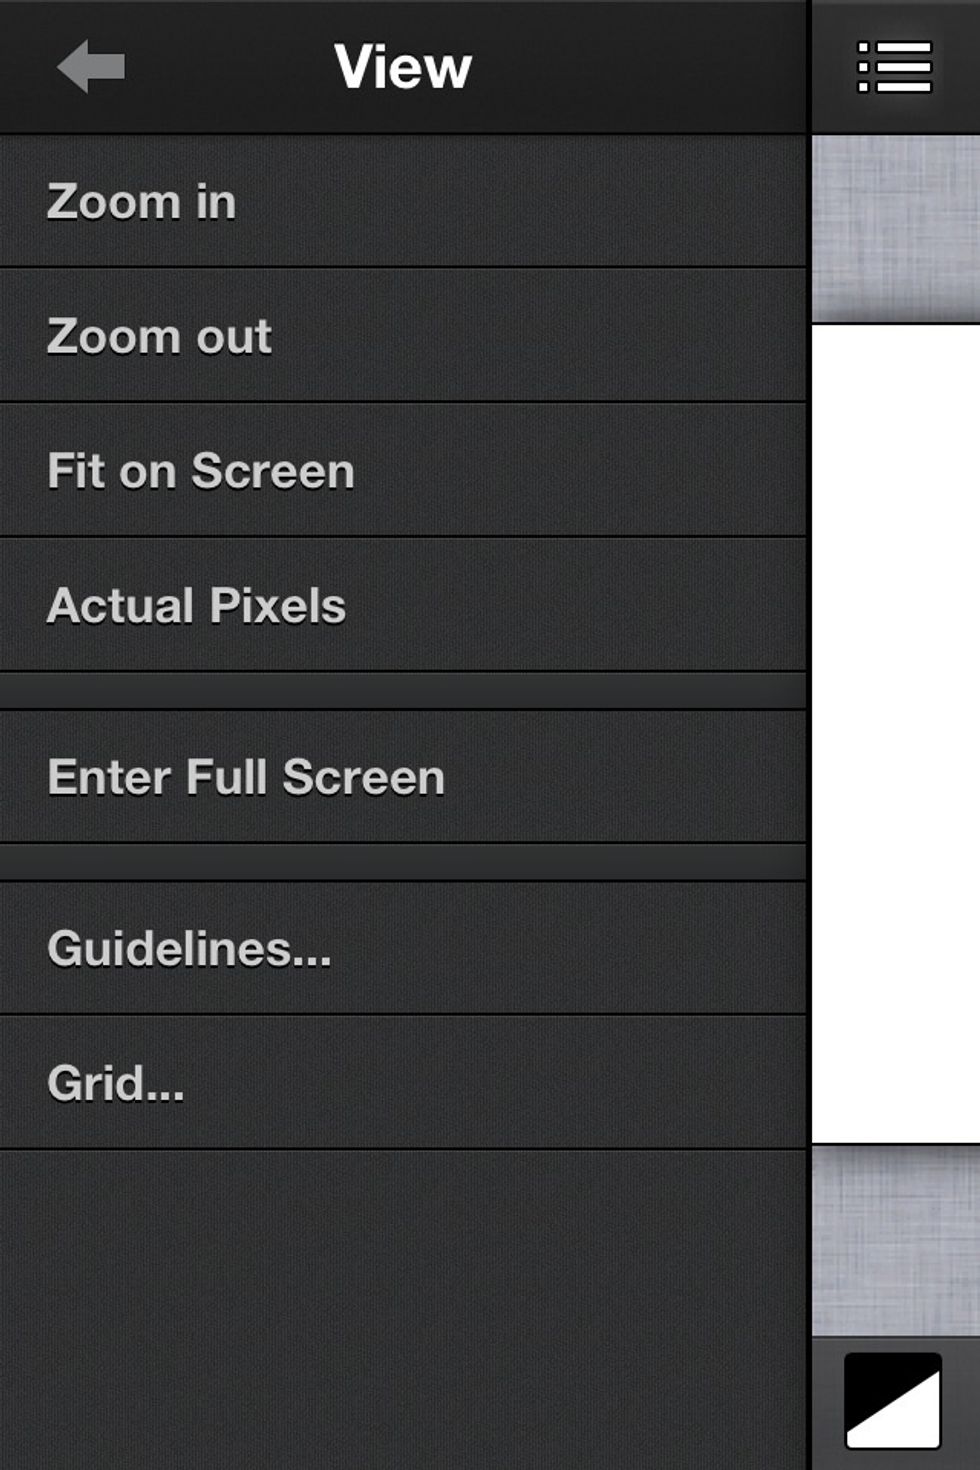
View menu.

ArtStudio menu. You'll find lots of information in this menu. Including the app settings.
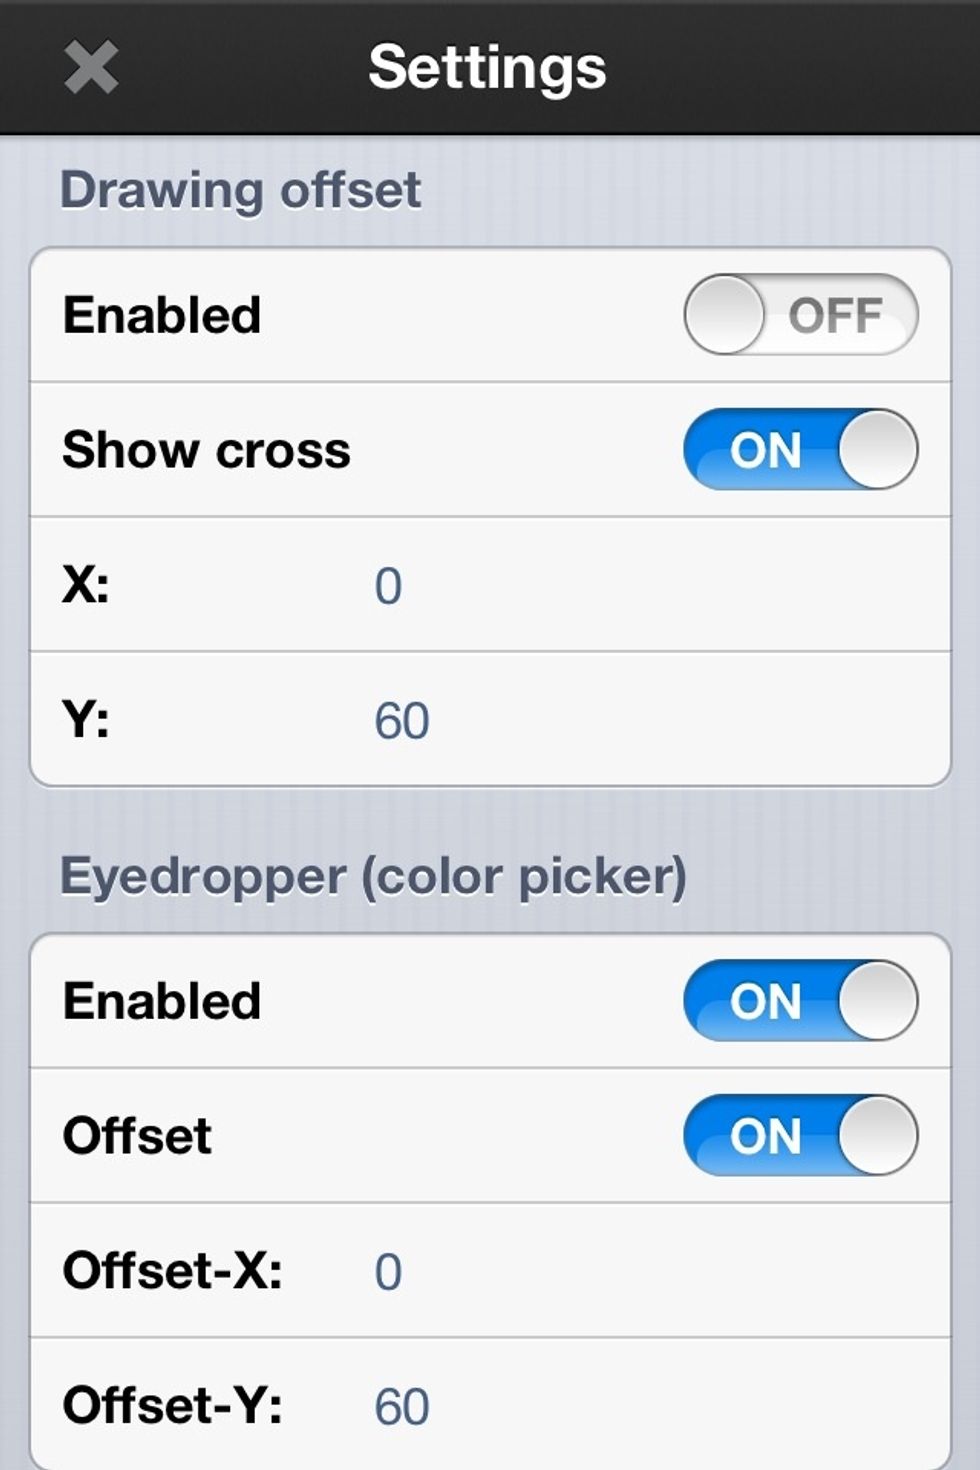
Here's a peak in the apps settings.
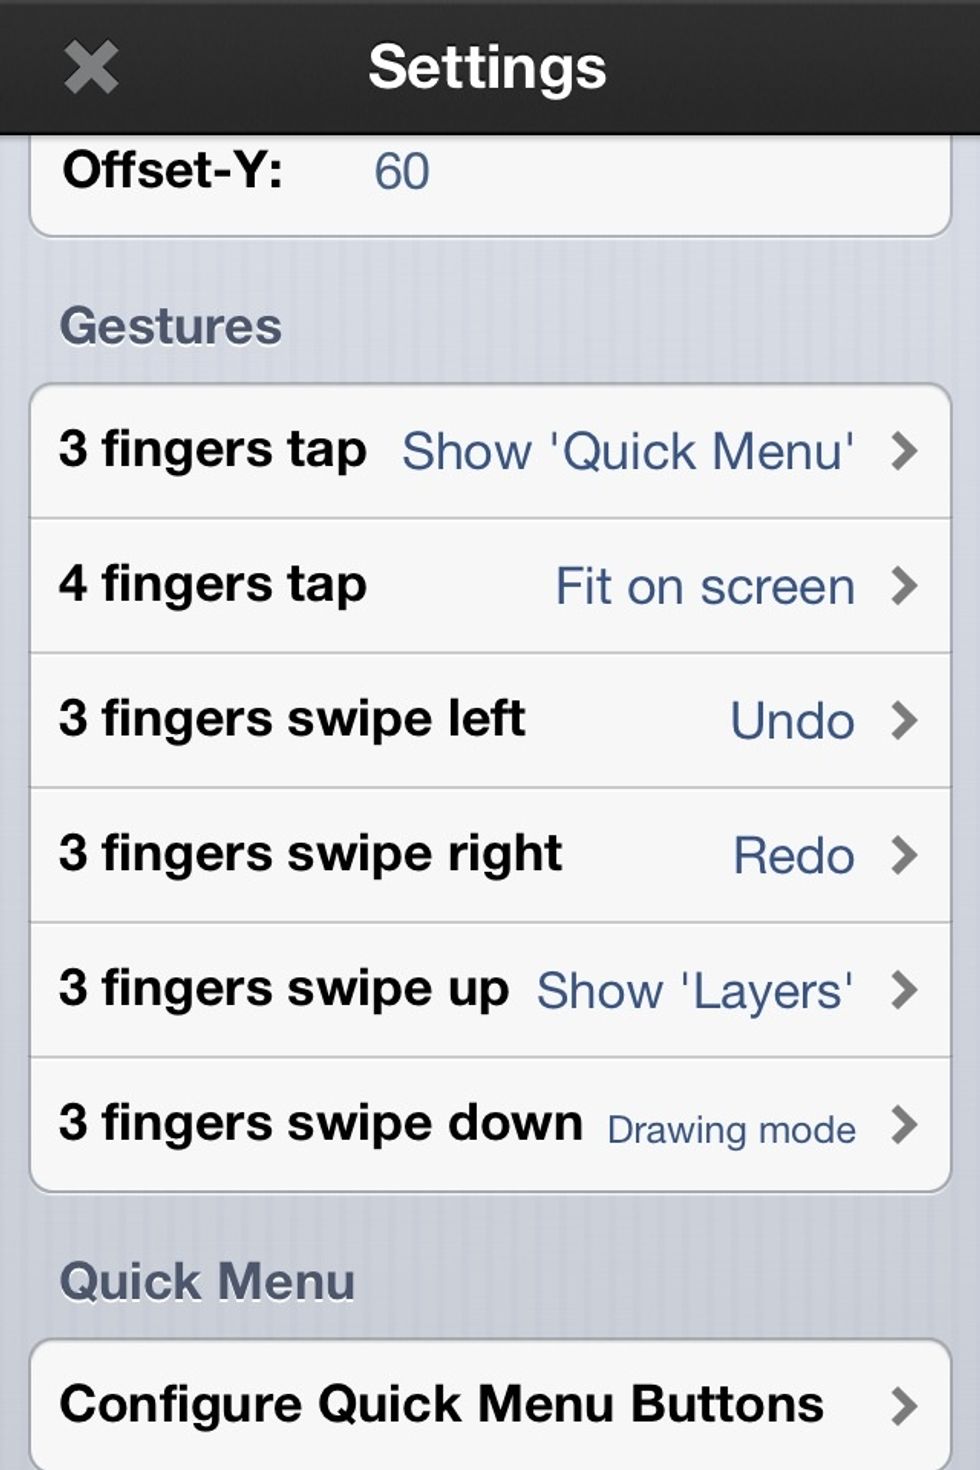
You can also assign gestures to tools for faster access to them. And adjust the bottom quick menu order.
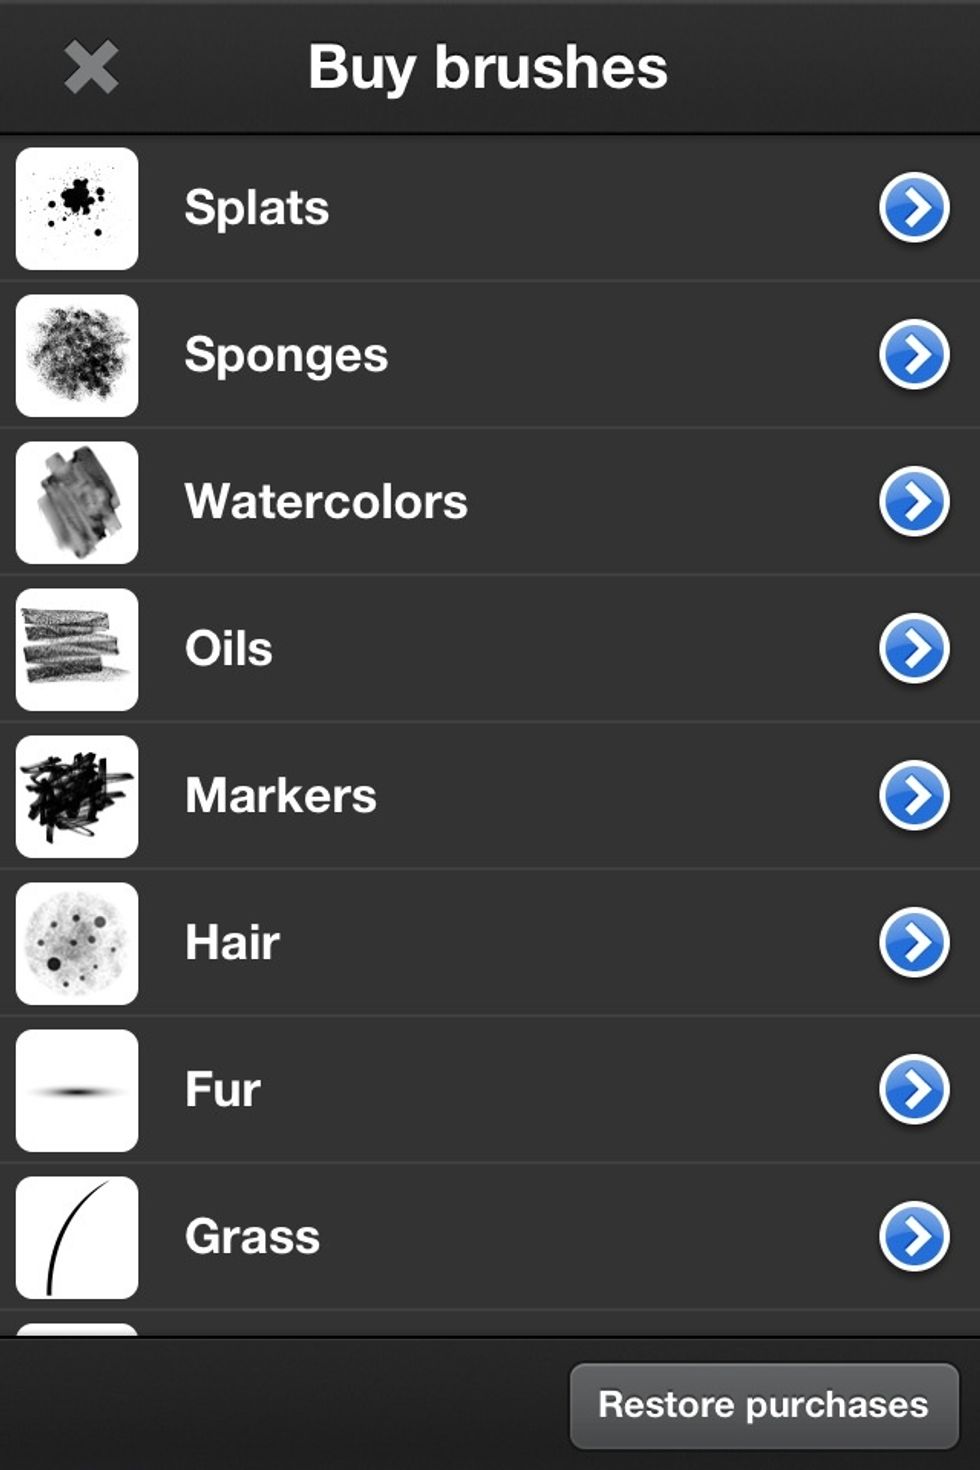
You can buy additional brushes sets if you go into the store section found in the ArtStudio menu.
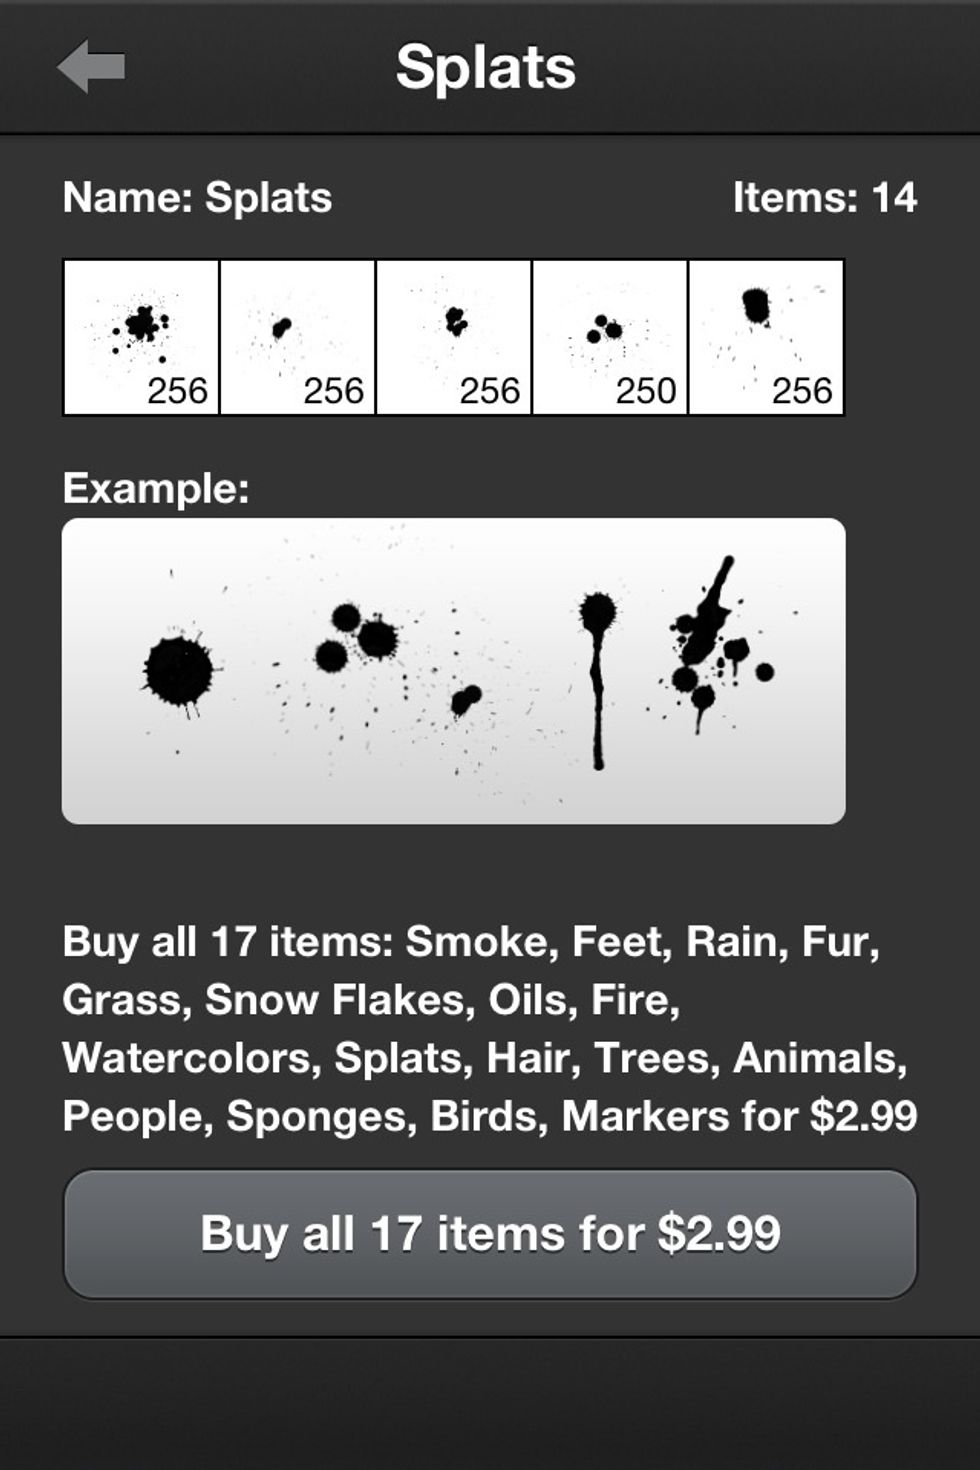
The price of the brushes are generally a few dollars for a set. But the app comes with many brushes already.
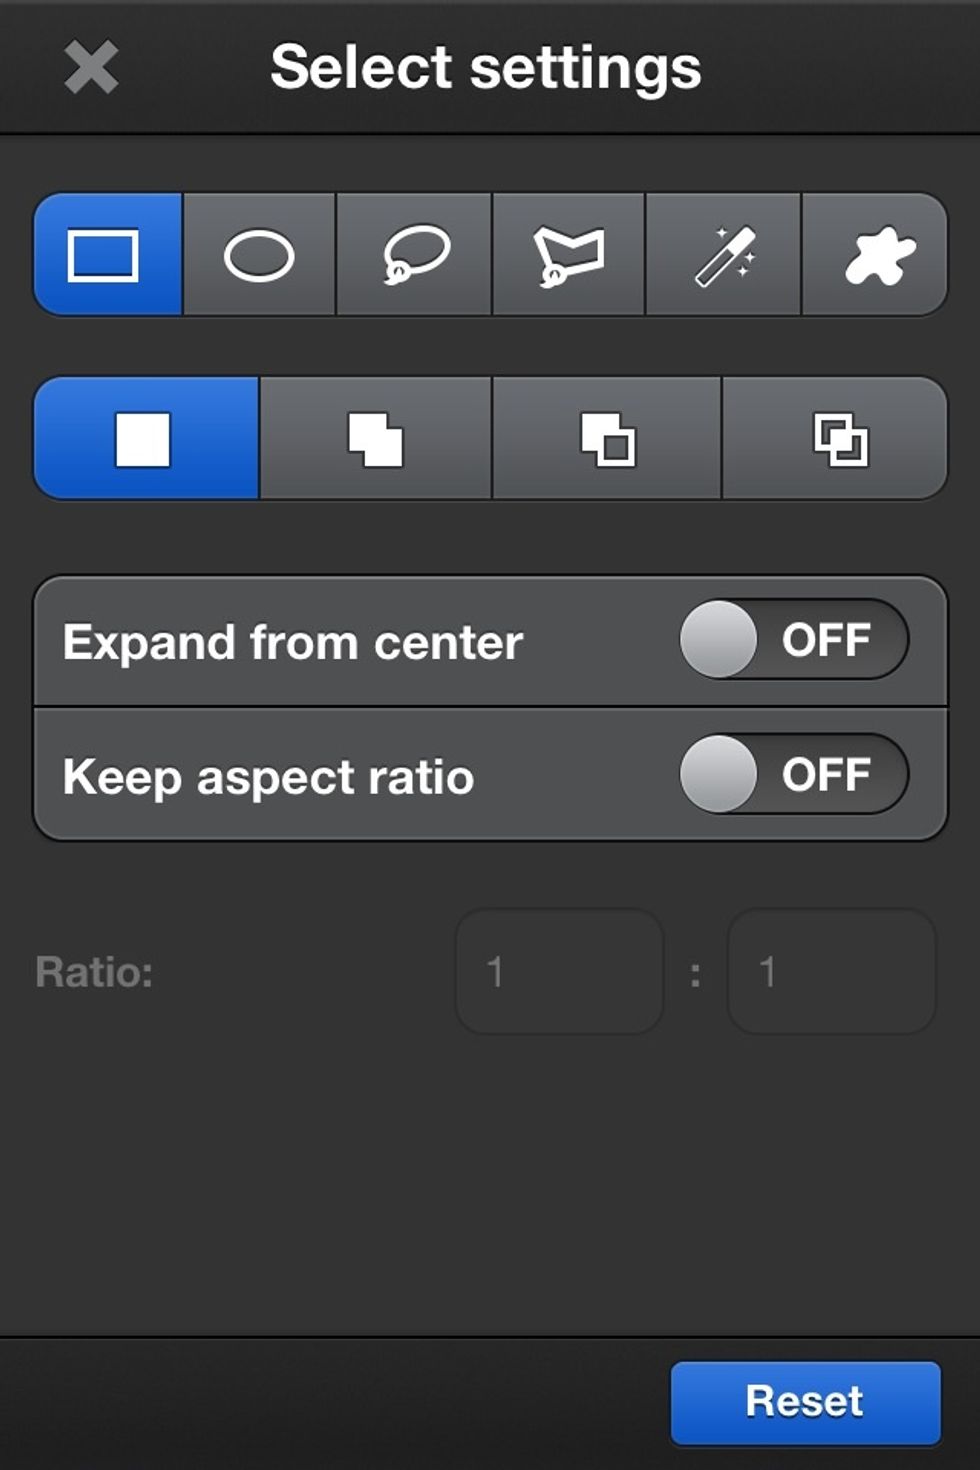
Here's a peak at the selections menu. This is found by double tapping the selection tools found at the bottom of the screen.
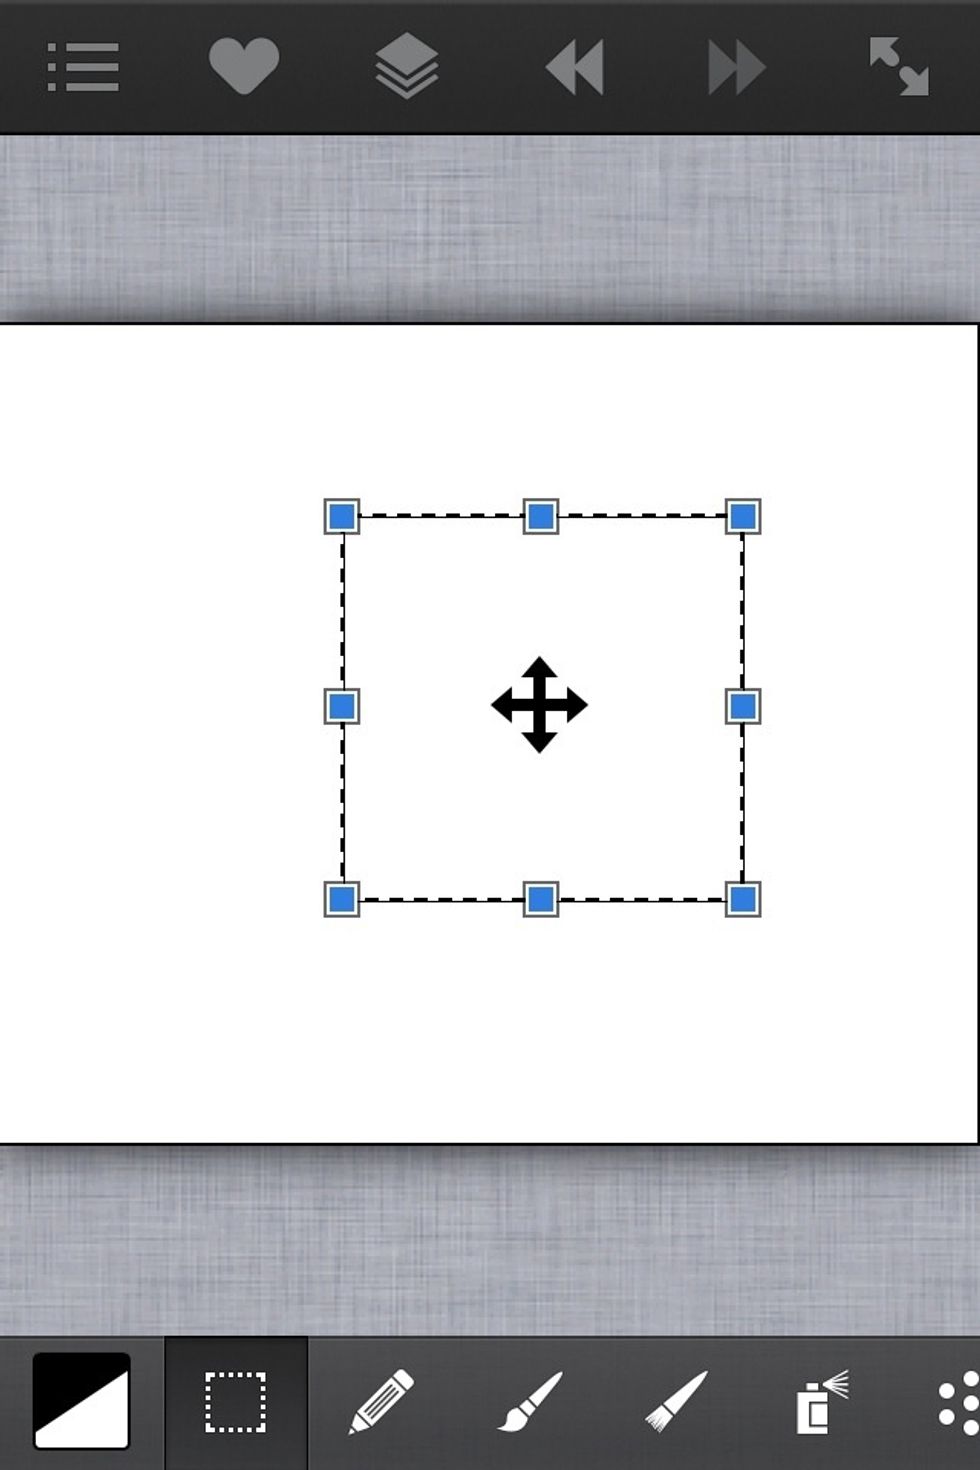
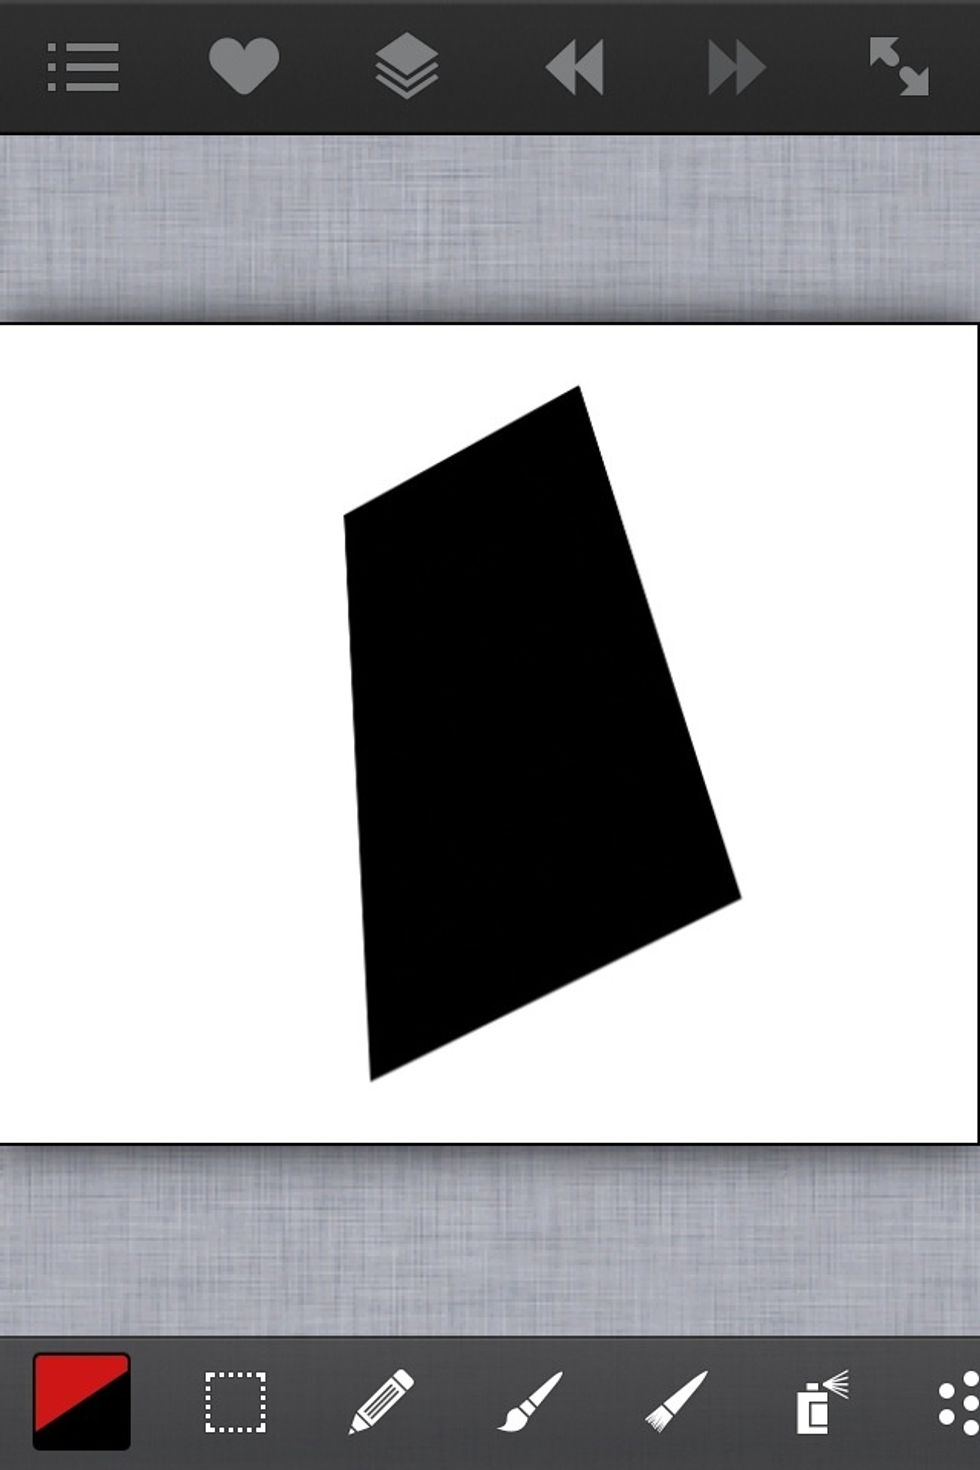
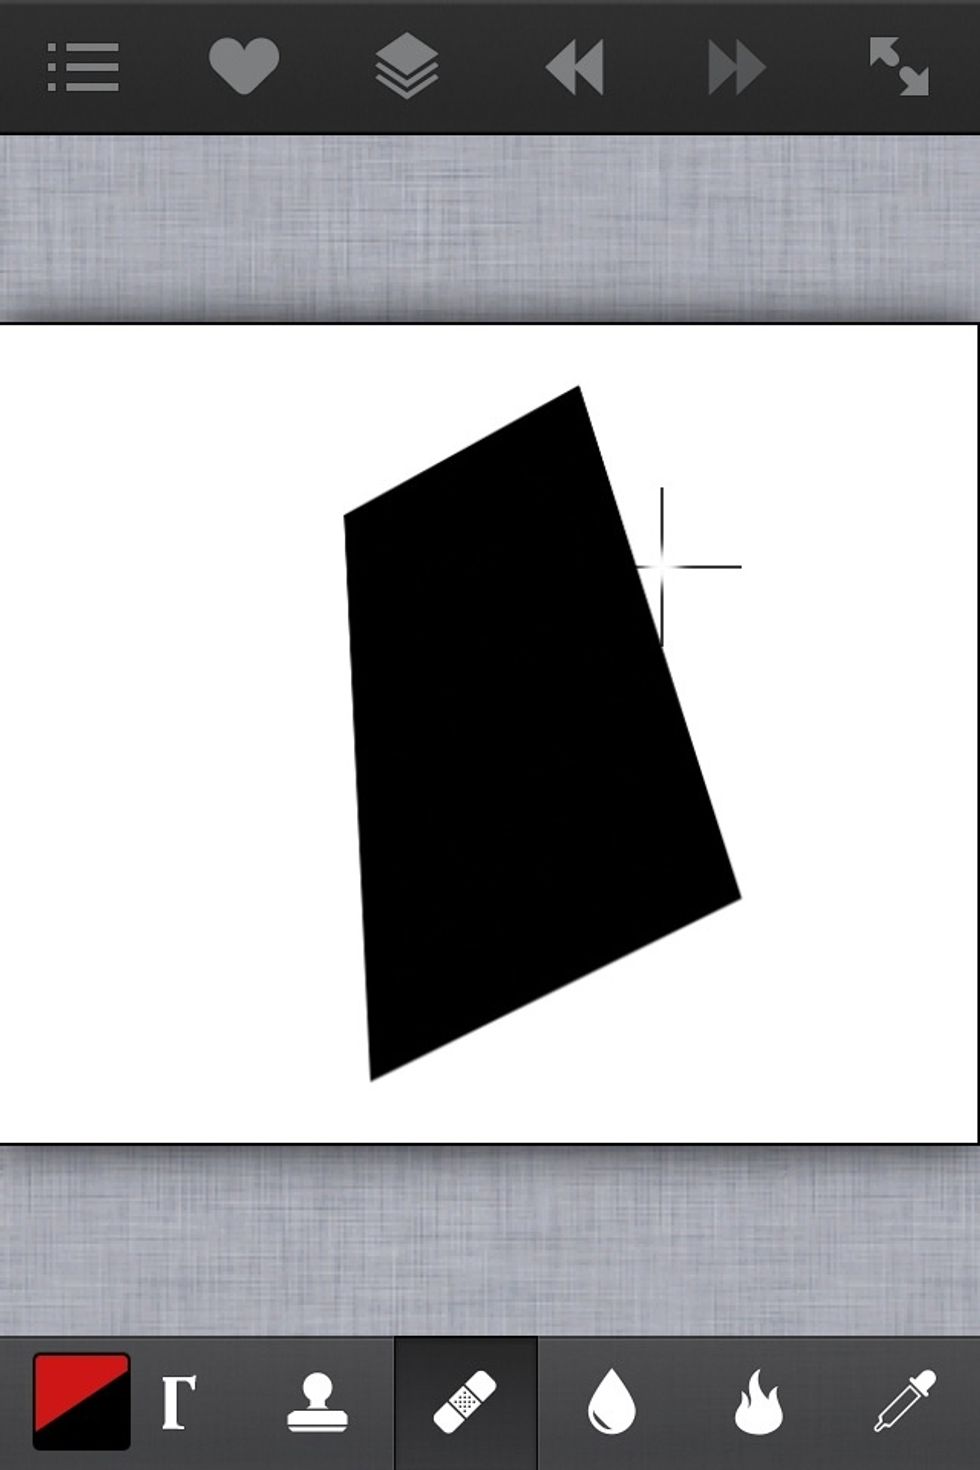
To demonstrate one of my favorite tools they've added. Which is the ability to distort an image shape. I've created a square.
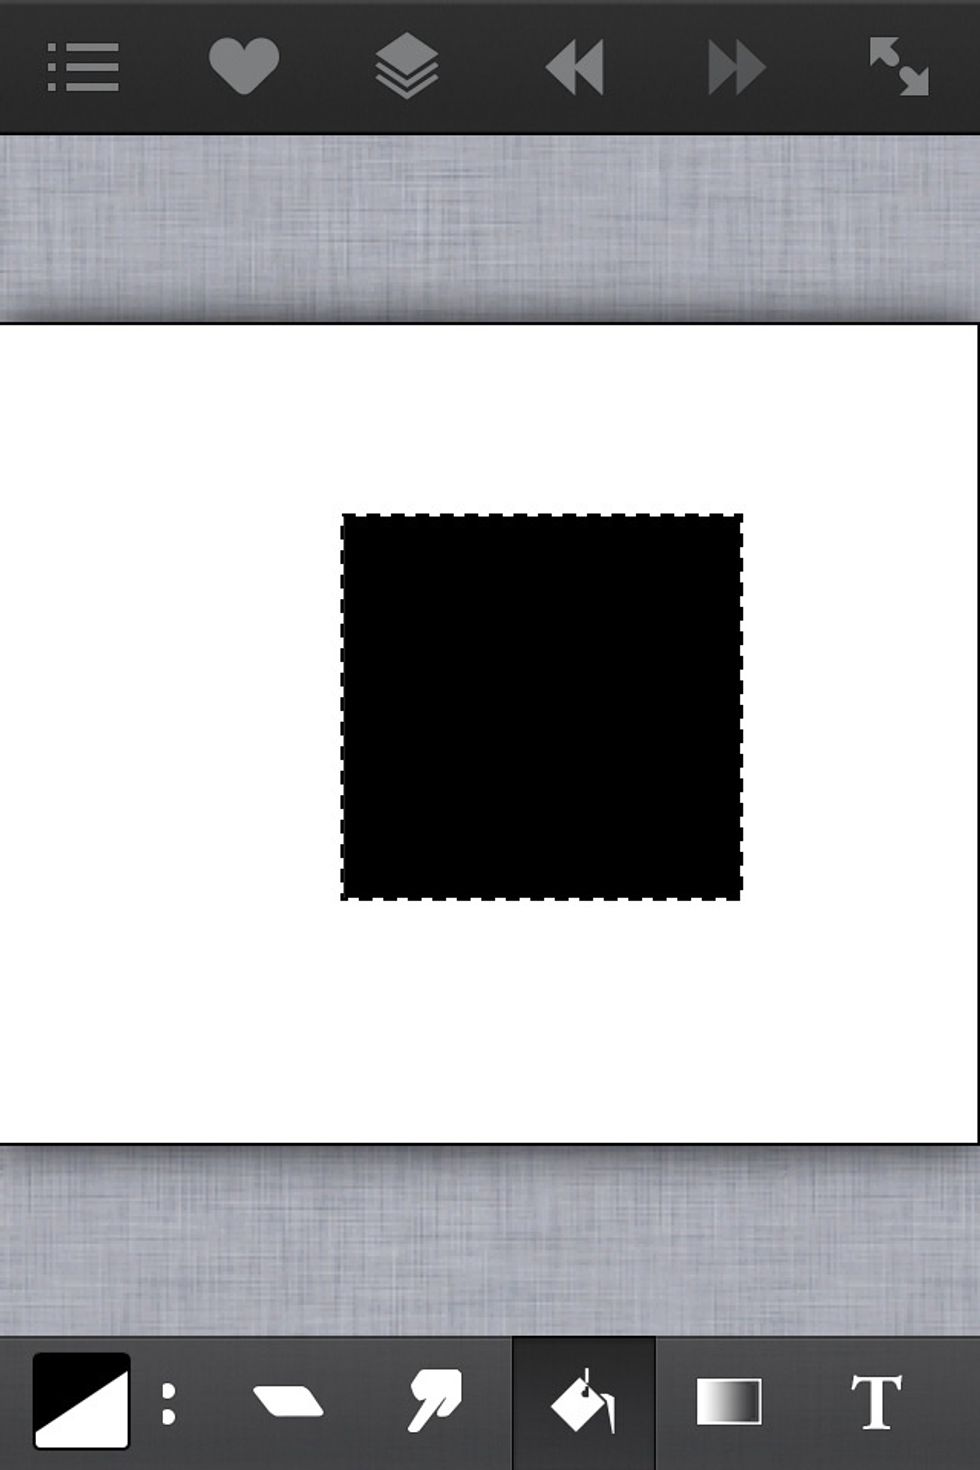
Fill it in.
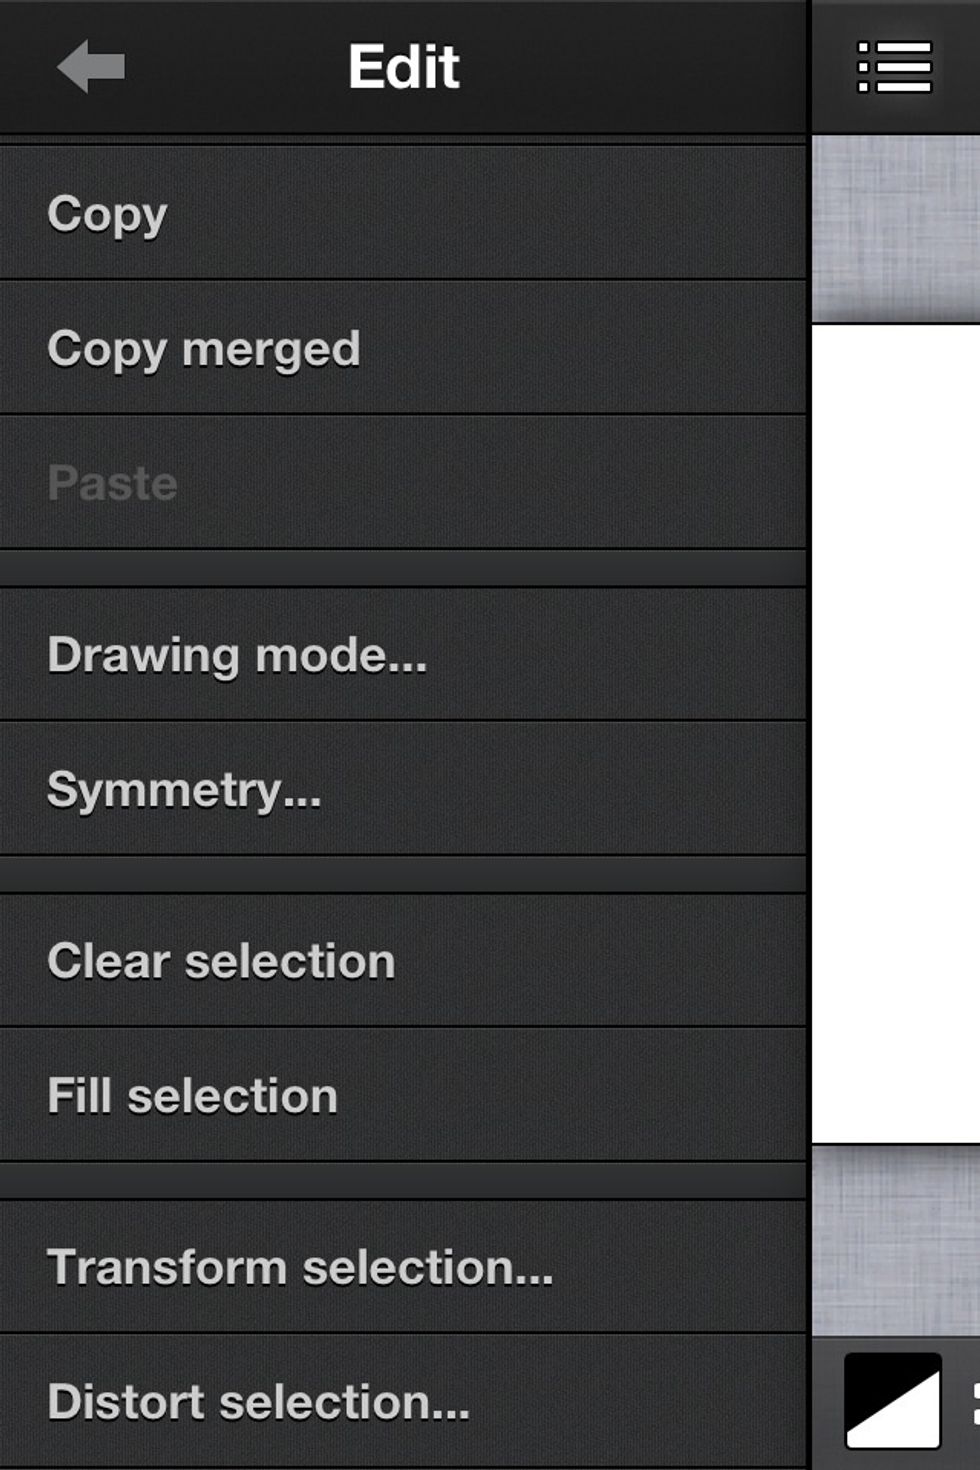
Then go to the edit menu and select "distort selection".
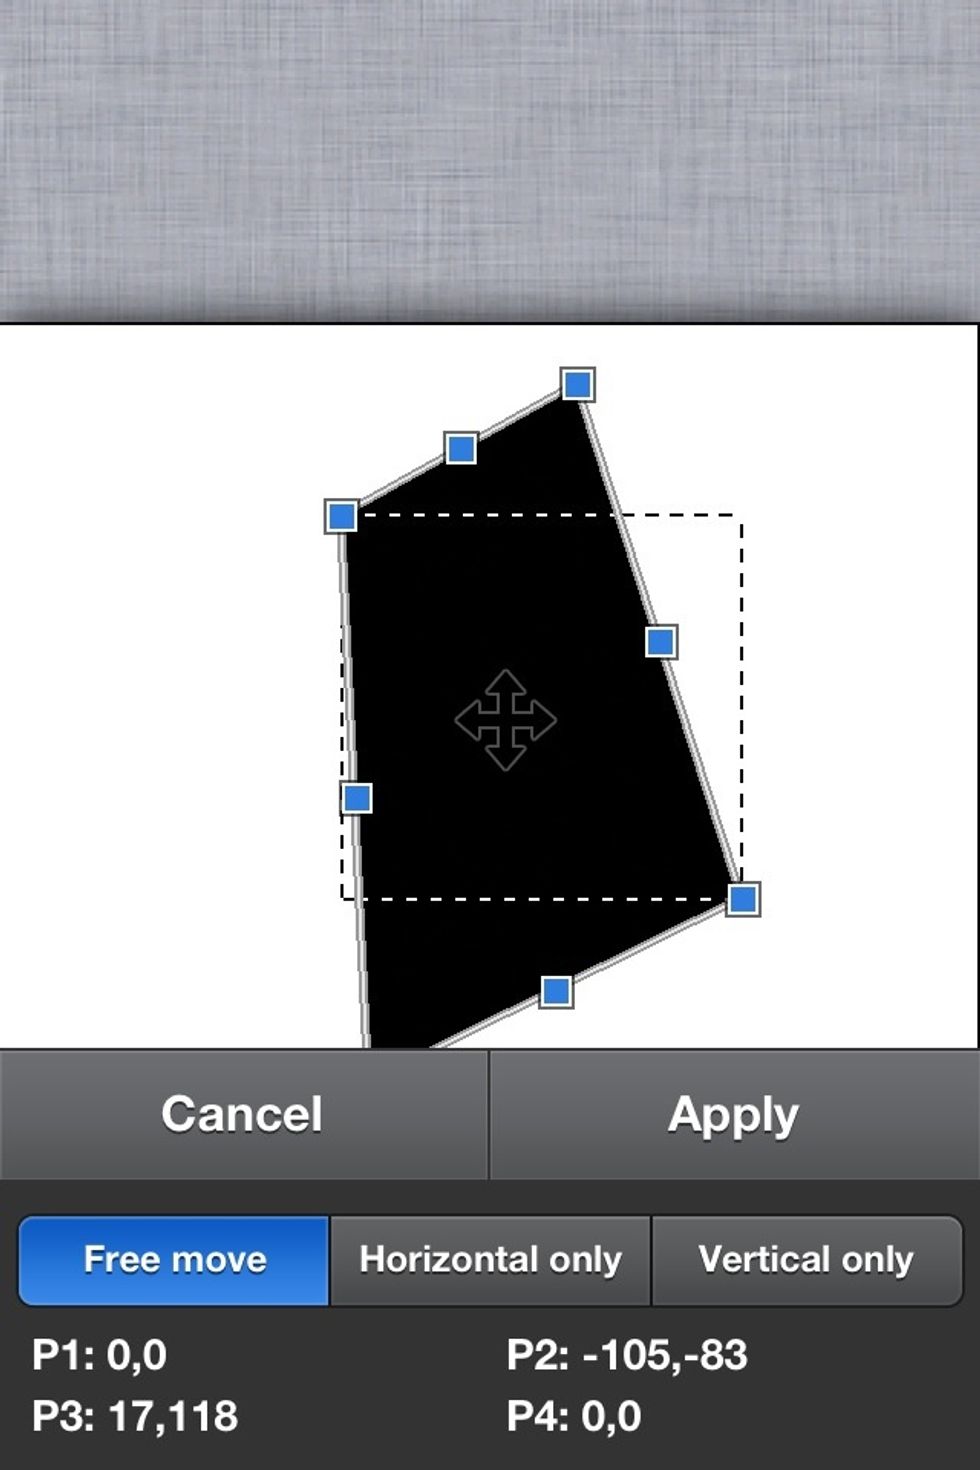
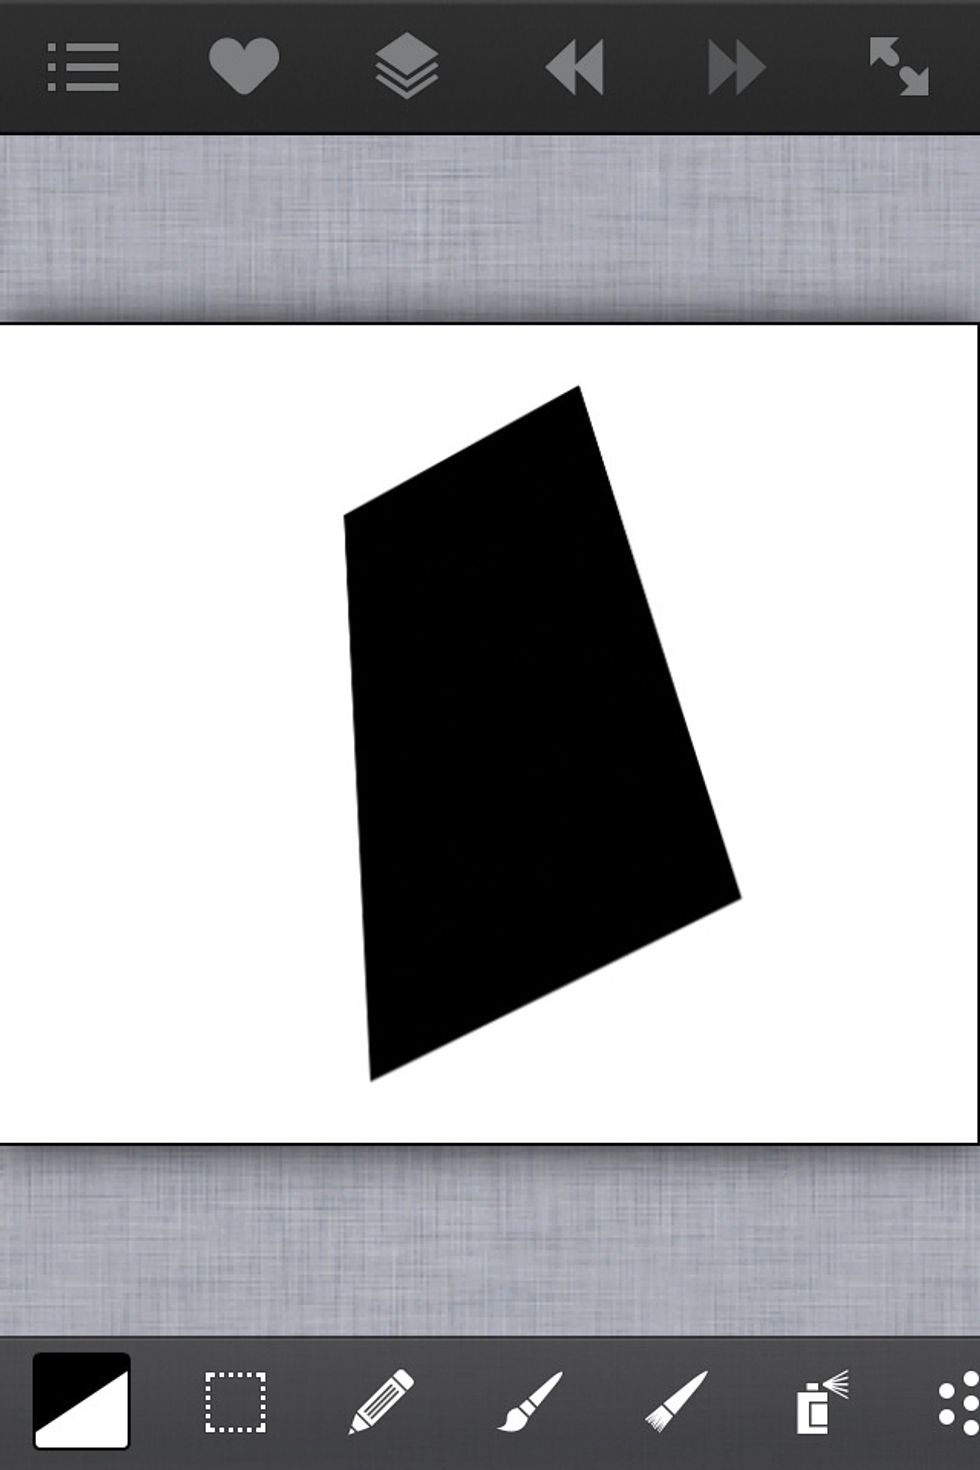
So now I can distort any selected area by dragging the blue squares. This is very helpful in graphic designing and I'm so glad they added it to the ArtStudio app.
Now lets talk about switching colors because it seems a little confusing at first but once you understand how to do it you'll see that its actually pretty simple. Colors menu is at lower left corner.

Double tap it to switch between the two colors (black and white here). Compare this image to the previous image to see how they change by double tapping the color menu.
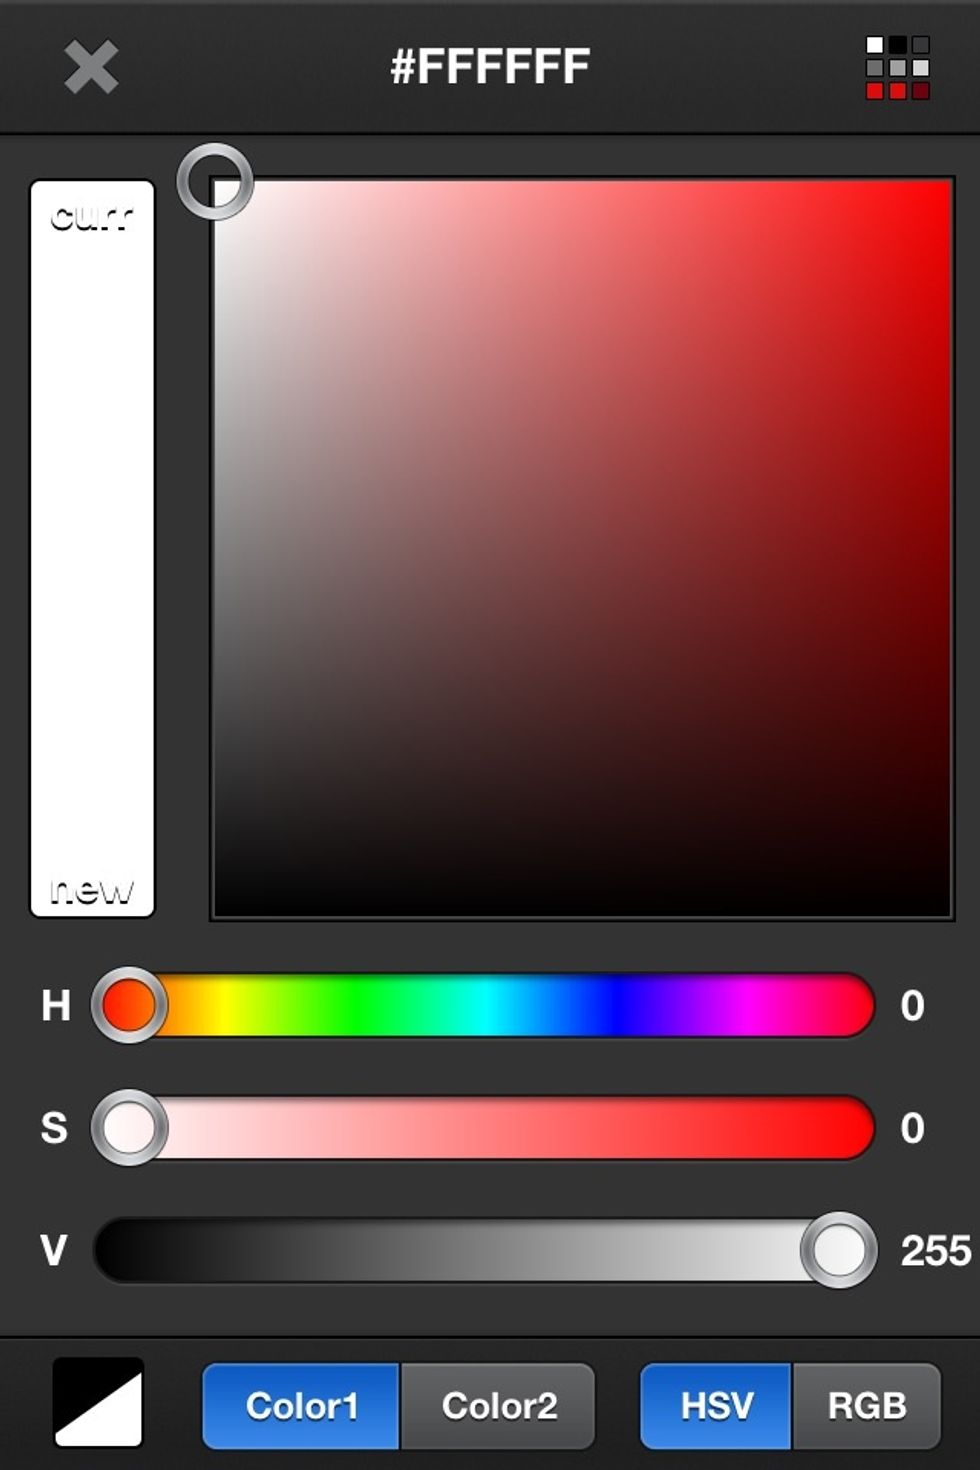
To change the top color. Single tap the color menu and this color palette will open for you to choose from. Notice hex color is now available at top too.
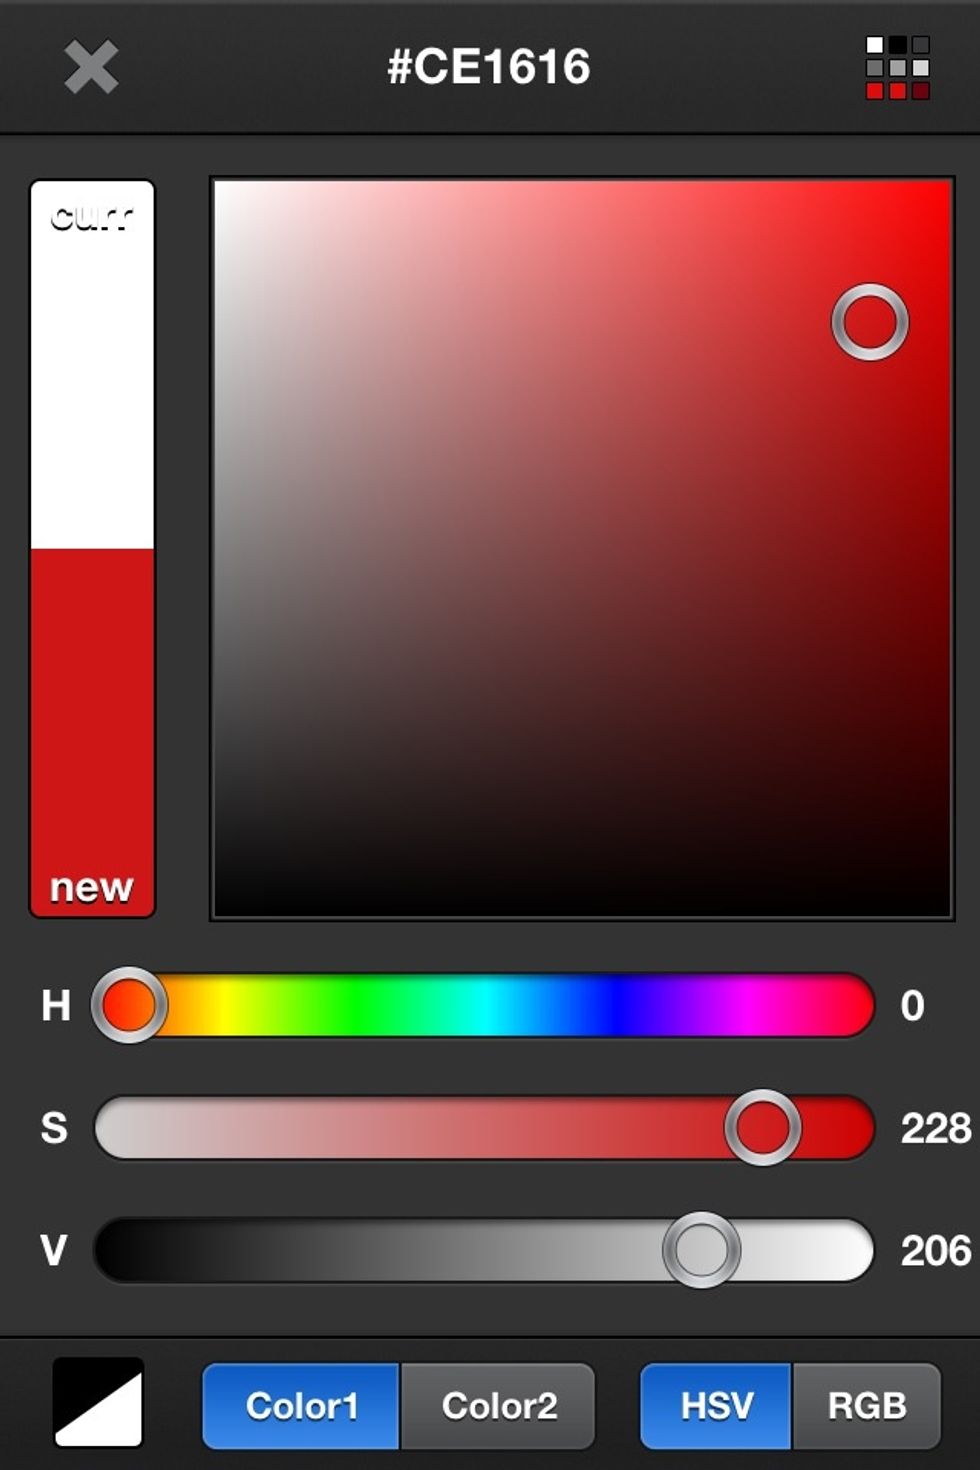
So you can select your new color using the wheel or slide bars below.
As you can see at the lower left corner I just exchanged the white for red.
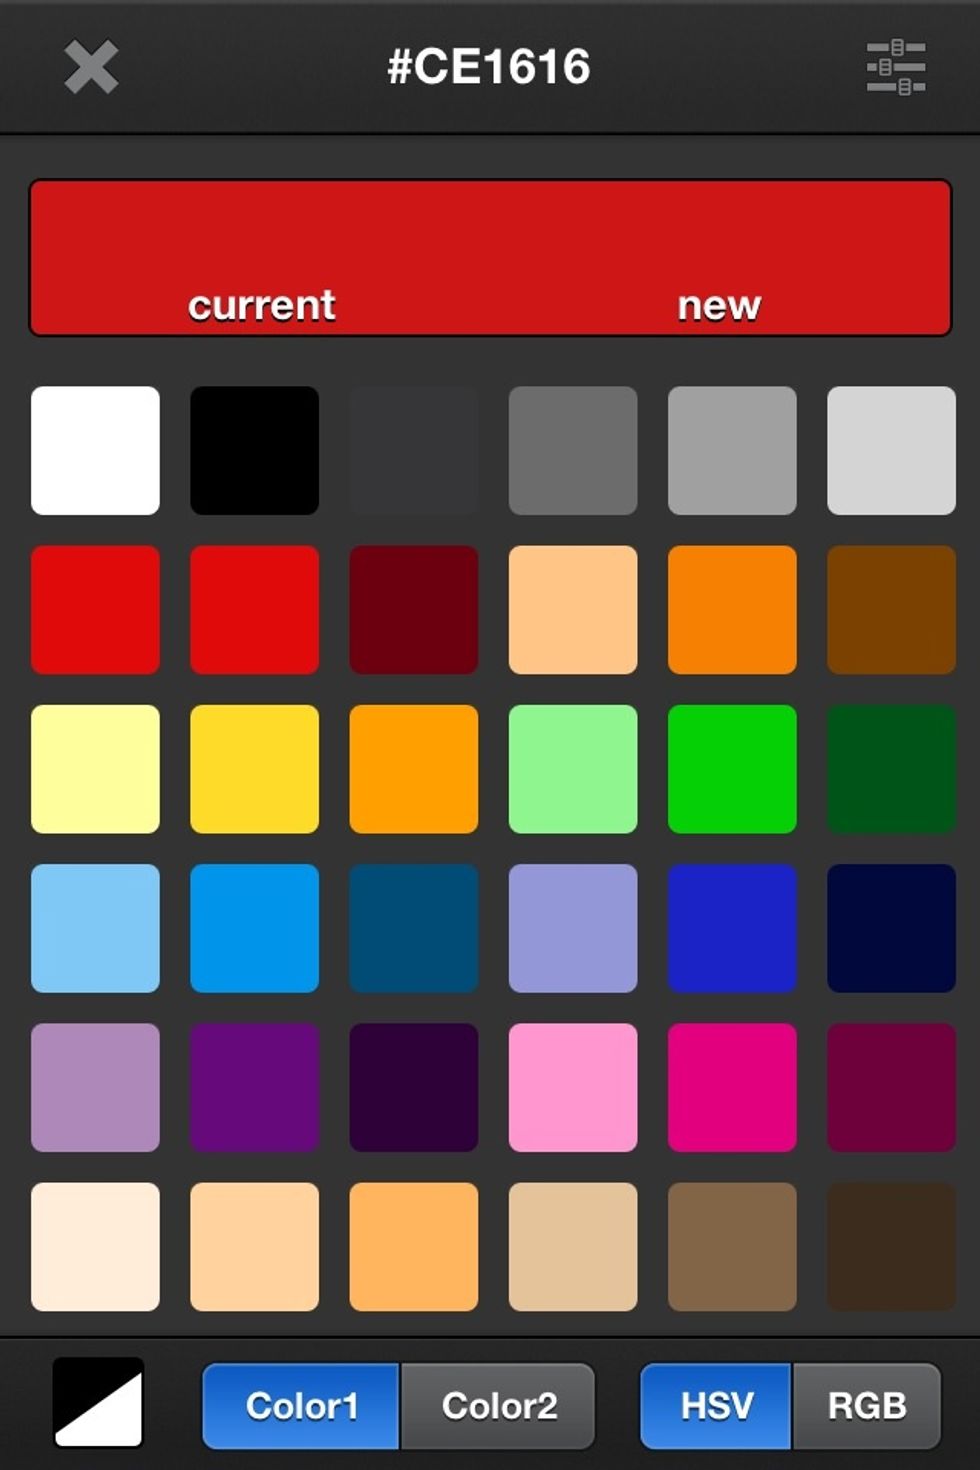
At the top right corner in the color palette you can find saved or default colors.
The new heal tool is something many of you that like to edit photographs will find useful. It's basically a clone tool.
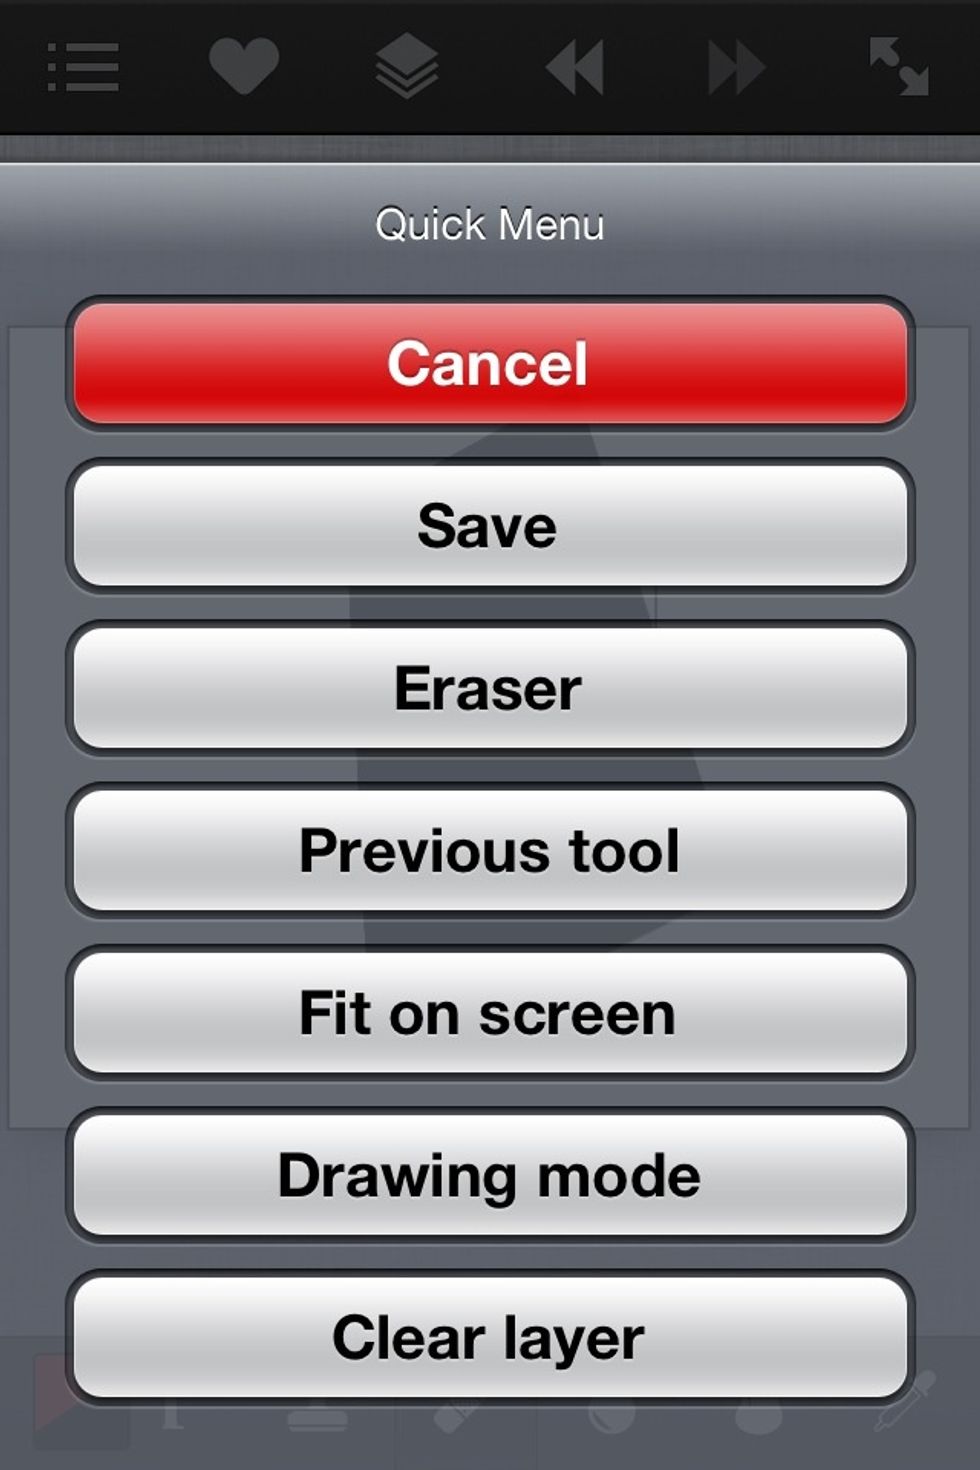
By default a three finger tap will open this quick menu. But the finger gestures can be adjusted in settings as I already mentioned.

If you go into layers (located above image) you can add, remove and use all its layers features.
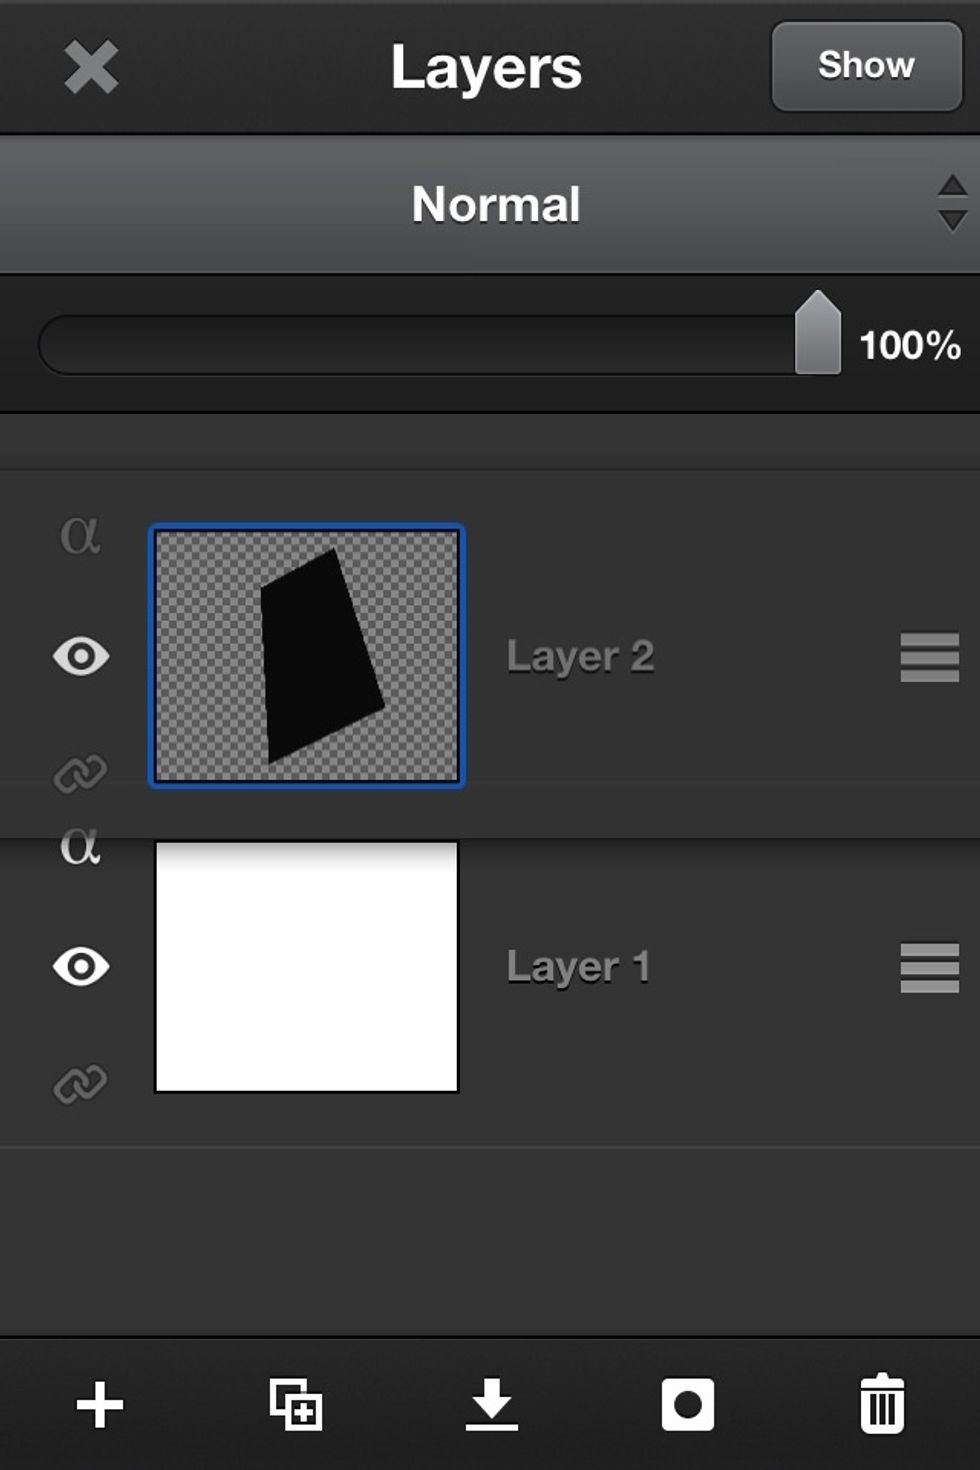
Such as dragging to change their order, making a layer invisible and so forth.
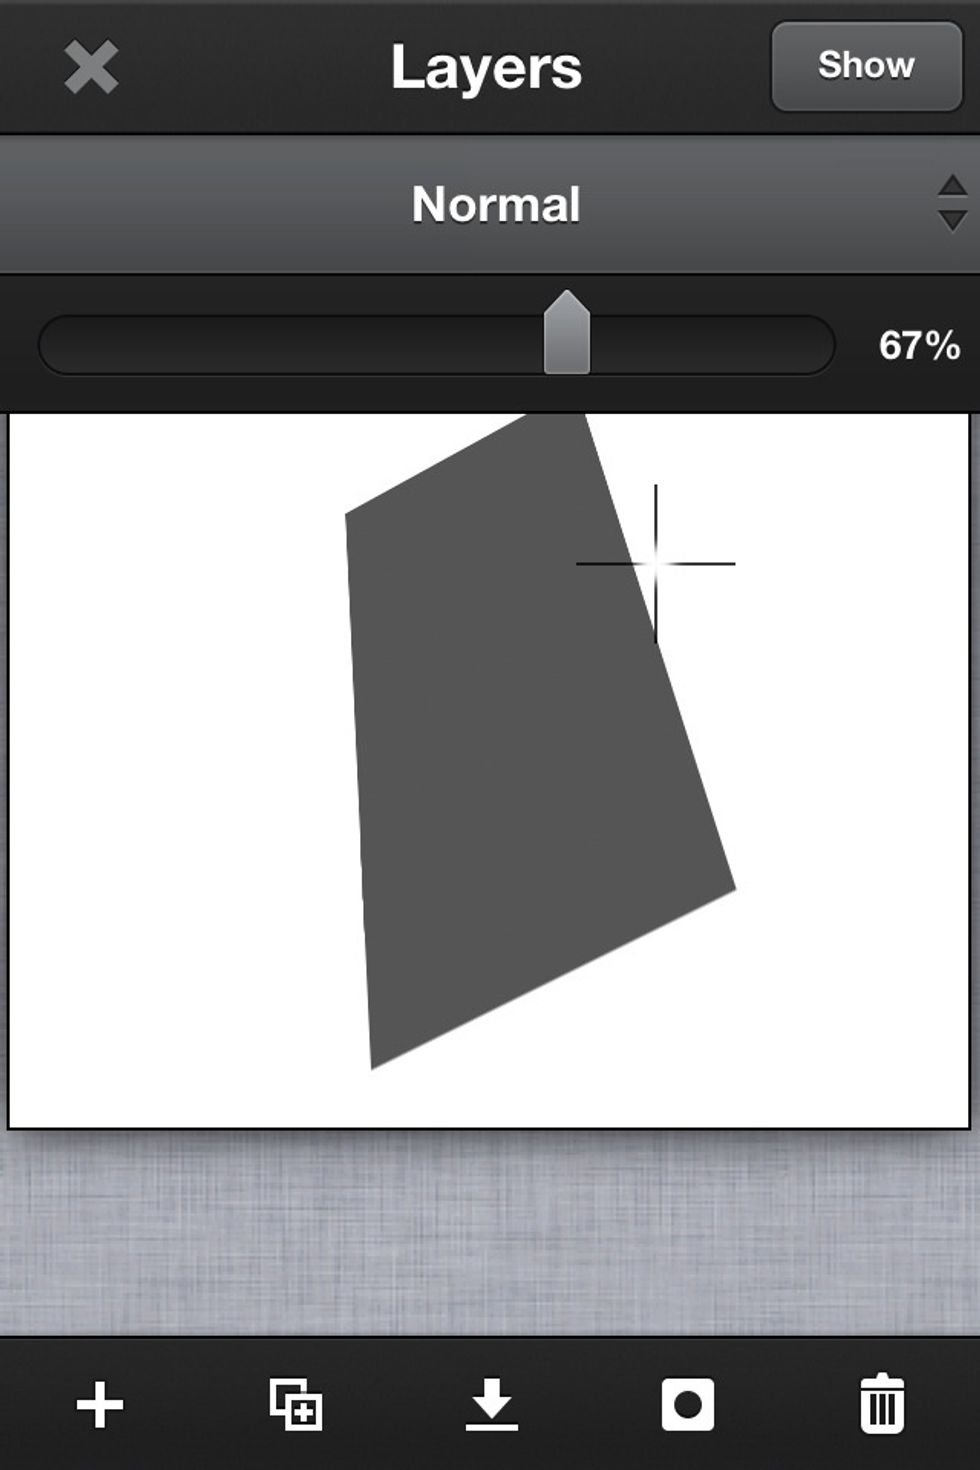
You can also edit the opacity of the layer. What's great is you can now see the opacity change in real time before you apply the change.
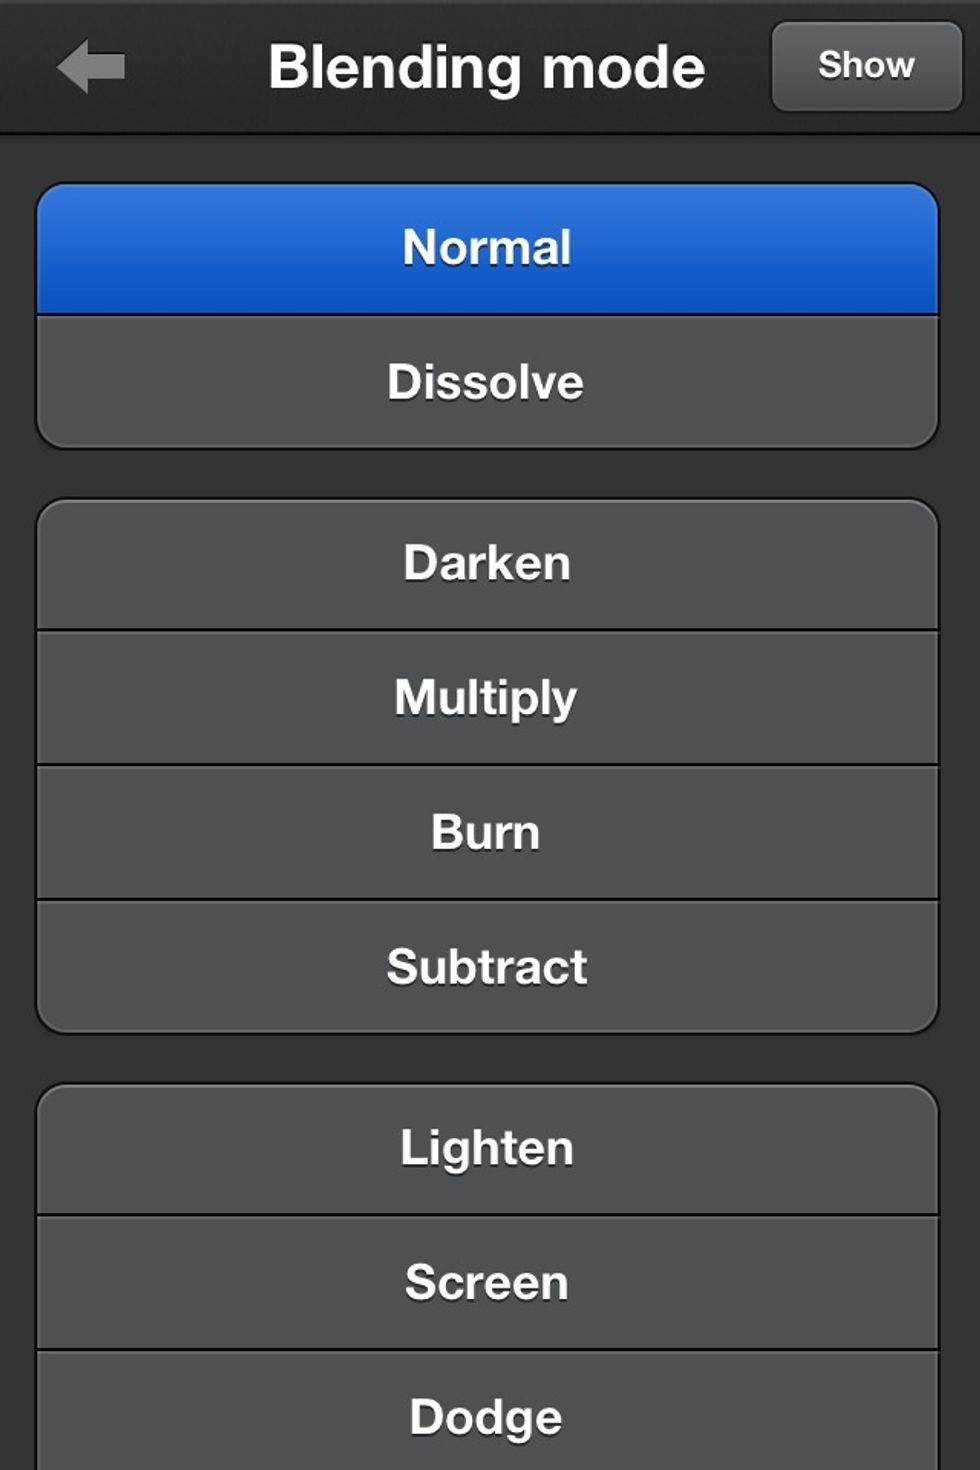
In layers you'll also find your blending modes. Notice the "Show" button at top right. This allows you to peak at your image without leaving the tool menu.
Well I didn't go over every tool because that would be a very, very long guide. But I wanted to walk you through the basic interface and newest tools.
It's my aim to make it easier to know where to find all its tools so you can more easily find and explore them. I can tell these guys put a lot of thought into this app. It improves with each update.
Just like photoshop and other image editors. It'll take some time to learn all its tools. But its great that this app has many useful ones to choose from. Feel free to ask any questions you might have
Enjoy!!!