The Conversation (0)
Sign Up
Set up the MOCA float:
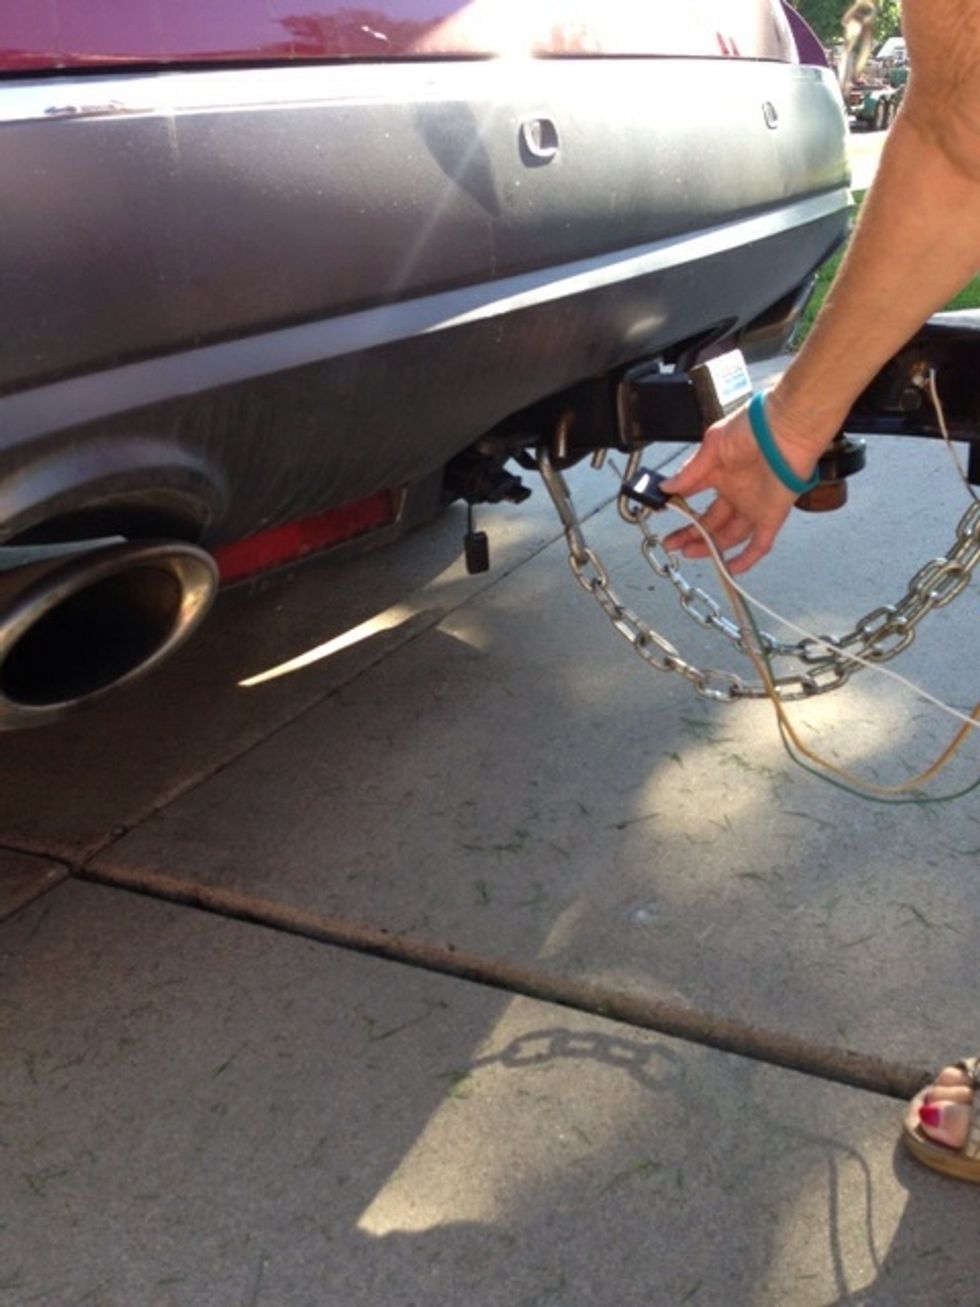
First, connect your vehicle to the hitch. Then, connect the electrical connections for brake and signal lights.

Note: There is an electrical adaptor and 2' ball hitch in the float supply box in the event you need a larger ball.
Reminder! Be sure to test brake lights and turn signals before moving the float onto a roadway.

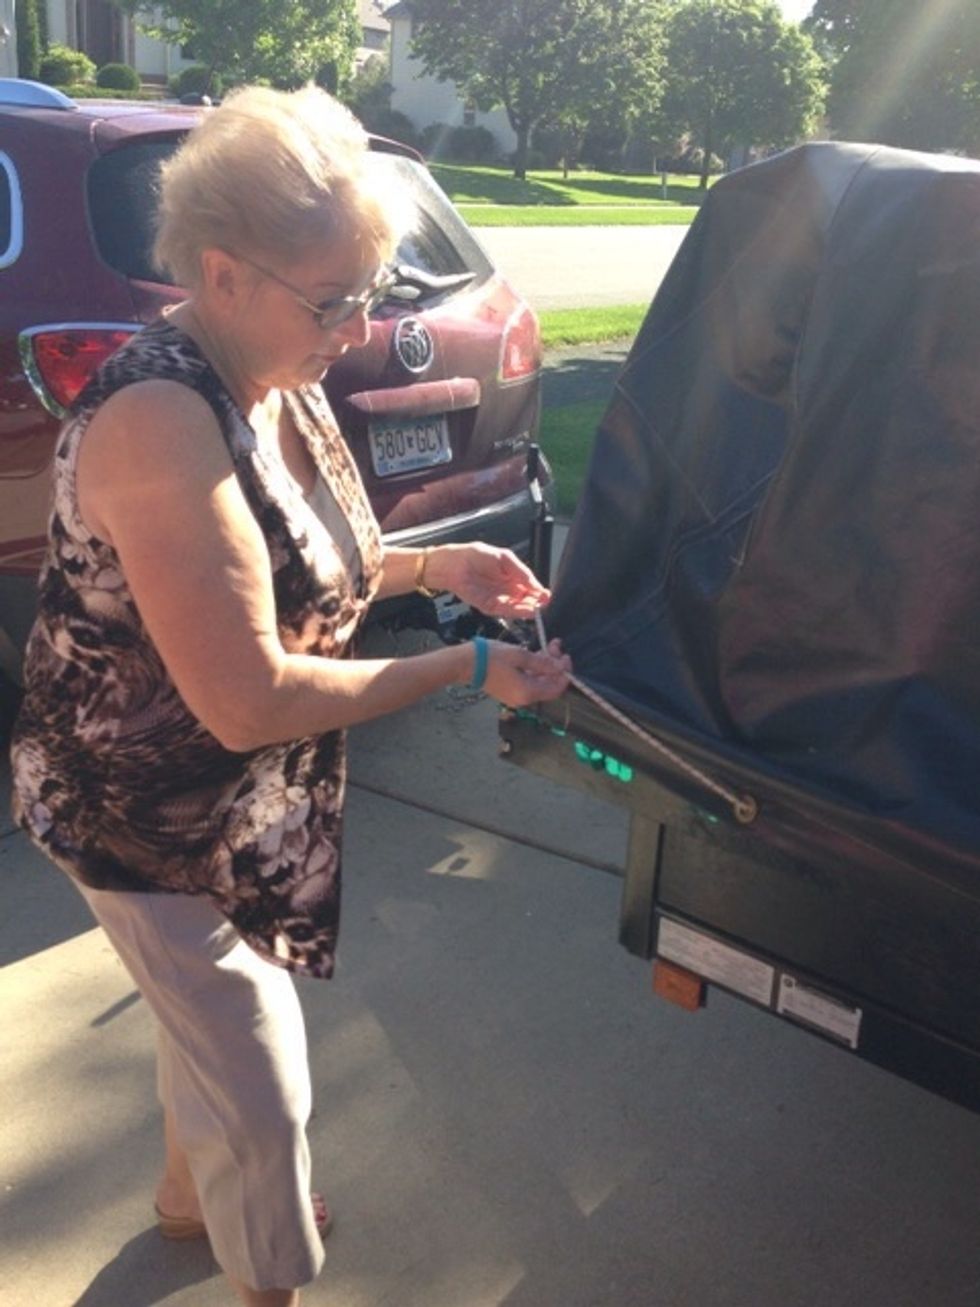
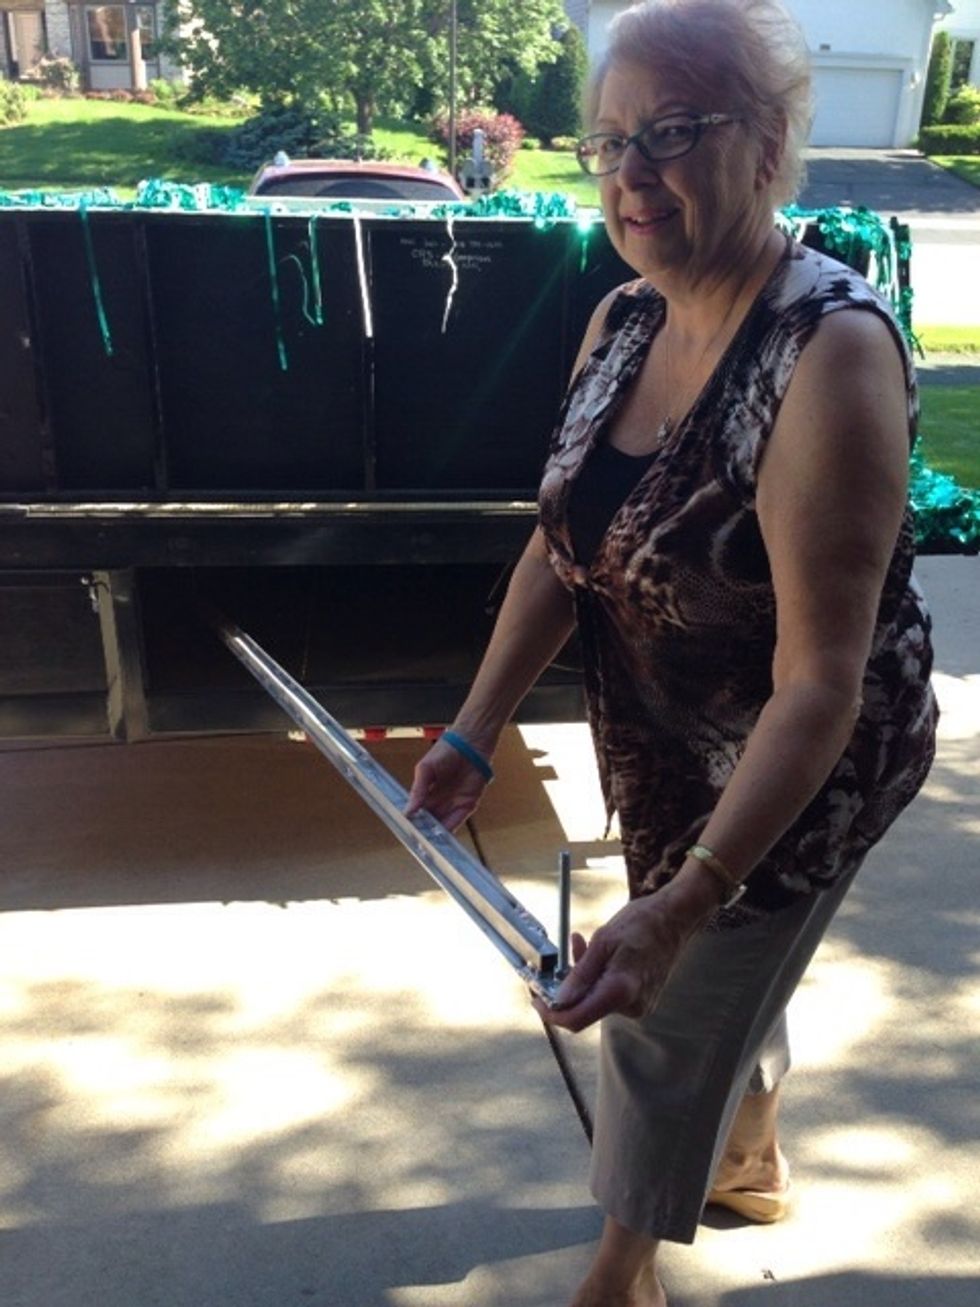
After your vehicle is connected to the float, remove the yellow strap.
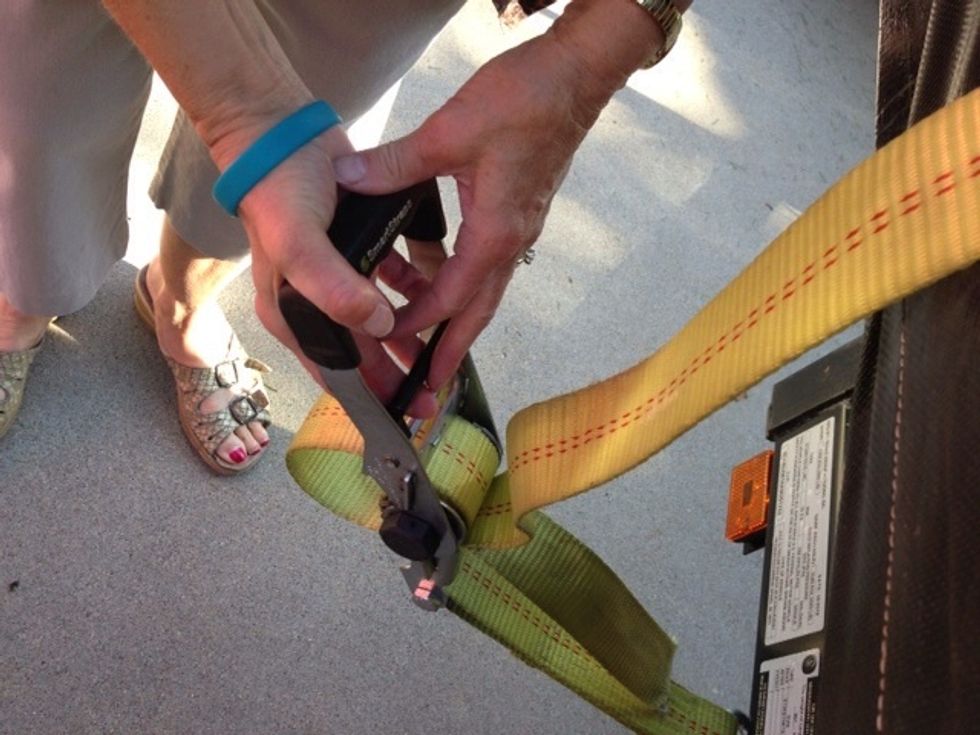
...Lift up on lever and push down to ratchet and release the yellow cargo strap.
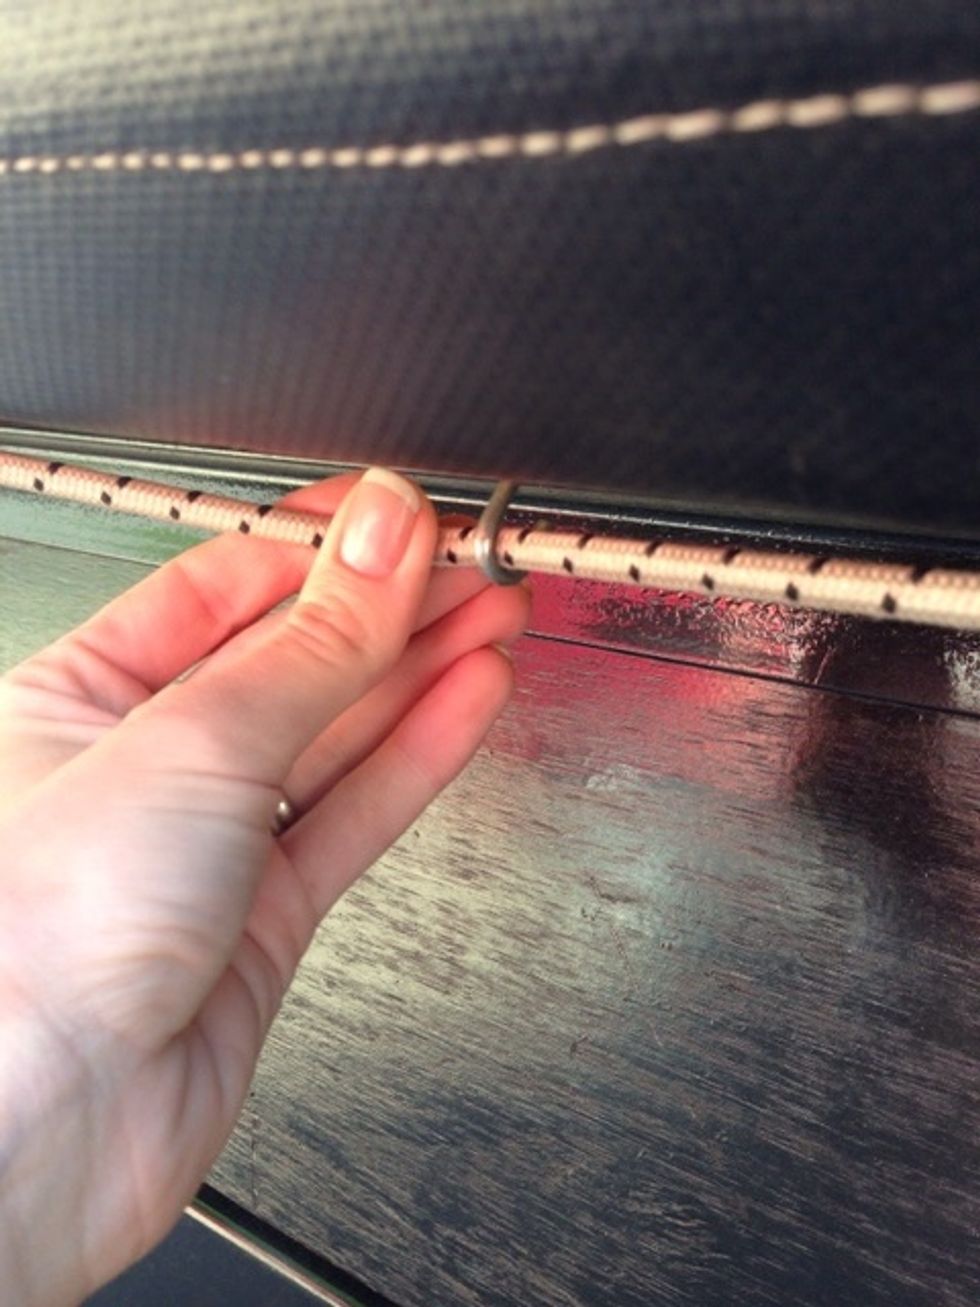
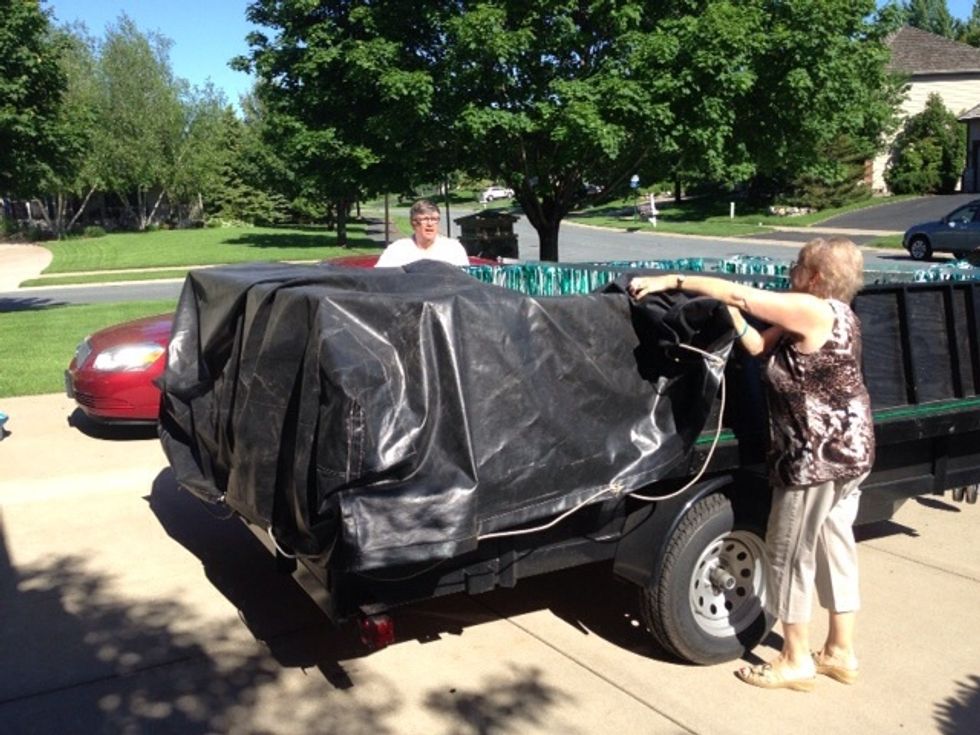
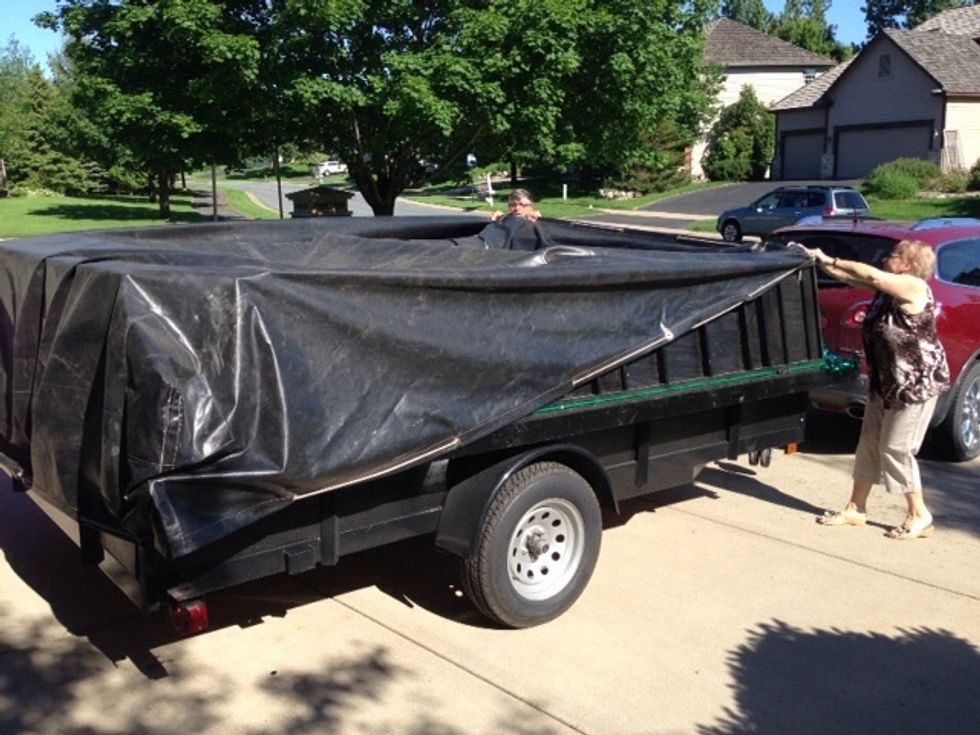
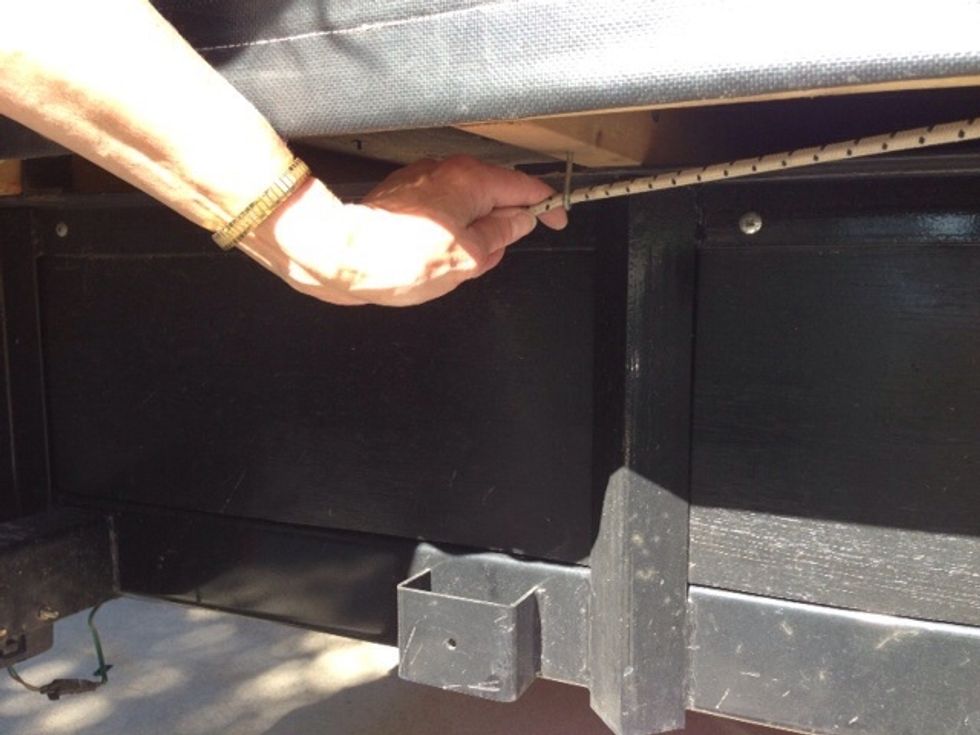
Once the yellow strap is removed, unbungee the float tarp from the entire bottom of the float.
With a person on each side of the float, carefully roll back the tarp off of the float so the float is totally uncovered.
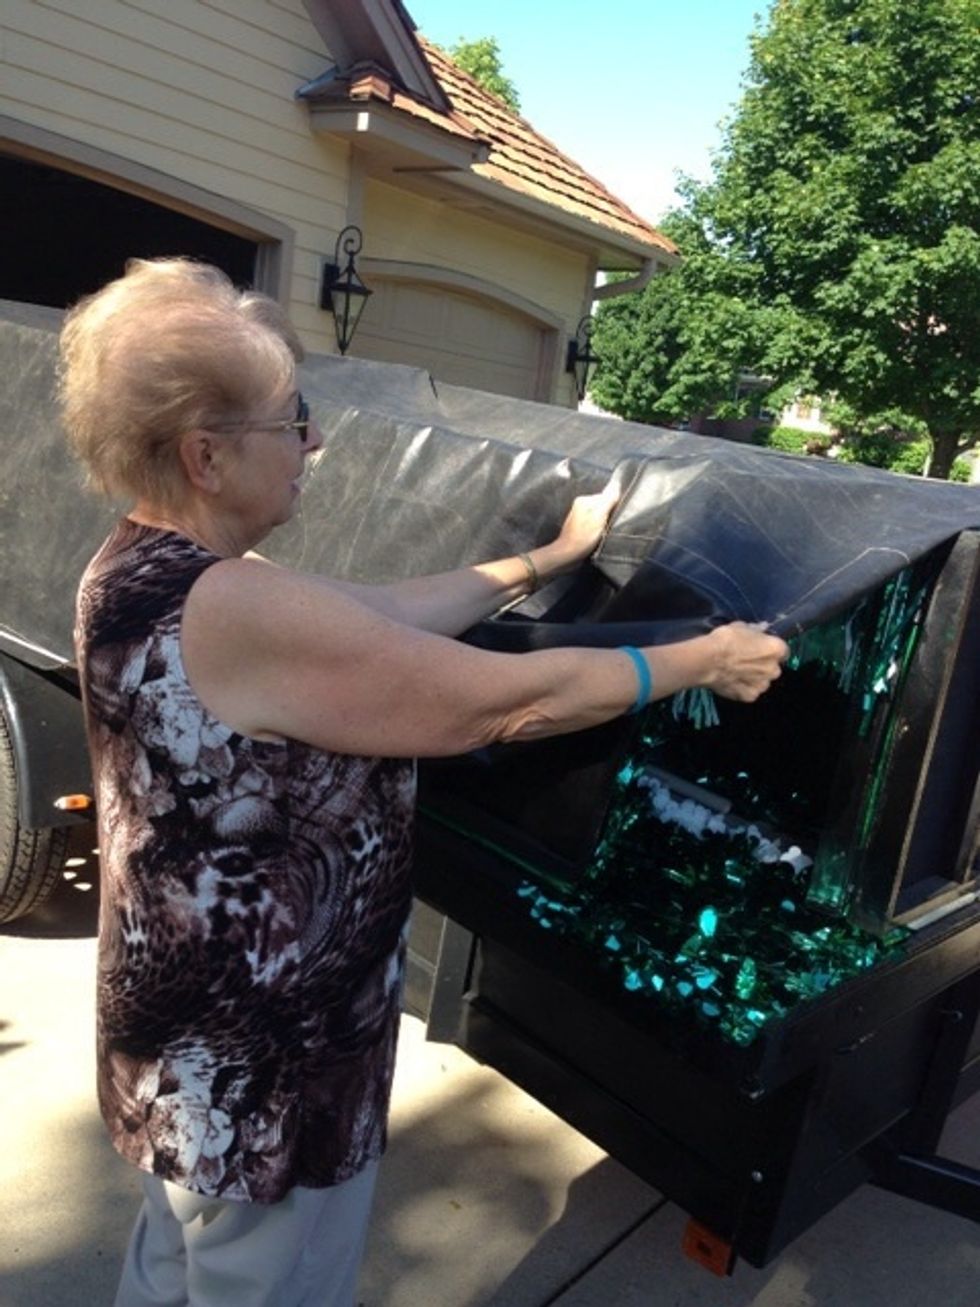
Roll back and remove tarp off the float.
Next, carefully remove all three of the long metal bars that are on top of the float...
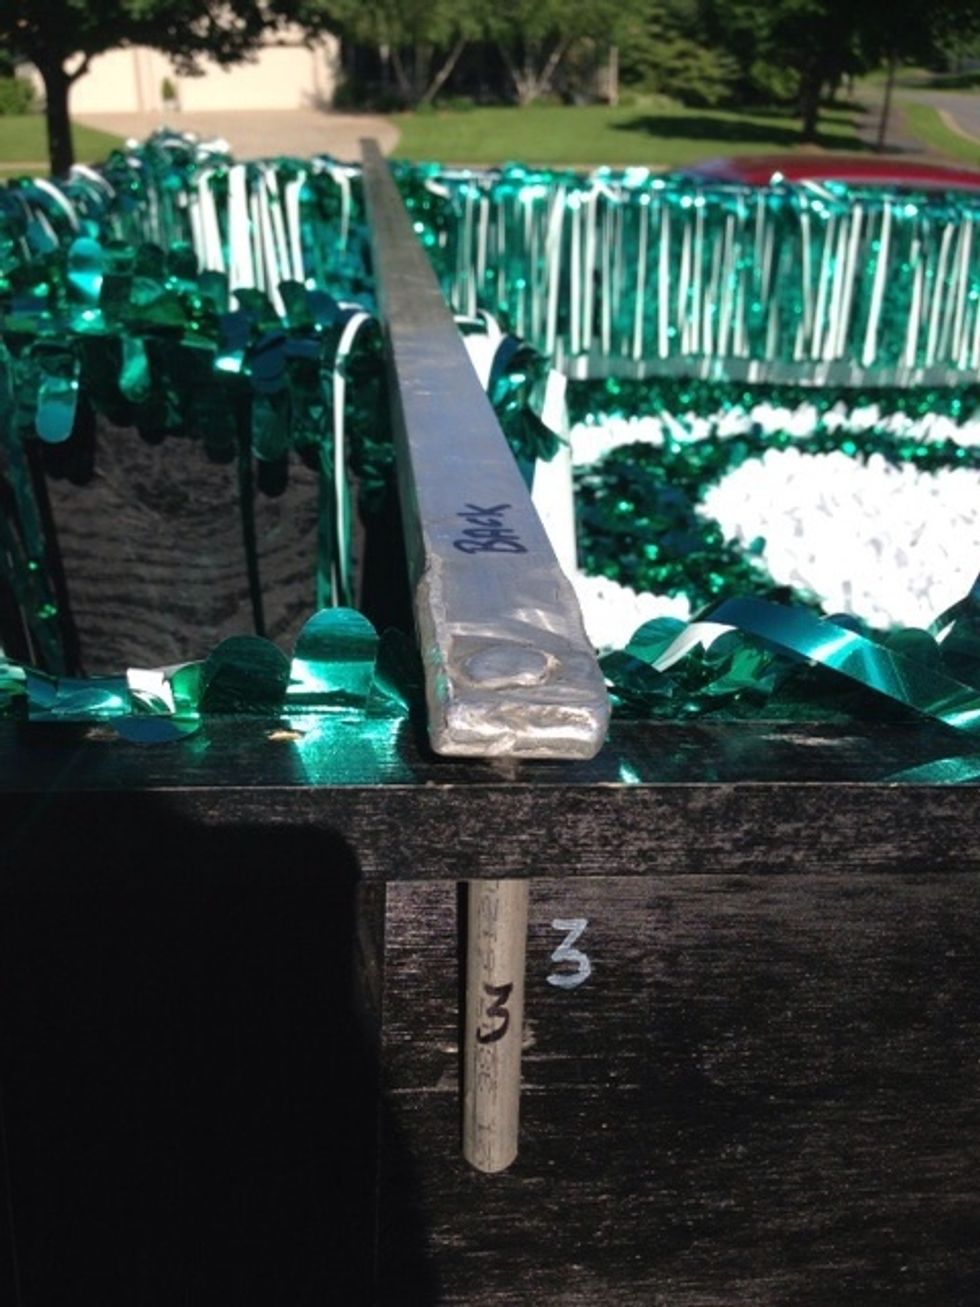
...It helps to have two people removing the long metal bars at the same time.
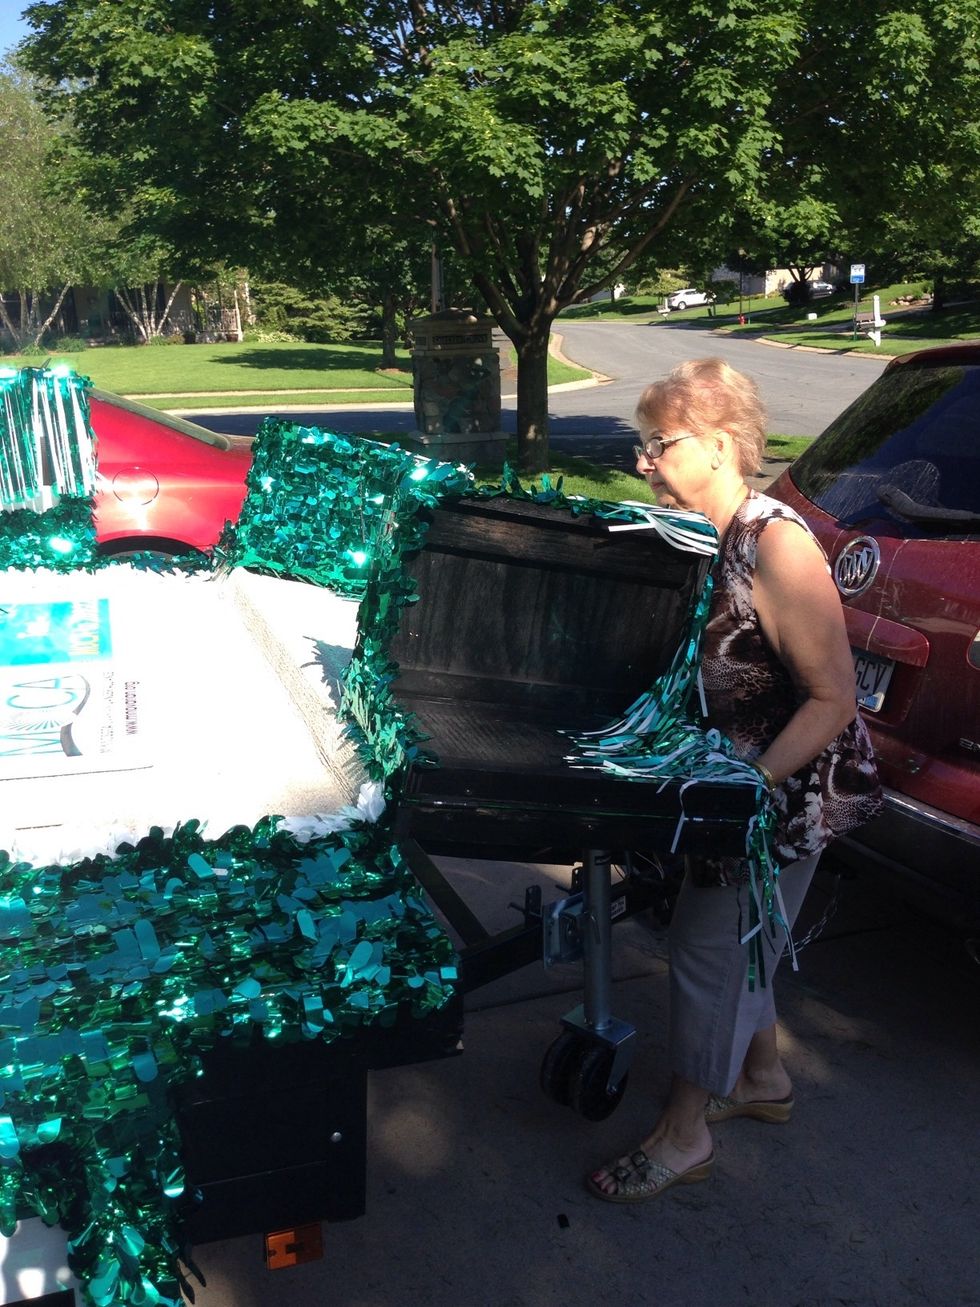
Once the metal bars are removed, they can be stored in the cubby underneath the float.
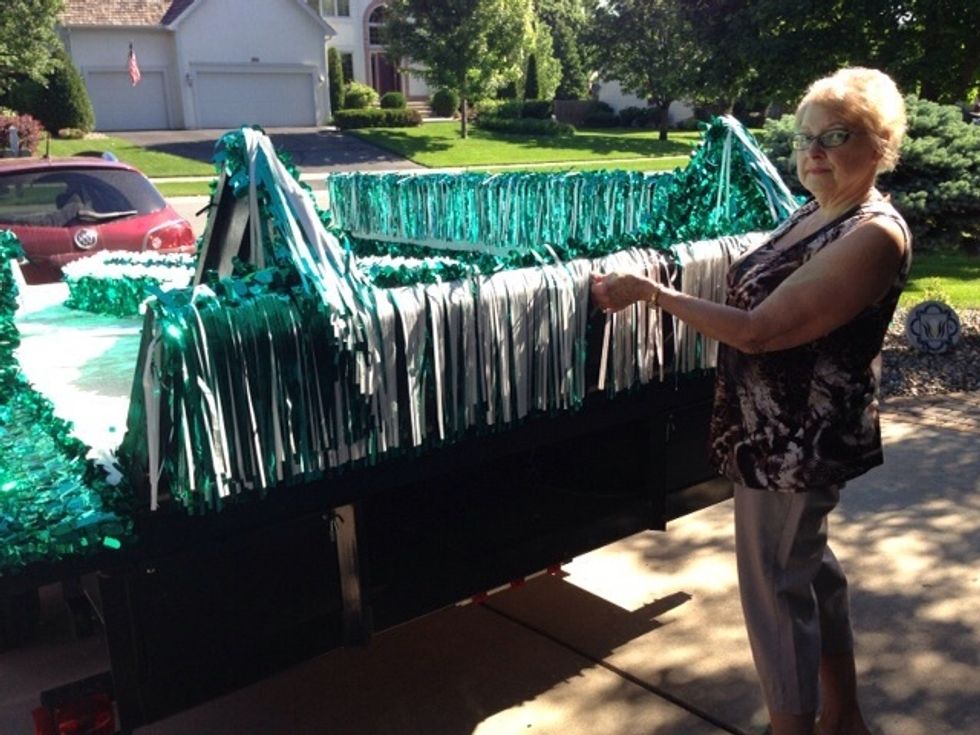
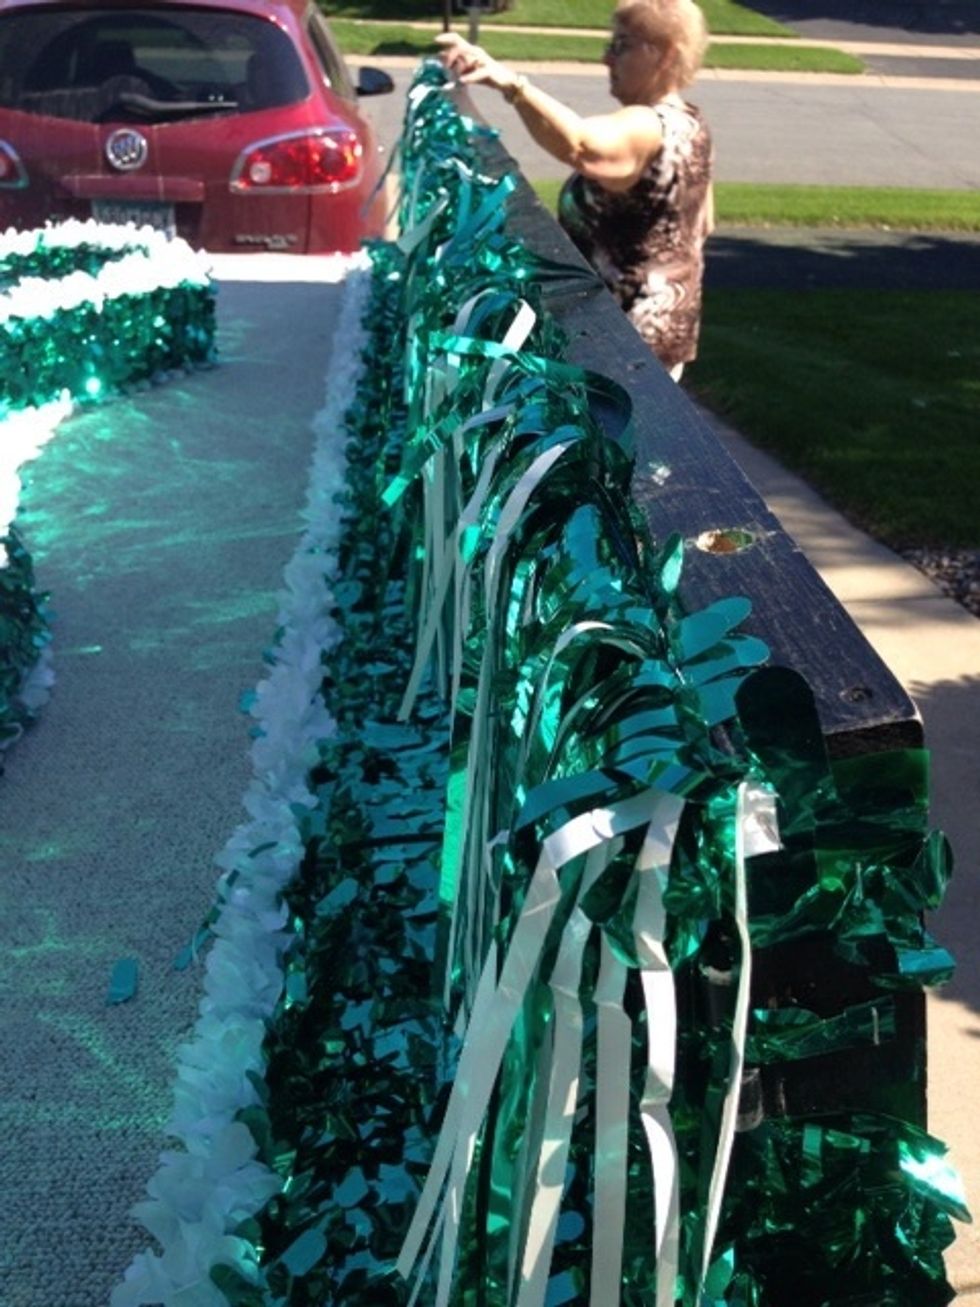
Next, slowly flip each of the four sides of the float down.
Walk around the float and carefully flip down each side.
The back and front sides have corner 'wings' that will need to be folded out.
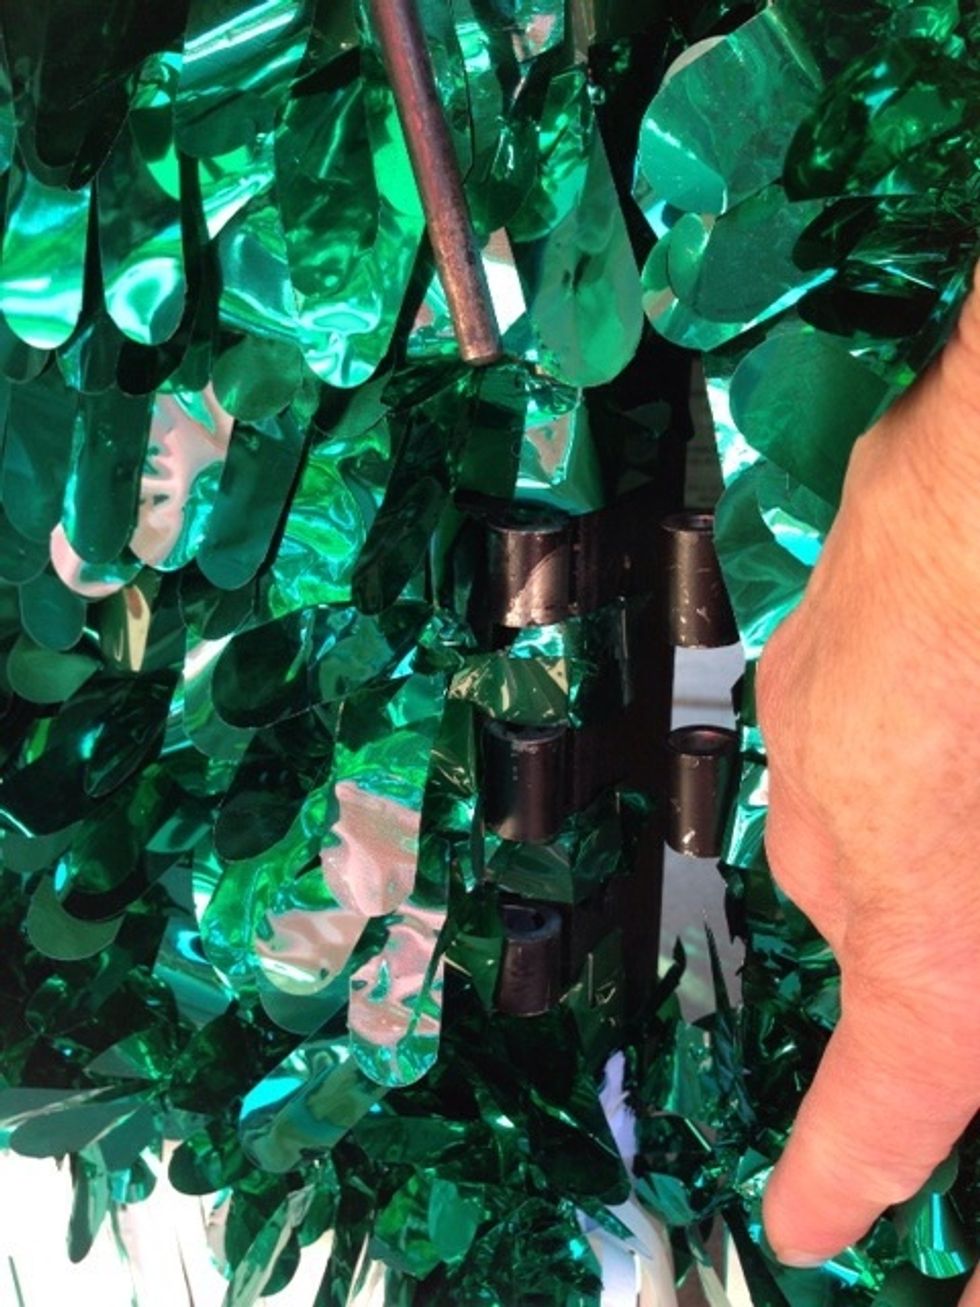
Once the corner 'wings' are folded, line up each hinge on the side...
... And put the attached peg through each hinge to lock and secure.
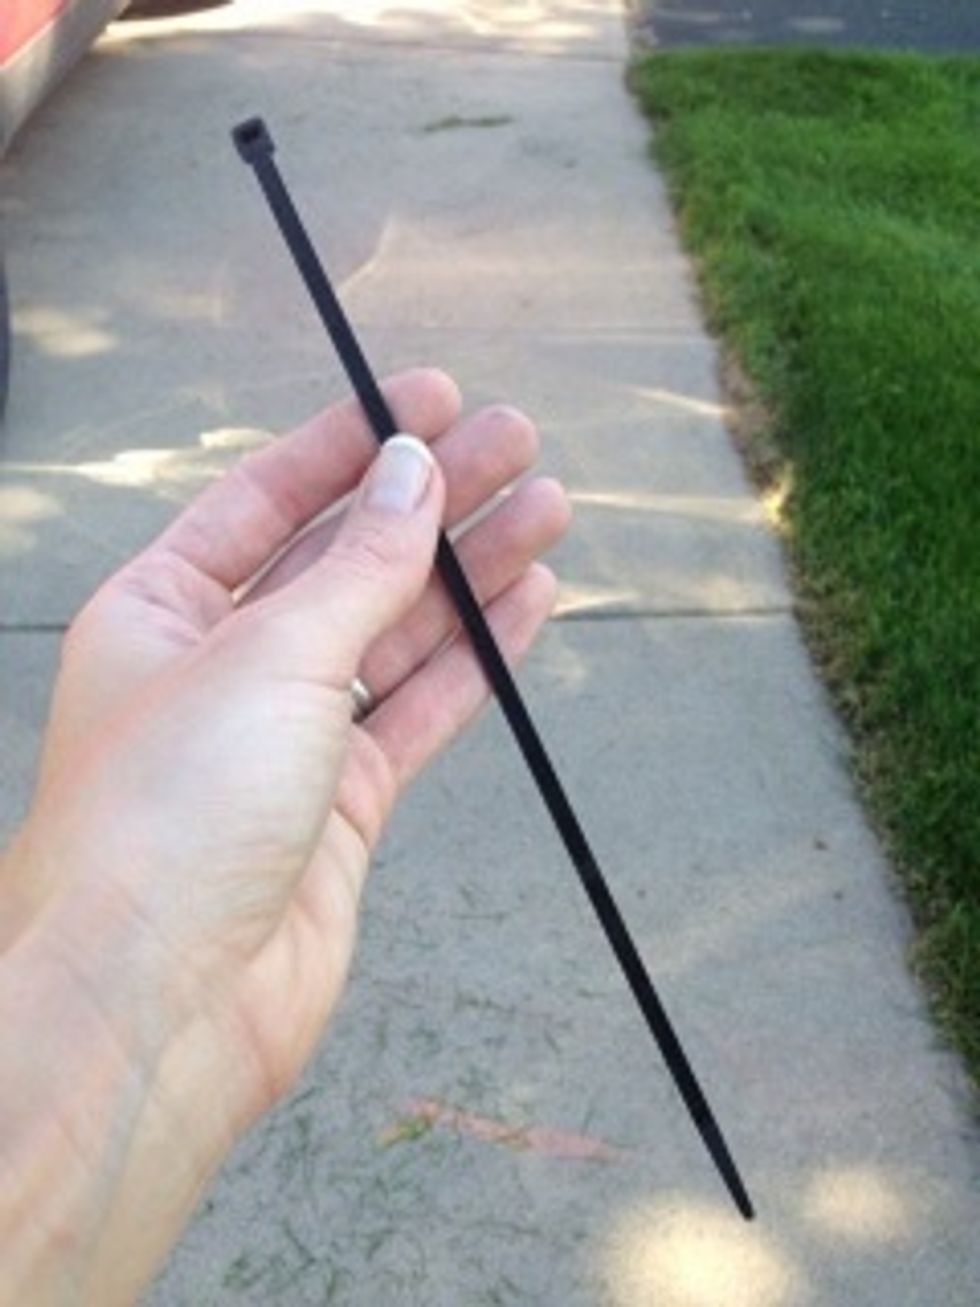
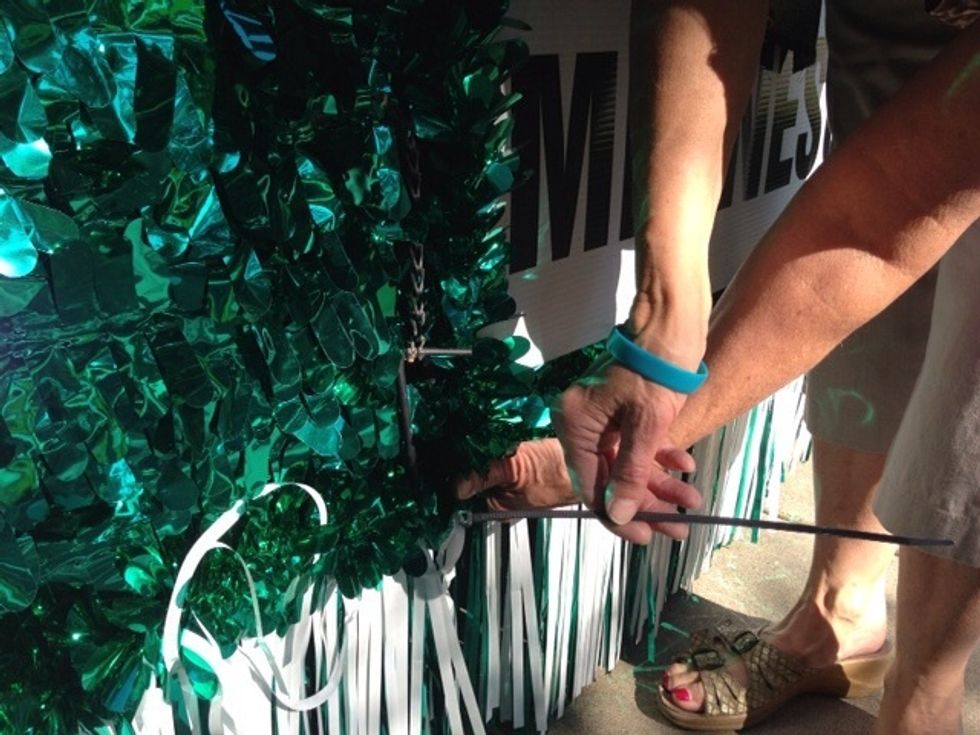
Note: If the hinges don't line up, you can use the twist ties in the float supply box instead of the pegs.

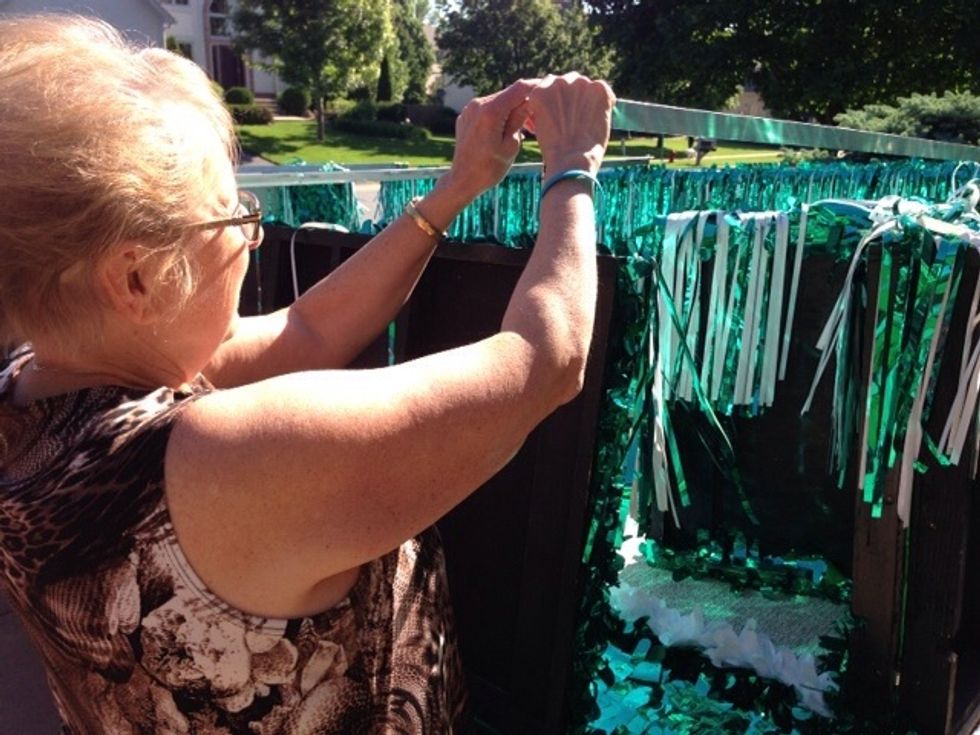
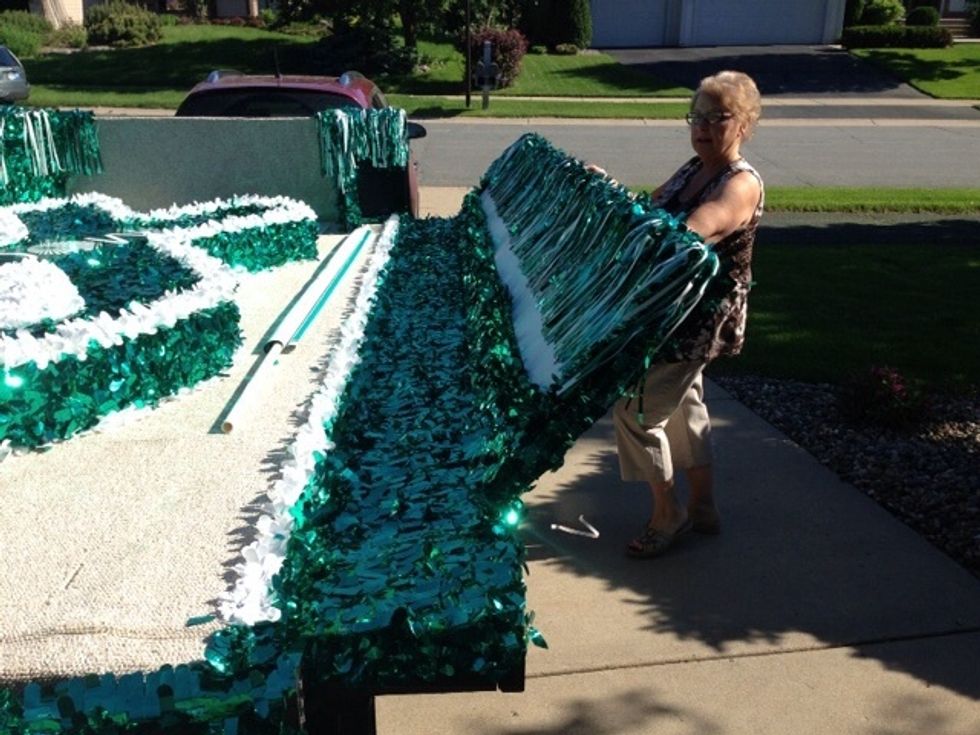
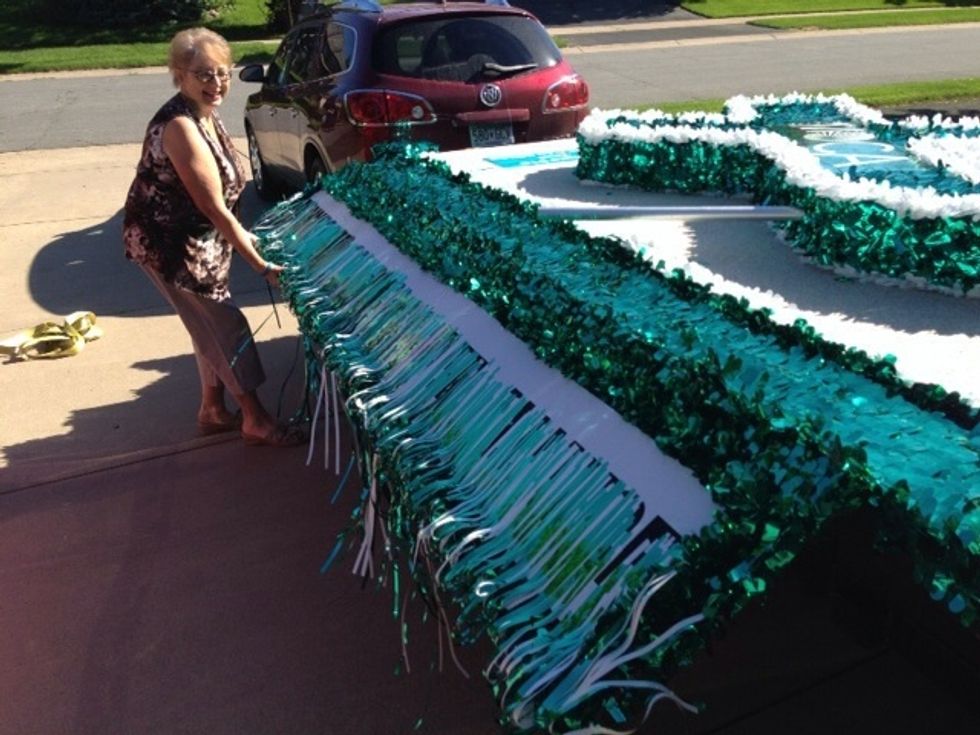
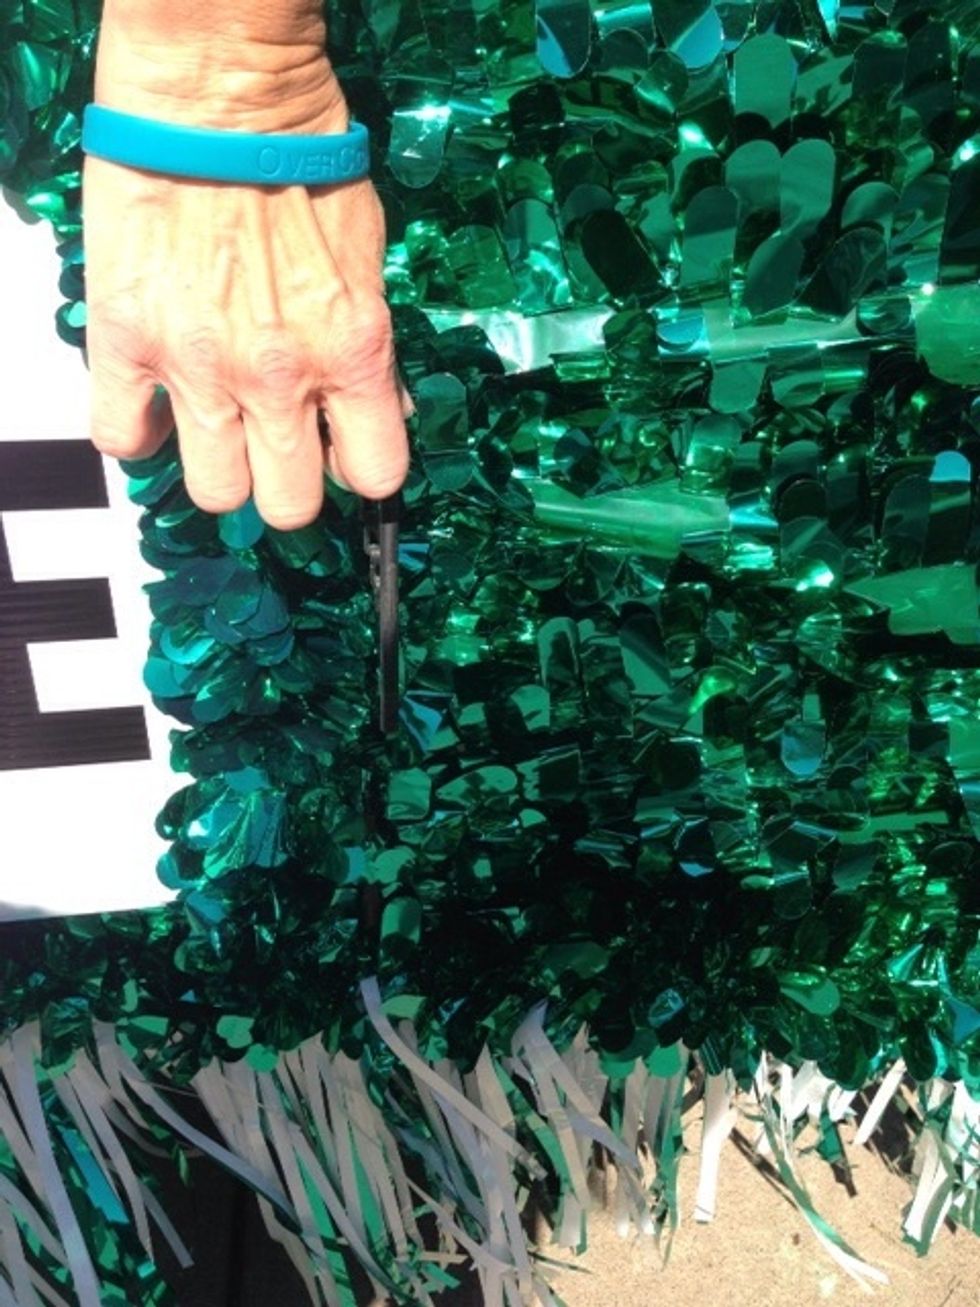
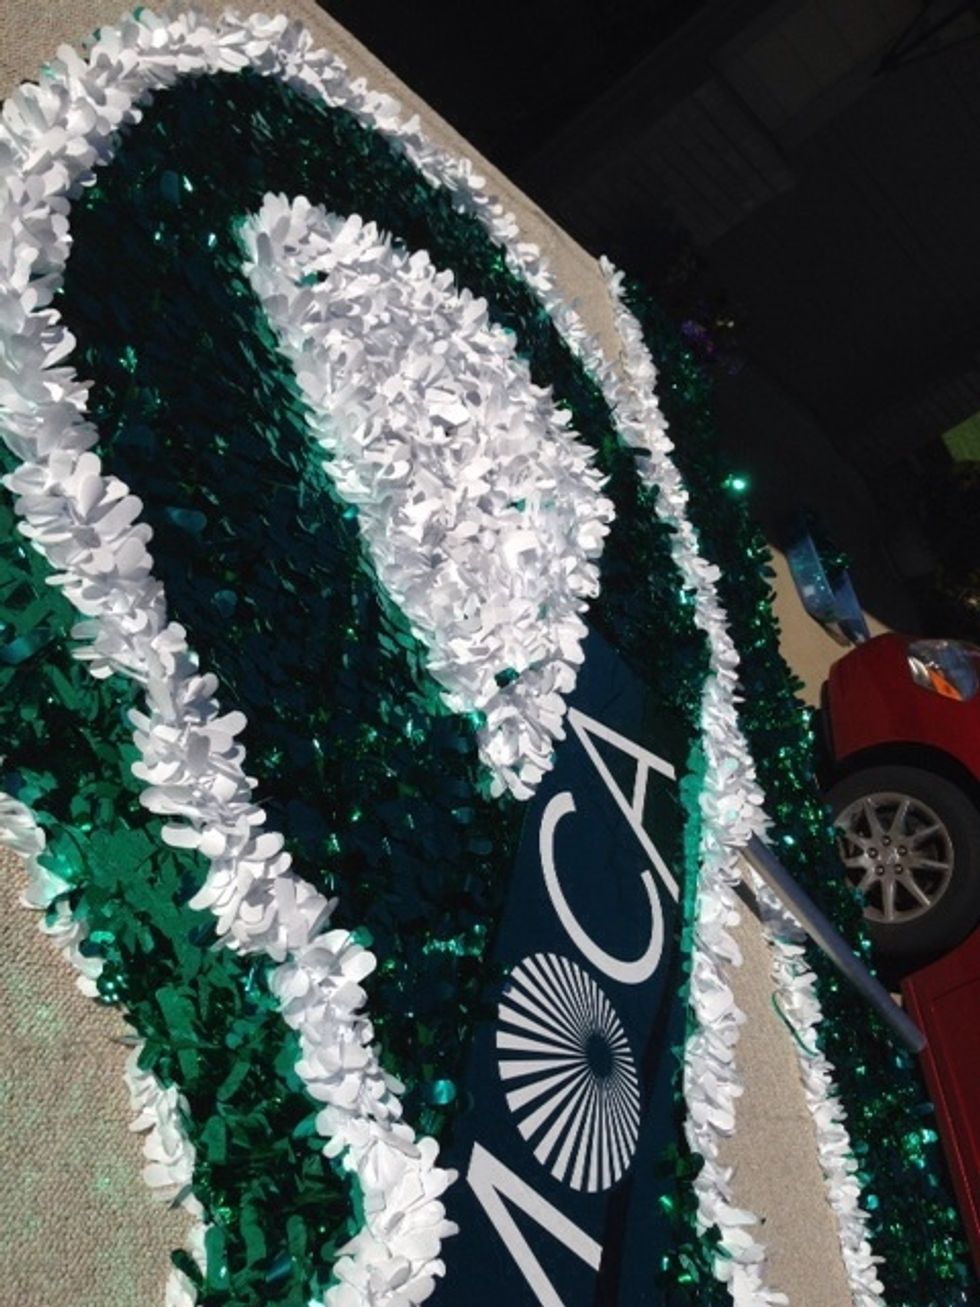
Once the corners are secured, two people should carefully climb on top of the float and pick up the large teal ribbon cut-out.

Pull up and hold the ribbon upright, and then...
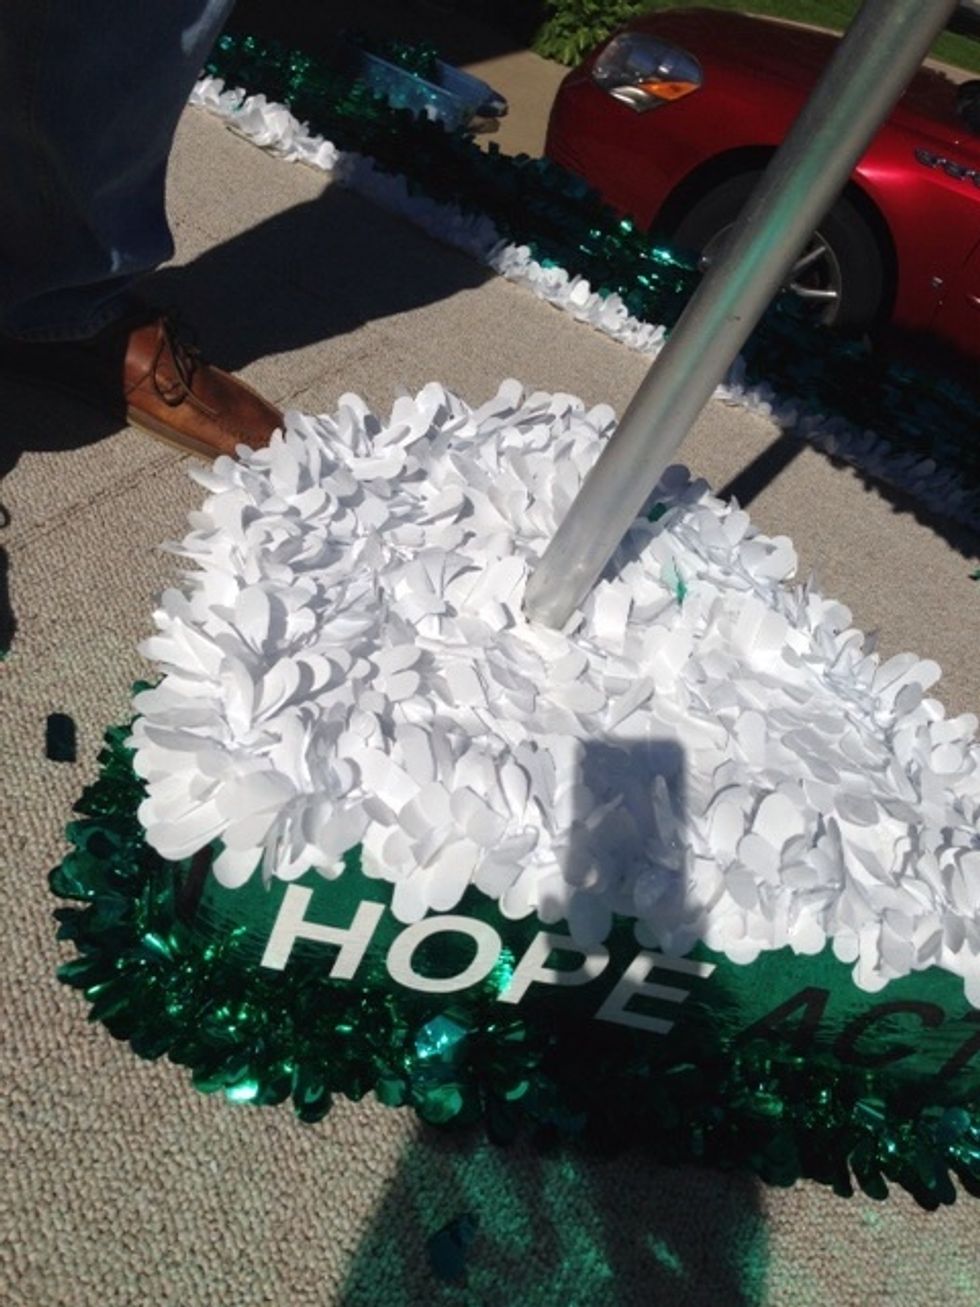
Carefully insert the two legs on the bottom into the holes. Make sure the poles are inserted into the pegs all the way.

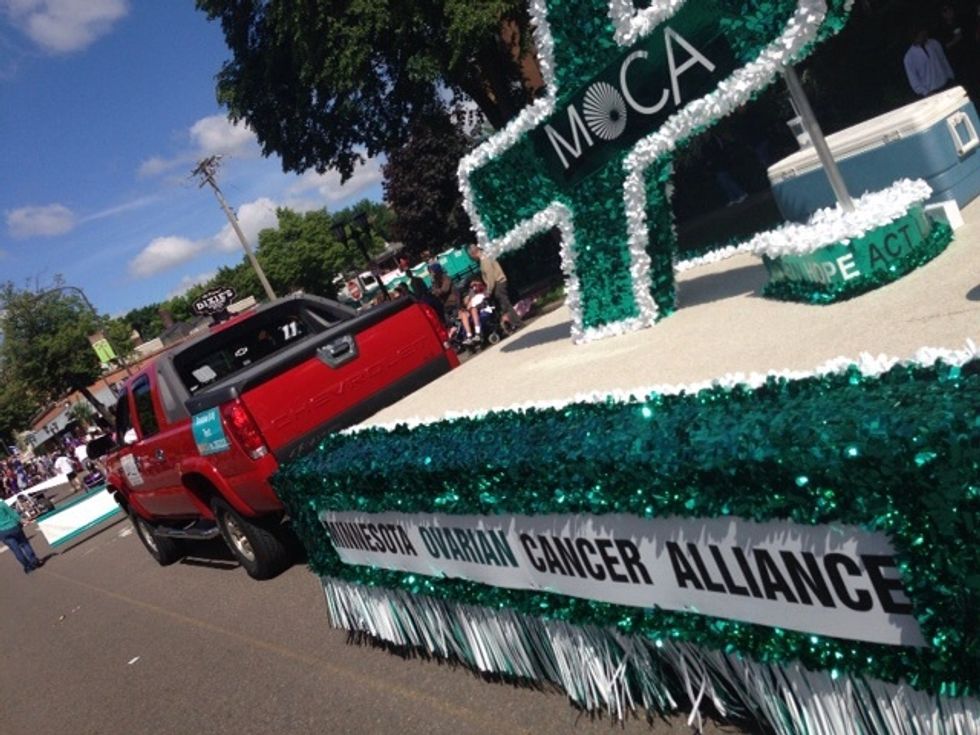
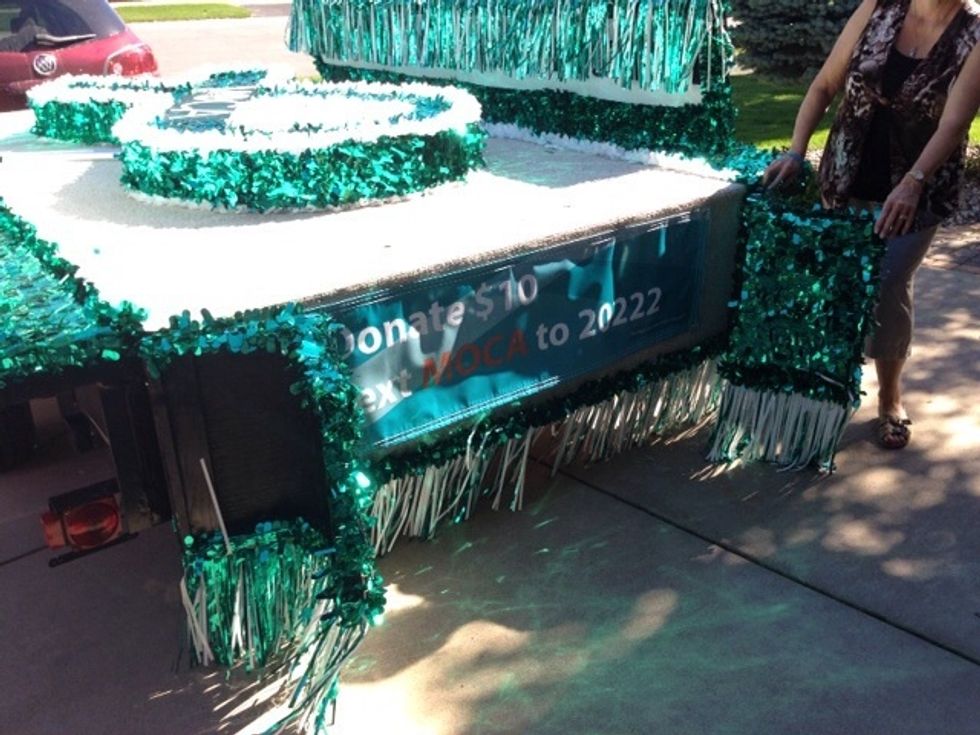
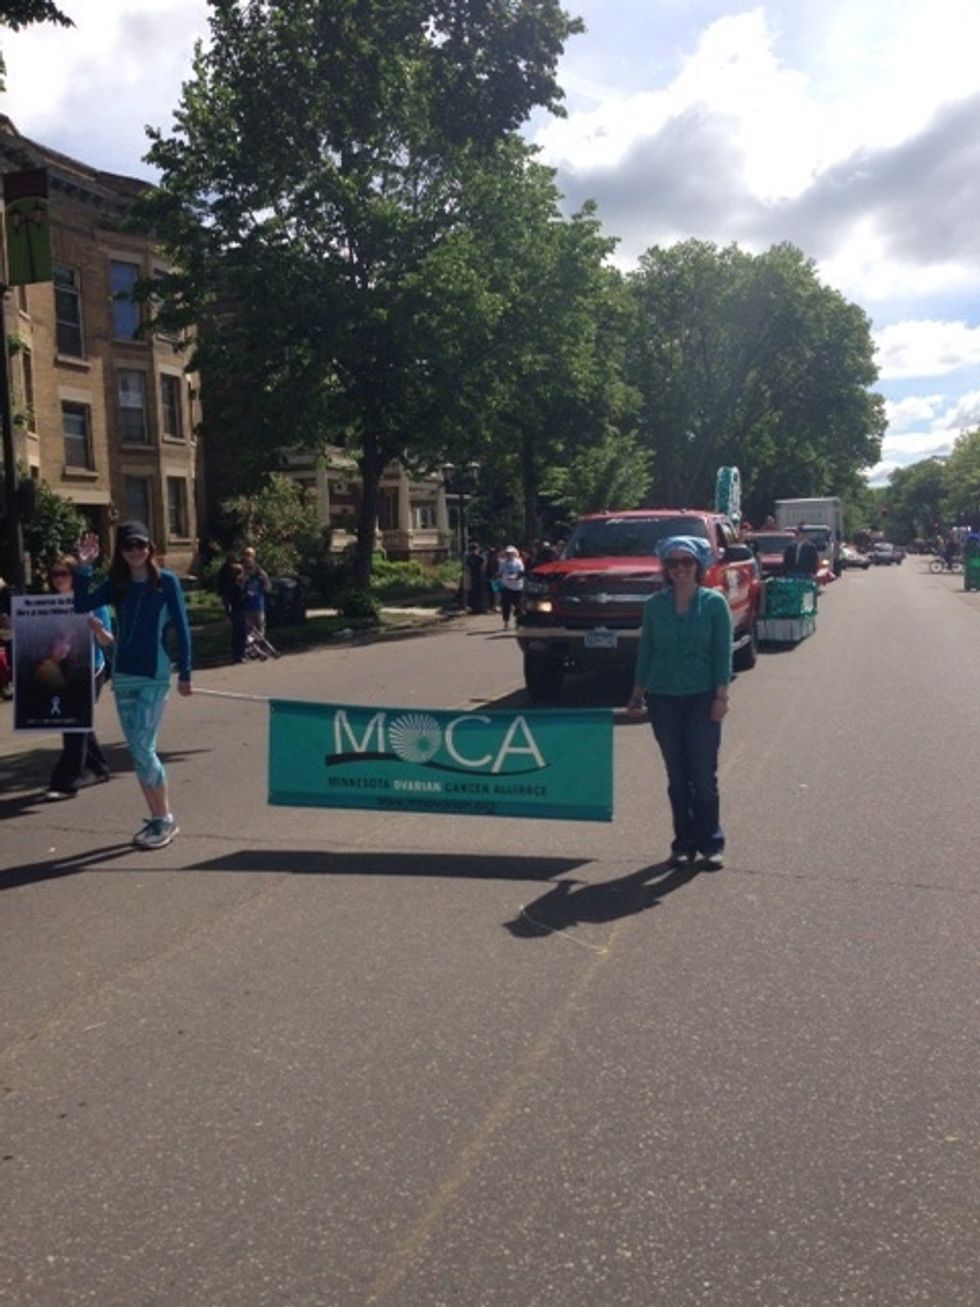
Then you're ready to use the MOCA float in a parade!

During the parade, two people can hold the banner sign in front of the float.

The car magnets can be used to raise awareness as well! Have fun!
To take the MOCA float down:

Two people should carefully climb up on the float and remove the large teal ribbon from the pegs.

Remove the ribbon...
Once the ribbon is removed, it can be put back in the holding place.
Step off the float and pull out the pegs (or twist ties) at the four fold-up corners.
Fold up the two long sides of the float first.
Then flip in the "wings" on the short sides of the float.

Flip up the two short sides.
Once all the sides are folded up, make sure all the decorative float fringe is flipped up on the INSIDE of the float.
It should look like this when you're done.

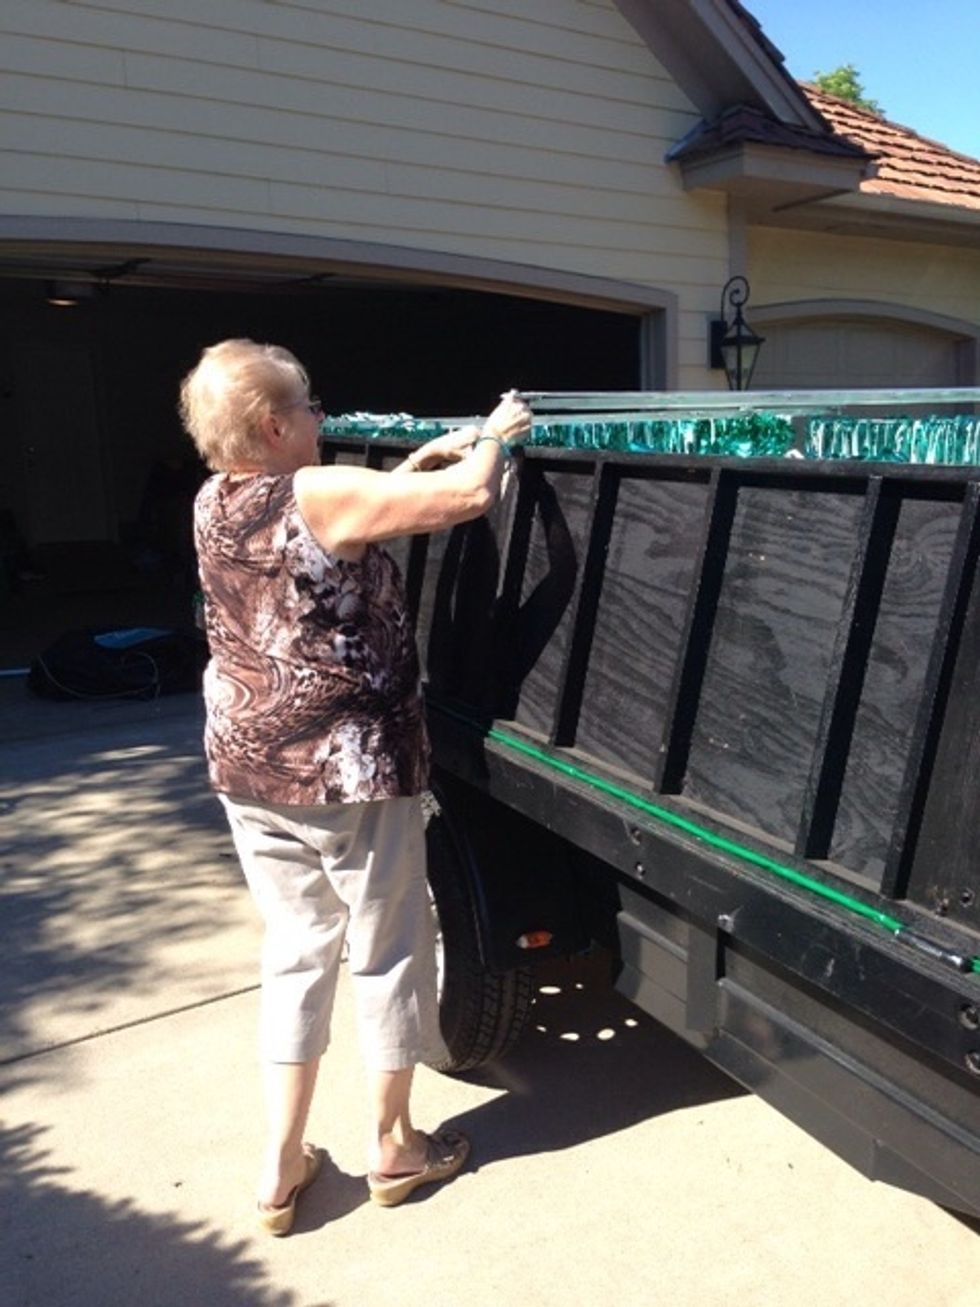
Then, take the three metal bars from the cubby underneath the float. Insert them on top of the float so that it is fully secured.
Take the tarp, and unroll it back on top of the float.
Unroll it so that it is fully secure...
Stretch the bungee cord at bottom of cover to fit under each corner and under each hook along all four sides of the float to hold firmly in place.

Securely ratchet the yellow cargo strap over the cover, hooked under the left and right side of the trailer frame, fitting over the support bar across the front of the float.
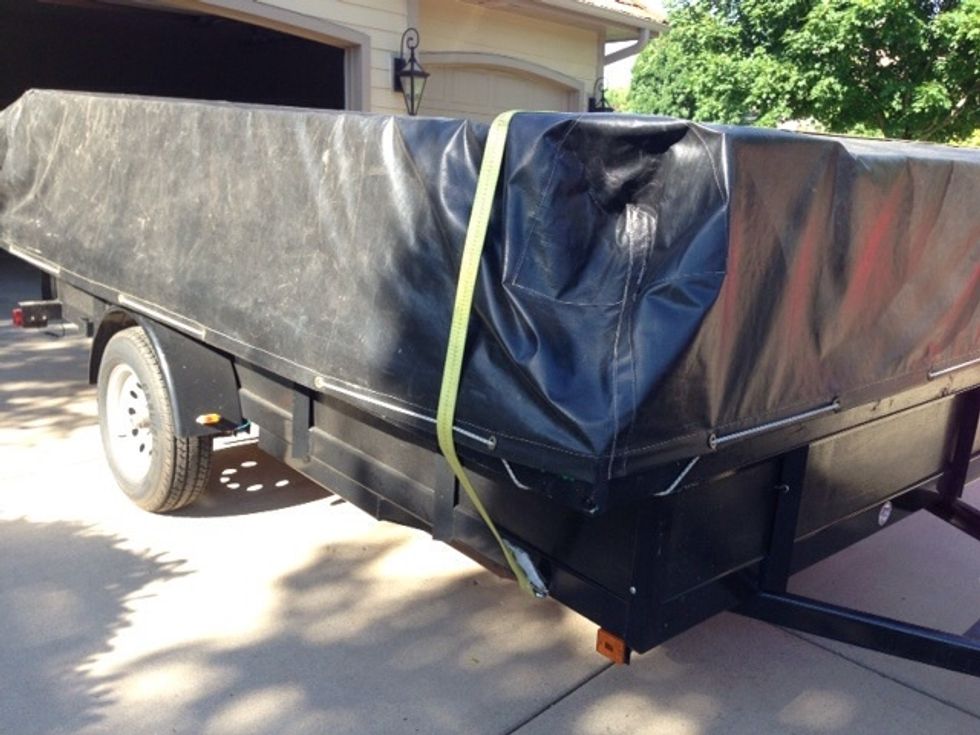
This is how it should look like when you are done!
Make sure all signs and magnets are returned with the float, as well.

Thank you for spreading awareness with MOCA!