The Conversation (0)
Sign Up
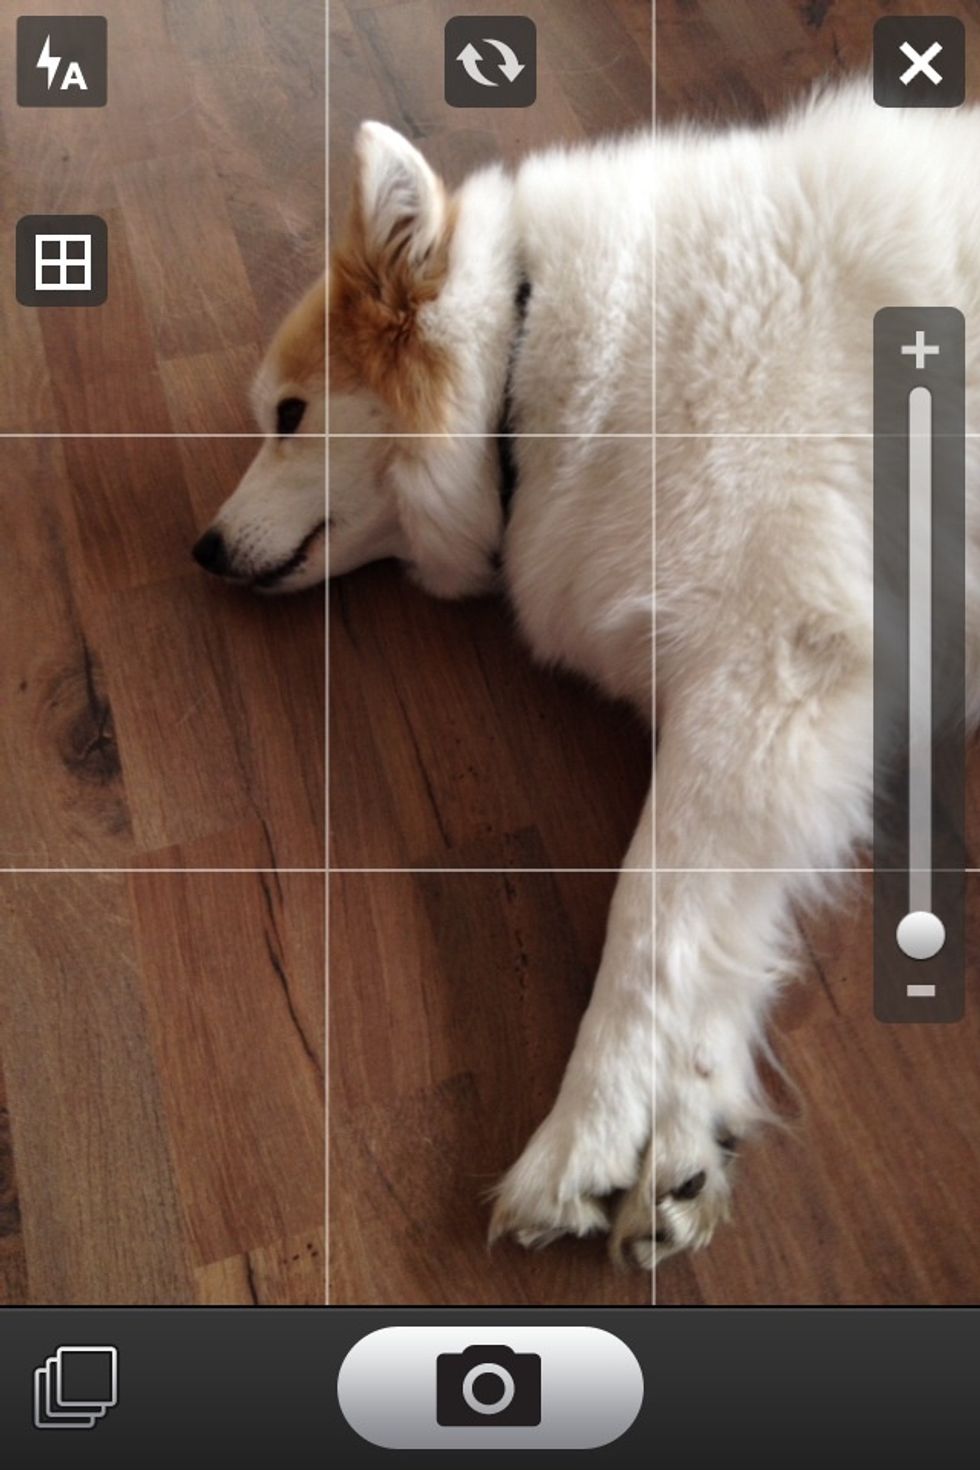
Take a photo

Tap the pen on the right upper corner of the preview to modify your picture.

You have a lot of possibilities to change your photo.
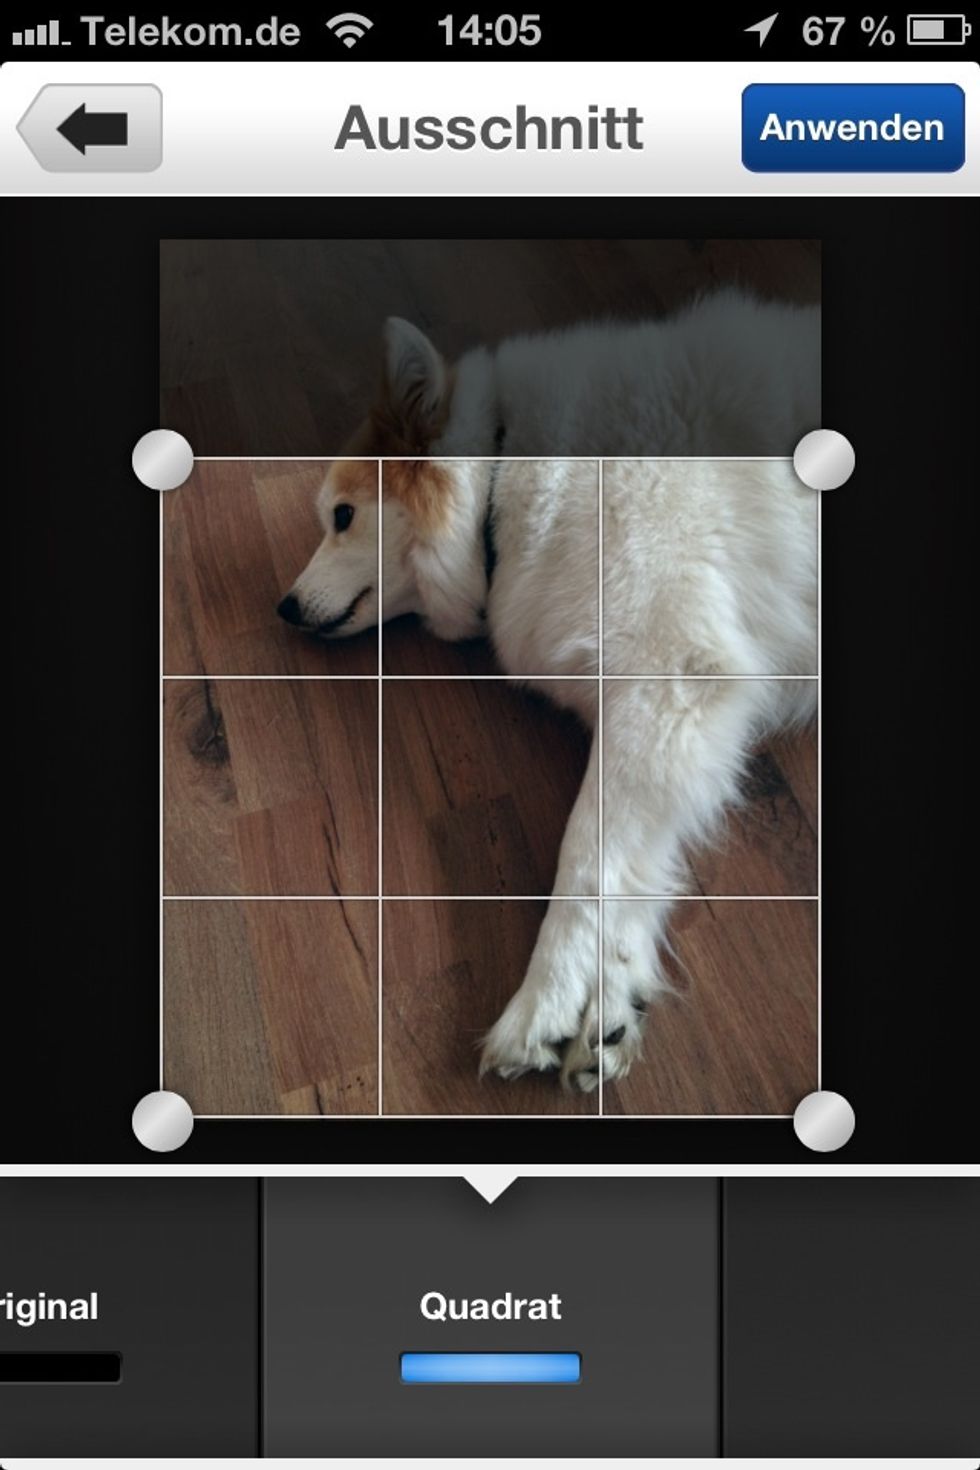
Crop it (even square if you're coming from Instagram) ;)
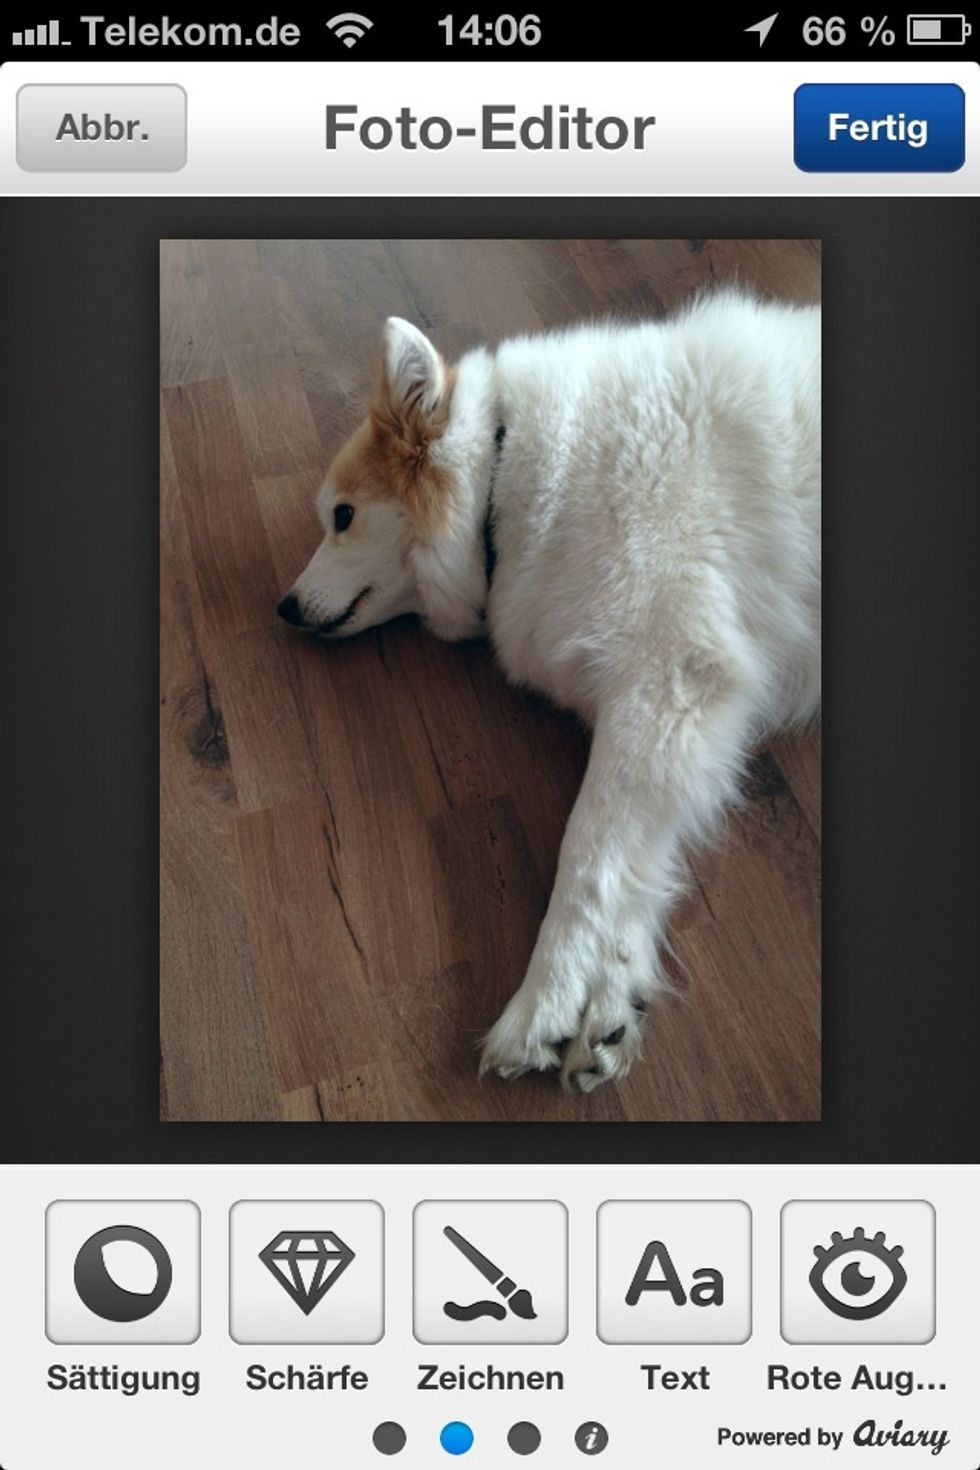
Swipe to the left to see even more options.
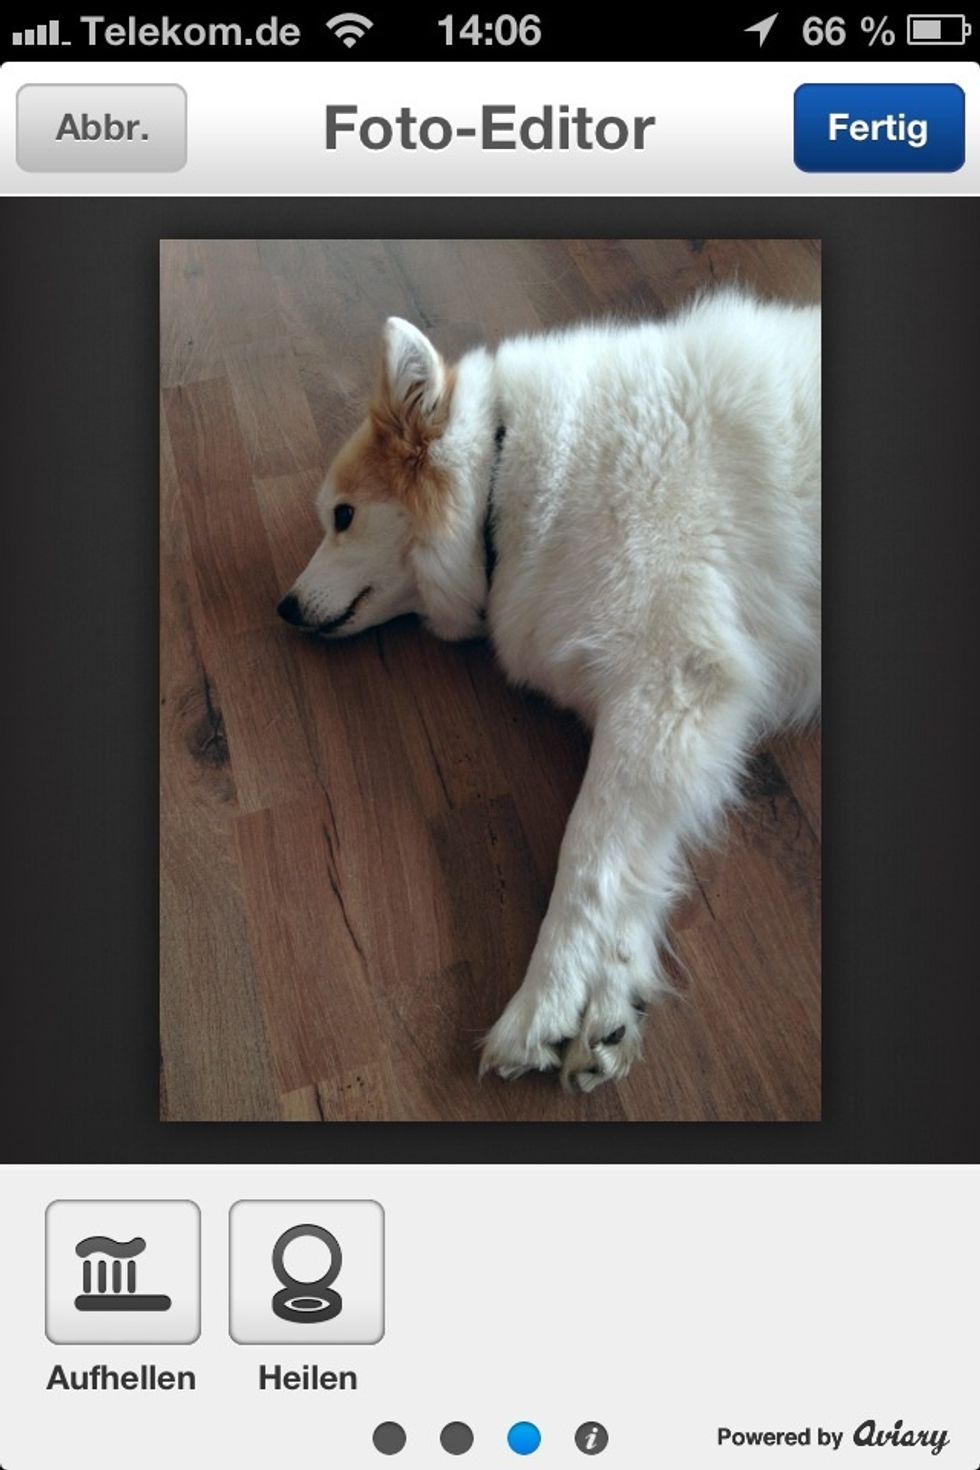
And again for the last two.
When you're done it takes some time to create the tweaked picture. You can see its loading by the animated Flickr logo.
My final result.
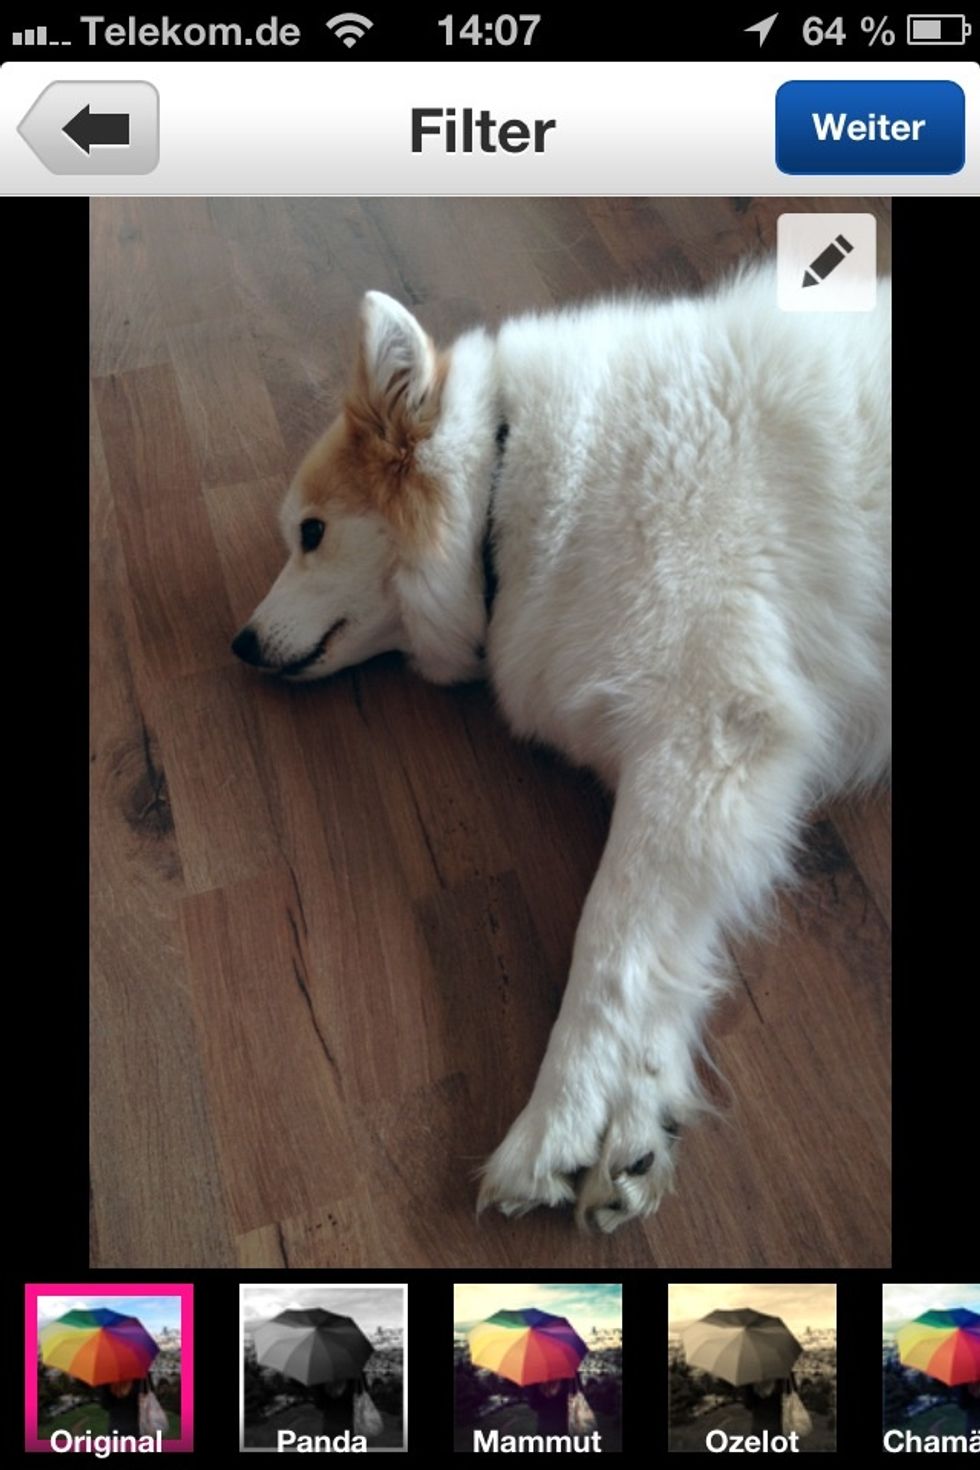
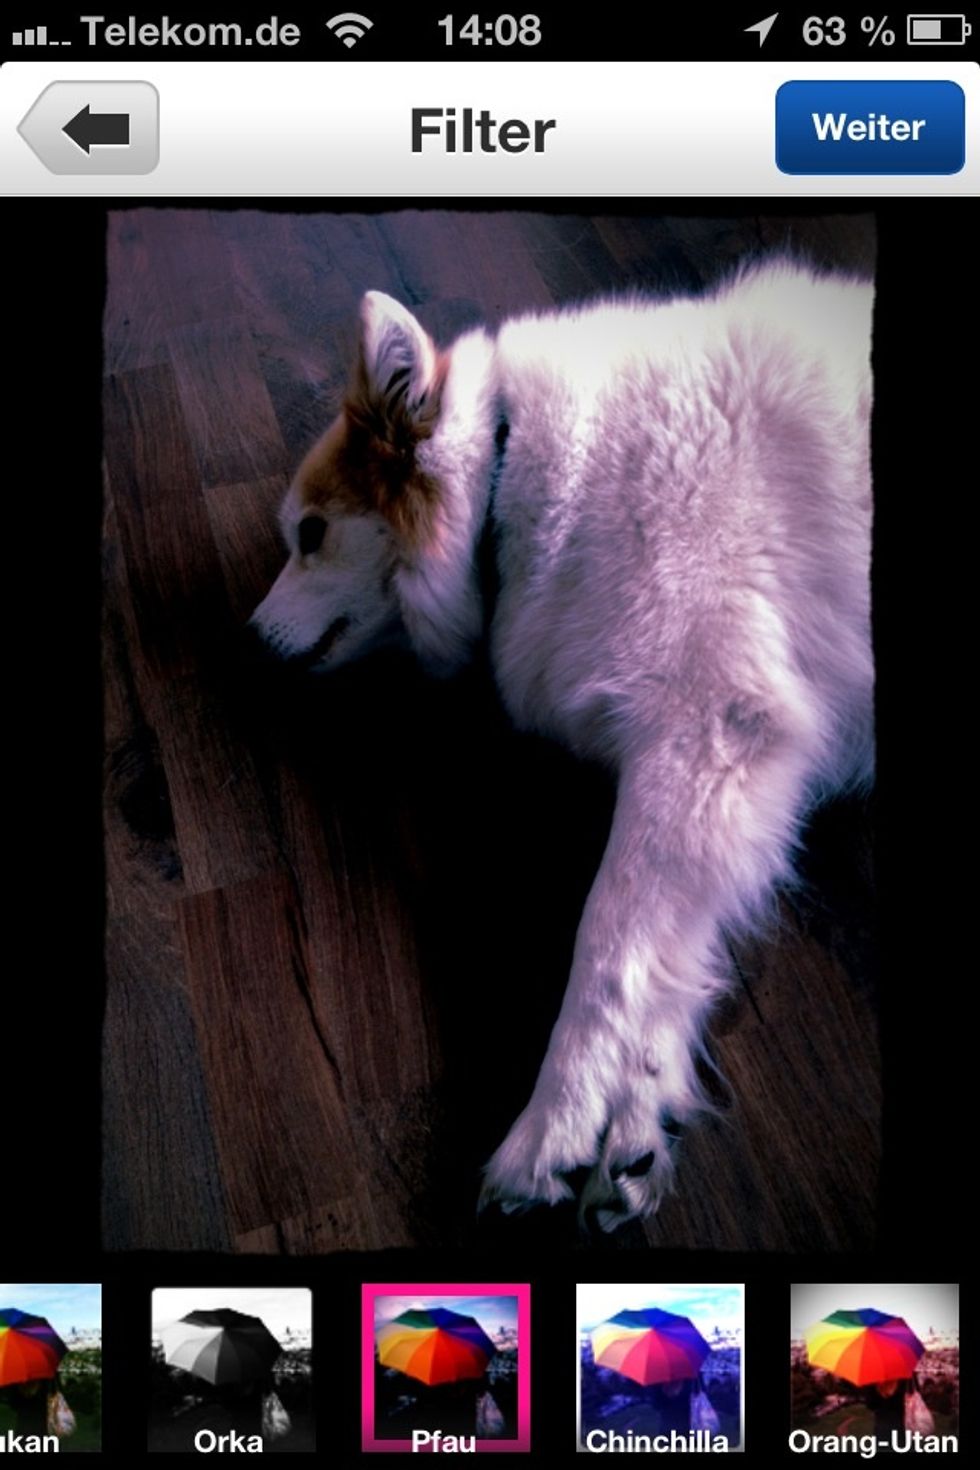
Now add a filter if you like ...
there
are
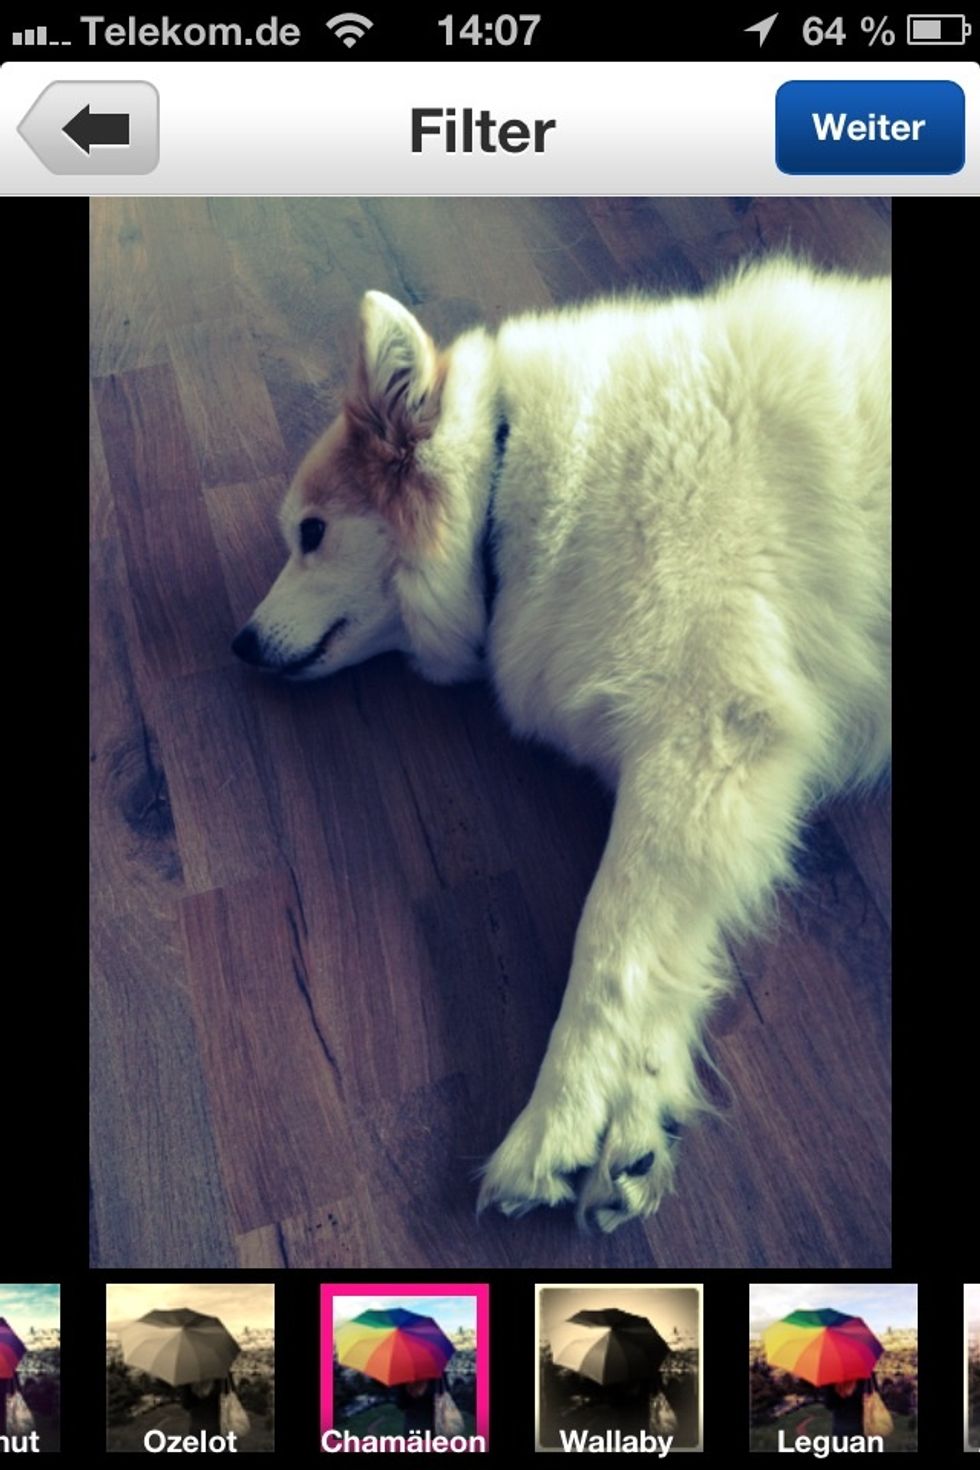
a lot
of filters
for

everyone
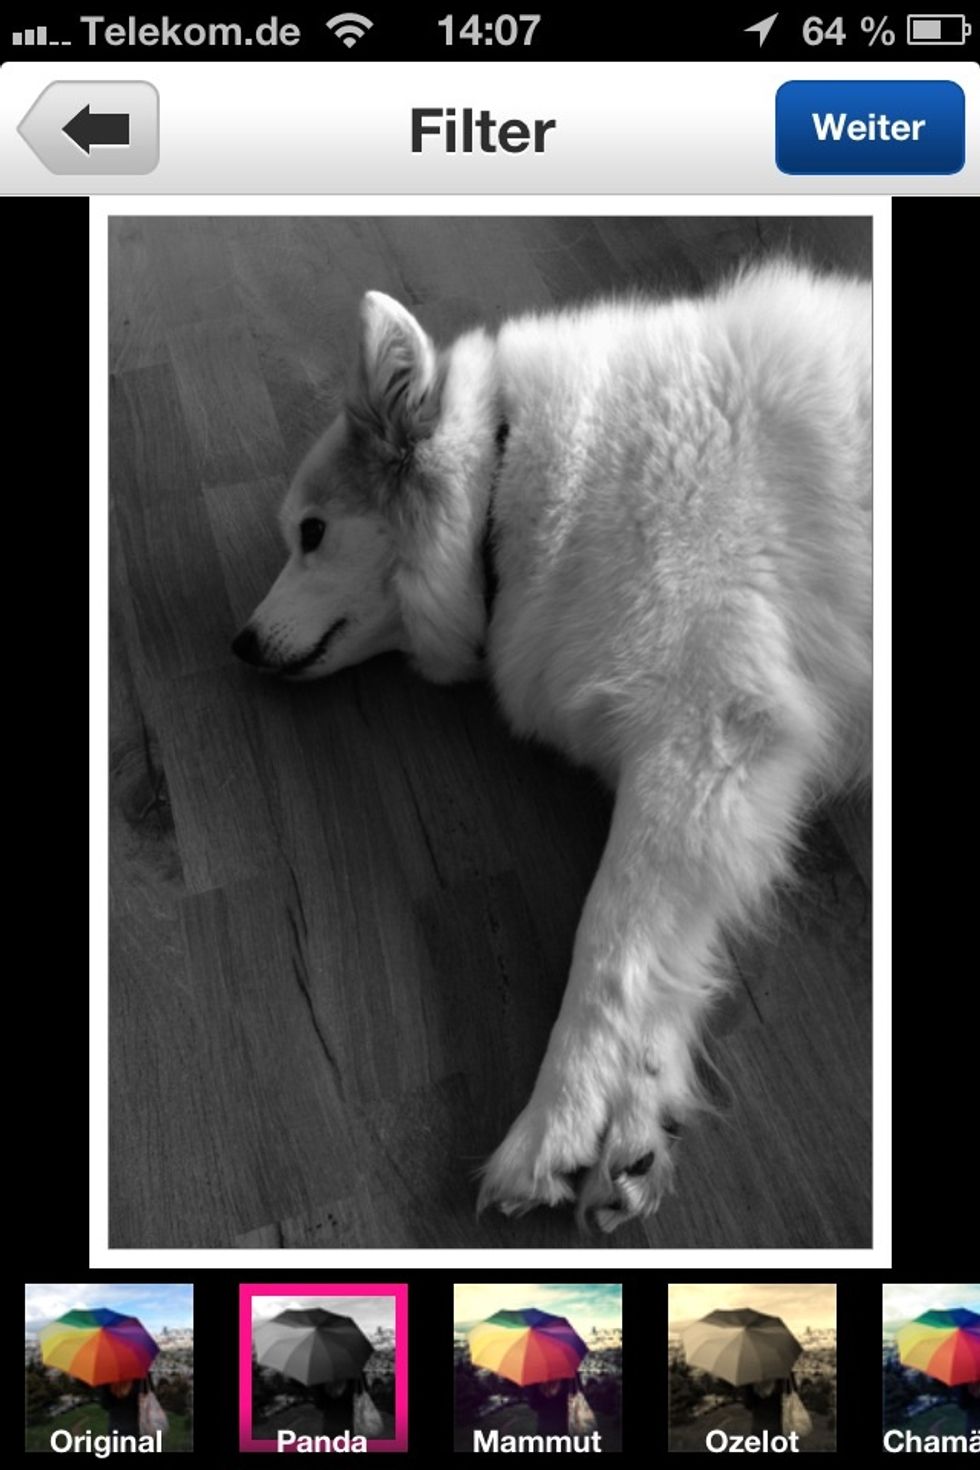
I think
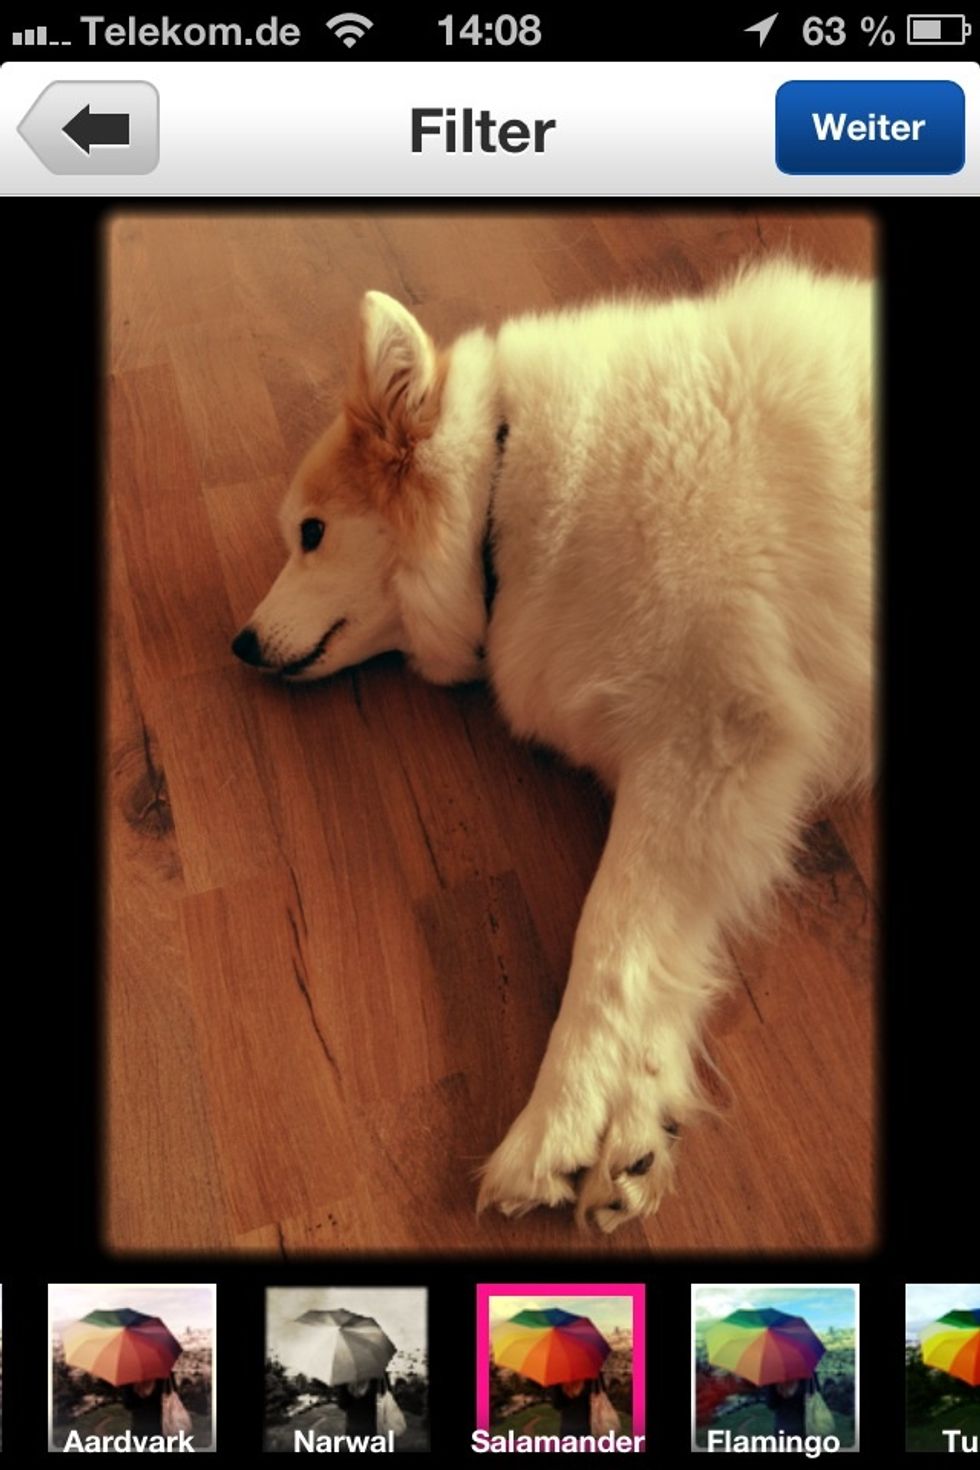
they are
really
nice
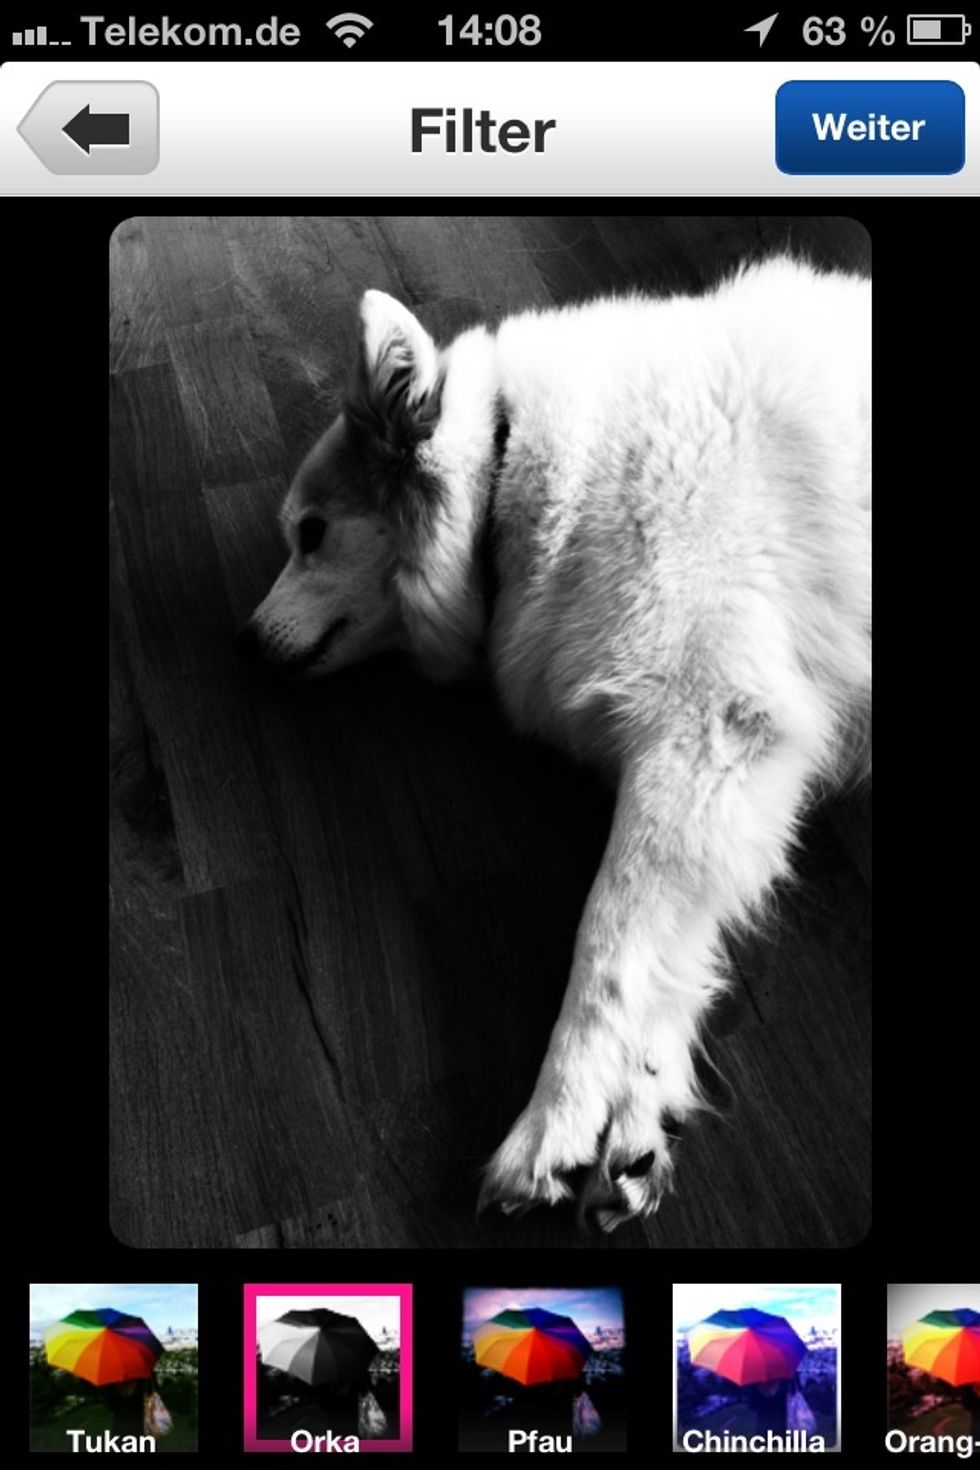
and high quality (love that Orca BTW)
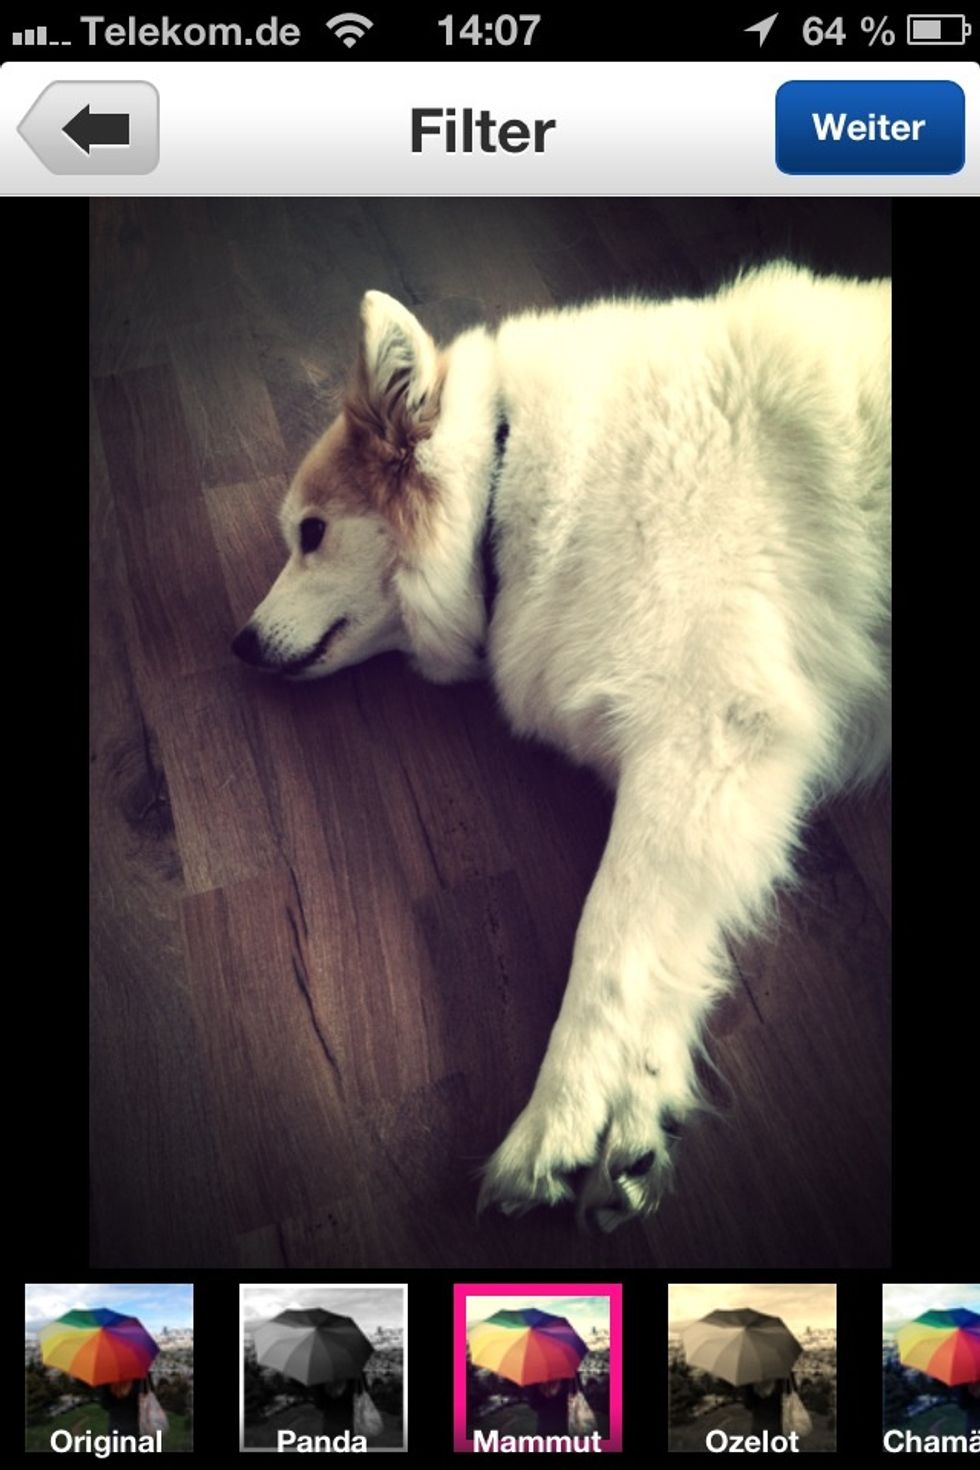
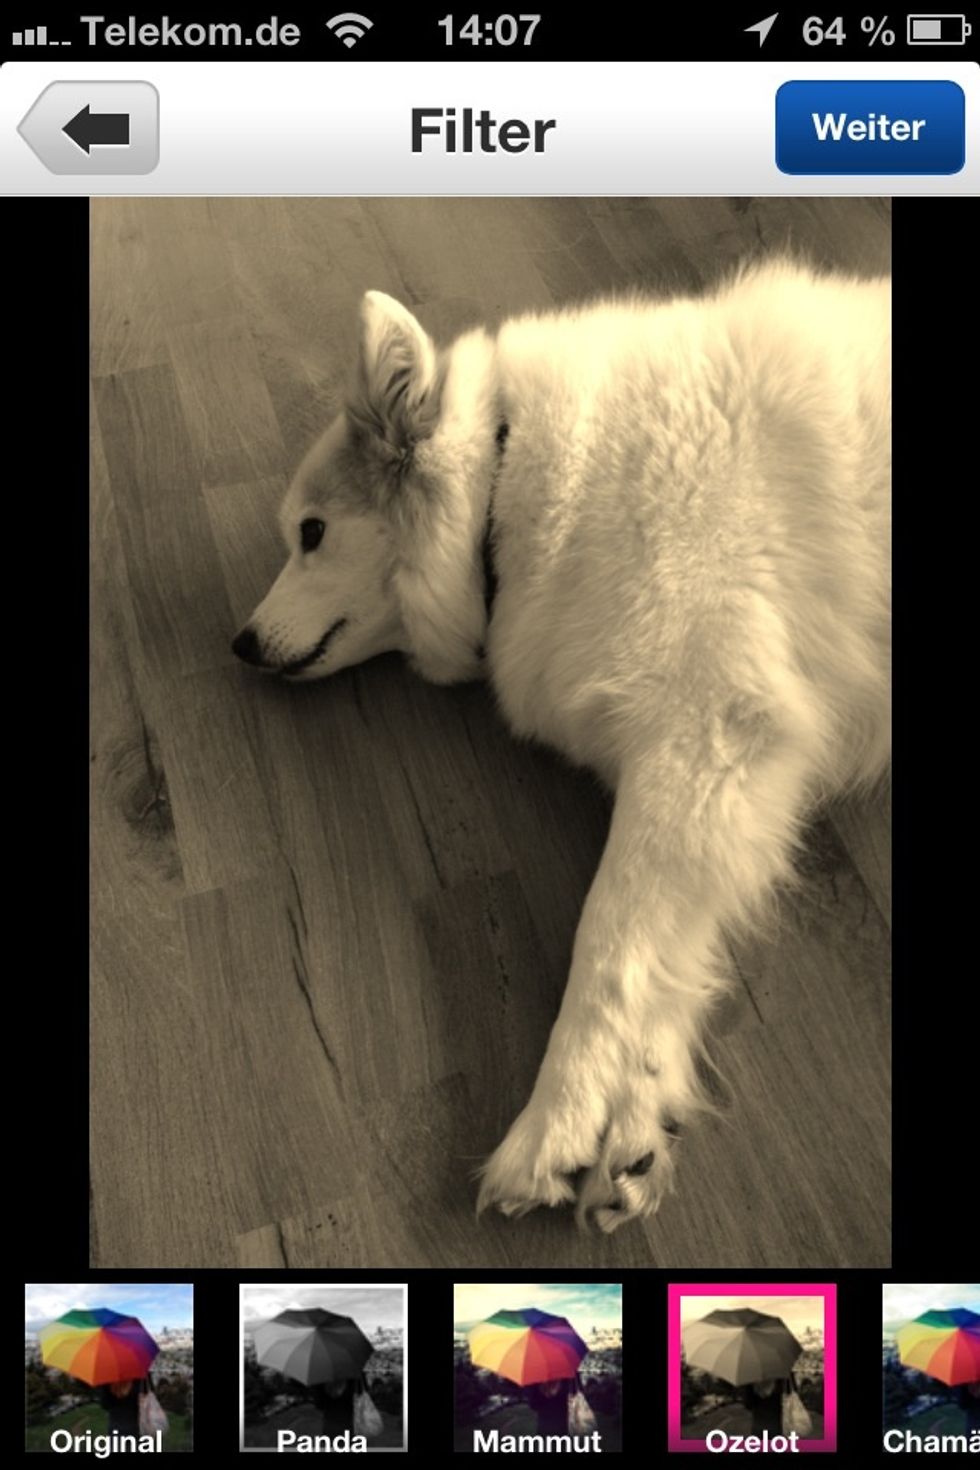
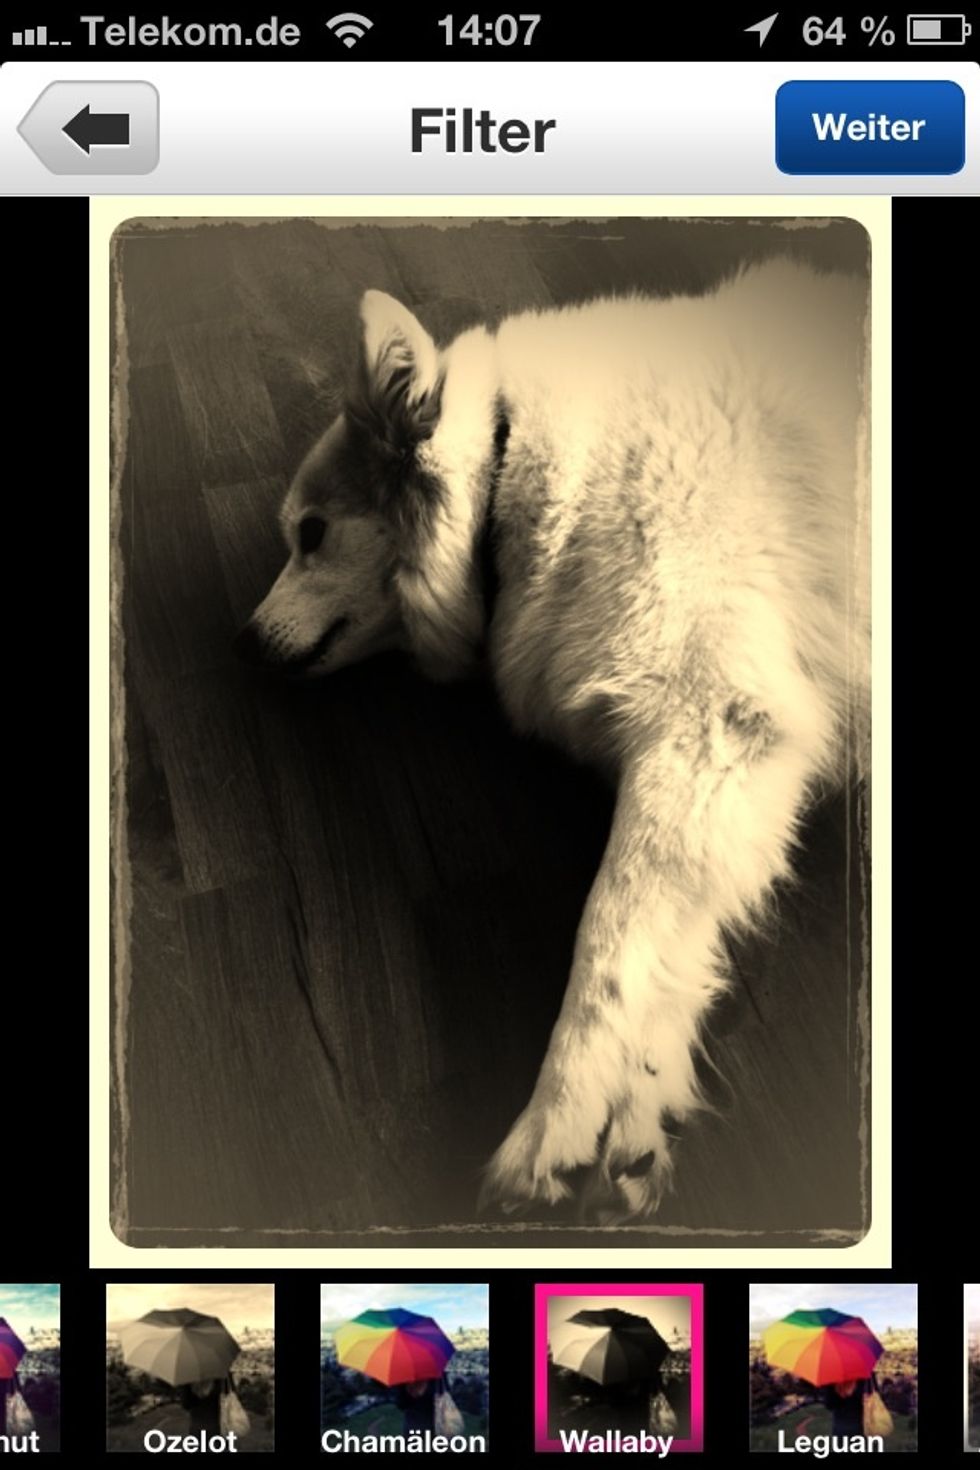
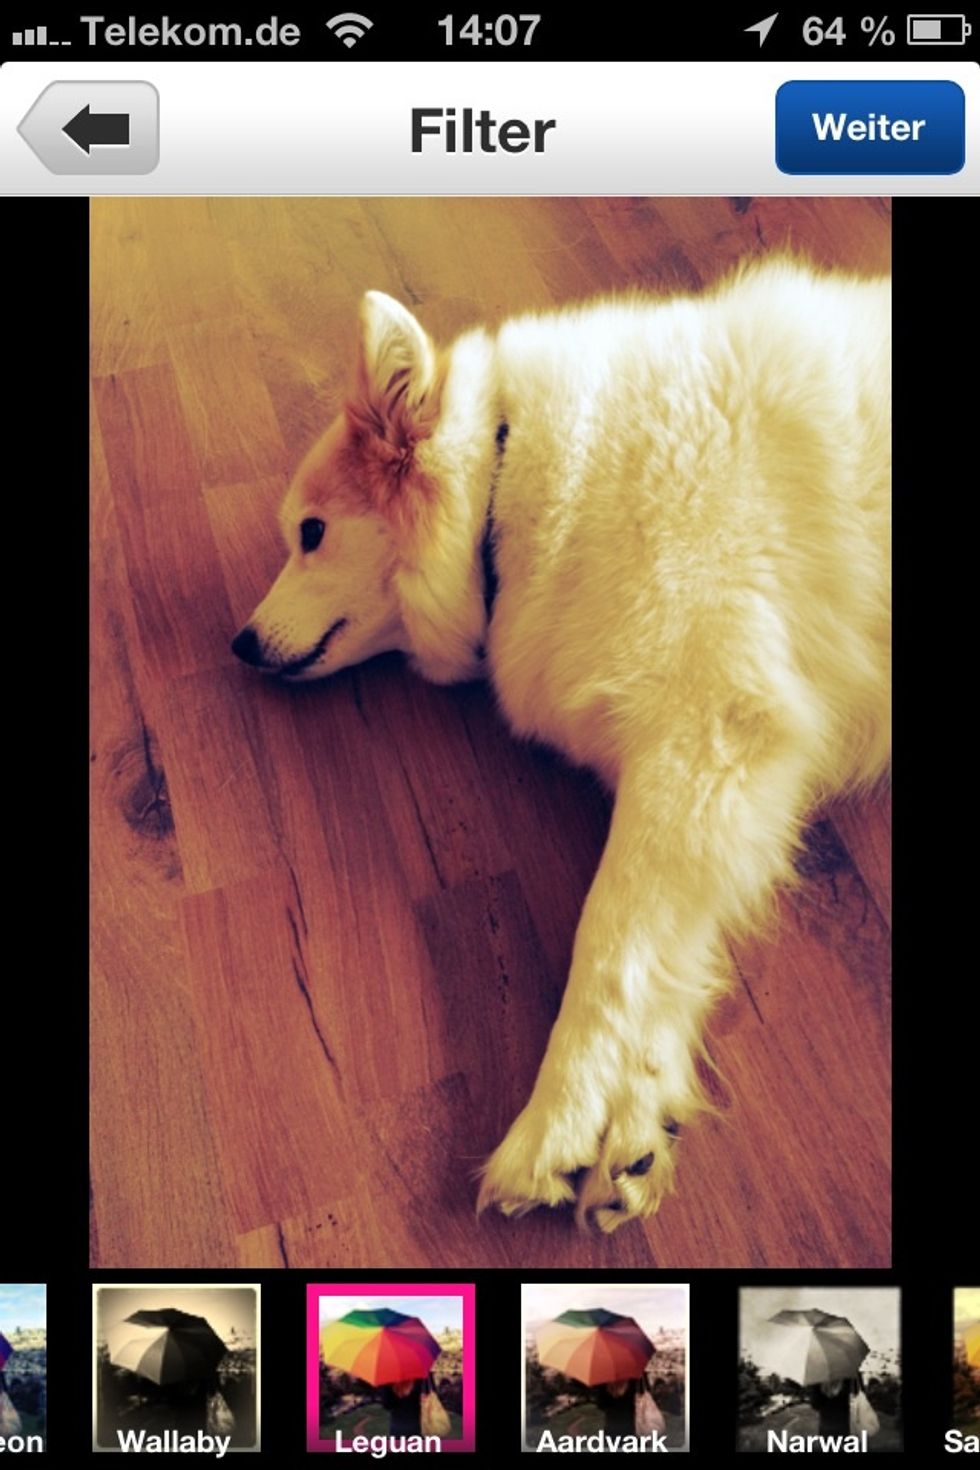
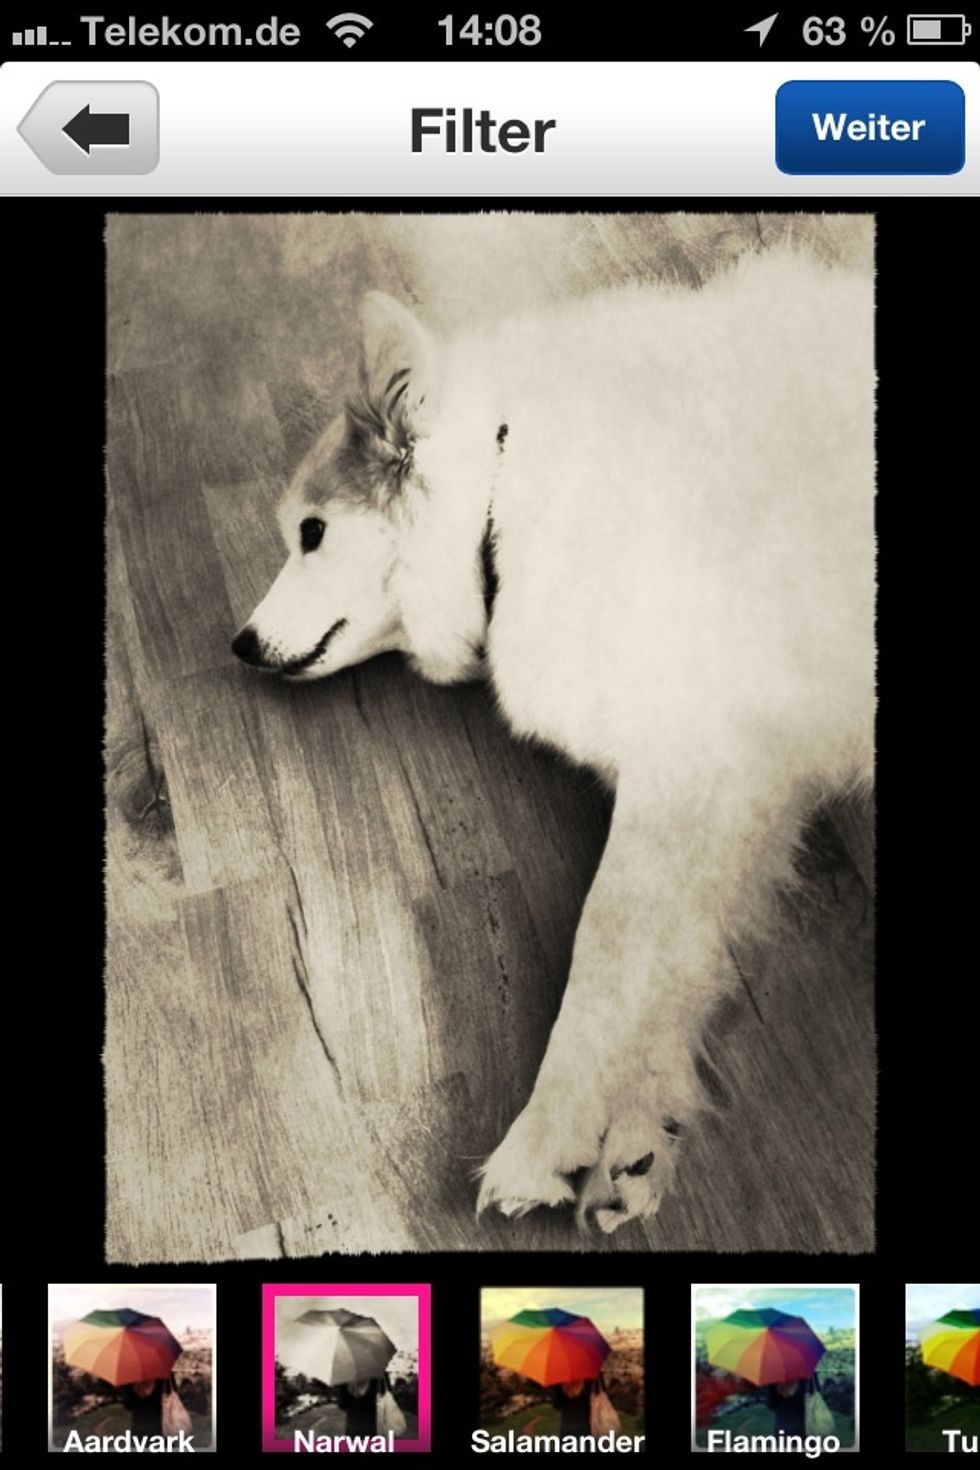
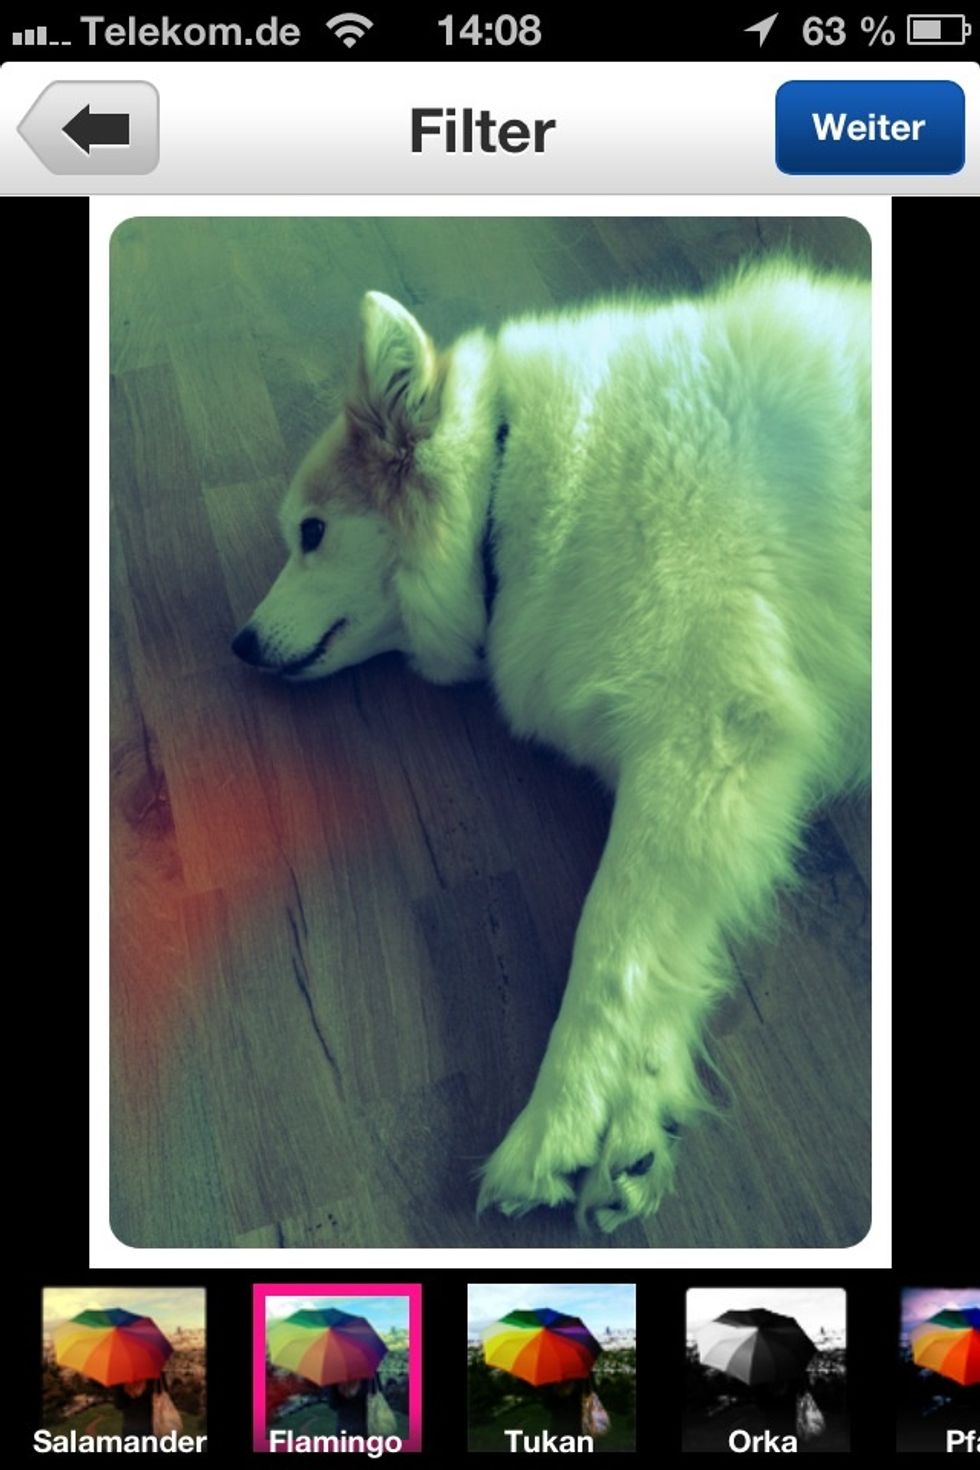
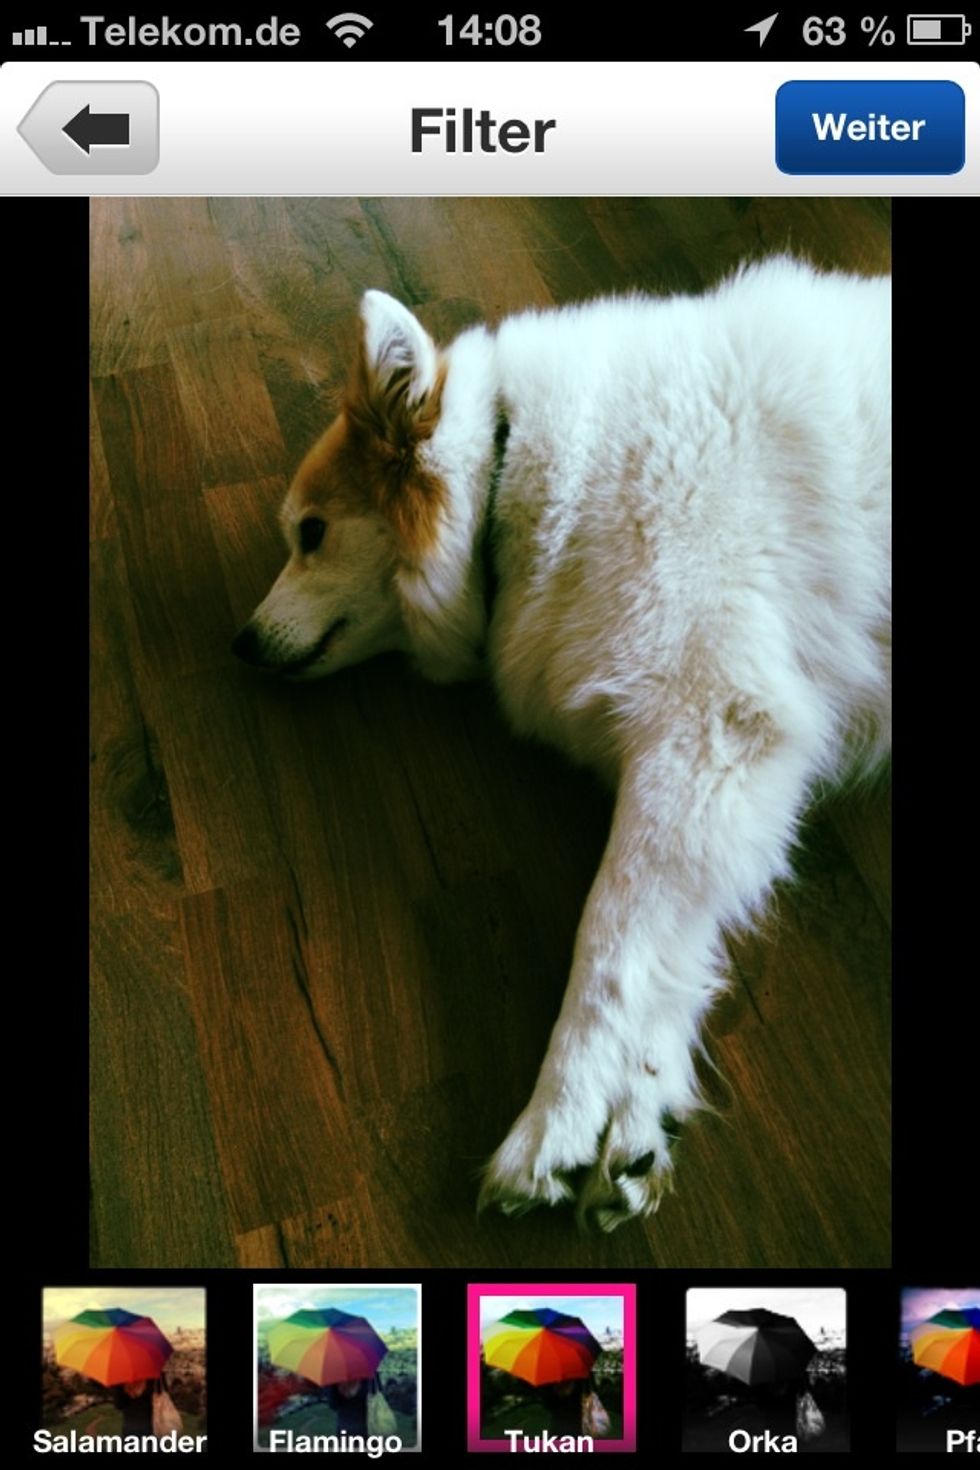
Two more
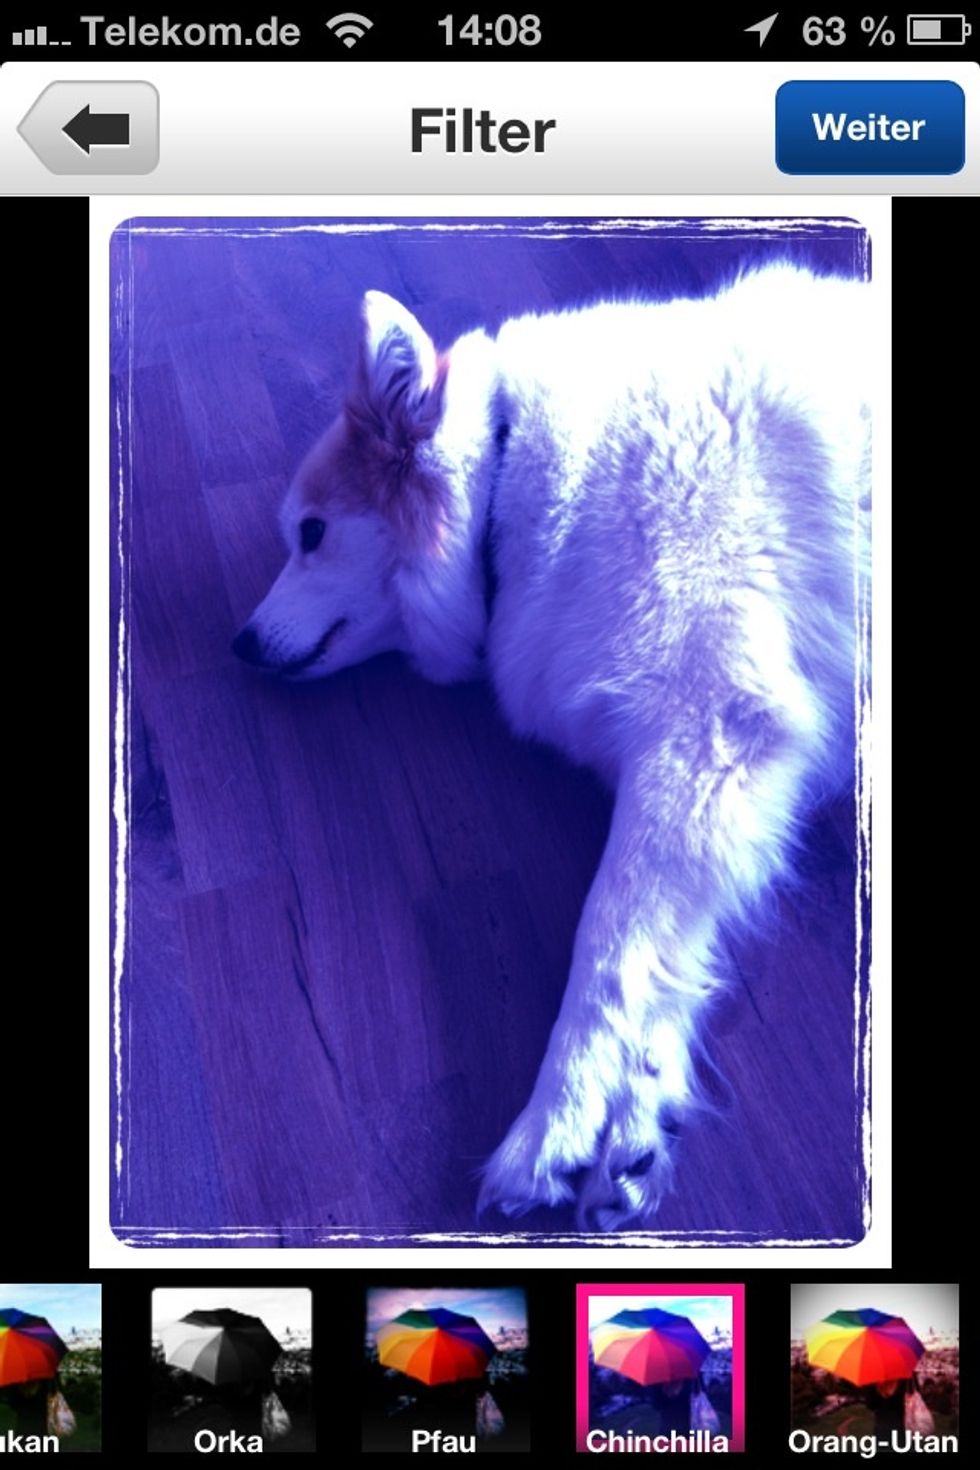
And we're

done!
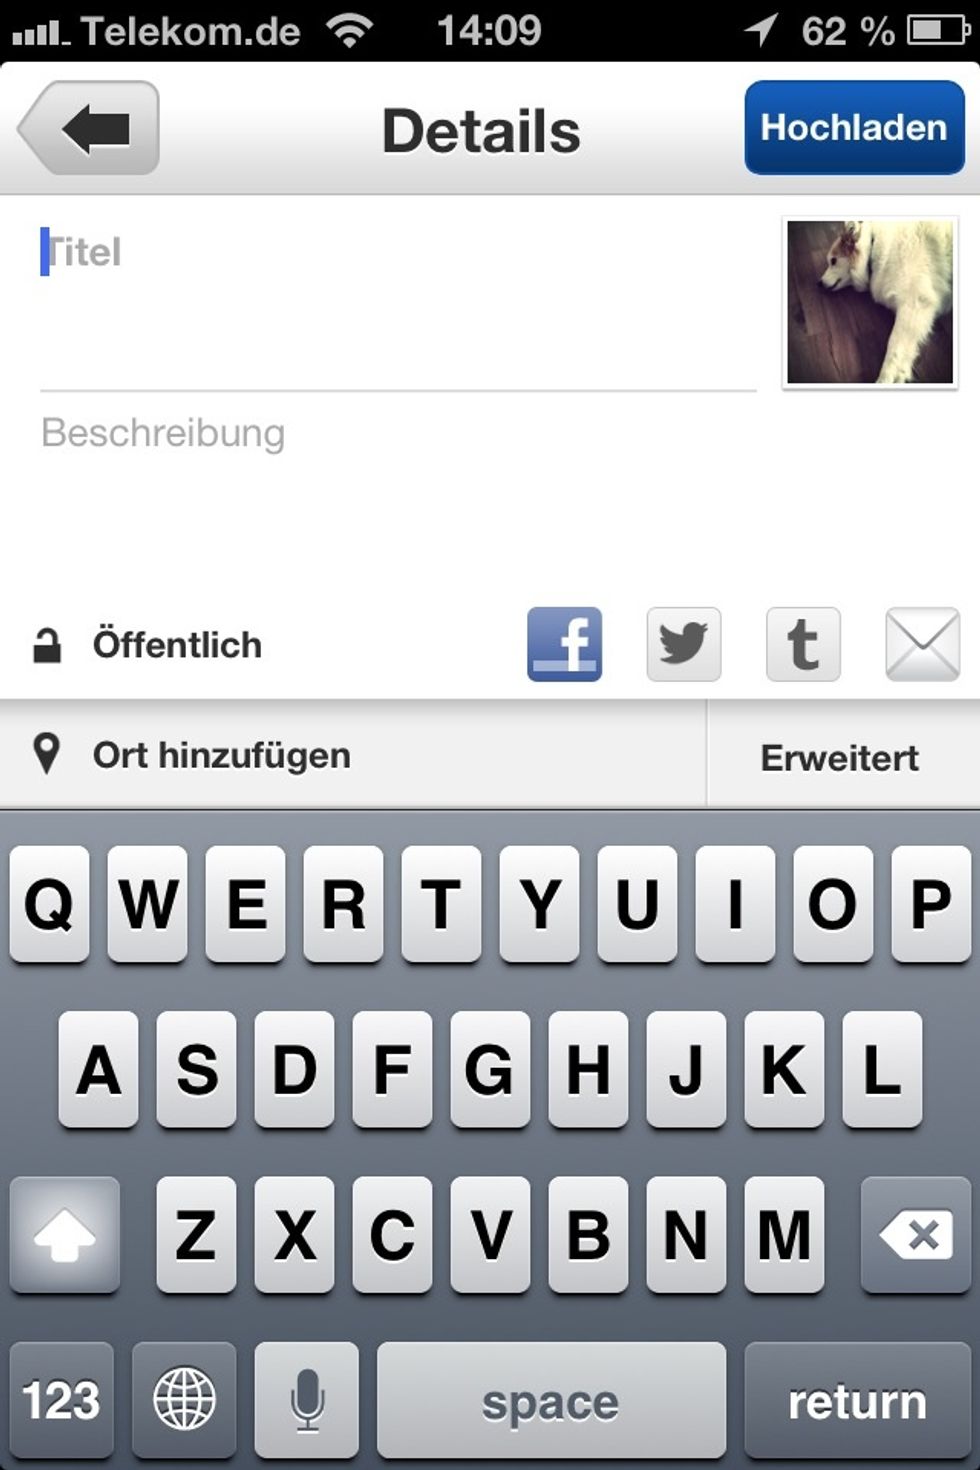
After you selected a nice looking filter add a title to you're nice photo.
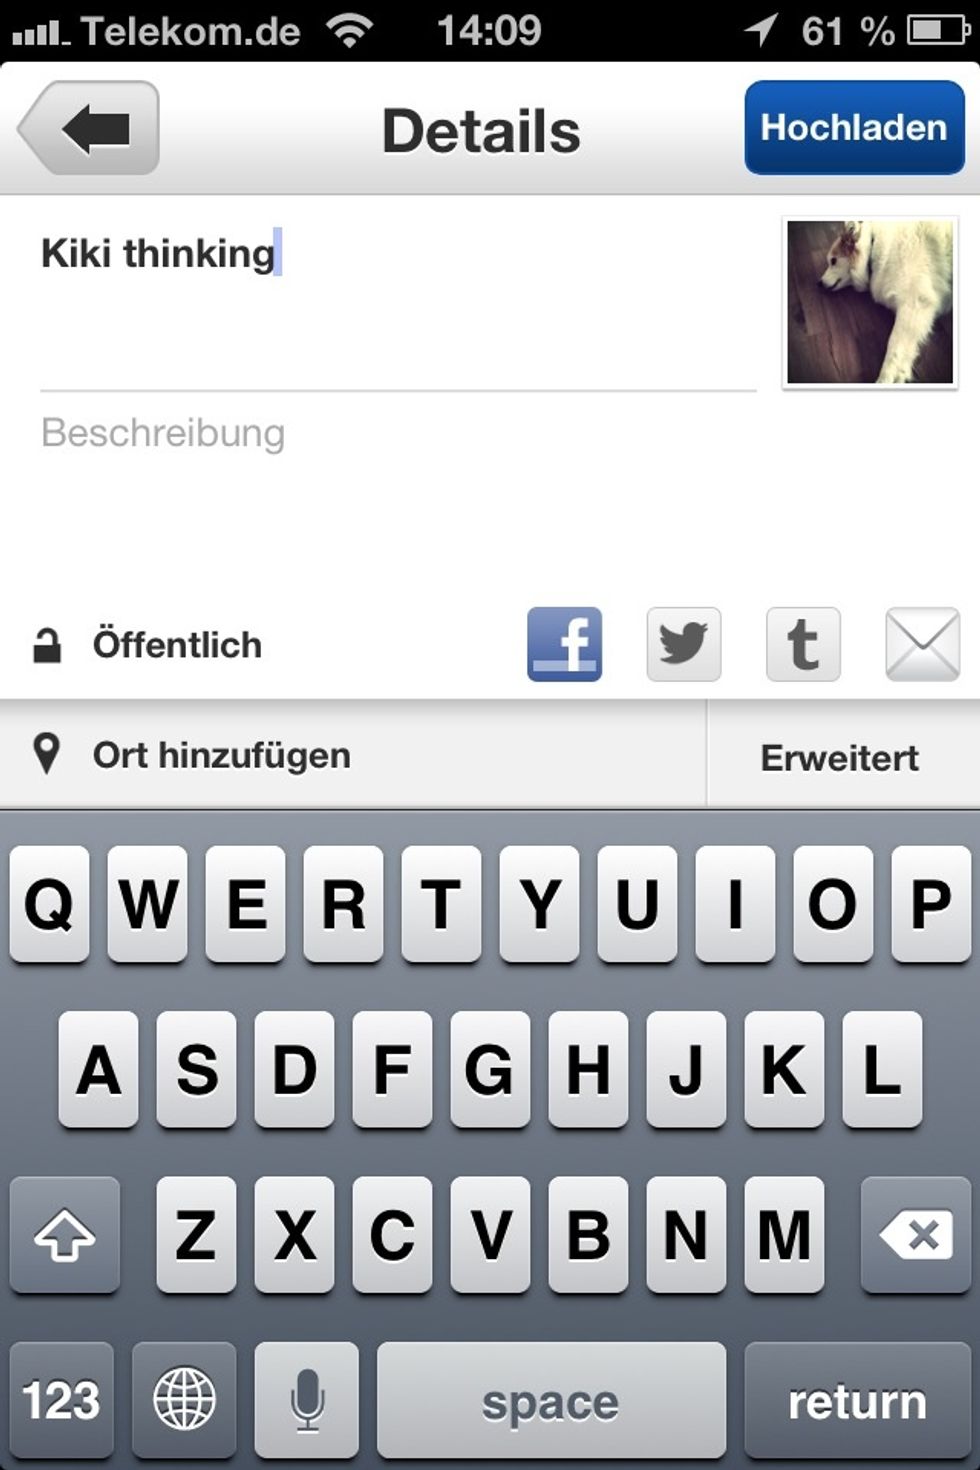
Like that.
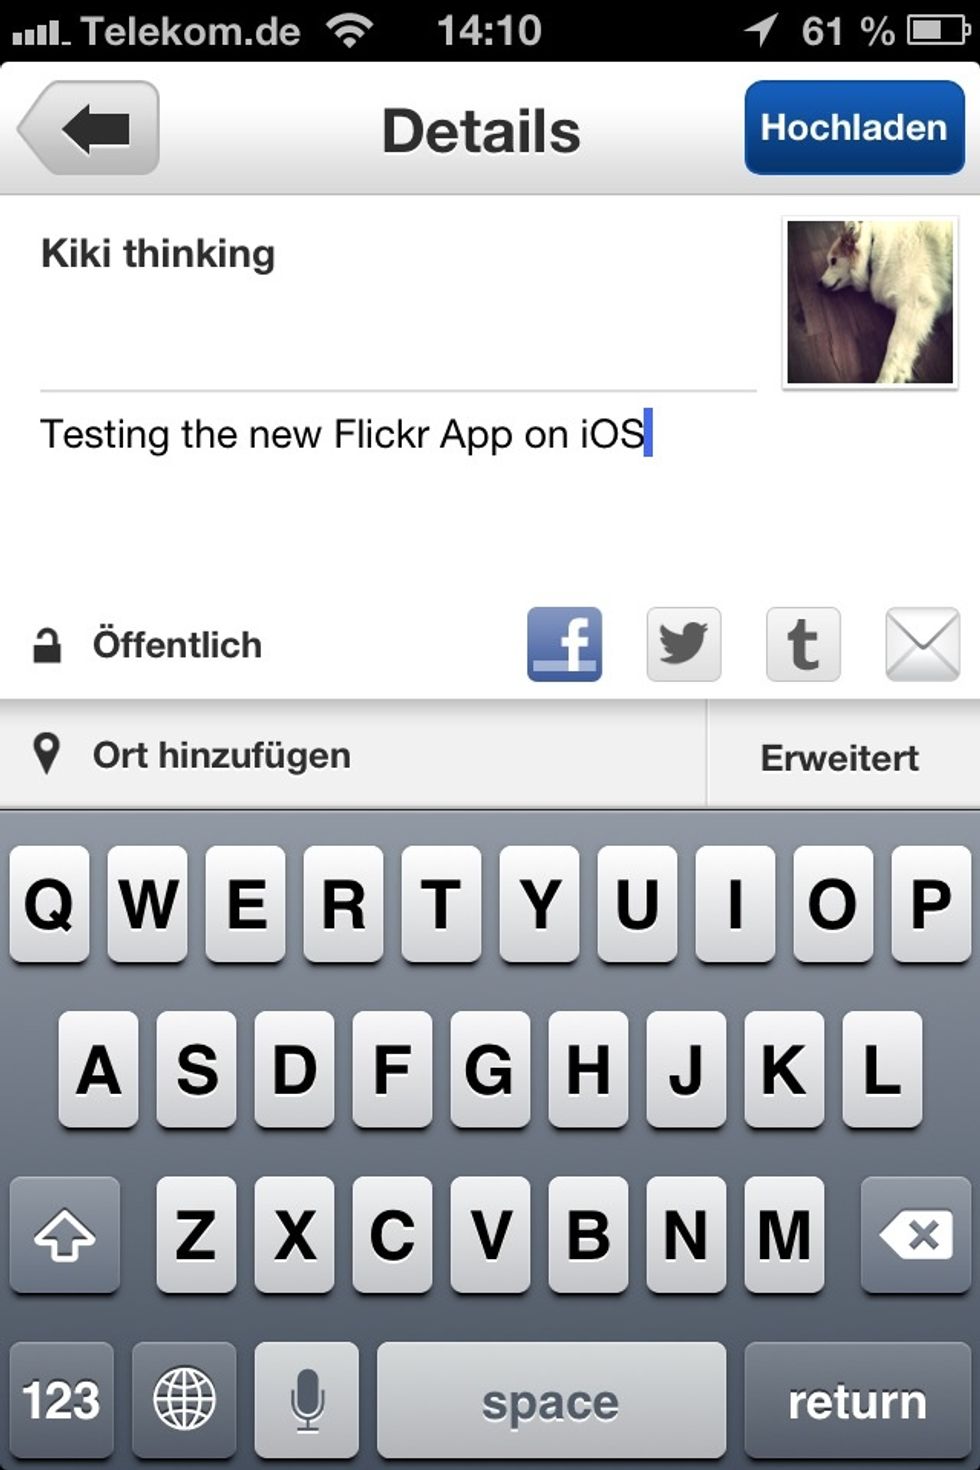
A description is always good. But keep it short ;)
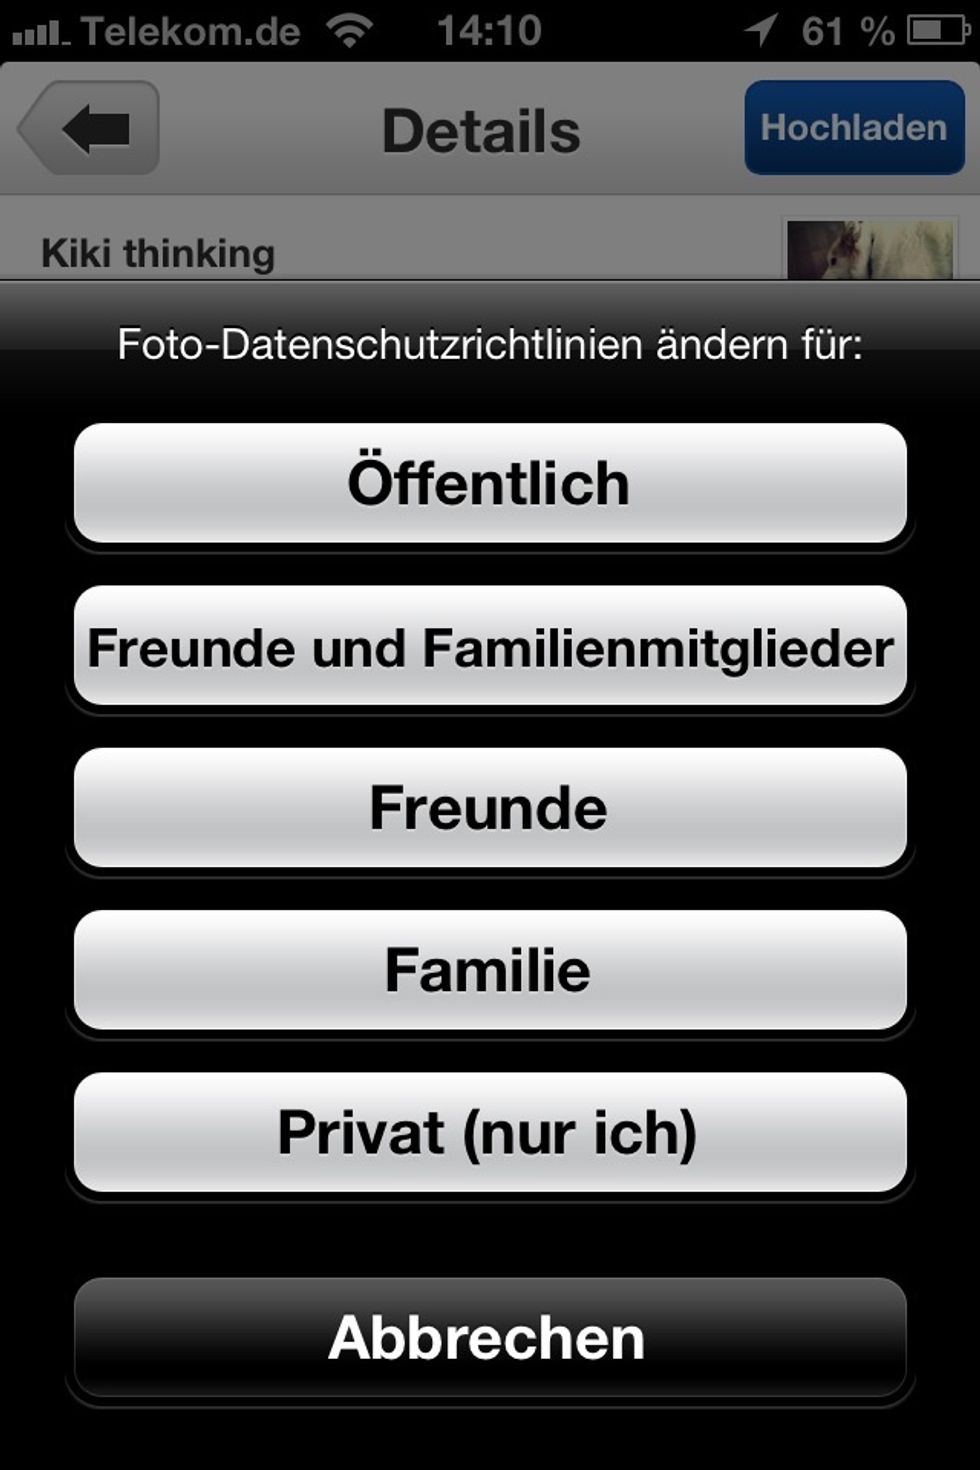
Now choose your privacy settings for that picture (sorry UI is in German, as my iPhone is set to my native language). I chose private (only me).
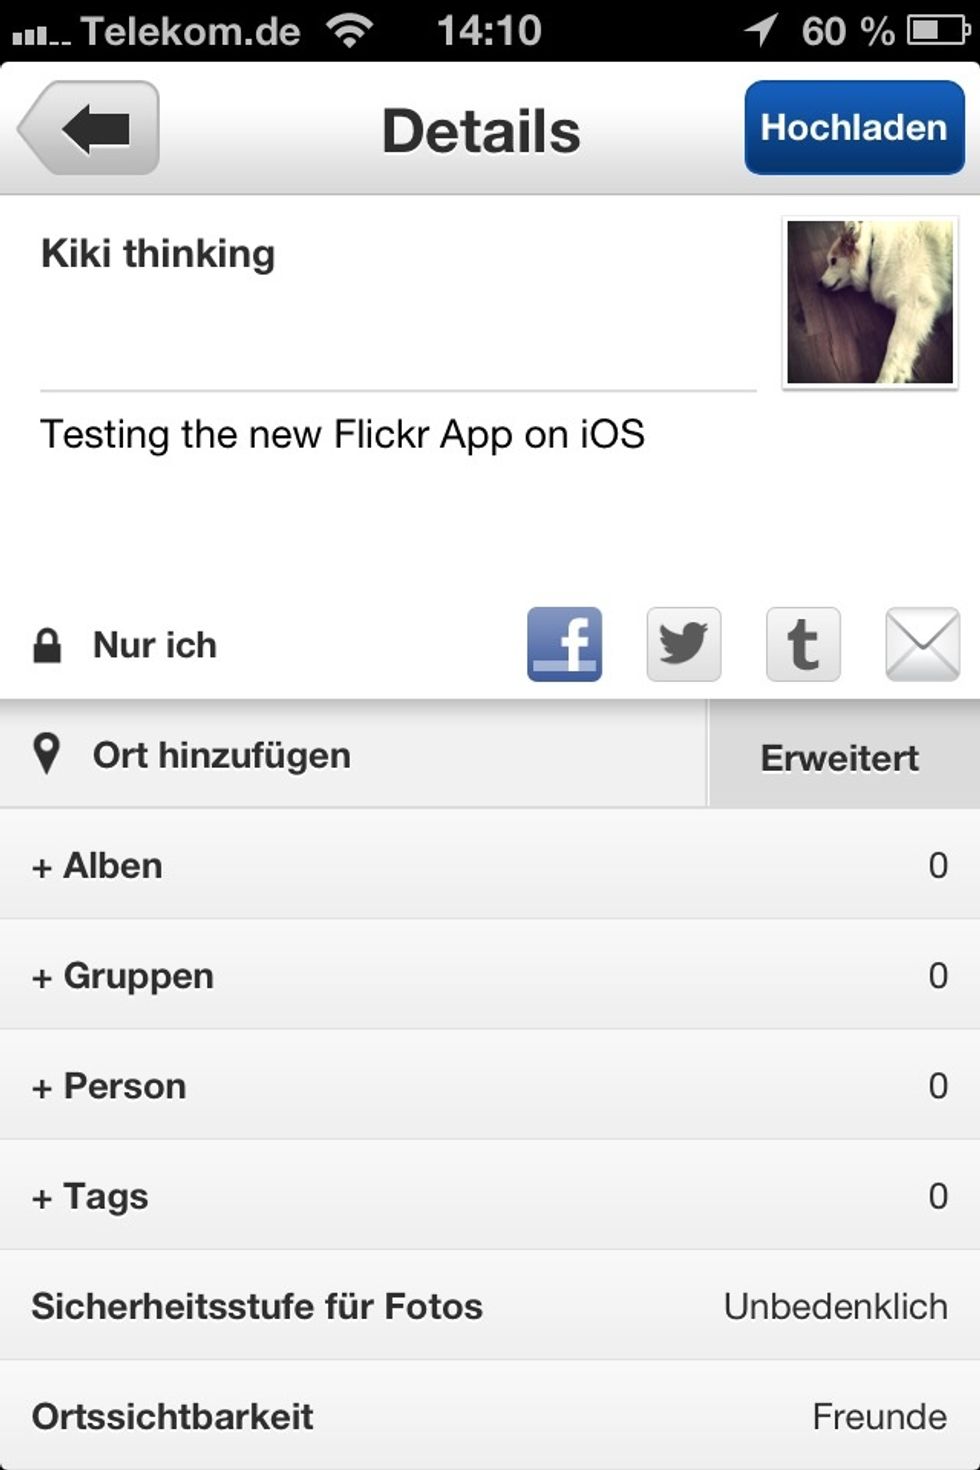
You can set up the sharing options for Facebook, Twitter, Tumblr or even via Mail. I will add it to a album called ...
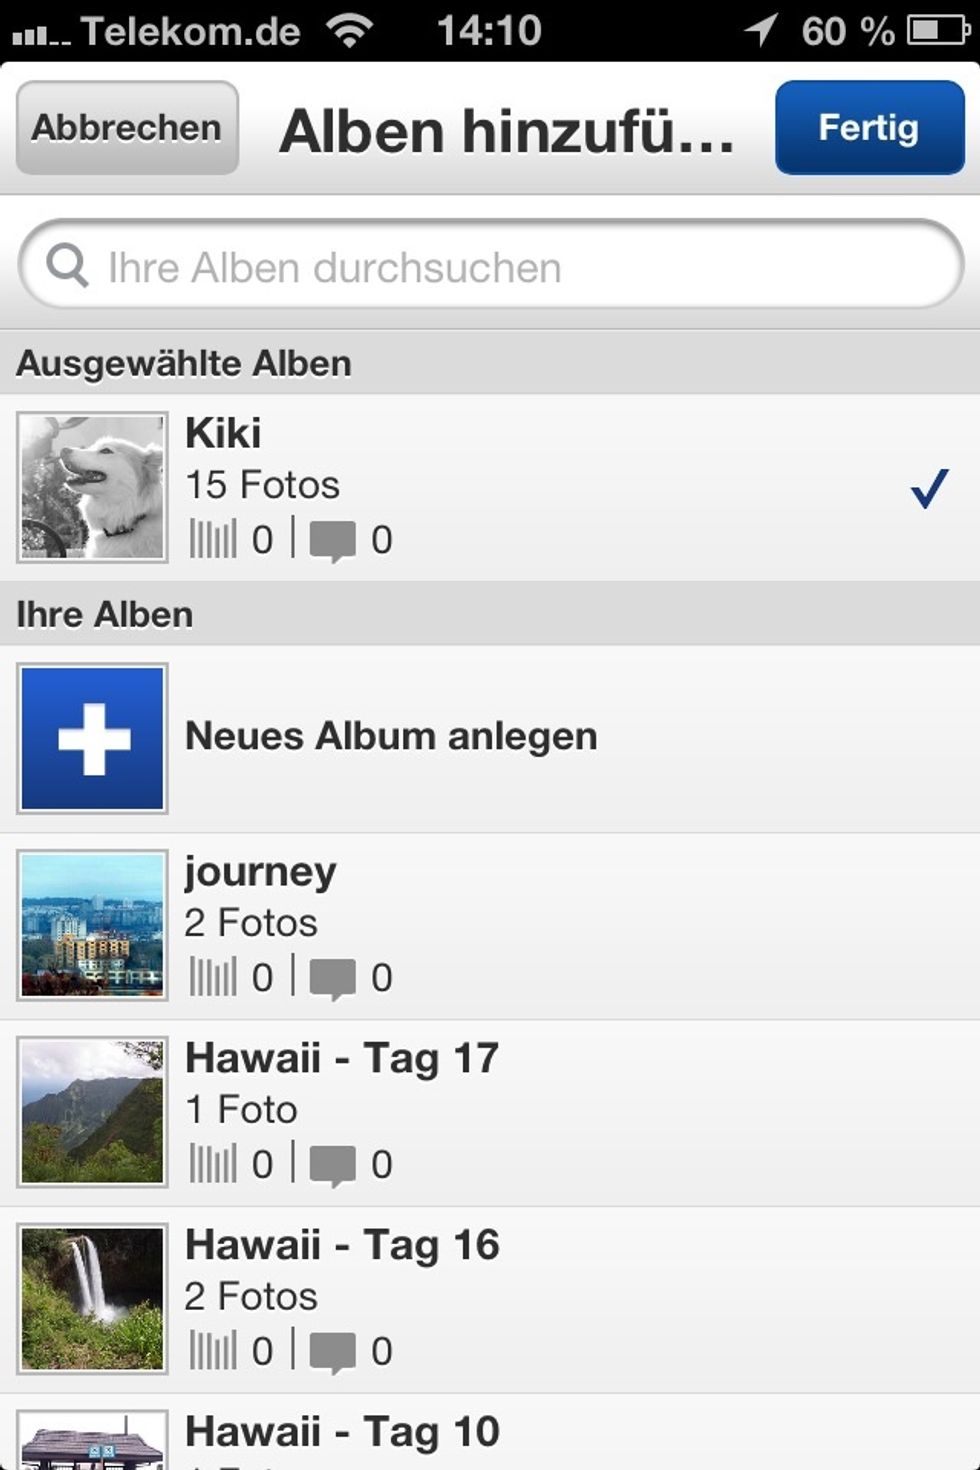
Kiki. But you can also add new albums on the go.
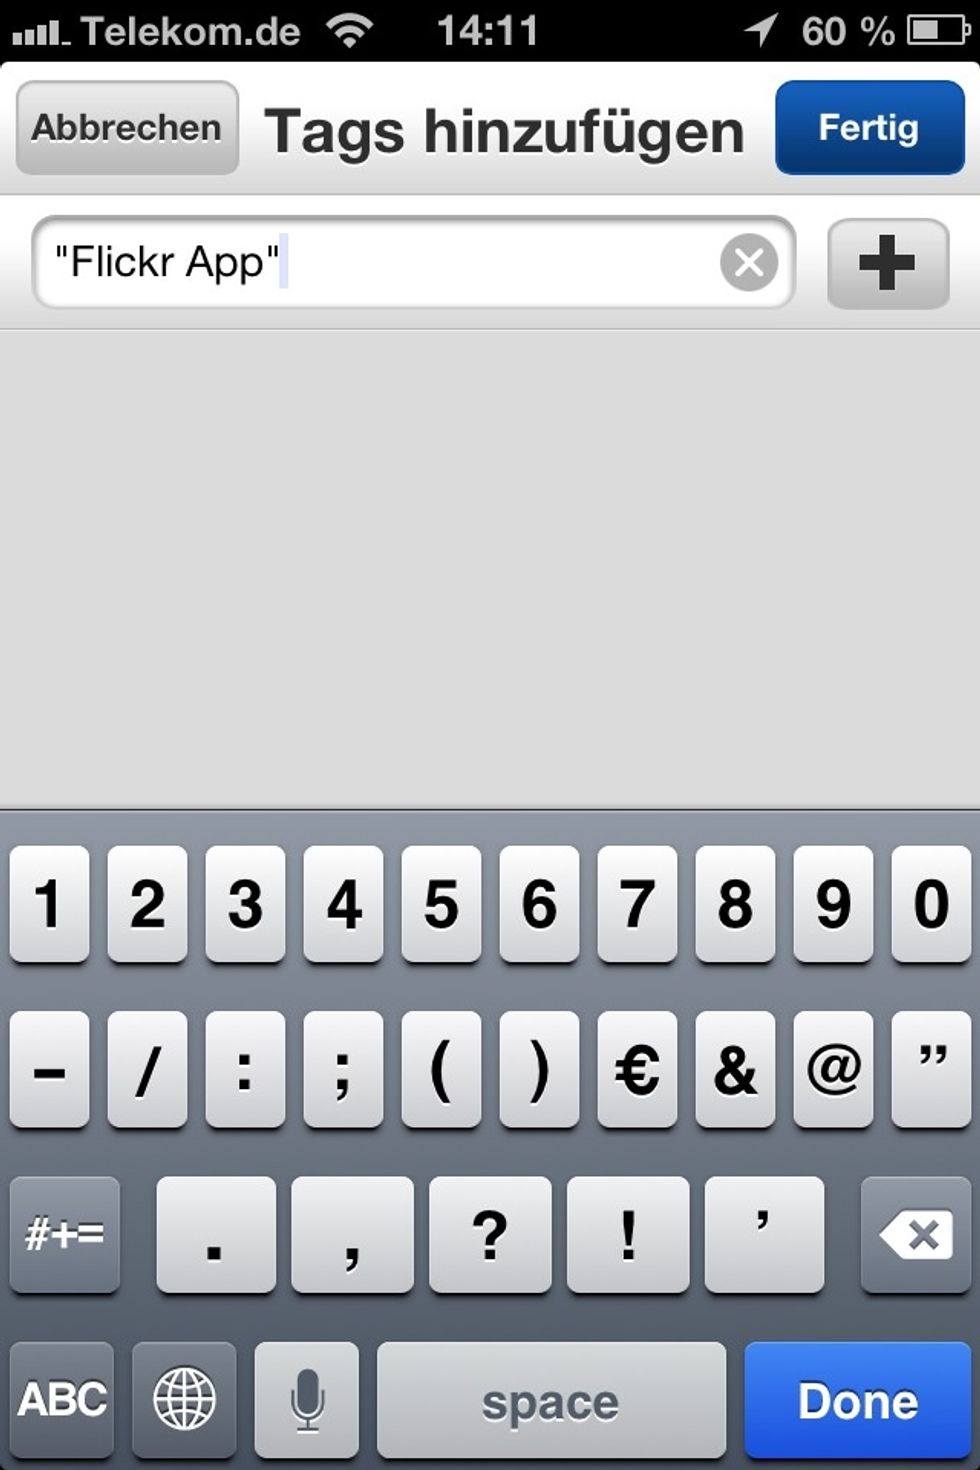
If you want to add Tags with more the one word you have to do it like that. Otherwise the app creates two tags.
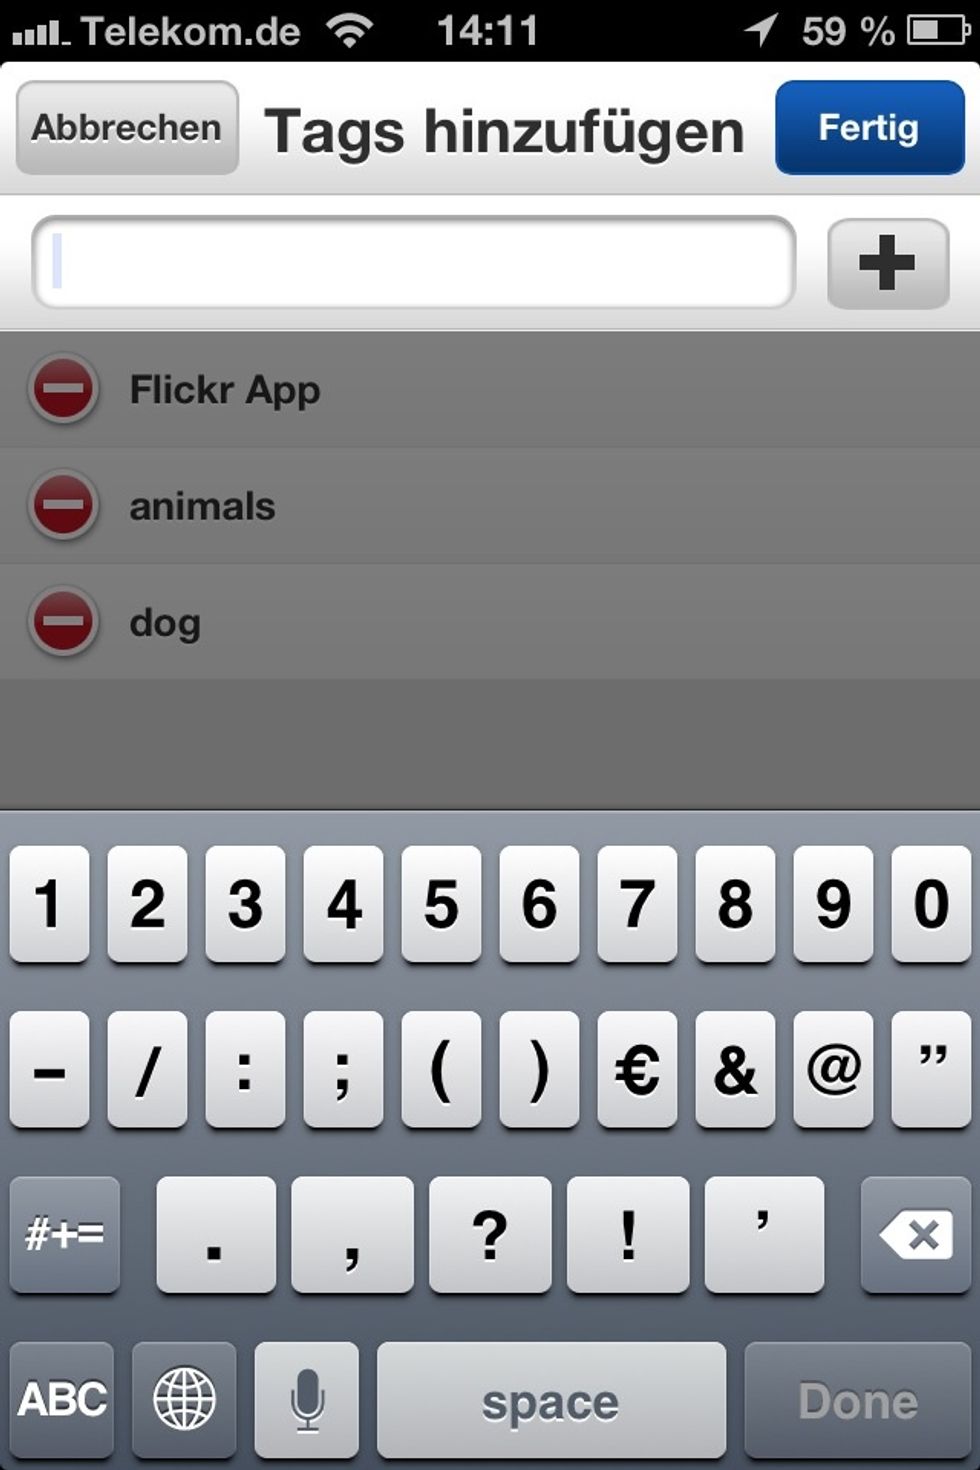
Here is what you get.
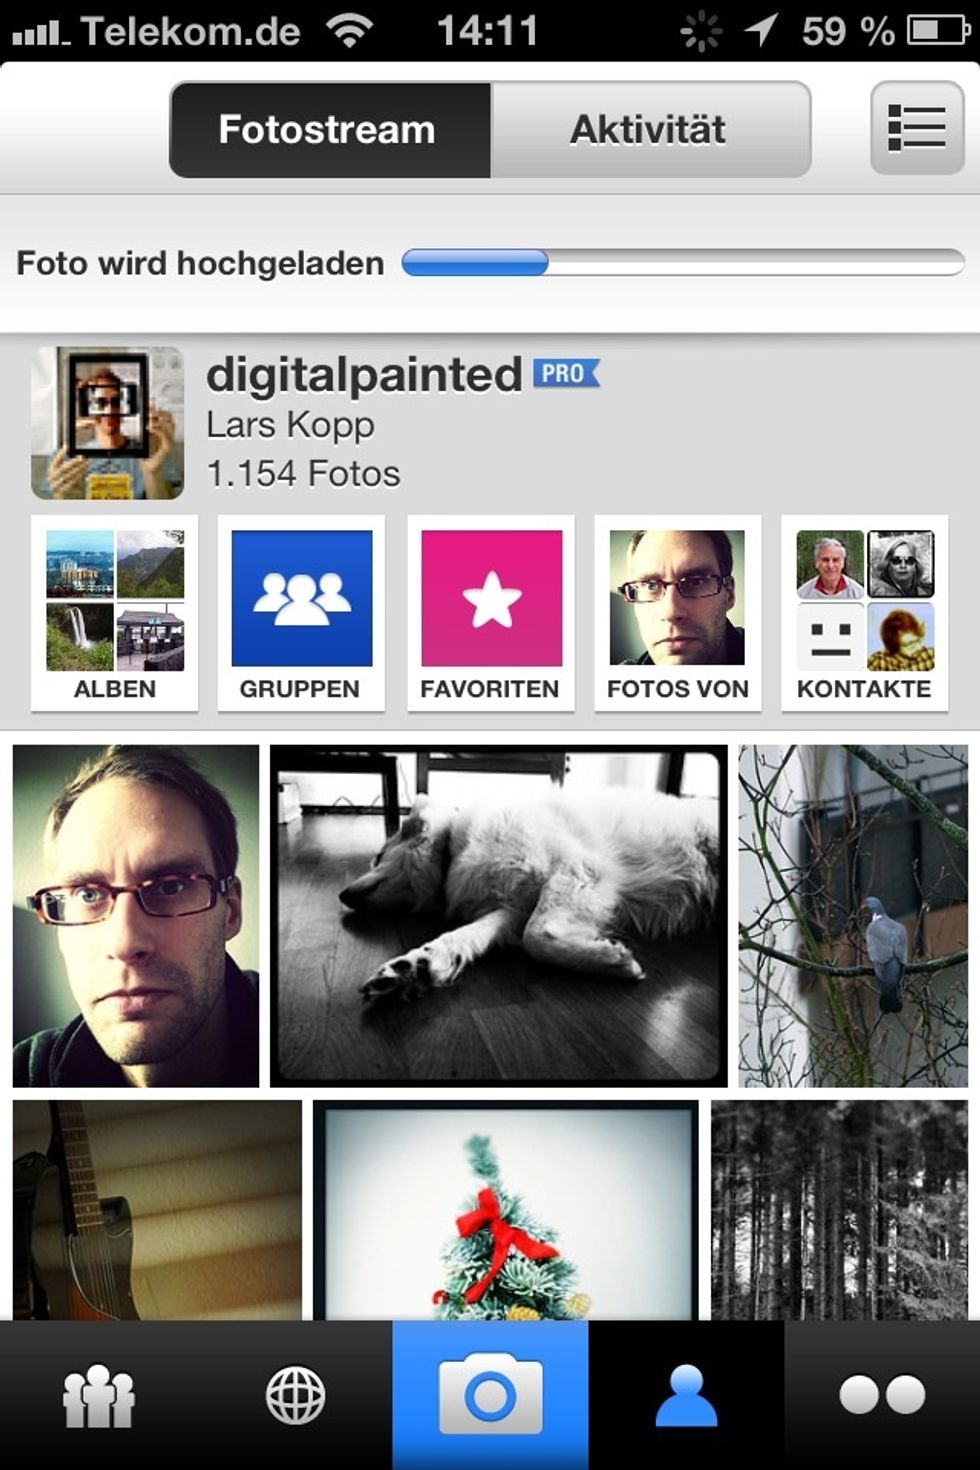
Upload and be happy.

To me one of the best apps to replace Instagram. Hope you learned something in this guide. Add me on Flickr or just follow me here for more guides on apps and iOS.