The Conversation (0)
Sign Up
IMPORTANT NOTE: For food safety reasons, only use template materials that are food safe and has never gone into contact with any toxic chemicals (i.e., paint, glue, scrapbook glitter....).
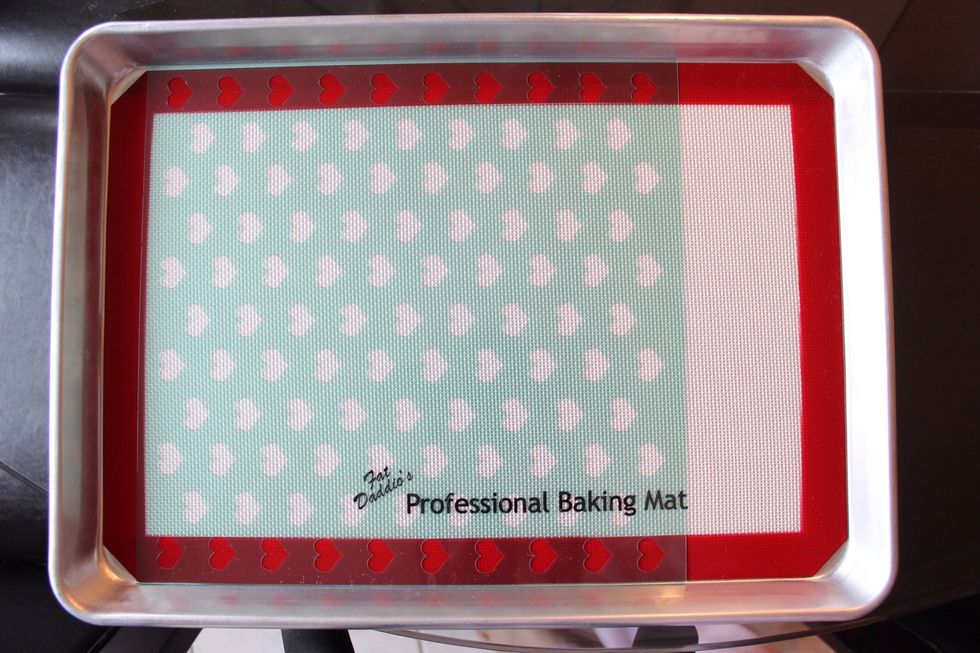
Place a CLEAN template on top of a silicone or parchment lined half sheet baking pan. Set aside.
Mix all of the decorative icing ingredients together by hand in a bowl. Divide frosting equally amongst 7 bowls (or your choice of number of rainbow colours). Colour each bowl a different colour.
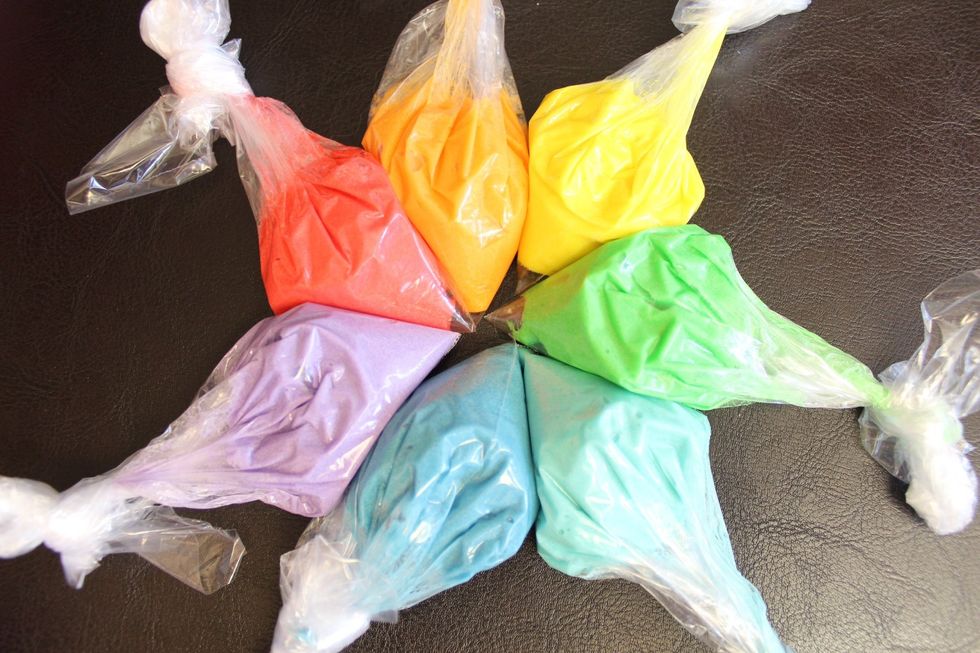
Place icing into individual sandwich bags. Snip off a small corner of the bag for piping.
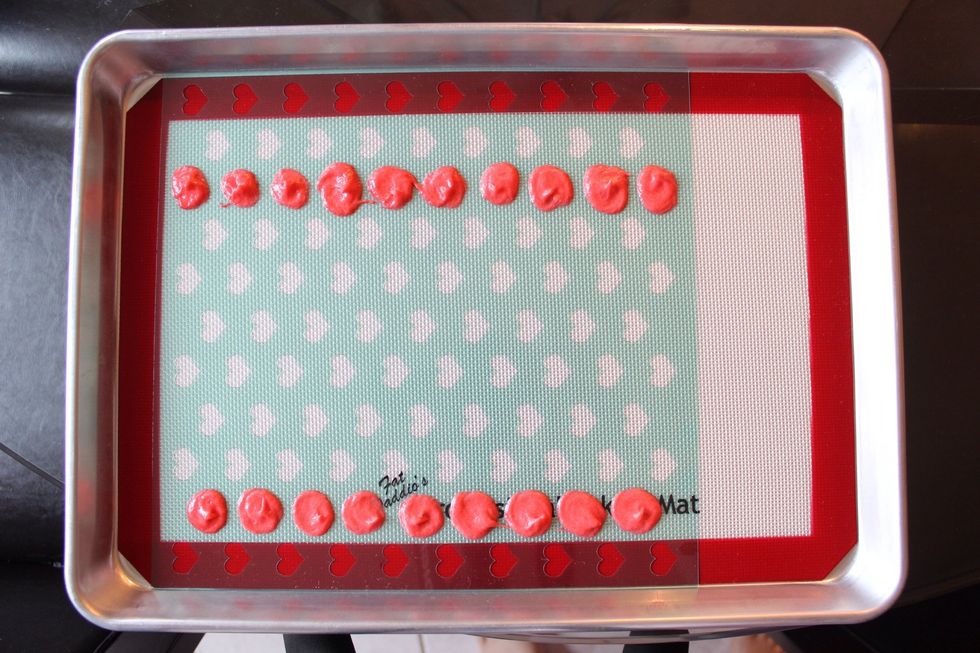
Now pipe a THIN layer of frosting. In this first attempt, I actually piped too much and so I had to scrape it off later.

Pipe orange and yellow.
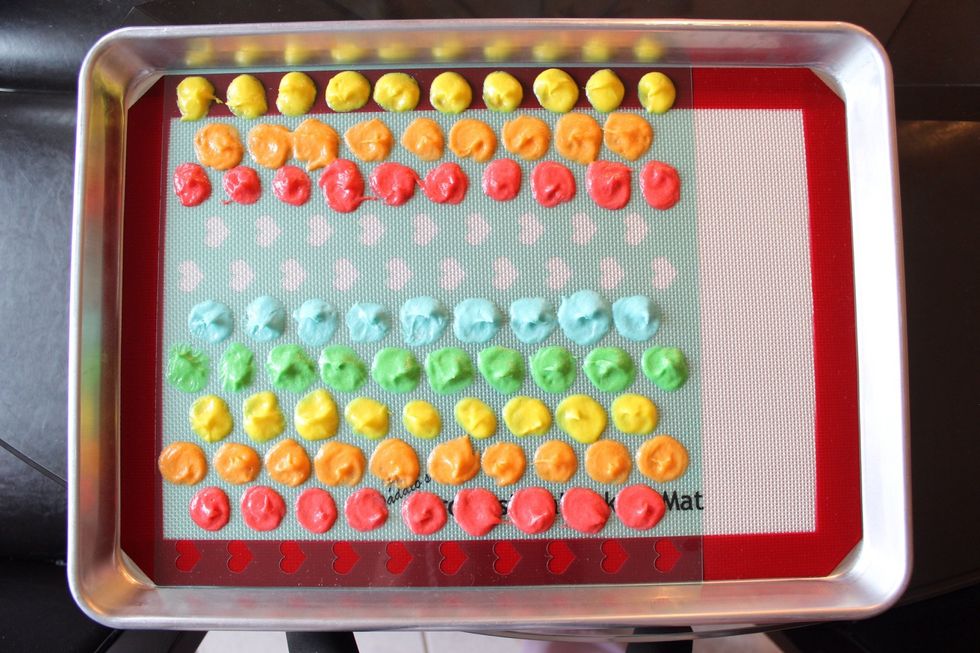
Pipe green and blue.

Finish piping indigo and violet as my last colour. Obviously you can pipe in any order.
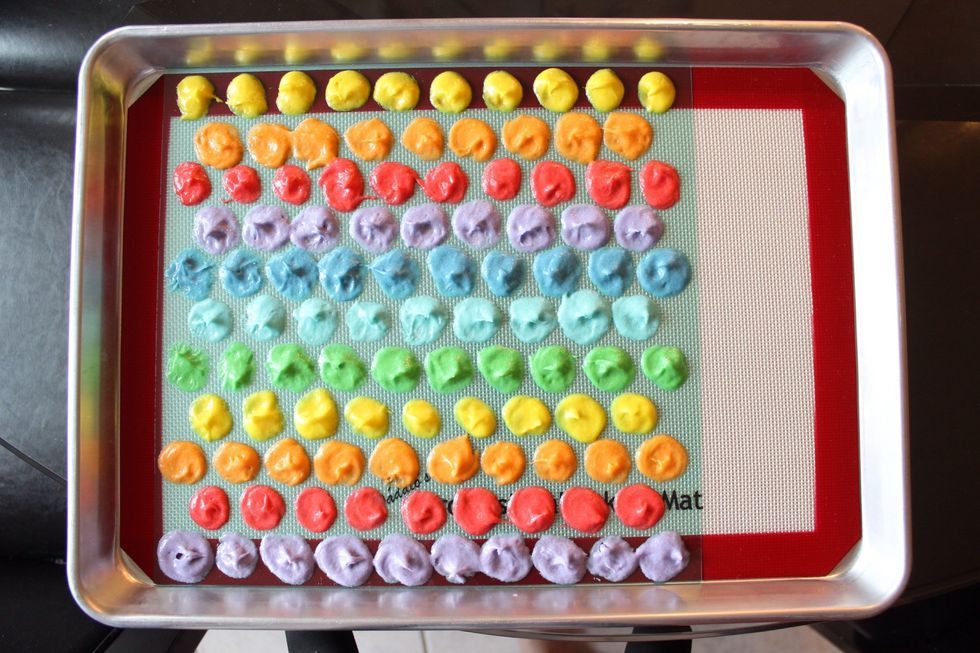
Notice what I did wrong yet? I piped my rainbow colours in the wrong order! It should be piped in reverse order so that the finished rainbow cake roll goes from red to violet and not backwards. :D

Remember when I said I had to scrape some of the frosting off? Here is me doing that. If the frosting is too thick, it will stick to the template instead of the silicone mat during stencil removal.
Now place the whole thing in the freezer to firm up the design. (About 10-15 minutes).
In hindsight, I realized that I didn't need to carefully pipe my design. I could have easily smeared the colours on with my finger! Haha...
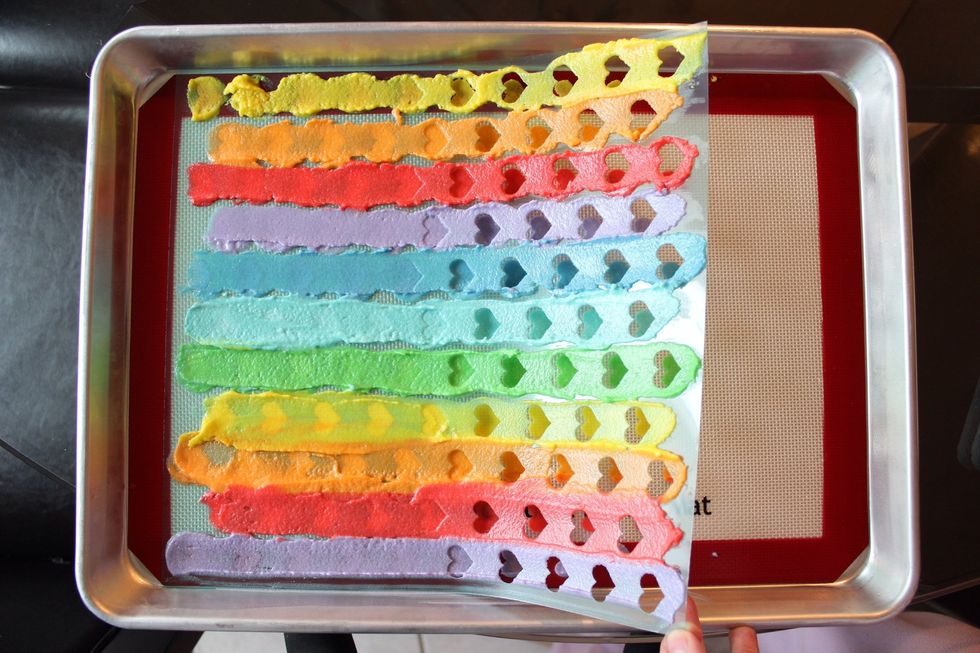
Now SLOWLY and CAREFUL remove the stencil starting from the edge at the bottom of the hearts.
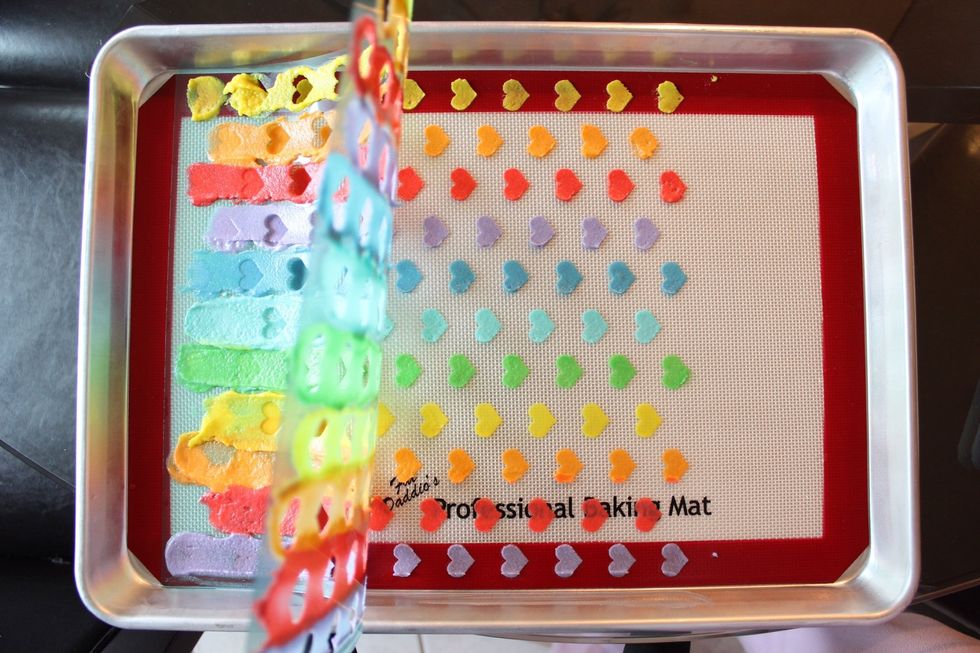
It's ok if some of the design doesn't come off perfect or cleanly. You can see some sad warped hearts that didn't quite make it.

If your OCD can't accept a couple warped hearts, you can try freely hand piping them back on.
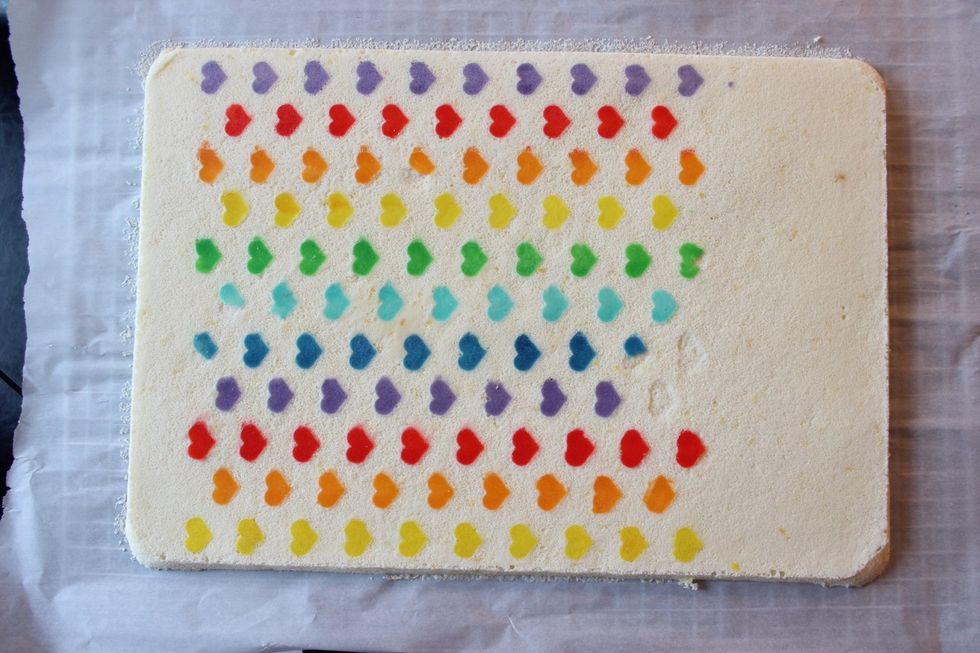
Carefully and quickly pour your cake roll batter on top of the design and bake following your recipe directions.
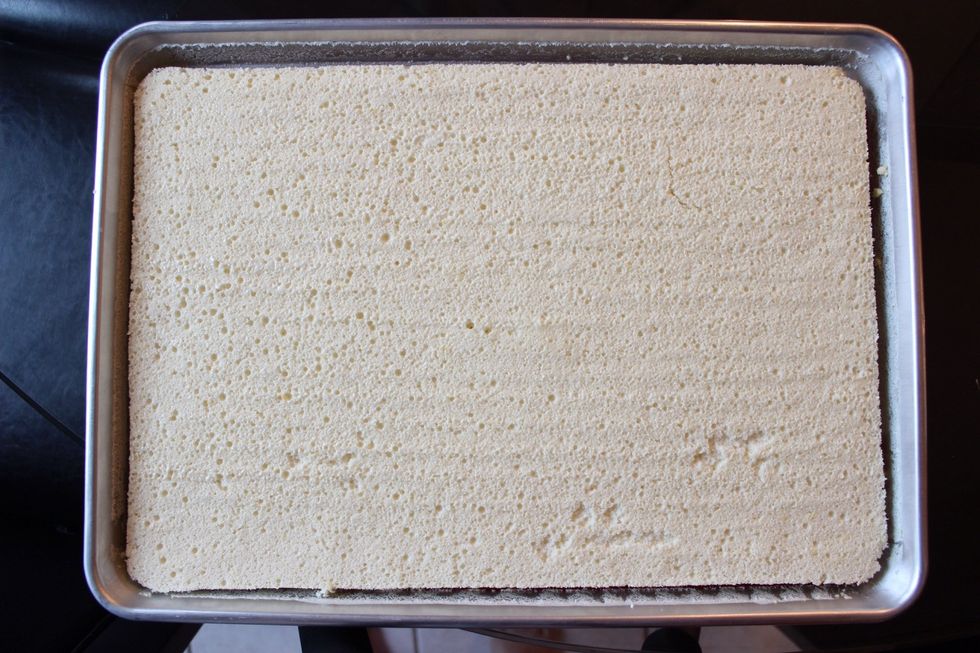
This is the baked result. The cake is done when a toothpick inserted through the middle comes out clean. Let it cool in the pan for 10 mins while the cake starts to pull away from the pan.
Run a knife around the edge of the pan for easy cake removal. Place a large sheet of parchment paper over your cake. Place a large cooking rack on top. Now carefully flip the whole thing over!
Carefully and slowly peel off your silicone mat. Some of the hearts stuck to my silicone mat because I didn't go slow enough. At this point....I also realized my rainbow was backwards! Haha...
Flip over your cake using a parchment lined cooling rack or back of your pan. Frost with your choice of filling and roll up the cake. (More details and photos can be seen in my other Snapguides.)
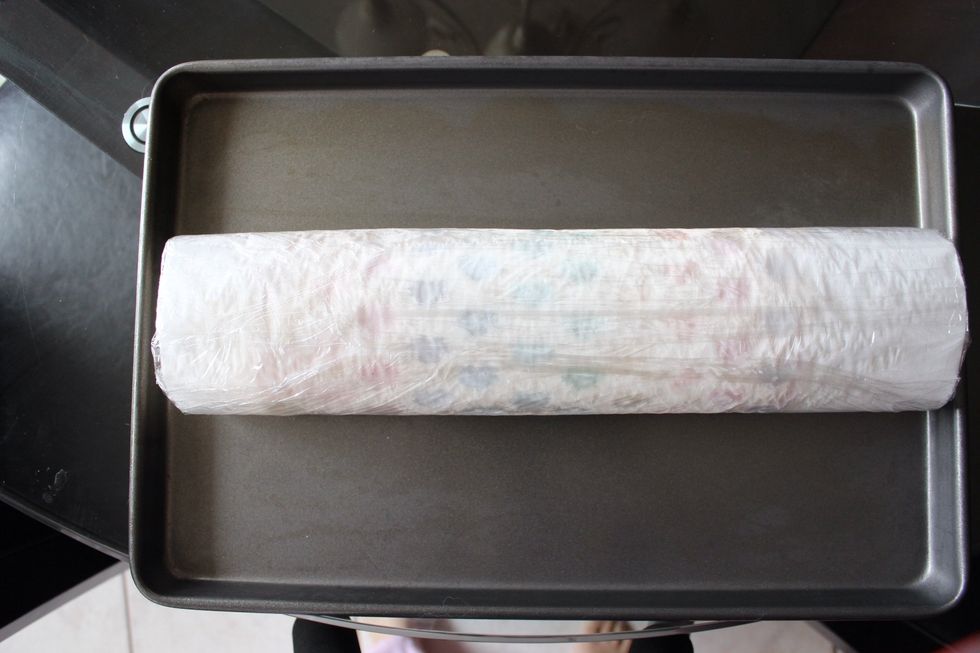
Roll up your cake tightly in parchment paper and plastic food wrap. Place in the fridge or freezer to firm up.
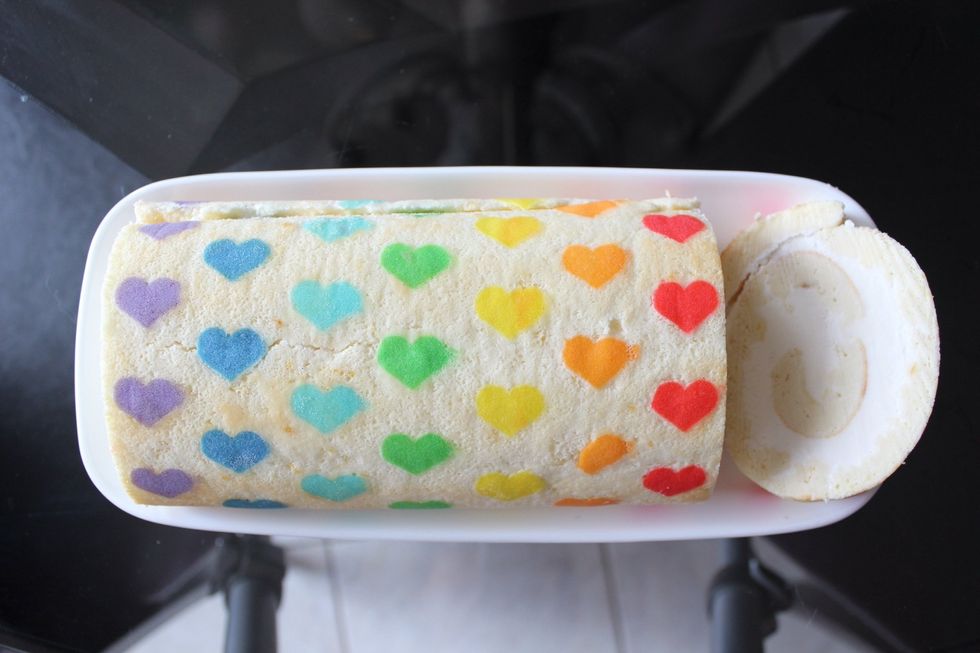
Unwrap, cut and serve.
![You could also make this same design using only 1 colour or maybe multiple shades of 1 colour to create an ombr\u00e9 effect. :]](https://guides.brit.co/media-library/you-could-also-make-this-same-design-using-only-1-colour-or-maybe-multiple-shades-of-1-colour-to-create-an-ombr-u00e9-effect.jpg?id=23825576&width=980)
You could also make this same design using only 1 colour or maybe multiple shades of 1 colour to create an ombré effect. :]