The Conversation (0)
Sign Up
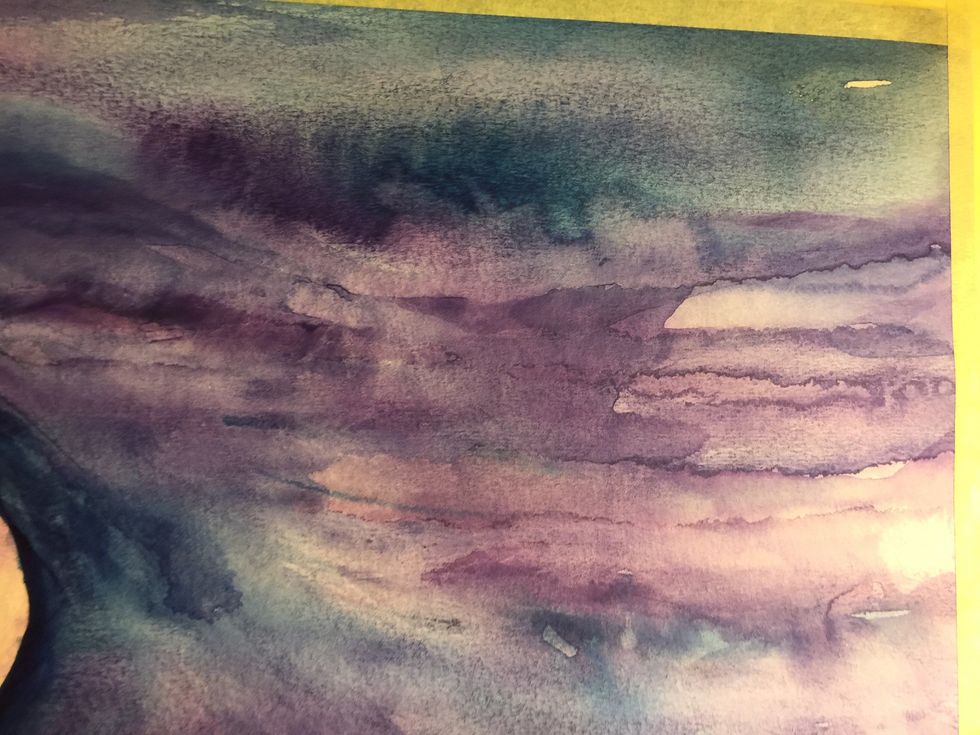
Wet your watercolor Paper with clear water and drop in watercolor paints. Turn the paper in the direction you want the color to flow.

Sketch out your image and start painting it in with washes of color.
Add the colors in washes until you are happy with the background....in this case 'hair'!
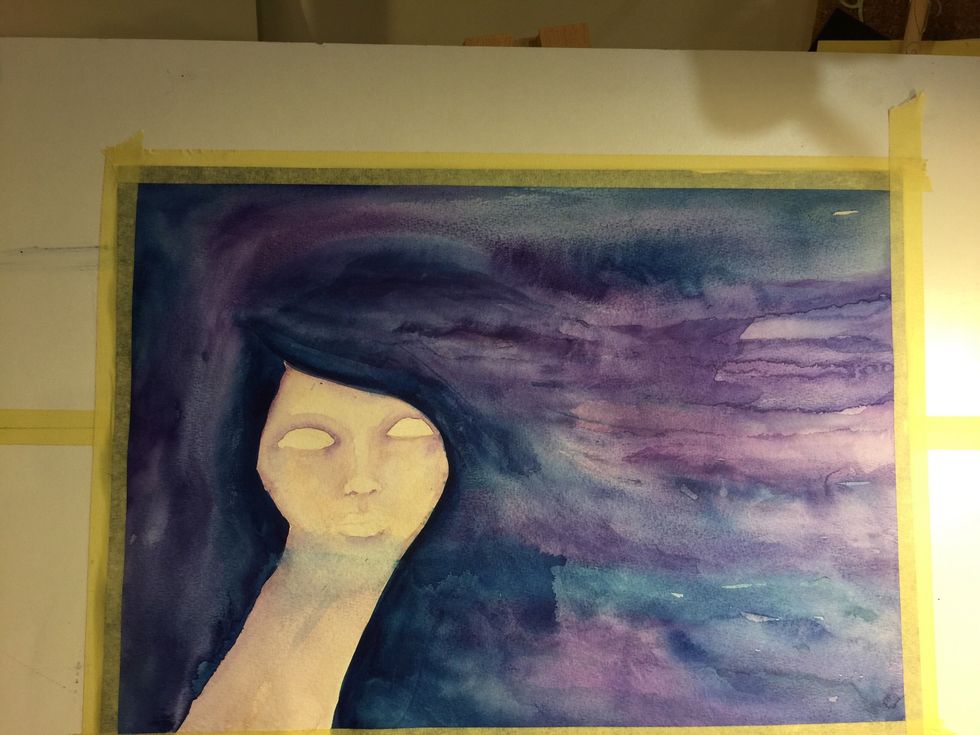
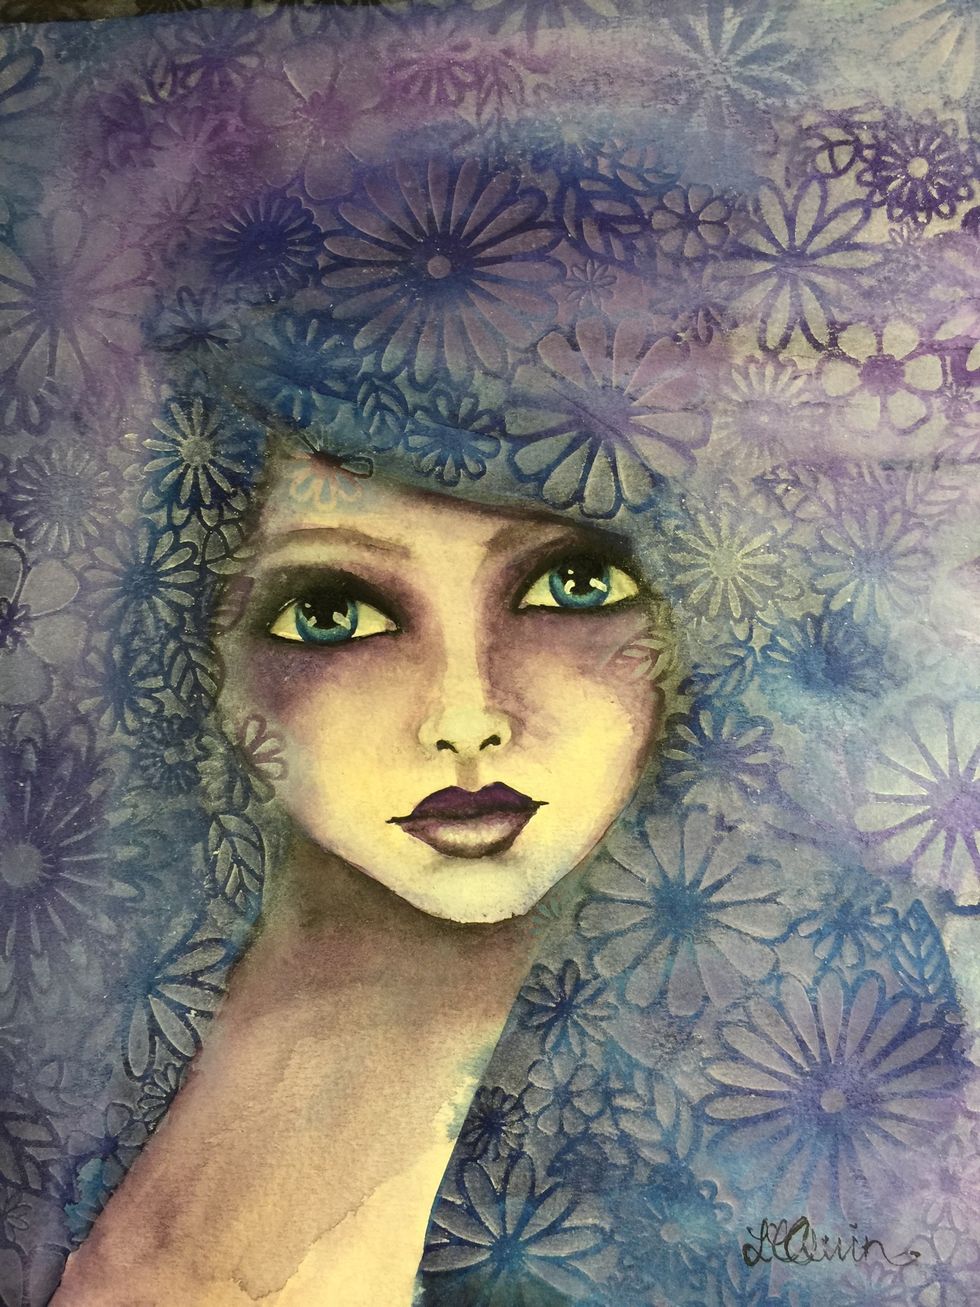
I am know adding in some details to the eyes nose and mouth.
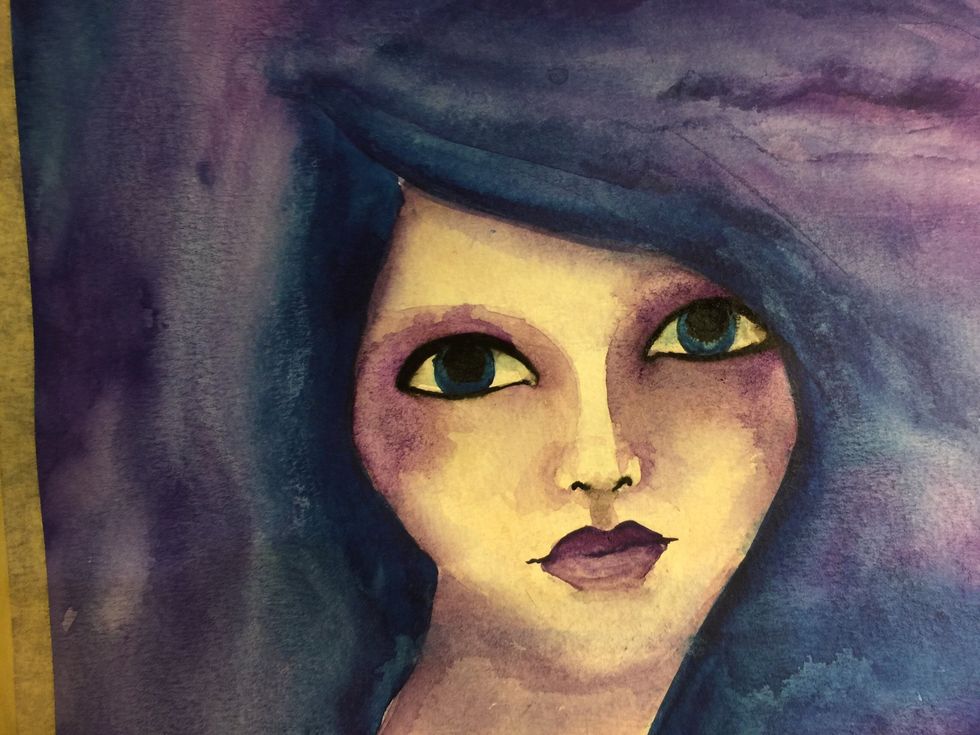
Keep adding. This is quite a long process for me. I add and dab it off with a paper towel until I am happy with it!
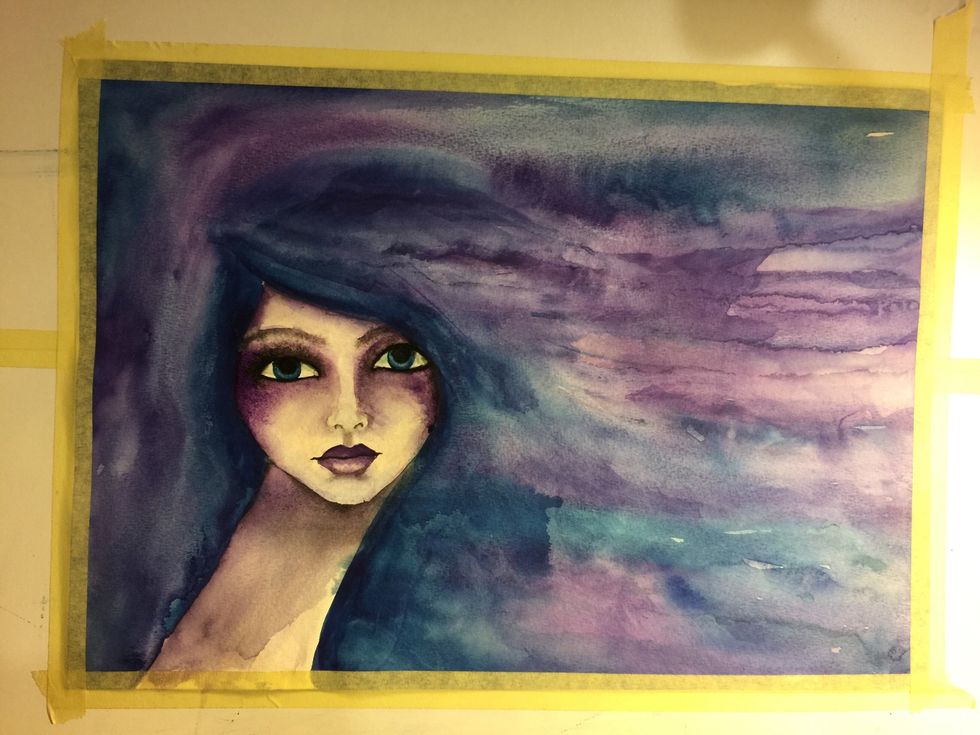
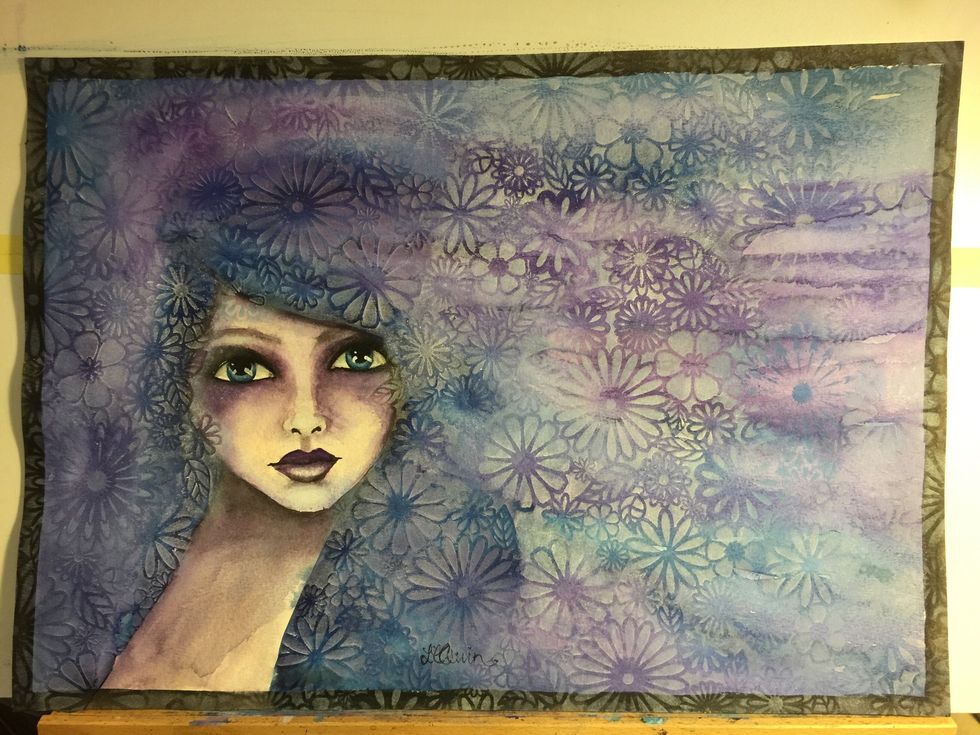
Next I work on the shadows. Adding a deeper wash of the purples to build shadow.
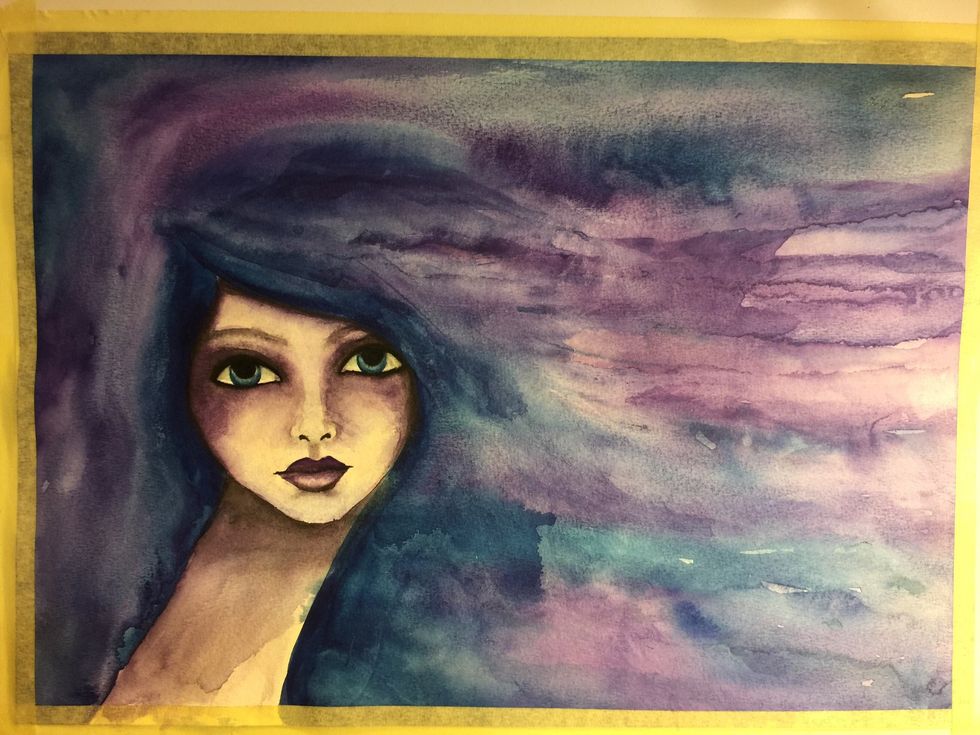
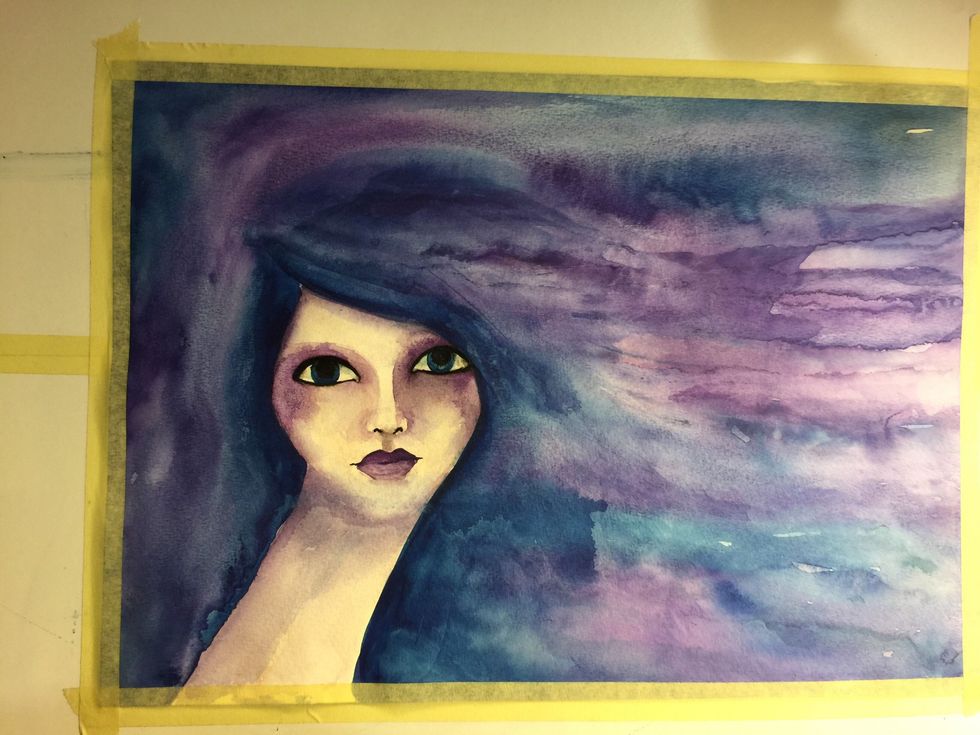
Keep going until you like the result.
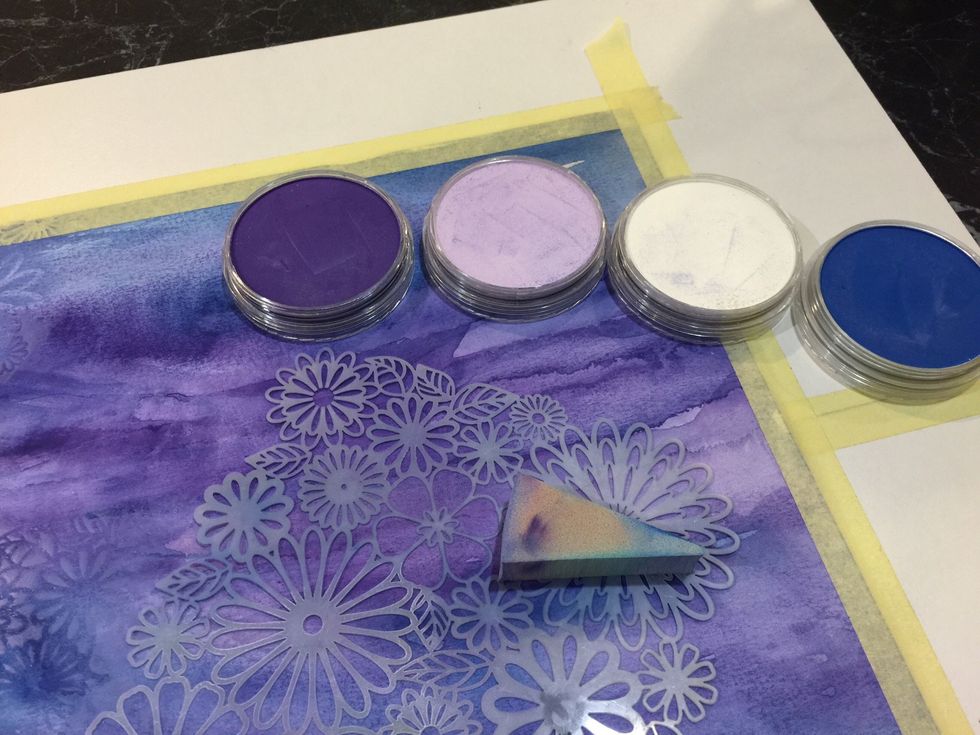
Now for the fun part. Choose your stencil. This one from The Crafters Workshop is a gorgeous pattern. I pulled out some Pan Pastels and a sponge.
Now using a lighter shade than the colour you are working on, hold the stencil and sponge gently over the watercolor area.
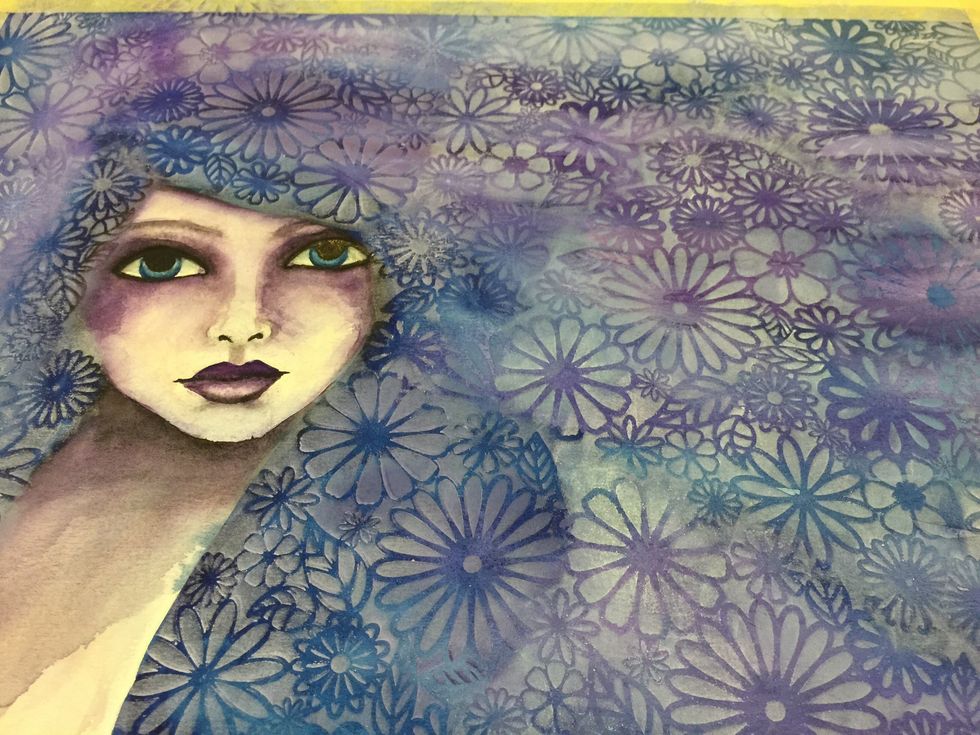
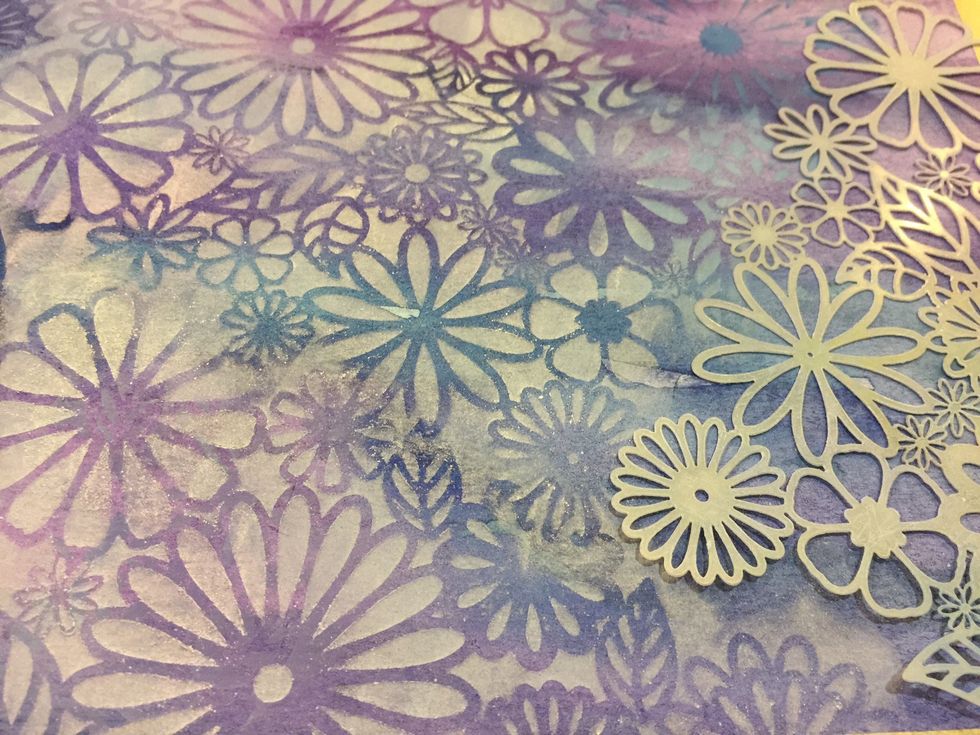
I just moved this stencil all around matching the pattern as I went to fill the area neatly.
I really liked the result, and the interest it brought to the artwork.
I sprayed it with a couple of coats of workable fixative to 'fix' the chalky pastels, so they would not smudge.
Thanks for checking out this tutorial today. Hope to see you again soon. visit The Crafters Workshop at www.thecraftersworkshop.com See more from me on my blog www.lydellquin.blogspot.com