The Conversation (0)
Sign Up
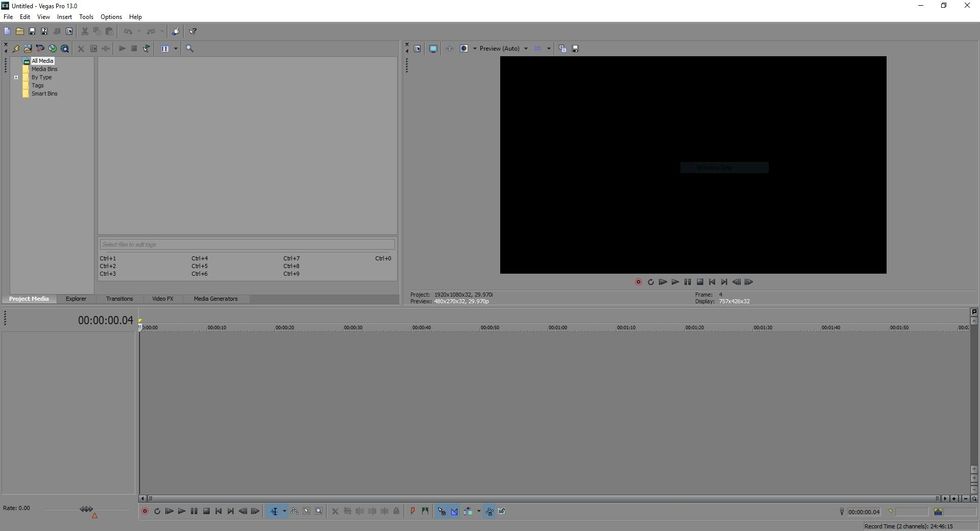
This is the general view of what you will see once you've opened up Sony Vegas Pro 13. Other video editing programs made by Sony are all similar to this layout
There are 5 tabs under the top right box of the layout. They are Project Media, Explorer, Transitions, Video FX, and Media Generators. Project Media lists any sources you used in the timeline
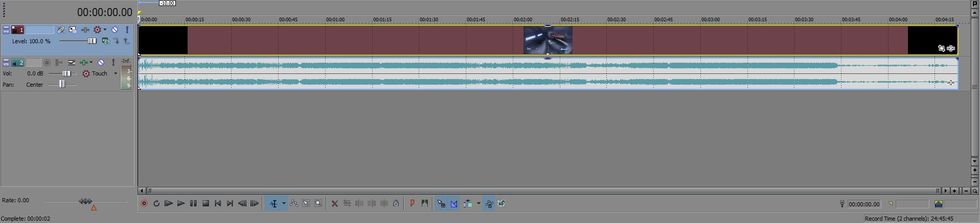
This is the Timeline. All your project media will go here under 2 types of levels: Film and Sound. Sound is represented by a blue volume button and film is represented by a red film button.
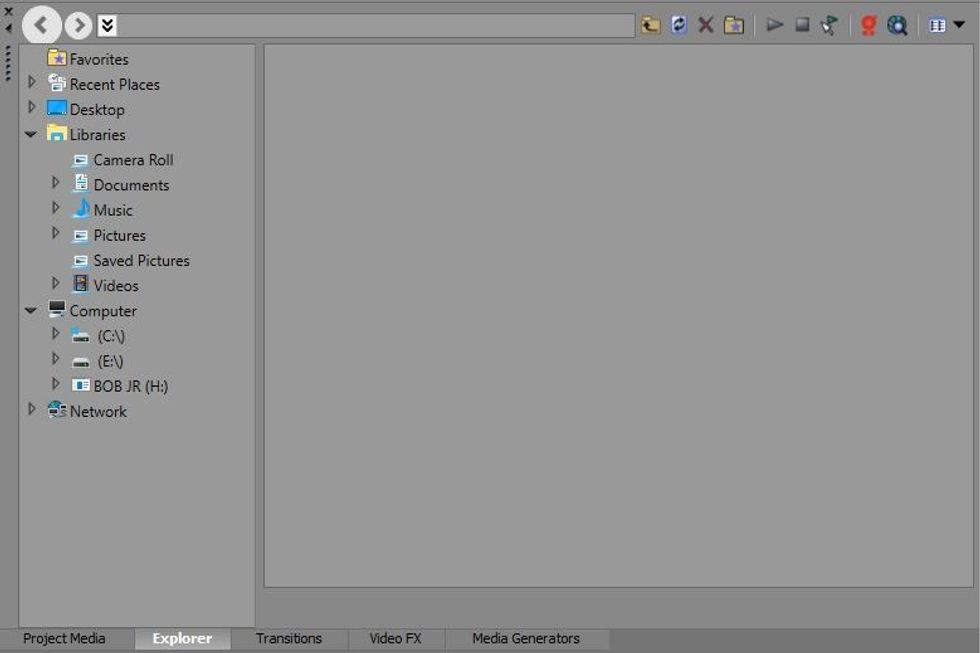
This is the Explorer Tab. You can find your media/sources that you will be using in the timeline or you can manually drag the sources in from a folder
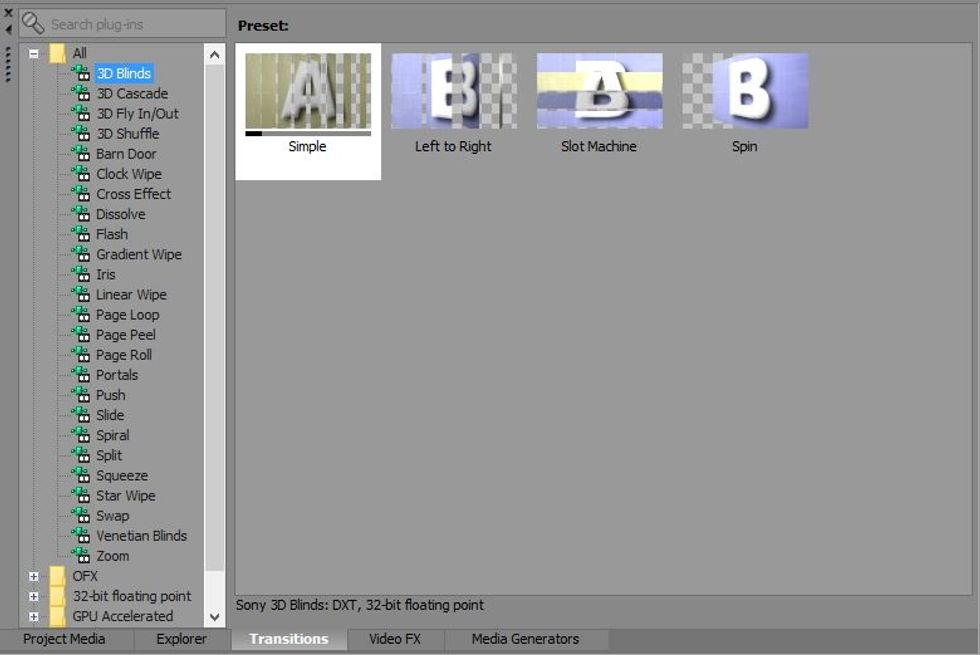
This is the Transitions tab. Here you can find preset transitions that you can use in between clips of your media. Drag and drop a transition of your choice in between two sources.
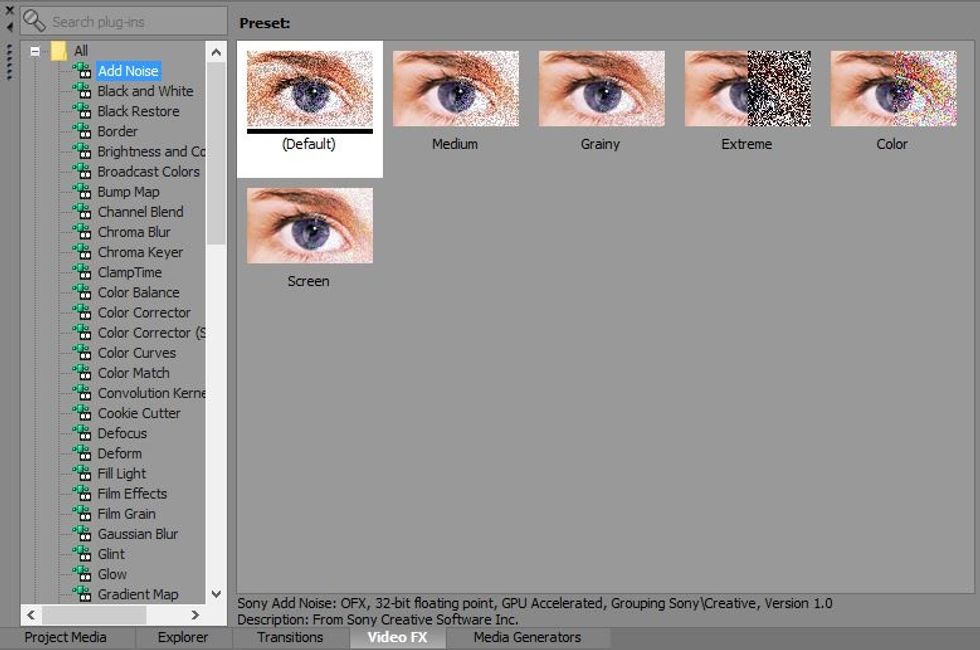
This is Video FX. FX stands for effects and this tab is used for all the effects that you can add to your video to spruce it up a bit. Simply drag the effect you want and drop it on the media.
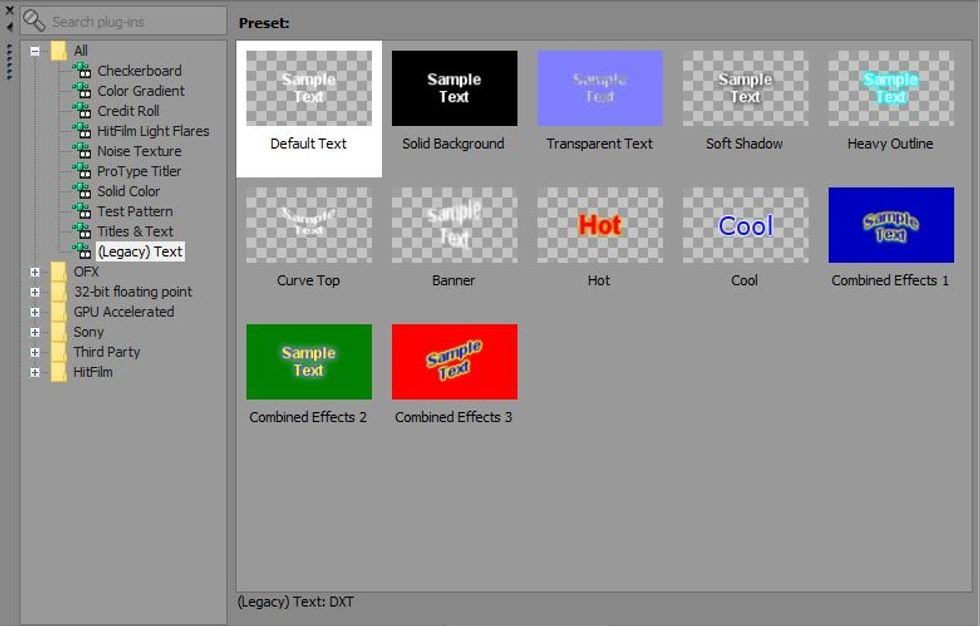
This is the Media Generators tab. This tab allows you to pick out different preset text boxes and put them in your video. They can be changed at any time
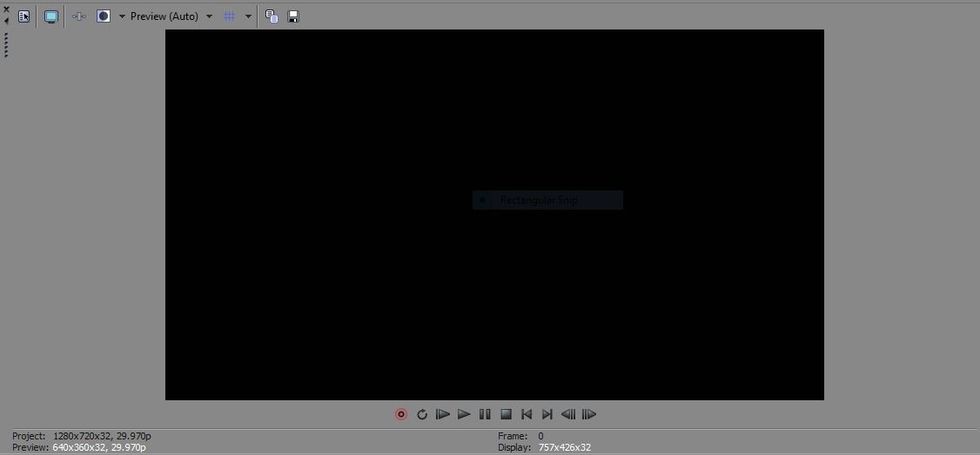
This is where your video will appear In the top left of this video window, there will be a Preview option. This will change the quality of your previewed video, not the finished product
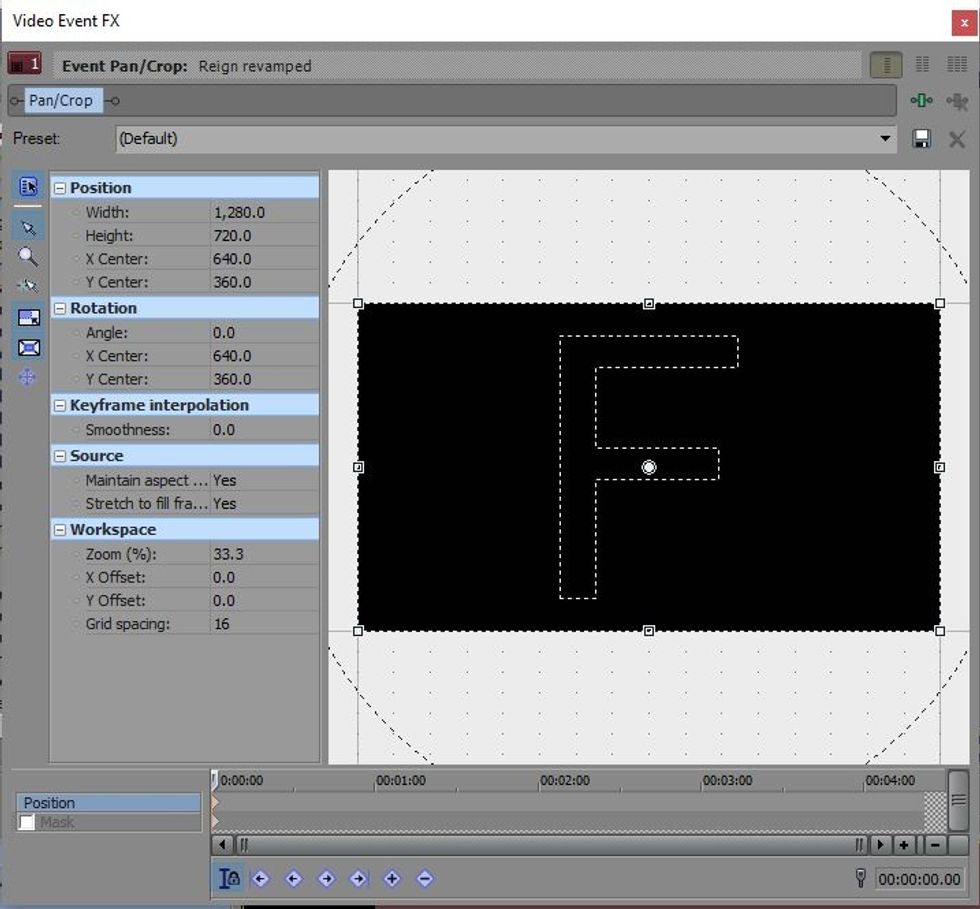
In the bottom right corner of any media will be a white square. This screen will pop up. Pan/Crop and any other effects will pop up here. To move the media around, hold the white squares and move.
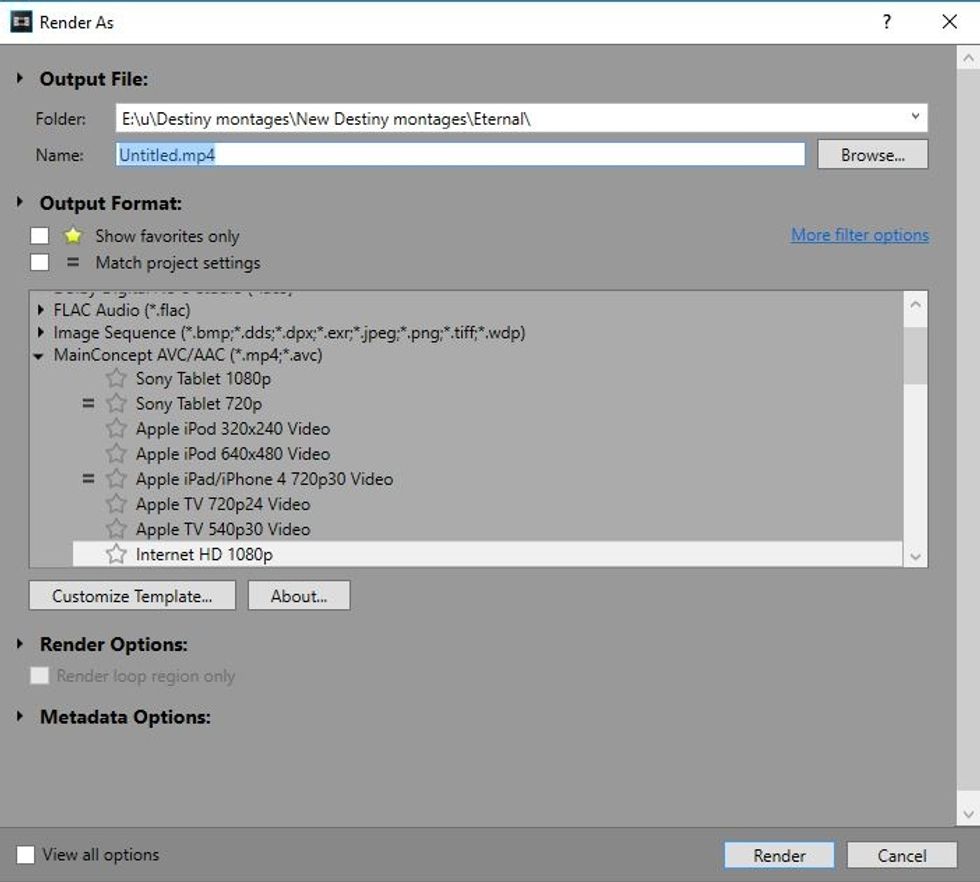
Under File in the left corner, there will a render option and this will pop up. Use this once you are done with editing your video. Select where it will go, the quality, what format and the name.