The Conversation (0)
Sign Up
This is the main user interface. The buttons in the corners clockwise from the top left are erase layer, zoom to fit, redo, and undo.

The four buttons on the top of the page from left to right are: Gallery - Your saved projects. You will be prompted to save your current work when accessing this page

New Project - Clears all layers of current project. You will again be prompted to save. Shape Preset - This allows you to switch between free form, line tool, rectangle tool and circle tool.

Mirror Tool - Toggles reflecting all lines in real time about the center-line.

Text Tool - Add and edit text and fonts.
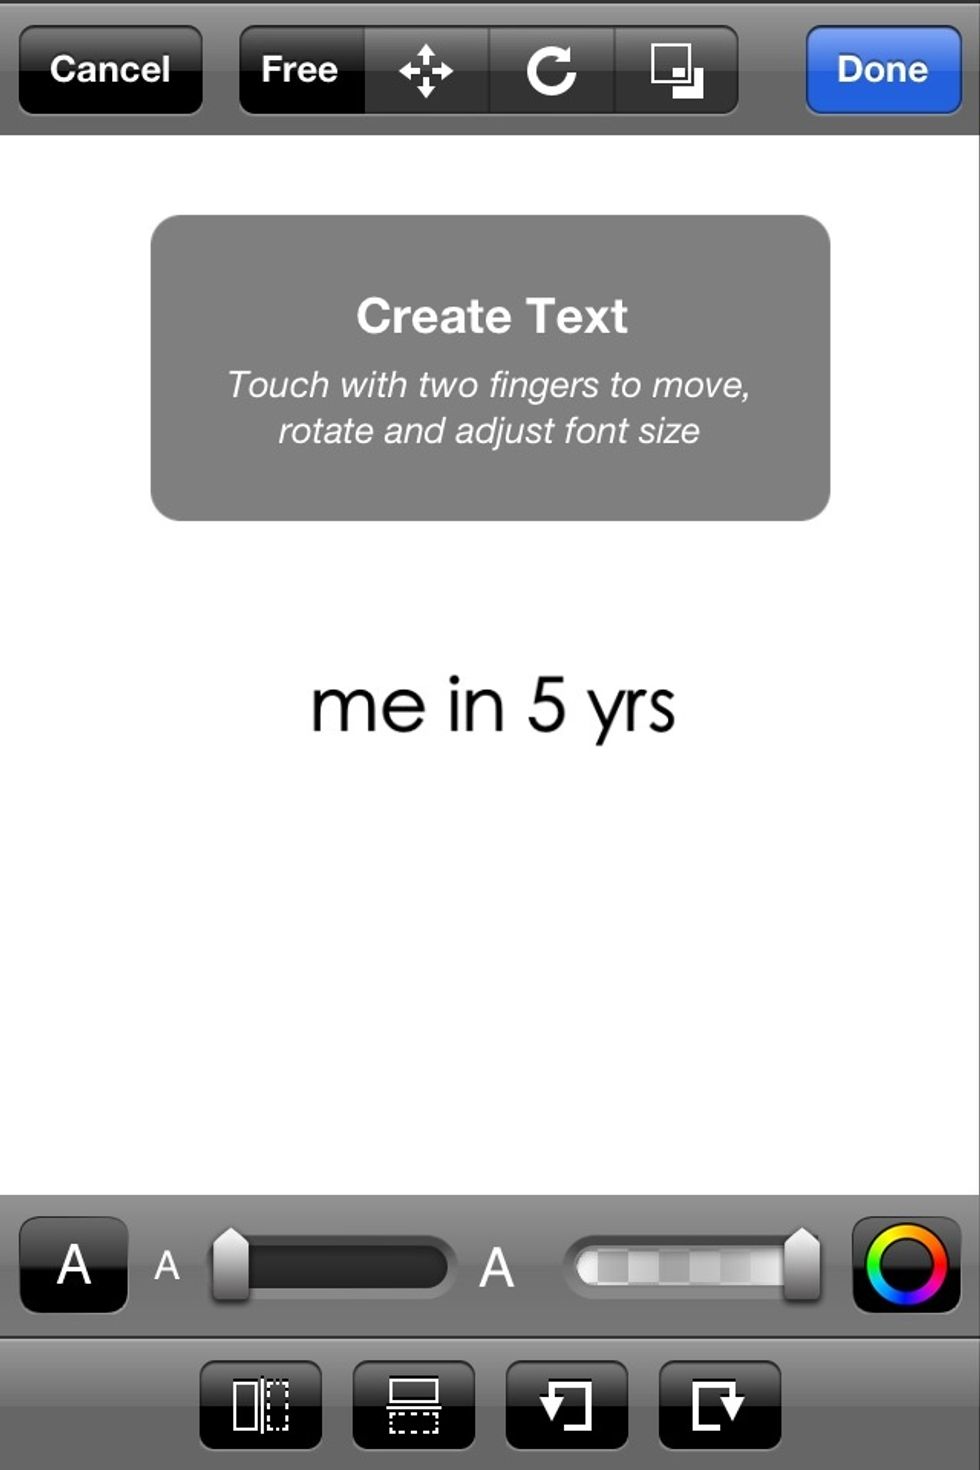
Text Tool Interface The top row of buttons are identical to the transform too and will be covered separately. The main page is the text preview.

The bottom row of buttons from left to right are: Reflect text horizontally, reflect text vertically, rotate counterclockwise, rotate clockwise.

The second row from bottom from right to left: Text Select - This is where you choose your font and enter your text
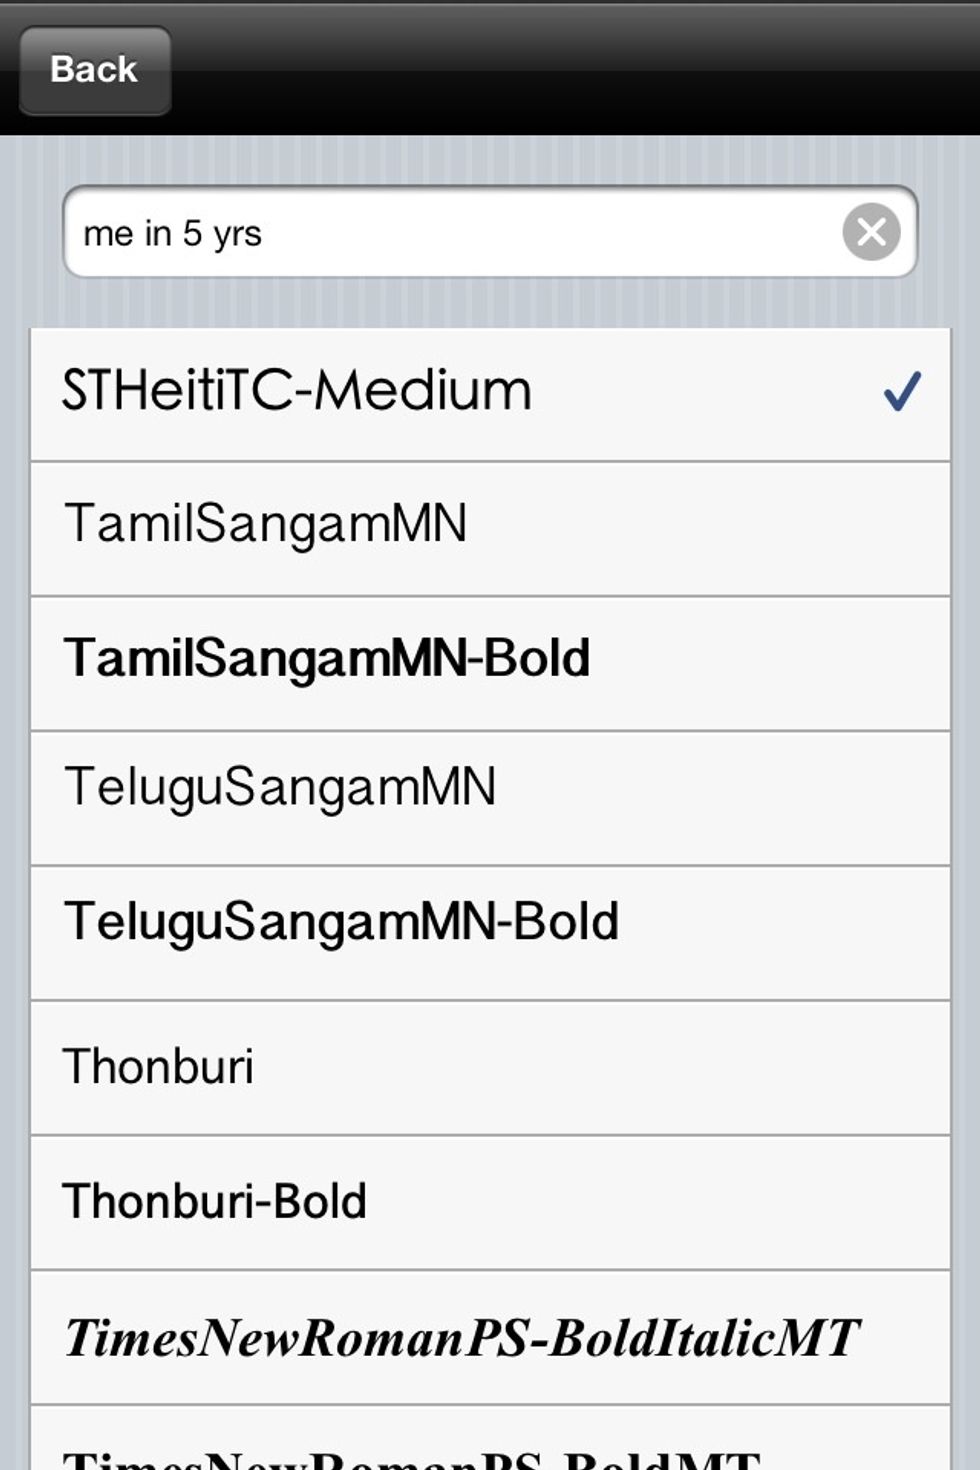
Within Text Select. At the top of the page is the text entry area. Below are the text styles to choose from.

Second from right on the second from bottom row is the text size adjustment slider, followed by the opacity slider and the color selector.

Back to the top row of the central interface is the Transformation Tool.
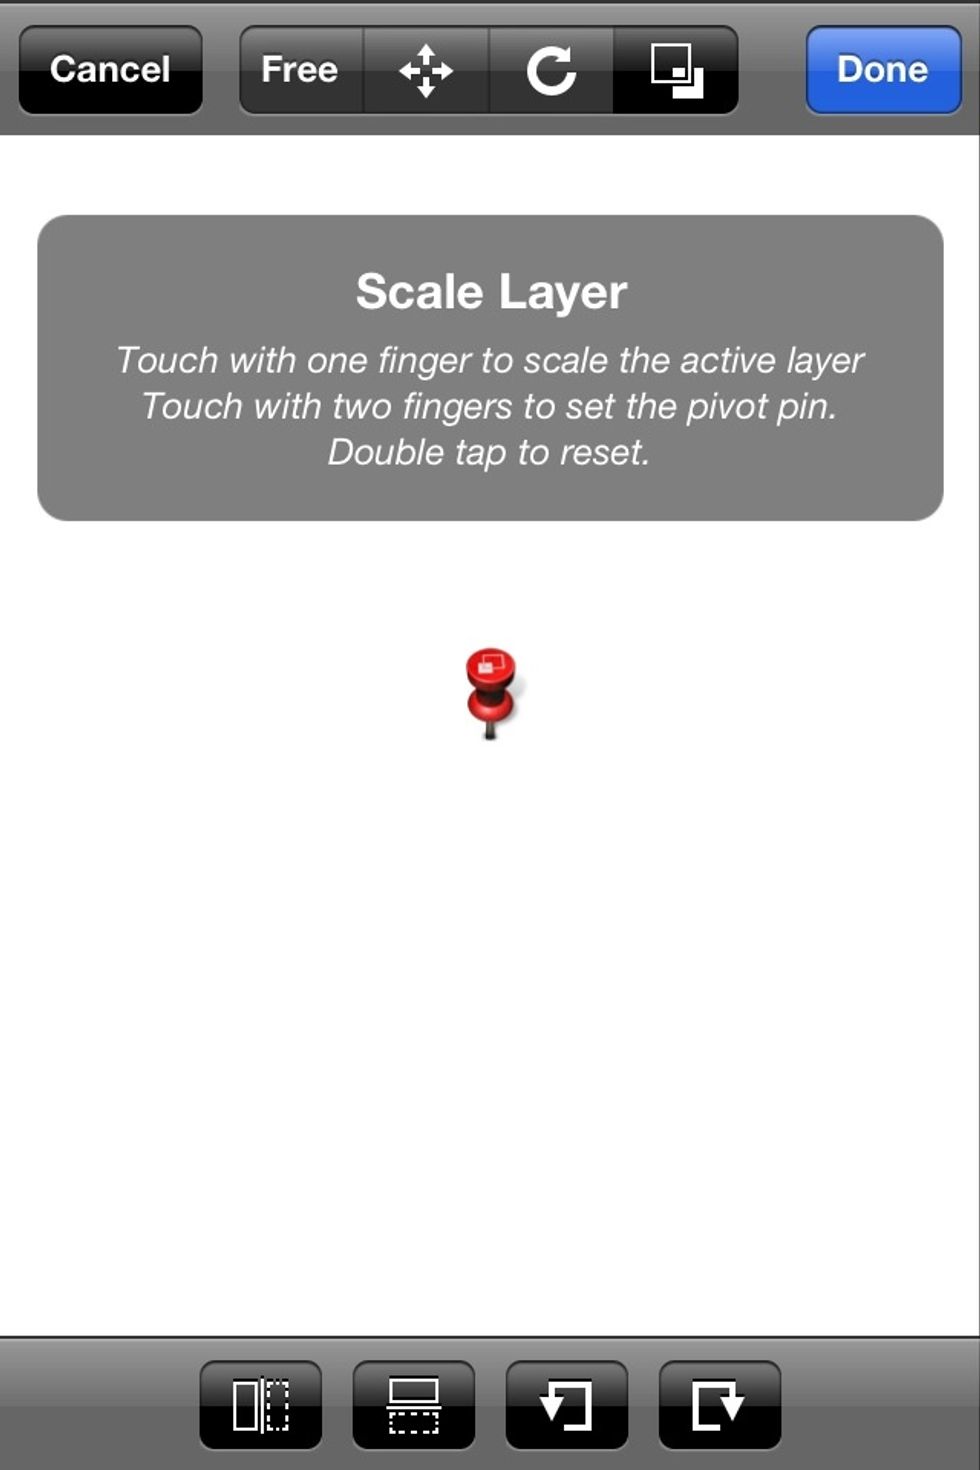
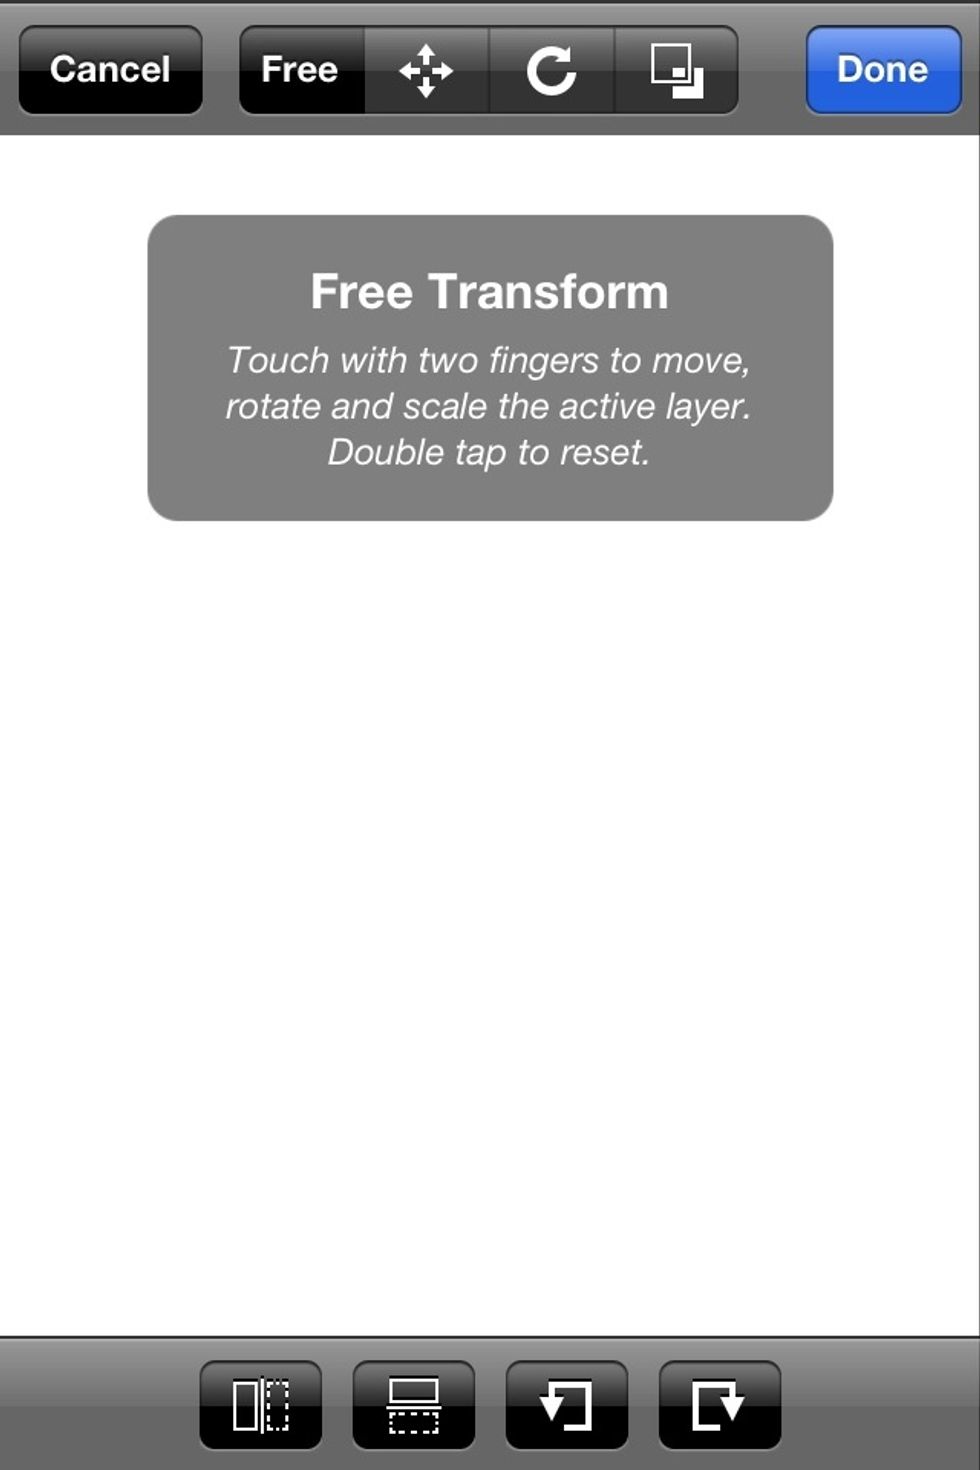
Similar to the layout of the text tool, the transformation tool. The options at the top are free transform, move layer, rotate later and scale layer.
The red pushpin represents the origin of the transition. It is usually recommended to leave it at the center.

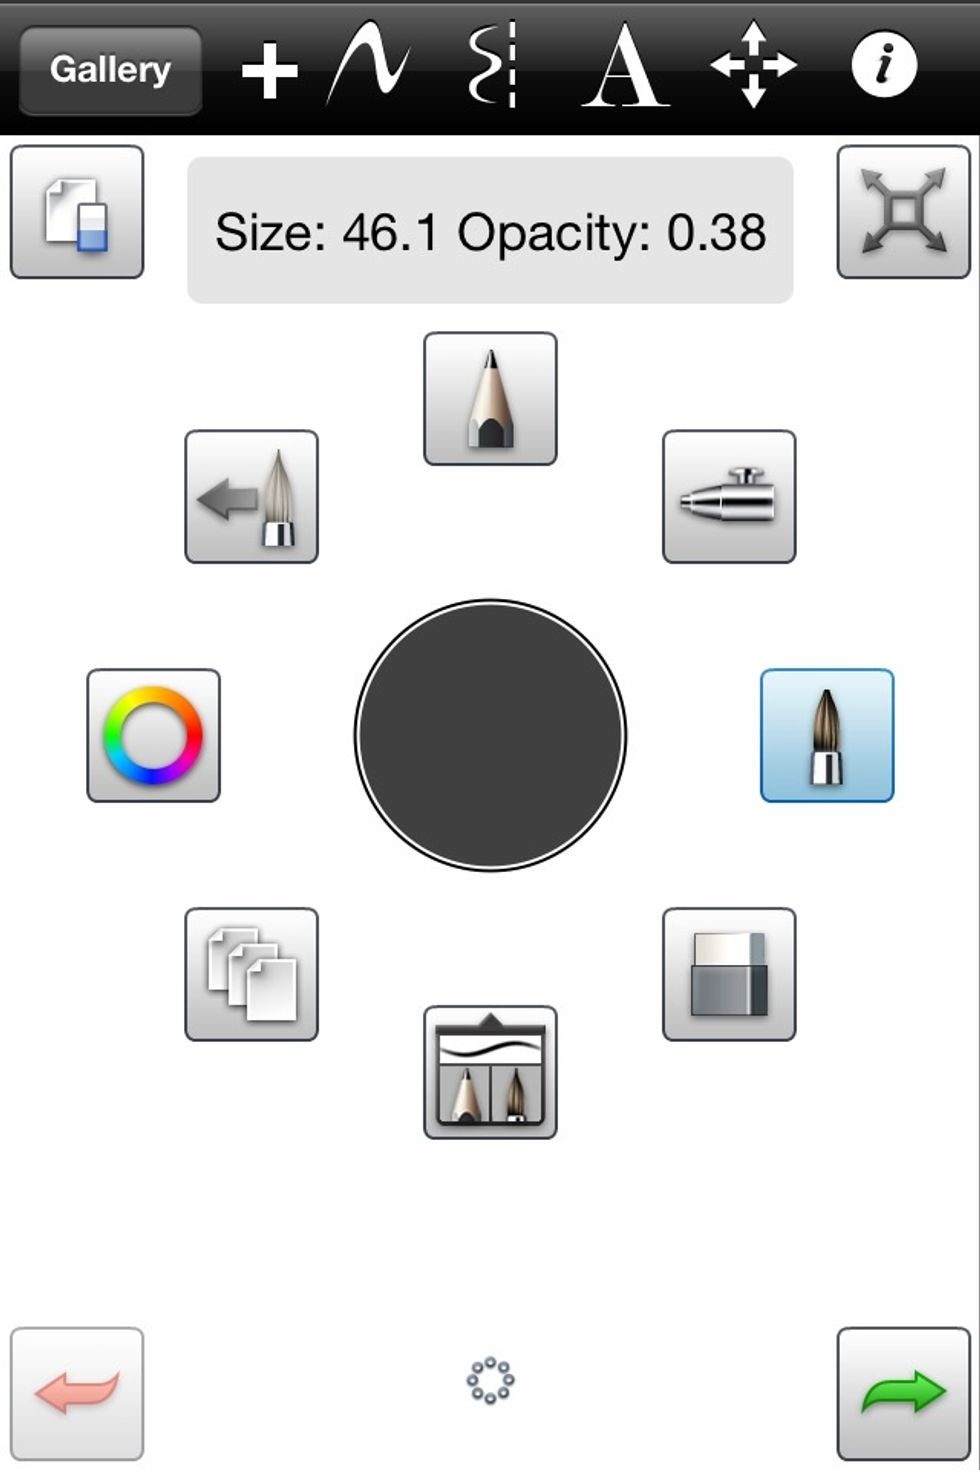
The main user interface also contains the tools that will be used most in the app. Clockwise from the top, are the pencil tool, the airbrush tool, the paintbrush tool, the eraser tool (cont.)

(selector wheel cont.) the brush head selector, the layer selector, the color selector, and the warp brush tool.

The most challenging tools are in the bottom left quarter, that is, the brush head selector, the layer selector, and the color selector.
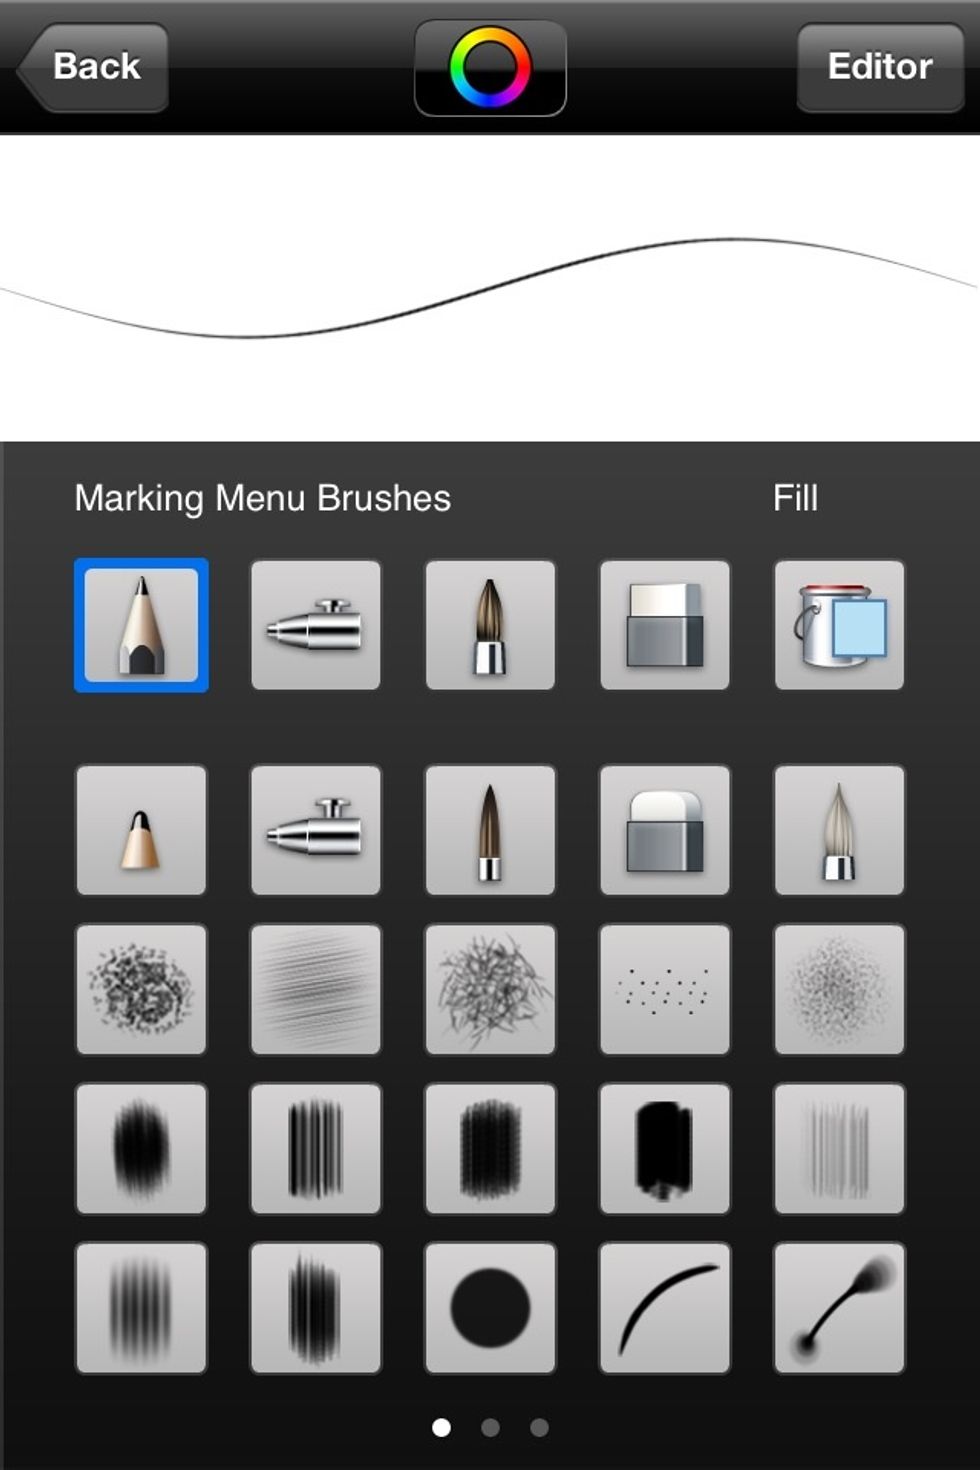
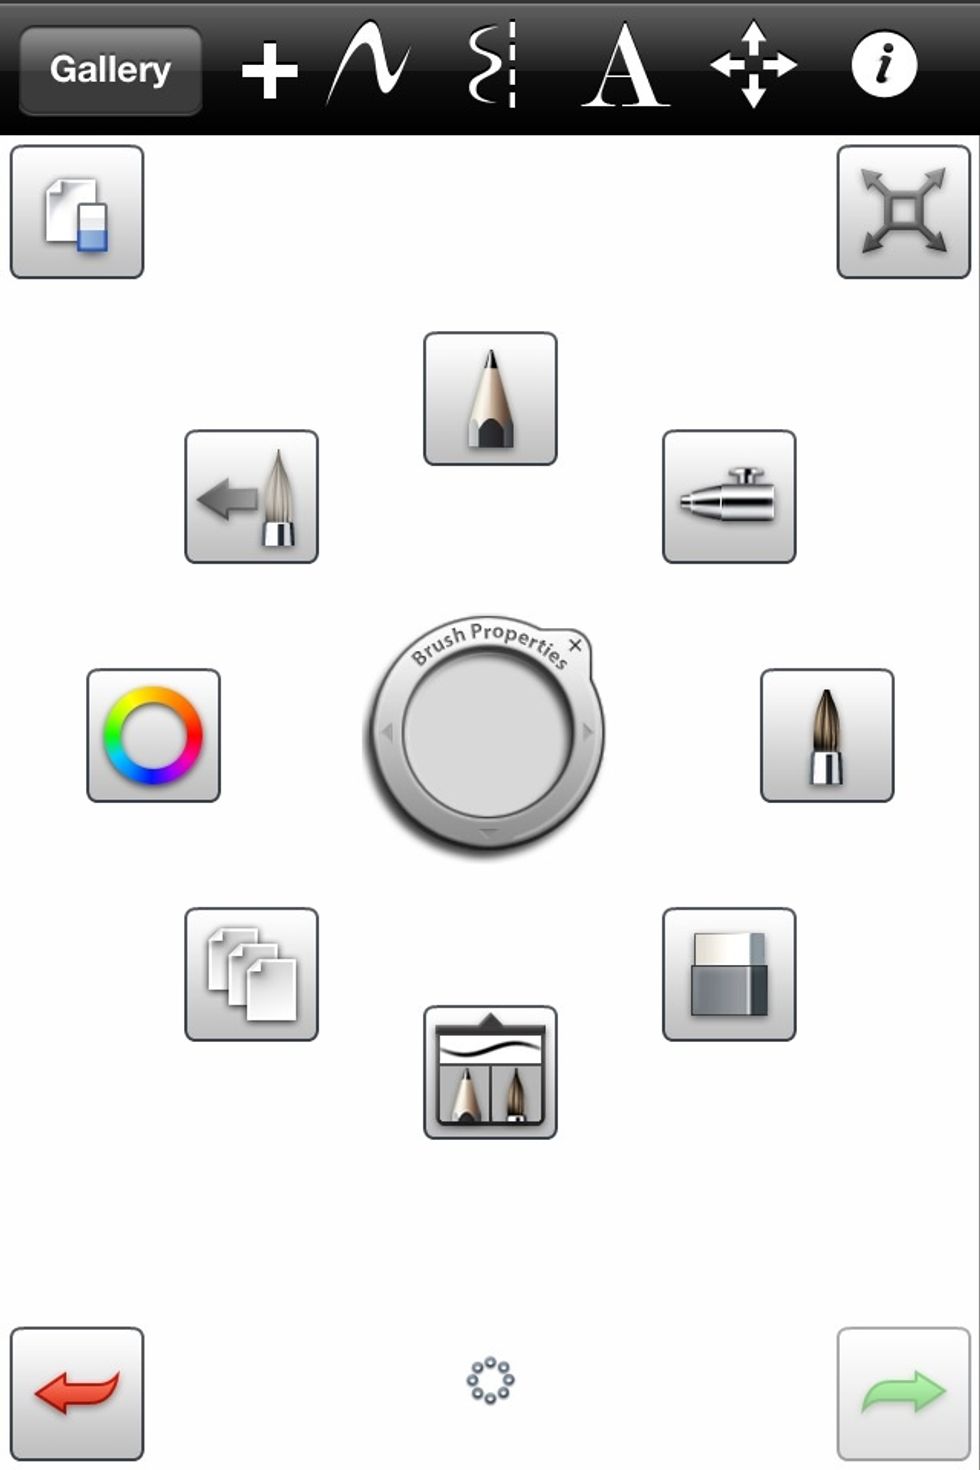
Brush Head Selector - There are three pages of brush head presets. Each brush head can be customized with the button in the top right corner. The color wheel can also be accessed.

The layer select interface contains the opacity slider below the preview, the delete layer button (shown activated on top layer), the hide layer buttons and the reorder layers button on the far right.
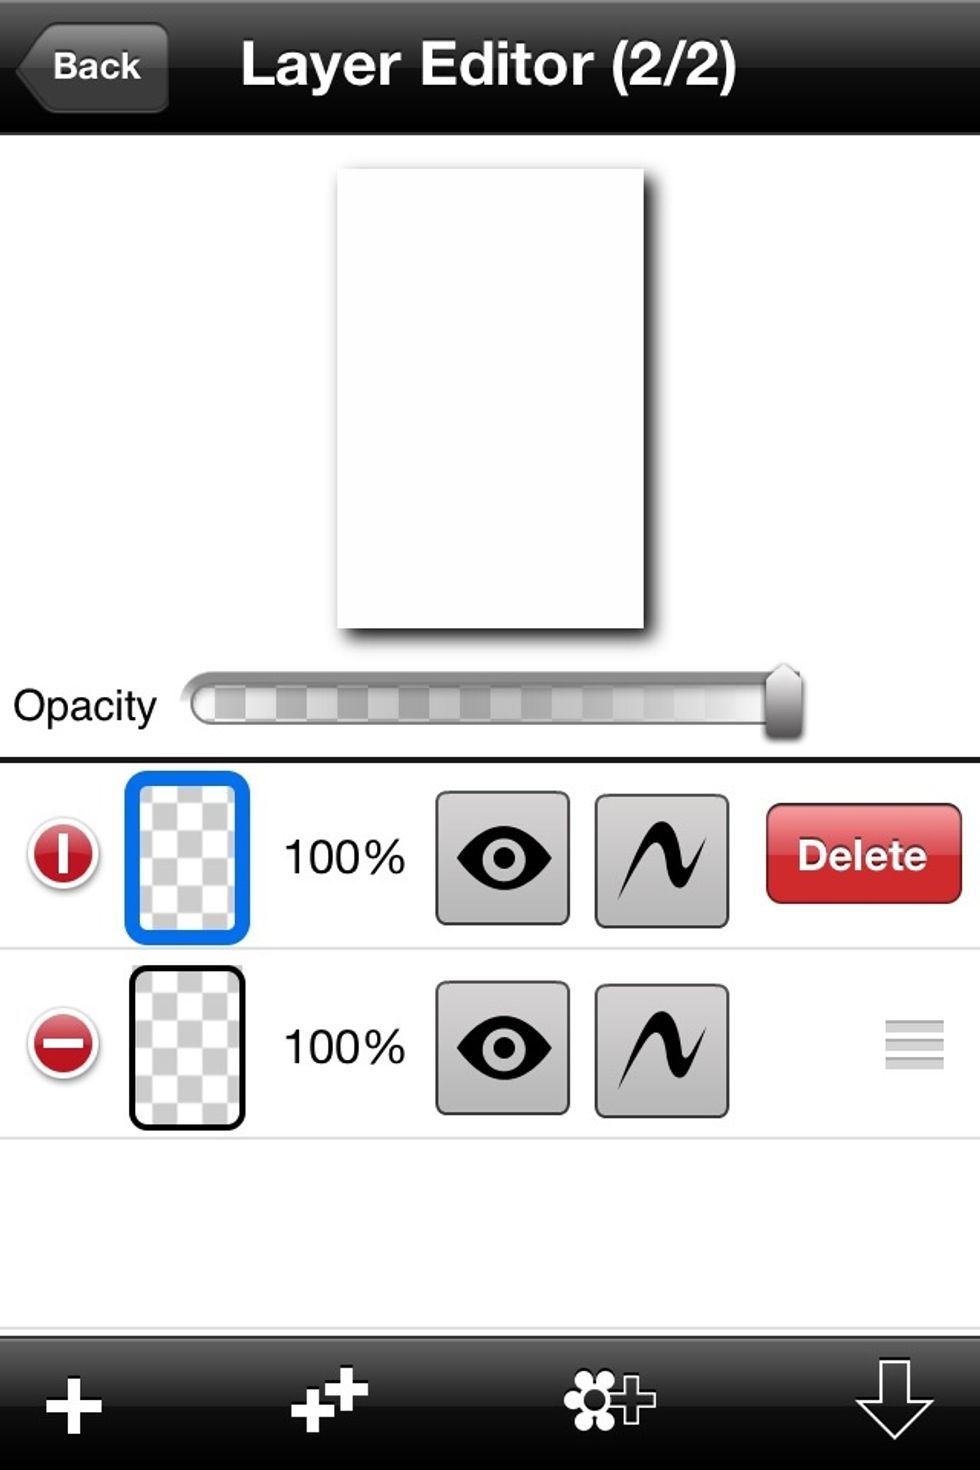
On the bottom, from left to right, are: add blank layer, duplicate layer, add photo layer, and merge layer down.
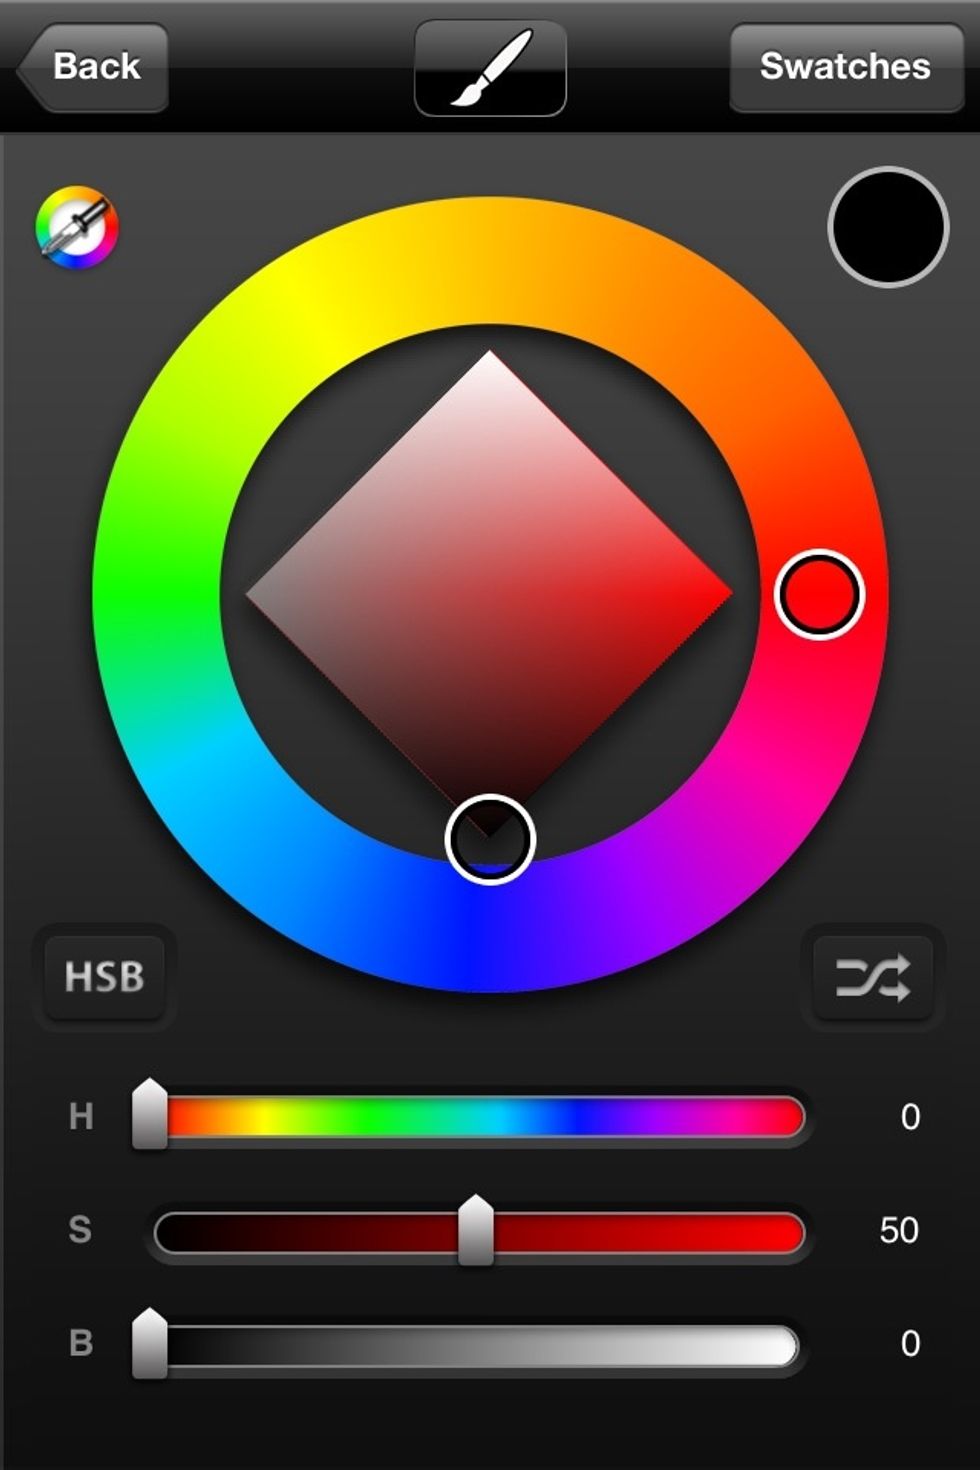
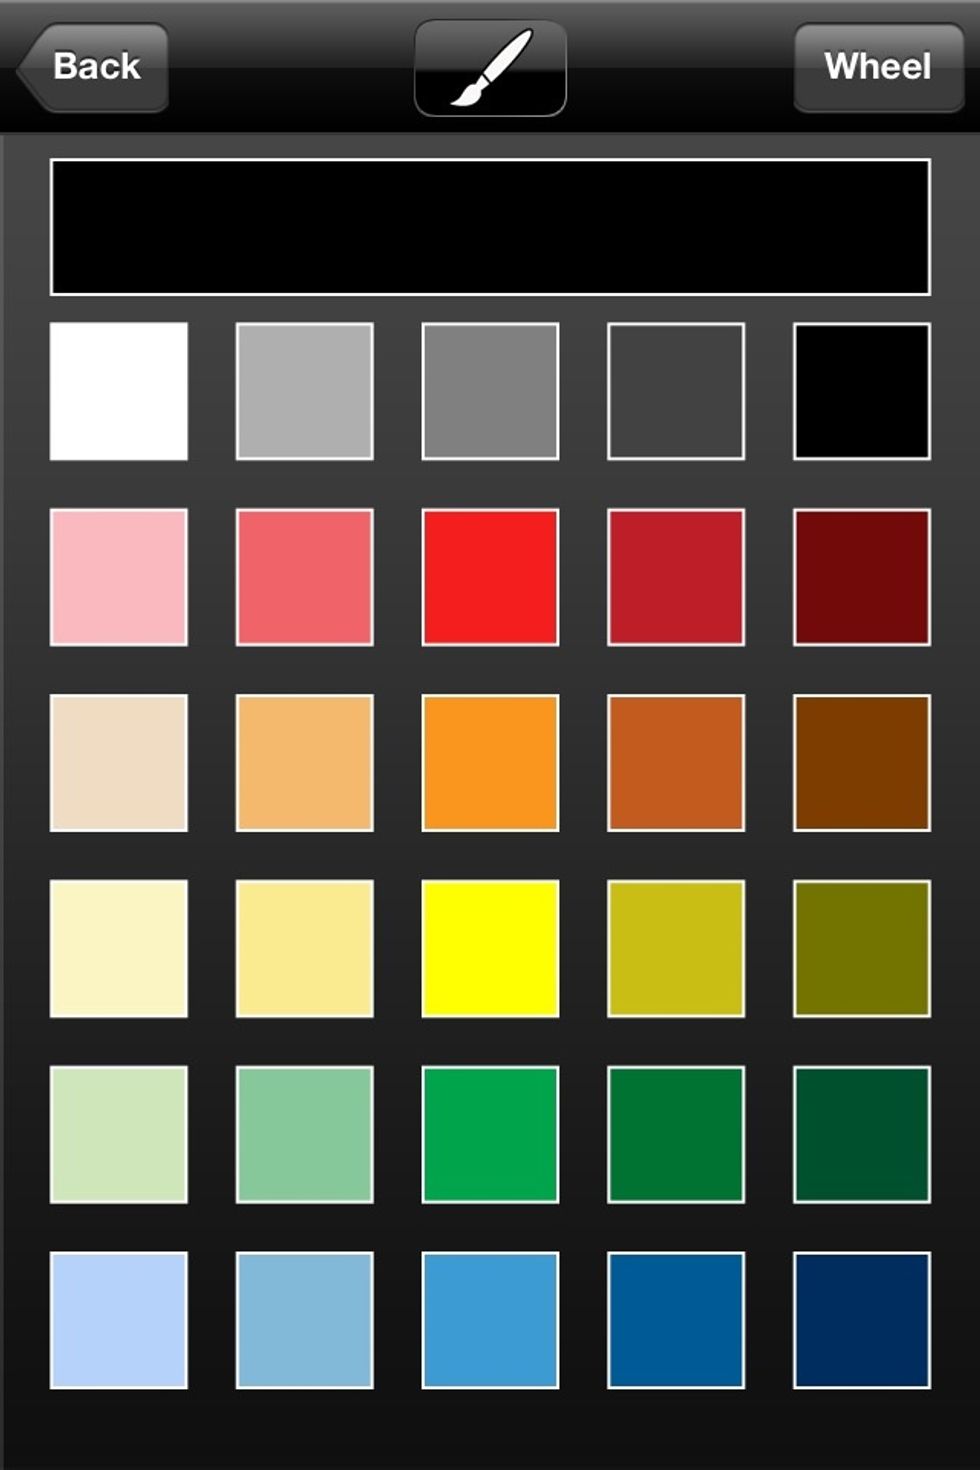
The color selector consists of the wheel and swatches the button in the top right corner toggles them. The eyedropper tool allows you to select a color from your drawing.

The very center of the main UI has the brush size and opacity adjuster. Tap and slide finger up and down for opacity and left and right for size.