The Conversation (0)
Sign Up
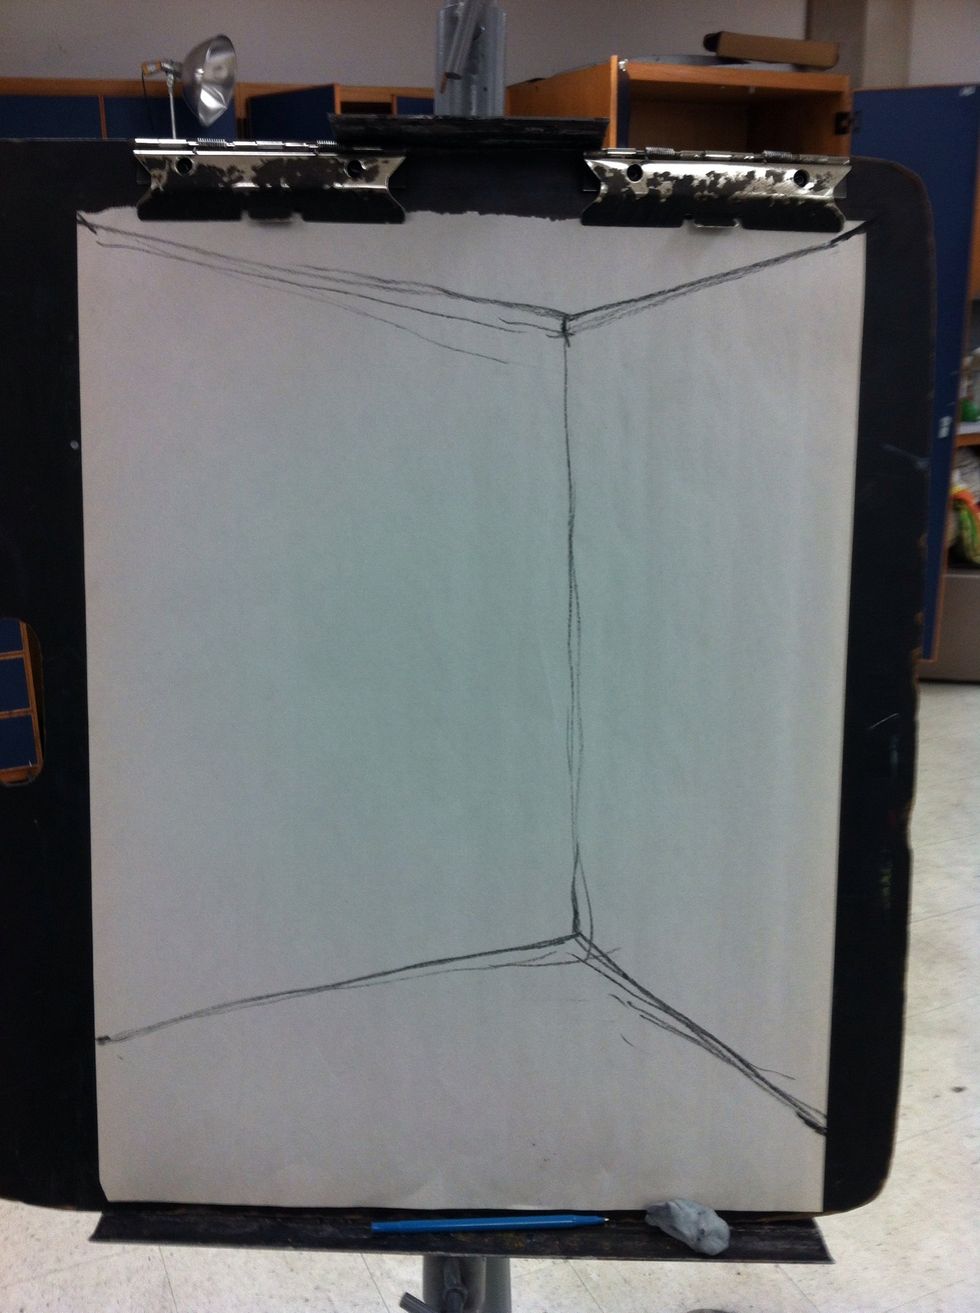
This guide is for Renee Prisble's drawing students. The assignment is to use sighting techniques to draw a corner of a room from floor to ceiling.
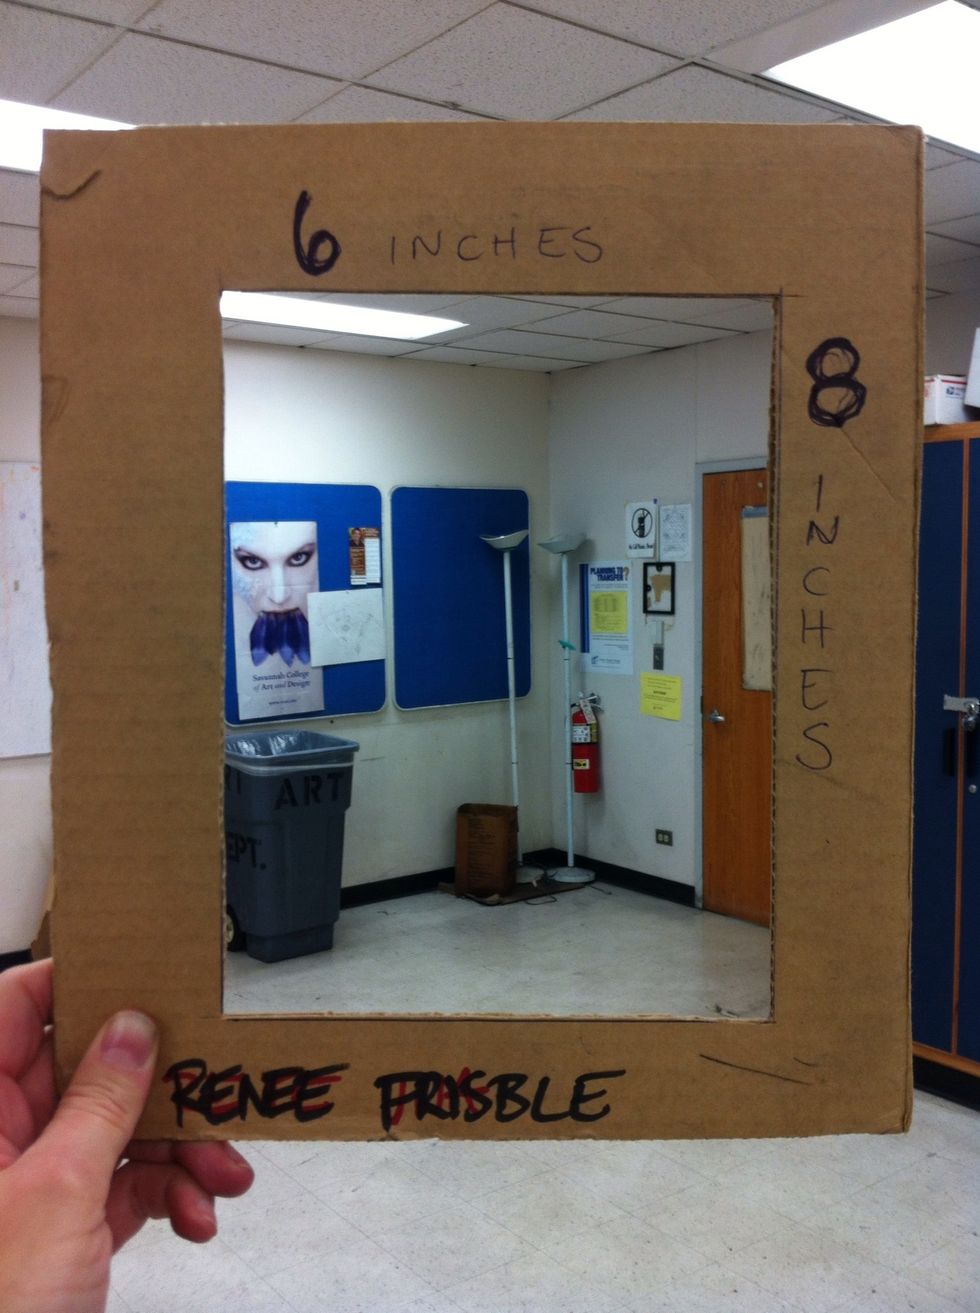
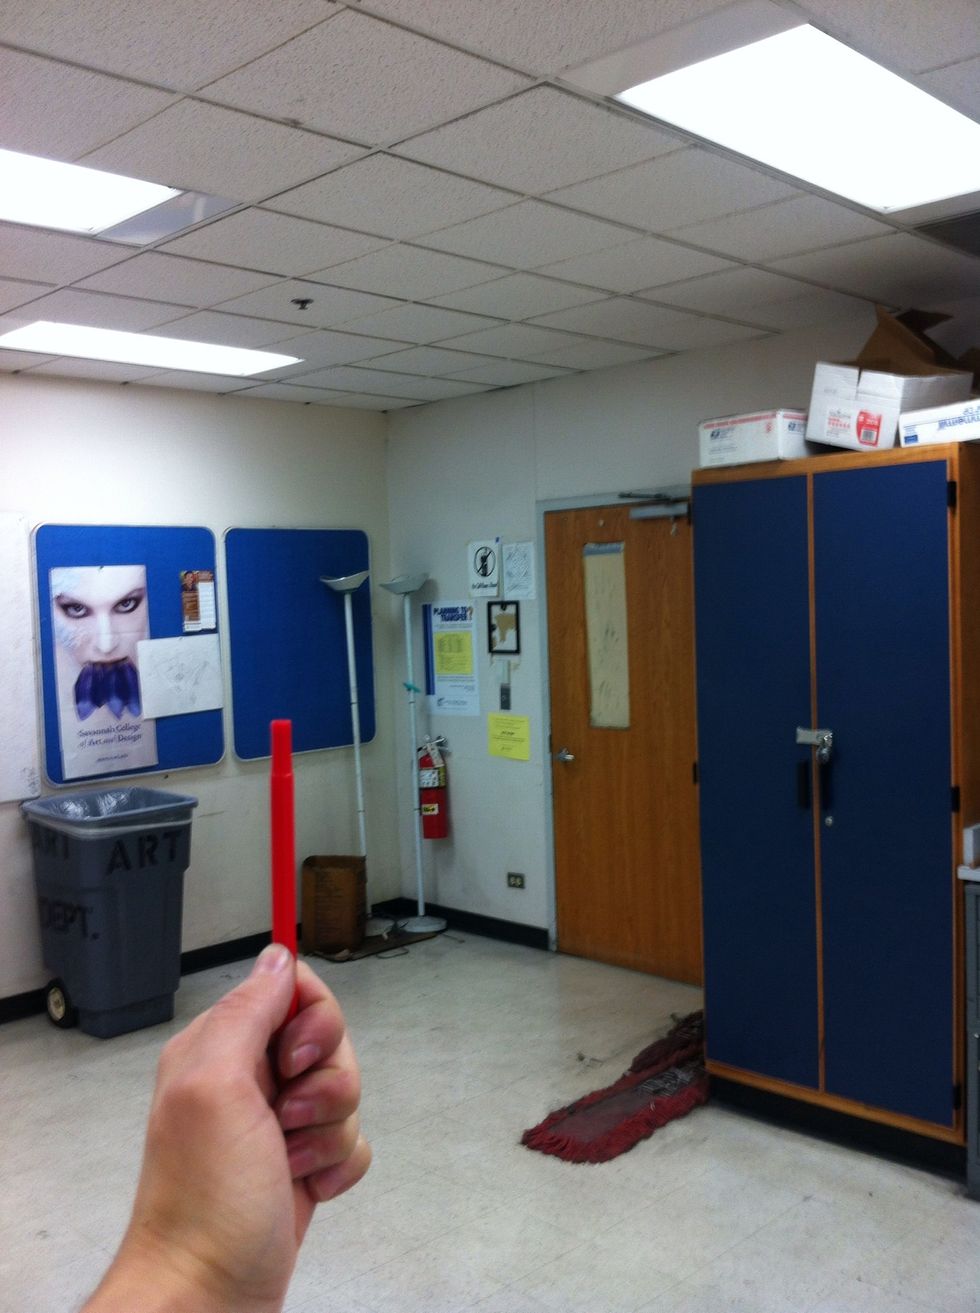
Choose what you want to draw with your viewfinder while standing at your easel.
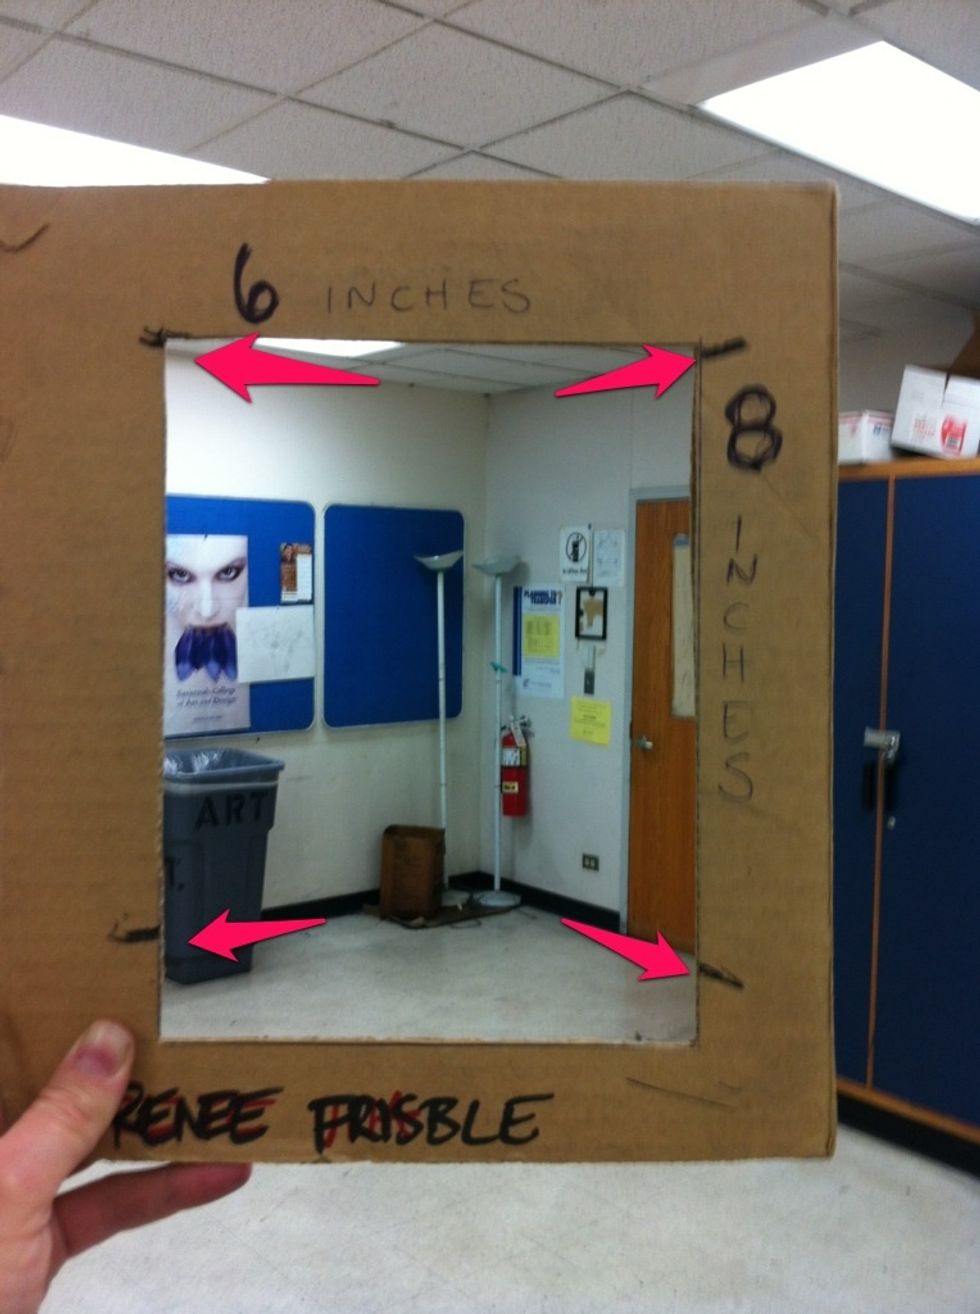
Mark your viewfinder where the floor and ceiling or other major elements touch.

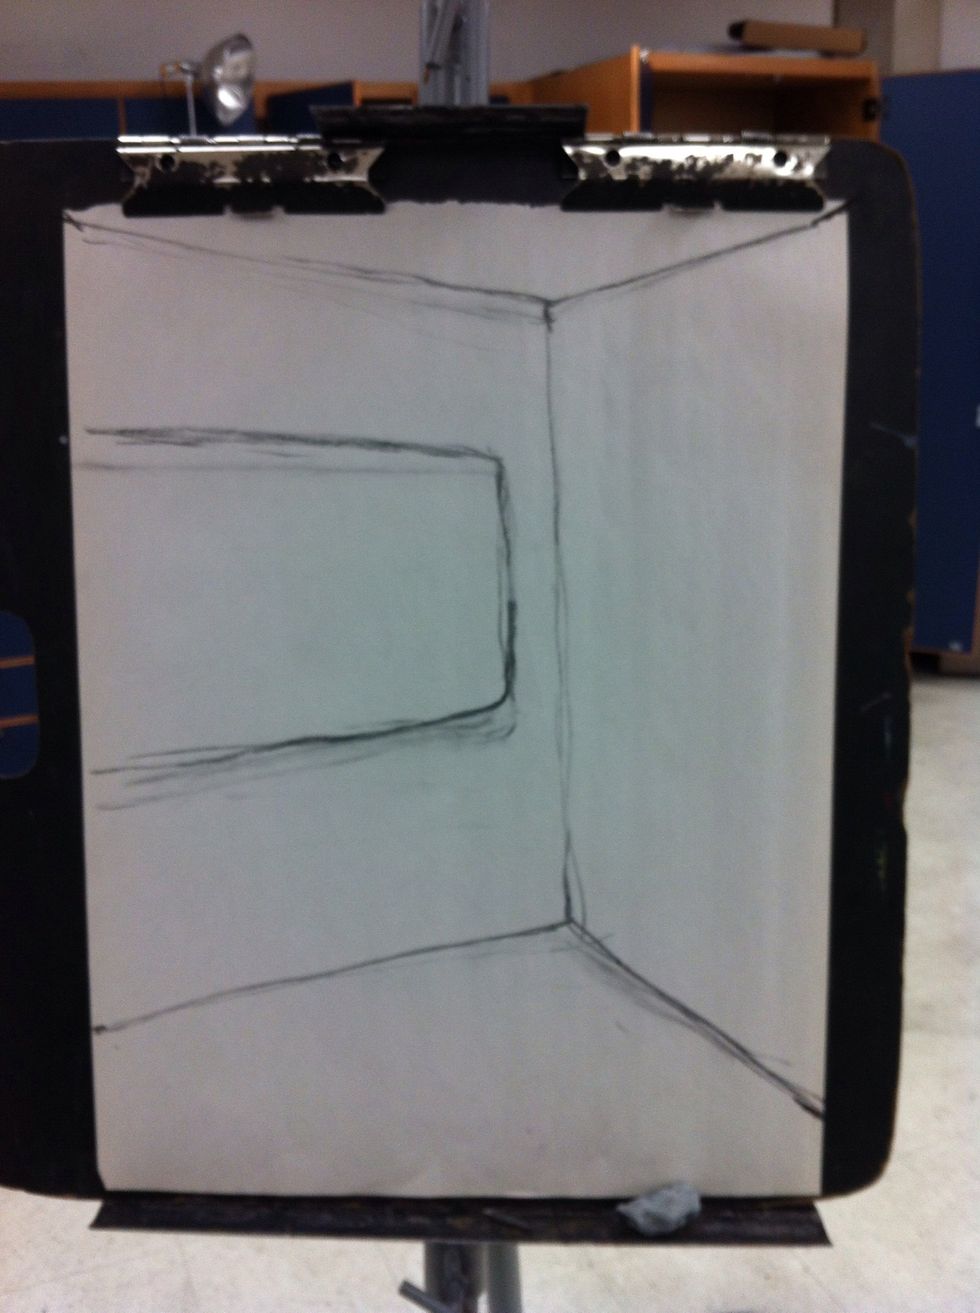
Do your best to transfer those marks to your paper.
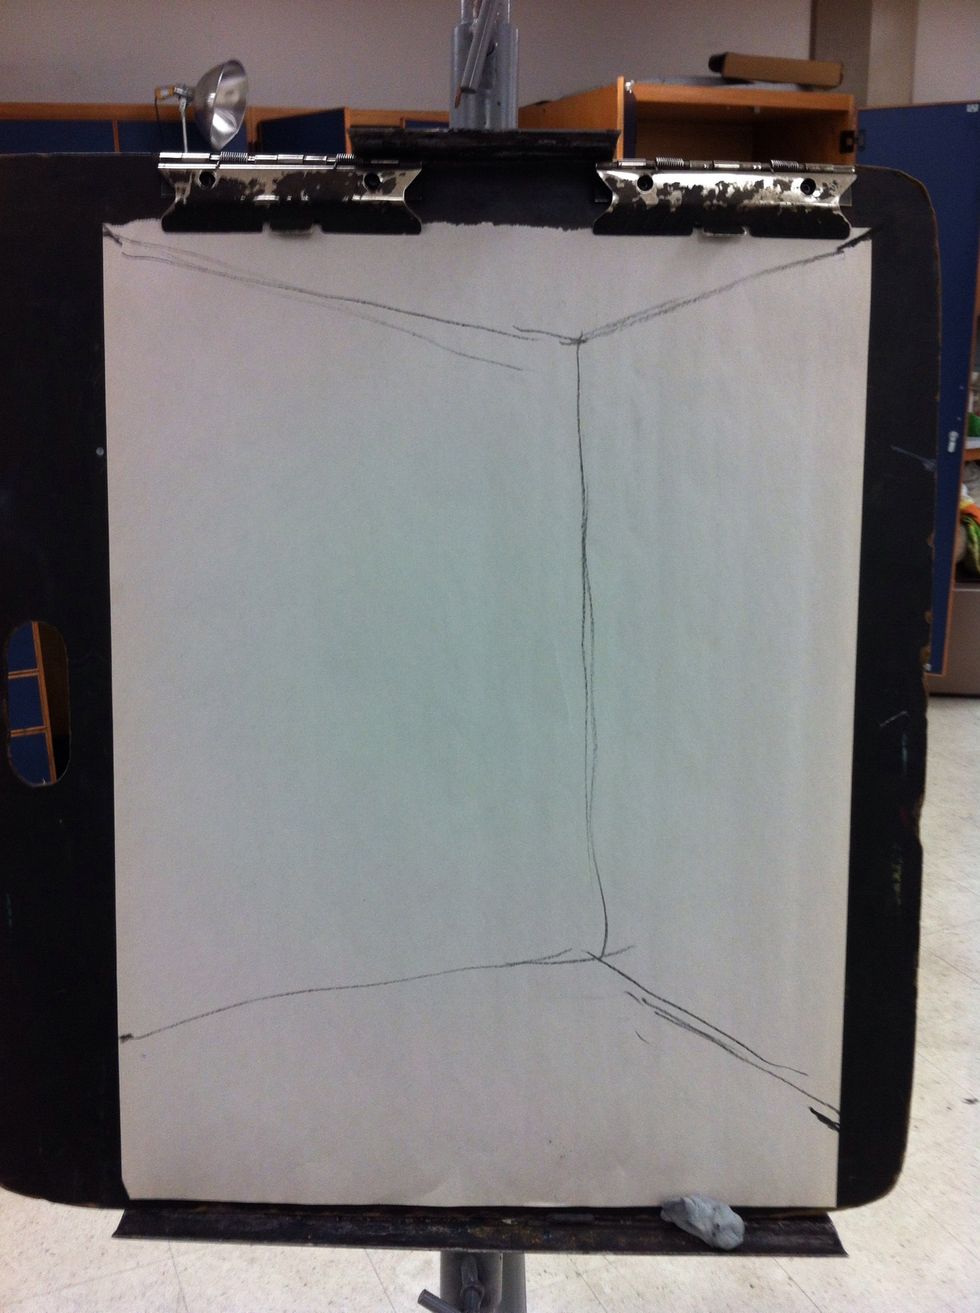
Look at the subject and do your best to draw what you see. This is the "guessing" step.
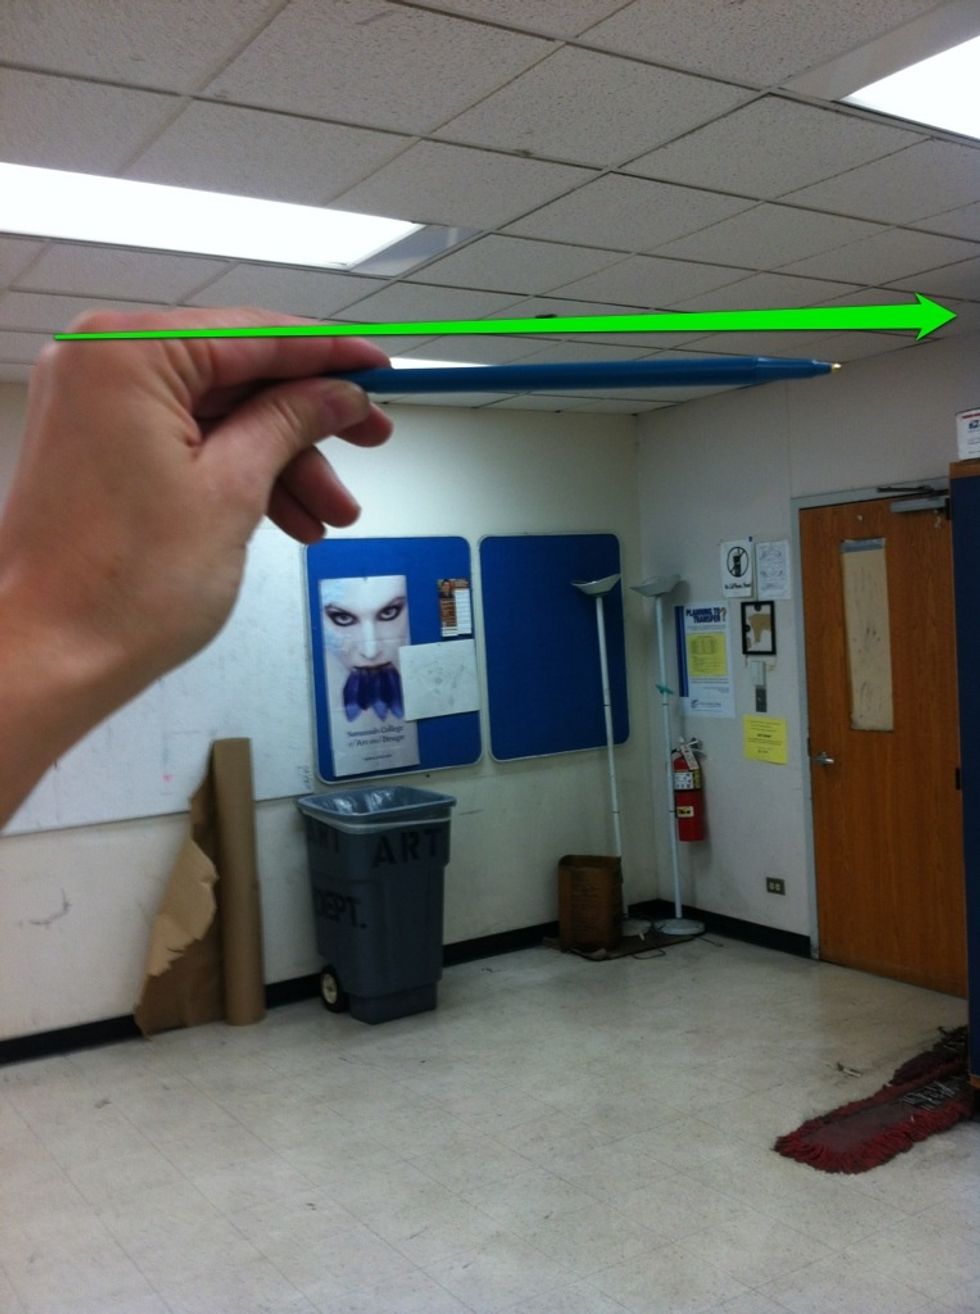
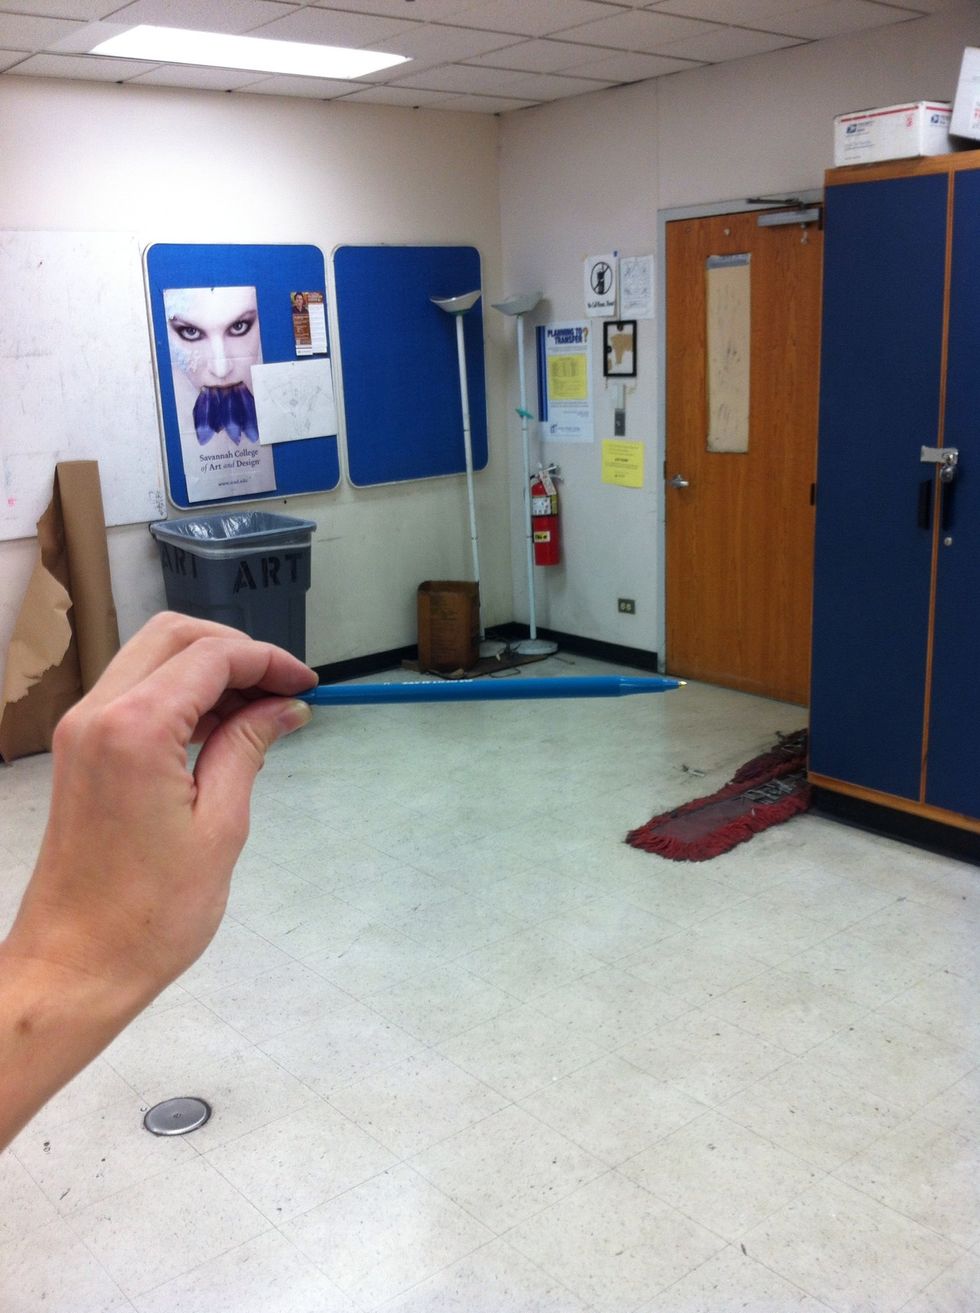
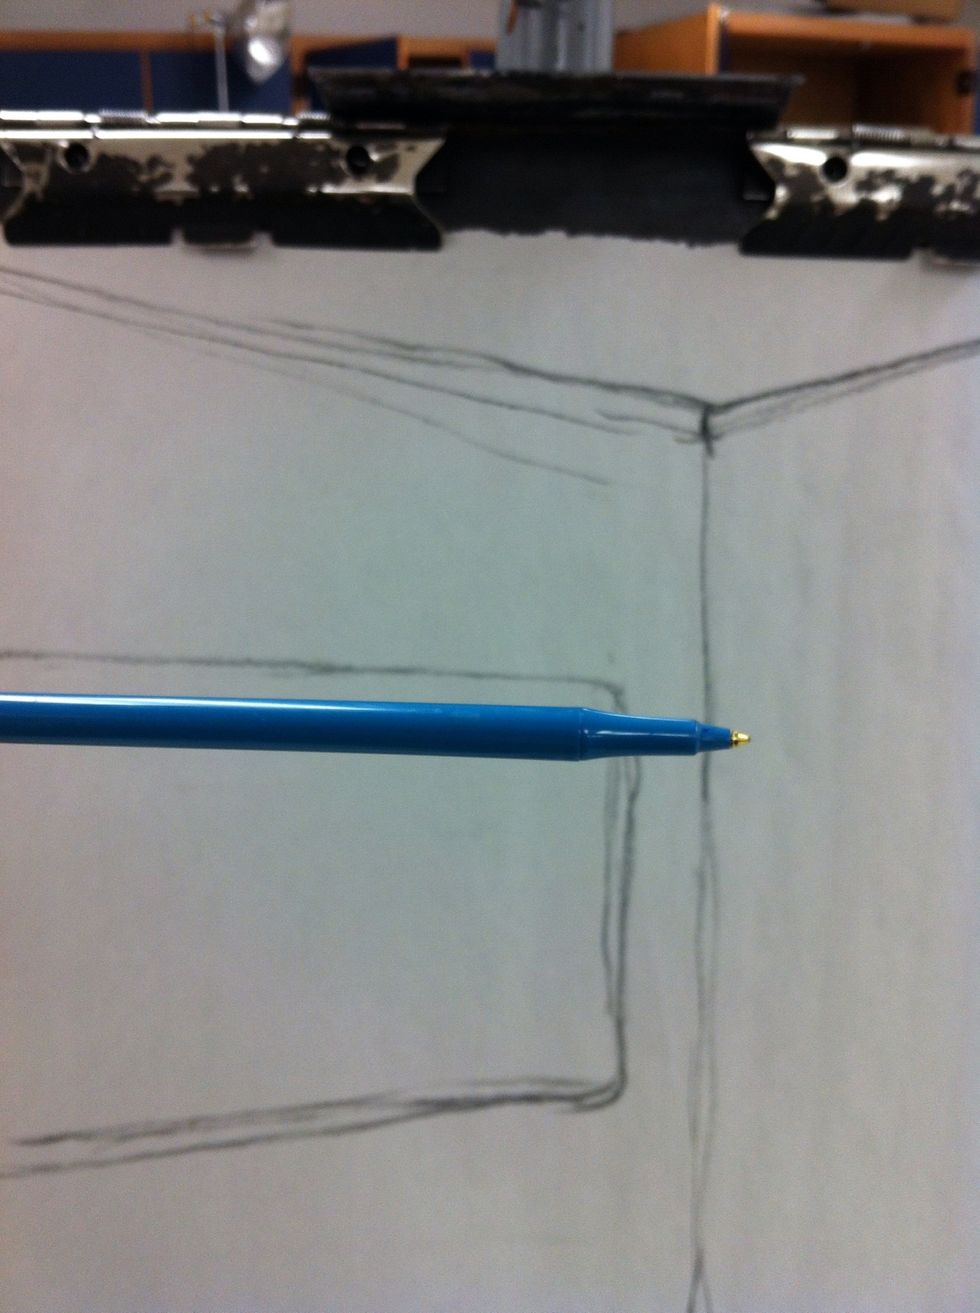
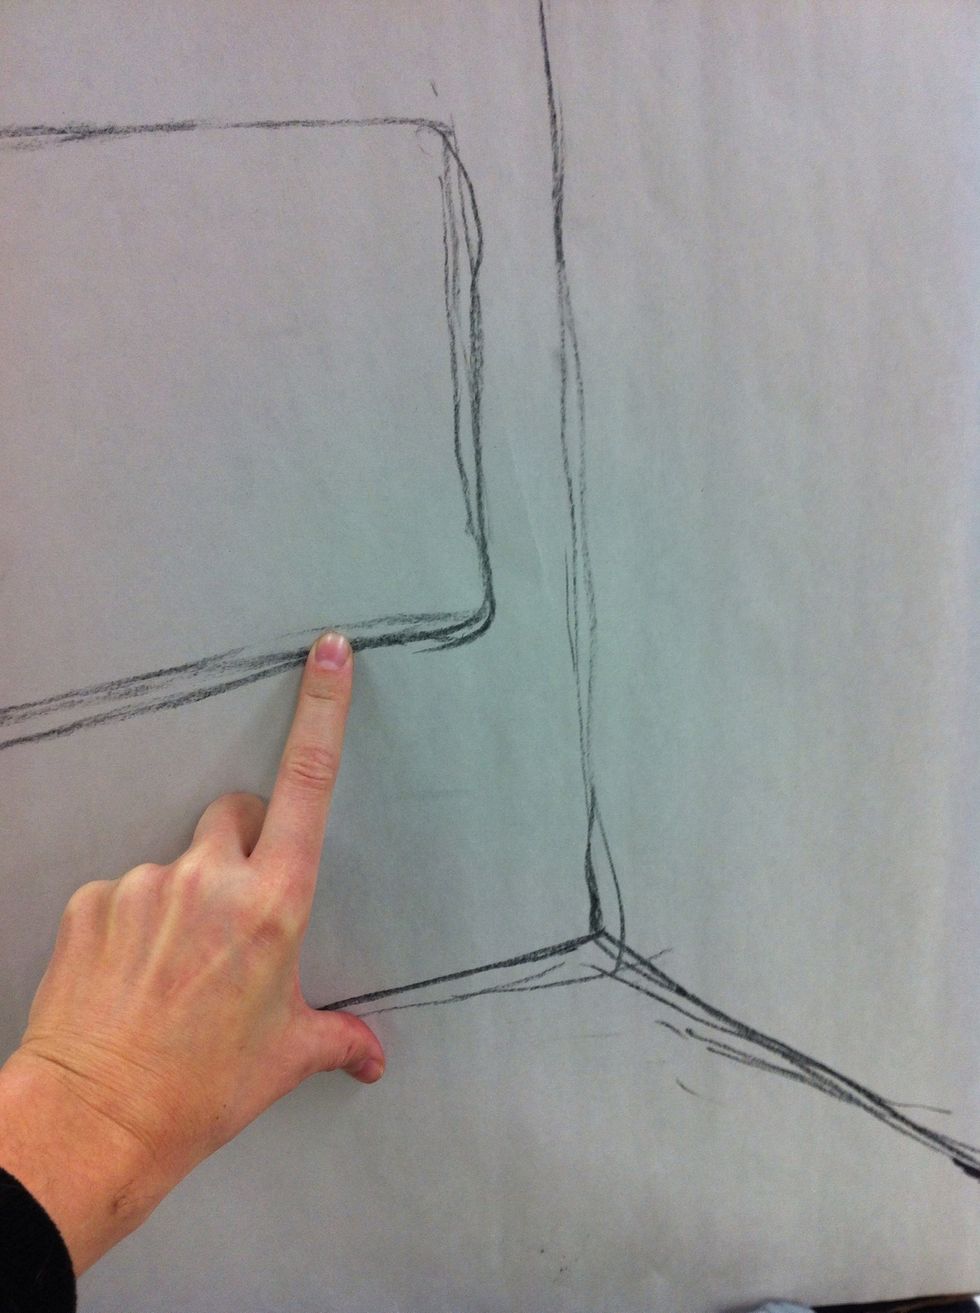
Use a pencil. Hold it completely horizontal and parallel to your body. Close one eye and compare this horizontal line with the ceiling.
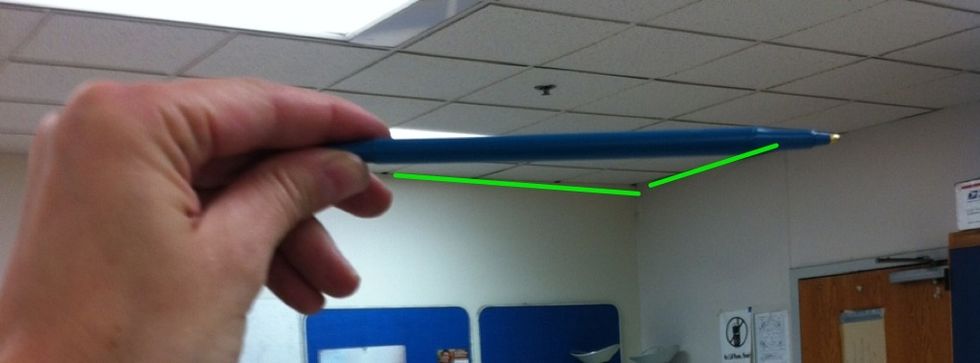
Notice the triangle shape it makes.
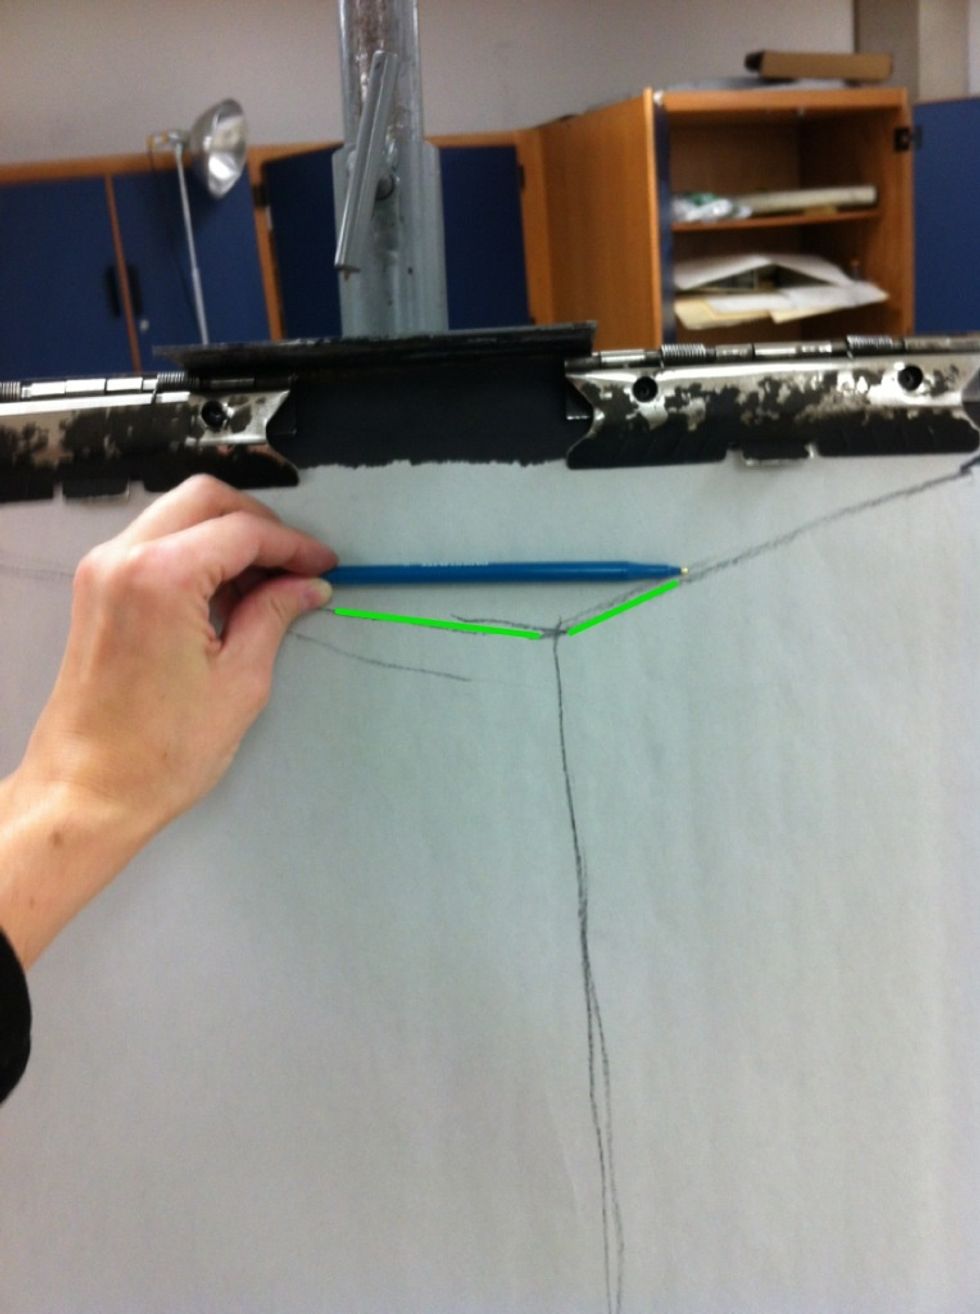
Compare the angles and the triangle shape with your drawing and make changes.
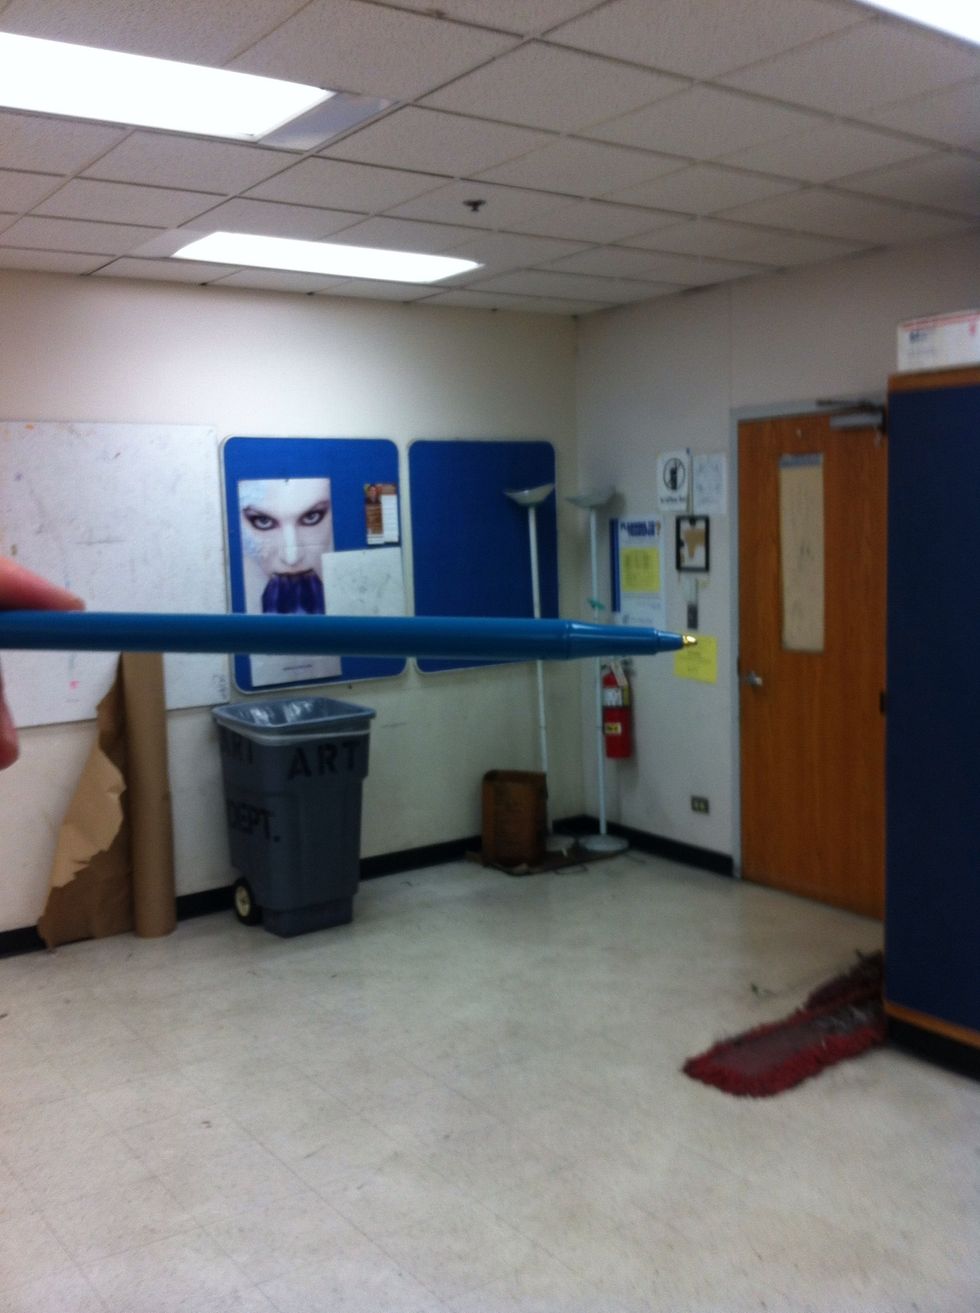
Check other angles the same way.
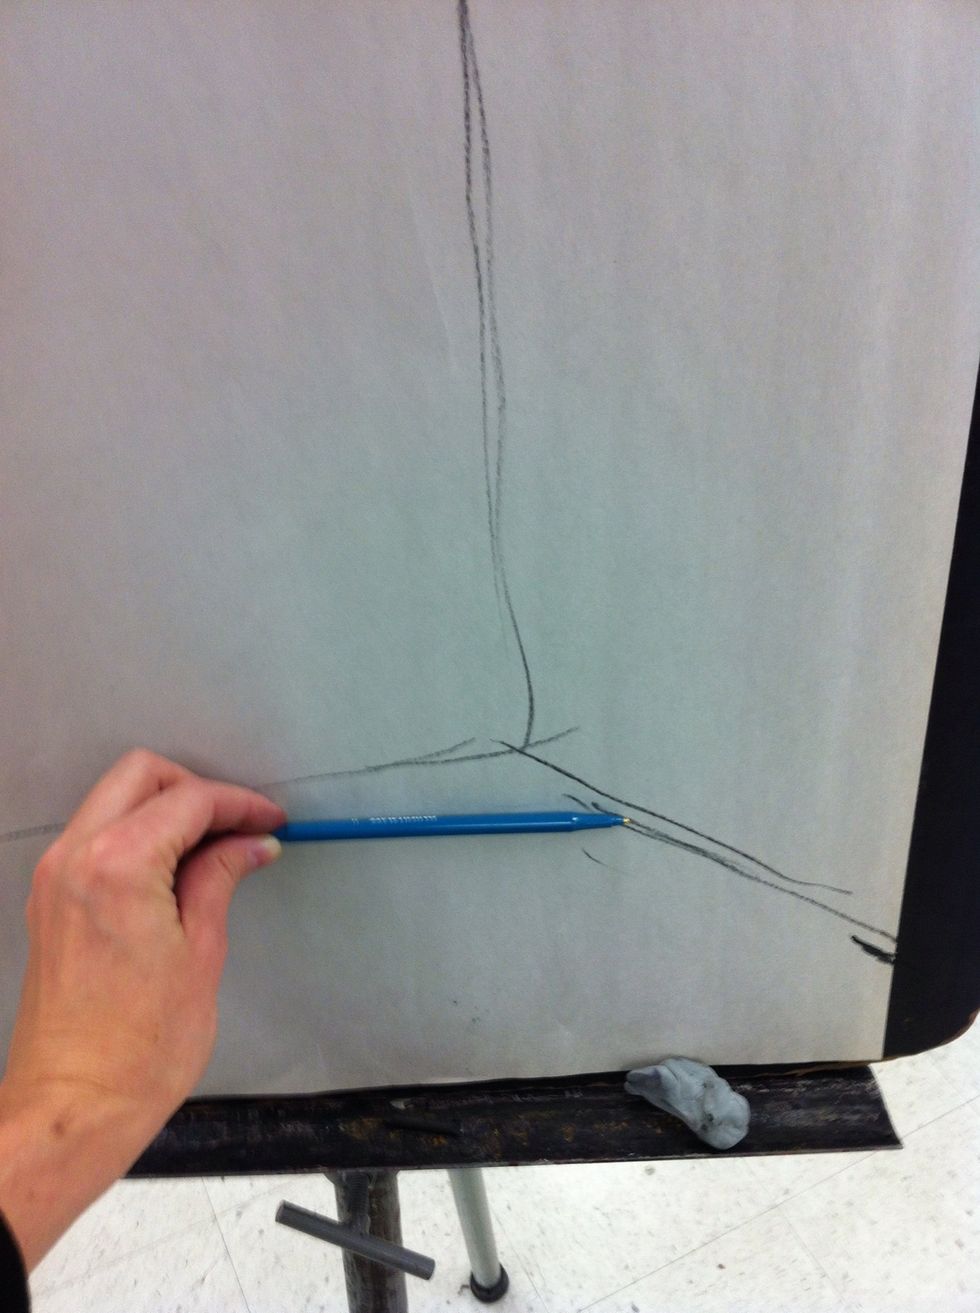
Compare with your drawing and make changes.
Making changes.

Look from a distance.
STOP. Do not proceed until the basics are figured out and accurate.
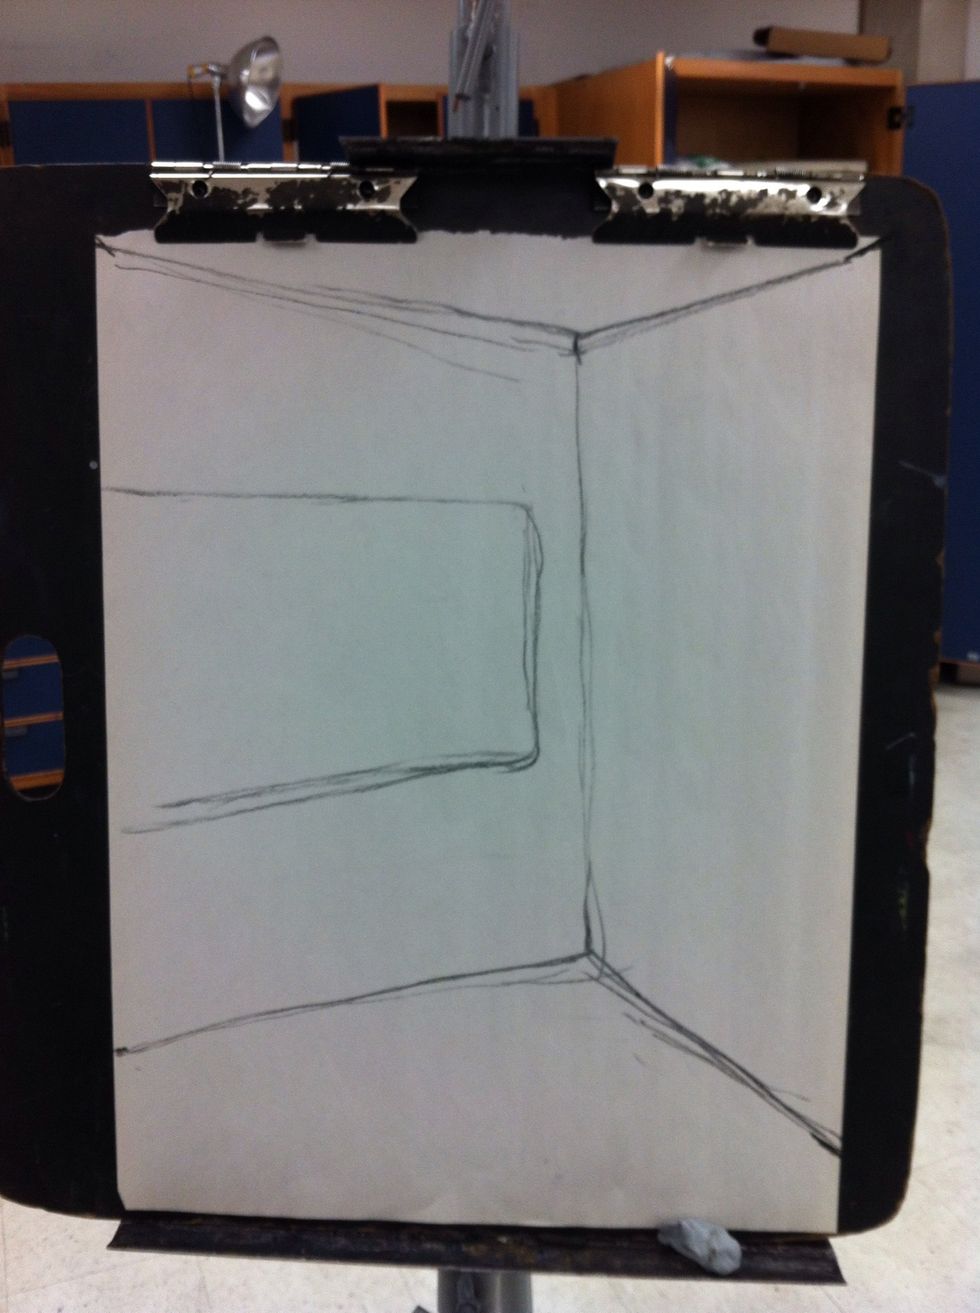
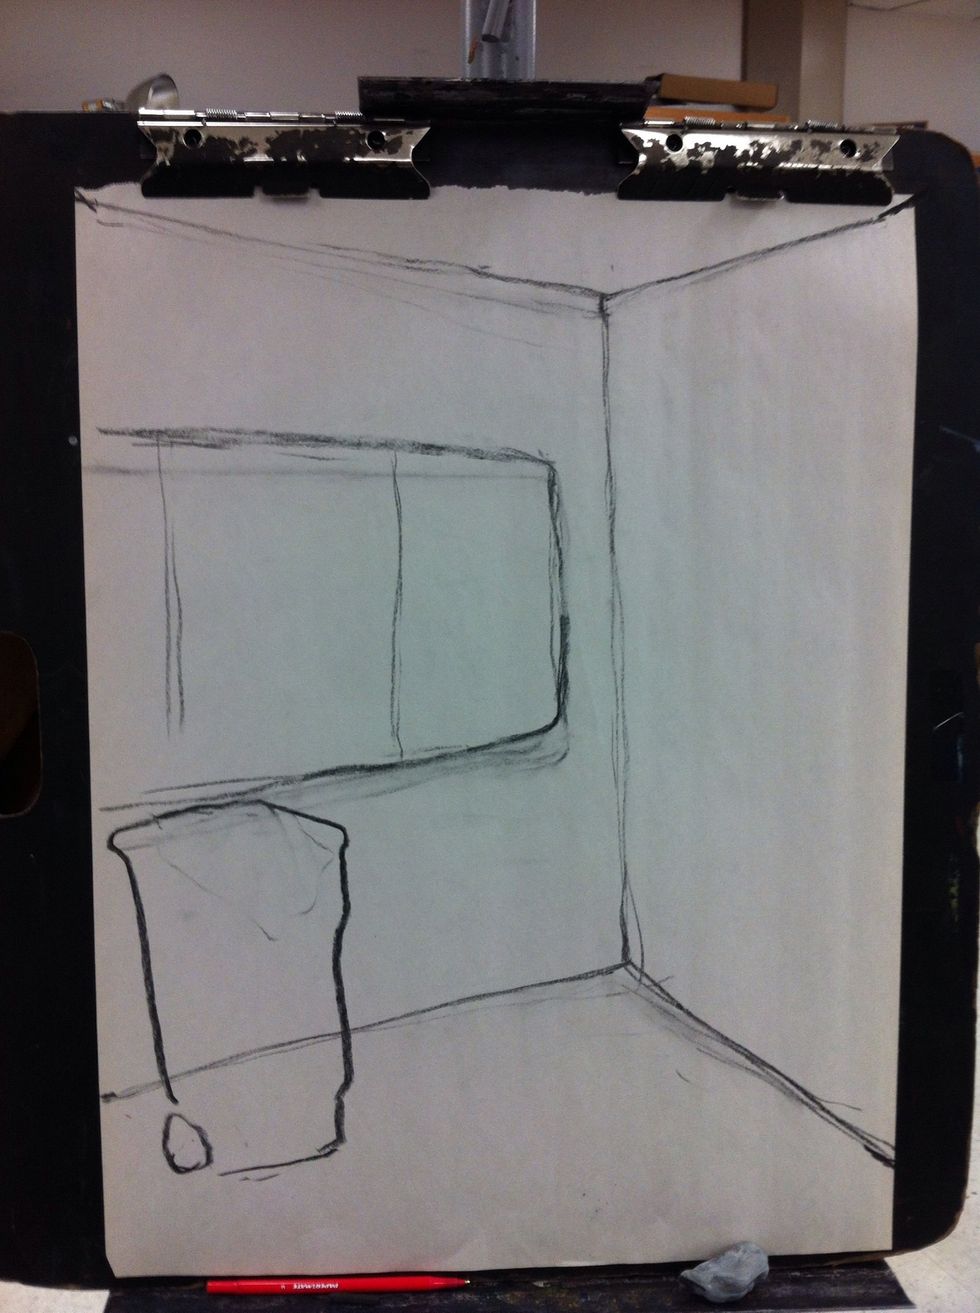
Next add in a large element by first guessing.

Check the angles on the top.
Compare with your drawing and make changed.
Check the angles on the bottom.

Compare with your drawing and make changes.
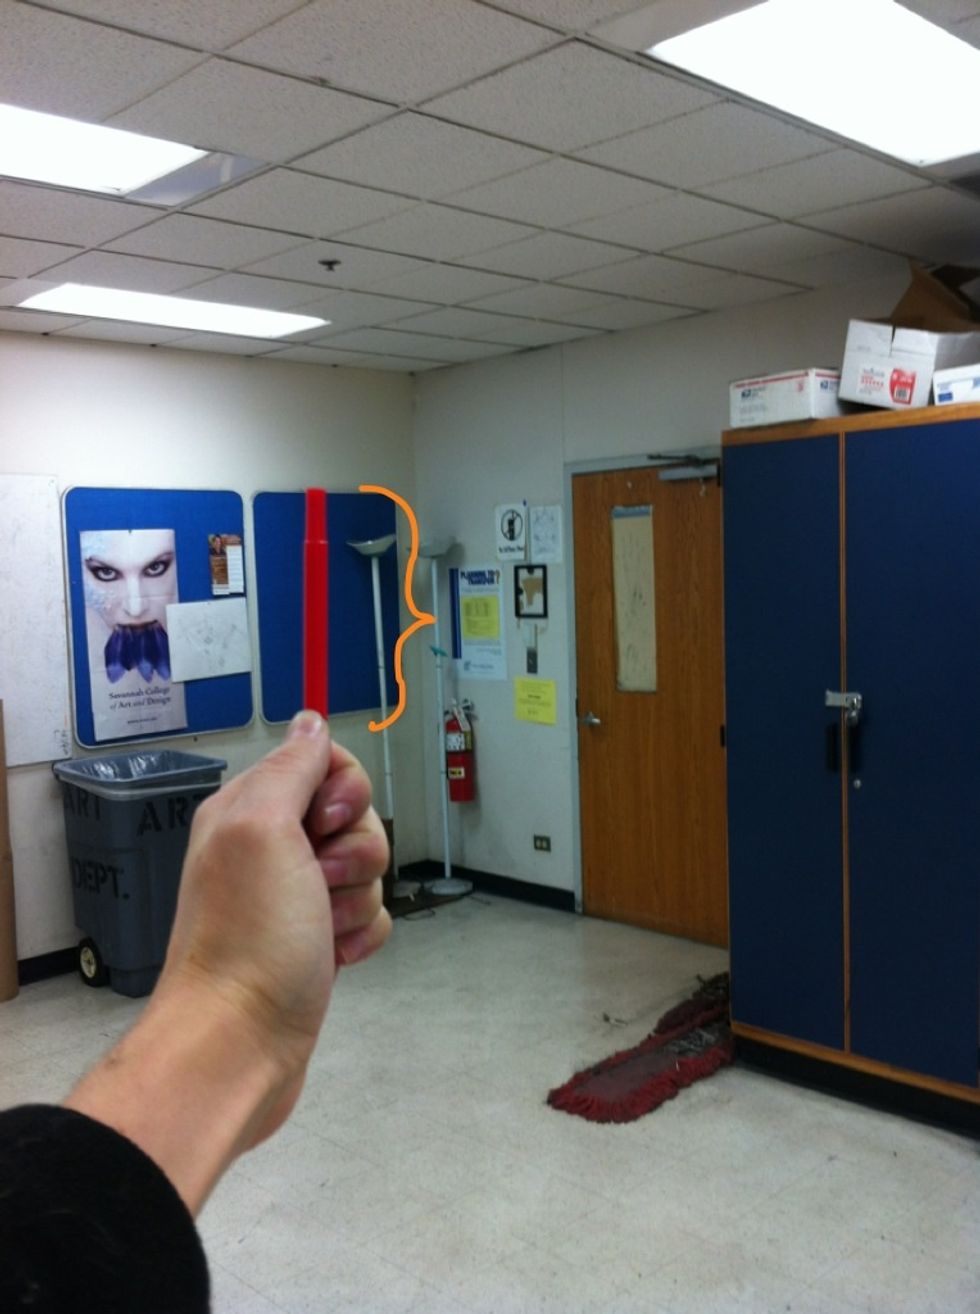
Next, extend your arm COMPLETELY, and LOCK your elbow. Use your pencil and thumb to discover a "unit of measurement", in this case it's one blue board high.
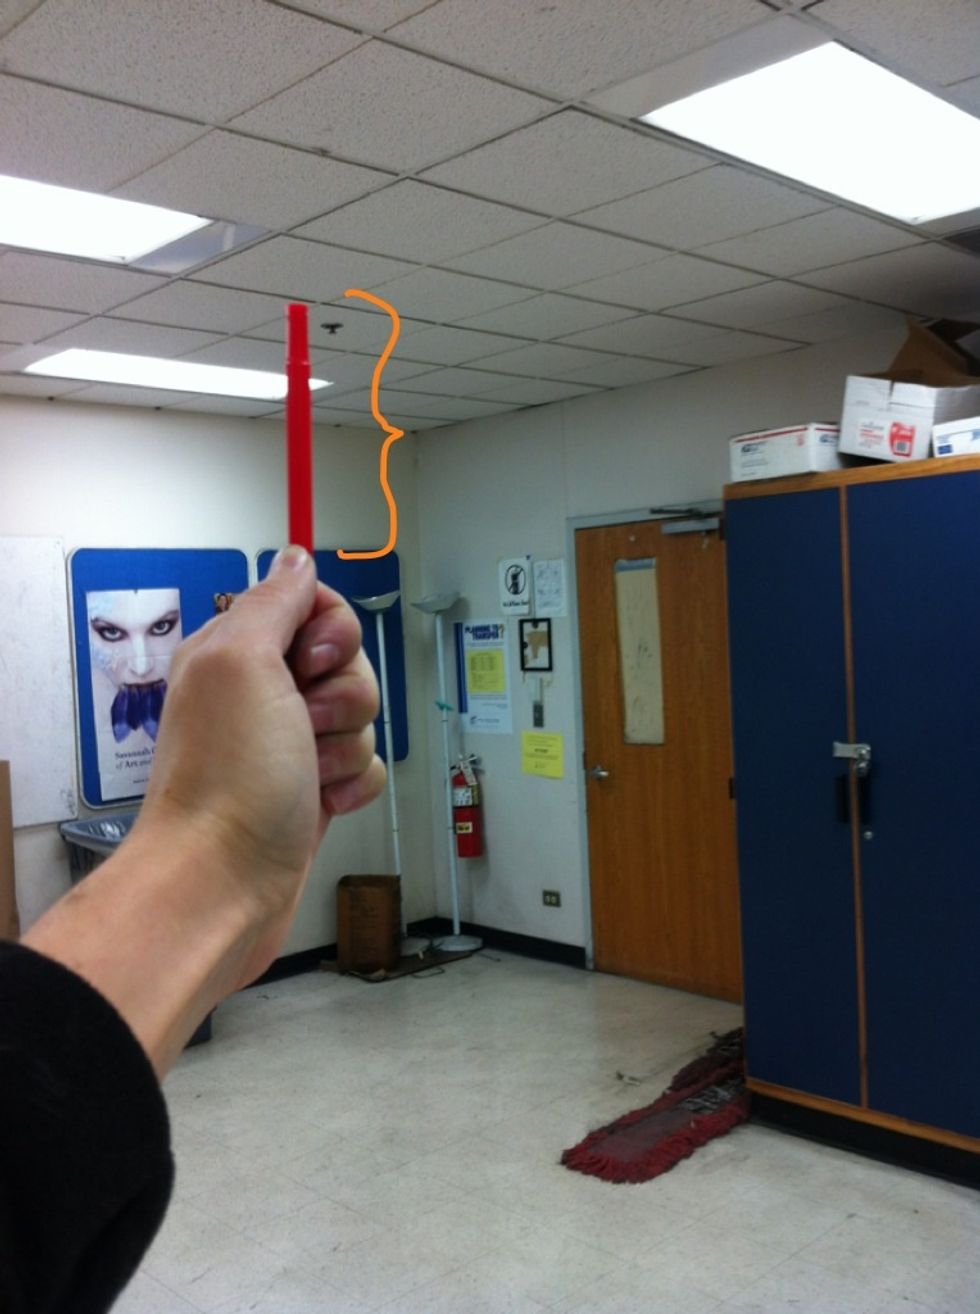
Keeping your elbow locked, use that unit of measurement to compare to other elements. In this case, the blue board is about 1/2 a blue board from the ceiling.
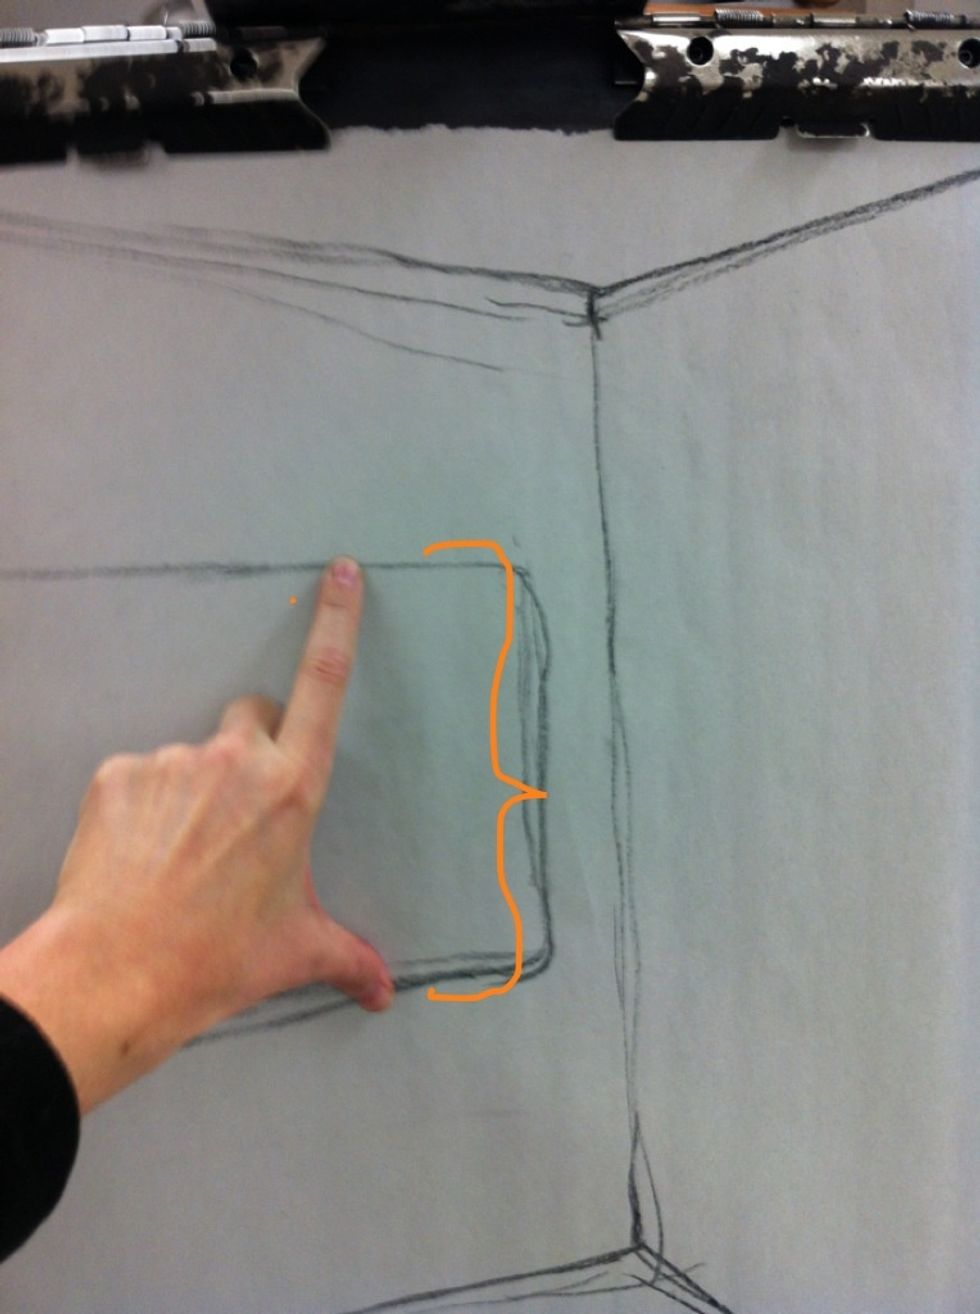
Create the same unit of measurement on your drawing.

Compare the elements in the same way. In this case, my blue board is a little too low, right? I need to move it up a little. Make changes to your drawing.
Use the same unit to measure other elements.
Compare with your paper and make changes.
Eraser marks and evidence of learning only makes your drawing more interesting. Once you believe the major elements are accurate slowly add in smaller elements.
When drawing tricky things, resort to contour line drawing. Just outline the thing.
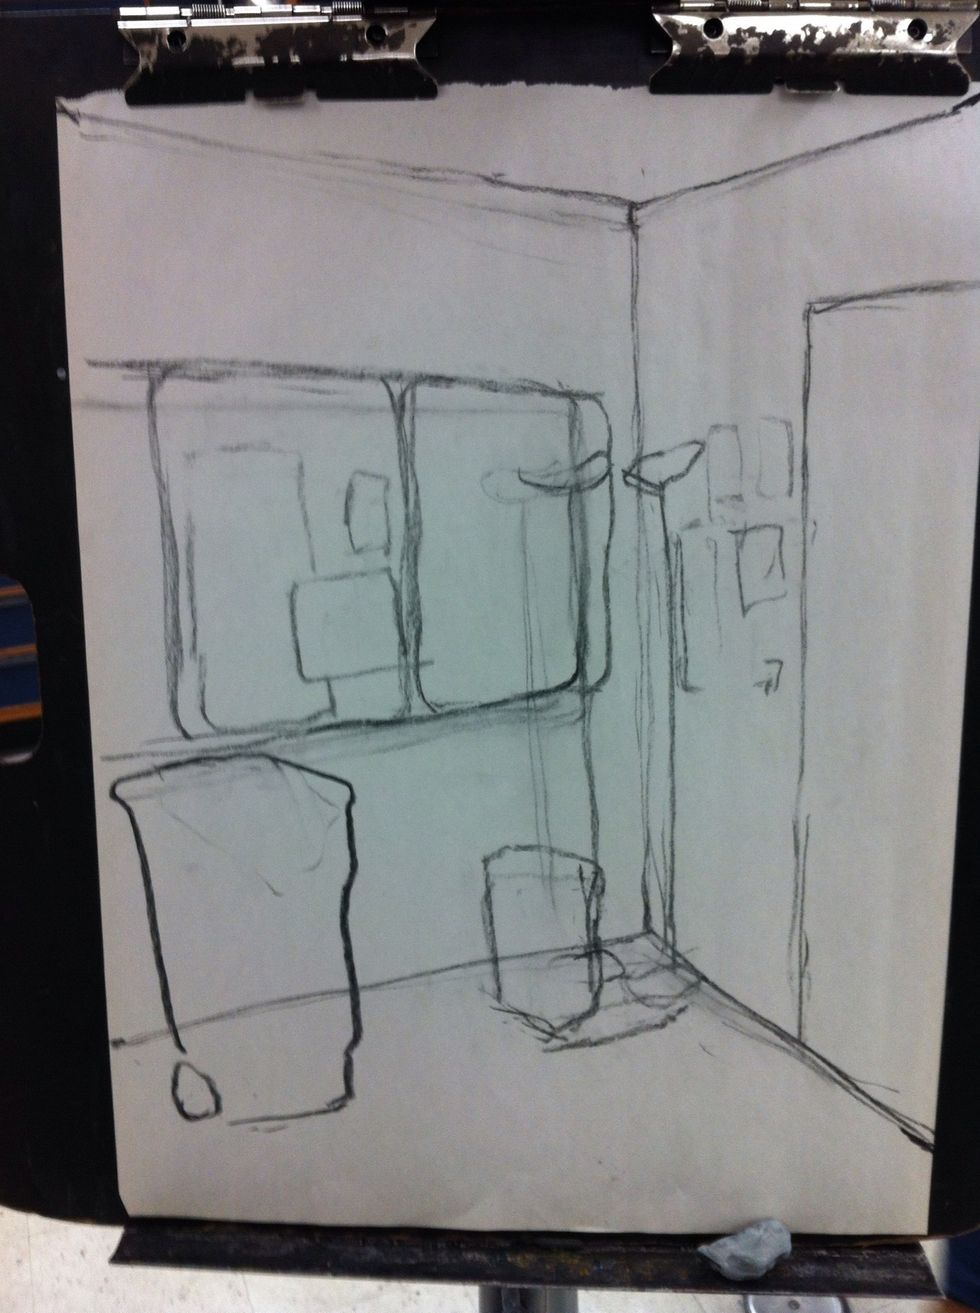
Continue adding in elements and making changes. Notice the level of finish remains the same throughout the drawing through the whole process.