The Conversation (0)
Sign Up
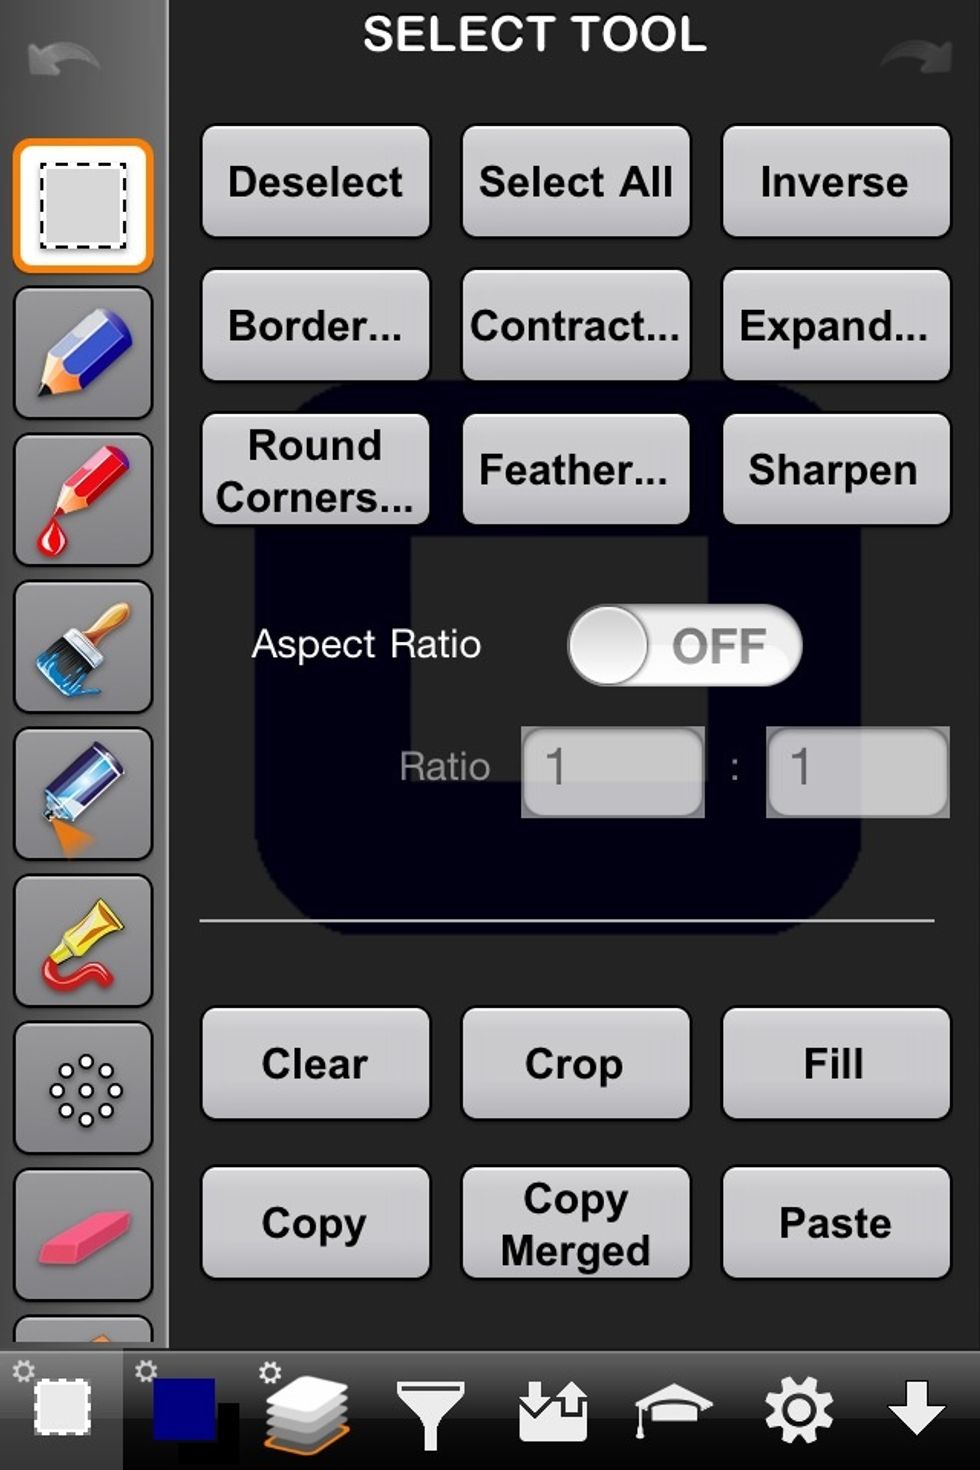
Continuing with my graphic design guides. In this guide I'll go over the various selection tools and some of their functions. There's more to know but this guide will cover the basics.
As always I'll be using the ArtStudio app to make this guide. But the same features are on most good image editing apps and programs such as photoshop.
Selection tools means to basically outline a portion of an image. Think of a selected are as an area that's turned on and the rest of the image is turned off. You can only edit the selected area.
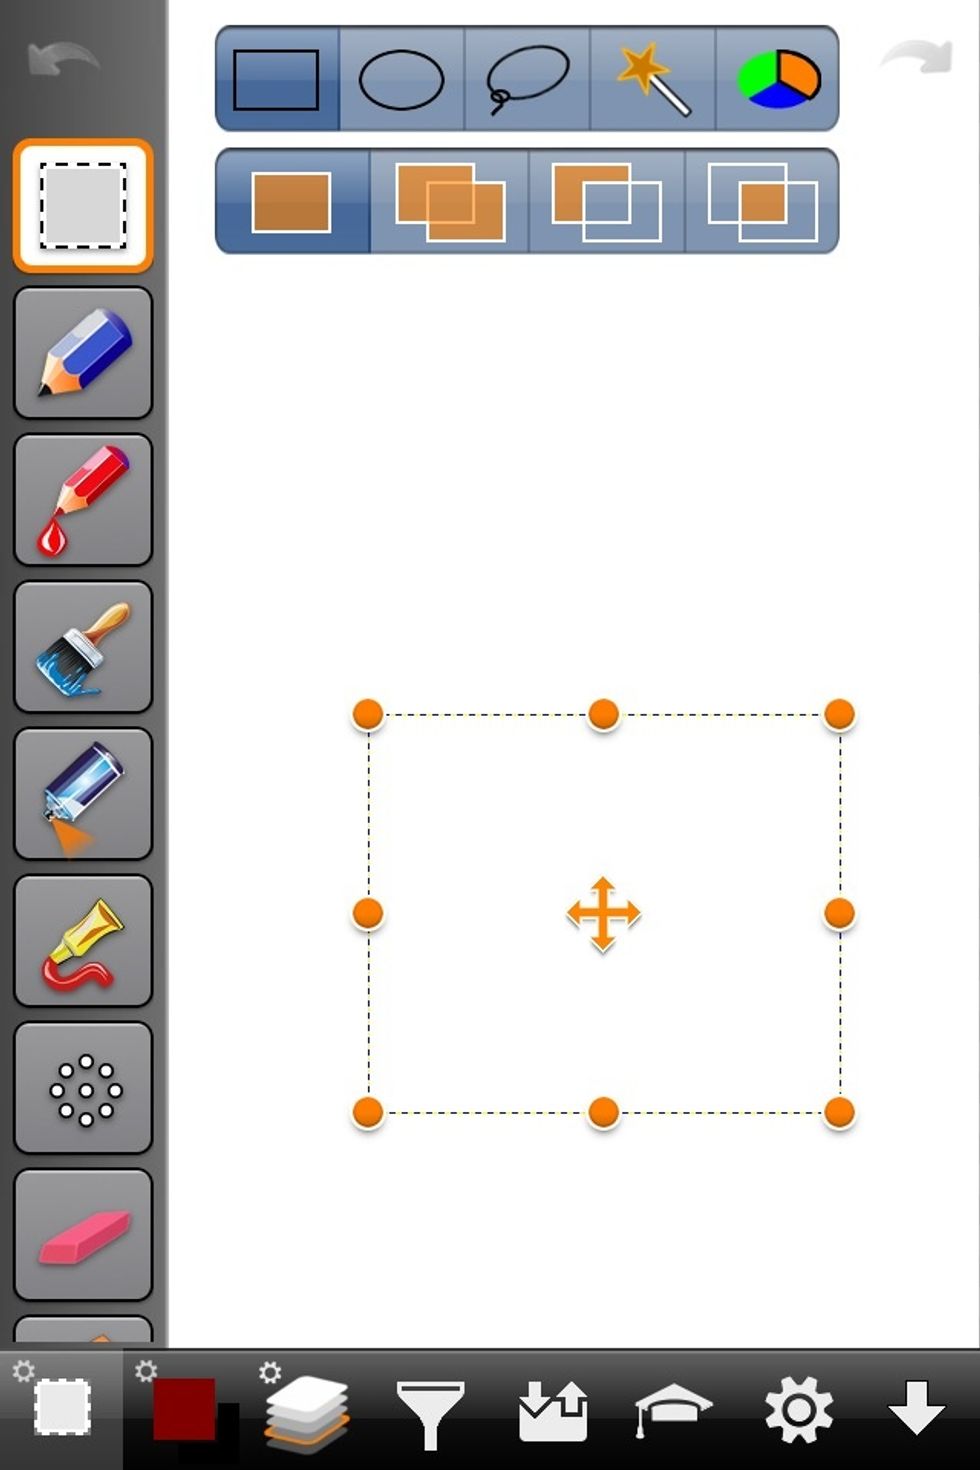
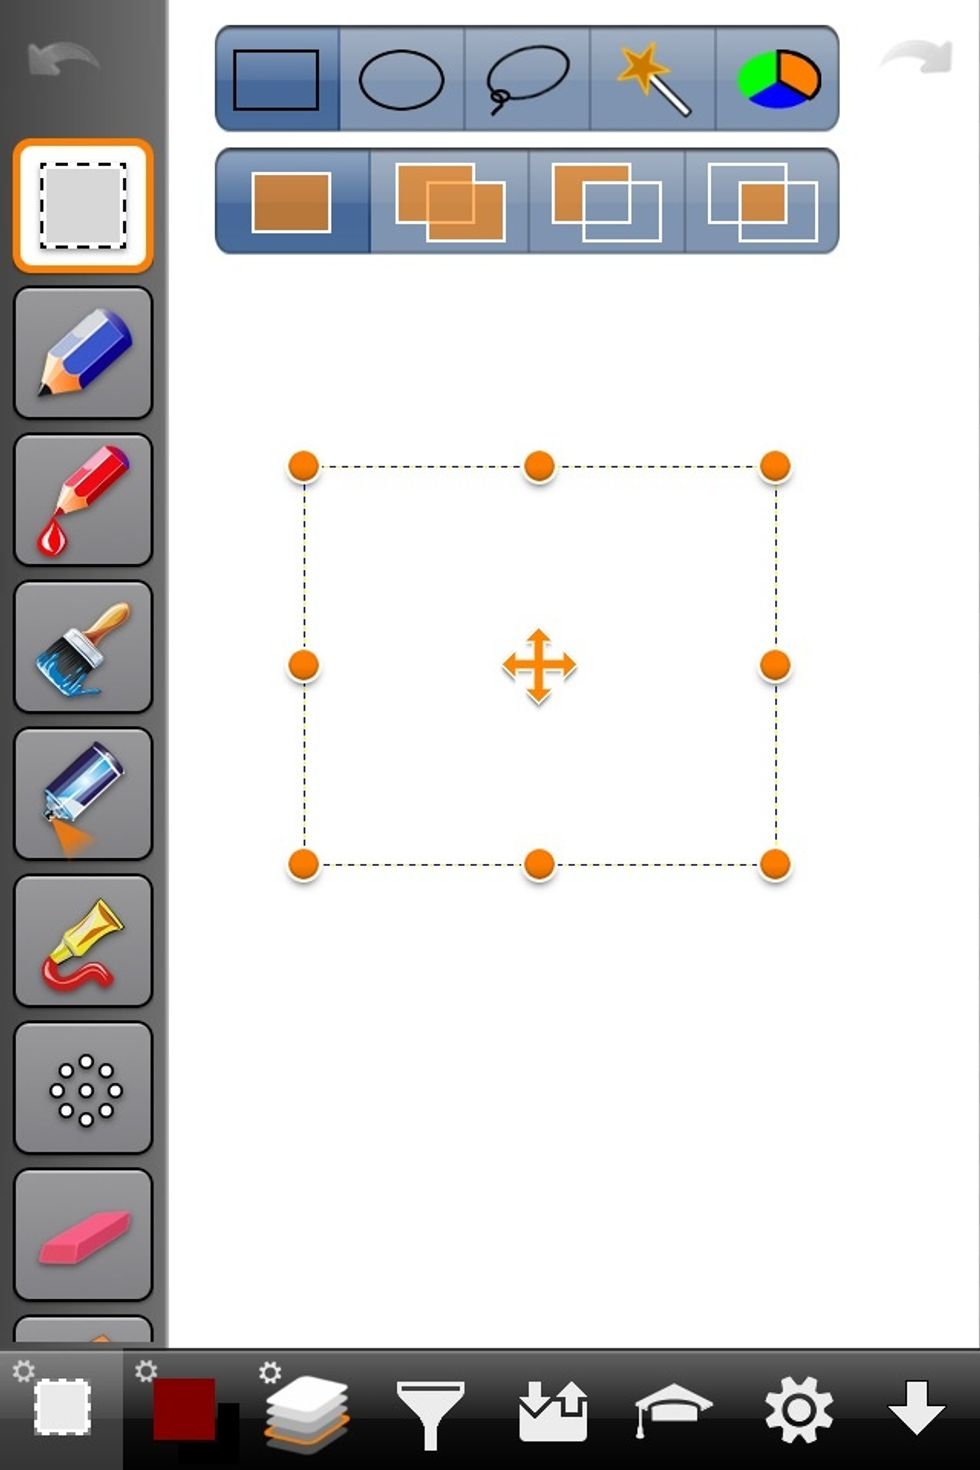
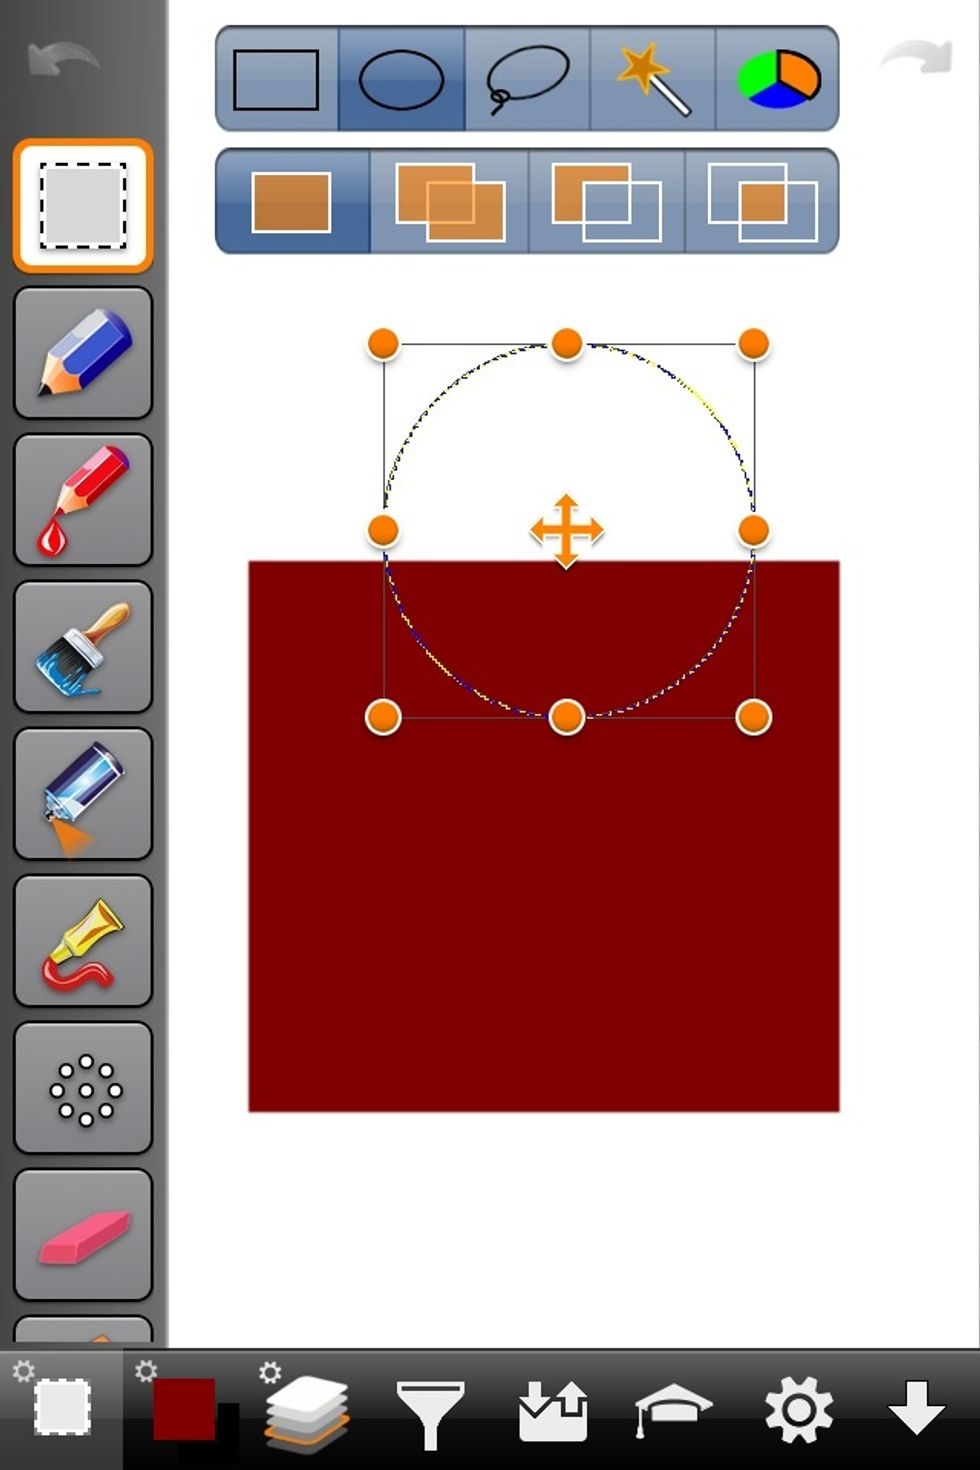
Here I used the square selection tool You can move the selected area by dragging the center positioning arrows.
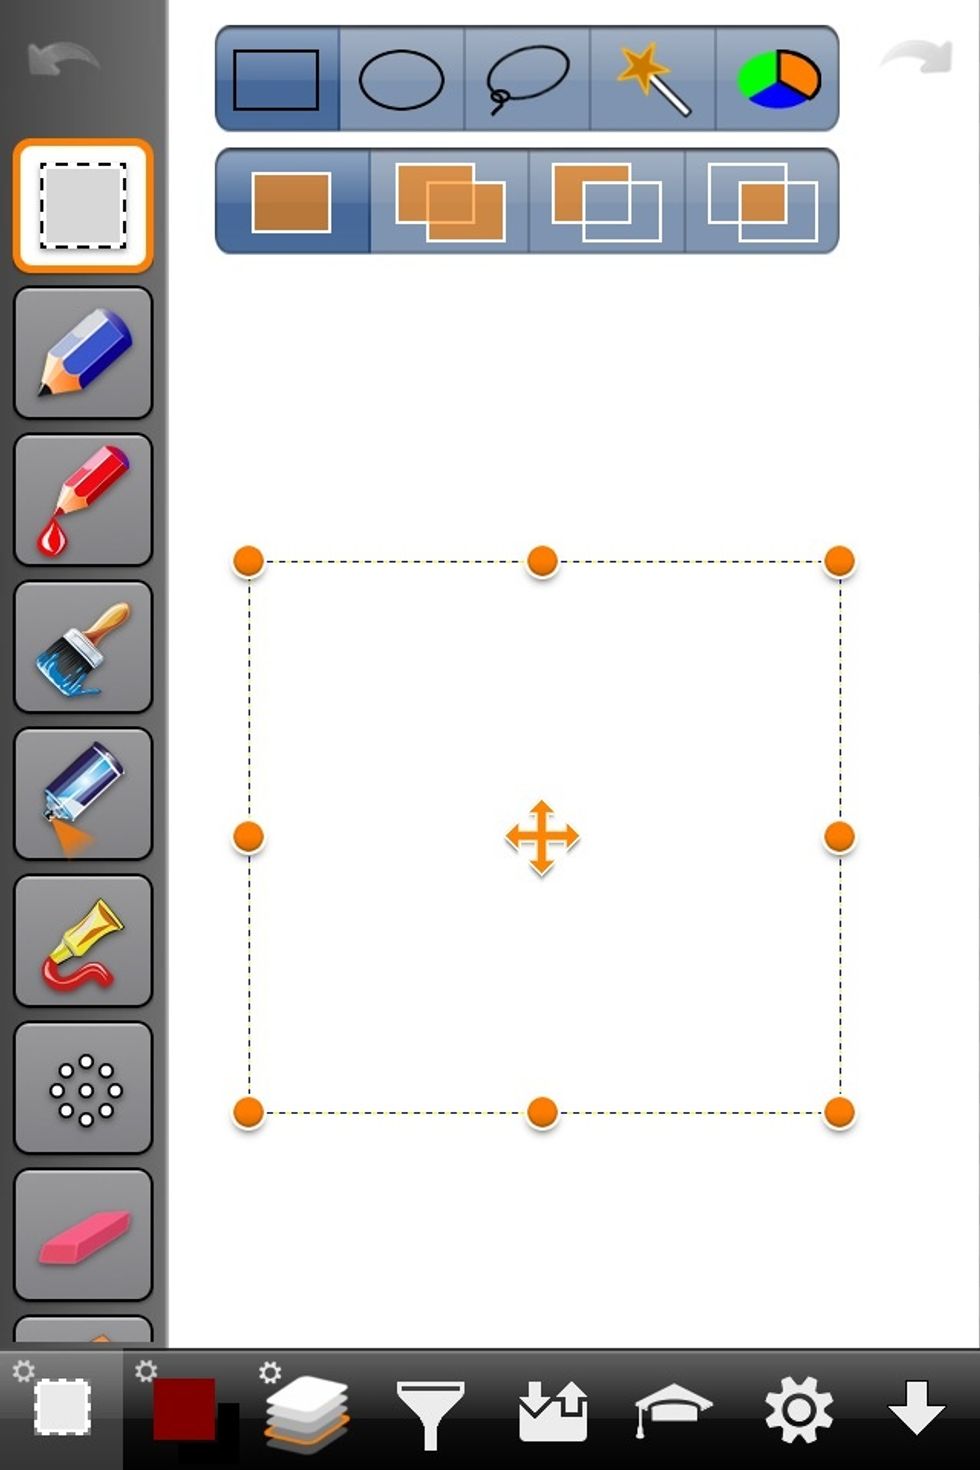
Or resize the square by dragging the orange dots.
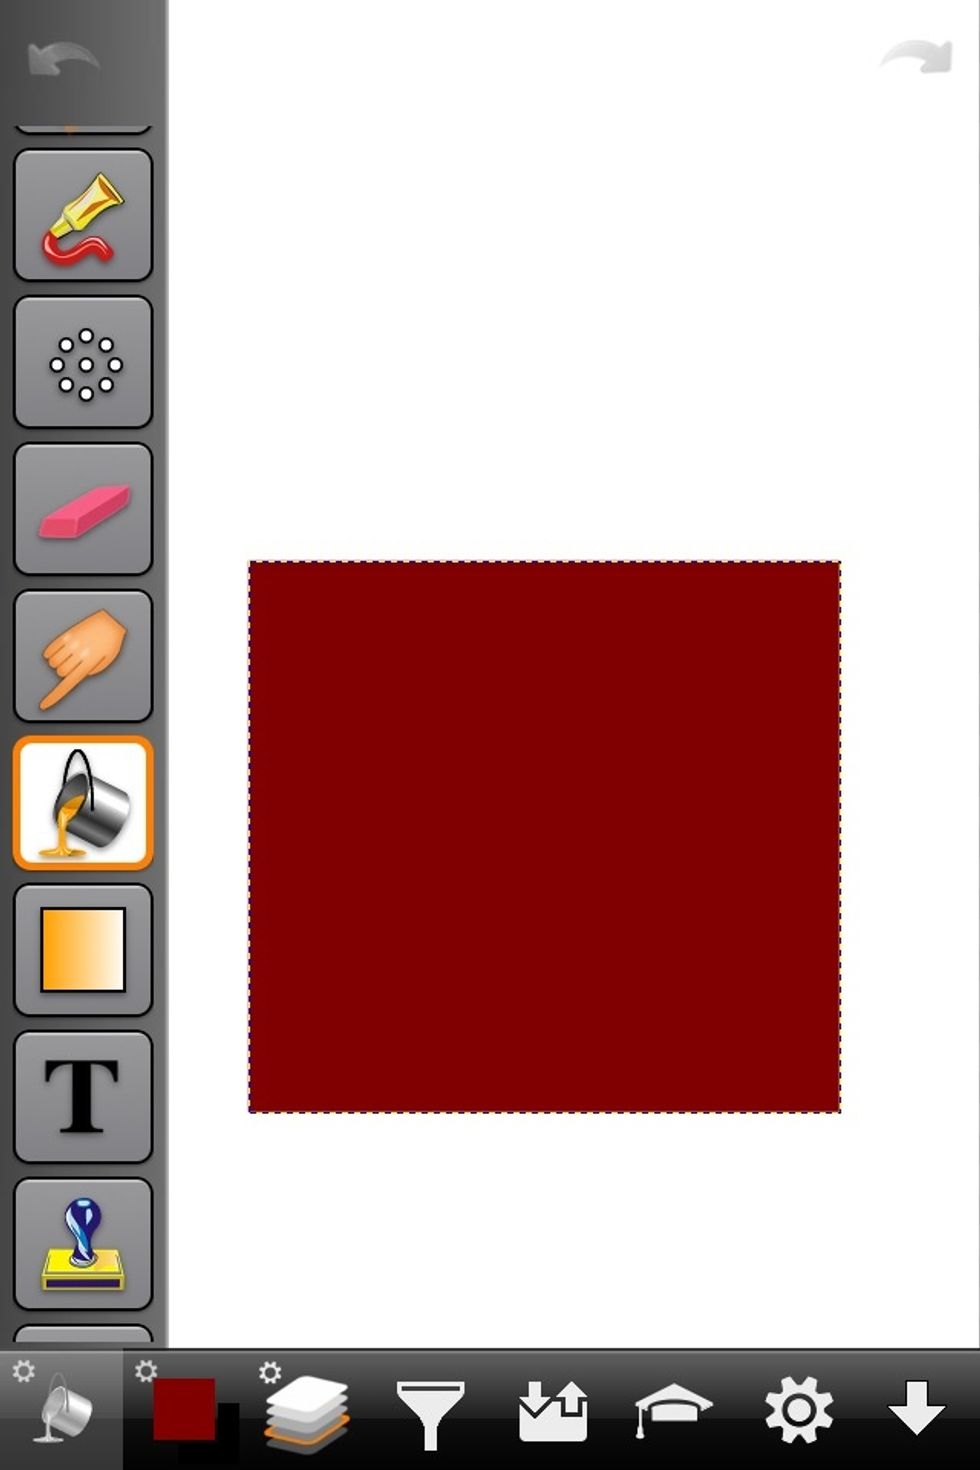
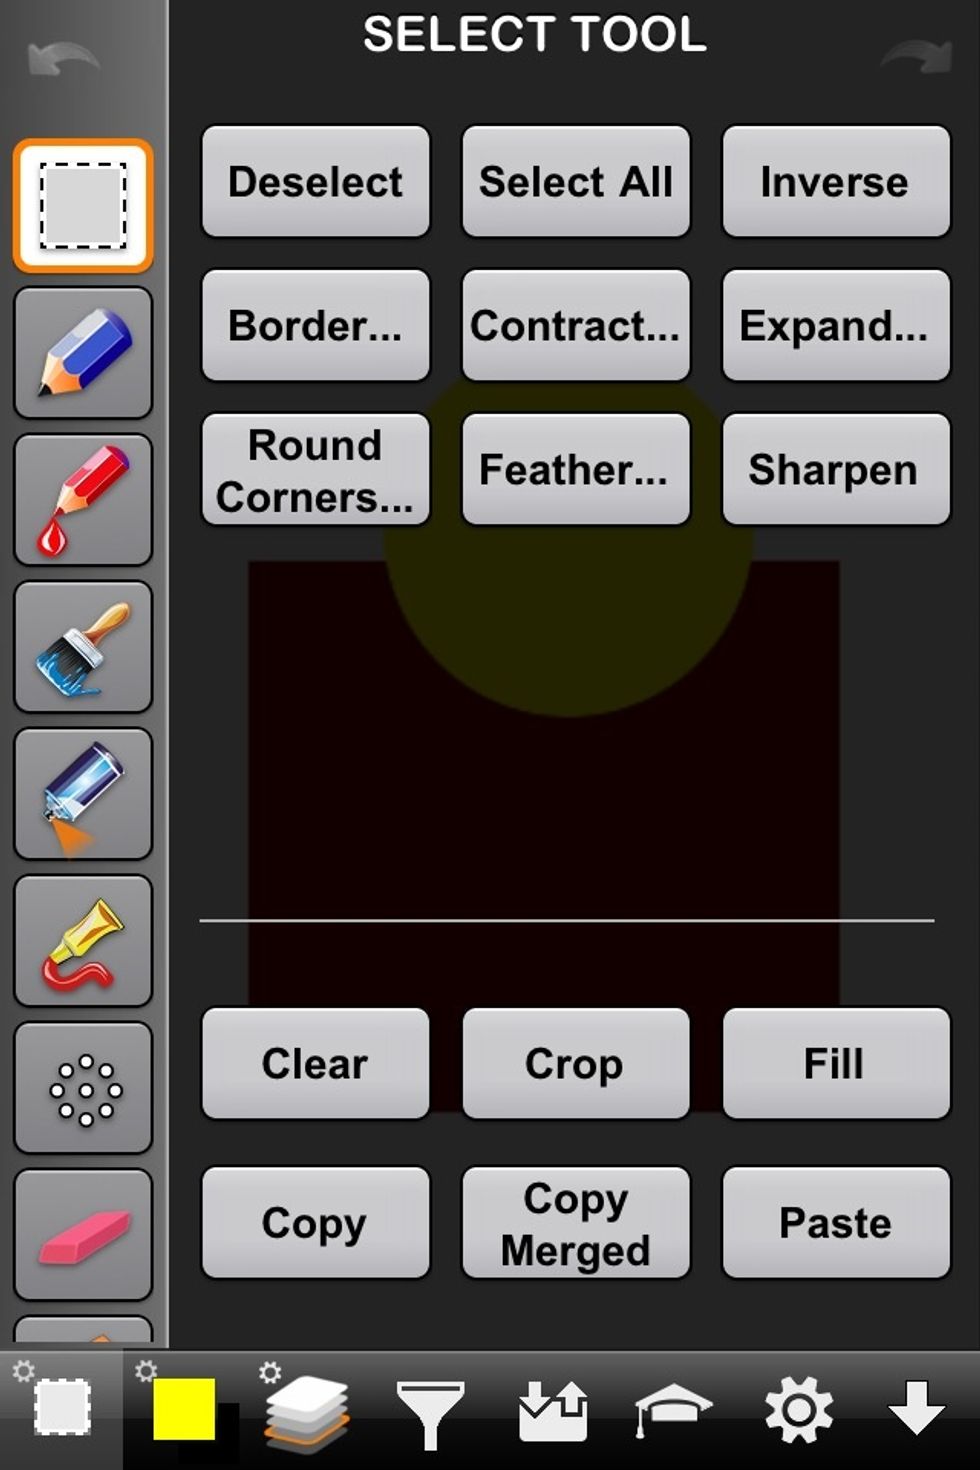
Here I've fill the selected area with maroon. Because this area is selected its the only area on the image I can fill. If I tried to fill the non-selects area nothing would happen because it's "off".
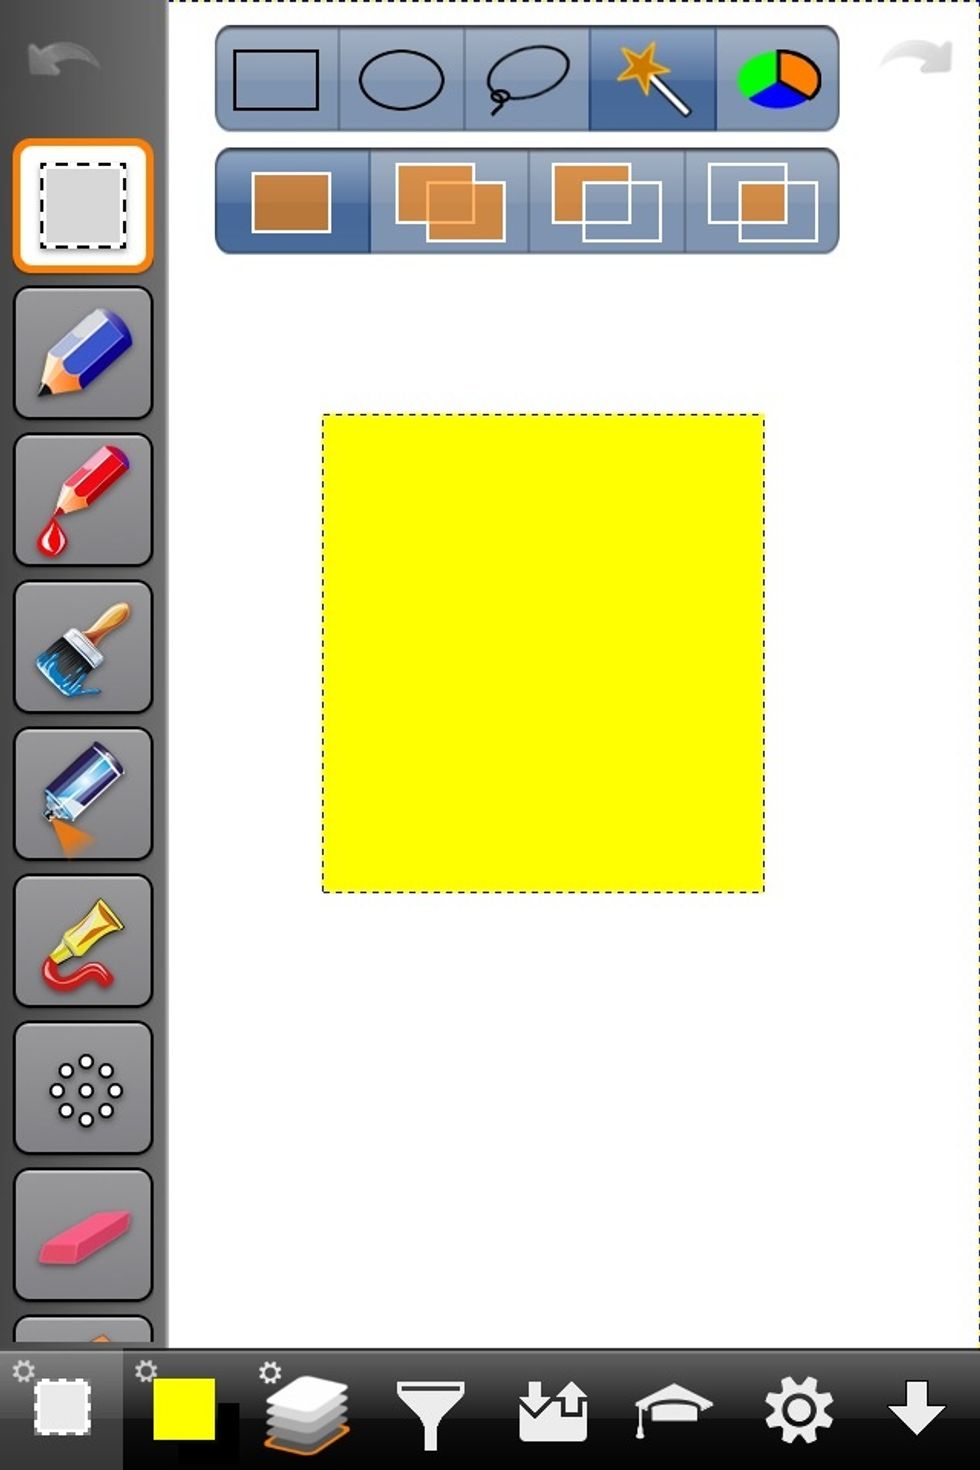
Here I'll make a circle with the circle selection tool (see top of image).
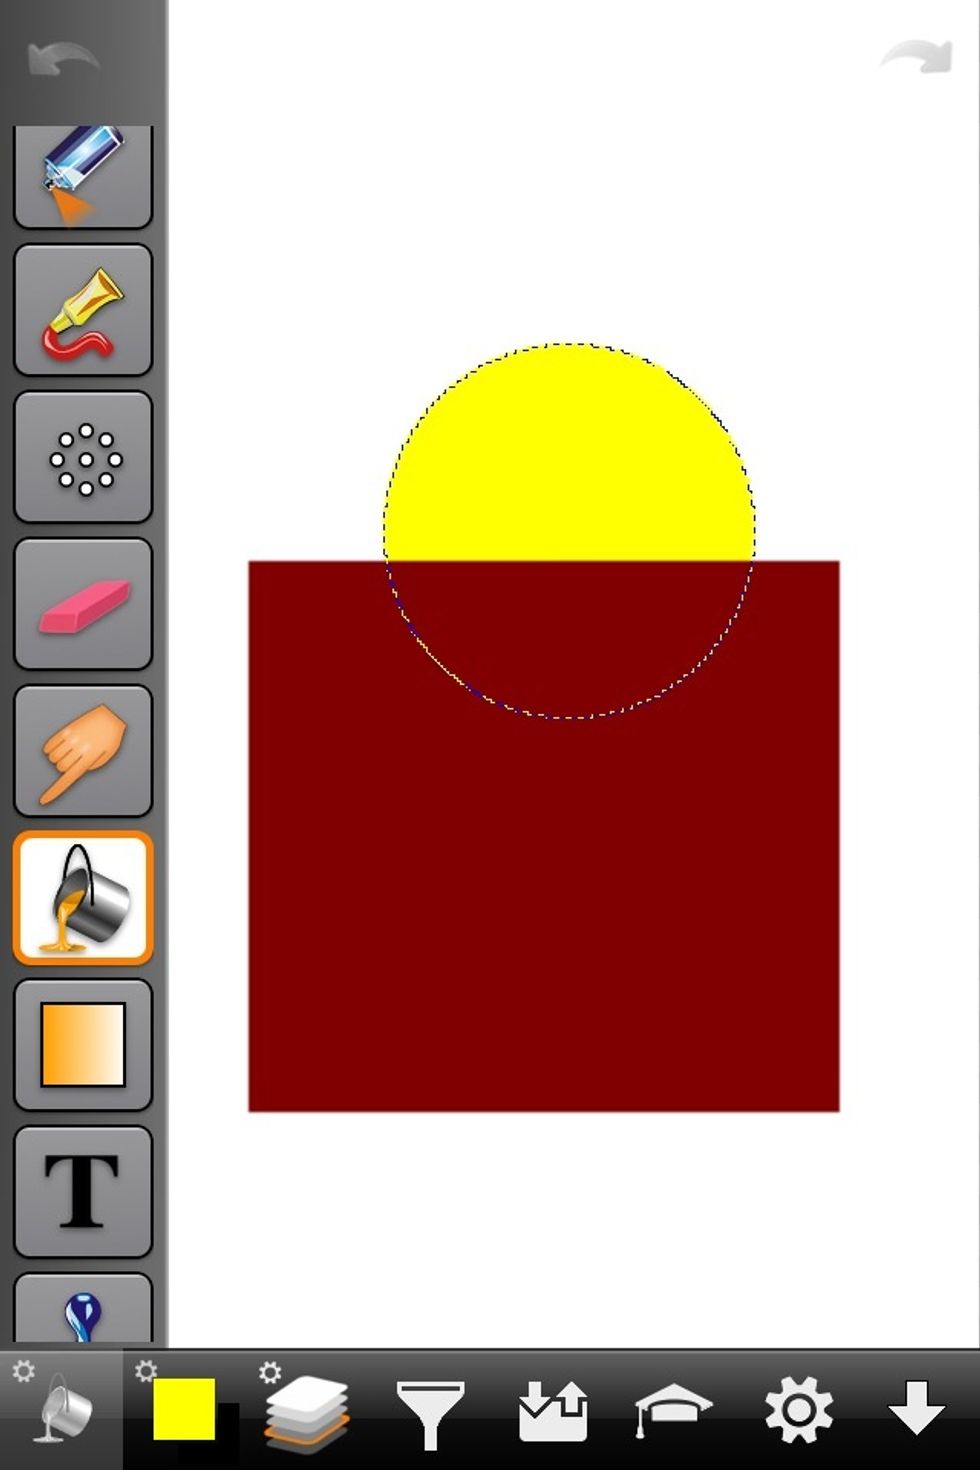
Now I filled the circle yellow. But notice only the white part of the circle filled yellow. This is because fill only works on one color at a time.
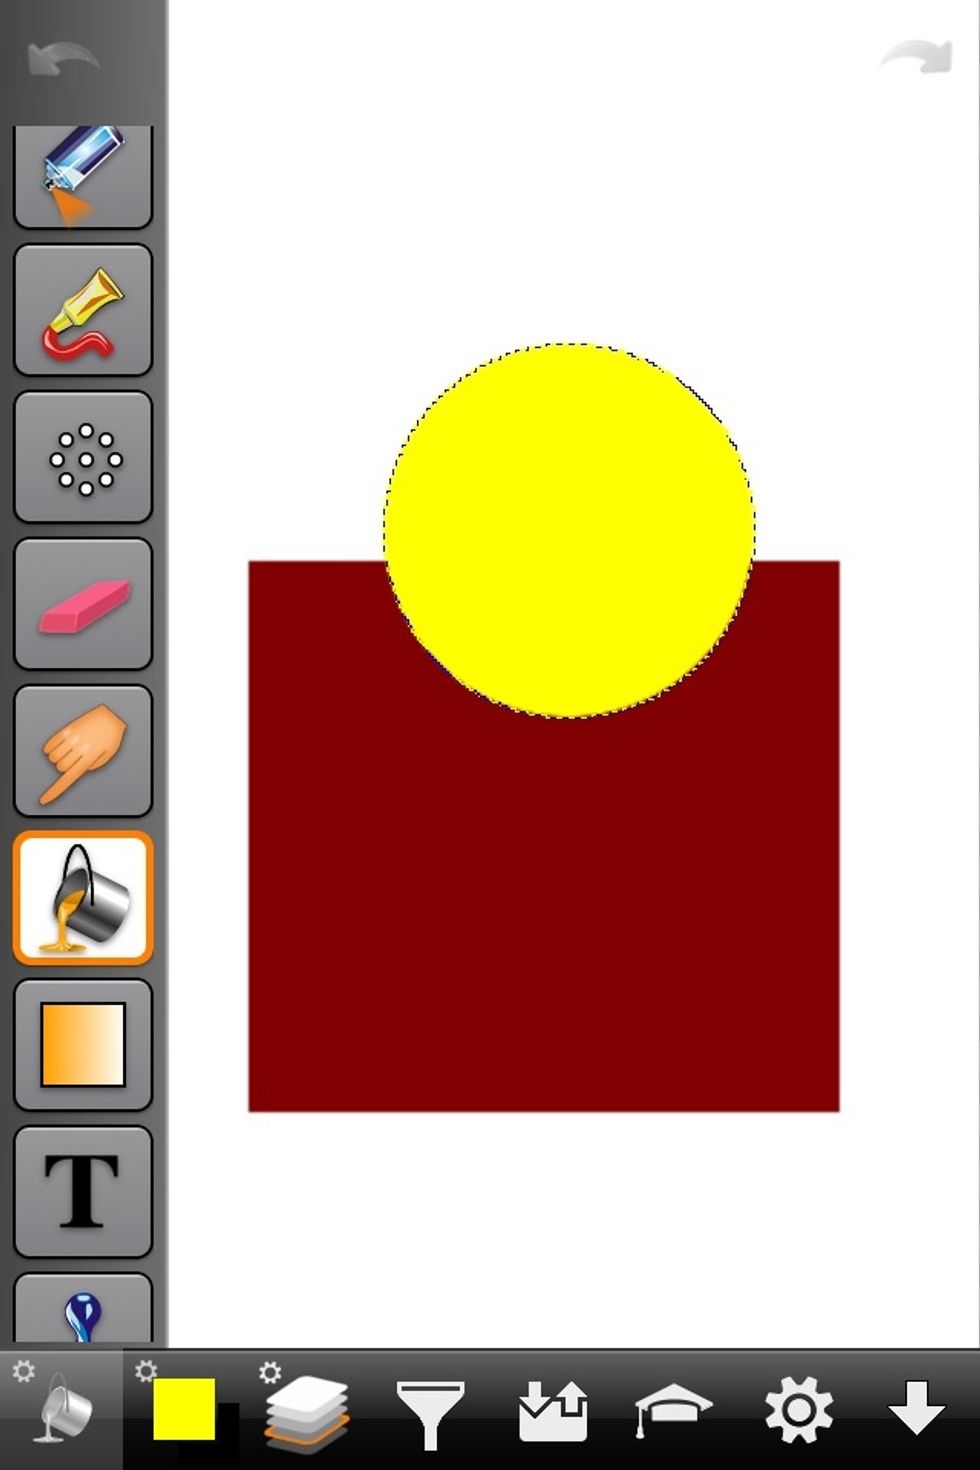
Fill the rest by filling the remaining color in the selected circle.
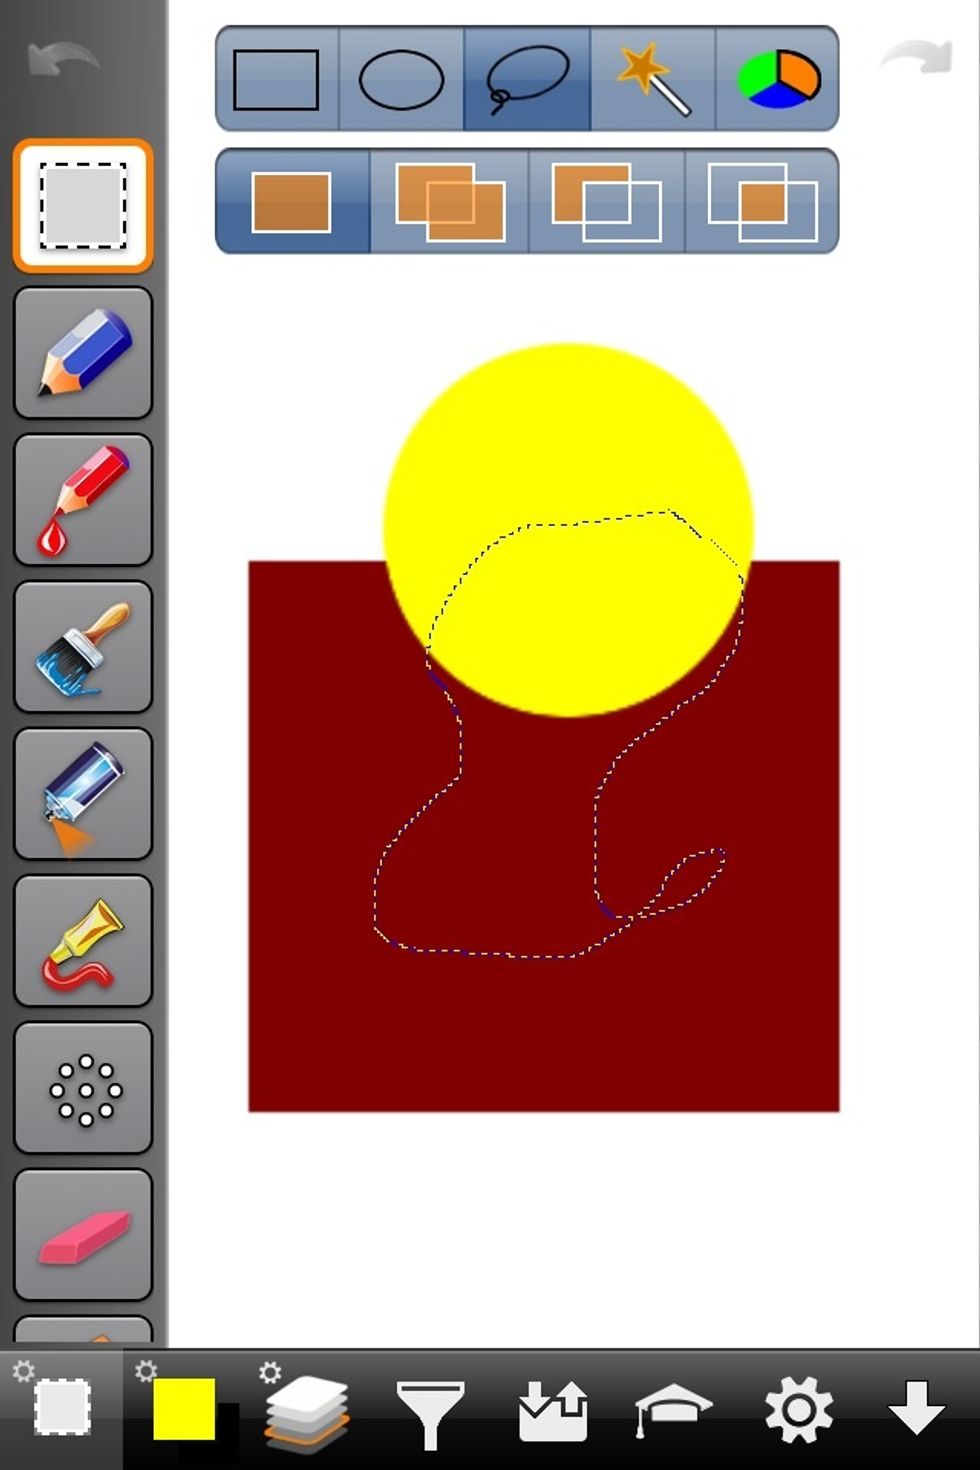
Next we have the tracing tool. Basically what this means is you select an area by drawing the shape you want to select. Think of it as cutting an area with an exacto knife. Draw by dragging or tapping
Next well go over some of the things you can do with a selected area.
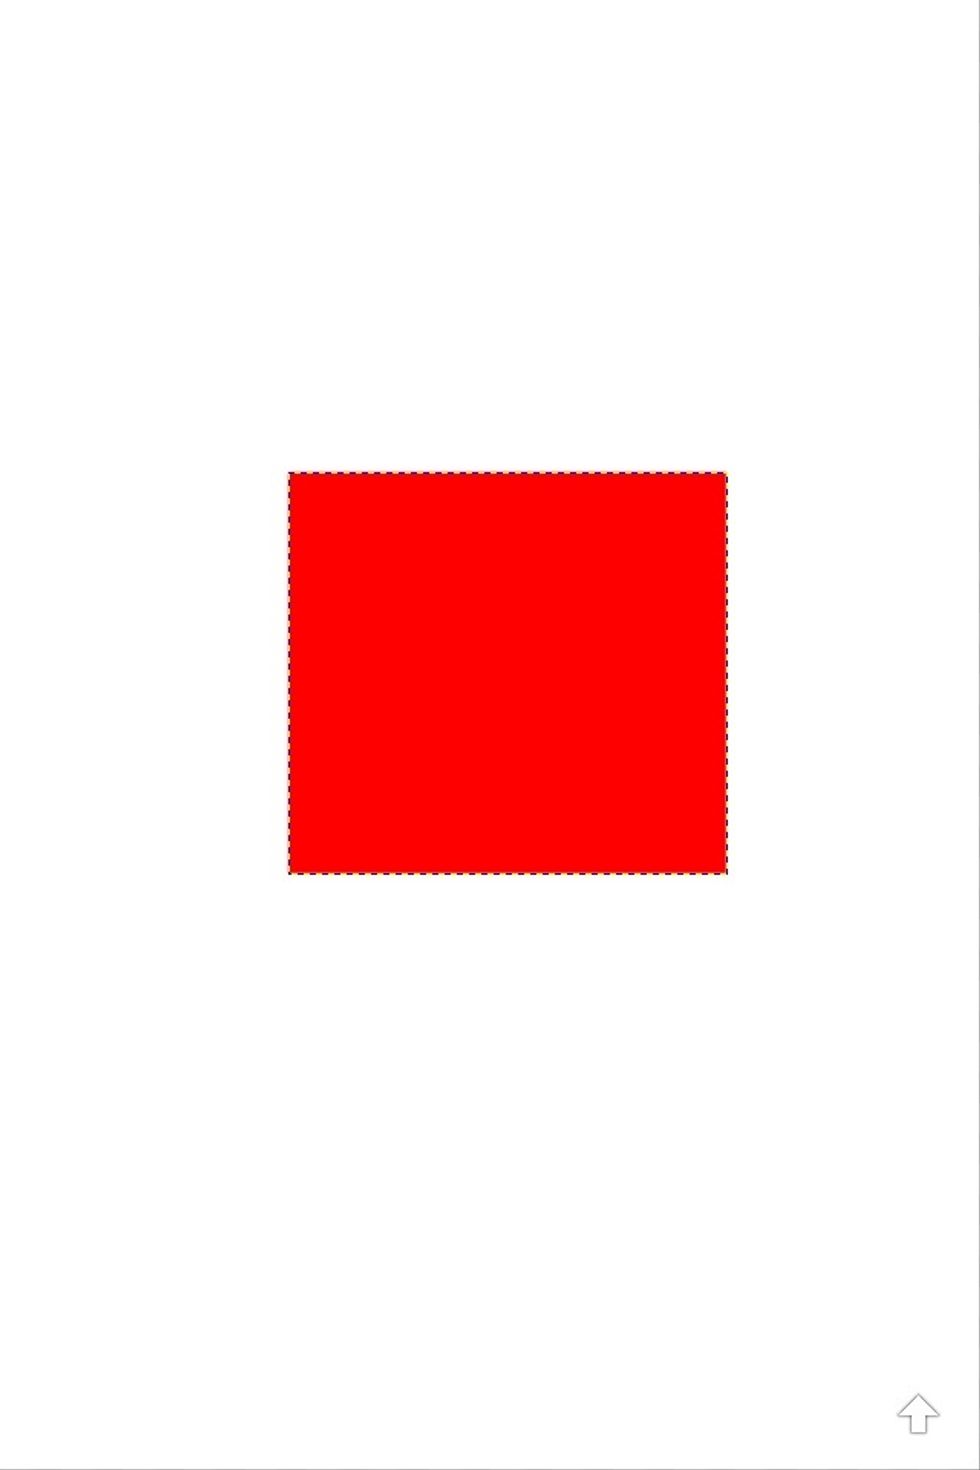
Here I've created a new image and filled a square red. Note the dotted line outlining the selected area. So the square is "on" and the rest of the image is turned off.
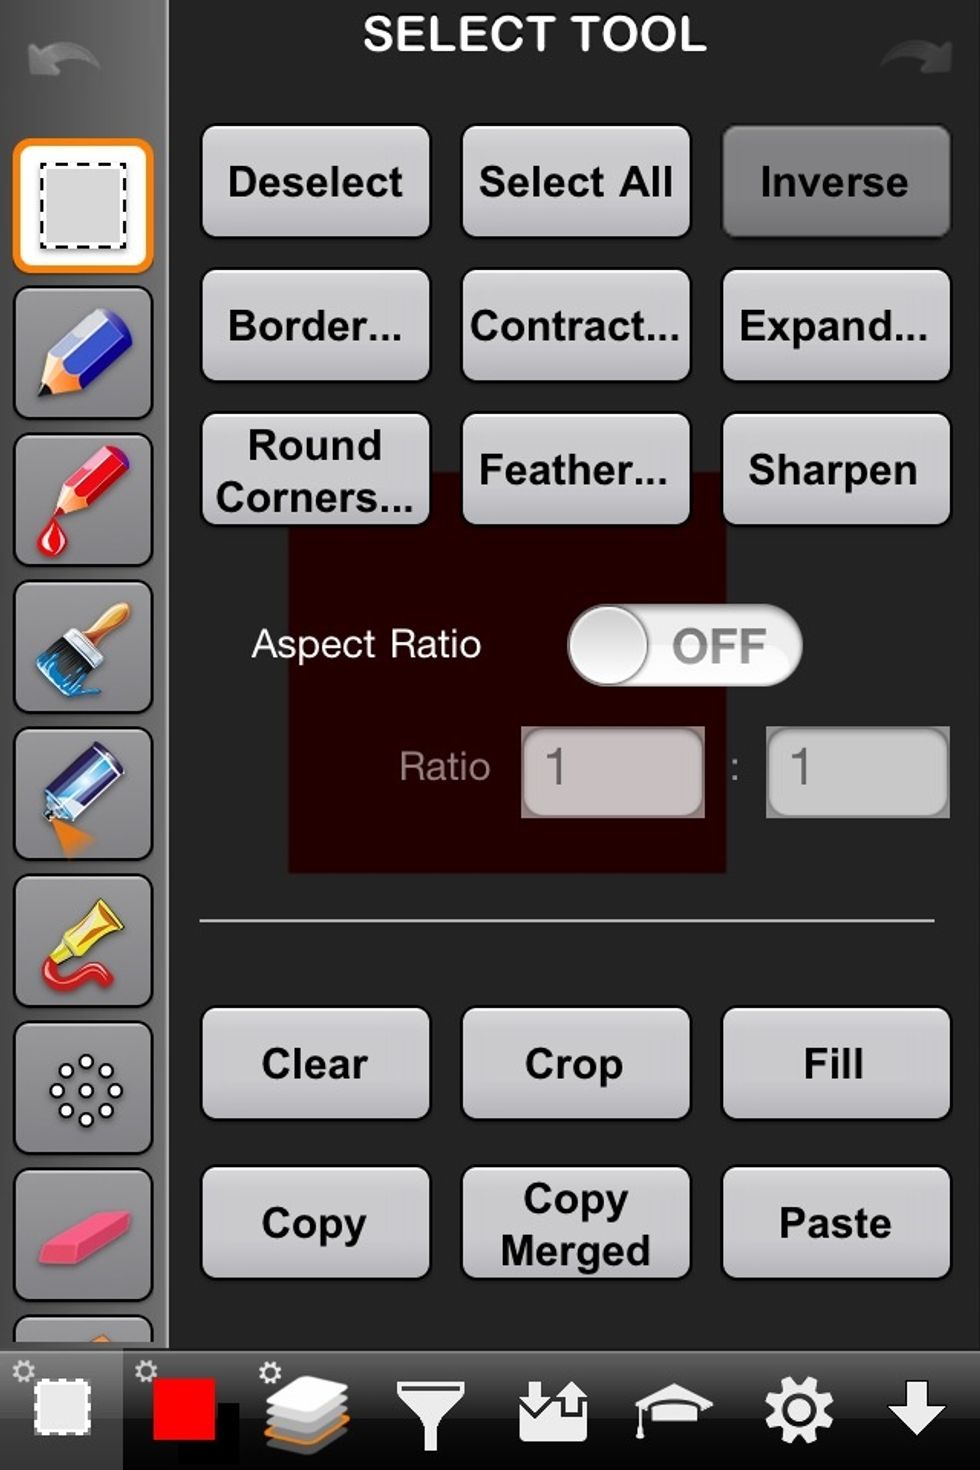
Now we're going to invert the selected area. So go to the selection settings and select Inverse.

Expand this image and look very closely. Now there's a dotted line around the border of the entire image and the square. Red area is now off and white area is now on.
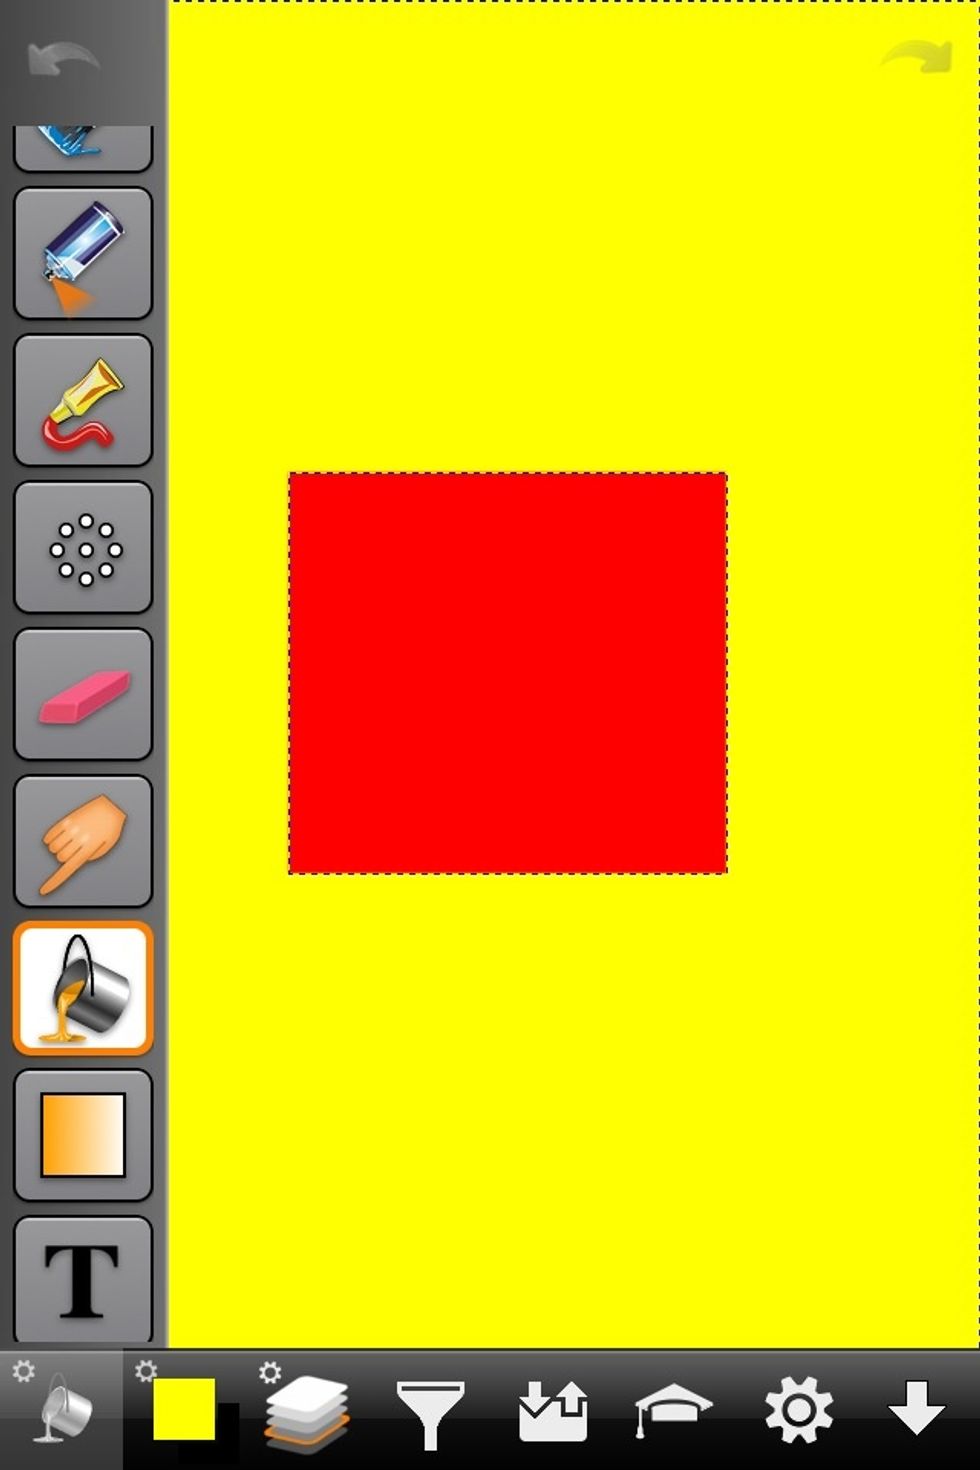
So if I fill with a different color only the selected/on section will be effected.
A selected area isn't just for coloring. Once an area is selected it can be copies or cut out. These next steps will cover different things you can do with a selected area.
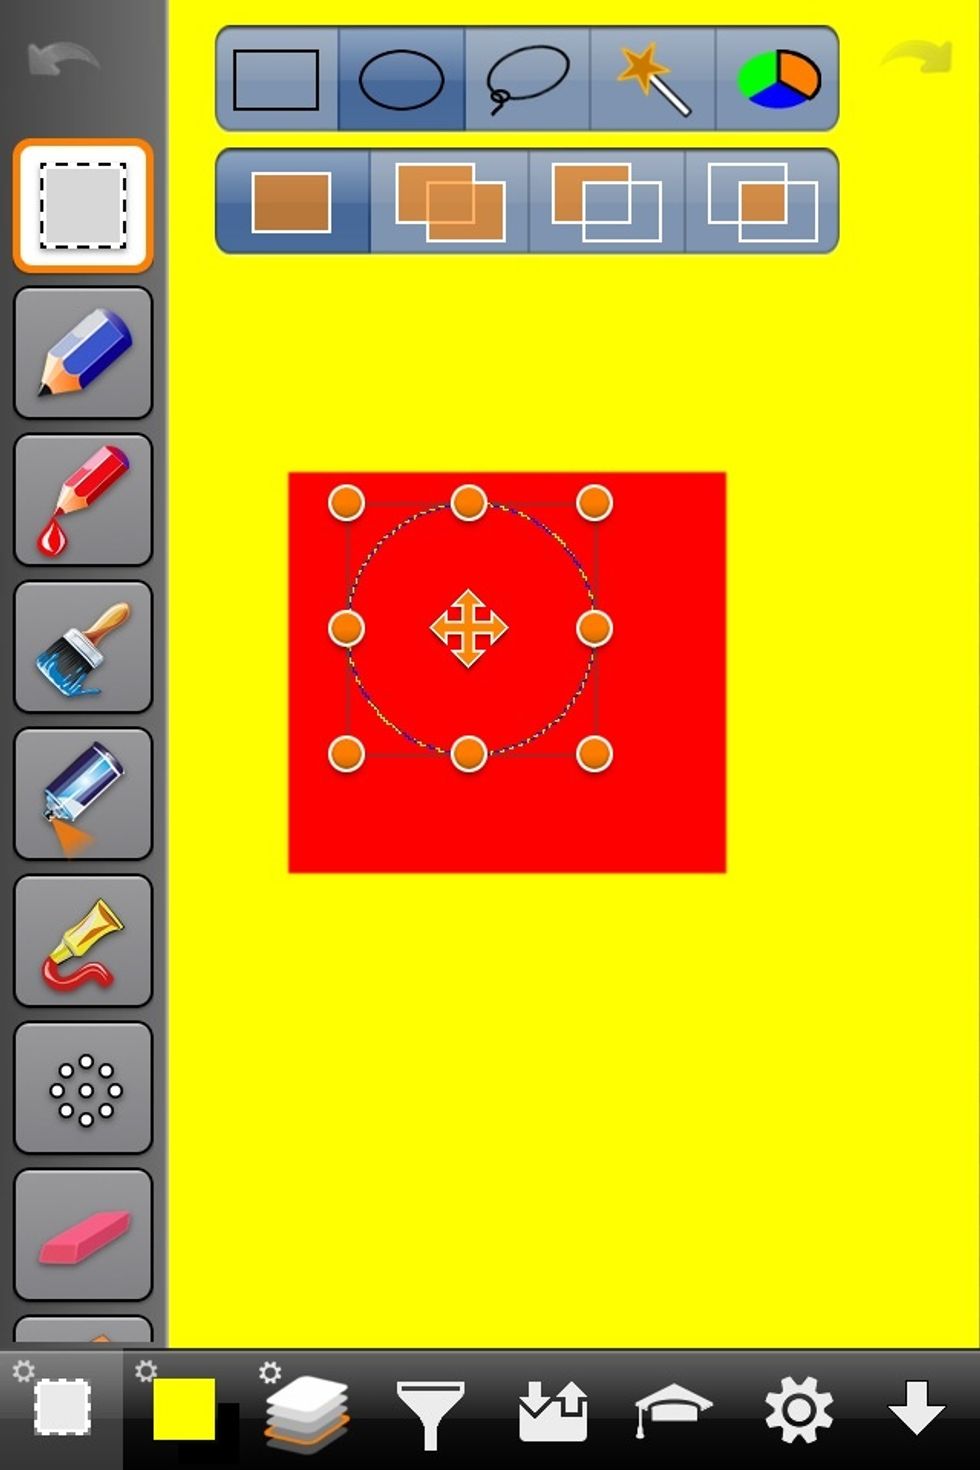
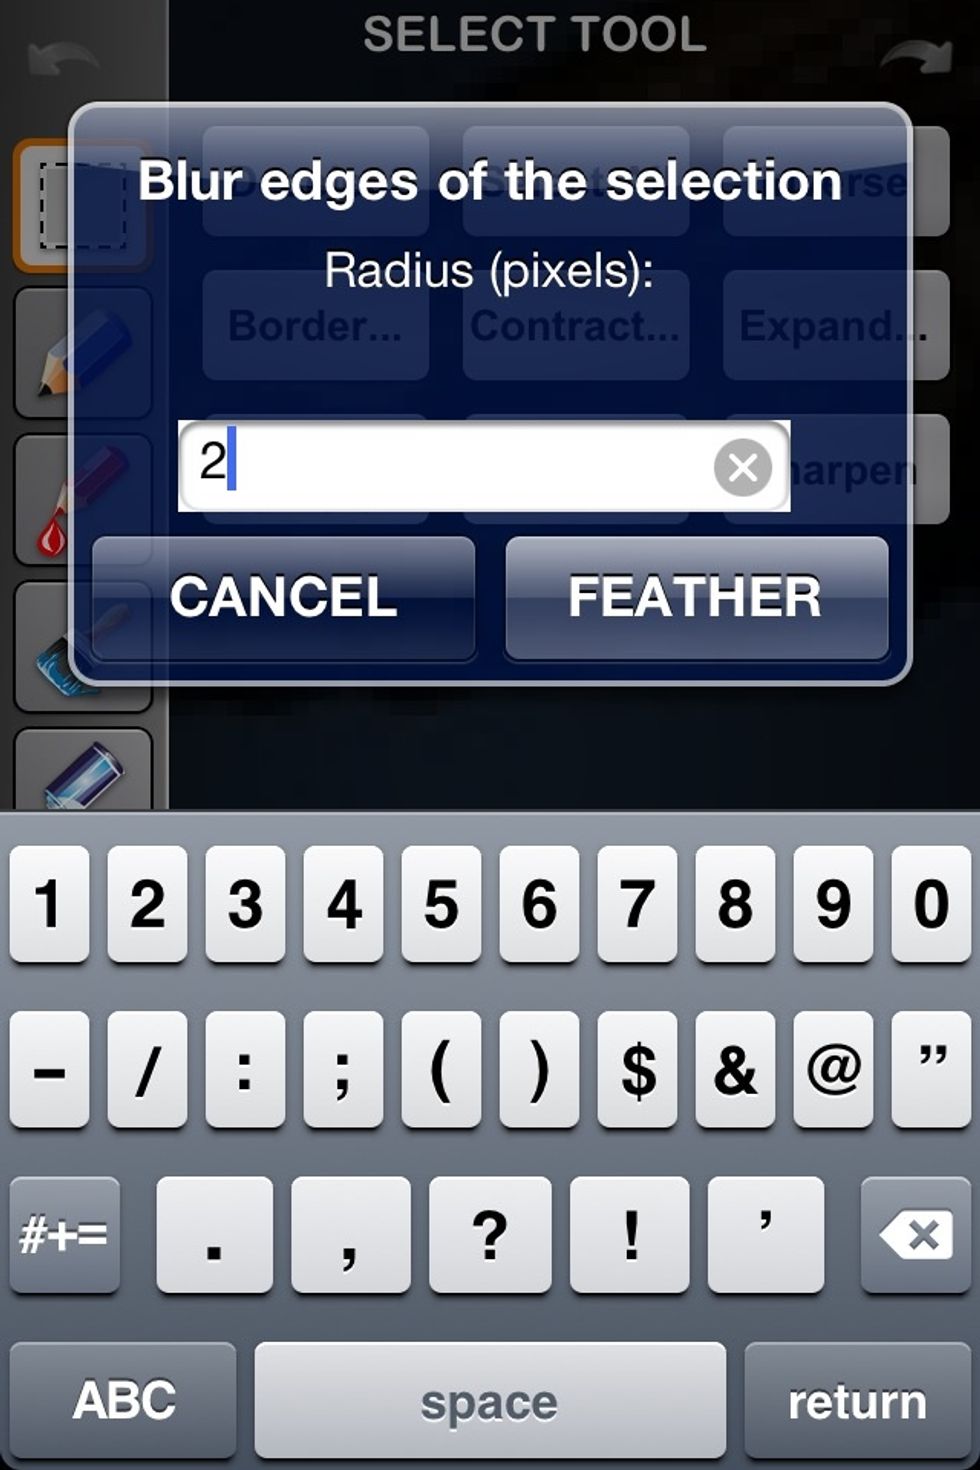
Here I've selected a circle. We're going to cut this circle out. But we'll add some feather to the section before we cut it away. "feather" basically means to blur the line.
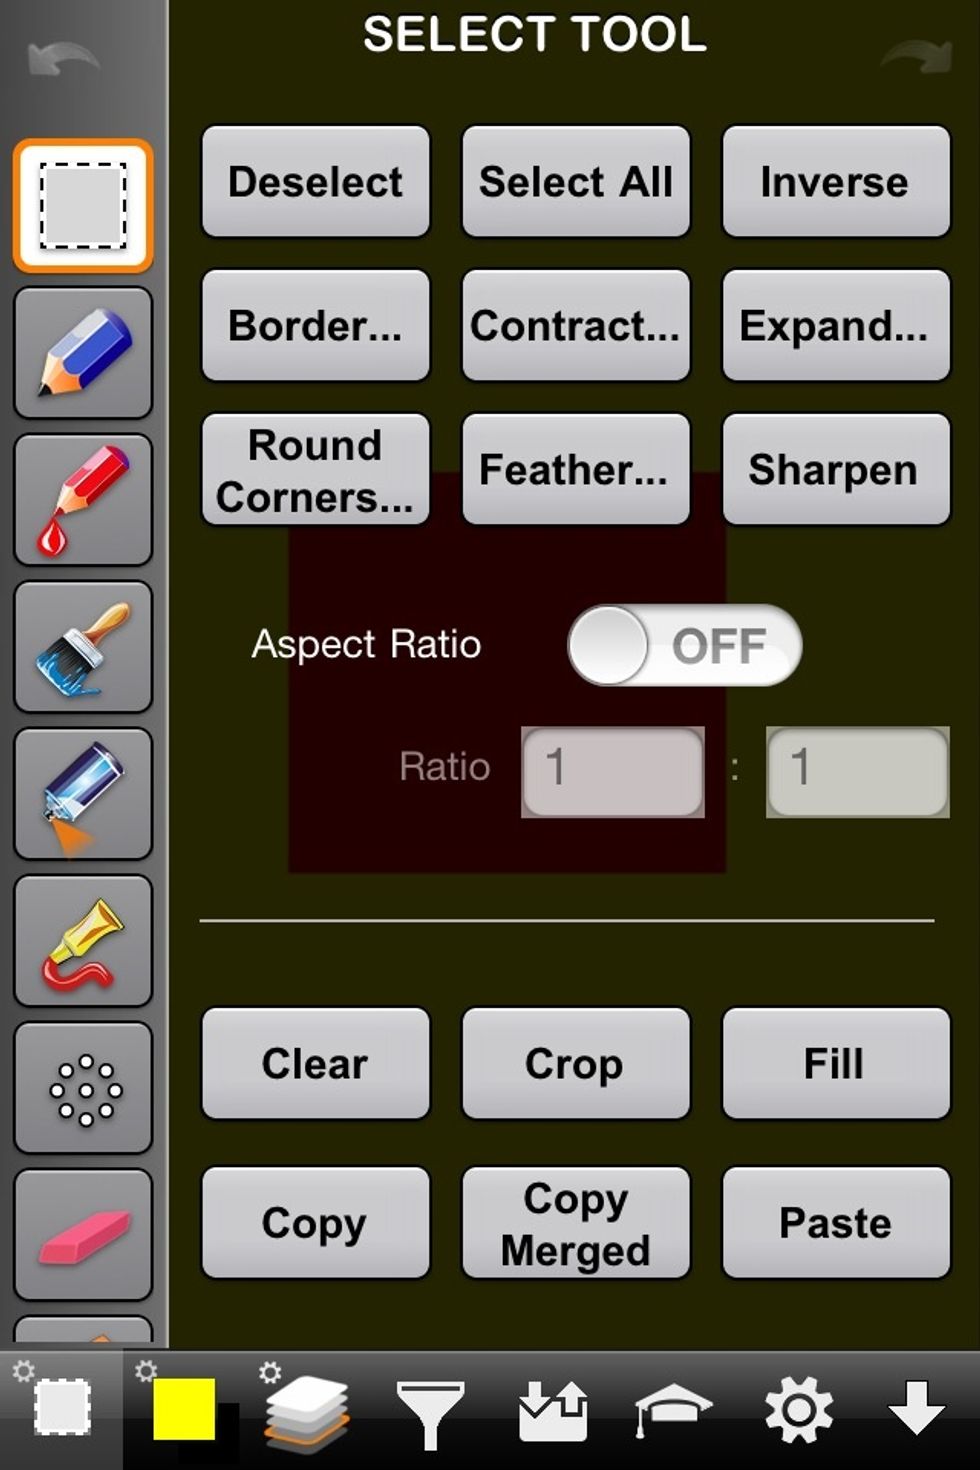
So go into the selection settings and select "Feather"
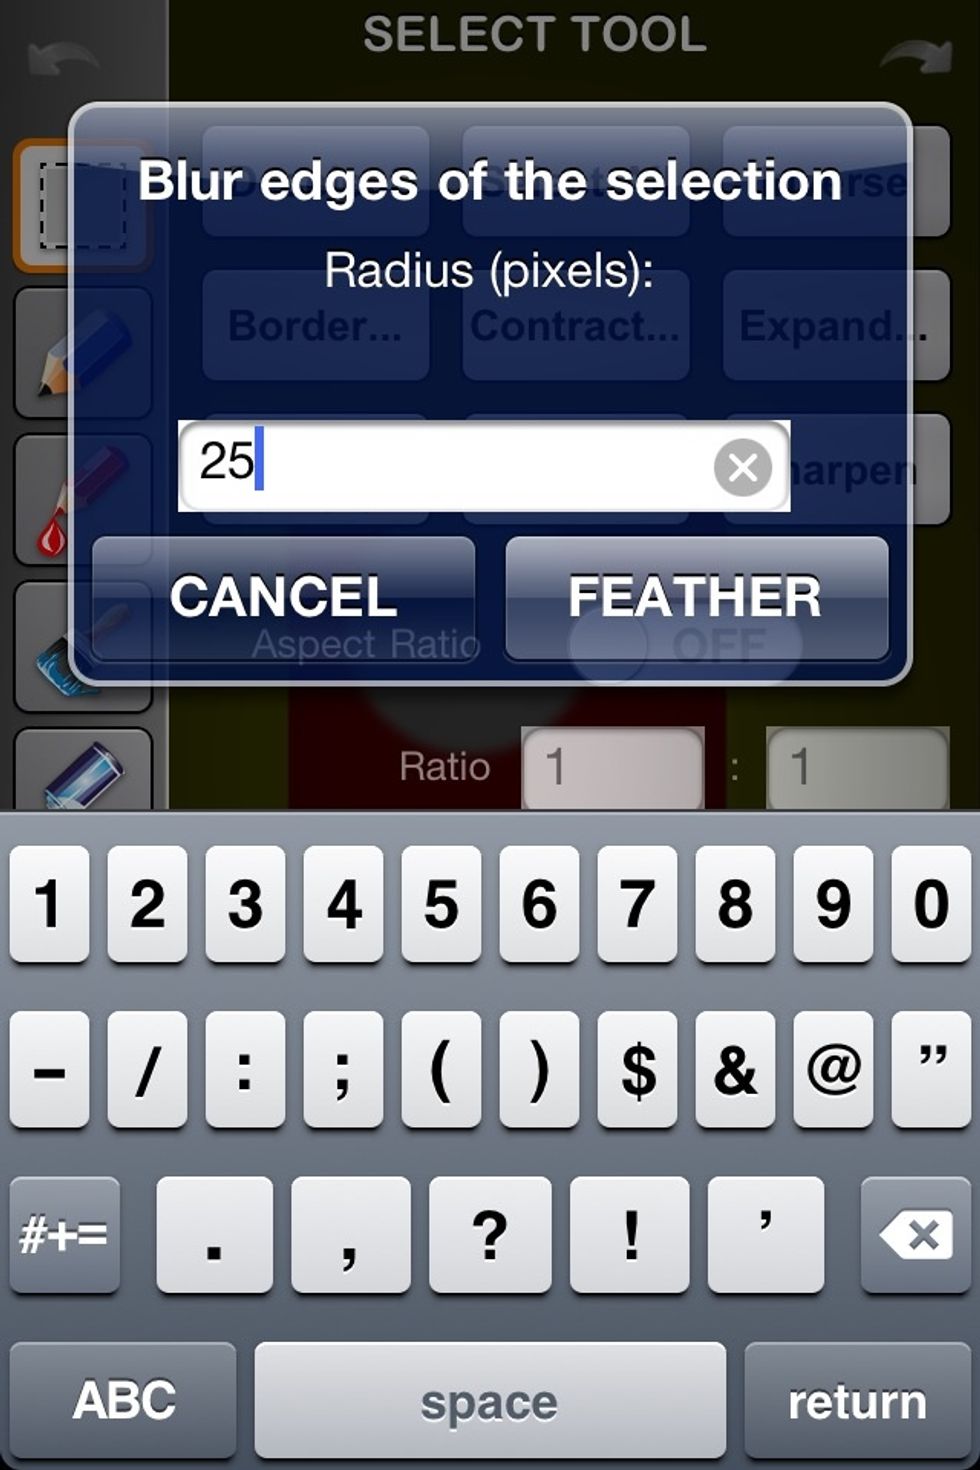
Set how much feather you want to put on the selected section. I put 25 here which is extreme. I'd usually only set it to 5 or below for most uses.
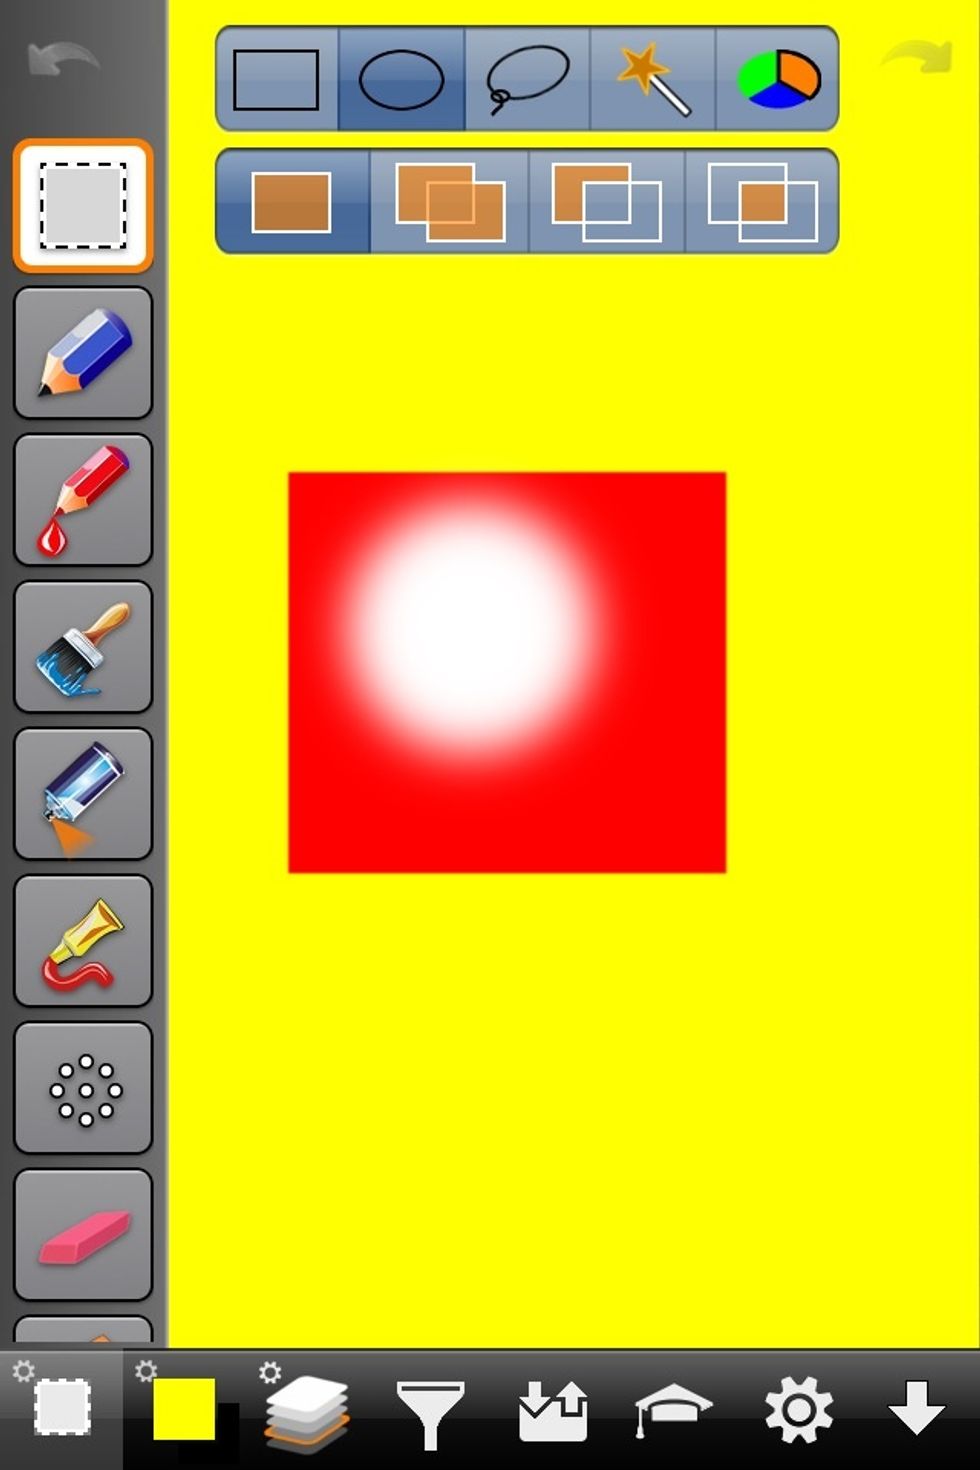
As you can see. When I cut this section out with a feather. The cut out section doesn't have a sharp edge. The edge has been feathered/blurred.
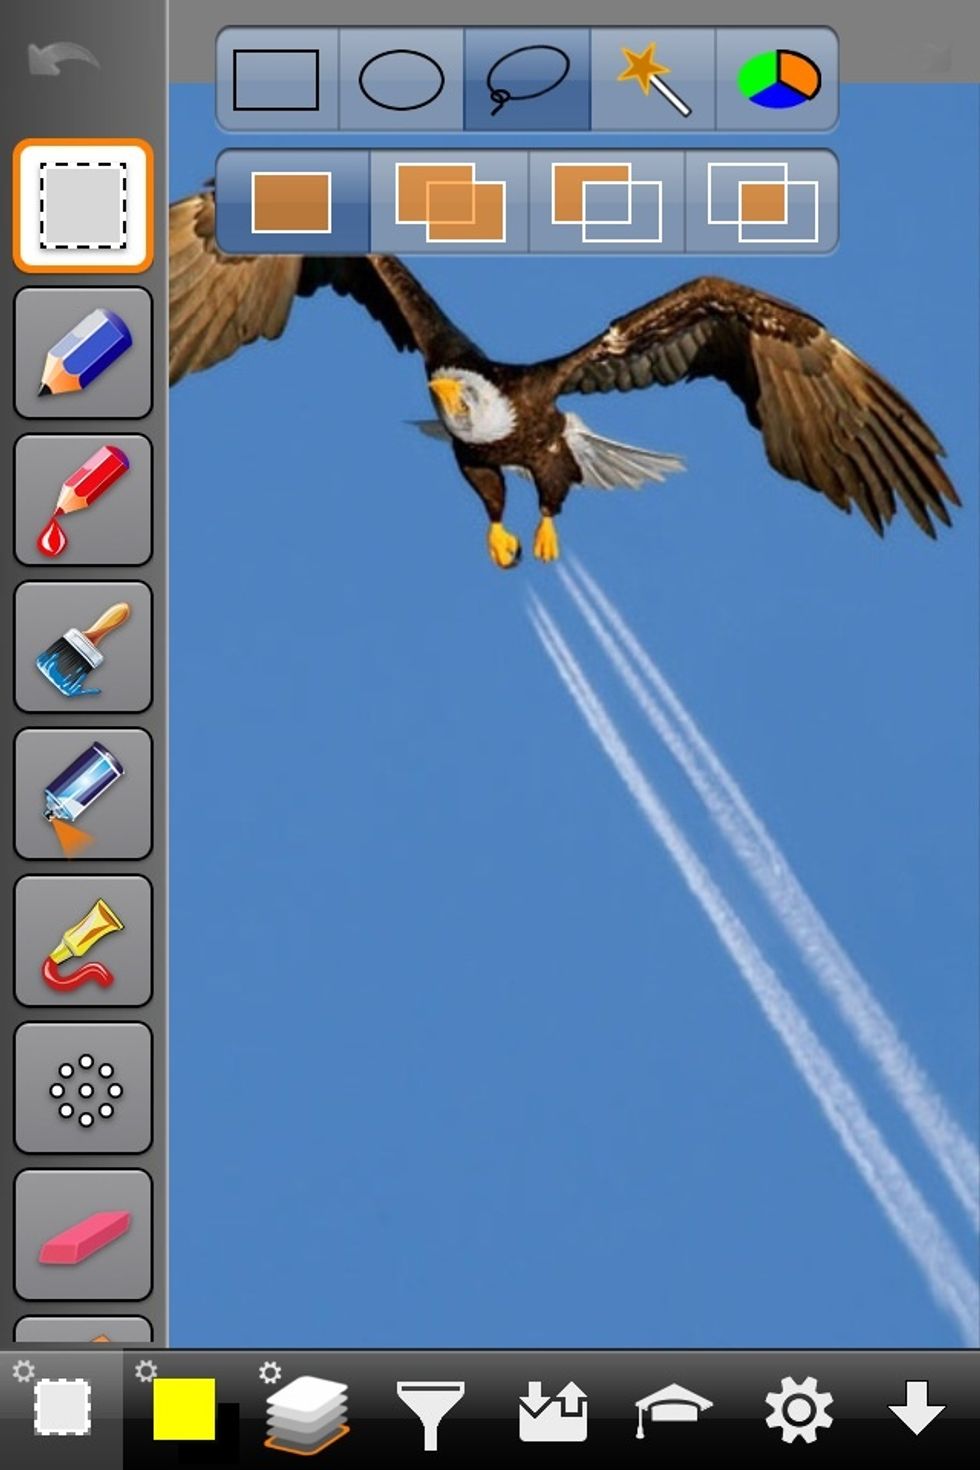
How is feather useful? Well it has many uses but it's especially useful in cleaning up images. For example if I wanted to get rid of everything on the image but the eagle.
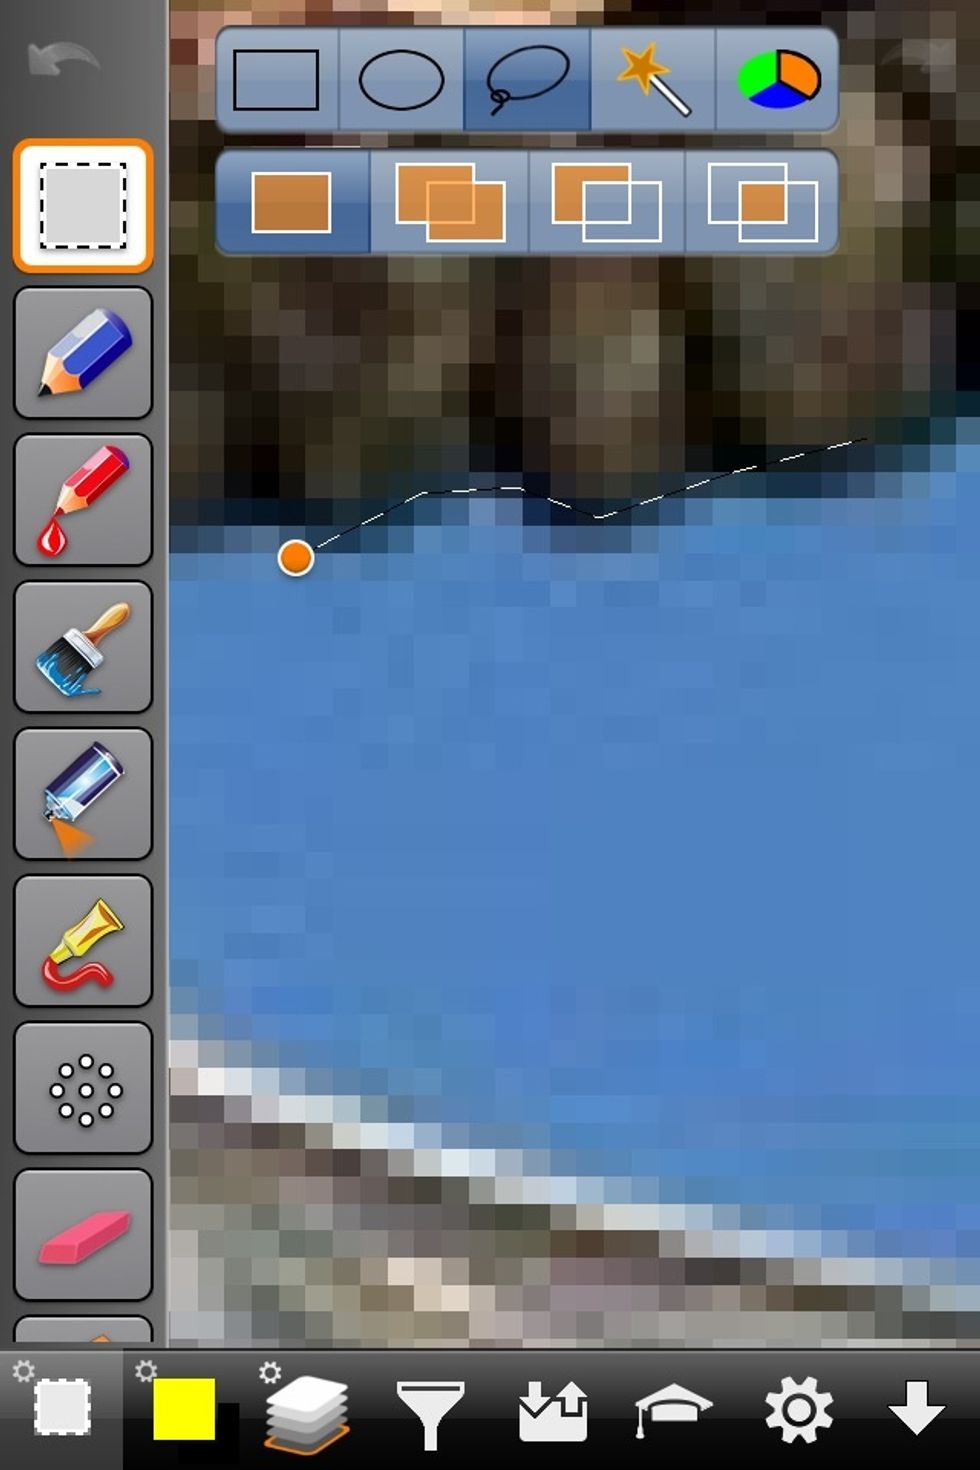
I'd trace out the eagle.
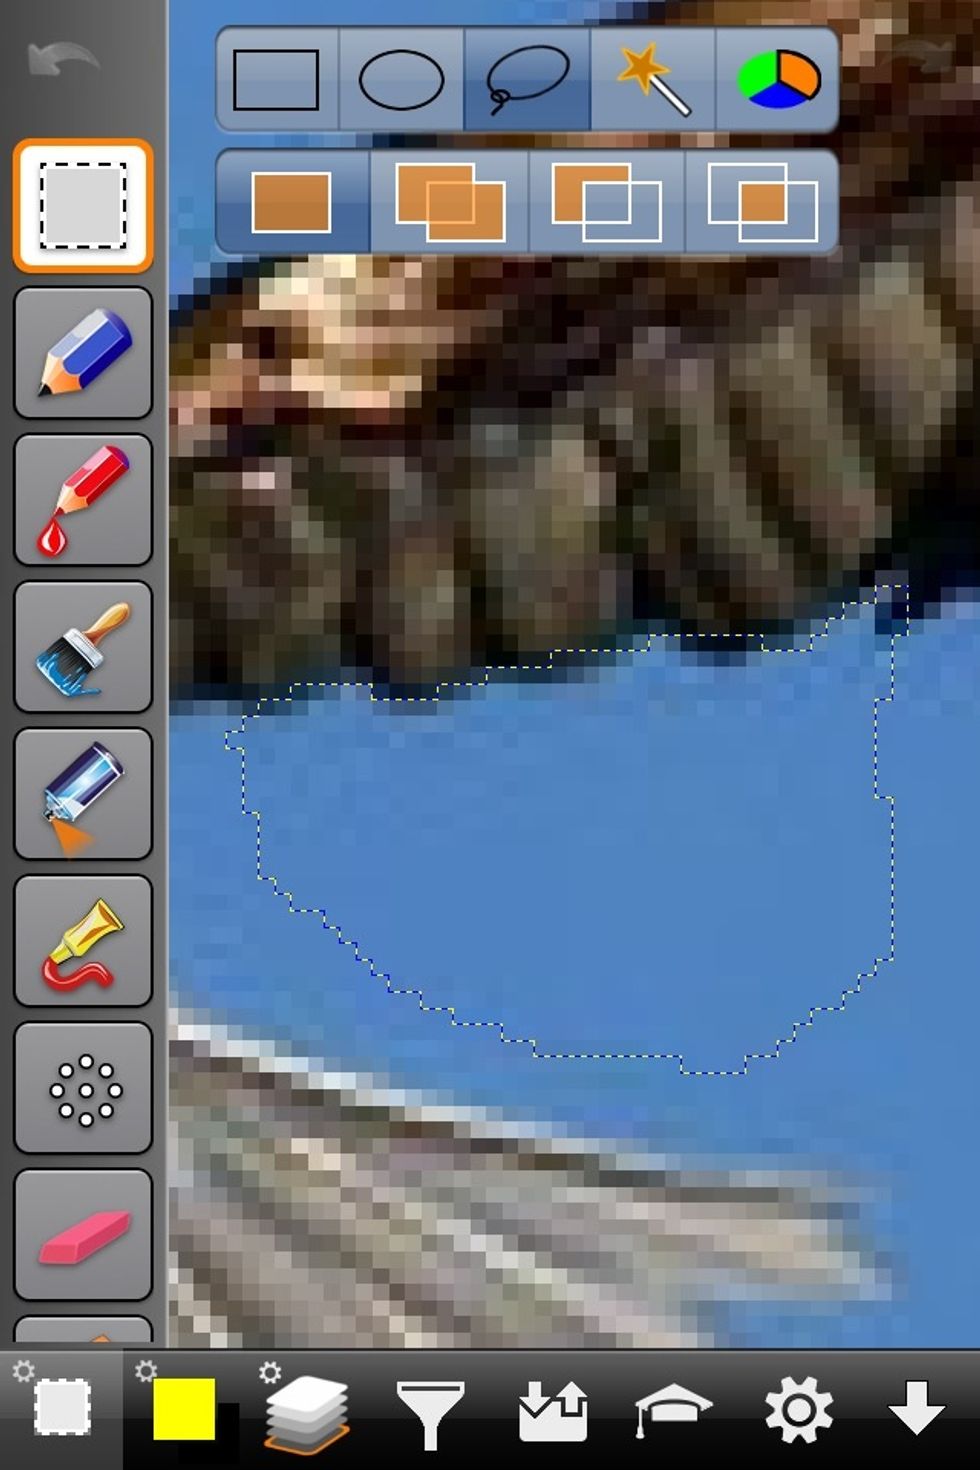
Just to demonstrate I'm only going to remove a portion of the image under the eagle.
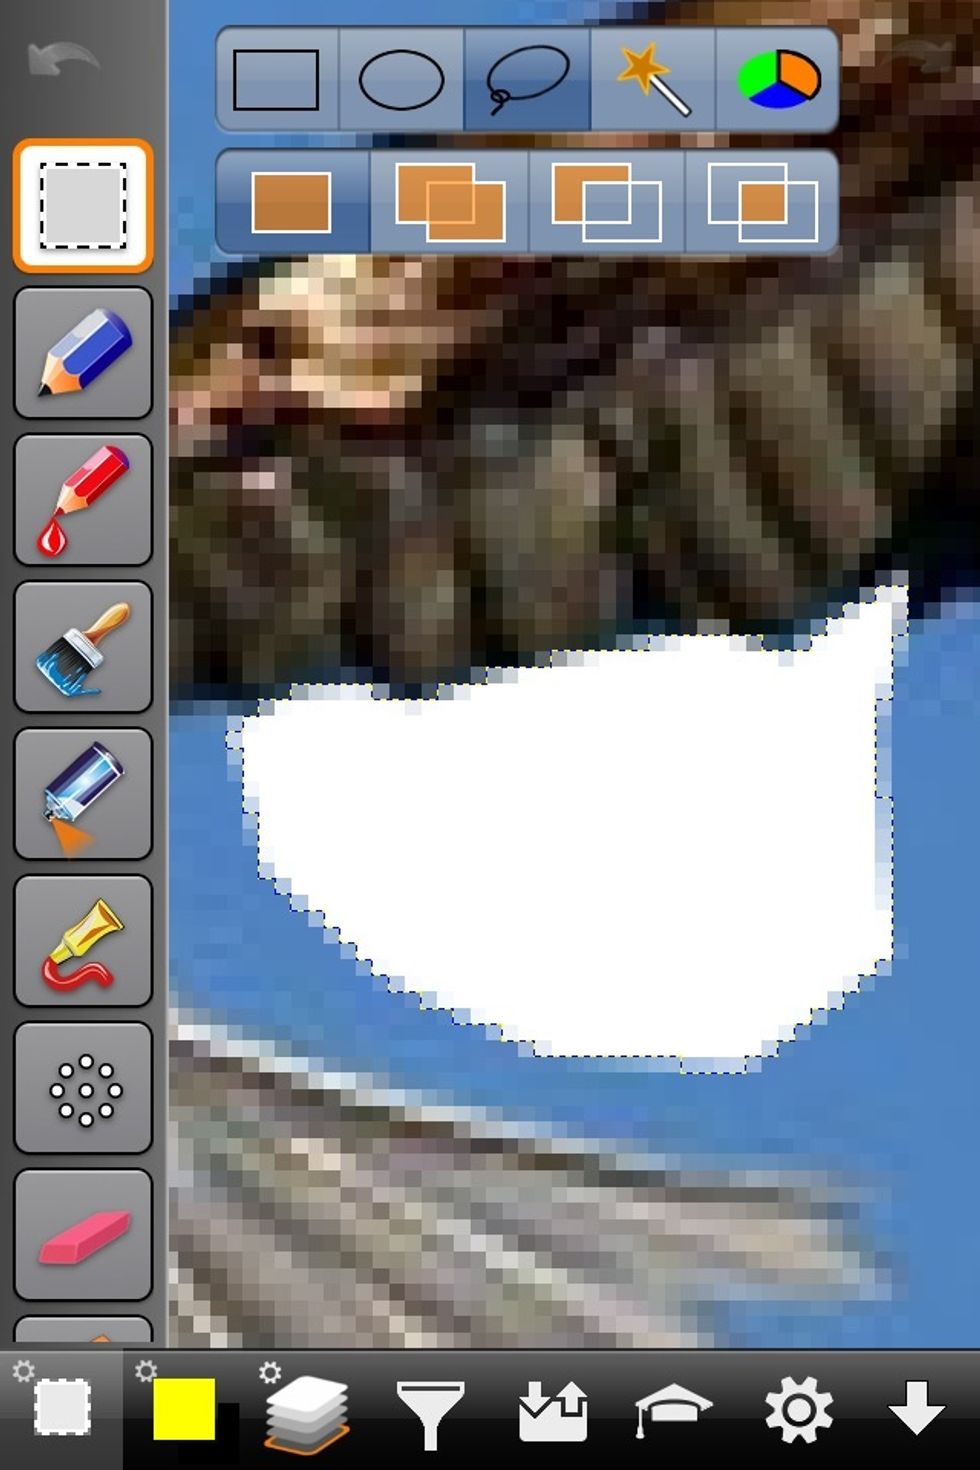
Now if I clear this area or "cut" this area out. Notice how crisp the line is under the wing. Sometimes a line can be to crisp and end up looking unnatural like a cardboard cut out.
But add a little feather to the selection before cutting it away.

The line under the wing is a little more blurred and natural looking. And this means in some images you won't have to be as precise in your outlining the selection.

If I zoom the image out you can see the slightly blurred edge looks more natural then it would if it was crisp straight lines.

A couple of more selection tools. Here well use the magic wand tool. This tool will select any color you touch on the image. In this case I touched the yellow.
Here I touched the white so the white is selected.
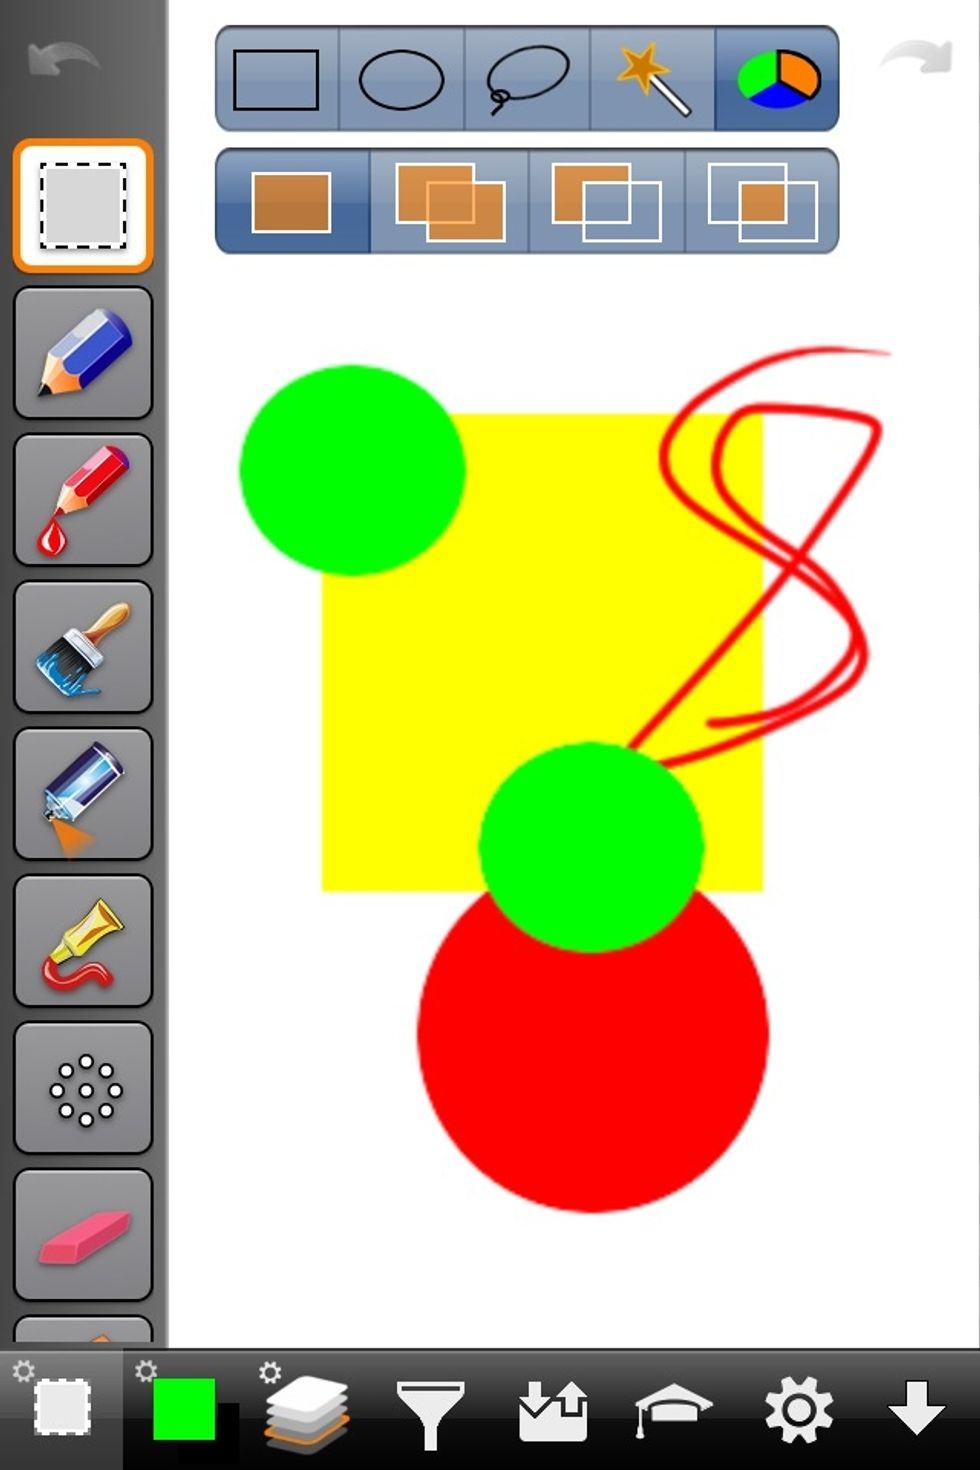
The final tool is the color selection tool. It'll select all matching colors on the image to the color you touch.

Here I touched one green area and it selected all the green areas in the image for me.

Here I put another blue image on another layer. (see my layers guide to help understand layers).
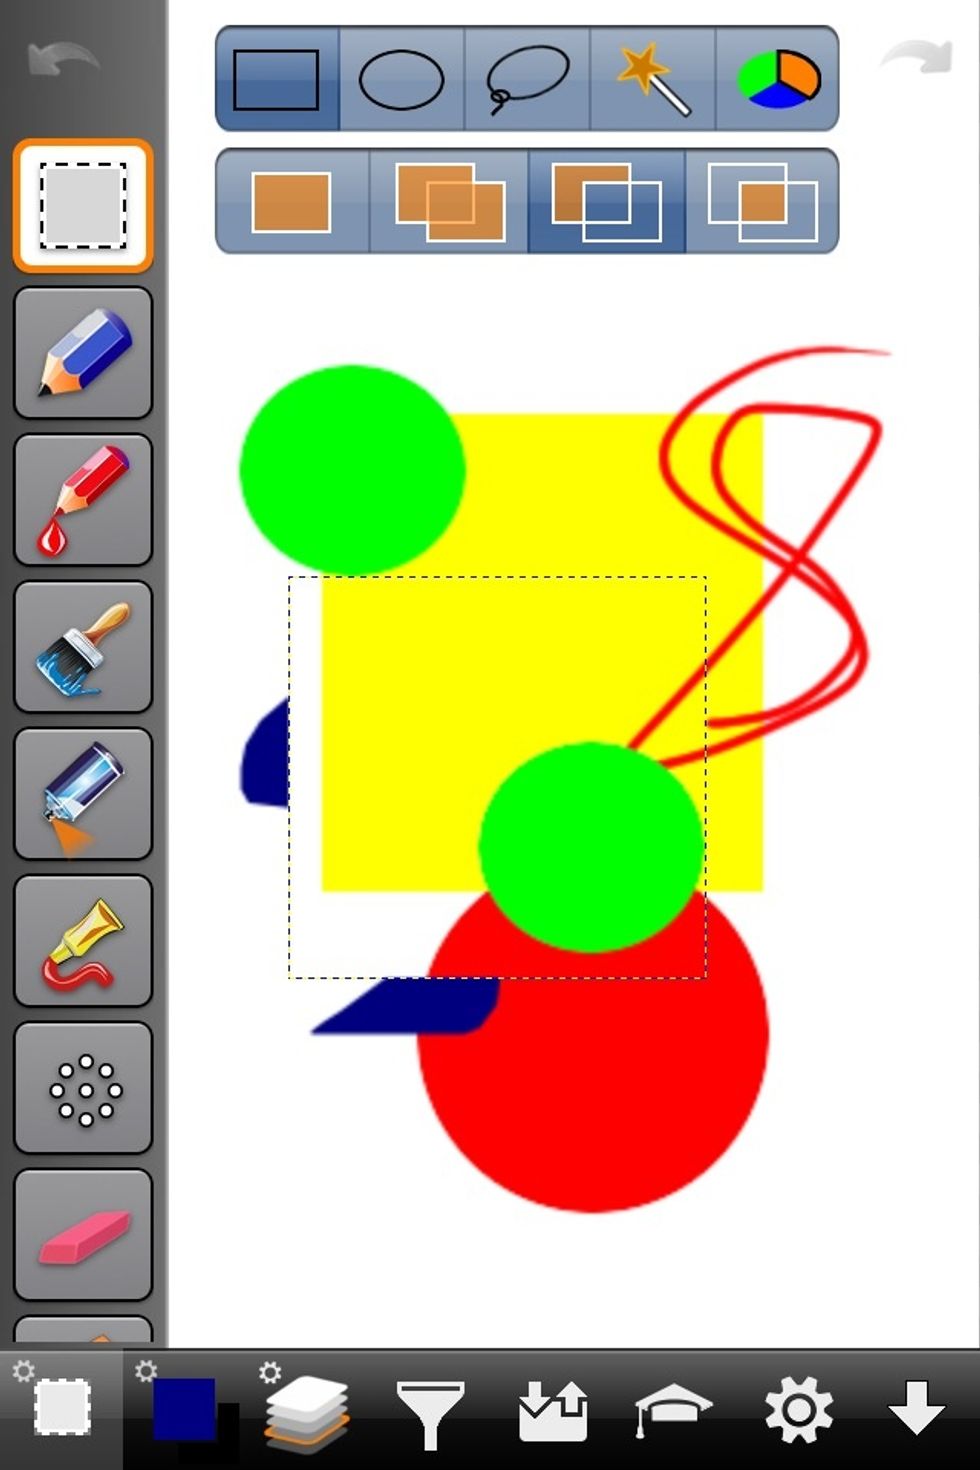
Notice the squares under the selection tools on top. These are the layer options. So you can set the selected area to effect just the front layer, The layer below it, both layers, etc…
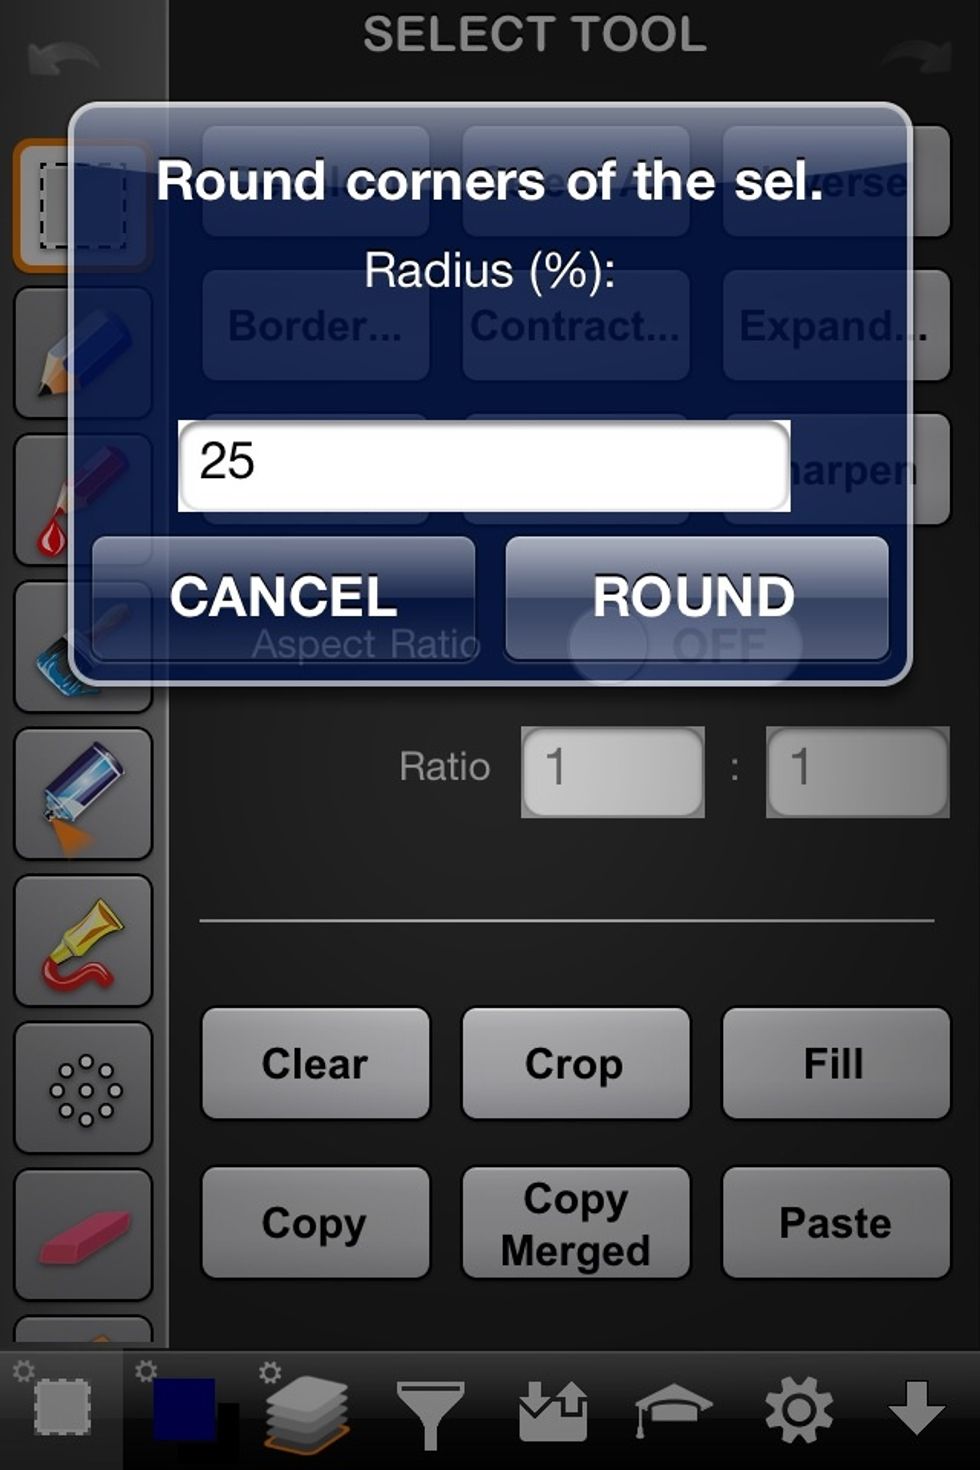
You can add round corners to a selected area.
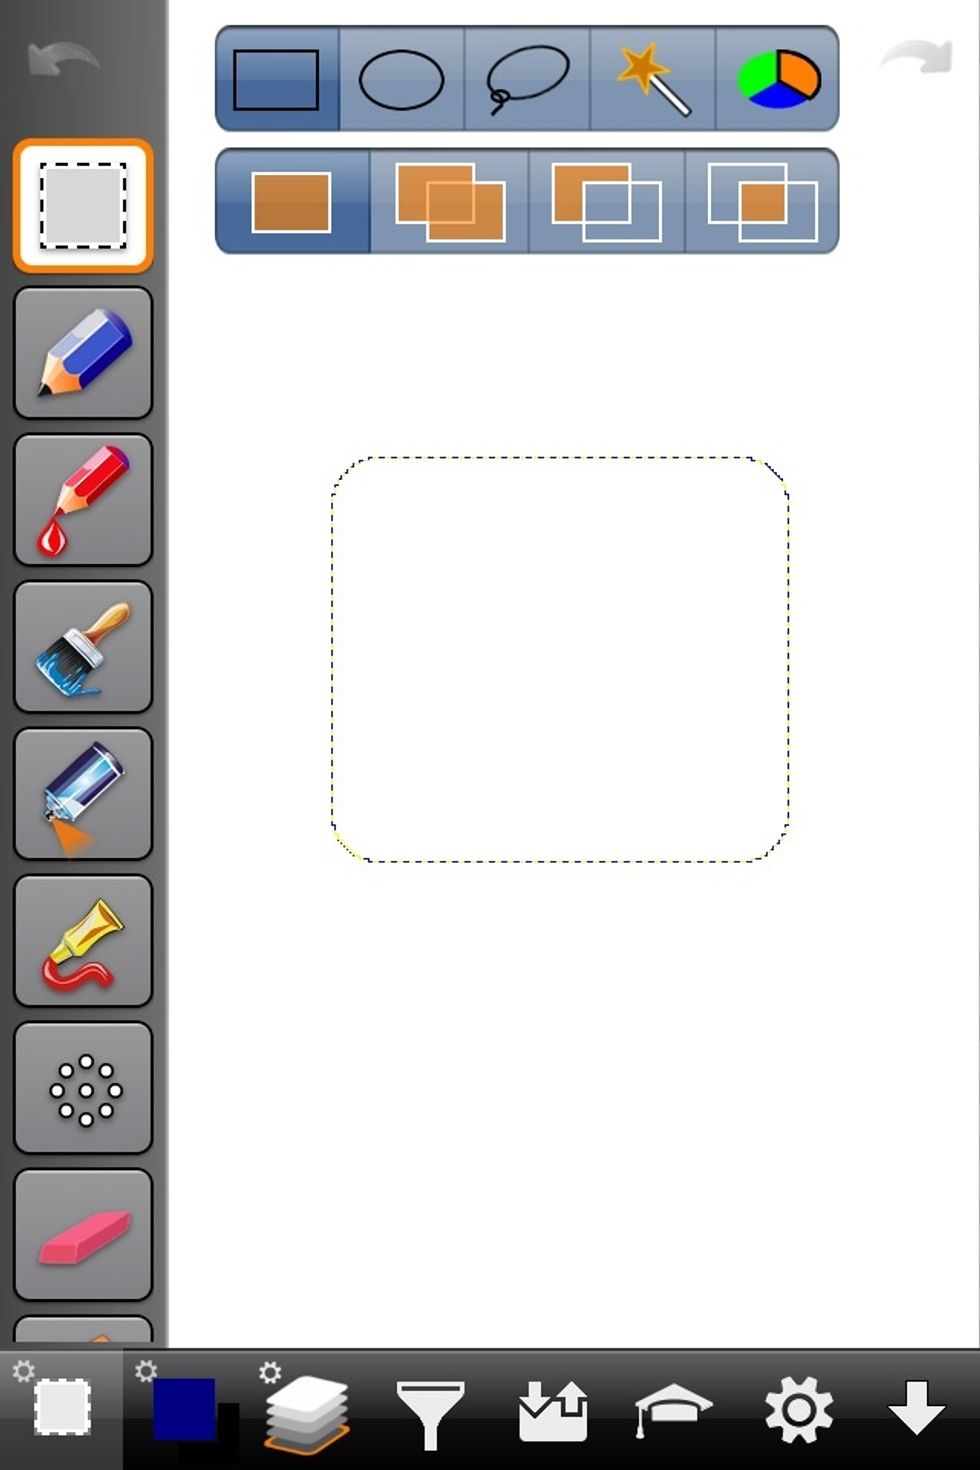
So a square will have rounded corners like you see in this image. The higher the number the larger the roundness of the corners.
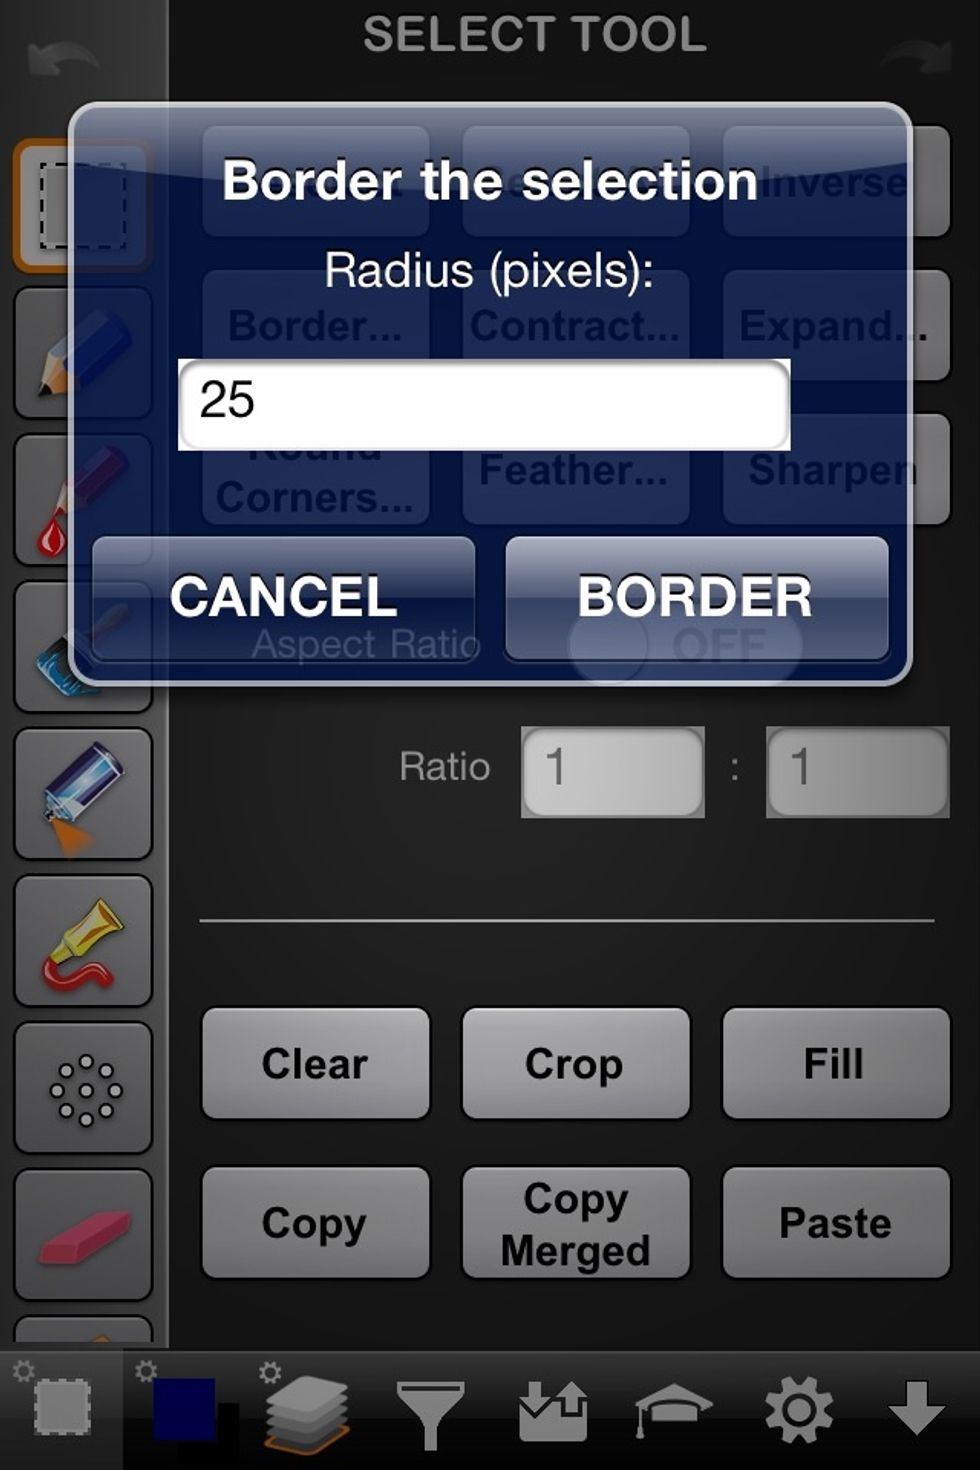
Add a border to a selected area.

Like this. Again, the higher the number the wider the border will be.
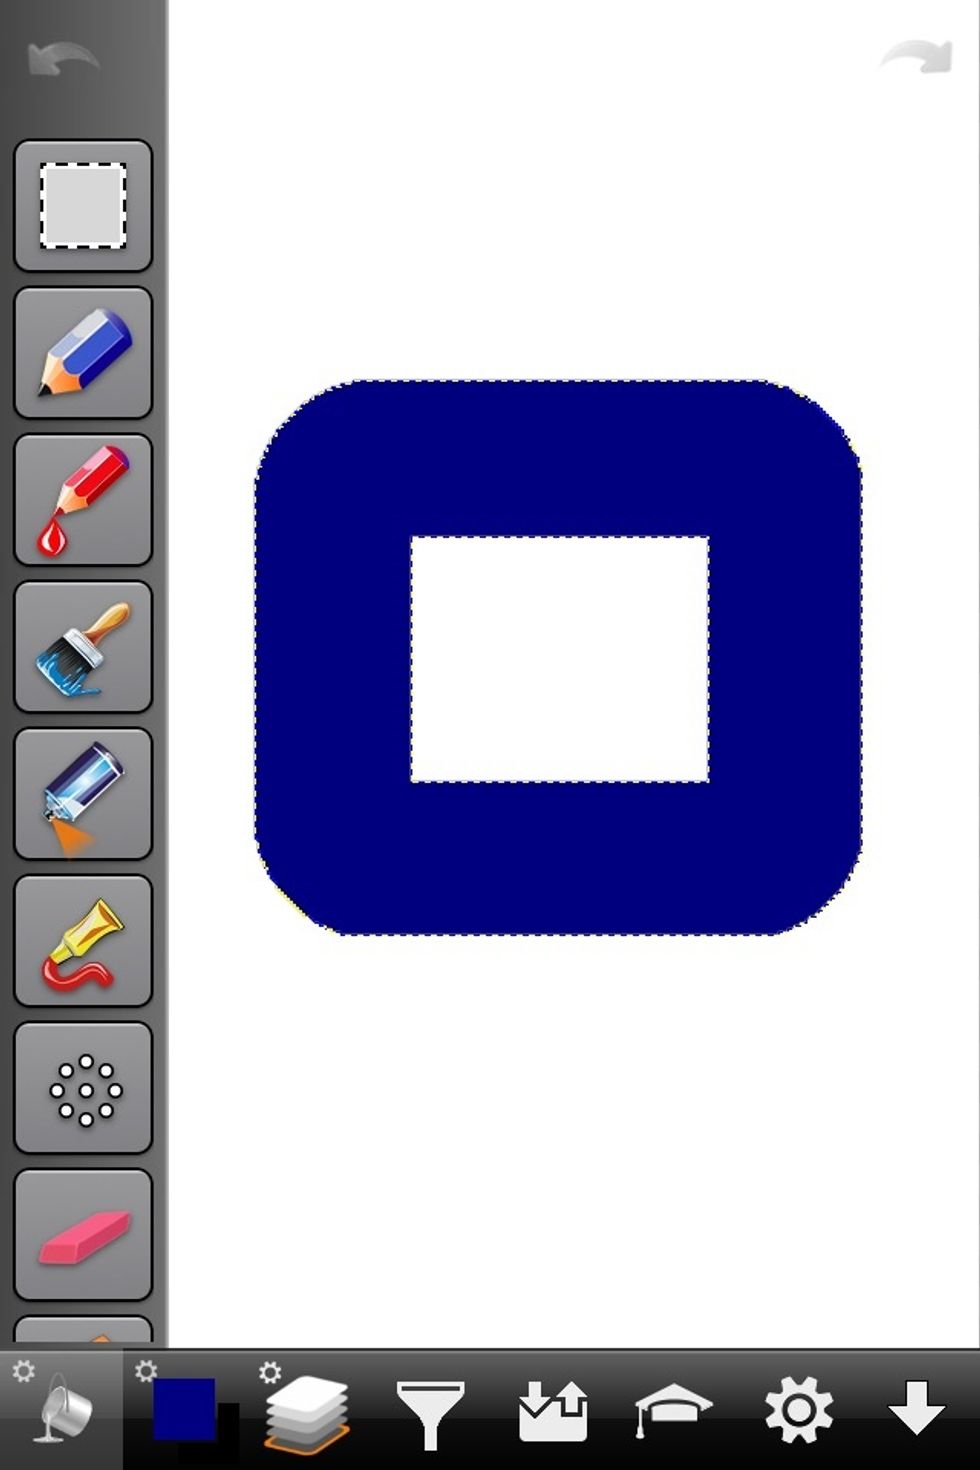
Fill in the border.
There are many other tools and ways to use a selected area of an image. I hope I've given you enough to go by and experiment with the other tools on your own. I just wanted to give the most used ones.
Well I hope someone finds this helpful. As always. Feel free to ask any questions you might have about these tools and their uses.