The Conversation (0)
Sign Up

Open the Settings App.
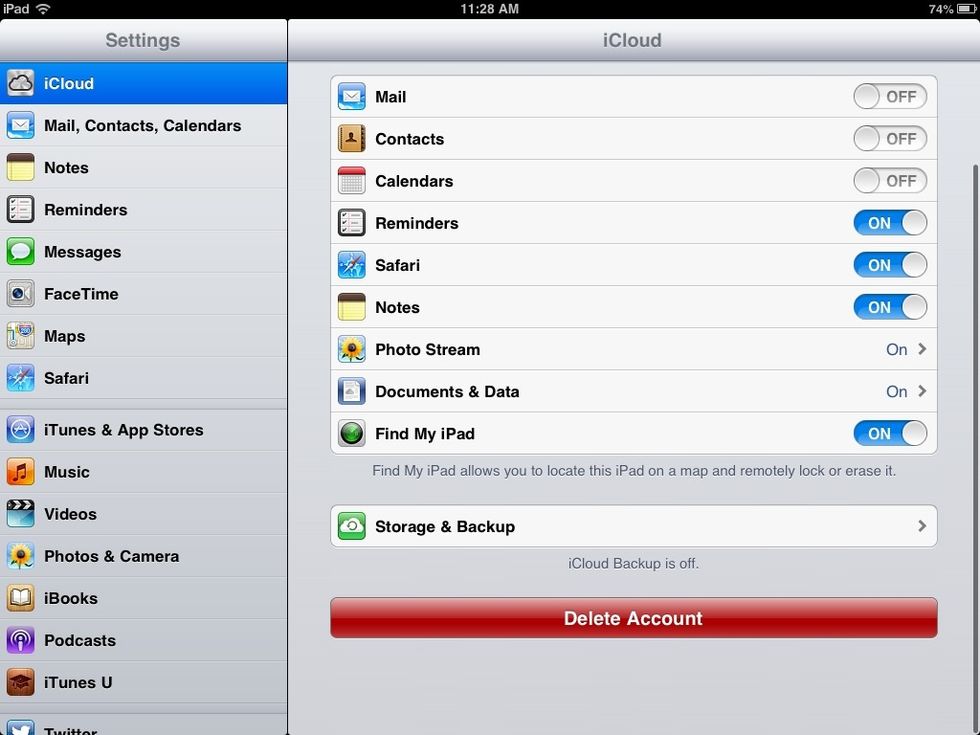
Tap iCloud > Photo Stream.
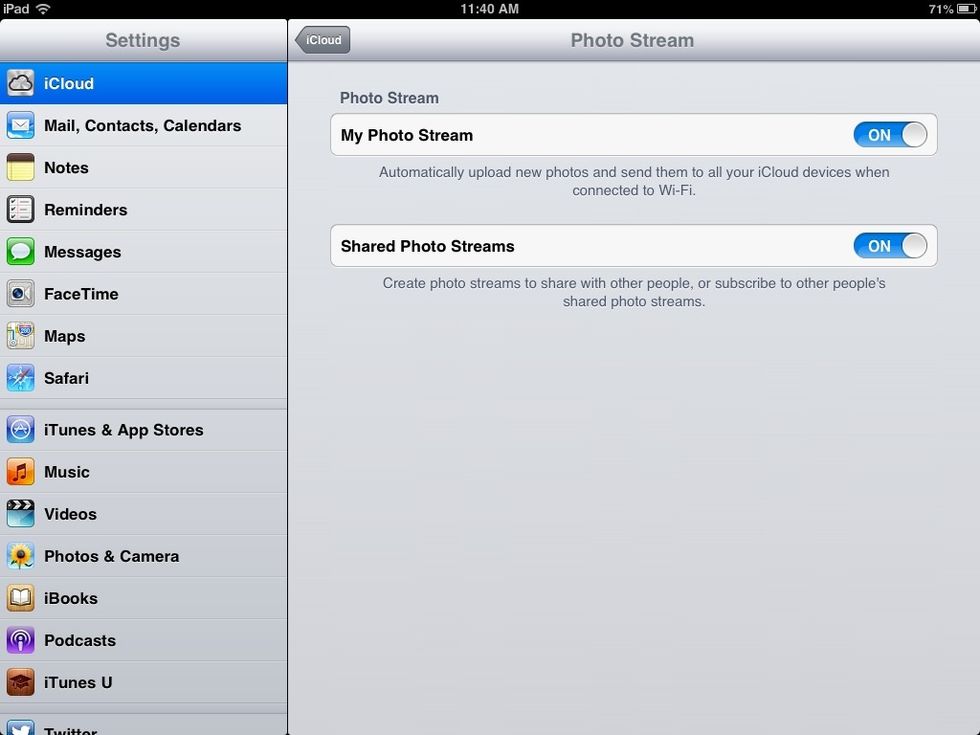
Check that Photo Stream and sharing are turned on.
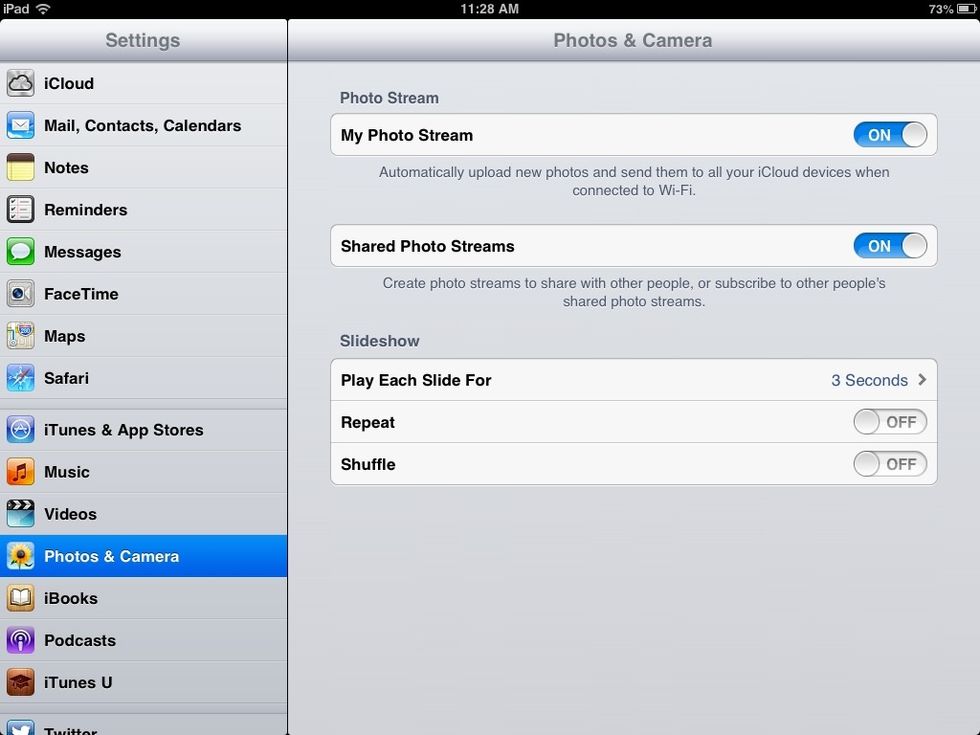
There is a similar setting in Photos and Camera.
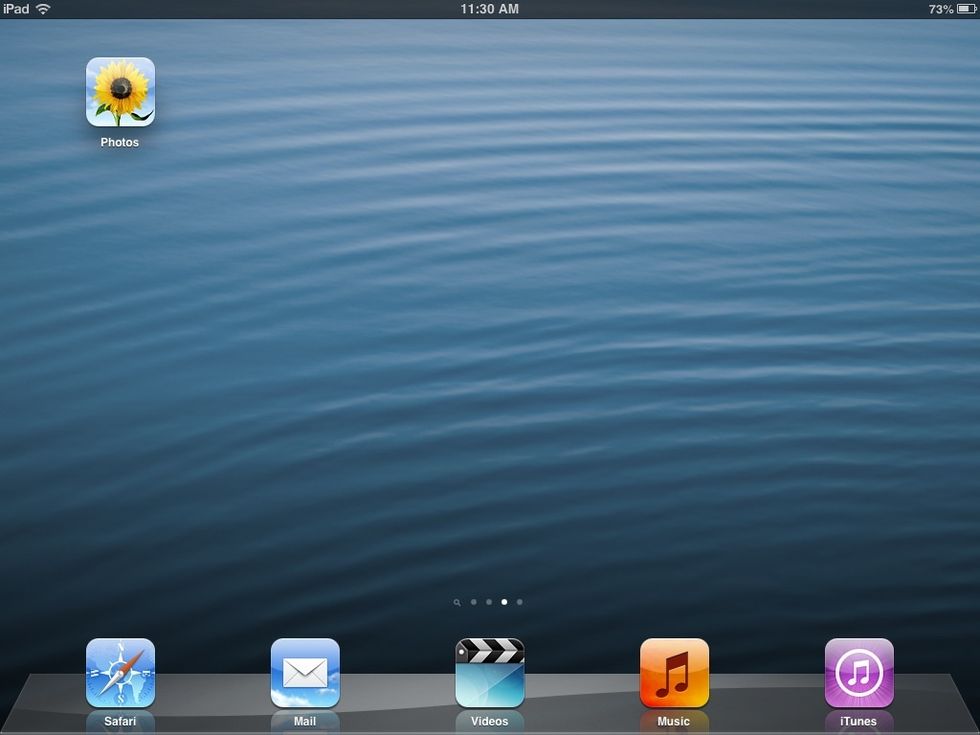
Tap to open the photos App.

Navigate to your Photos.

Click Photo Stream.
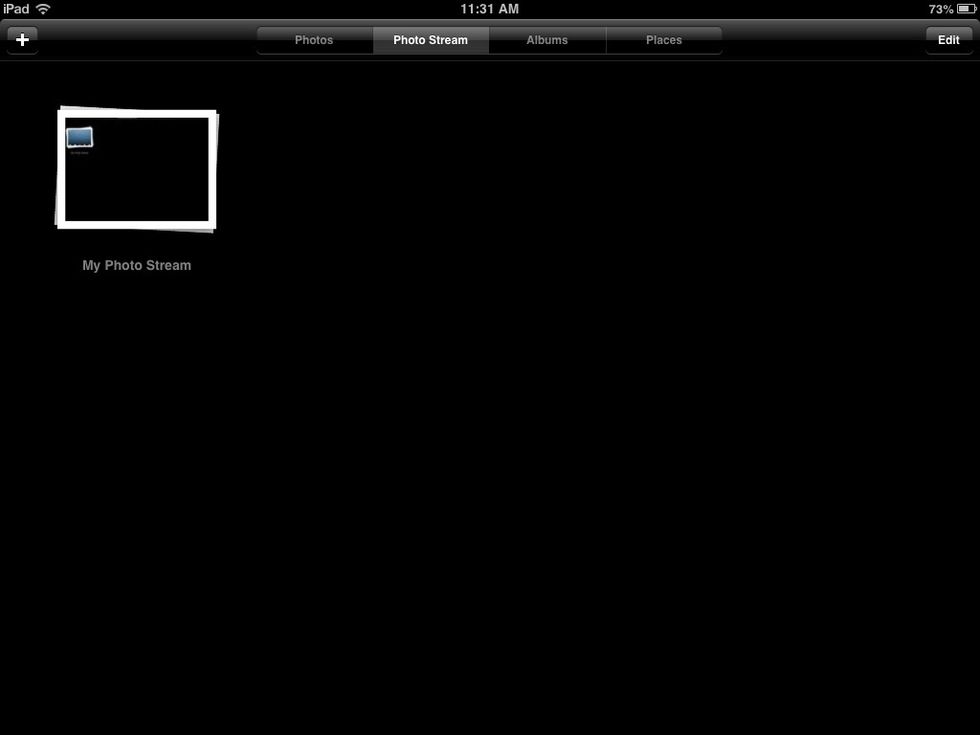
You will see your default Photo Stream as a stack of Photos (assuming you've taken some snaps).
Click the + icon at the top left to add a new Photo Stream.
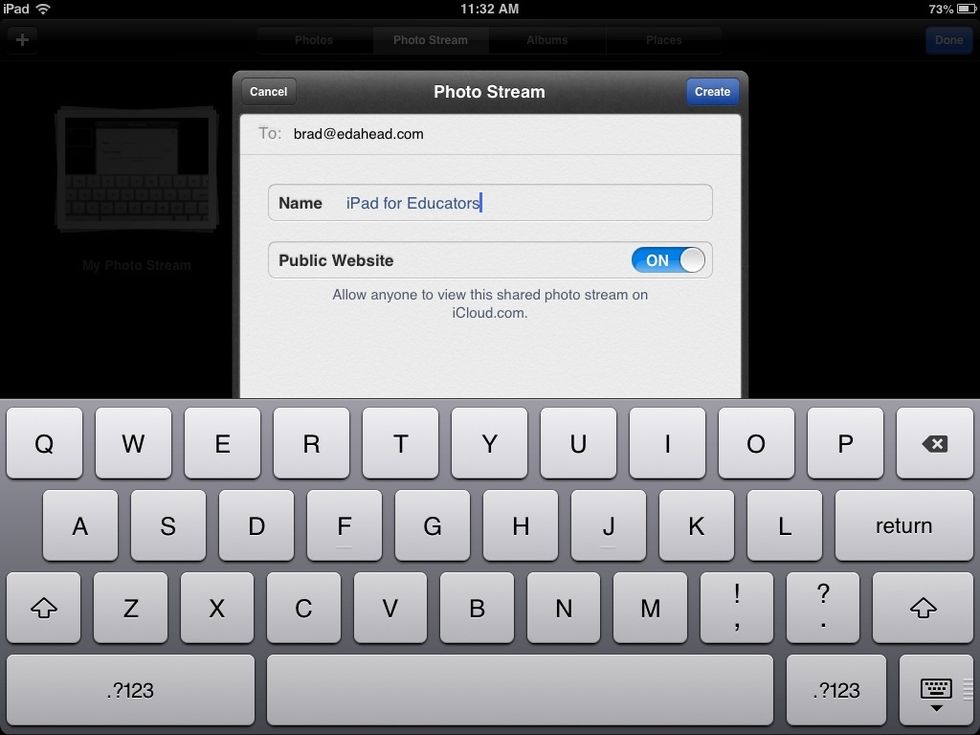
Complete the fields.
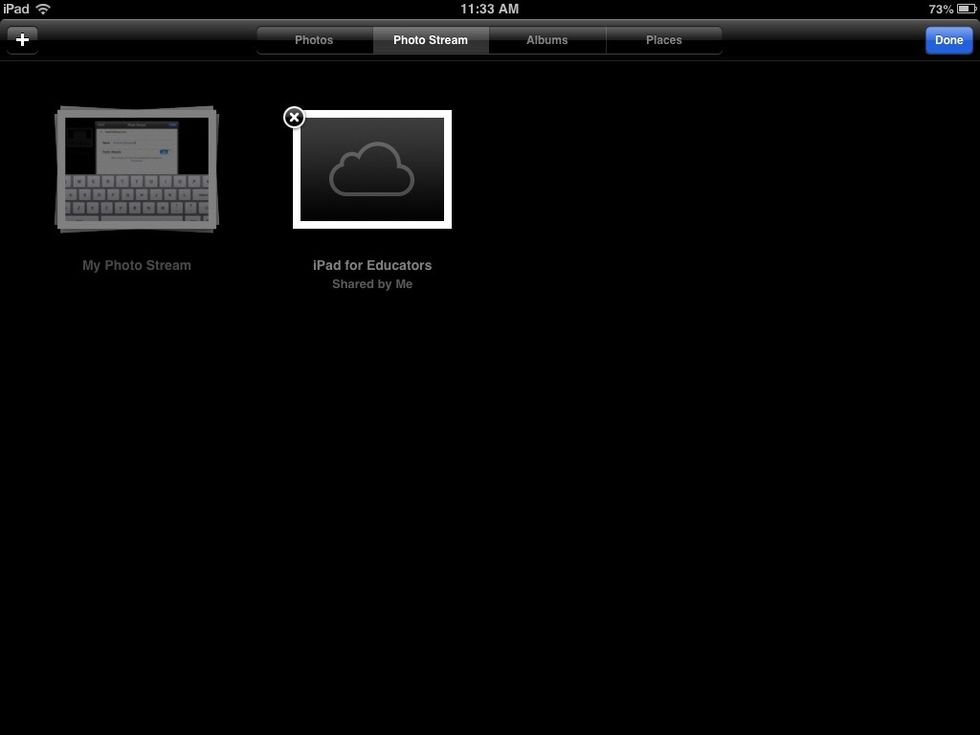
You now have a custom Photo Stream to share.
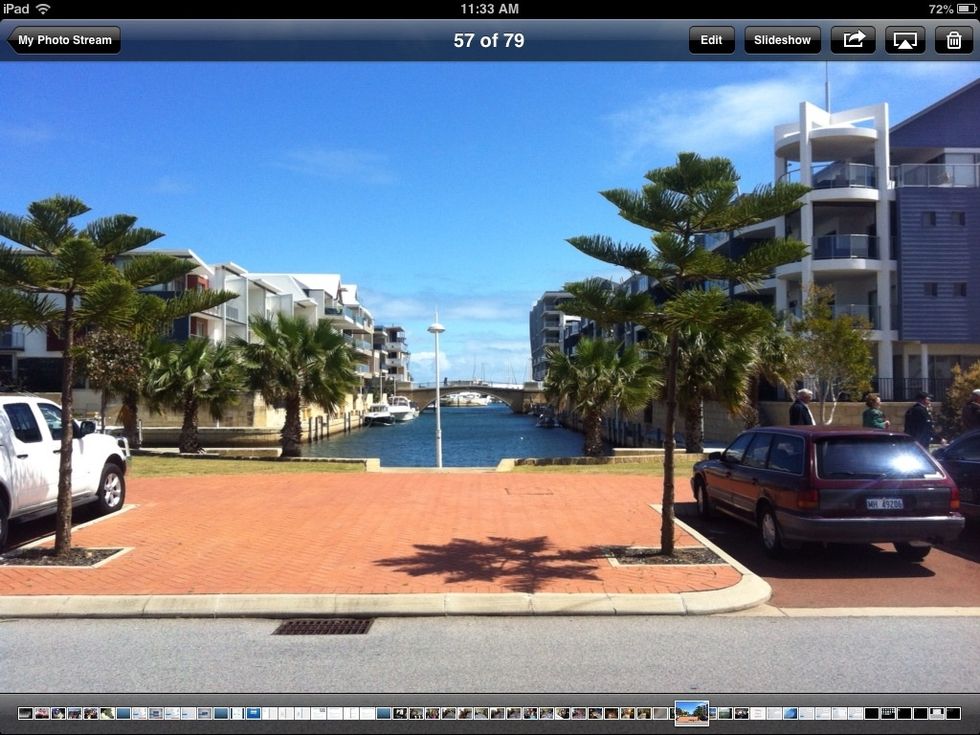
Tap the photos button and tap to choose a photo to share.
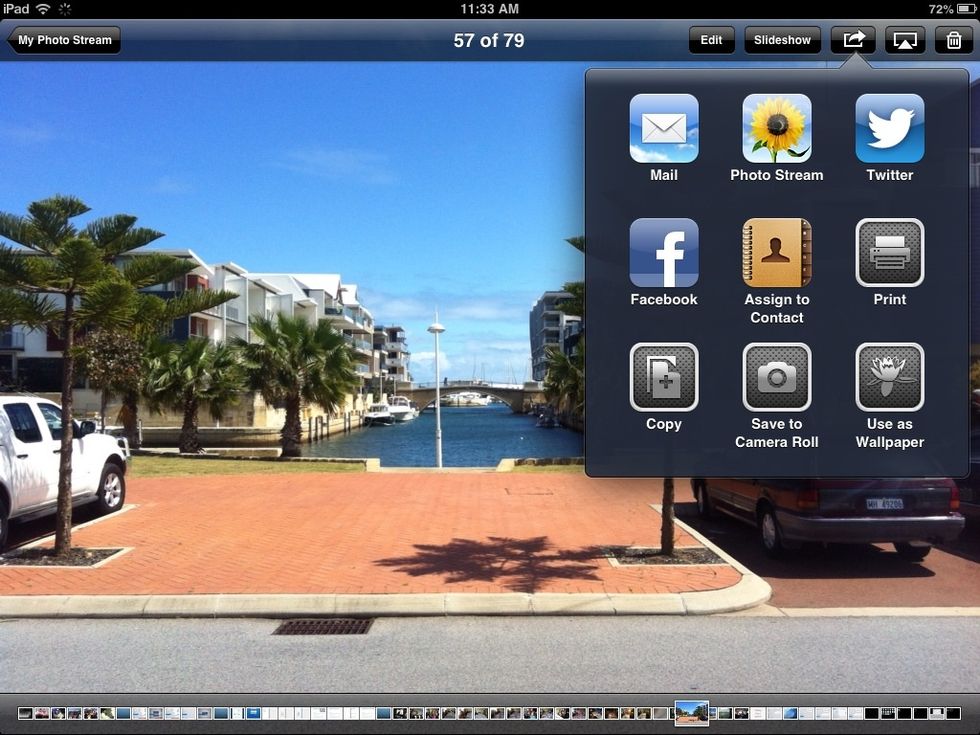
Tap the open in button and tap Photo Stream.

Tap your recently created Photo Stream.
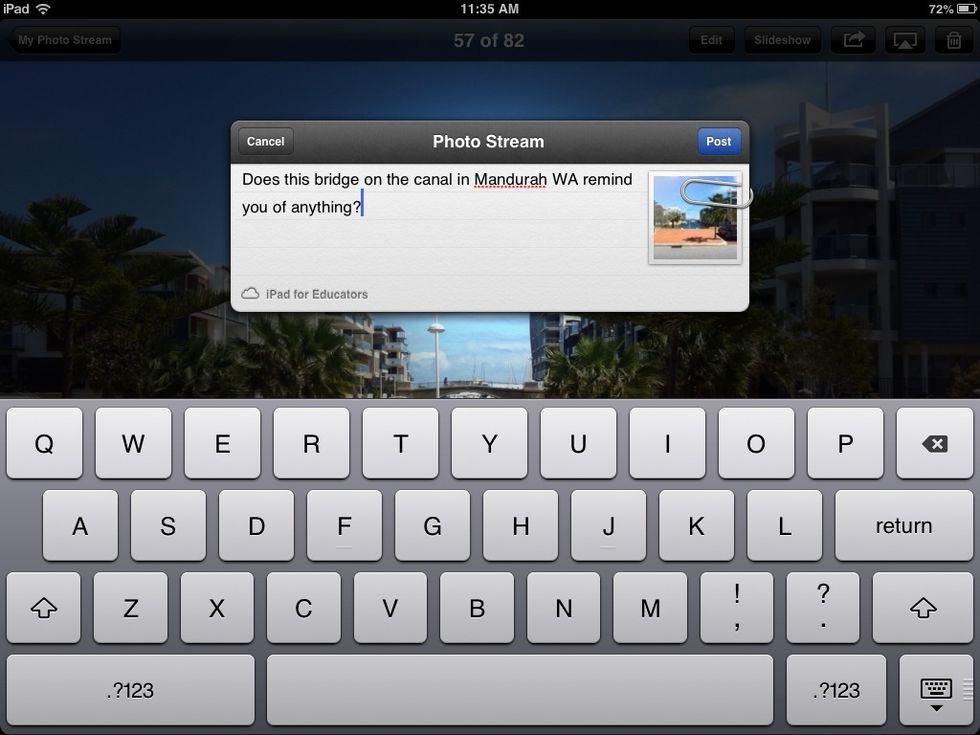
Add a comment if required and click post.

There it is. Your photo shared to your custom photo stream.

The people you have shared your photo stream receive an email invitation and can view on their device or on a Mac or PC.
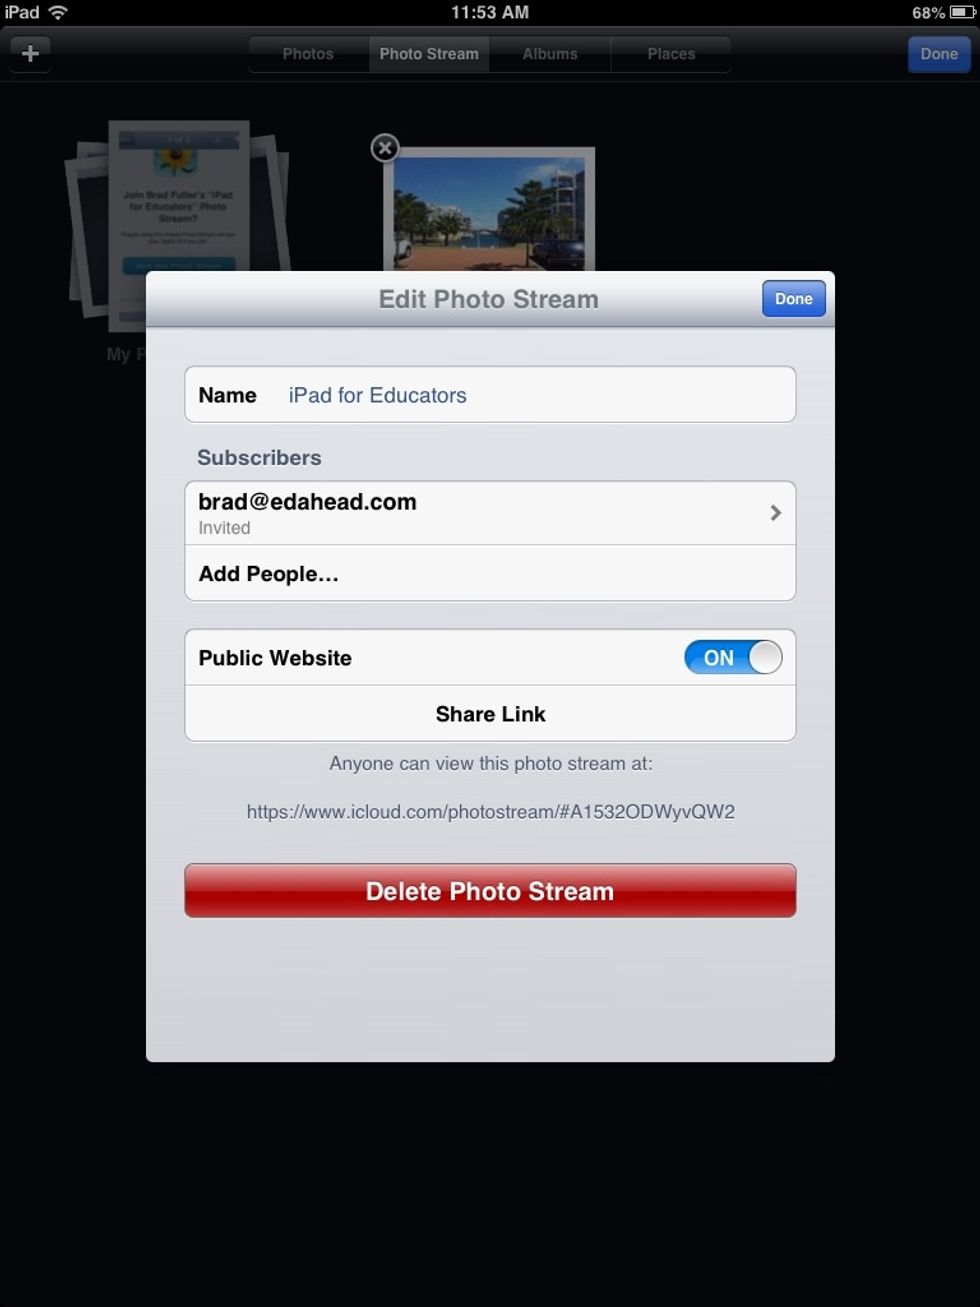
Tap Edit in the top right hand corner to change the sharing options. You can also copy a link Here to share on your website, blog, LCM etc.
And that is Photo Stream for iOS6.