The Conversation (0)
Sign Up
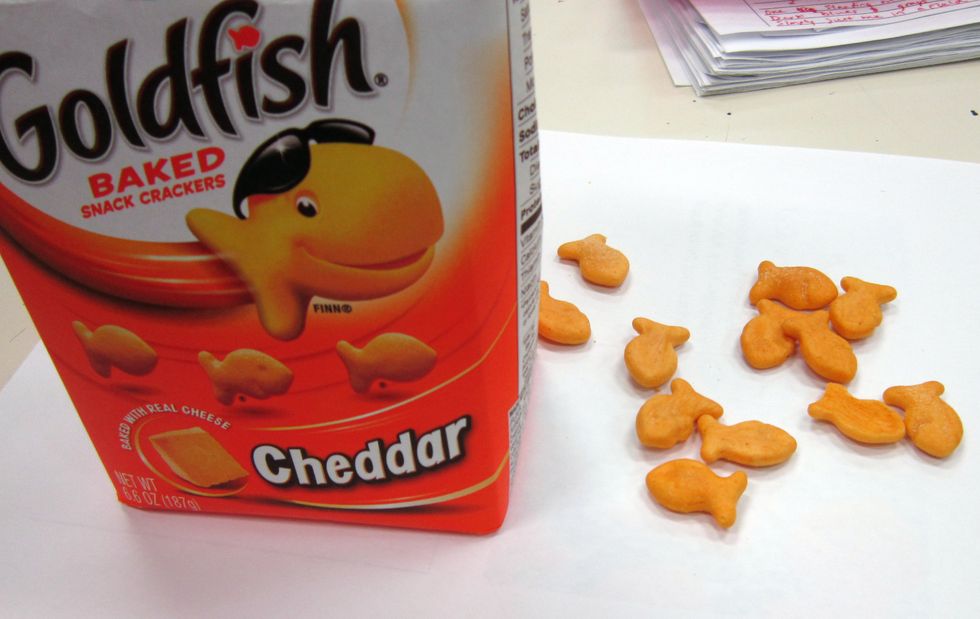
When learning to draw, students tend to generalize shapes and contours until building observational skills. A good photo reference can be helpful so your fish don't end up looking like these guys!
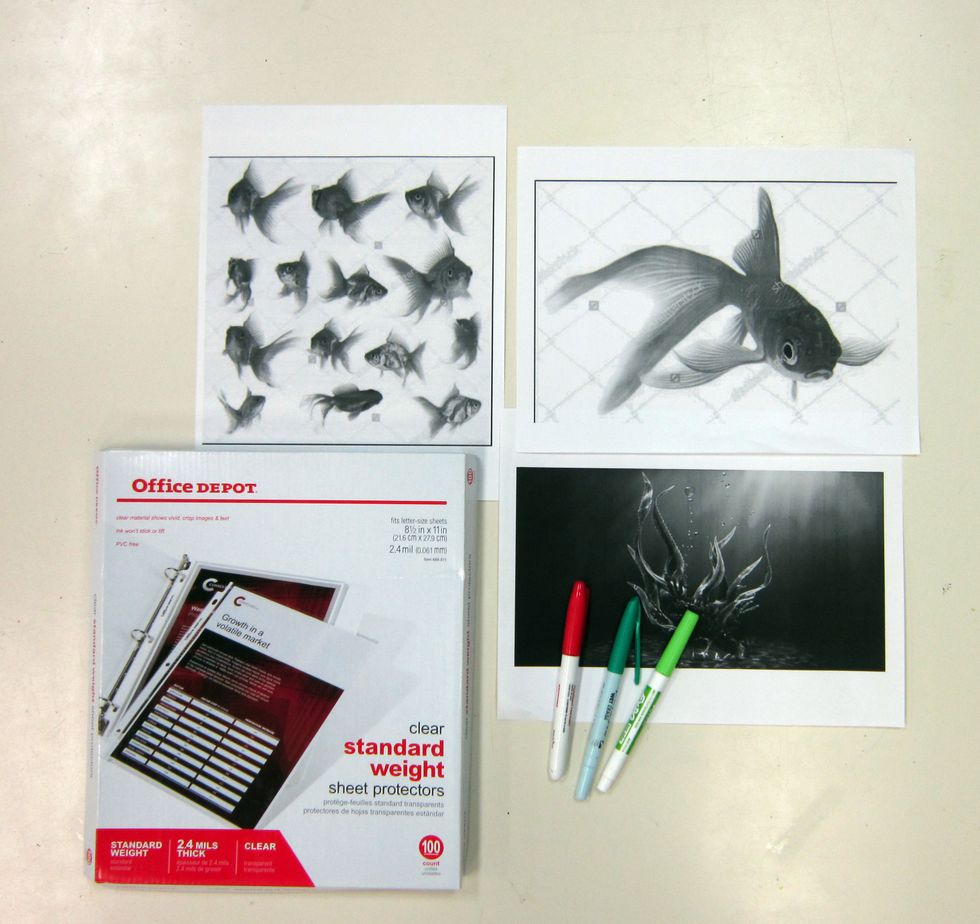
Print photo references out as large, full-page prints so you can see as much of the contour details as possible. Place each photo in a plastic page protector and choose a marker color.
This photo is a good close up and allows one to see specific, detailed contours.
Outline the outer contours of the subject as well as the important inner contours that define specific shapes. Go slowly and be as exact as possible. When finished, remove the photo from the sleeve.

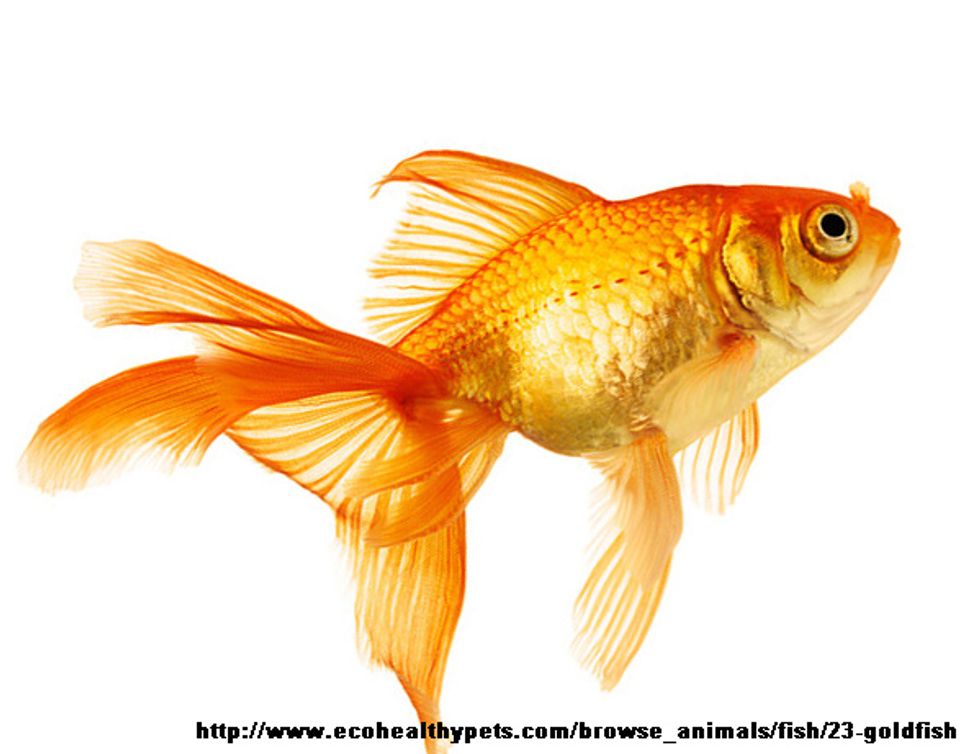
Here are some additional images of fish to reference. These different images indicate how the contours appear as the fish turns in space and is shown from different angles.

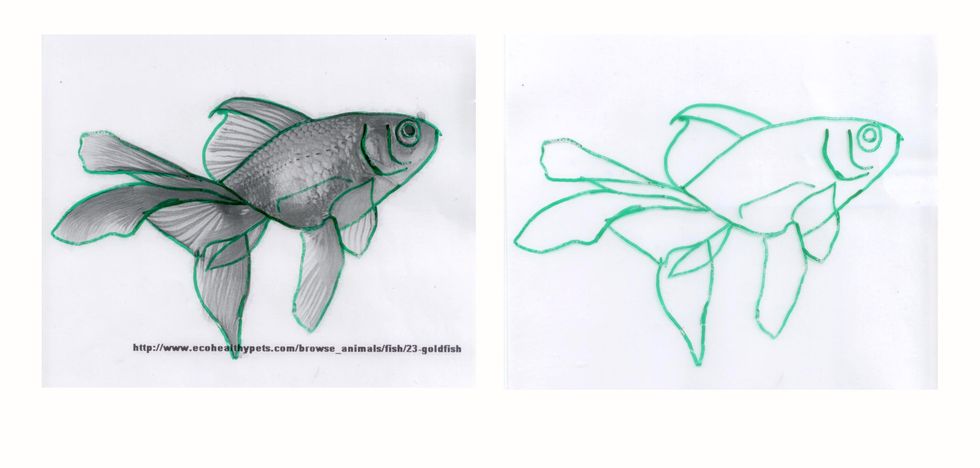
Repeat step 5 with any outlines or images that you may want to use as part of your drawing. If you feel confident, you can even combine the outlined shapes from different fish to create your own!
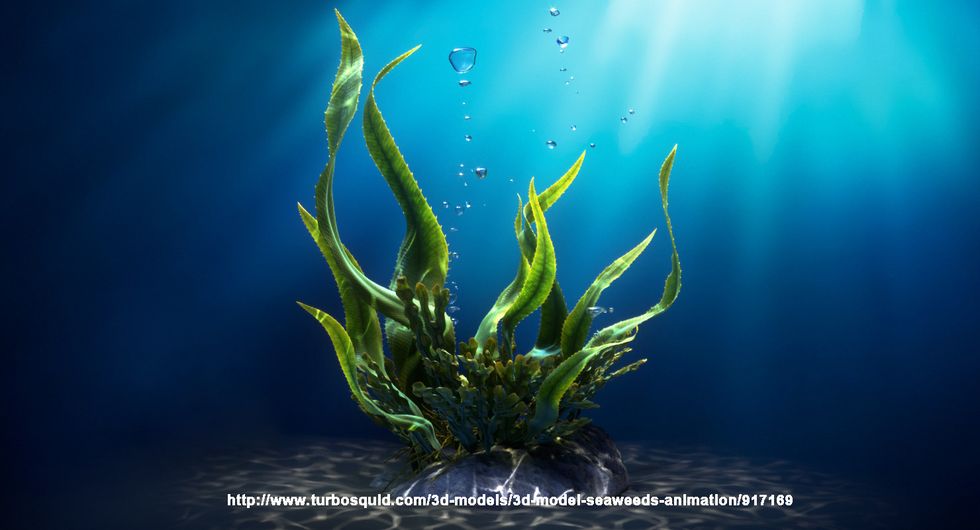
Here is another image combined into the final drawing. This one is a nice example of the twisting, flowing nature of seaweed as a decorative element to the drawing.
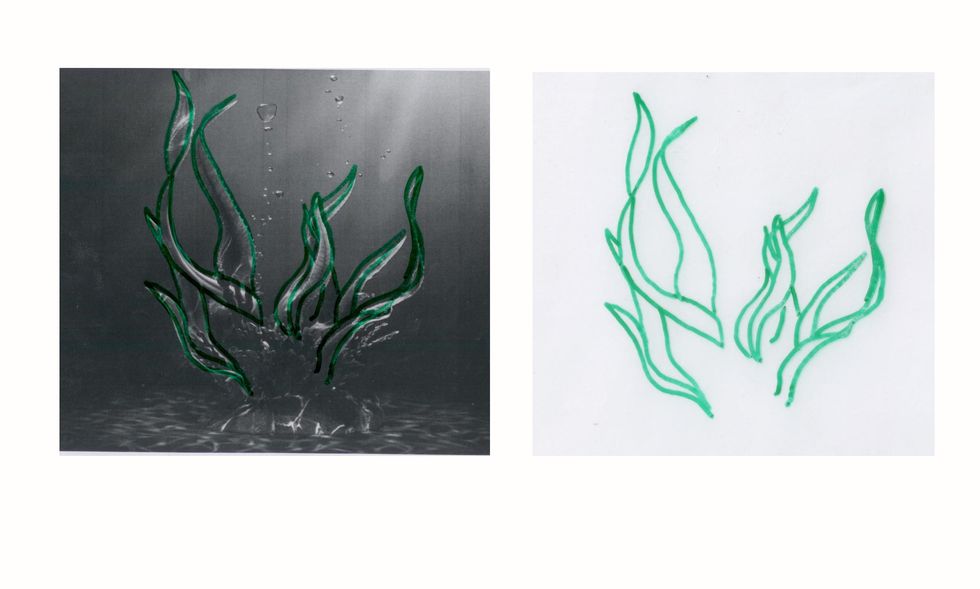
The shapes outlined can be a helpful start to drawing the twisted folds of the seaweed and can also be repeated to create a pattern.
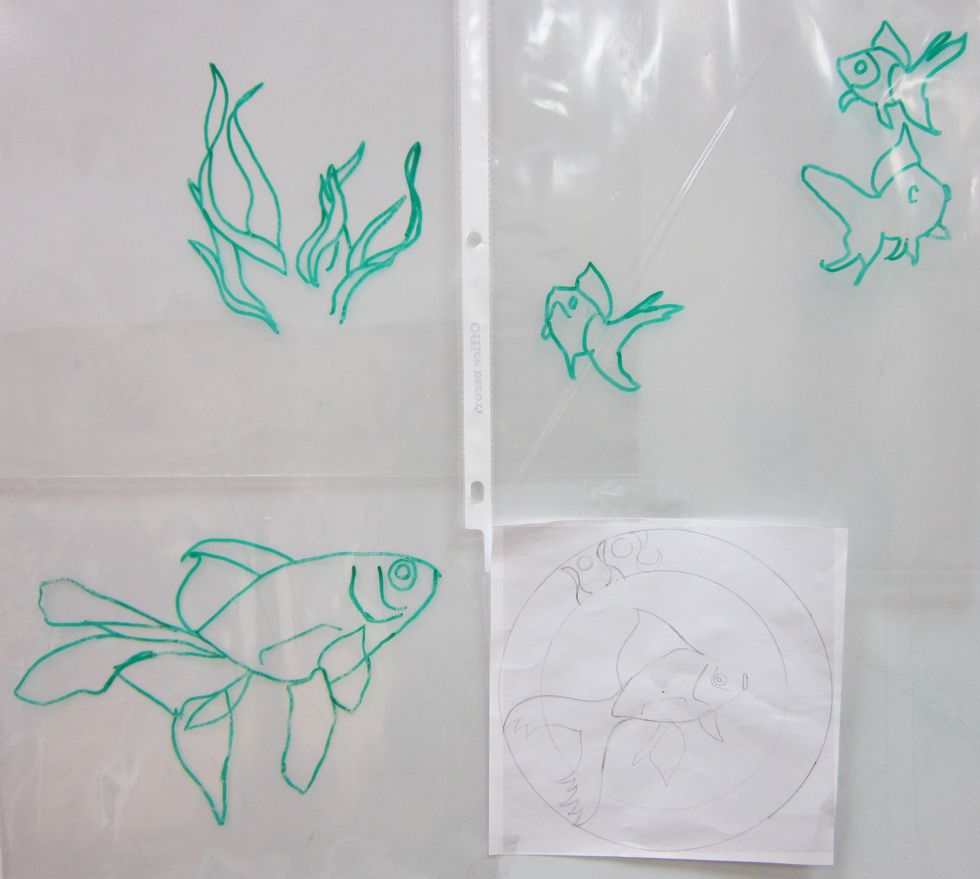
After outlining the desired objects and shapes, remove the photos and use only the shape outlines to help you combine them into one single drawing composition. Tracing at this stage is not allowed.
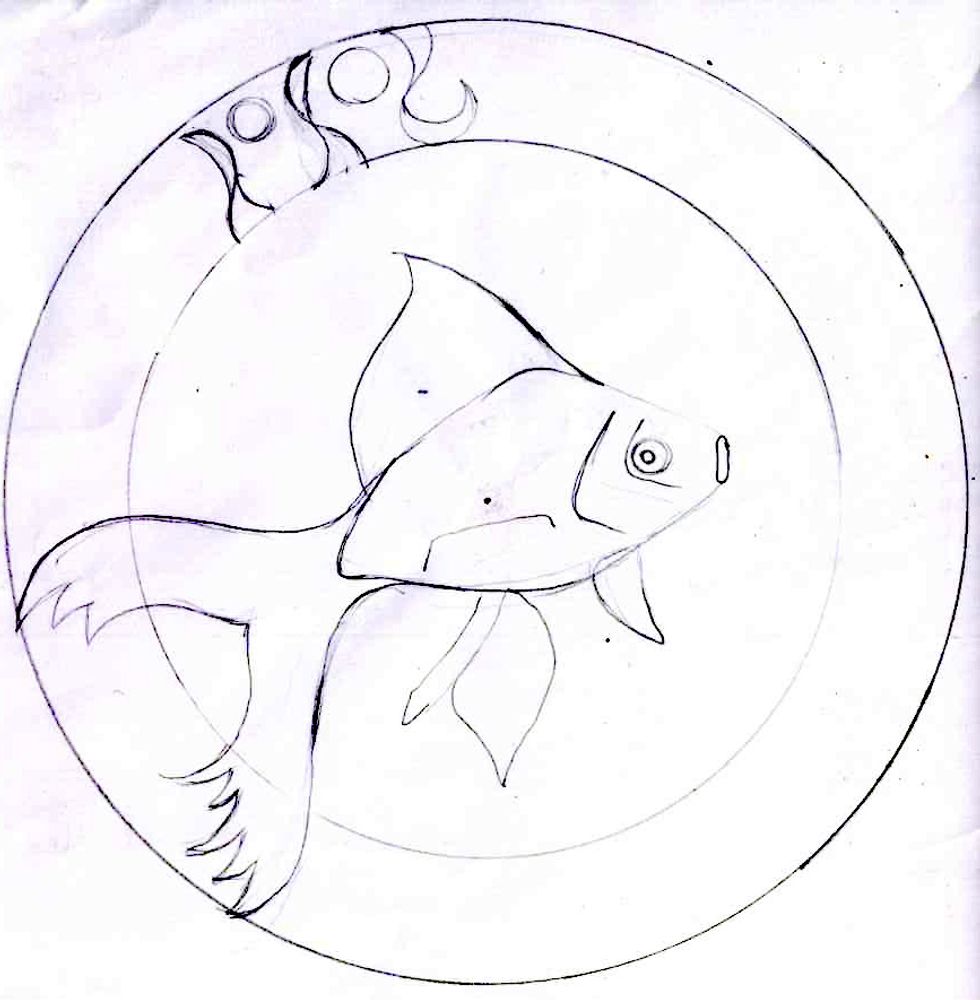
This is a scan of the new pencil outline. The drawing is completed using partially blind contour to re-draw the basic shapes created from reference photos in marker on the page protectors.
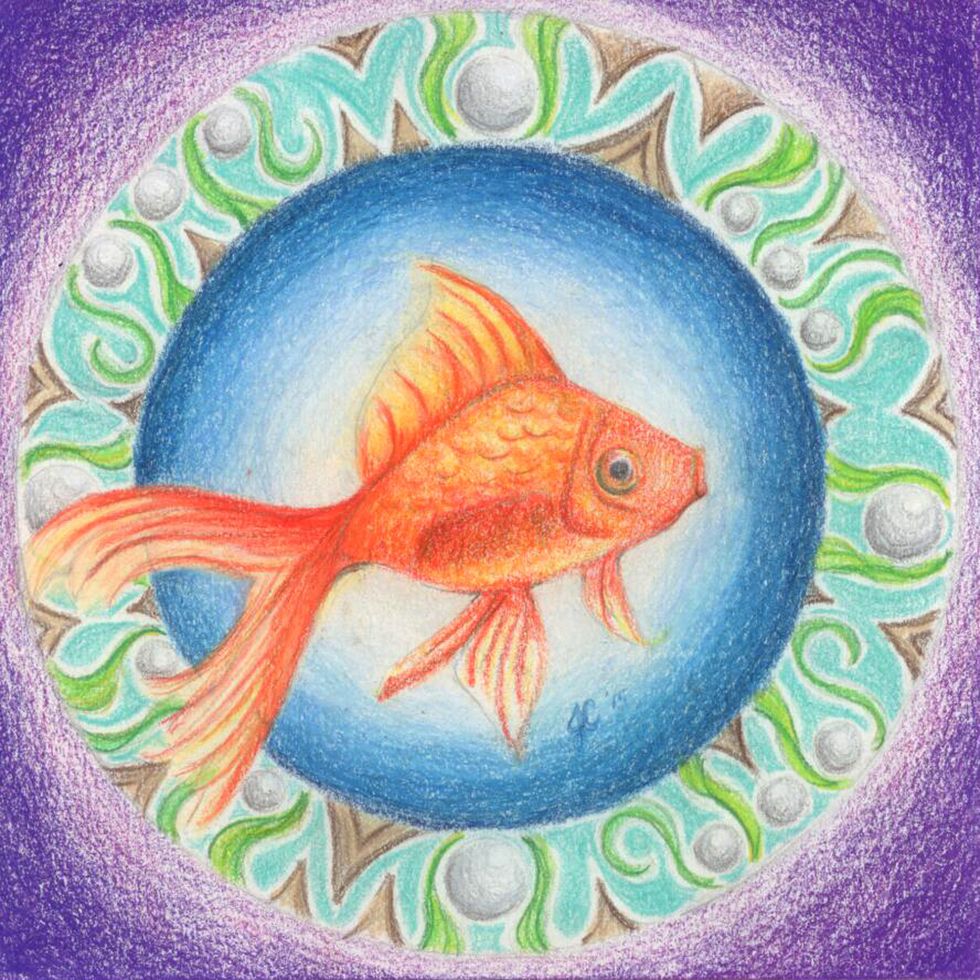
The finished drawing shows evidence of the shapes I found in my photo references. I tried combining shapes from a few different fish to create one I was satisfied with for my drawing.