How to use paper bags to organize your pantry
Get organized- upcycle & save the world 1 tree at a time with this project.
218
STEPS
TOOLS
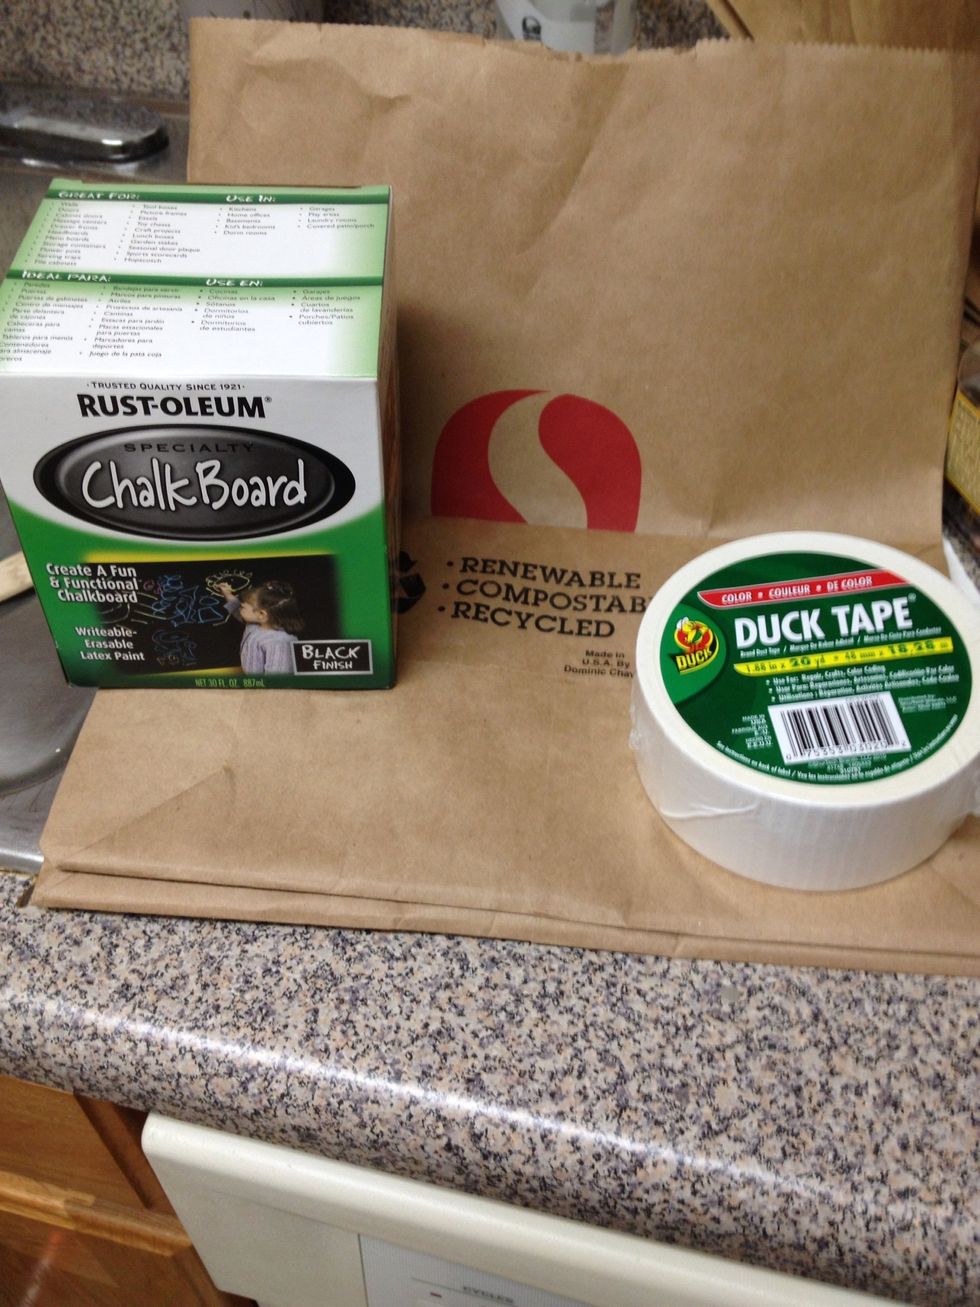
Paper bag - free! World famous duct tape - $4 Chalkboard paint - $10
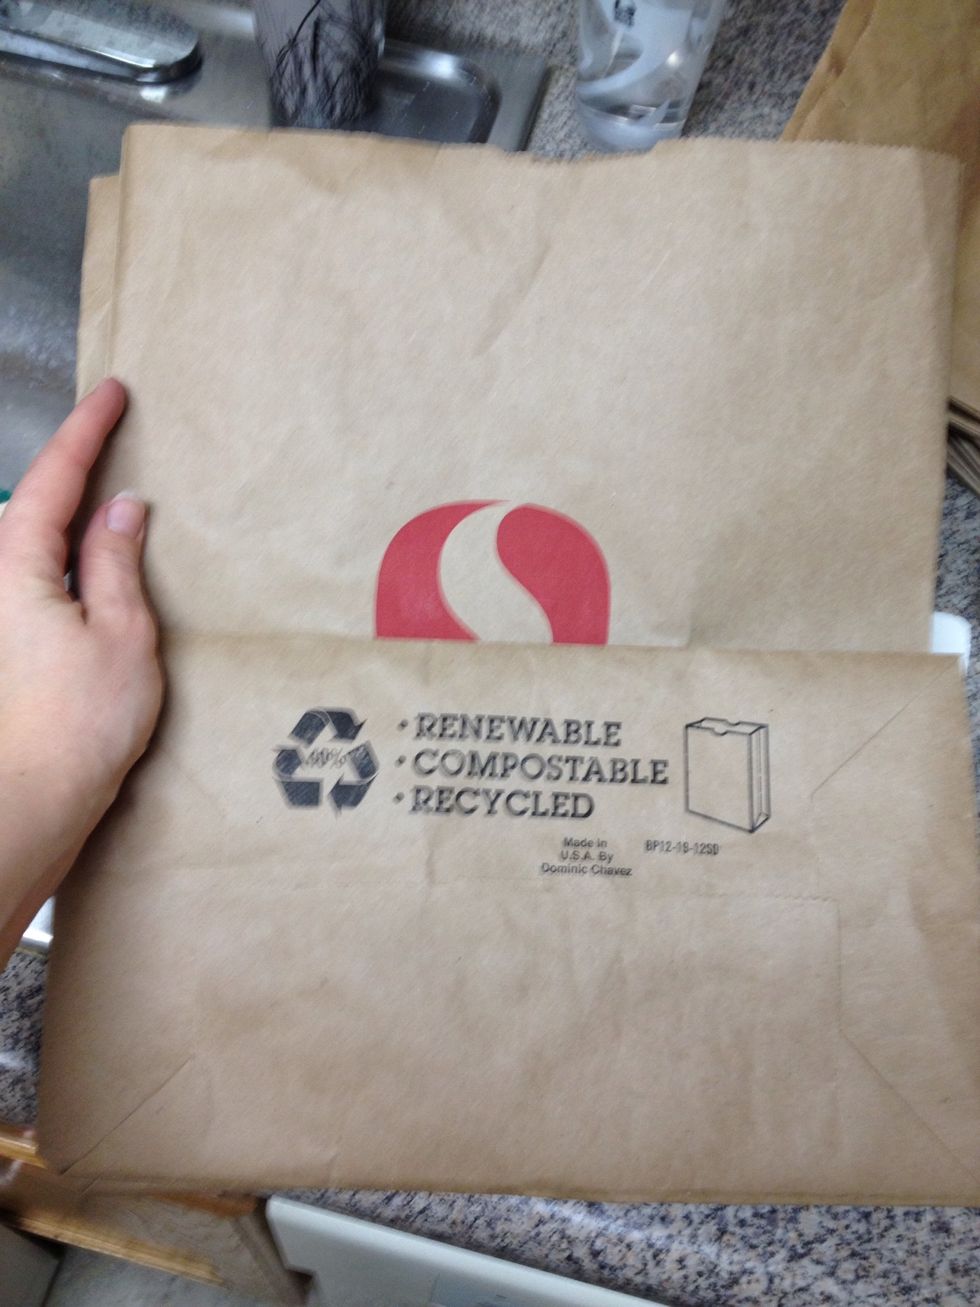
Renewable - recycled - again and again!
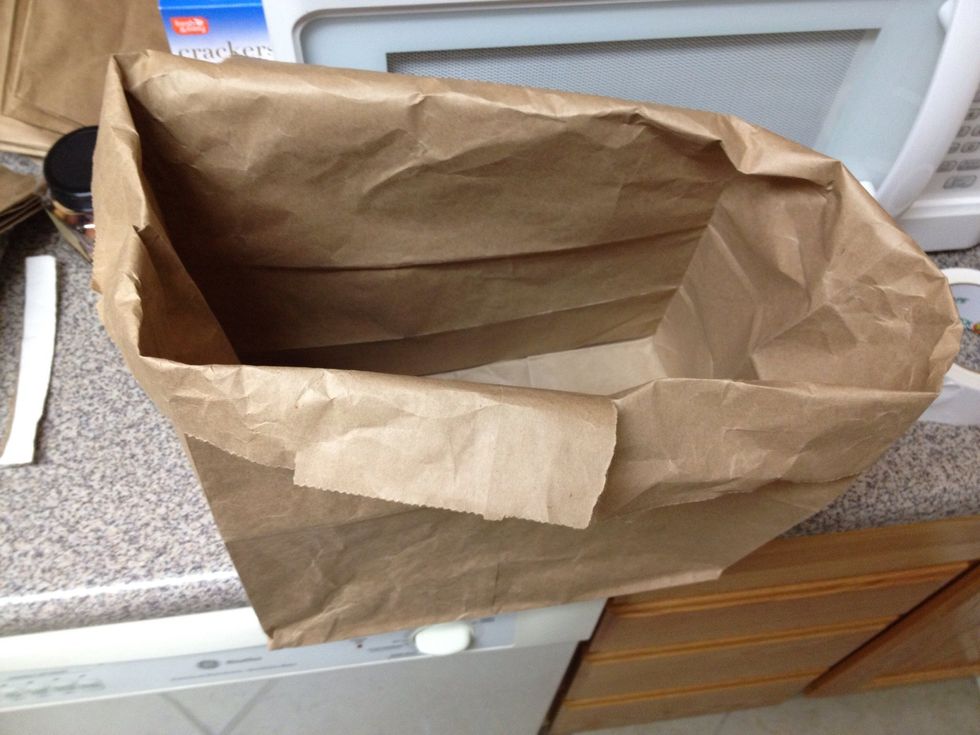
Start folding over the edges and don't worry if it rips a little- it's paper after all!
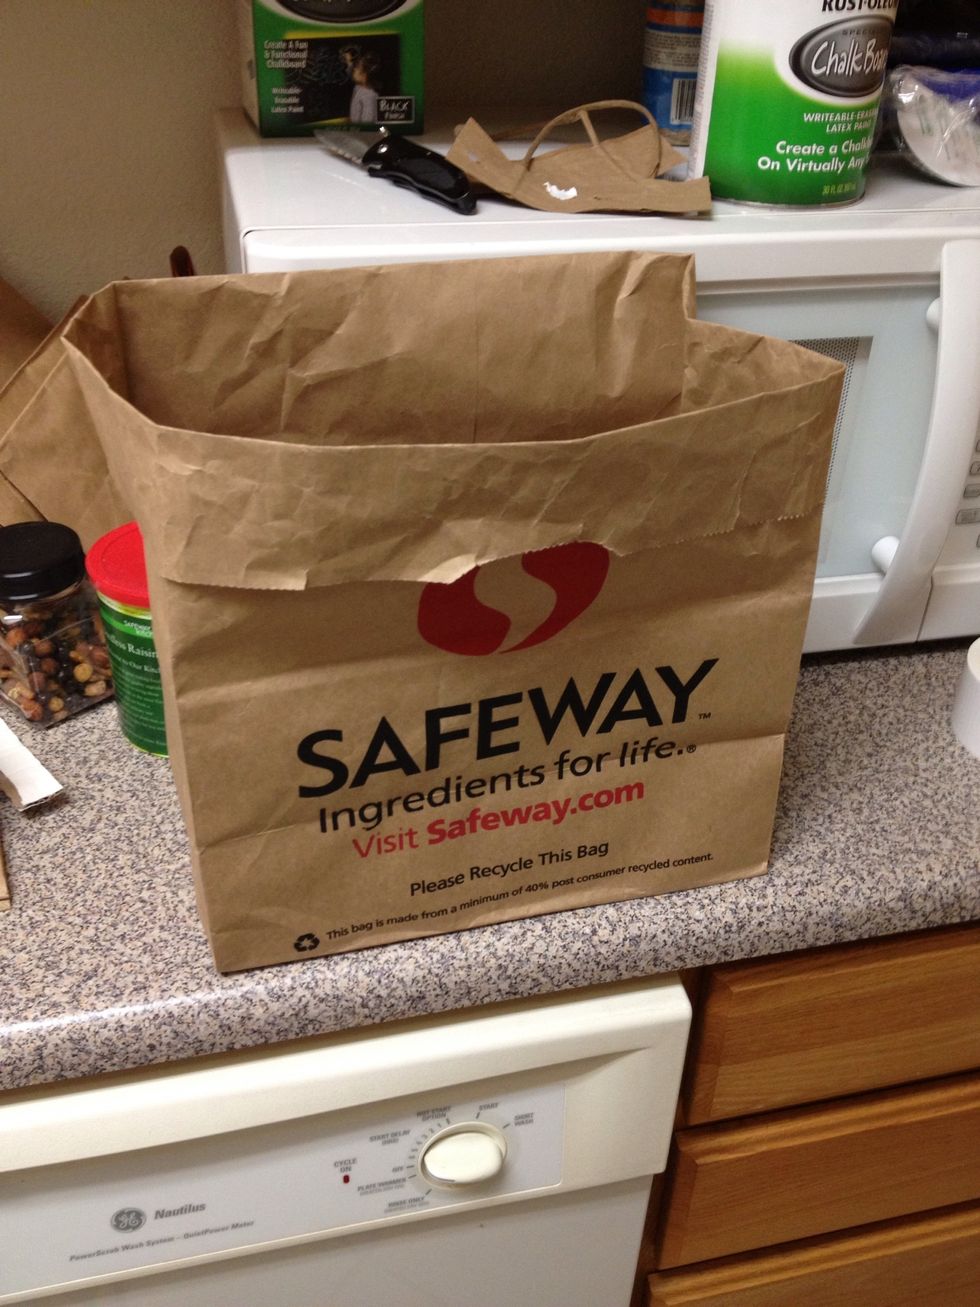
Fold to your desired width and then crease the edges. This helps to keep it neat as you keep folding.
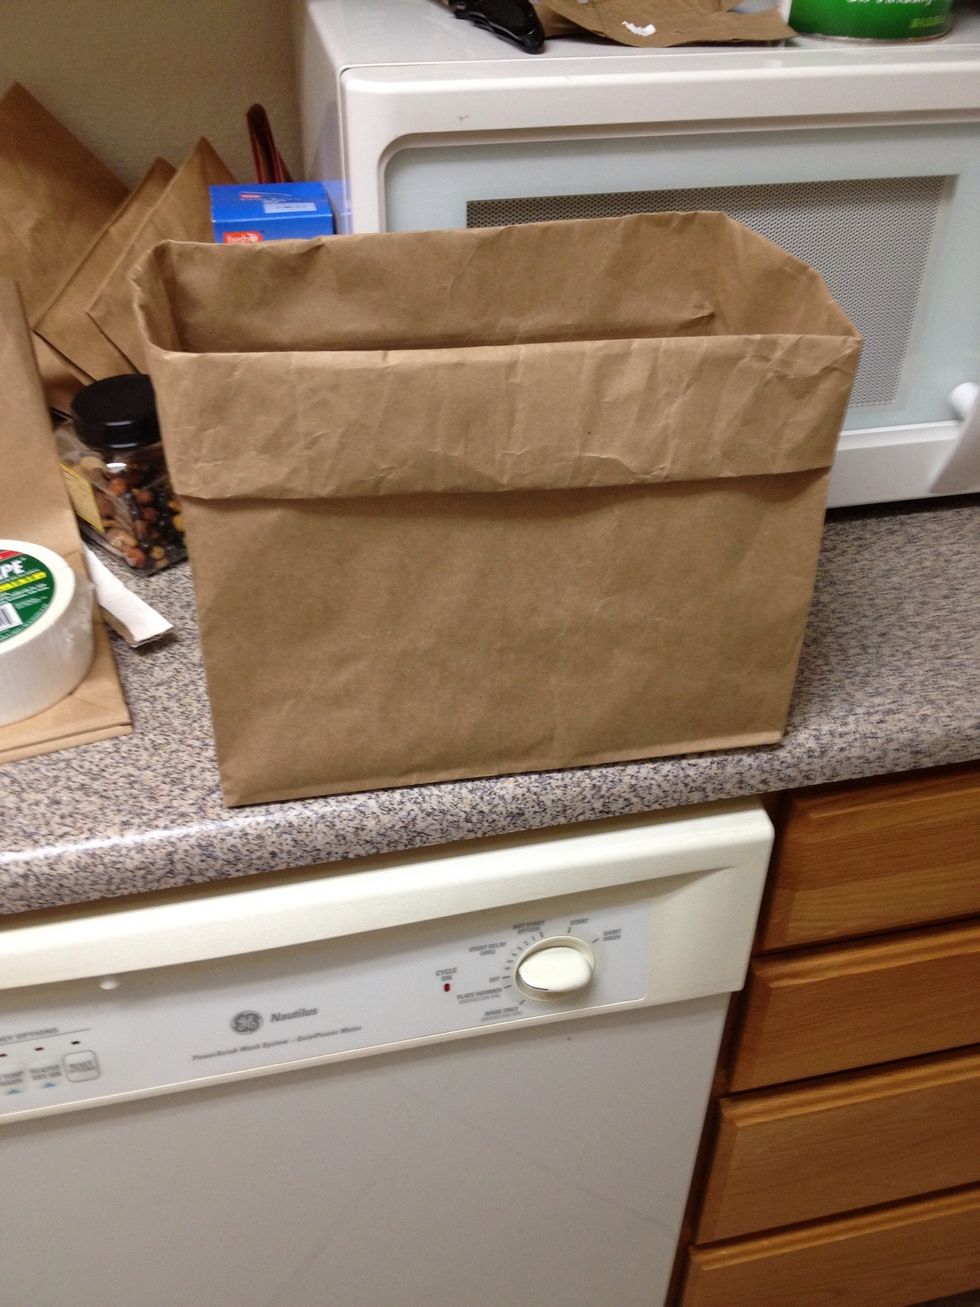
Next round of folds. You can say this height to hide all your junk food or go lower to show off your healthy treats.
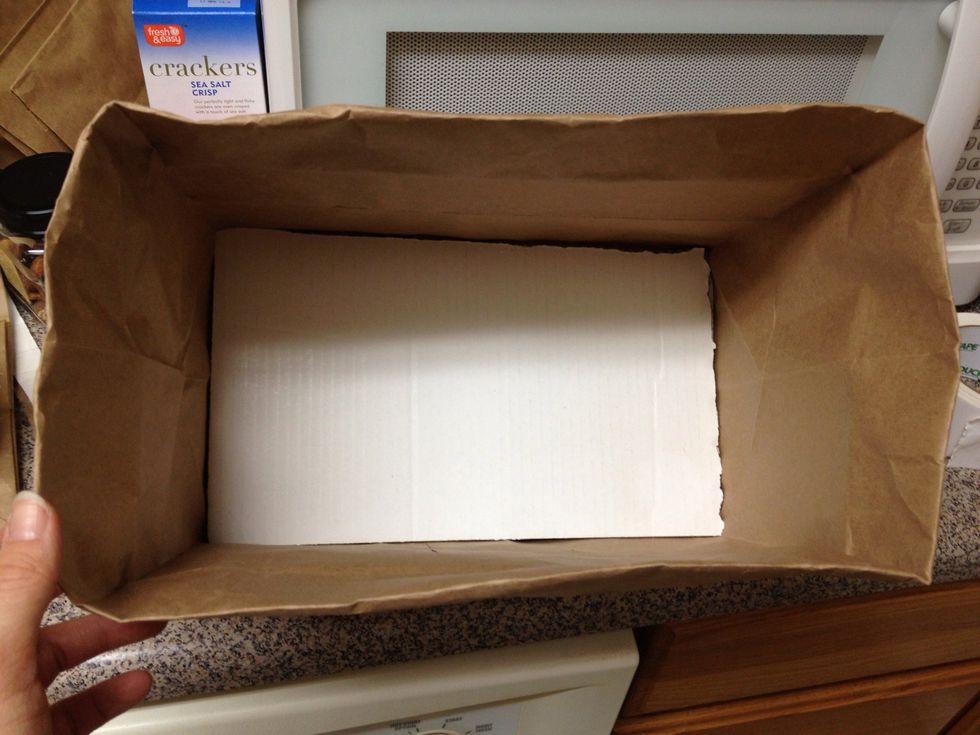
I added some left over cardboard for stability.

You can use a folded bag instead...
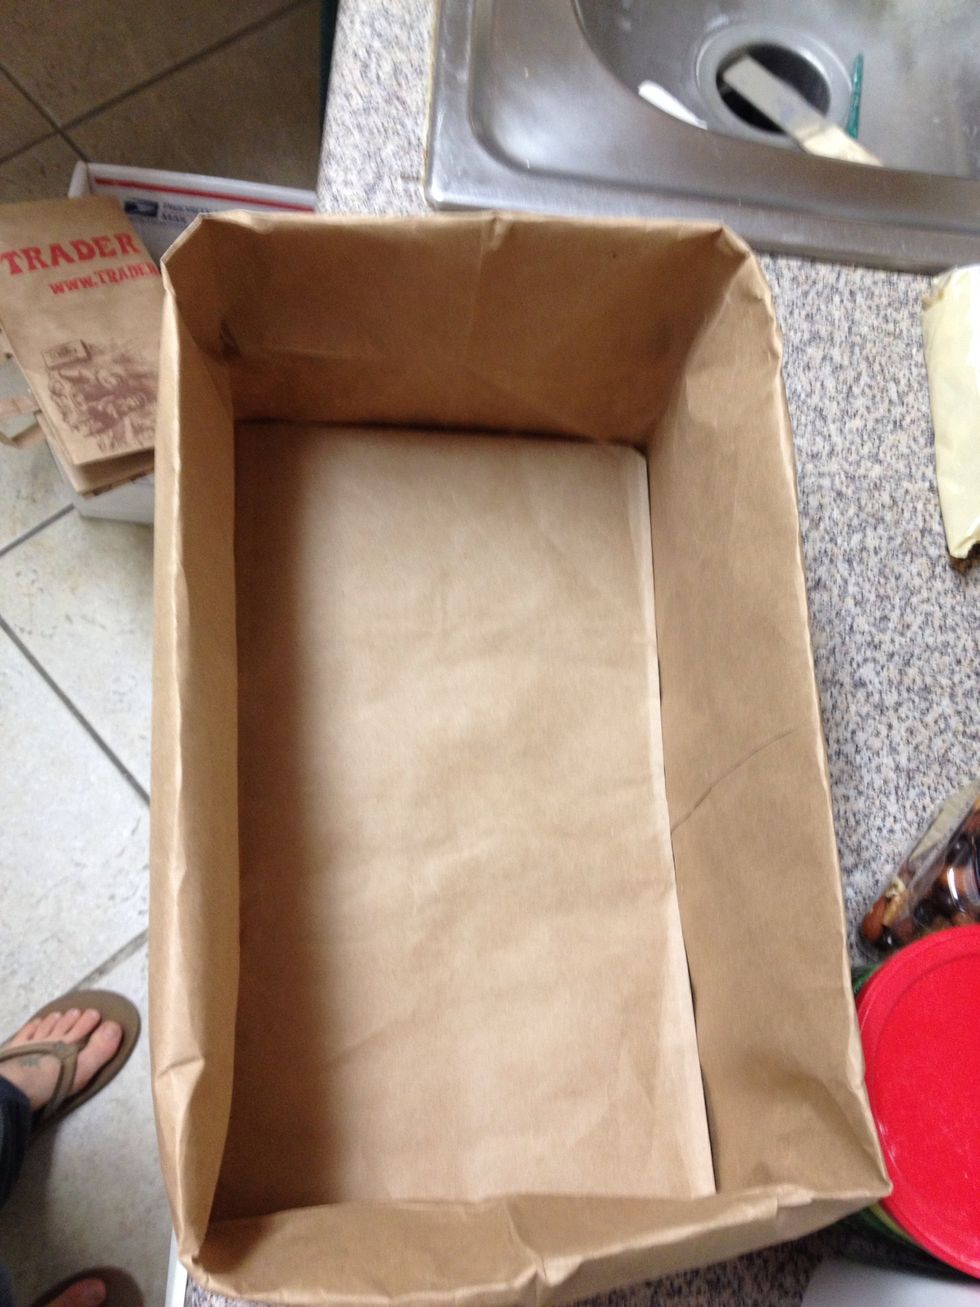
Like so.
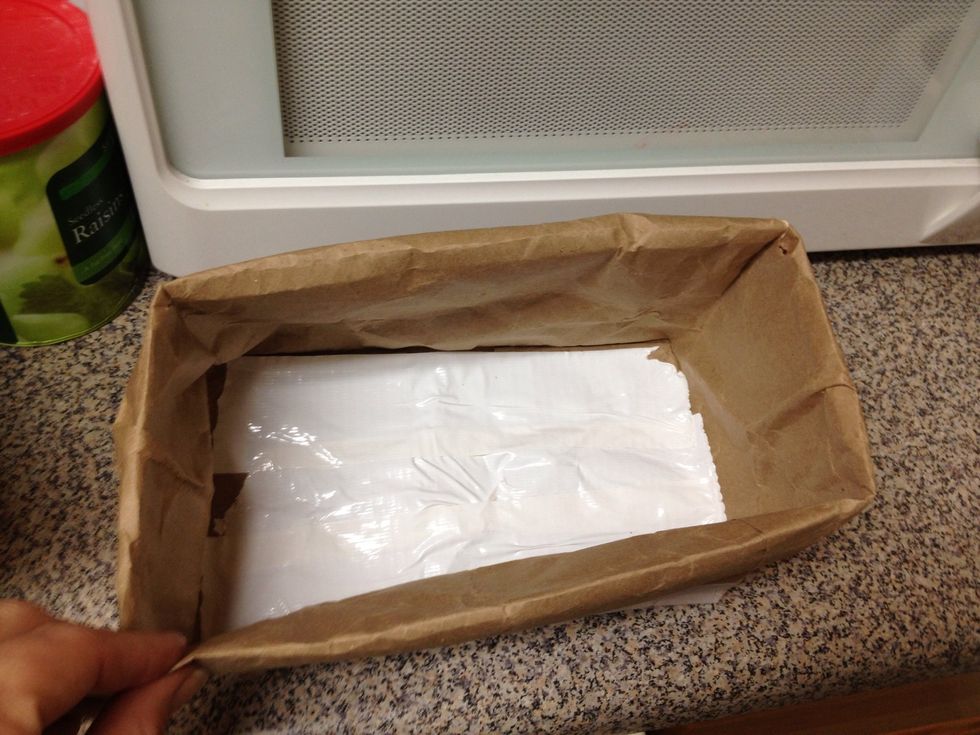
Or bust out the trusty duct tape. This is especially good for spices or oils.

You can use all size bags. I liked the words on this Starbucks bag - fitting. But get creative with it.
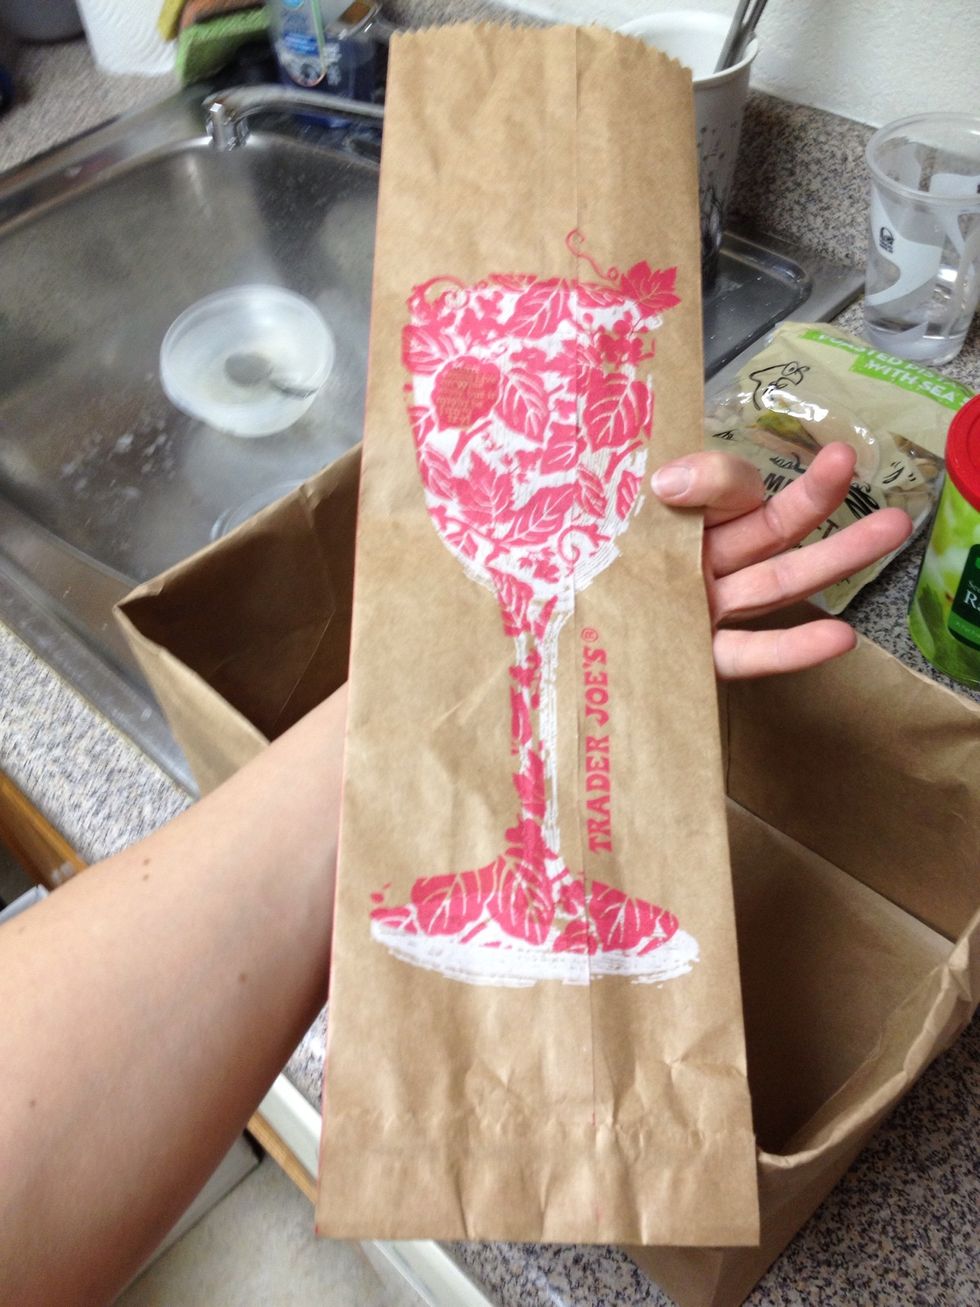
For smaller ones- other bags like the wine bags from trader joes work great for the liners.
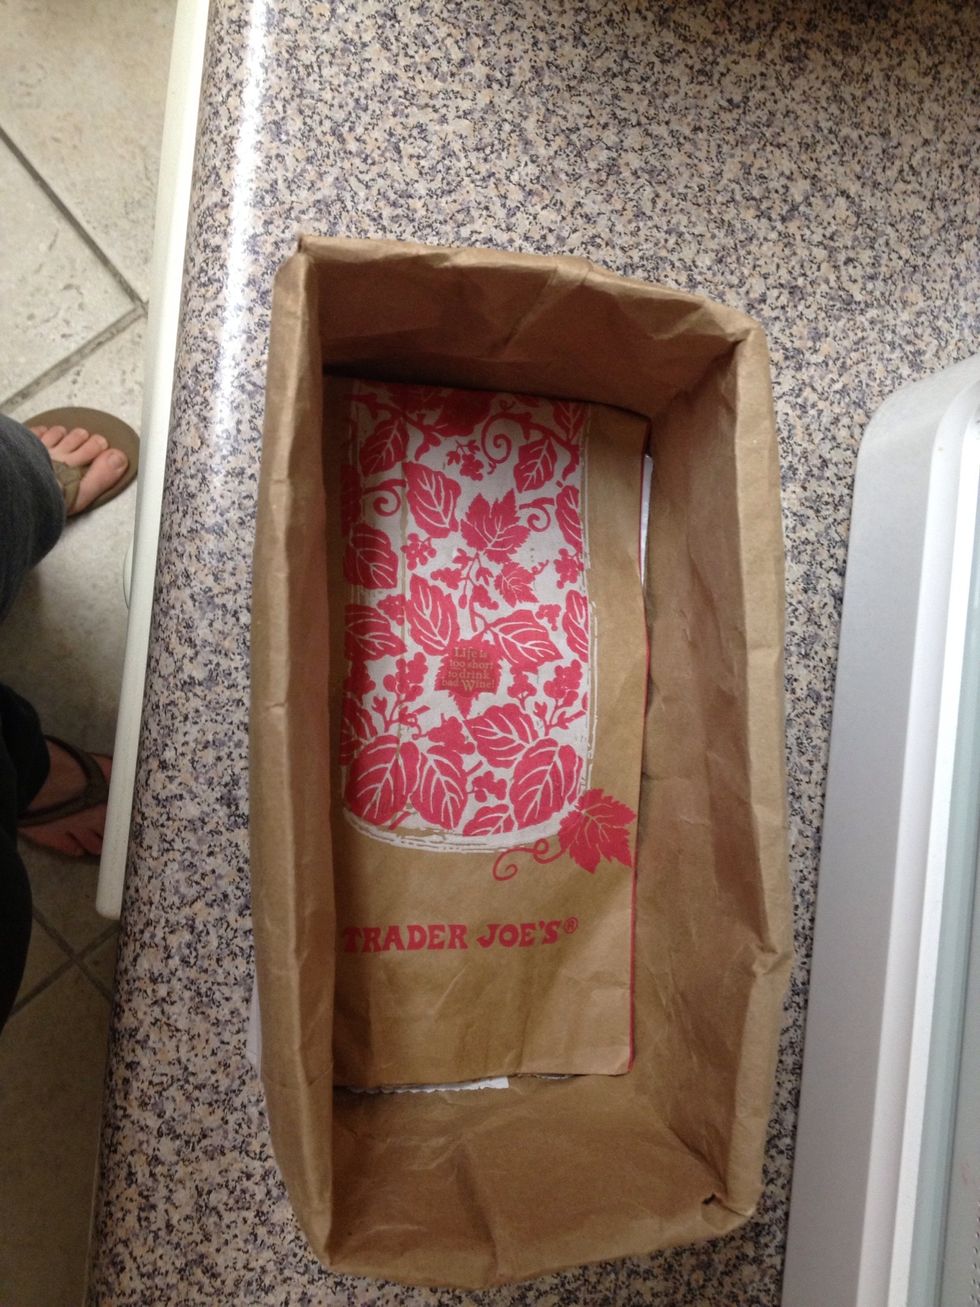
See?
Paint on areas of the rolled over lips according to the paint instructions. I used 2 layers and put it on 2 sides so I could arrange the bags in different ways. Sorry no pics.

Here's what it looks like in my cupboard. You can always put the bags in different directions or layered in front/ behind others.
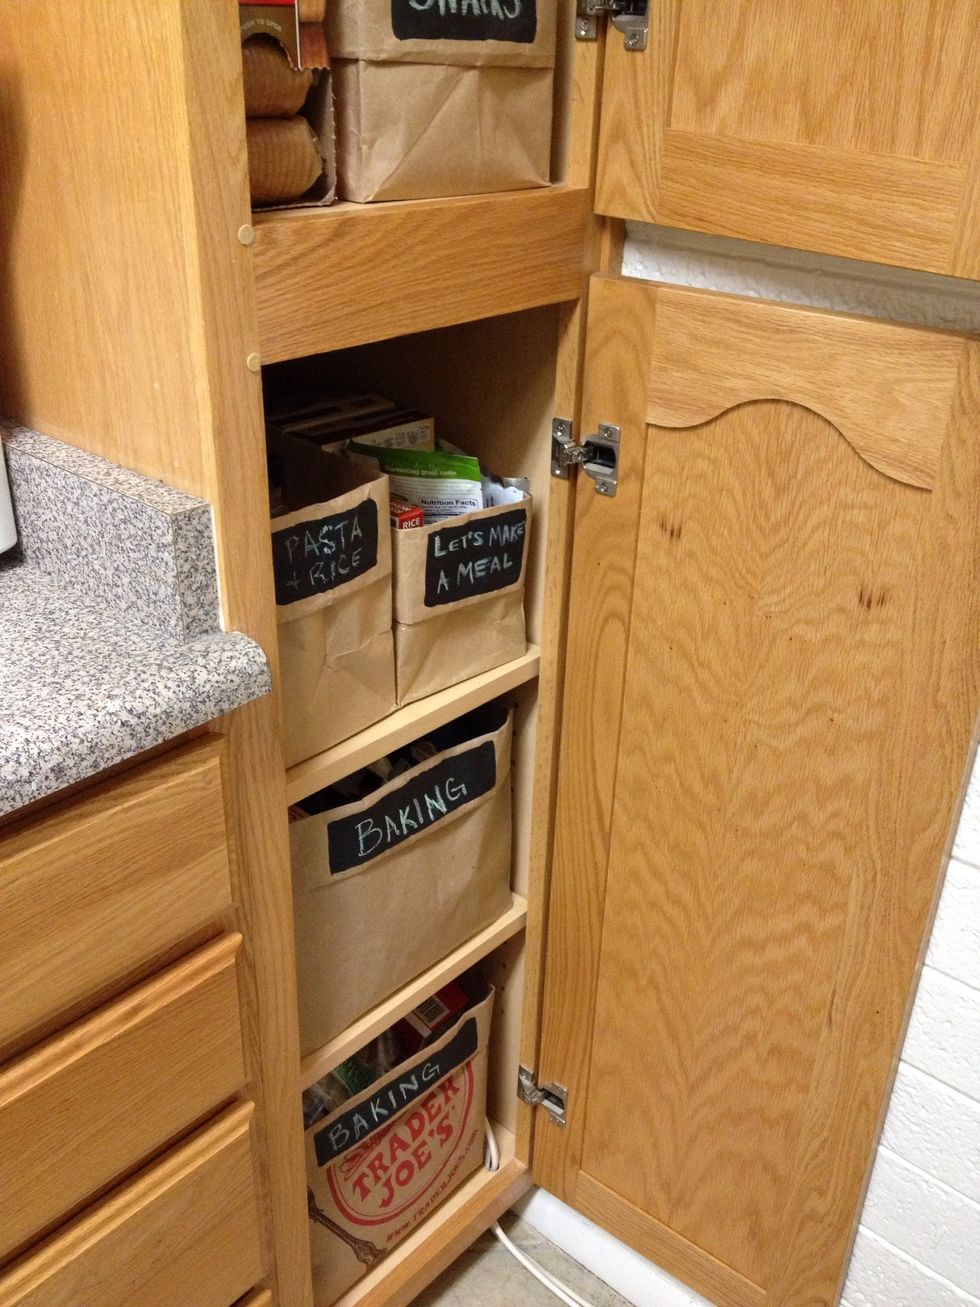
Bottom cupboard.
- Paper bags
- Tape
- Chalkboard paint or markers
The Conversation (0)
Sign Up