The Conversation (0)
Sign Up
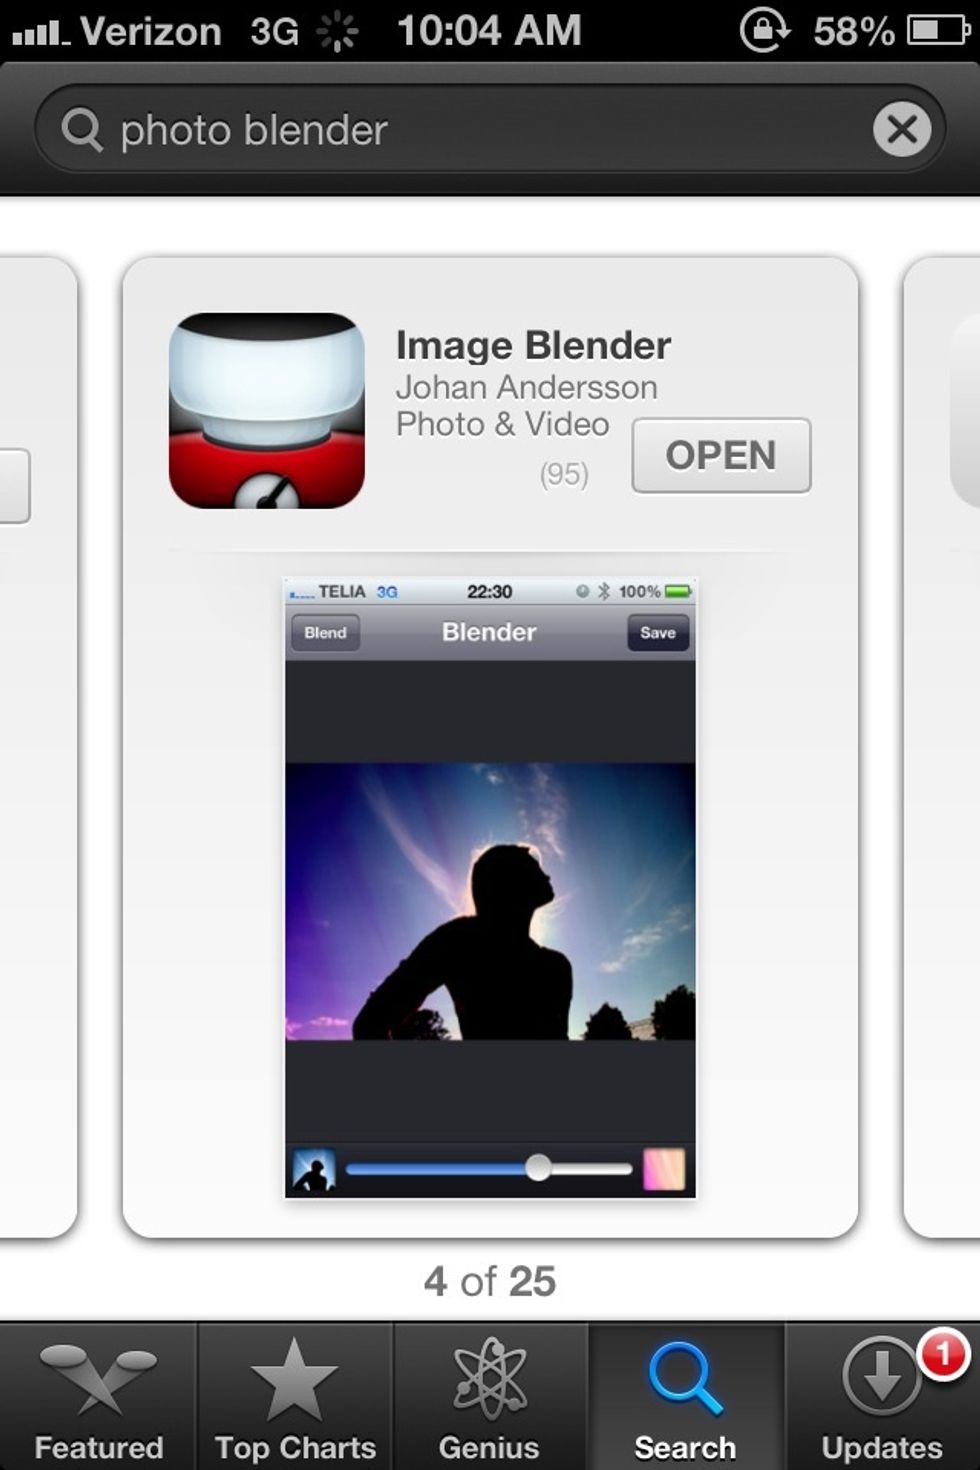
first you will need to buy this app. just type in blender on the search bar and it would be the first one.

second you will need to get an overlay. you can get some at http://makennasnyder.tumblr.com/tagged/msoverlays
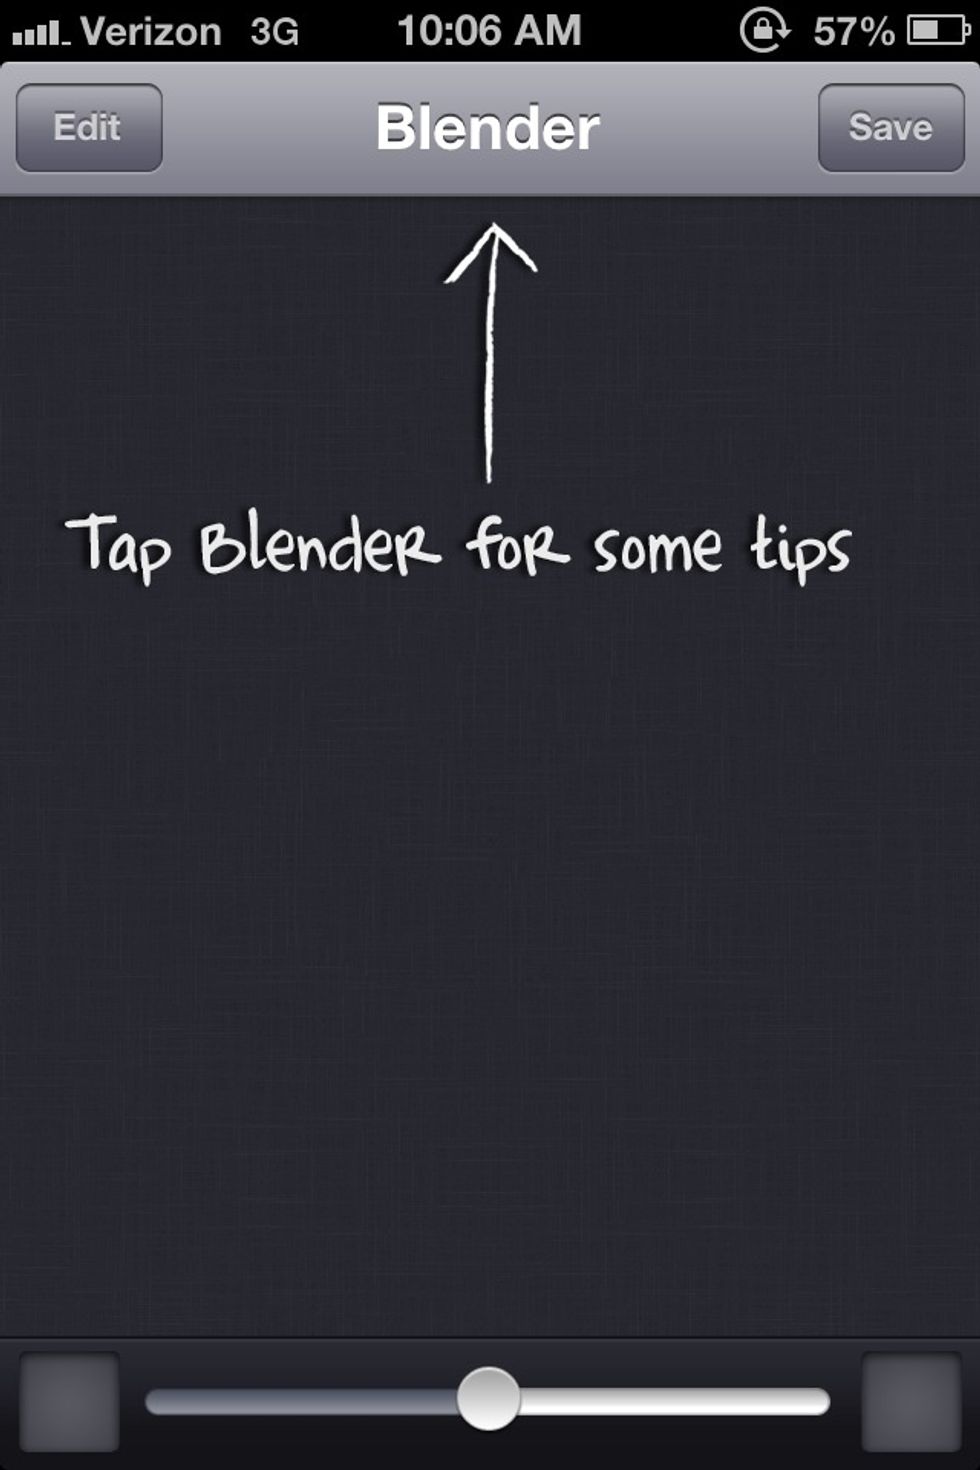
open up the app.
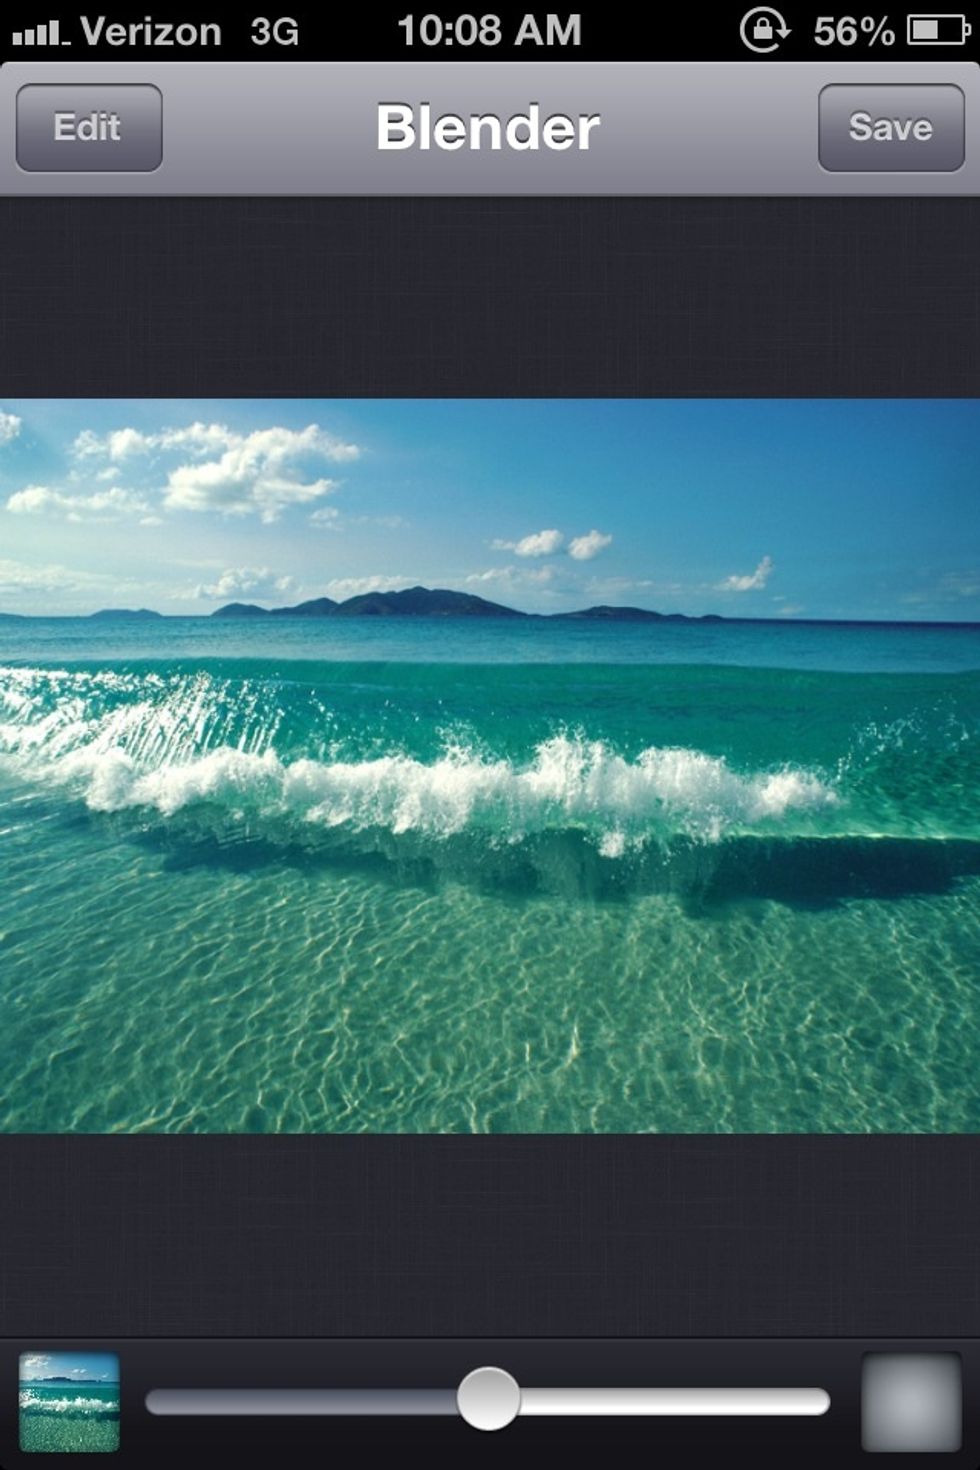
once the app is open, click the bottom left square and choose the picture of your choice.
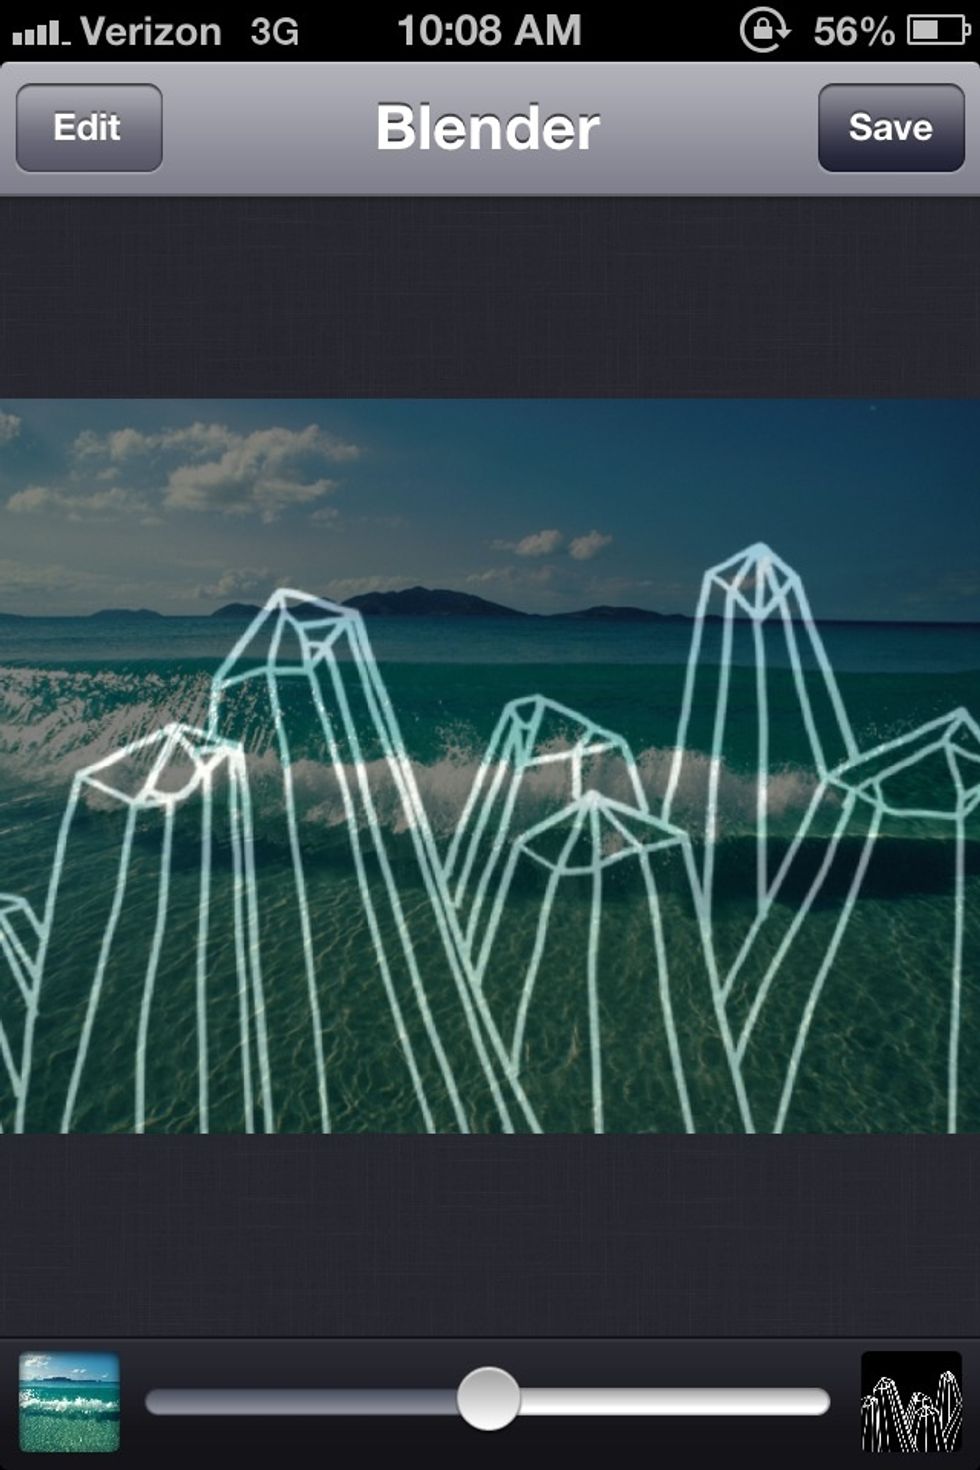
then on the bottom right, choose the overlay you want to be on your picture.

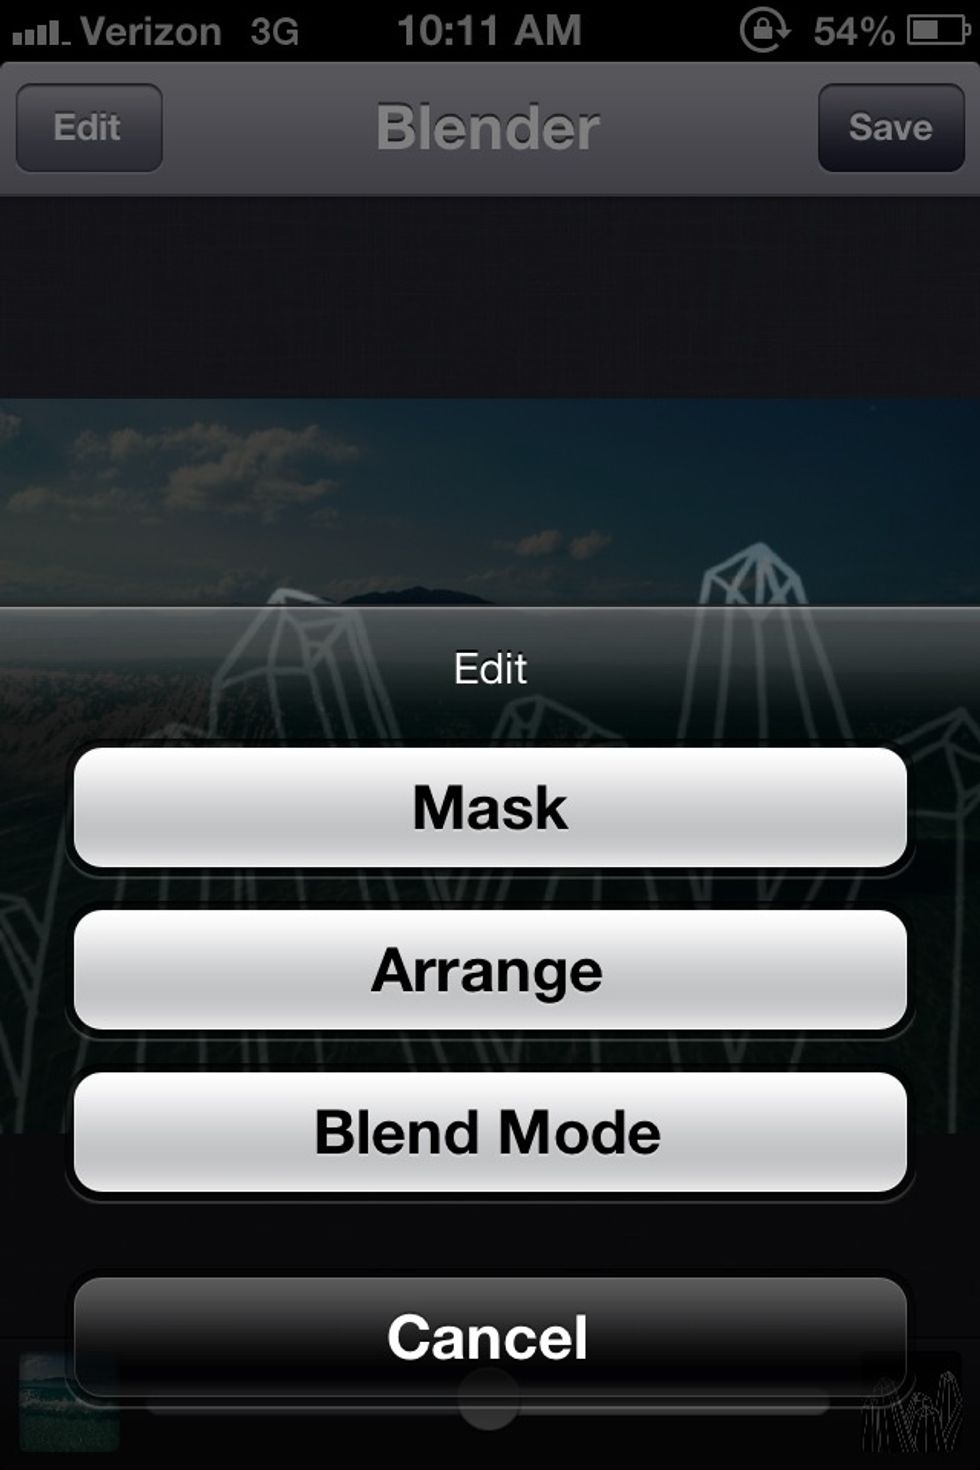
then click edit and this will pop up. click "blend mode"
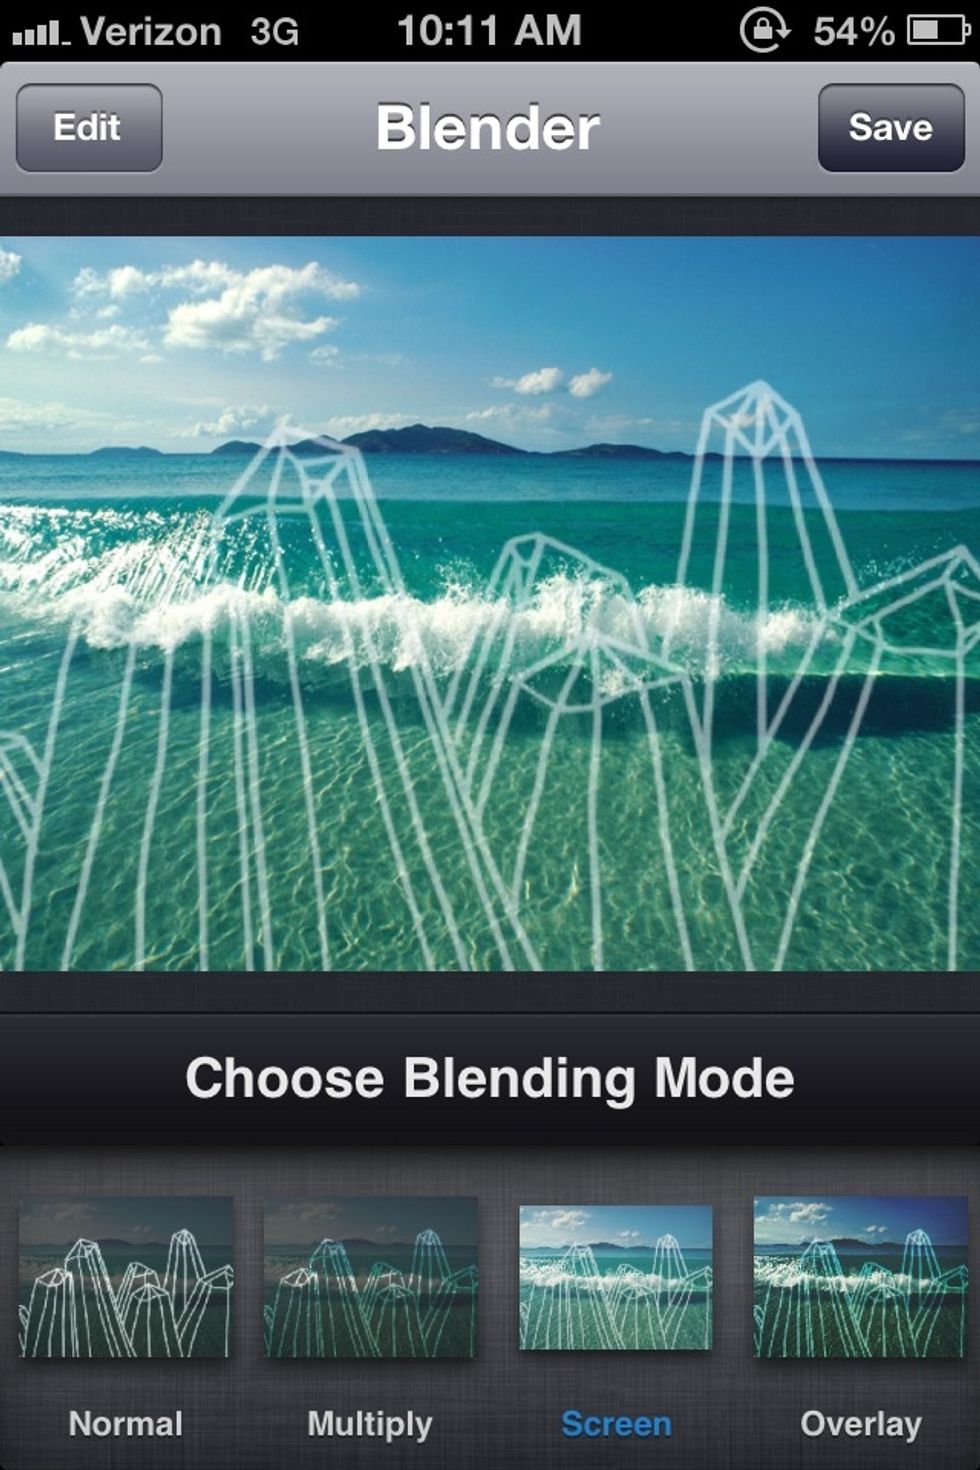
this will then come up. click the one that says "screen" NOTE: there are others to choose from, but this is the one I use.
click edit again and now click arrange.
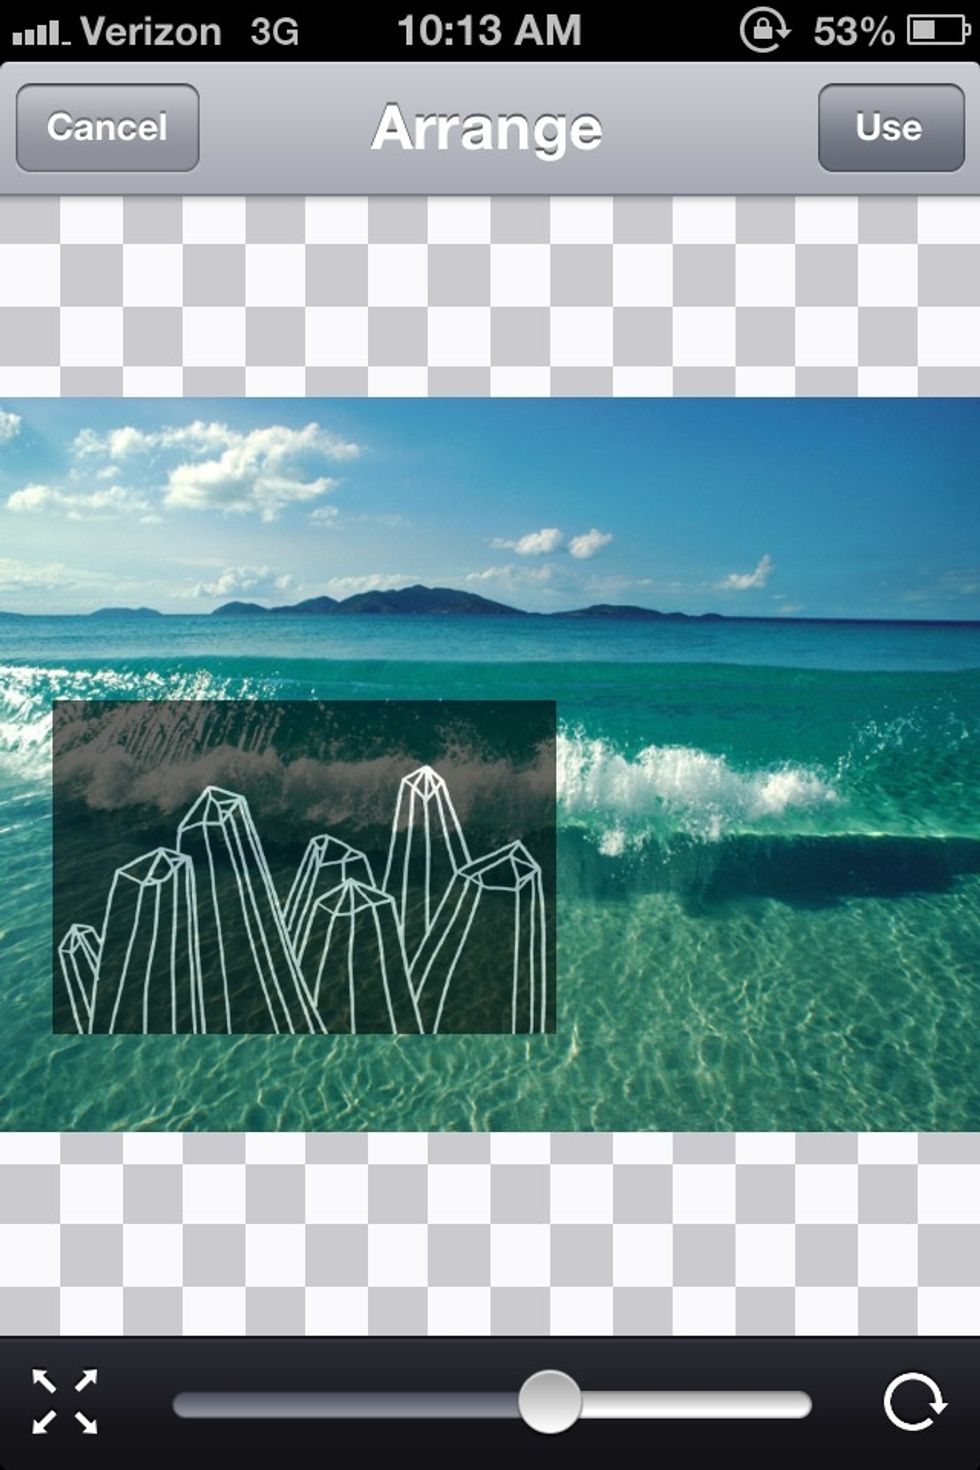
you can now move your overlay wherever you please. NOTE: the scale at the bottom makes the whites brighter.

you can now save it and post it to Instagram!
i hope you find this helpful. have fun with it.