The Conversation (0)
Sign Up
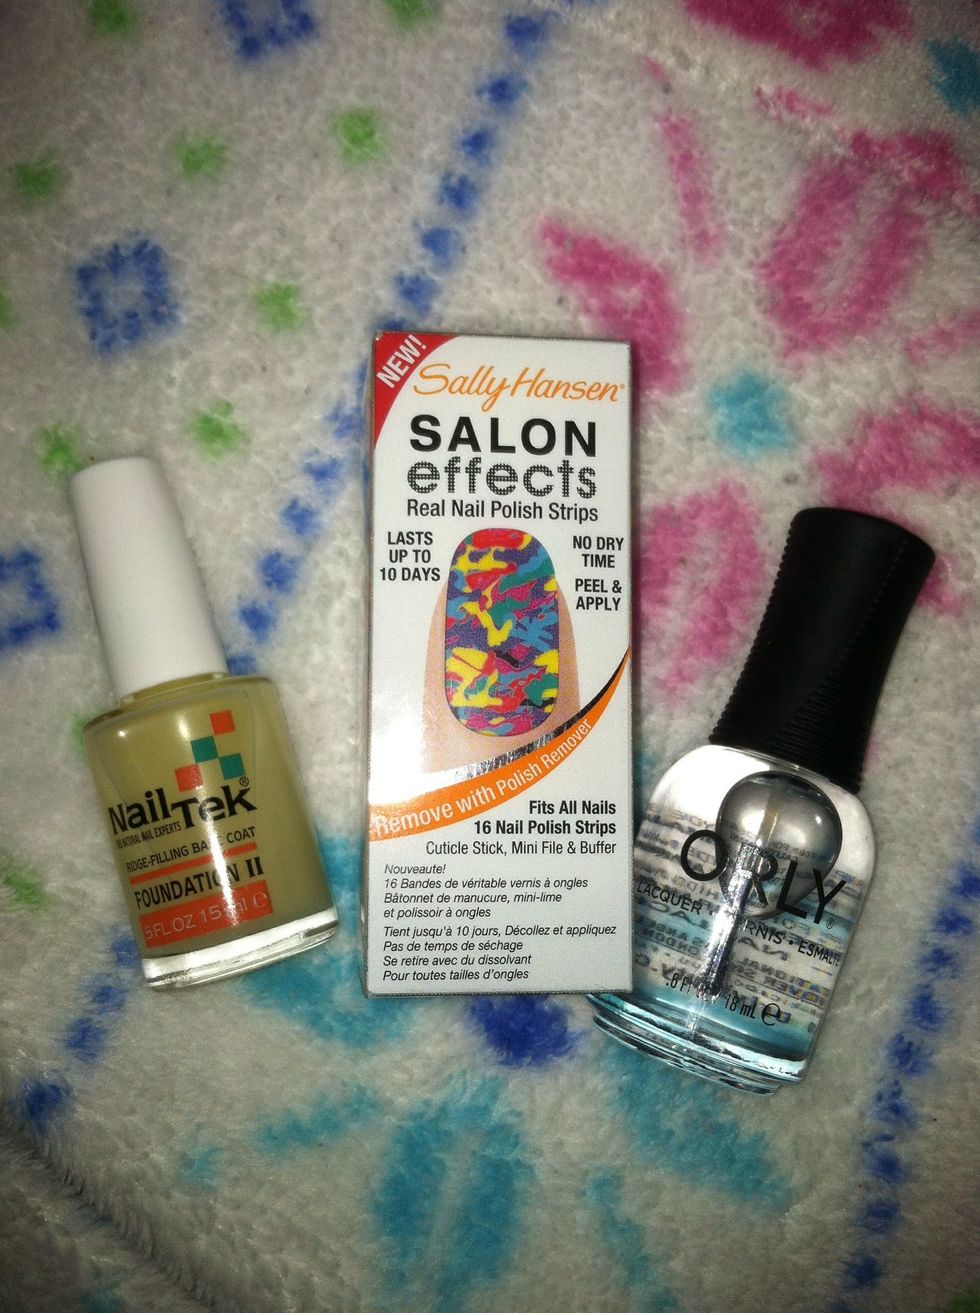
You will need a base coat, nail strips, and a top coat. Note: The base and top coats are optional.
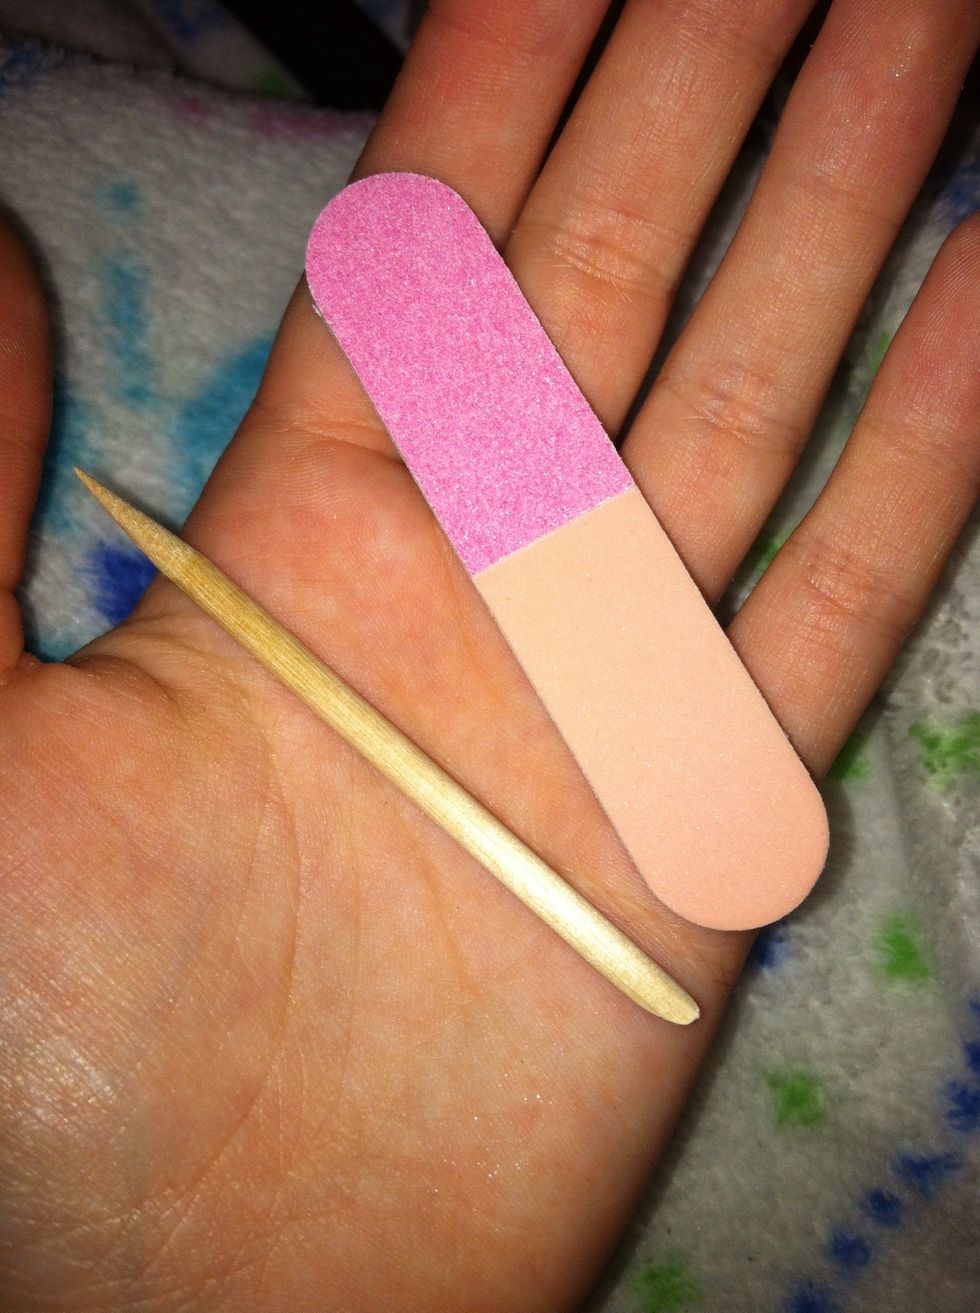
The package comes with this cute nail file and cuticle pusher! Day made!
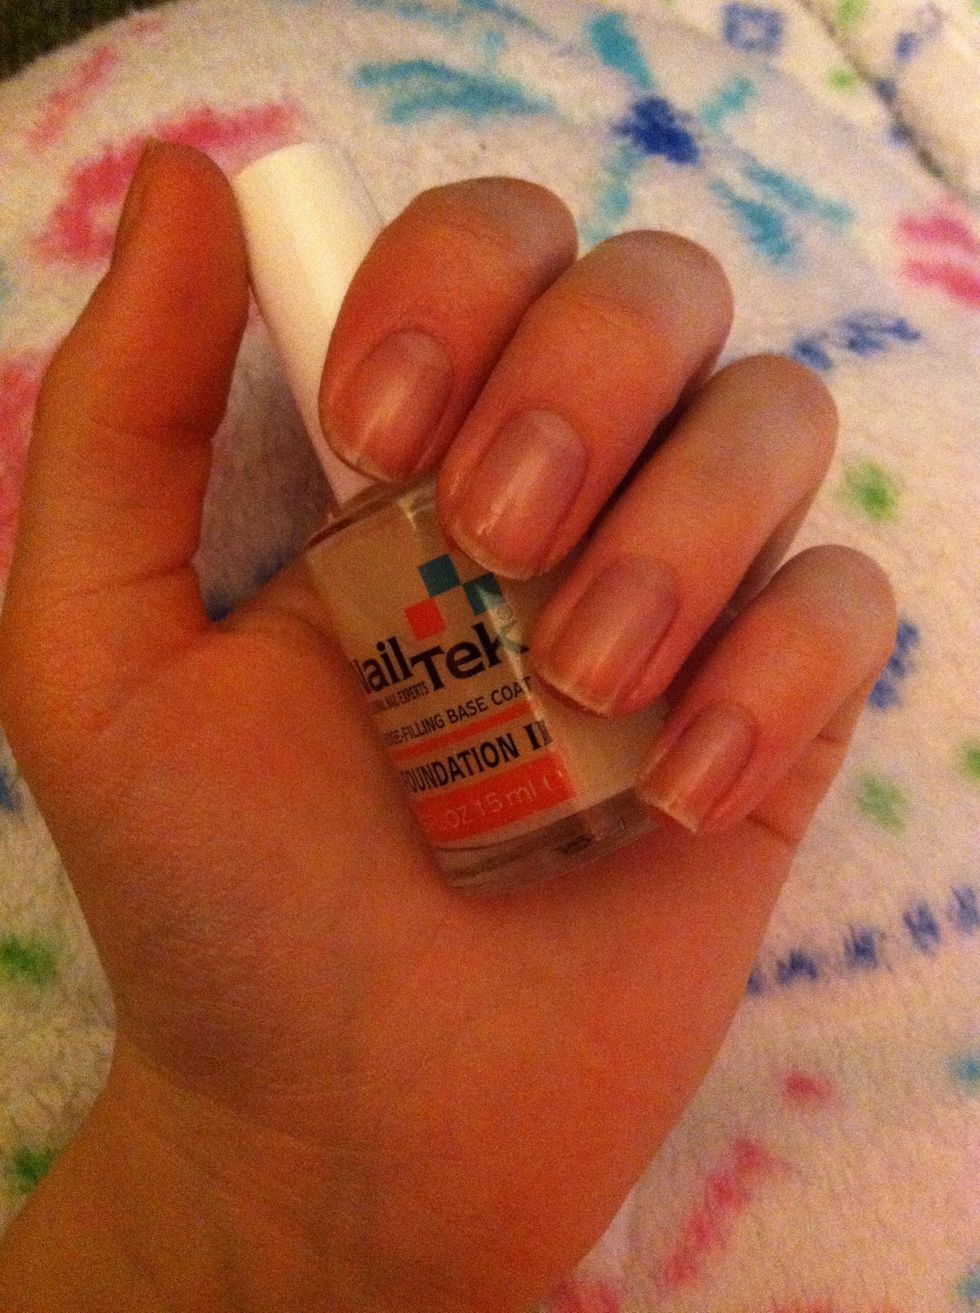
Start off with a base coat to protect your nails. Do not put a base coat where you will be putting the nail strips! I am only putting the strips on my ring fingers.
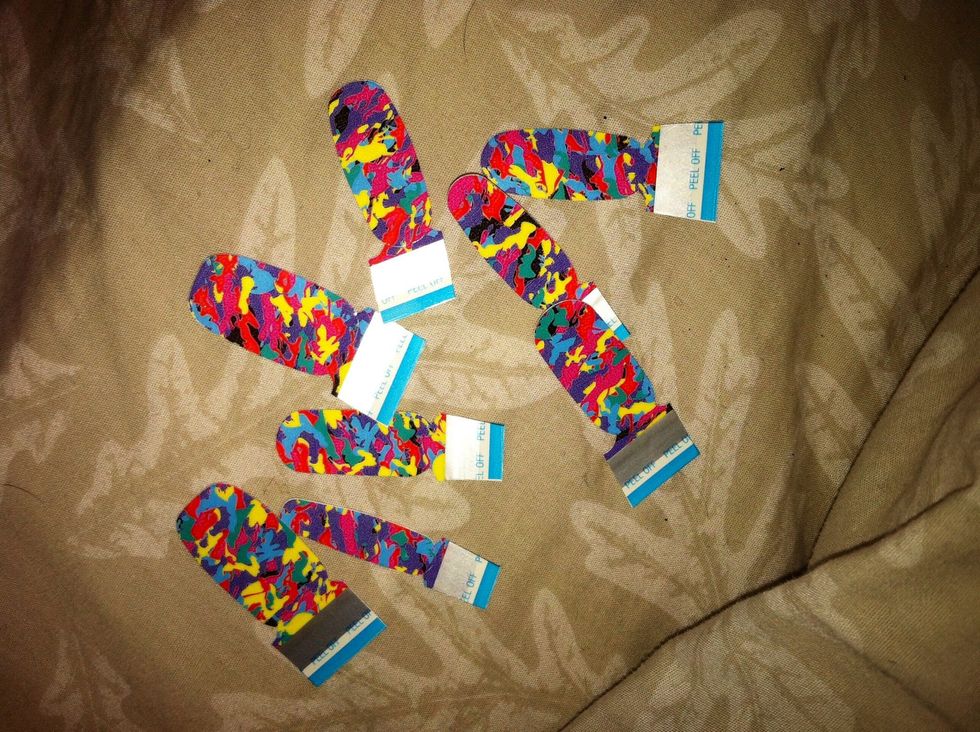
Open up one of the packages. There are two packages with 8 nail strips in each so there are 16 strips all together... Makes no sense! Chose strips that fit your nails best.
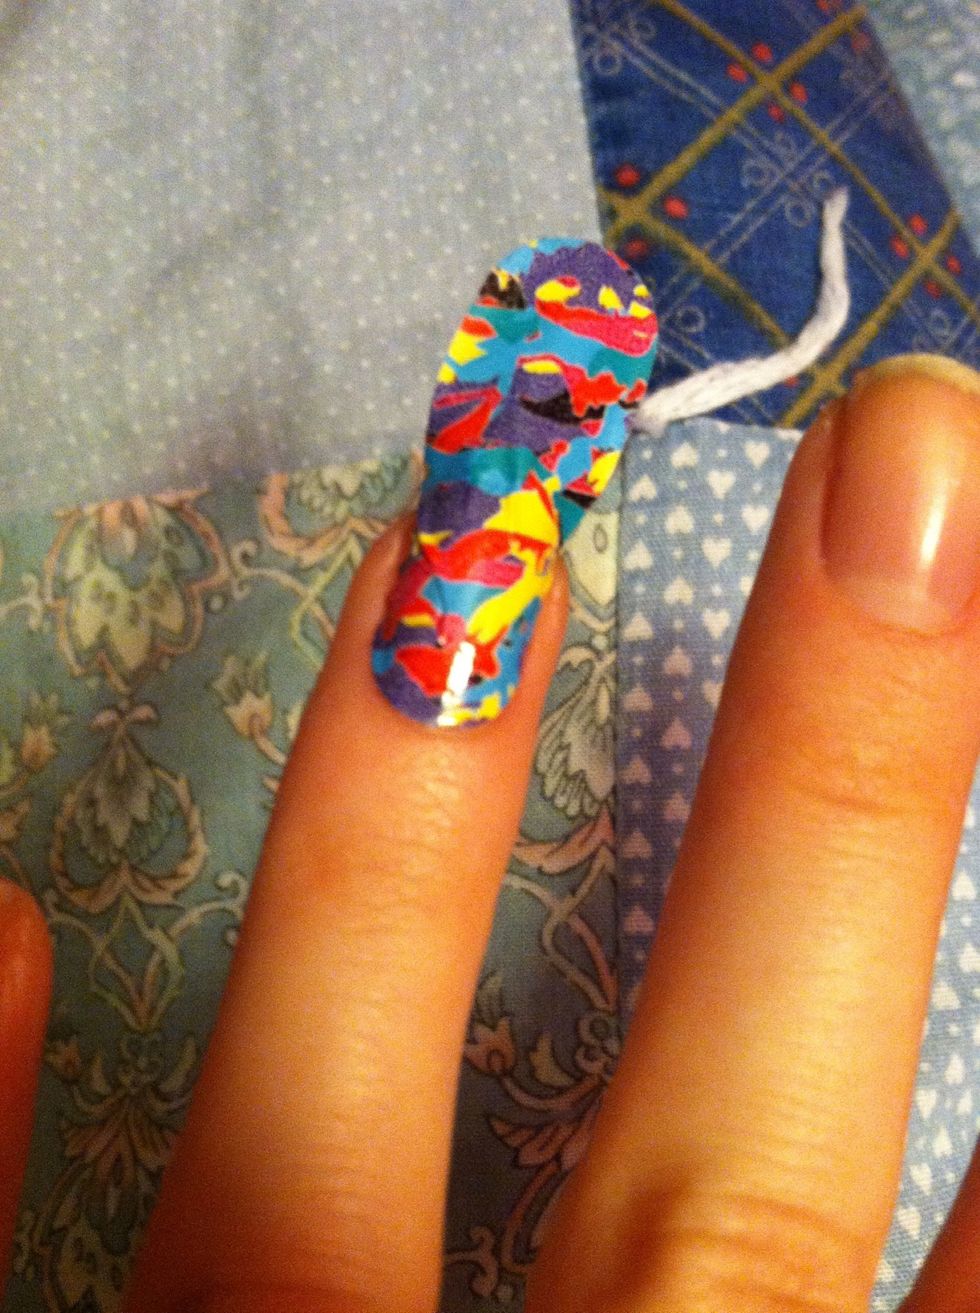
Peel off the backing of the strip and carefully place it on your nail. If you mess up (like I did) just peel it off and use nail polish remover to remove any excess.
When you apply your strip, lightly pull up so that the design is laid out nicely. Then use your cuticle pusher to press down around the sides of the nail.
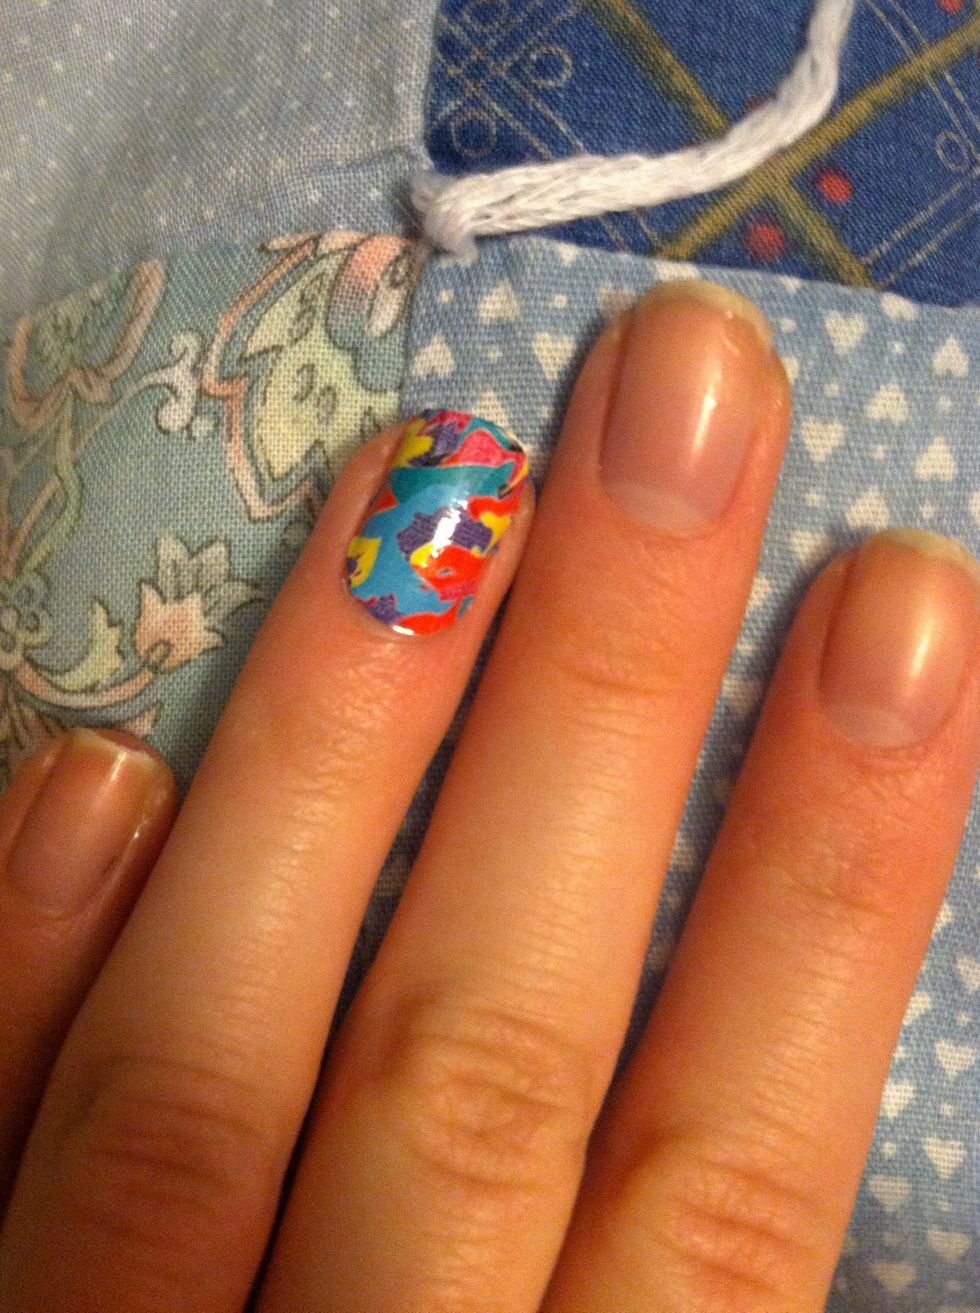
Gently rip of the top and file it down.
A top coat is not needed, but it makes it last longer and adds a gorgeous shine!
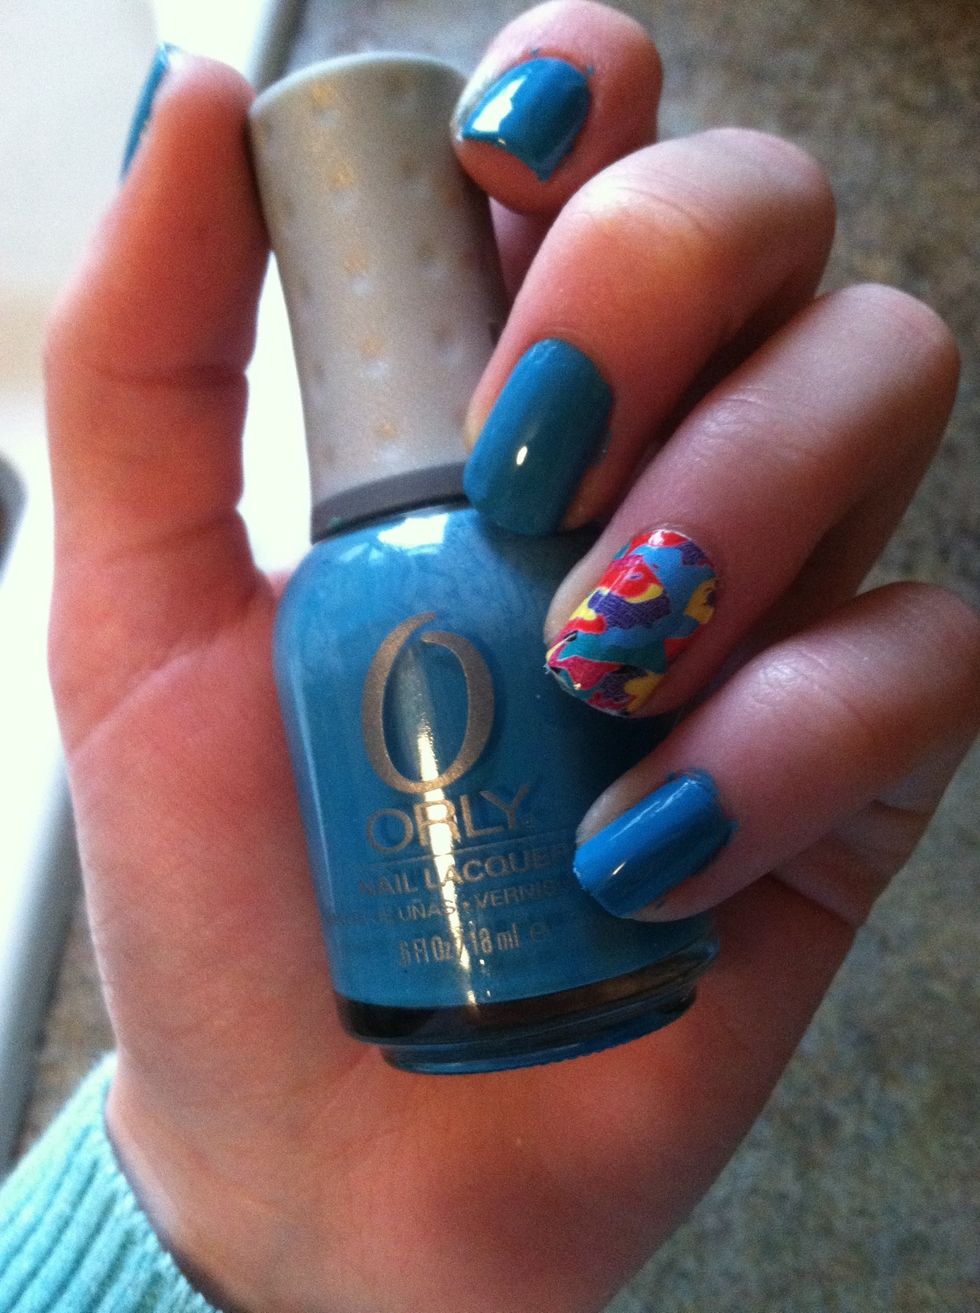
I painted my other nails a light blue. I love how this turned out!
Check out my other guides for more nail tutorials and beauty tips!