The Conversation (0)
Sign Up
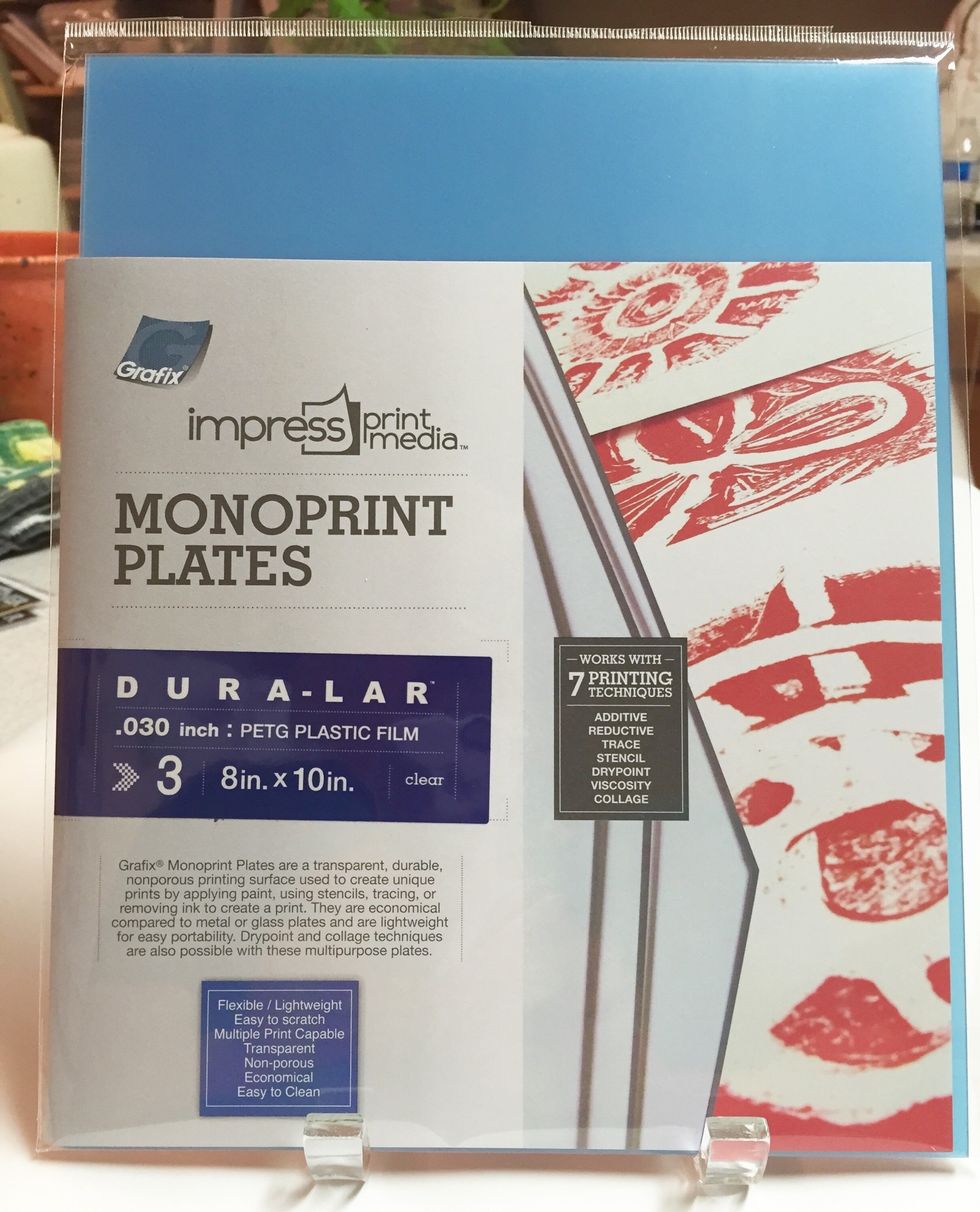
Monoprint Plates from Grafix are an inexpensive and reusable alternative to gelli print plates. durable plastic plates can be used with several printing techniques.
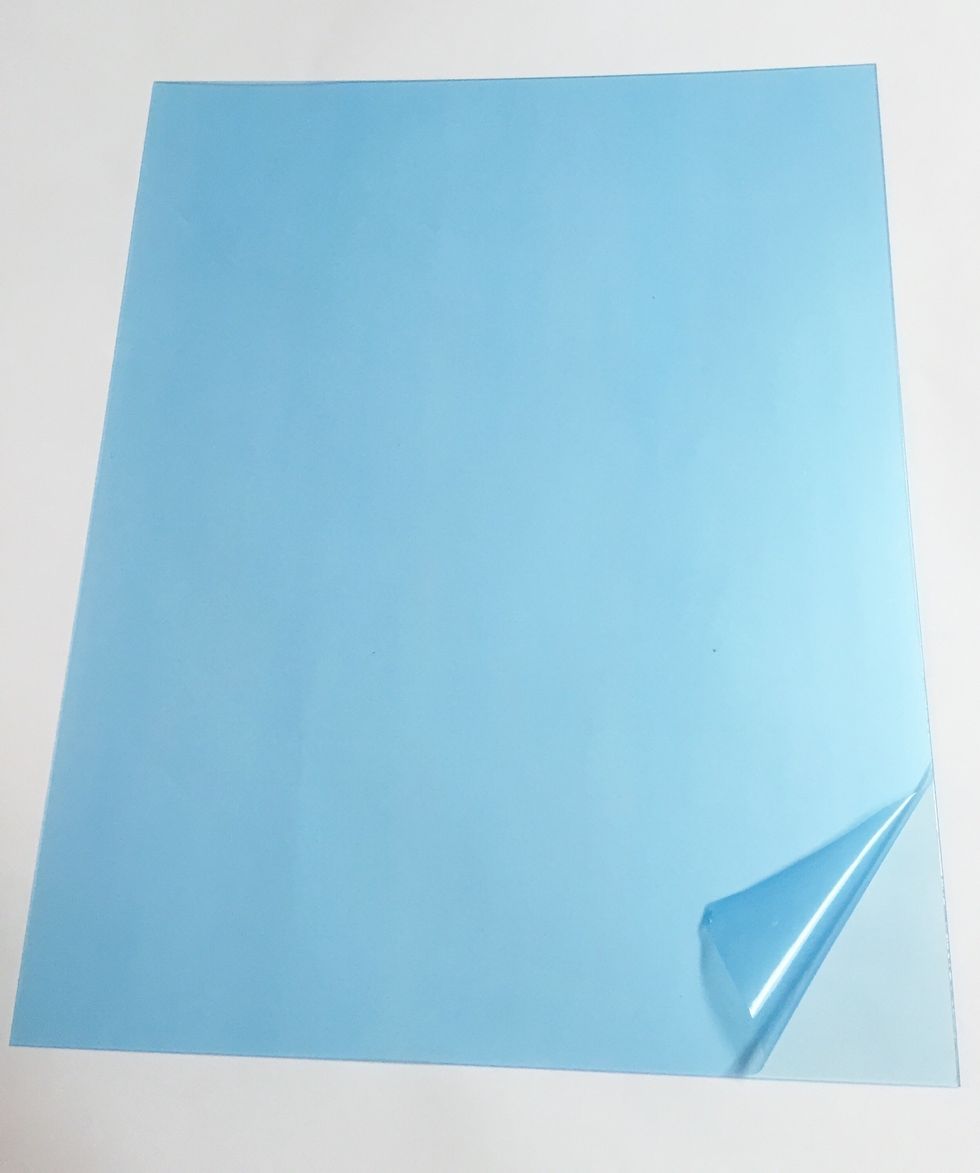
each Monoprint Plate comes with a protective blue liner on both front and back. i removed only the front liner so that the plate would show up better in photos.
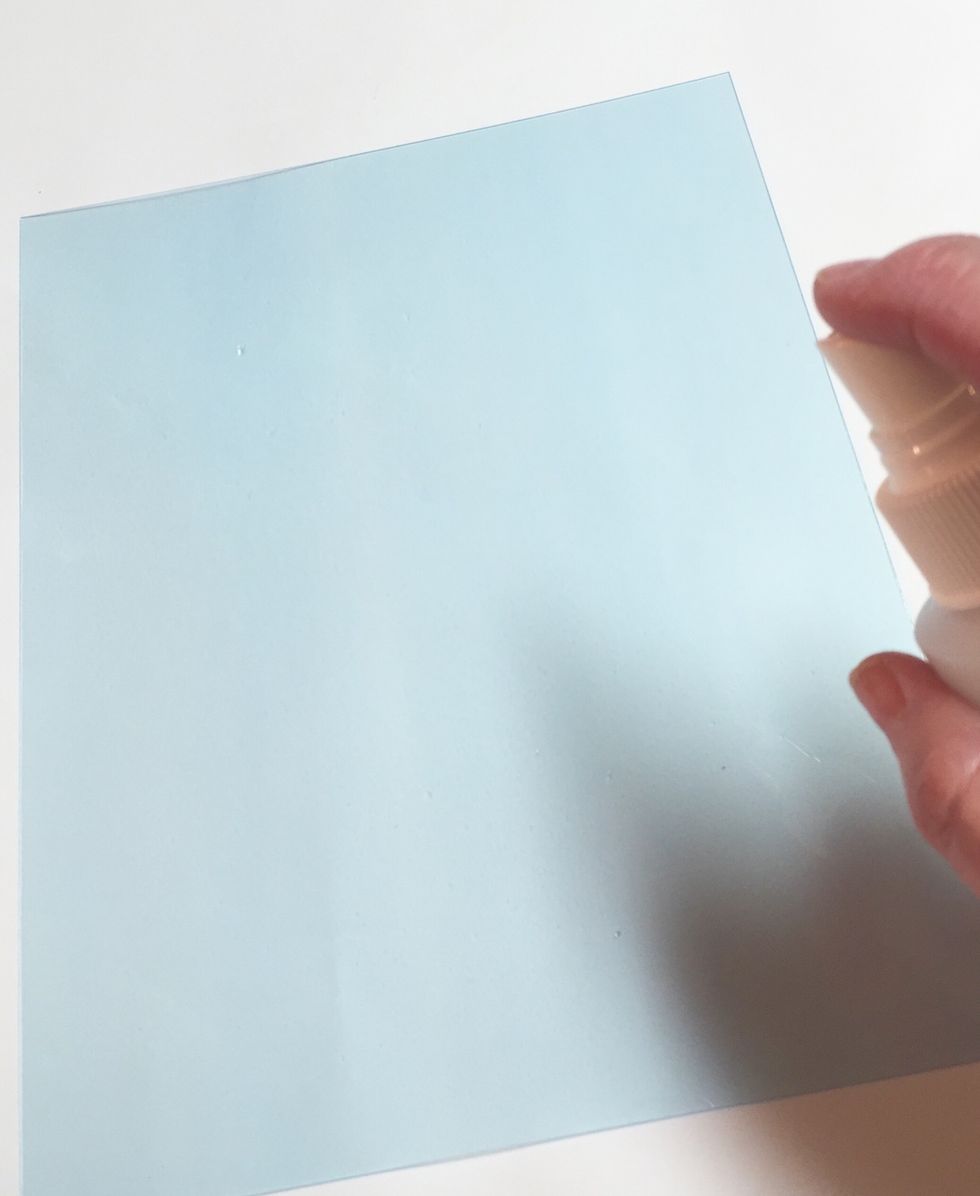
spritz the plate lightly with water to help the pigment inks move and blend easier.
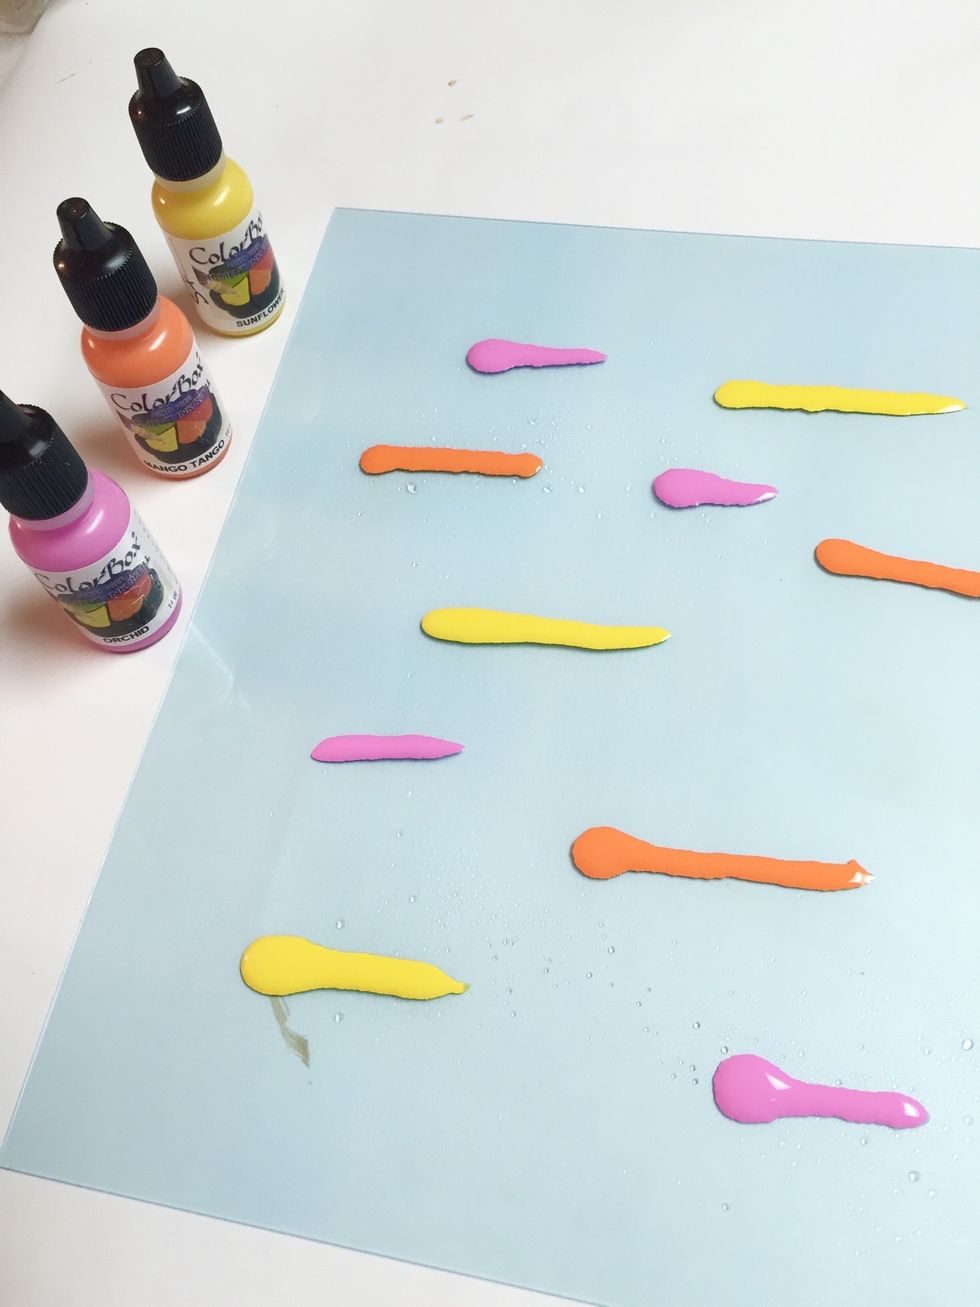
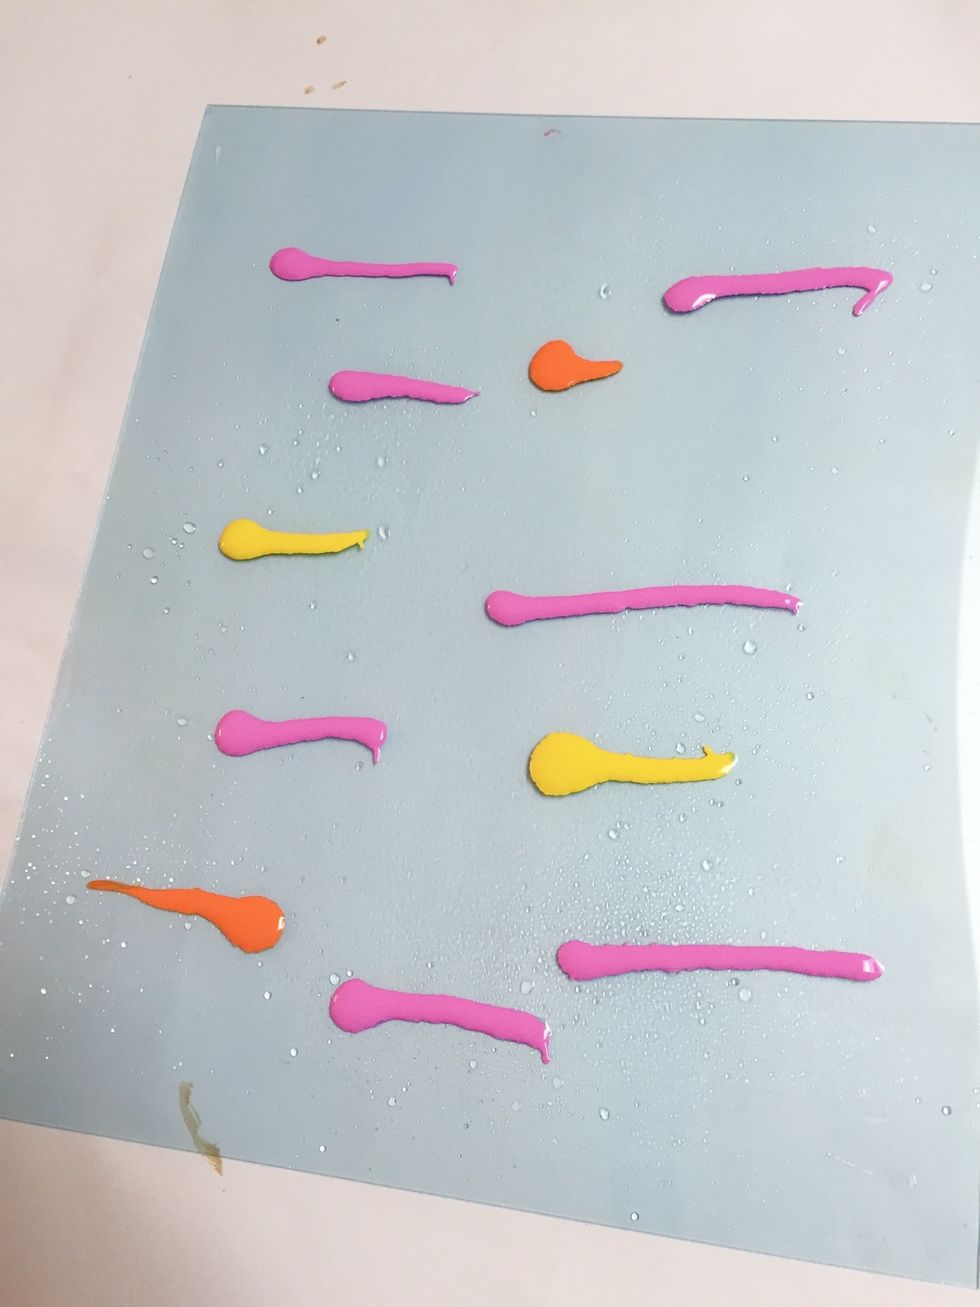
lines of ink were added randomly to plate. colors used were: Orchid, Mango Tango and Canary
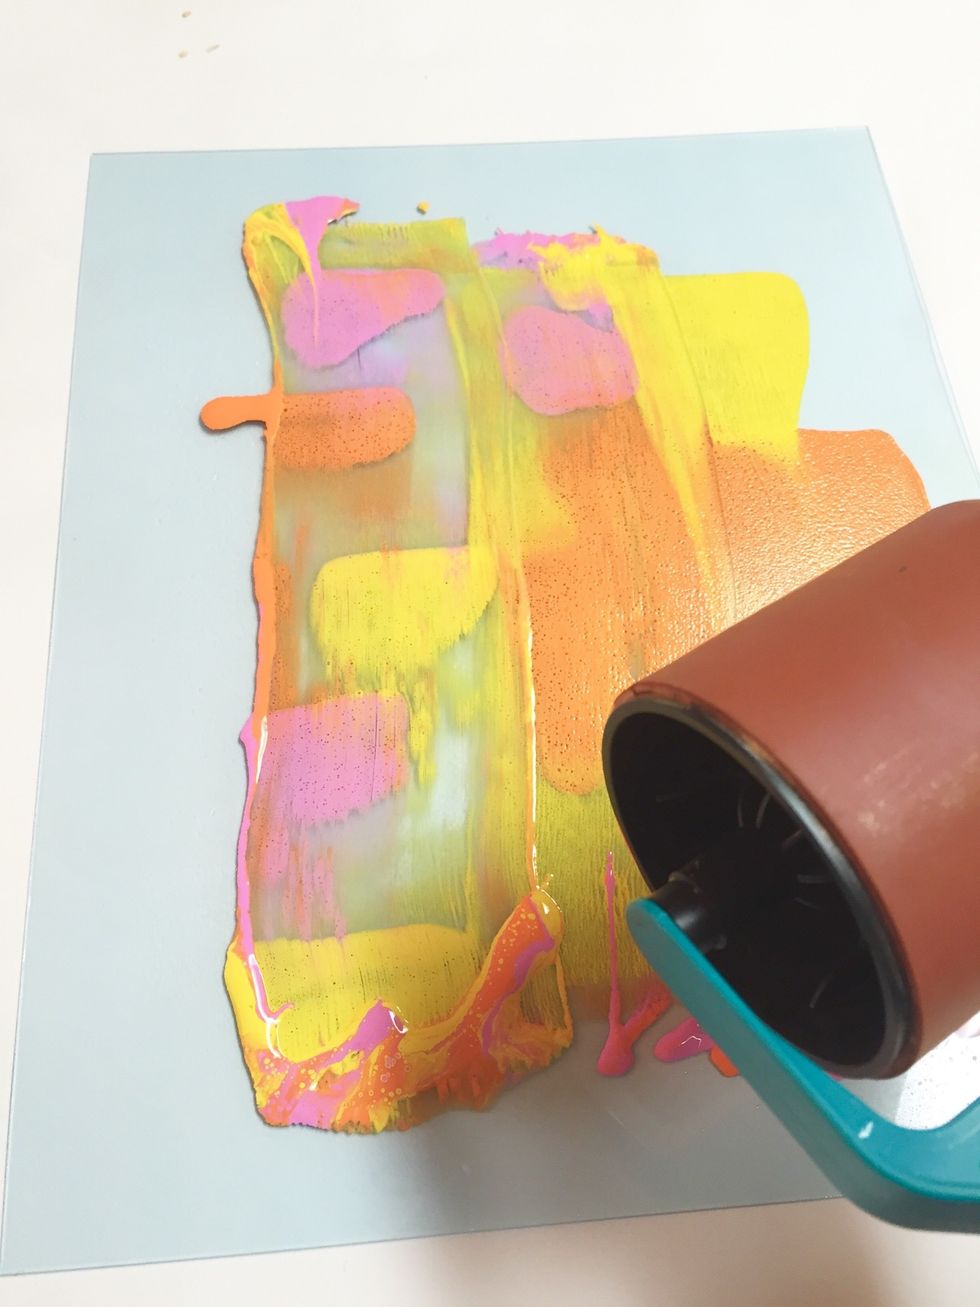
use the art wheel to begin to gently blend inks and spread them over the plate.
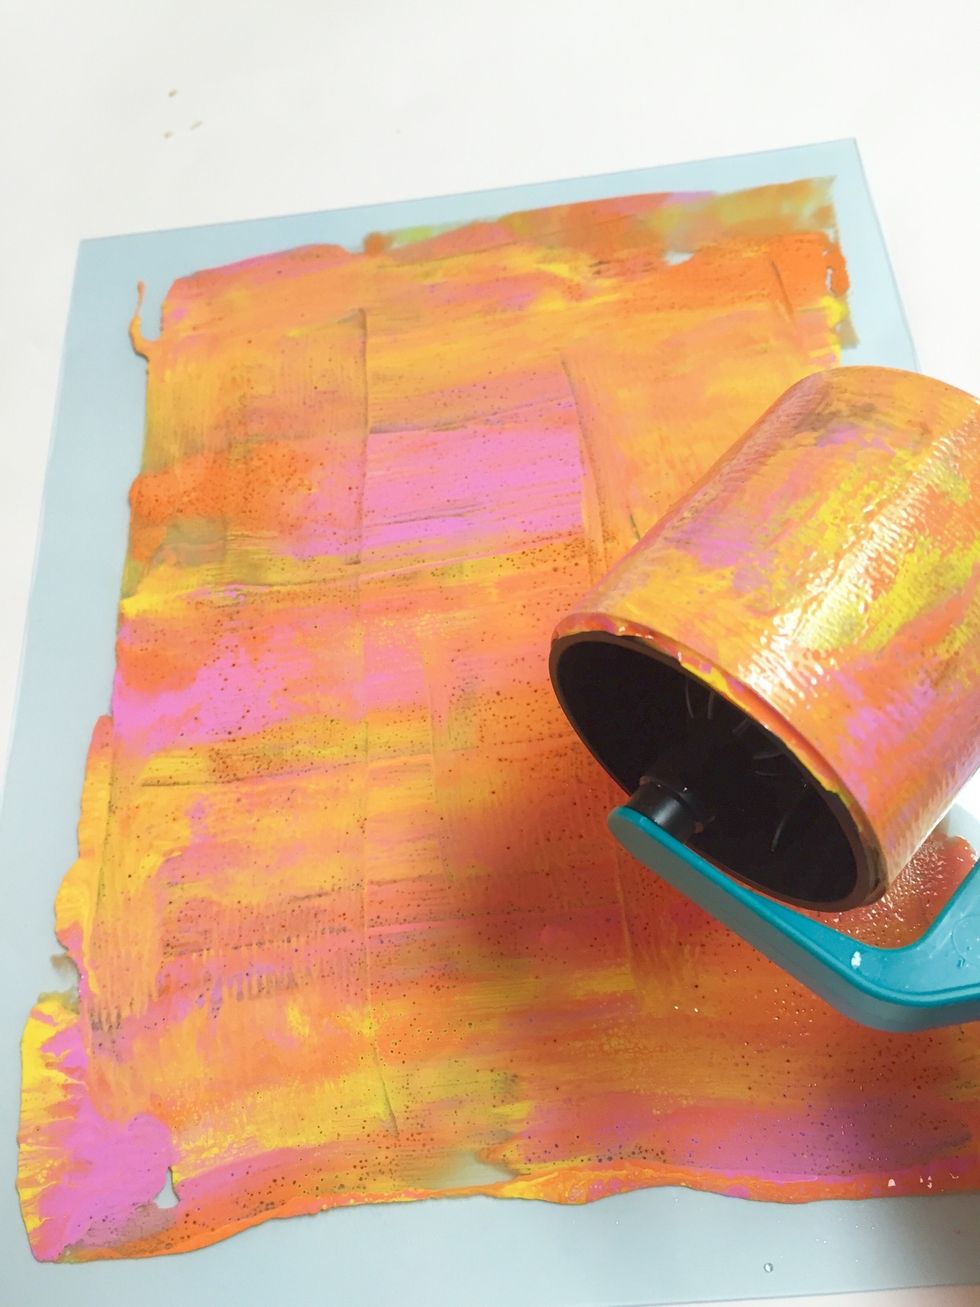
don't overblend, you want distinctive areas of color, not one blended color.
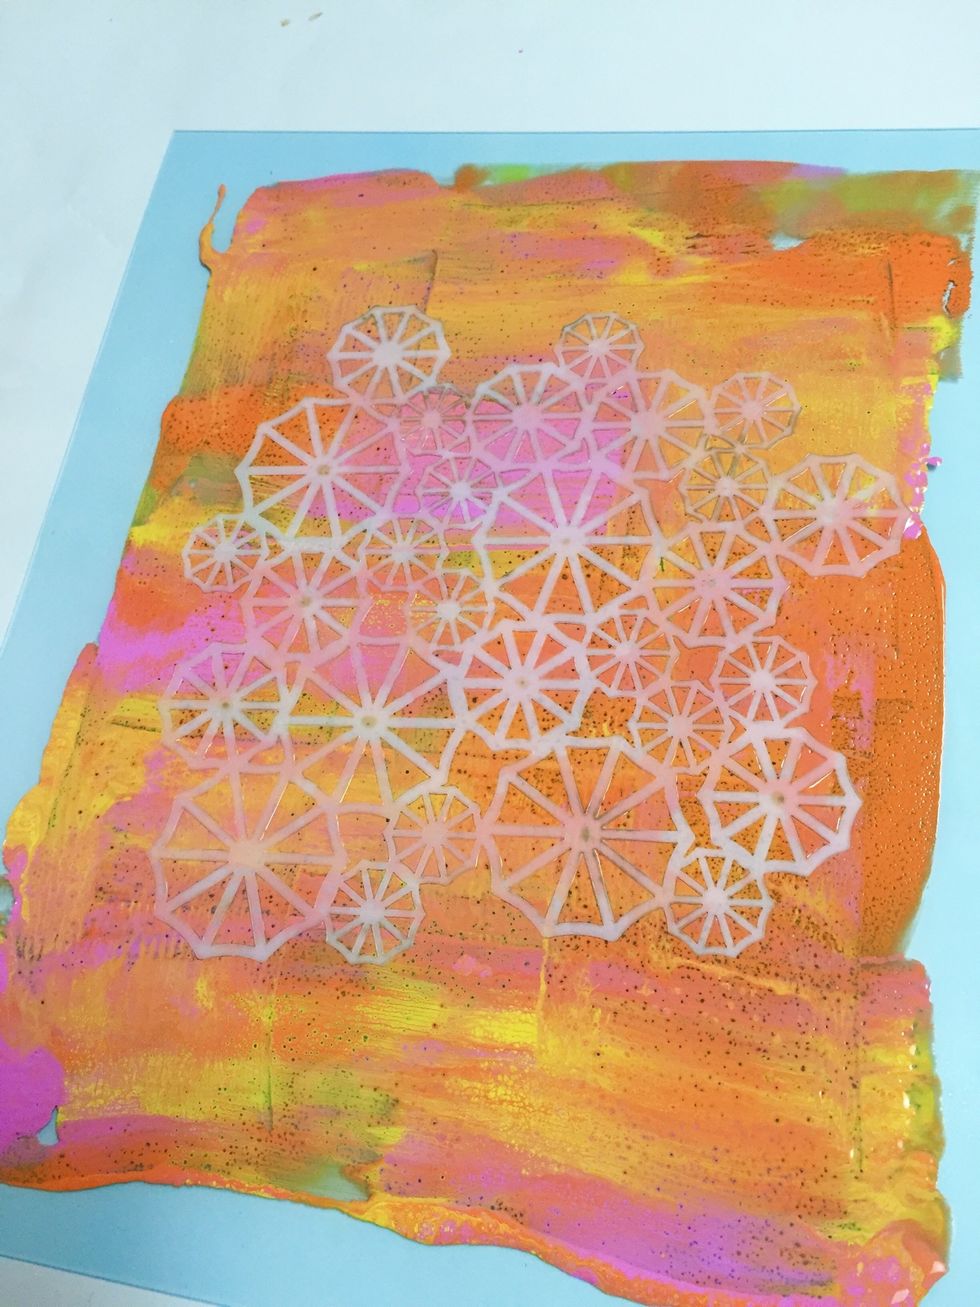
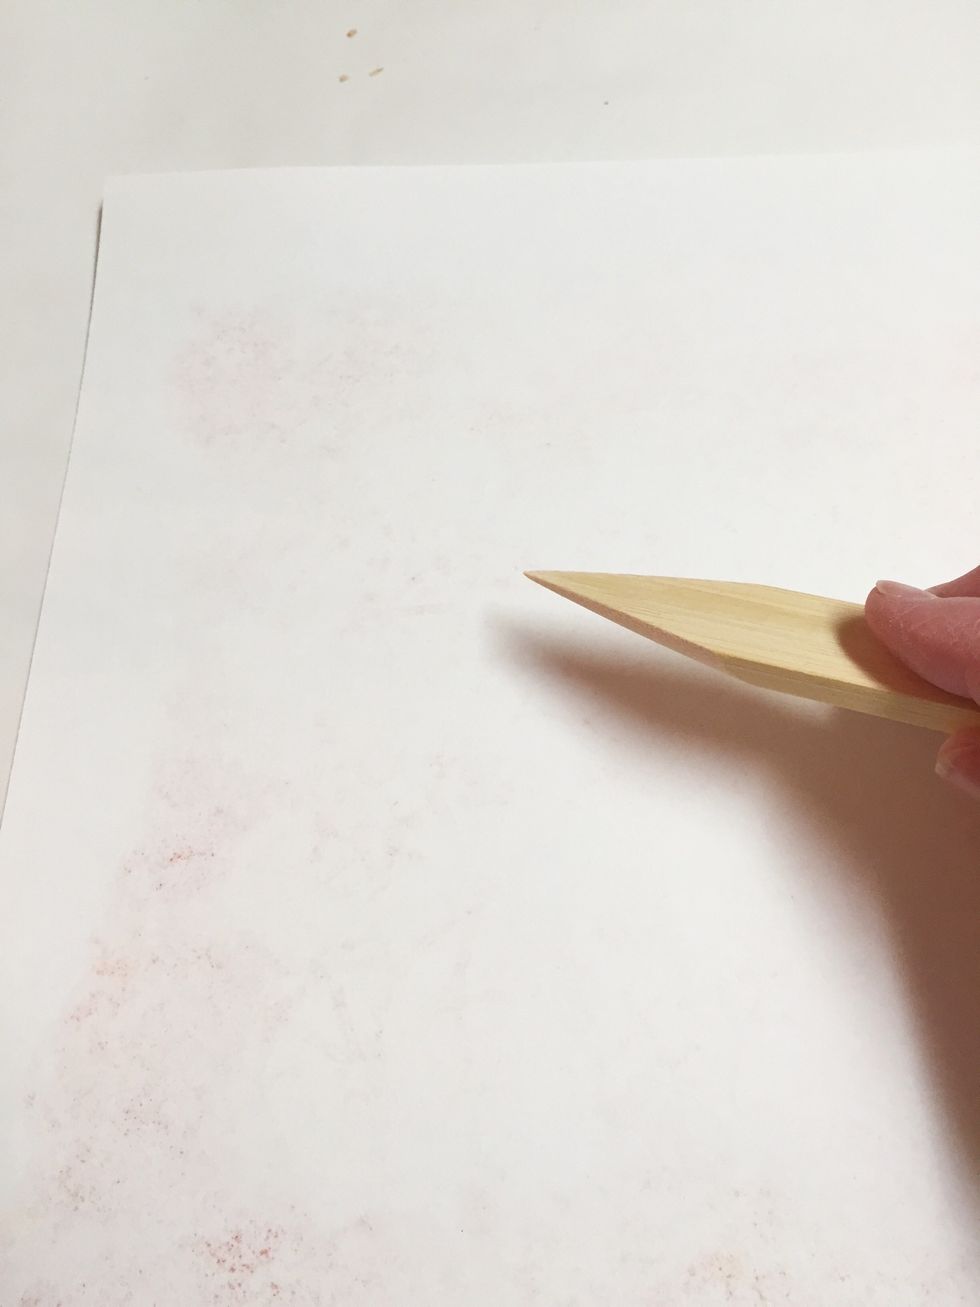
place mini parasols stencil over inked plate.
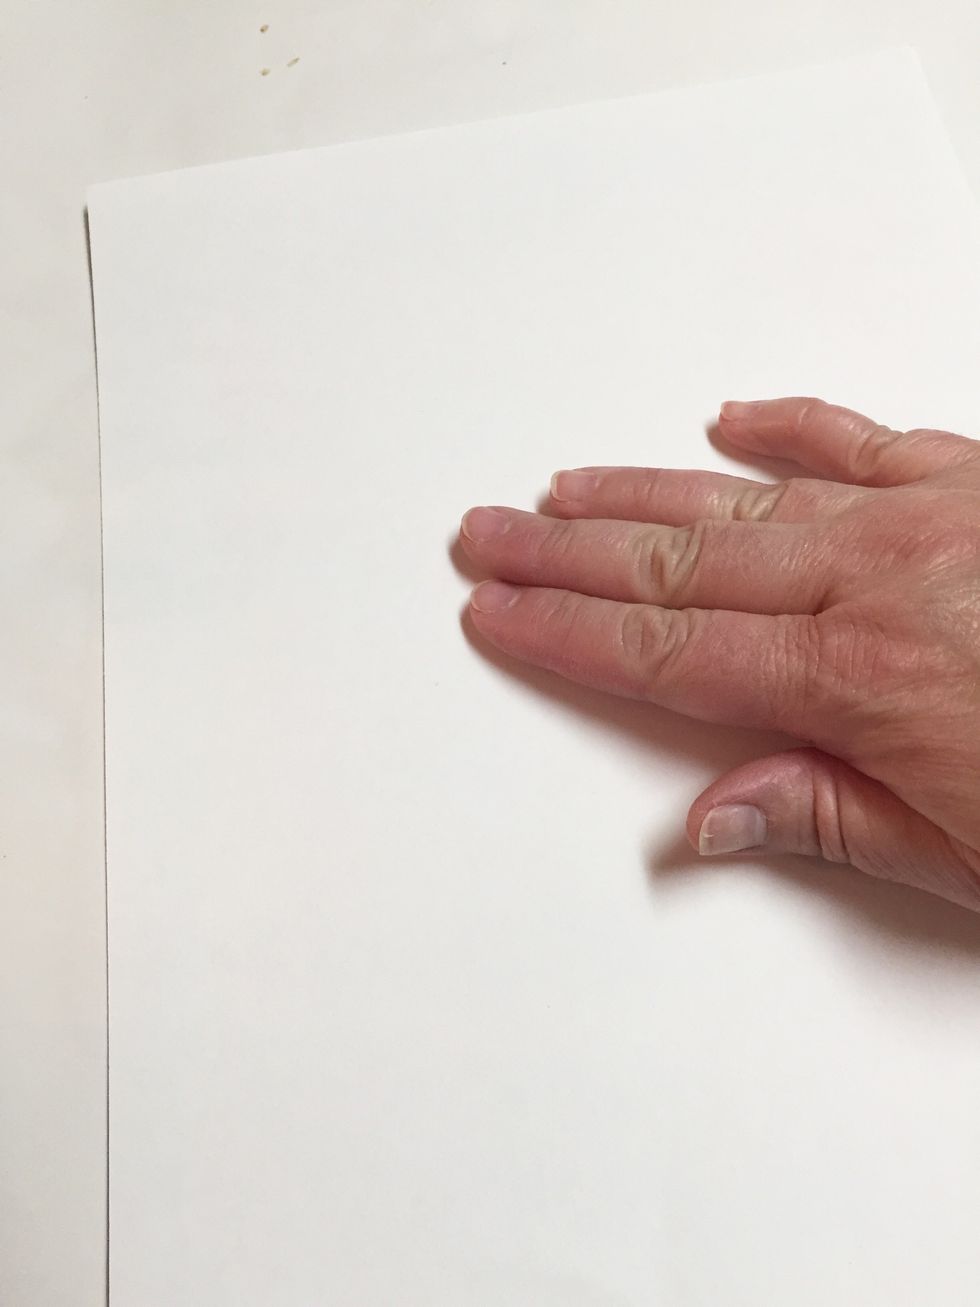
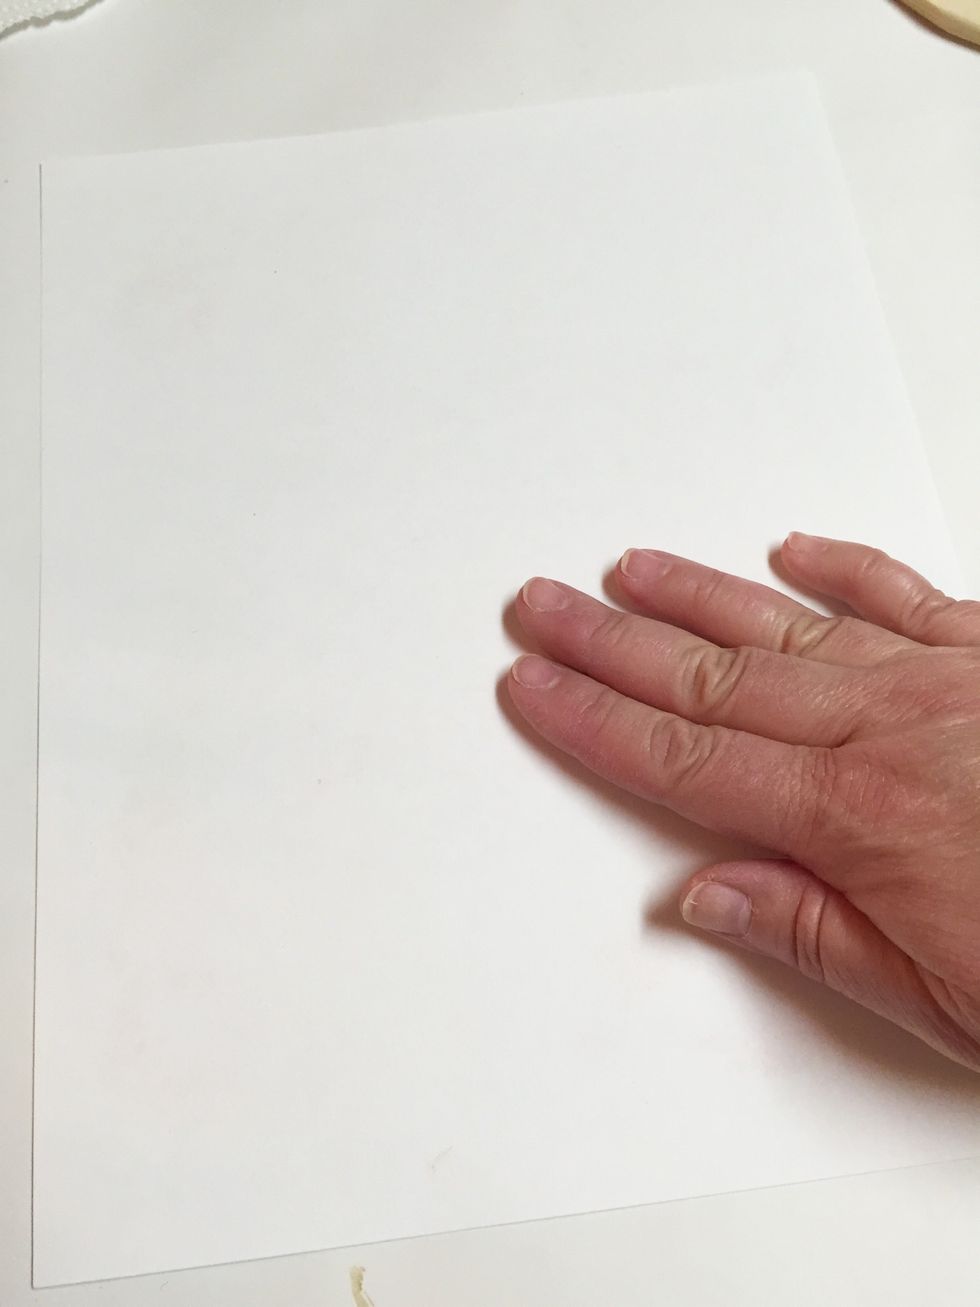
place sheet of paper on top of inked plate and smooth gently with your fingers to transfer ink. be careful not to move paper.
for stencils with small areas, like the parasol stencil, you may need to go over paper using bone folder to impress finer details in paper. you can check transfer by gently lifting corner of paper.
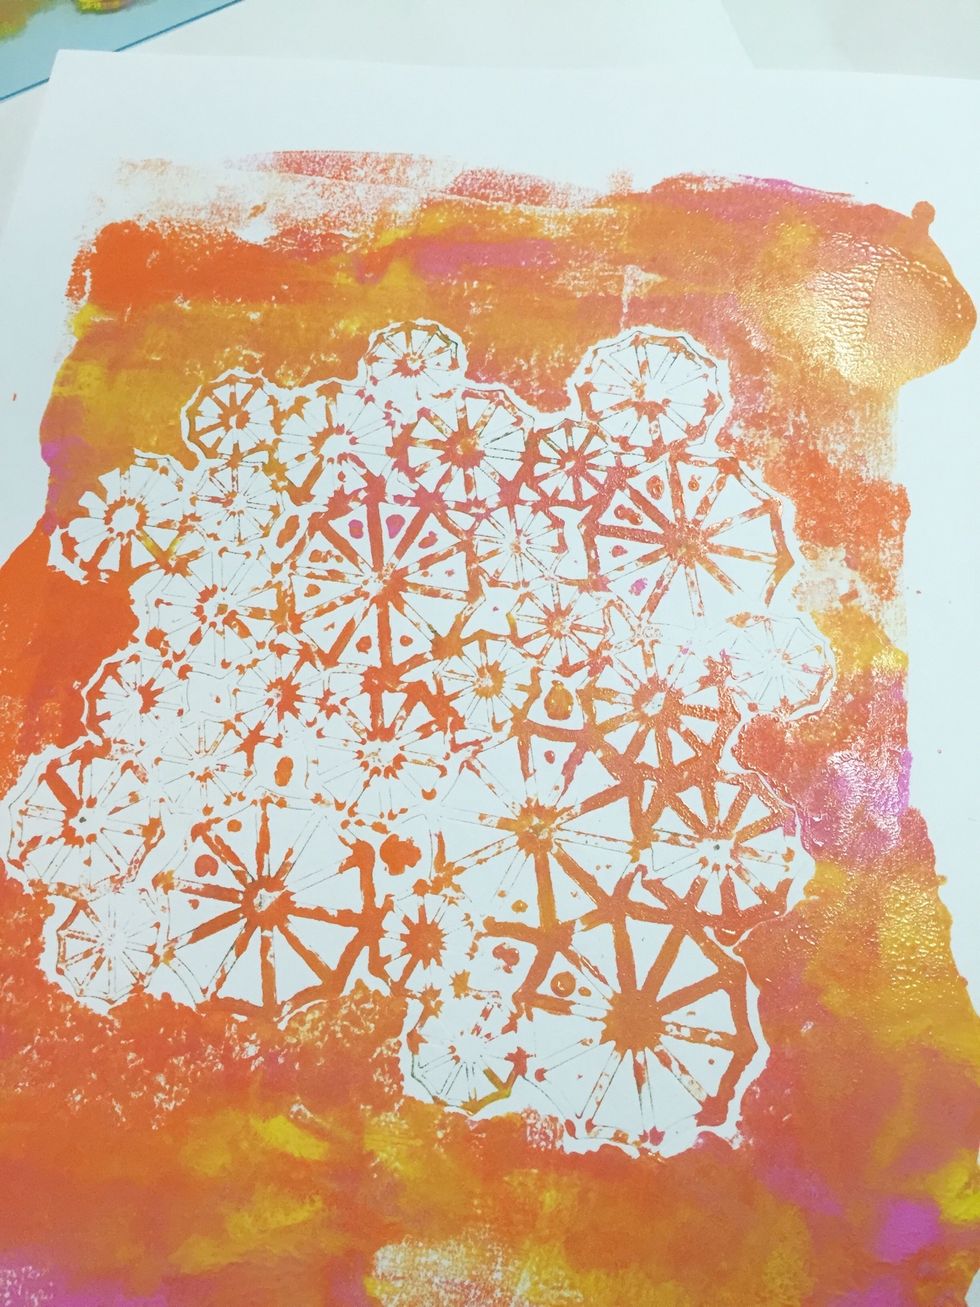
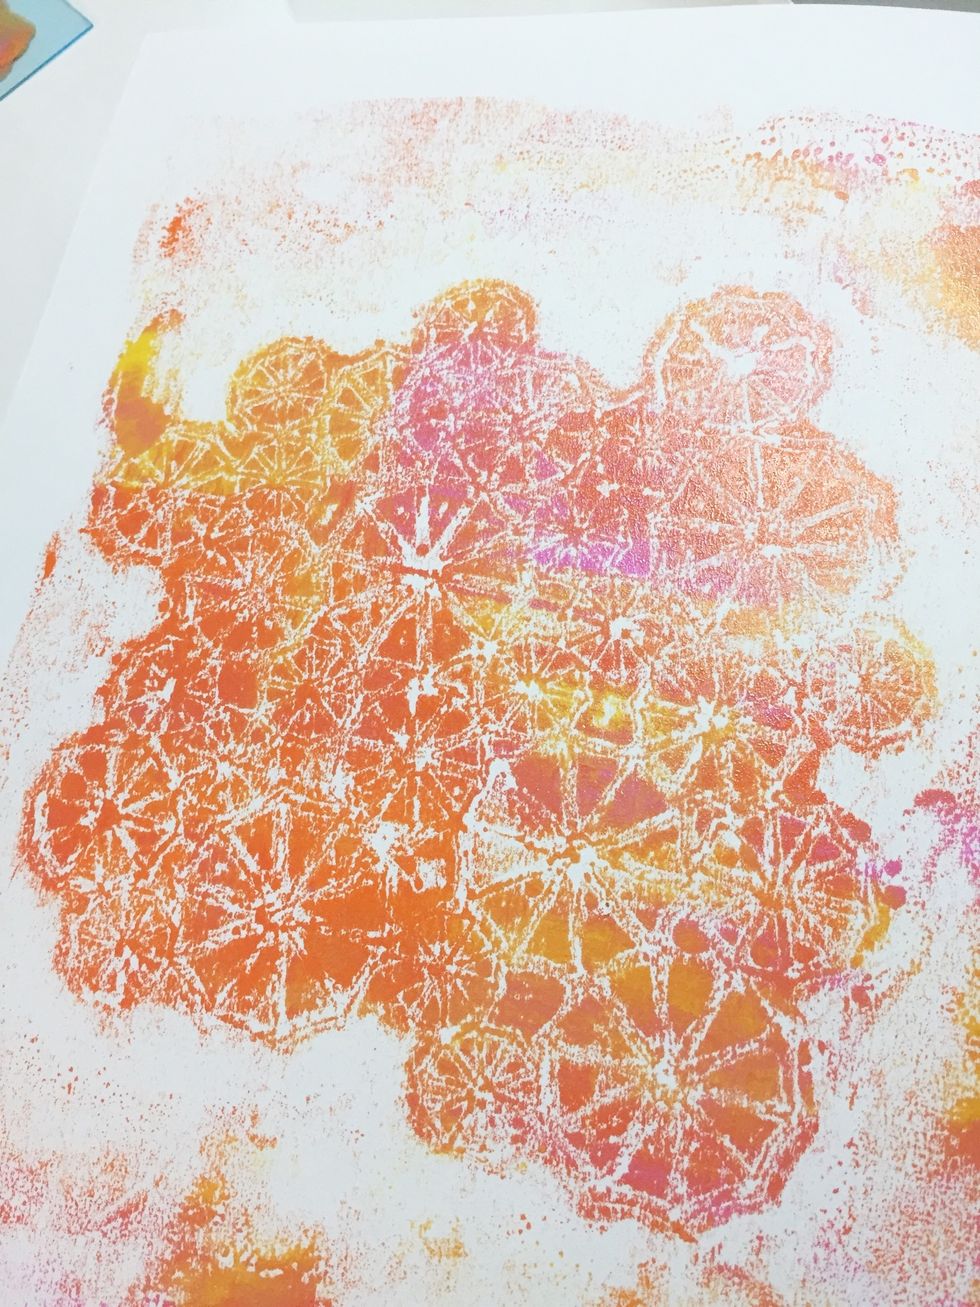
here is the finished monoprint. allow print to dry, or speed up dry time using Heat Gun.
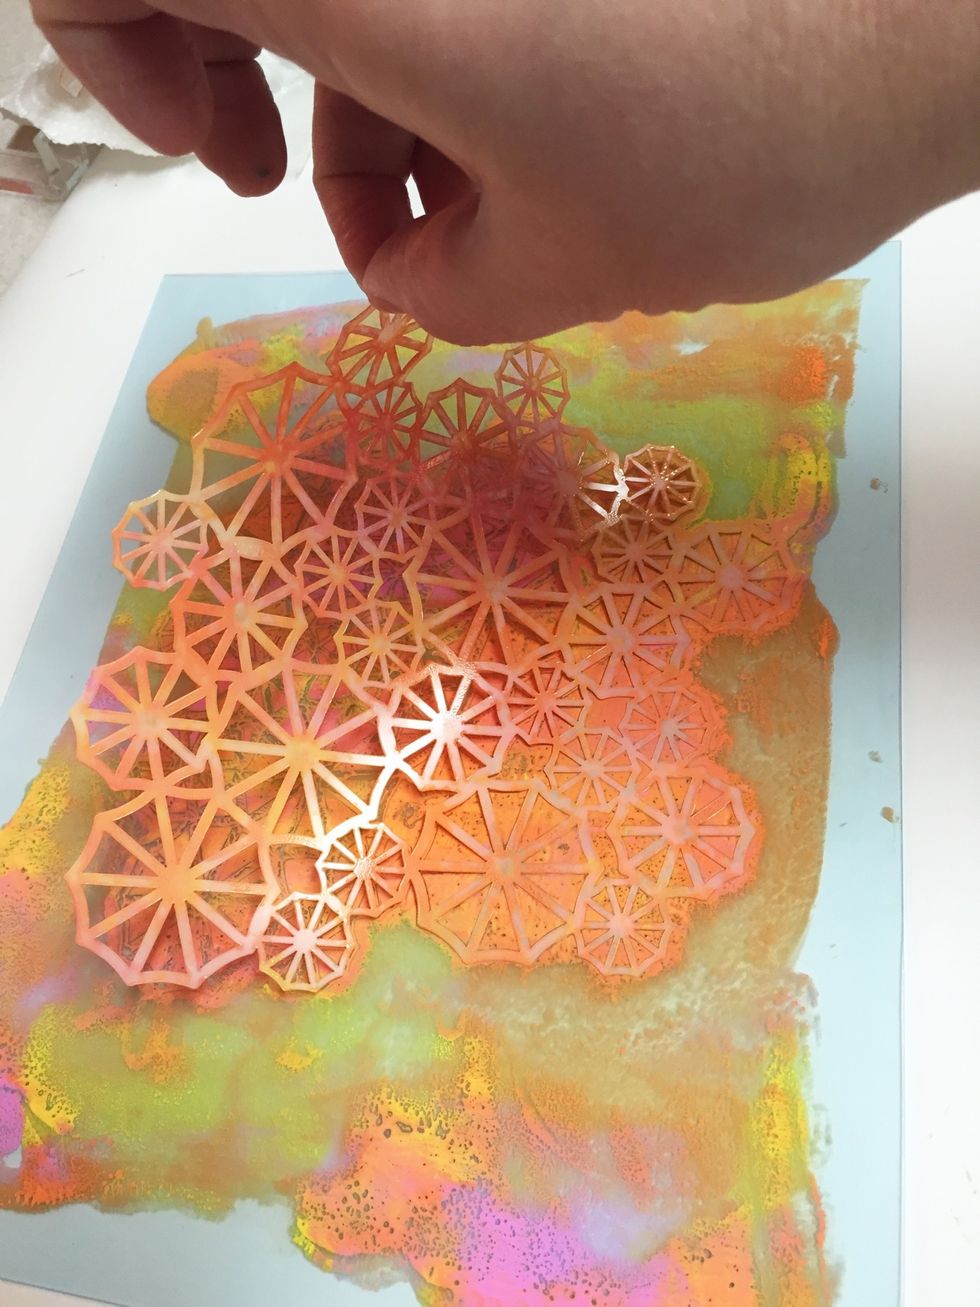
you can make a second print, called a "ghost print" from the same plate. first carefully remove the stencil.
here is what the plate looks like once stencil is removed.
lay paper over plate and gently smooth all over with fingers to transfer inks.
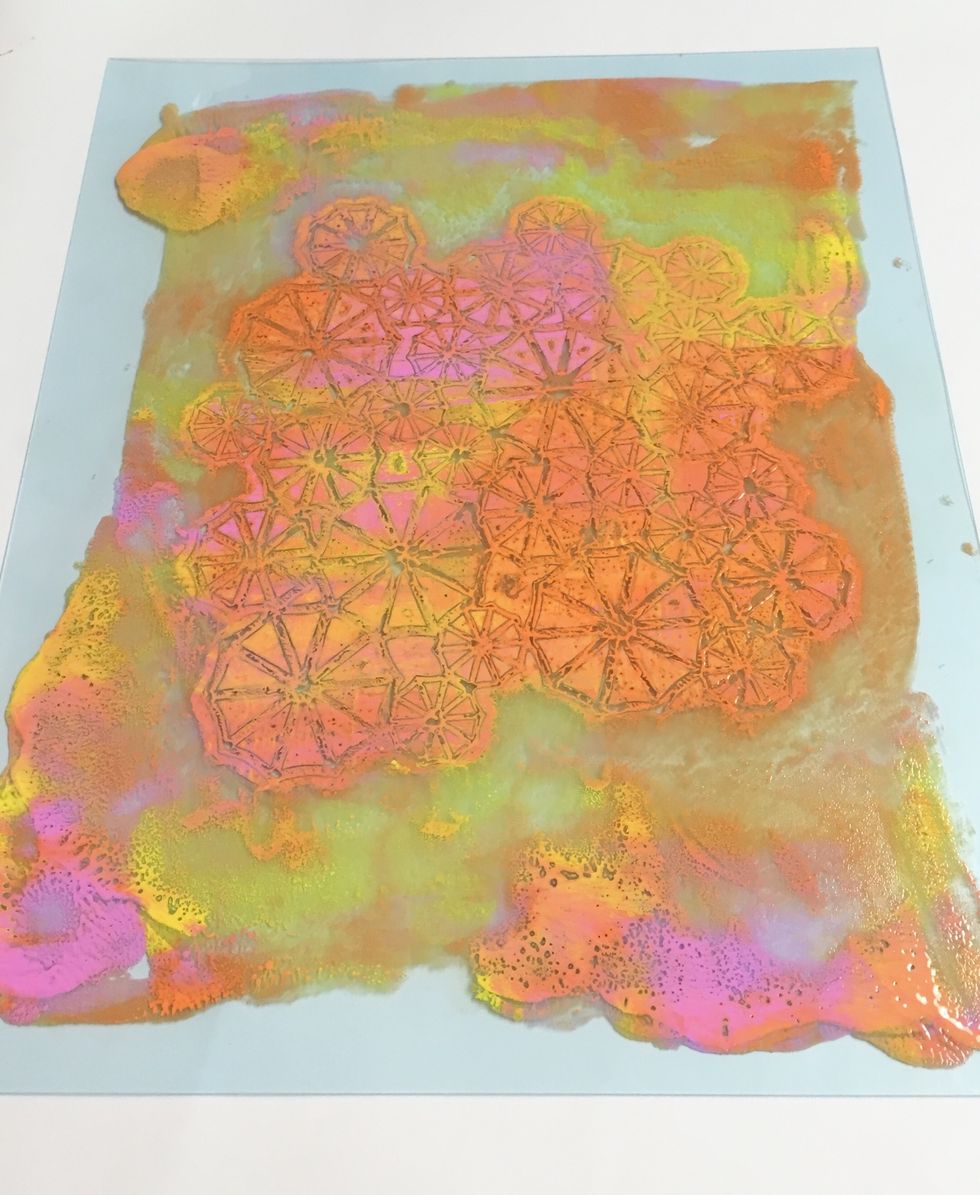
here is the "ghost print".
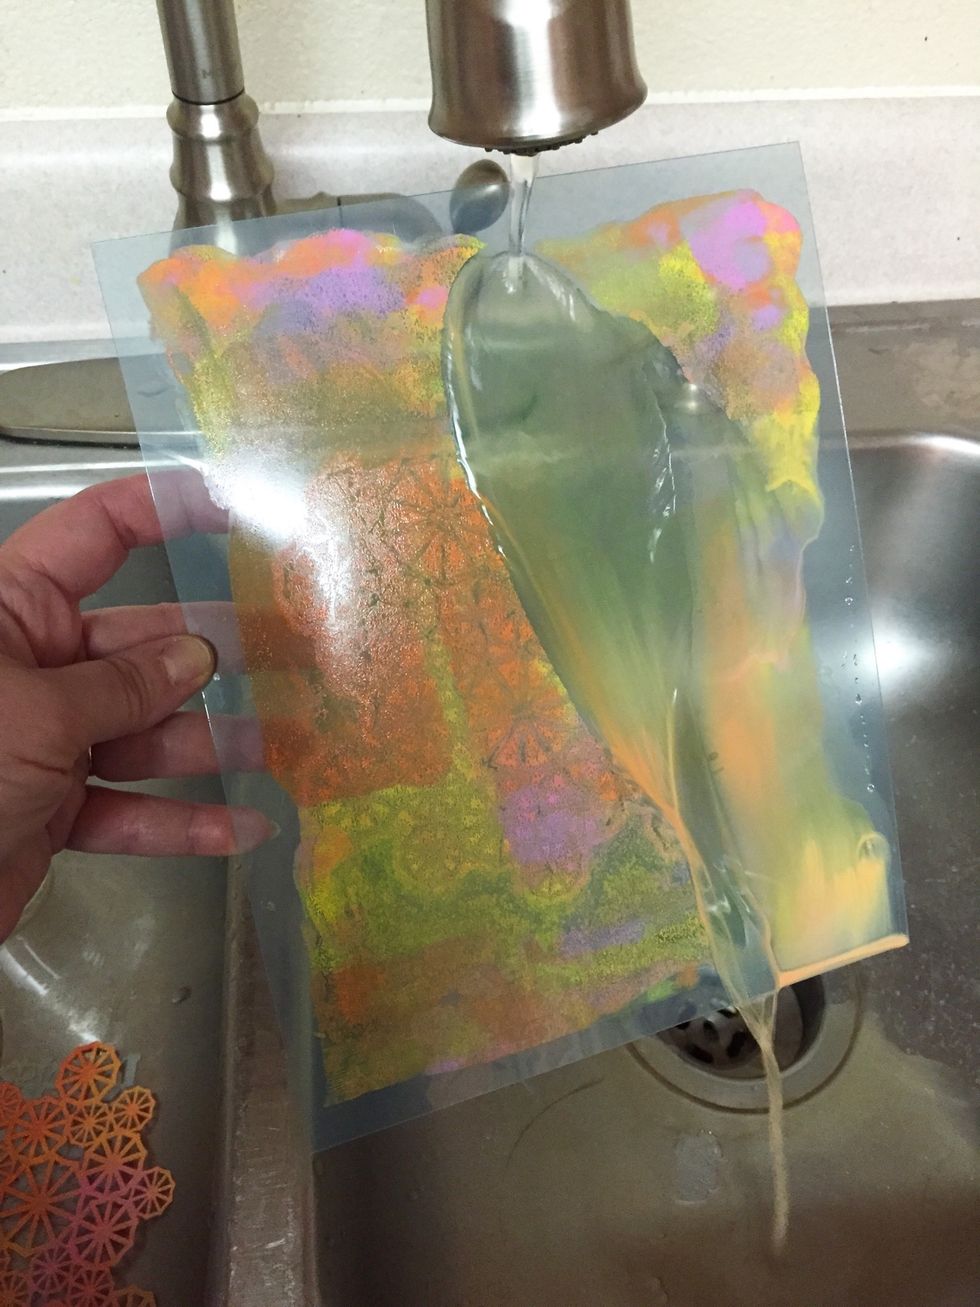
the Monoprint Plates can be rinsed and reused.
the second print was done using the same method as the first. inks were added to plate.(same colors, but more pink)
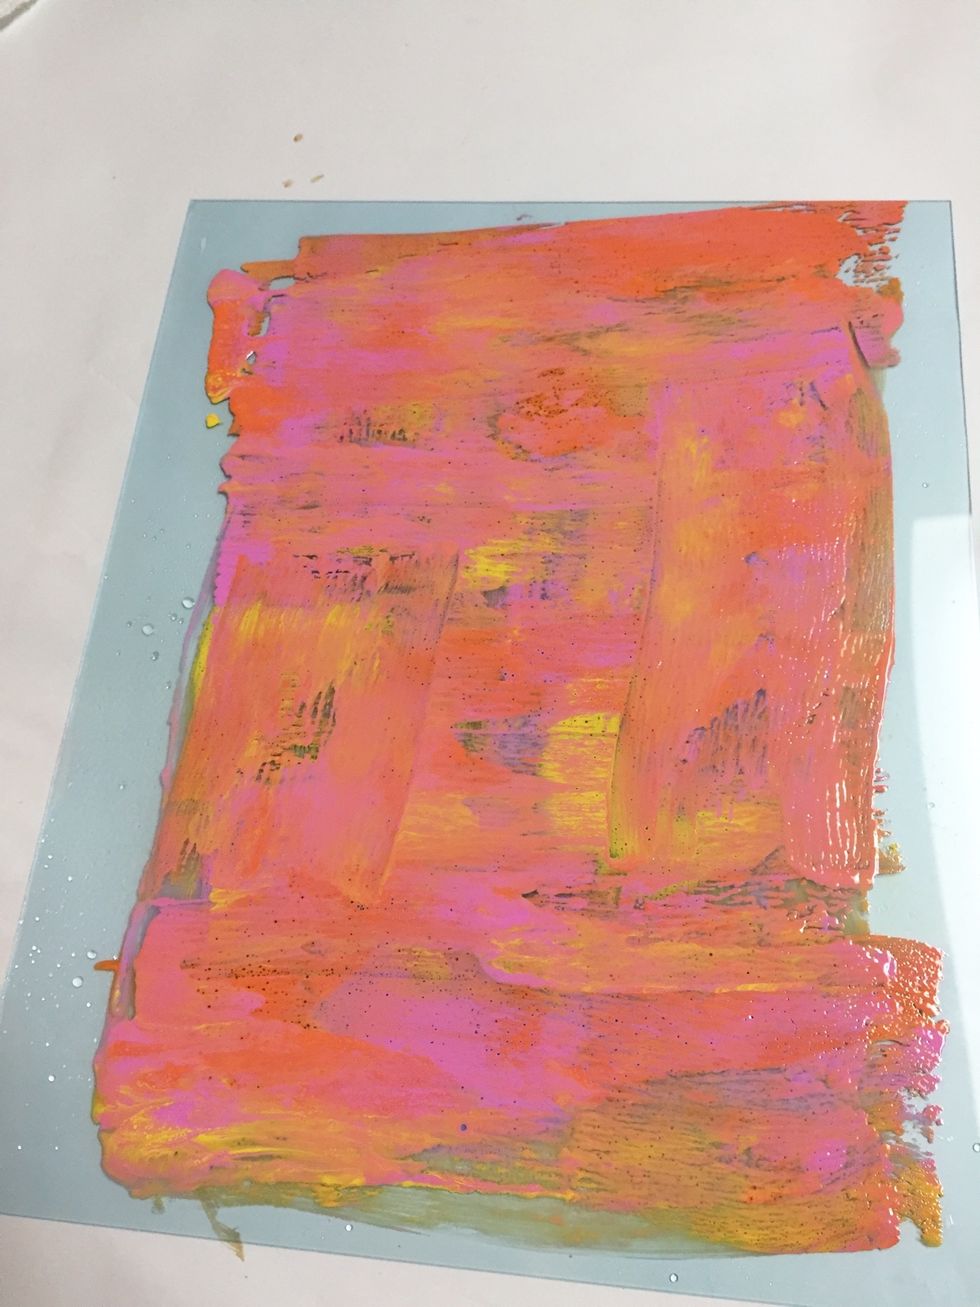
spread inks using art wheel.
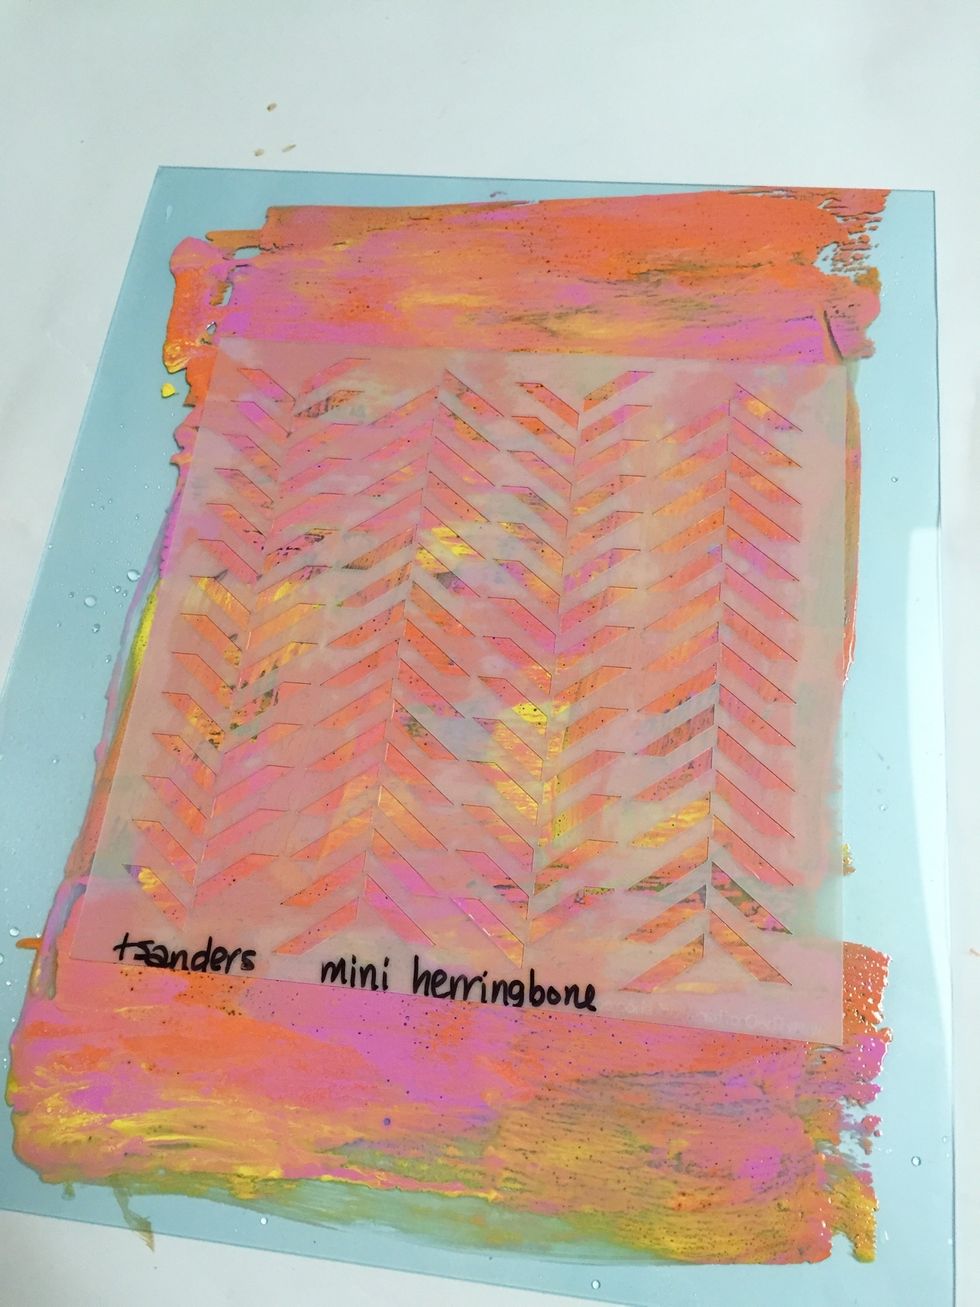
place mini herringbone stencil over inked plate.
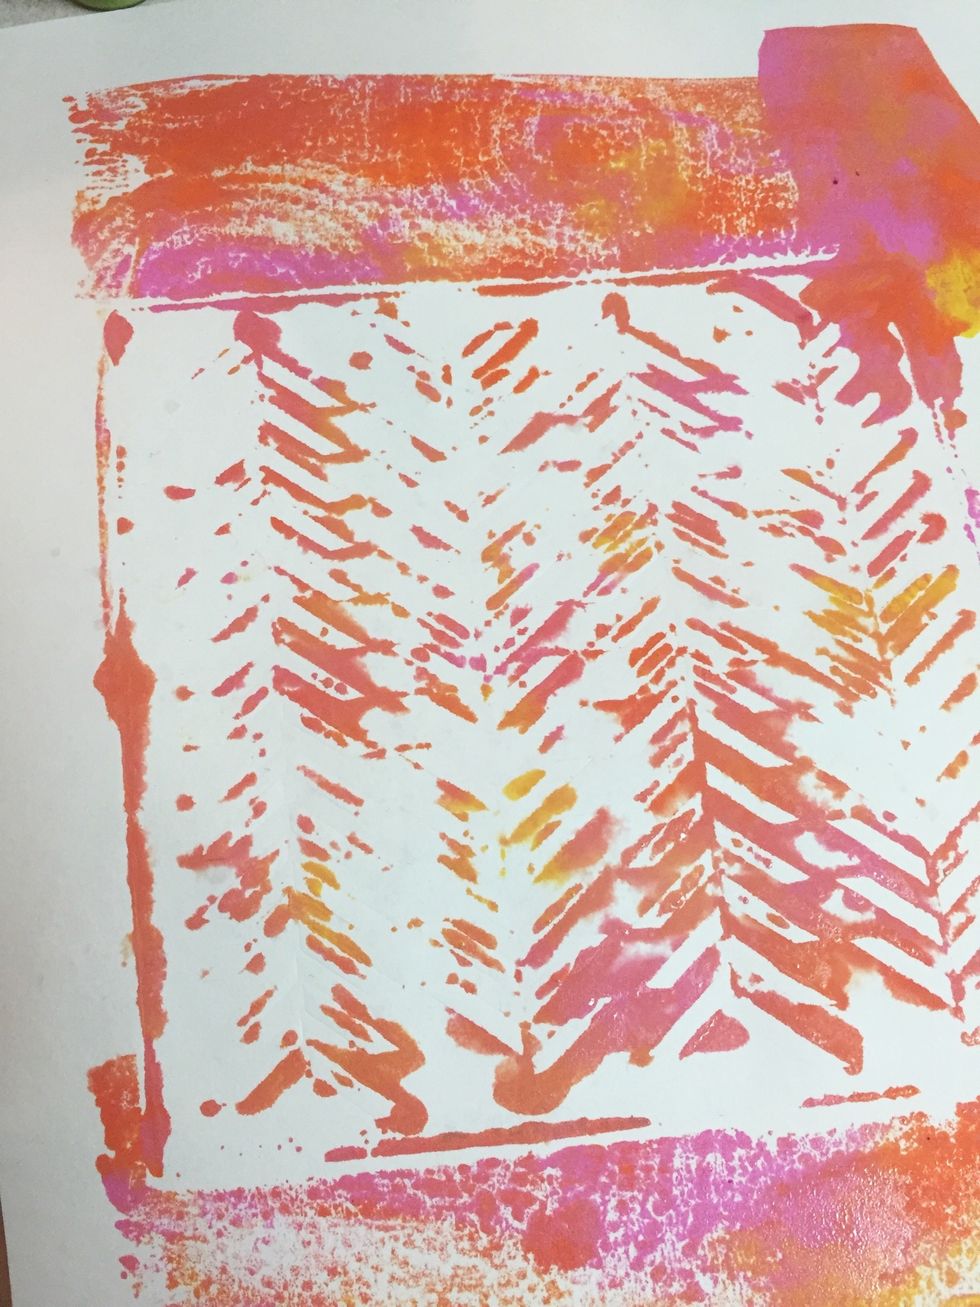
here is the monoprint.
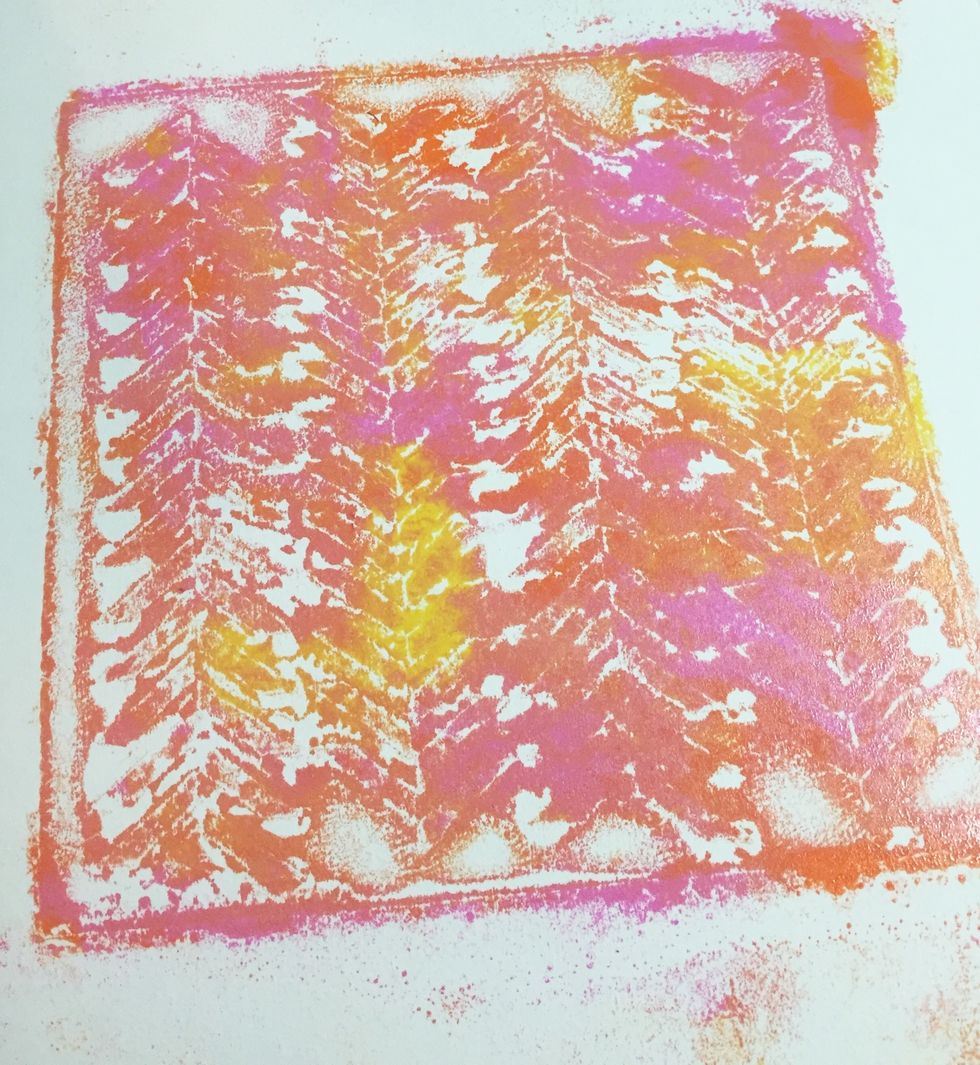
and here is the ghost print that was made once stencil was removed.
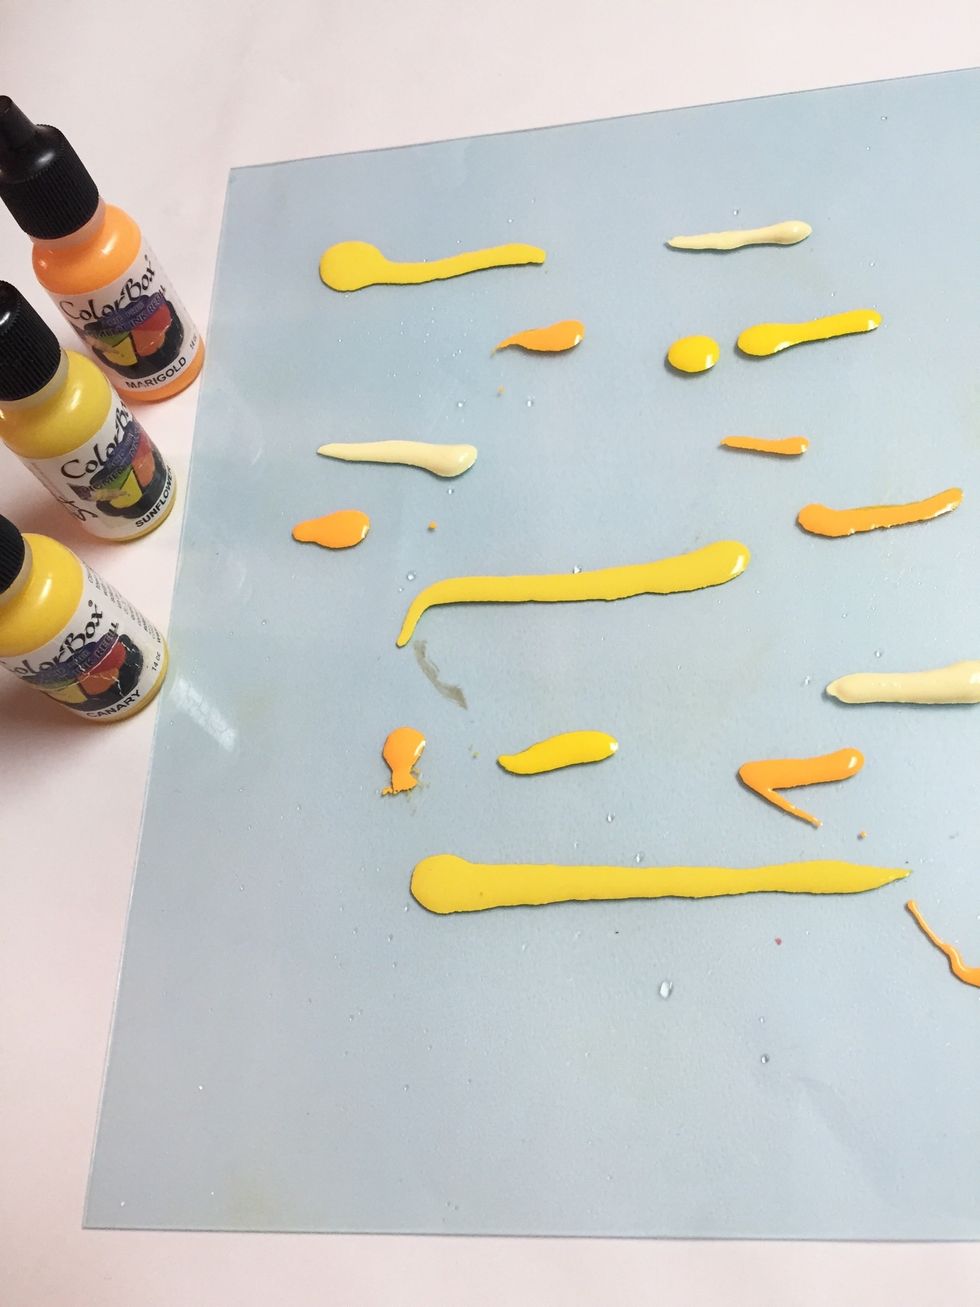
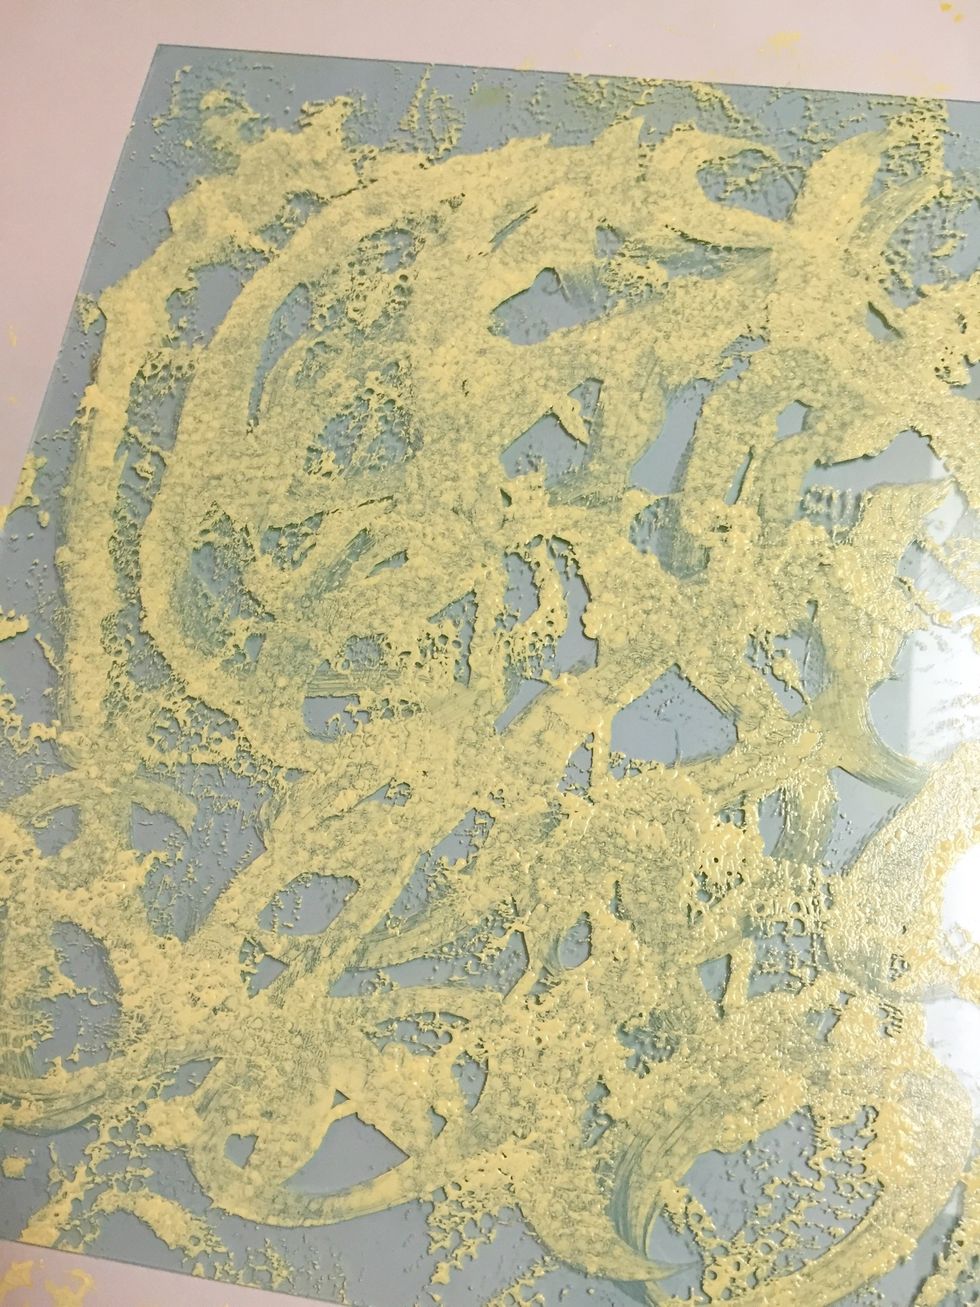
for the thrid print, a mixture of yellows was used: Canary, Daffodil and Marigold,
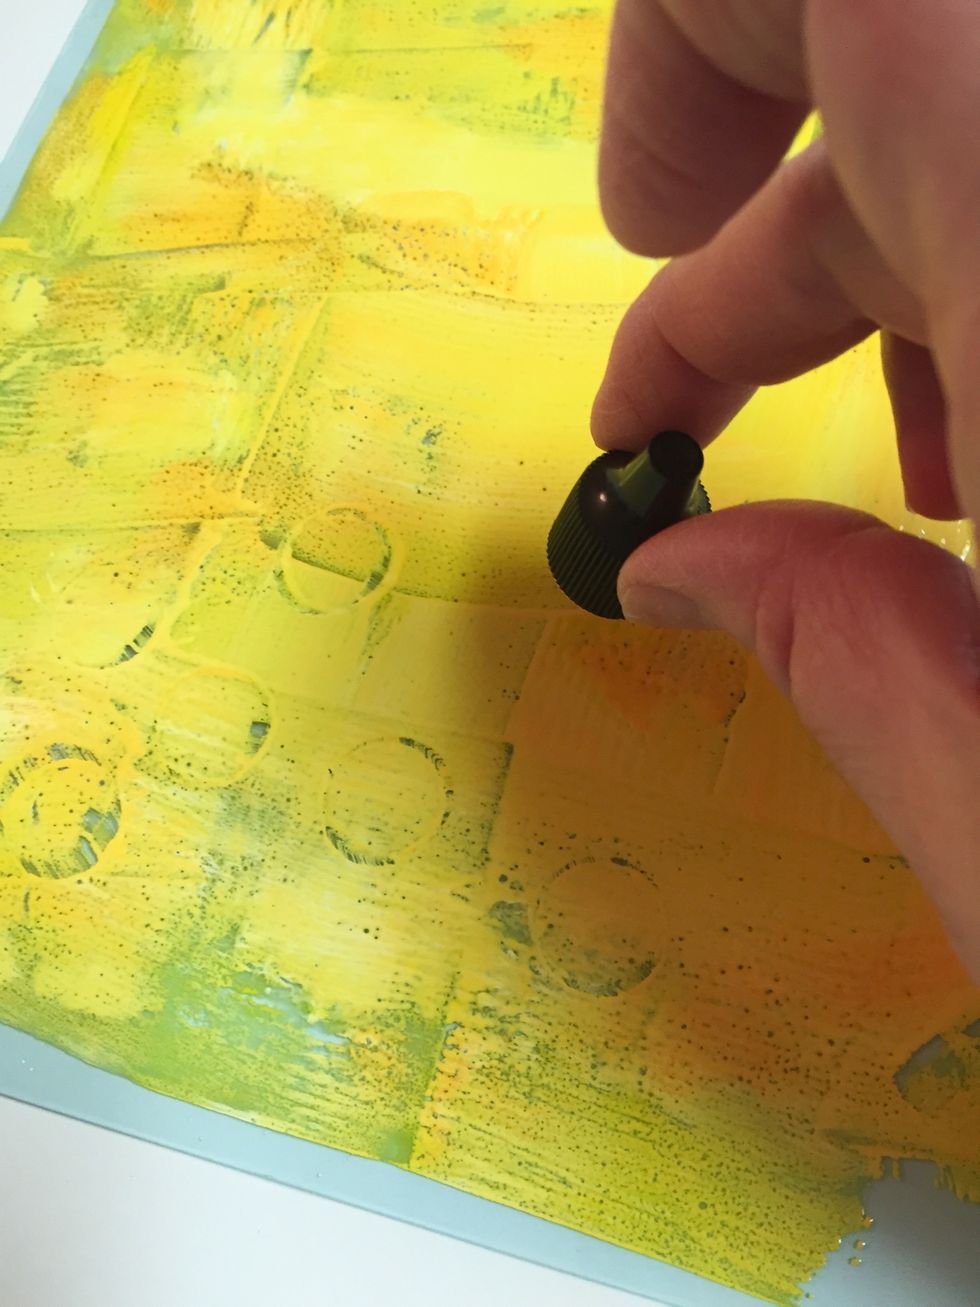
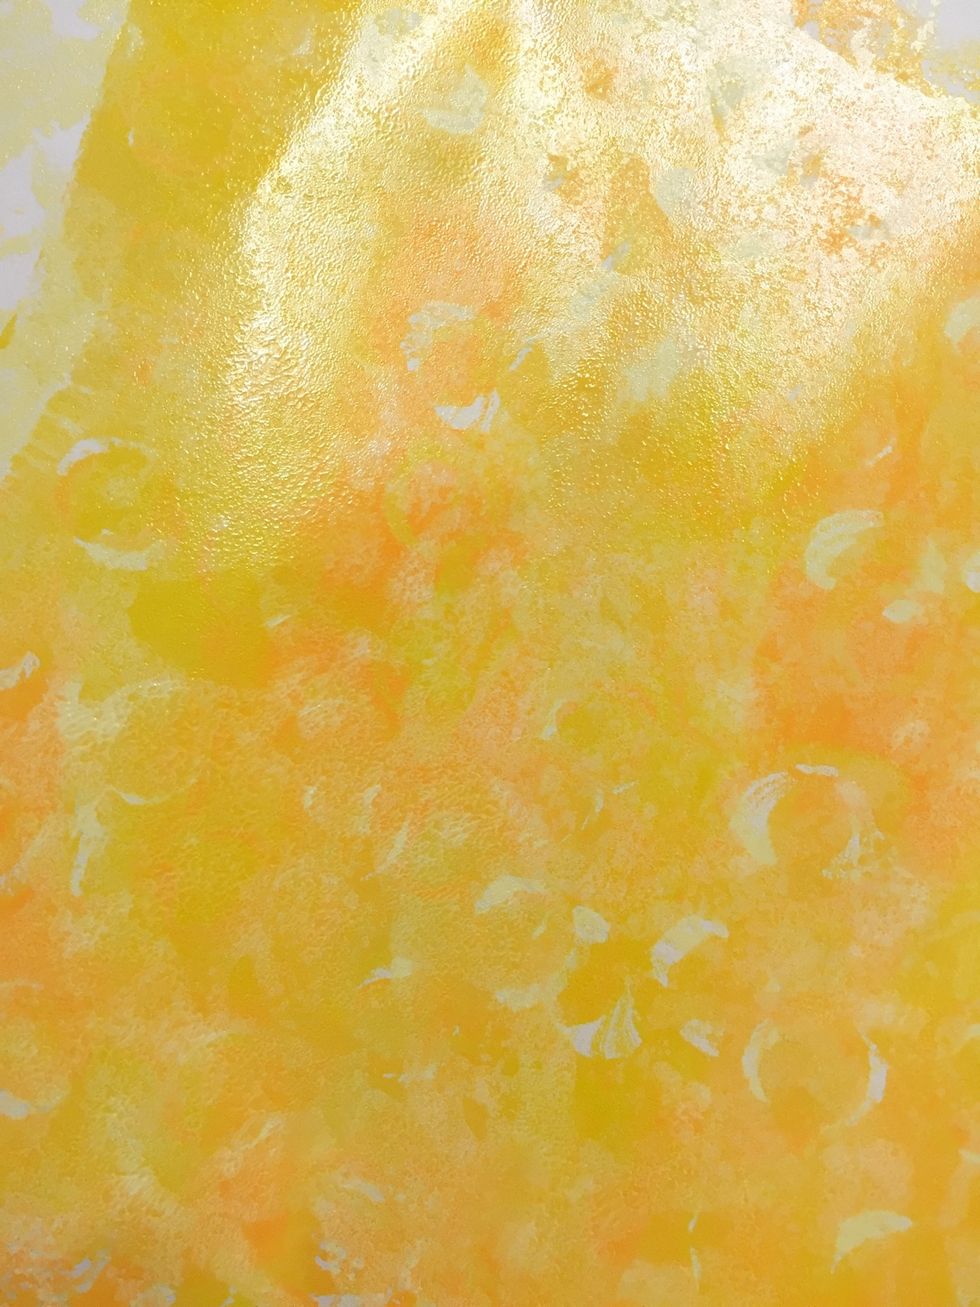
once the colors were spread over the plate using the art wheel, the cap of one of the ink bottles was used to add circles on the plate. a print was made and allowed to dry before proceeding.
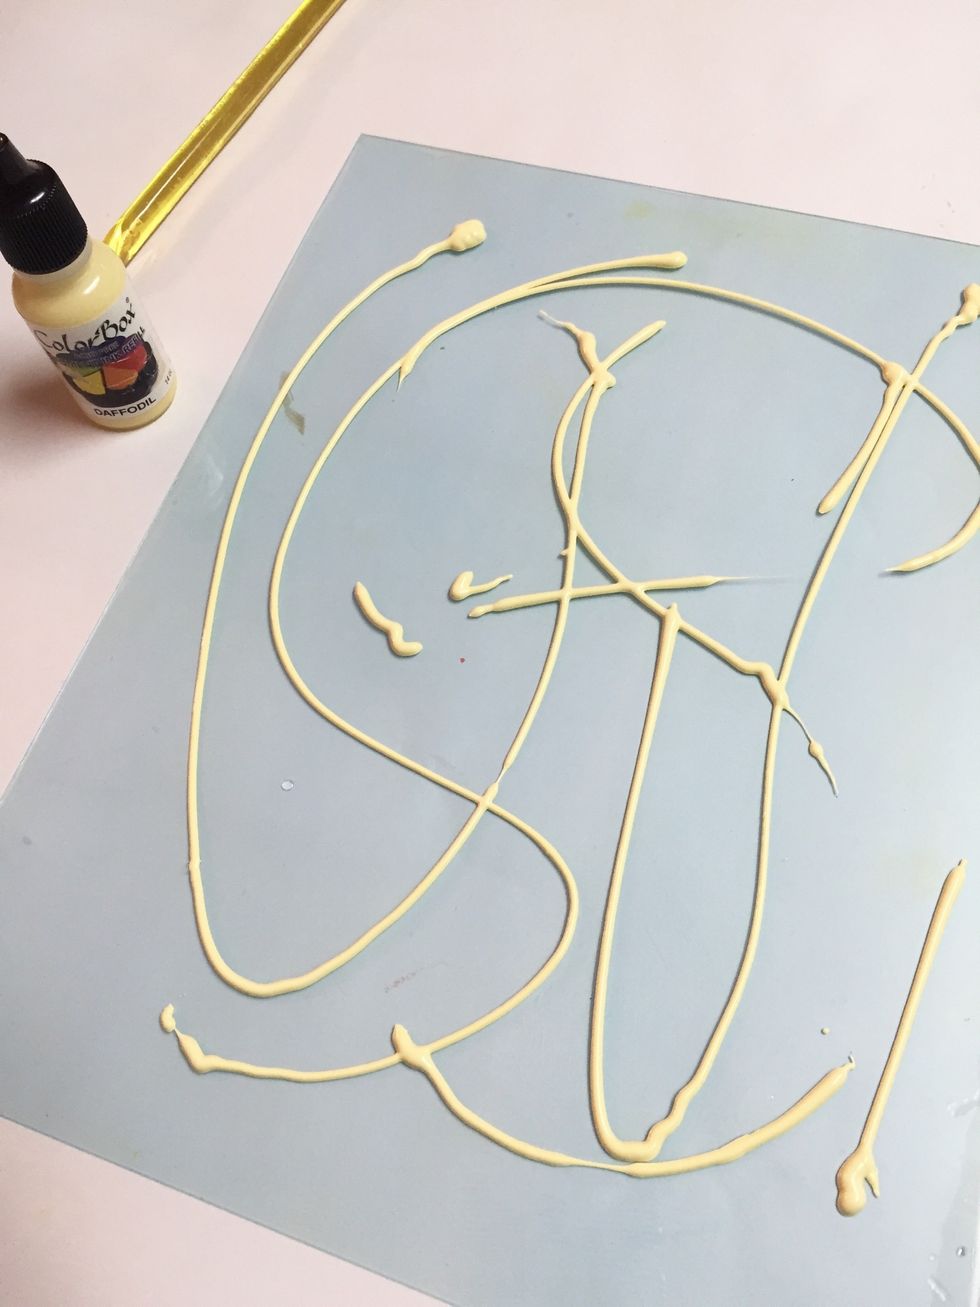
plate was cleaned and swirls of Daffodil ink were added.

a paintbrush was used to spread ink.
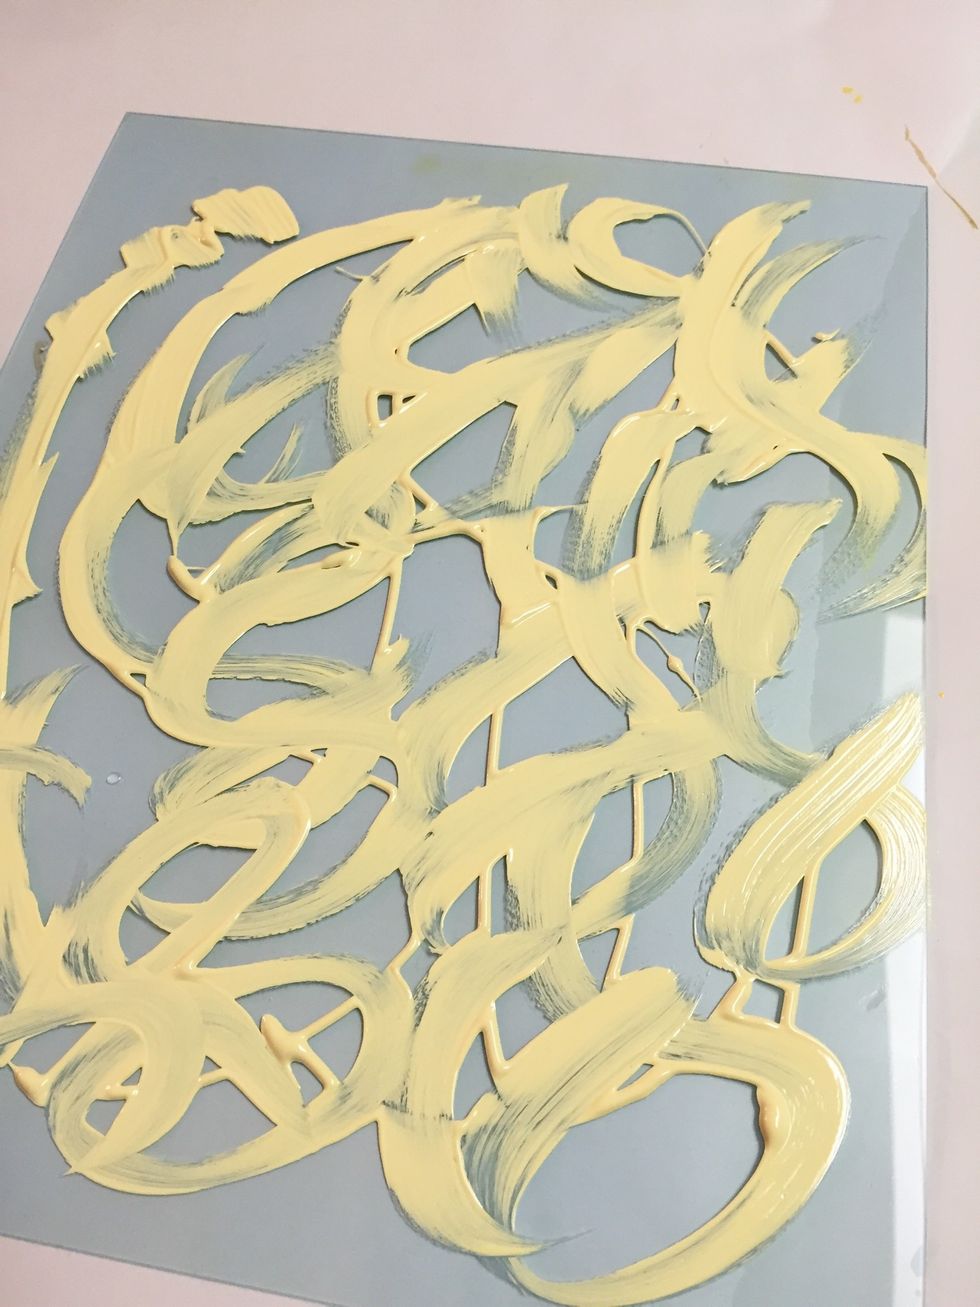
ink swirled over plate.
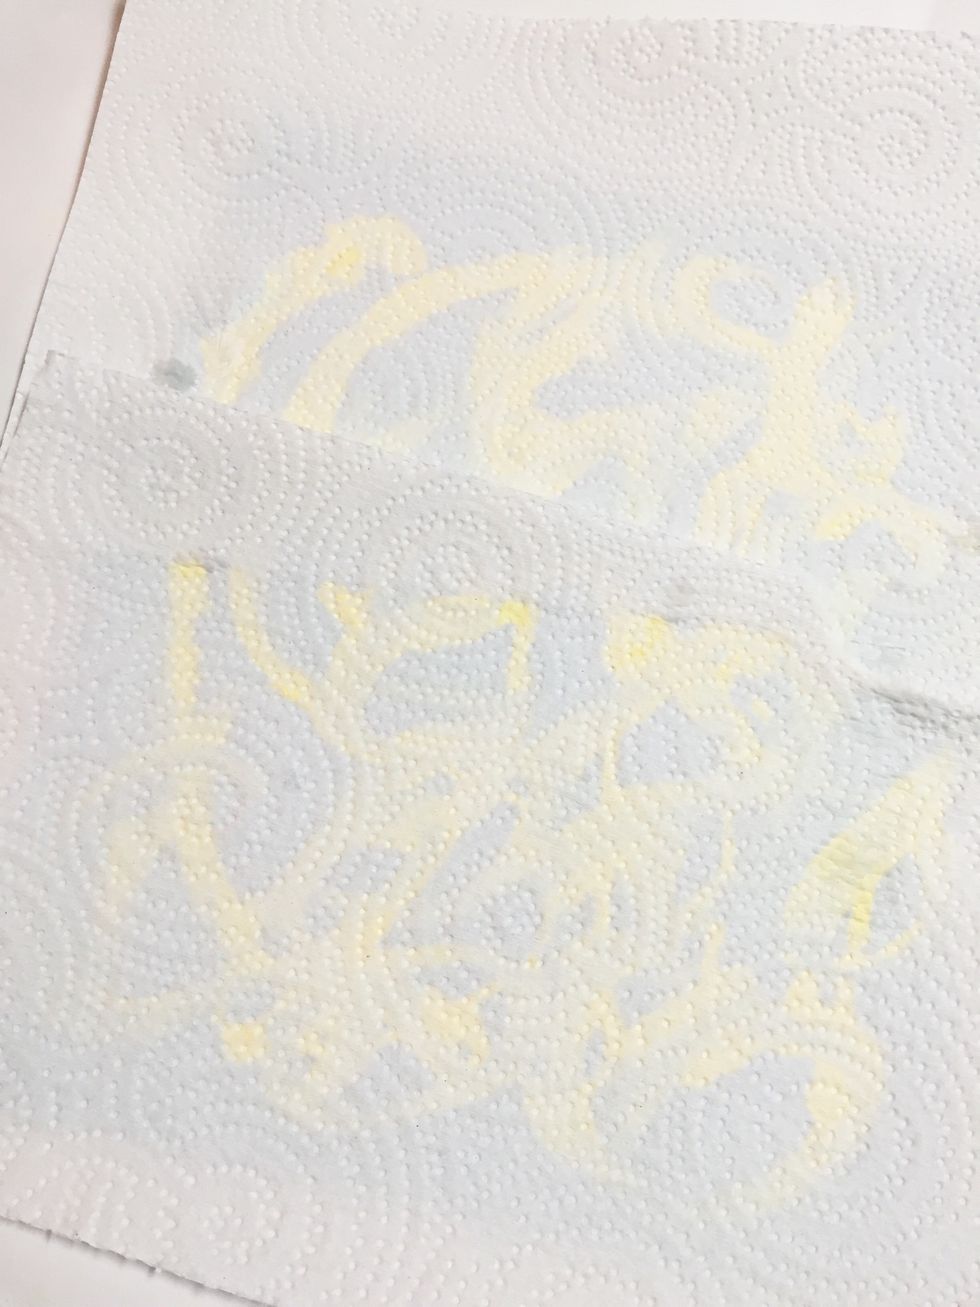
next, a textured paper towel was laid over inked plate and gently pressed to add design to ink.
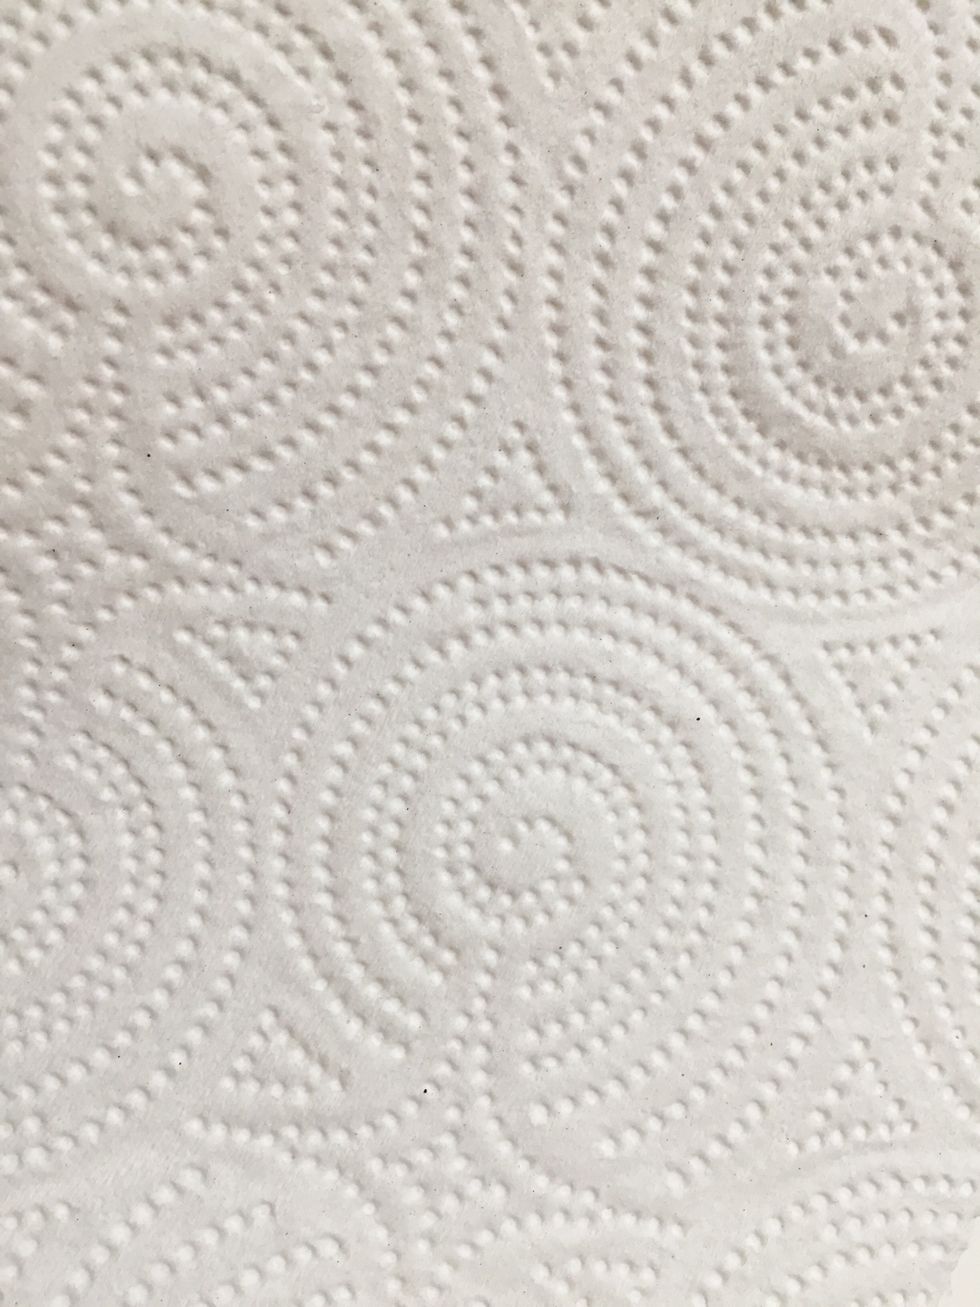
you can find paper towels with LOTS of interesting designs.
here is what the plate looked like after texture from paper towel has been added.
finished printed paper. (texture is hard to see in photo).
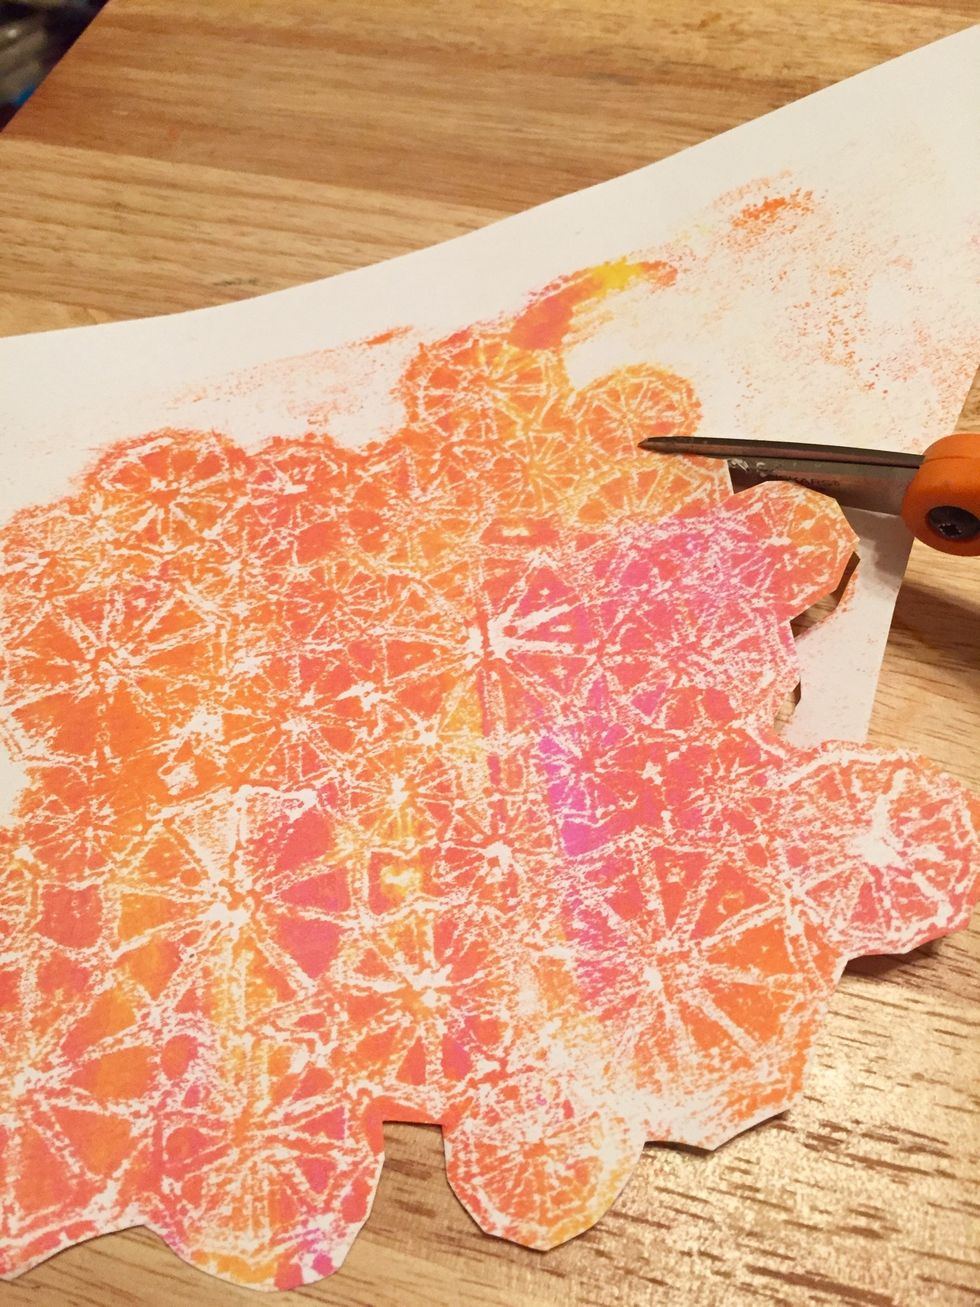
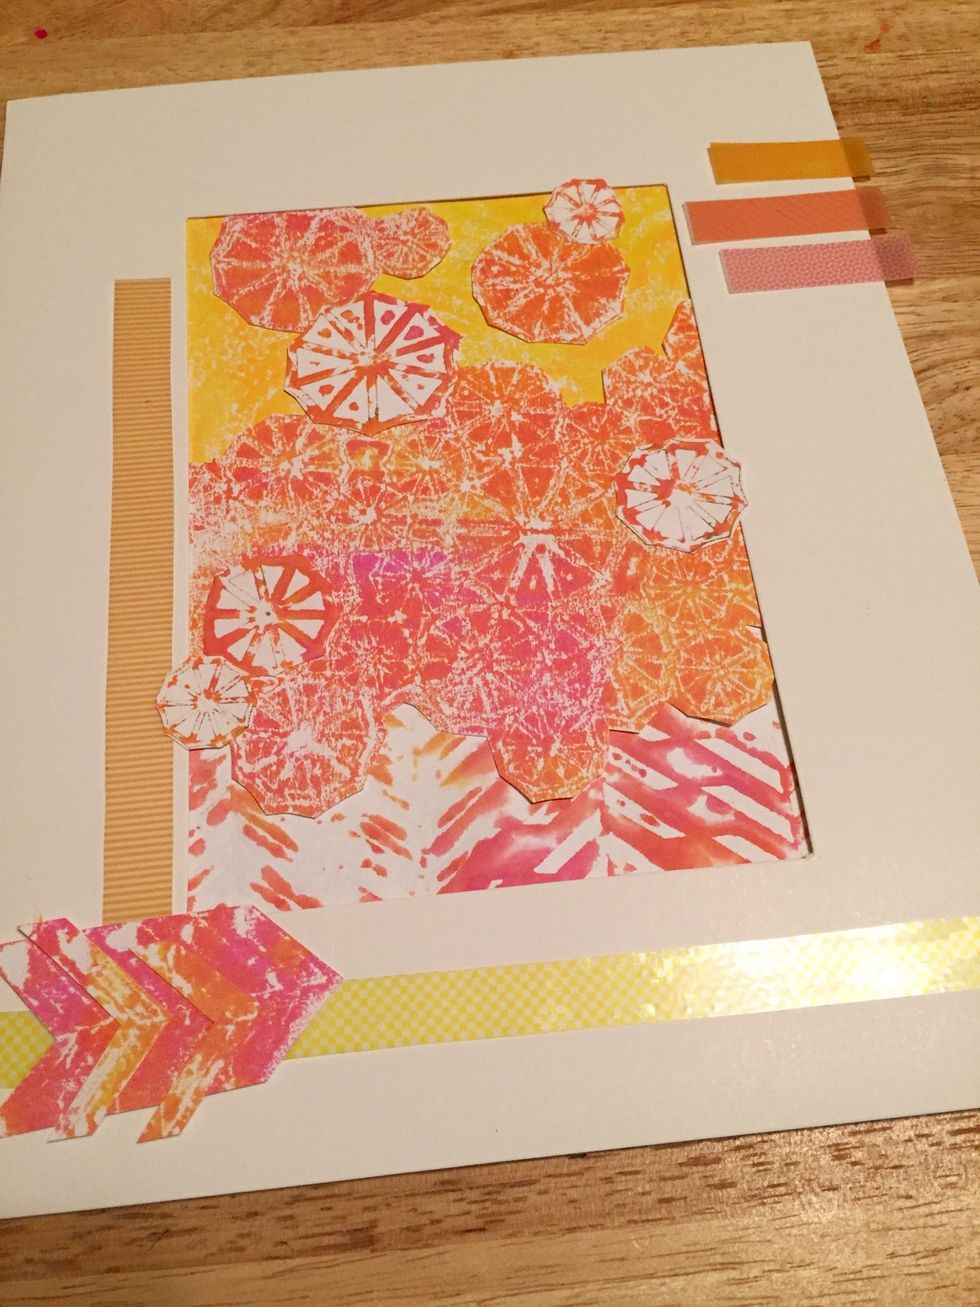
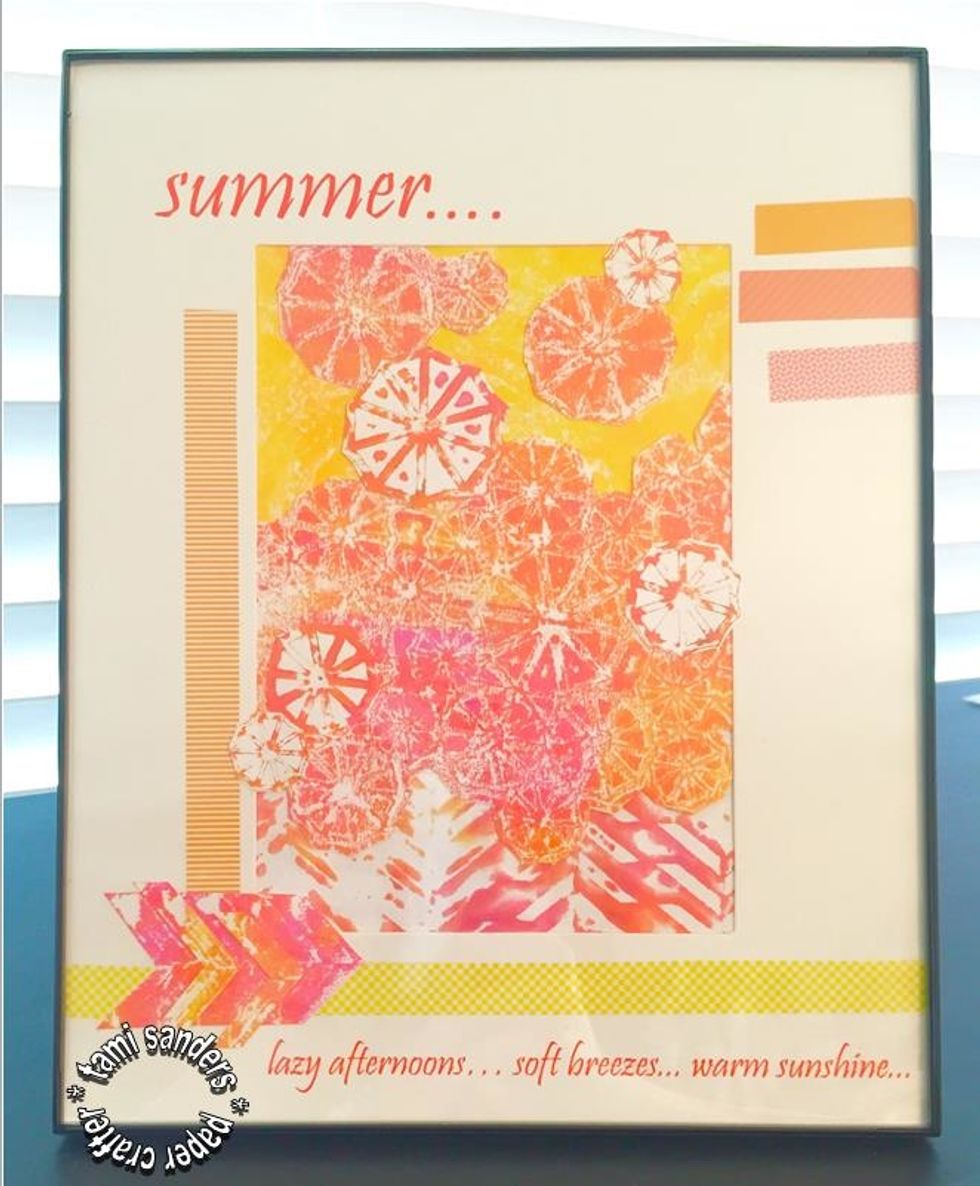
cut out a portion of the "ghost print" made using the parasol stencil.
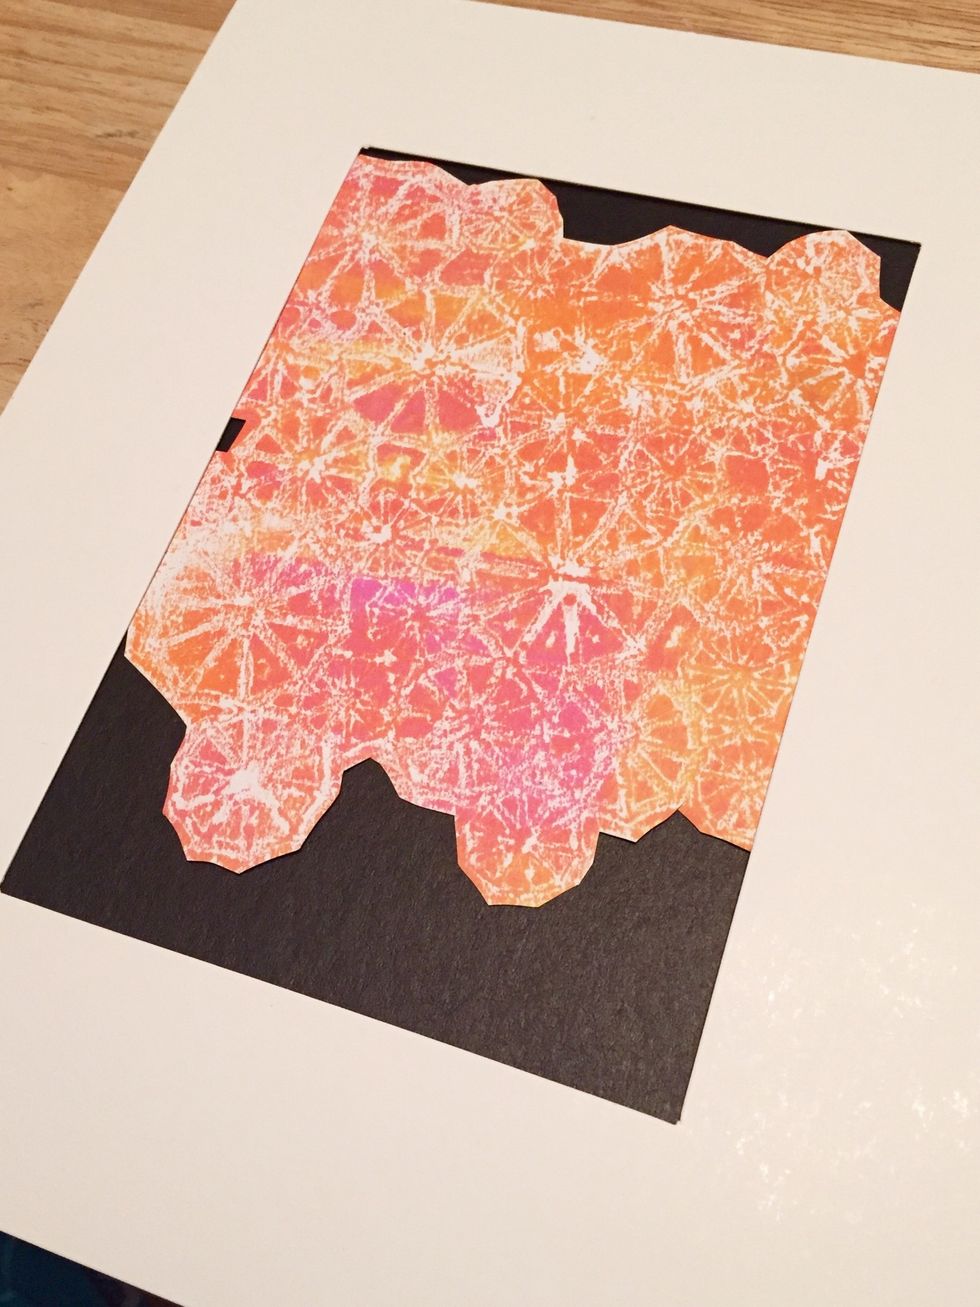
fit in mat of frame.
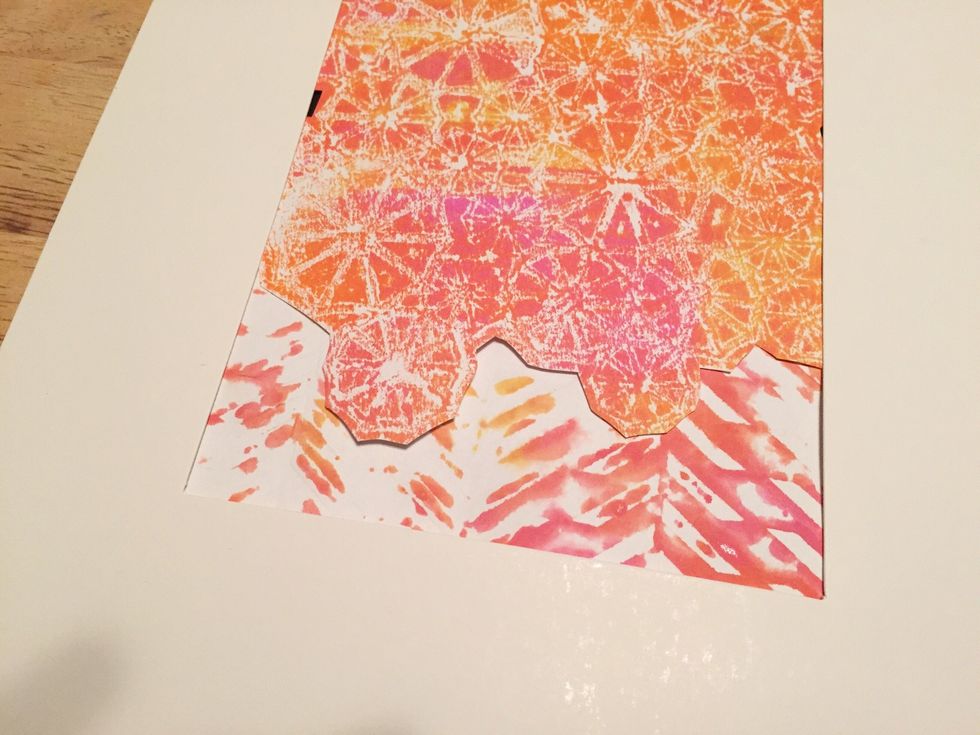
add monoprint made using herringbone stencil at bottom of mat.
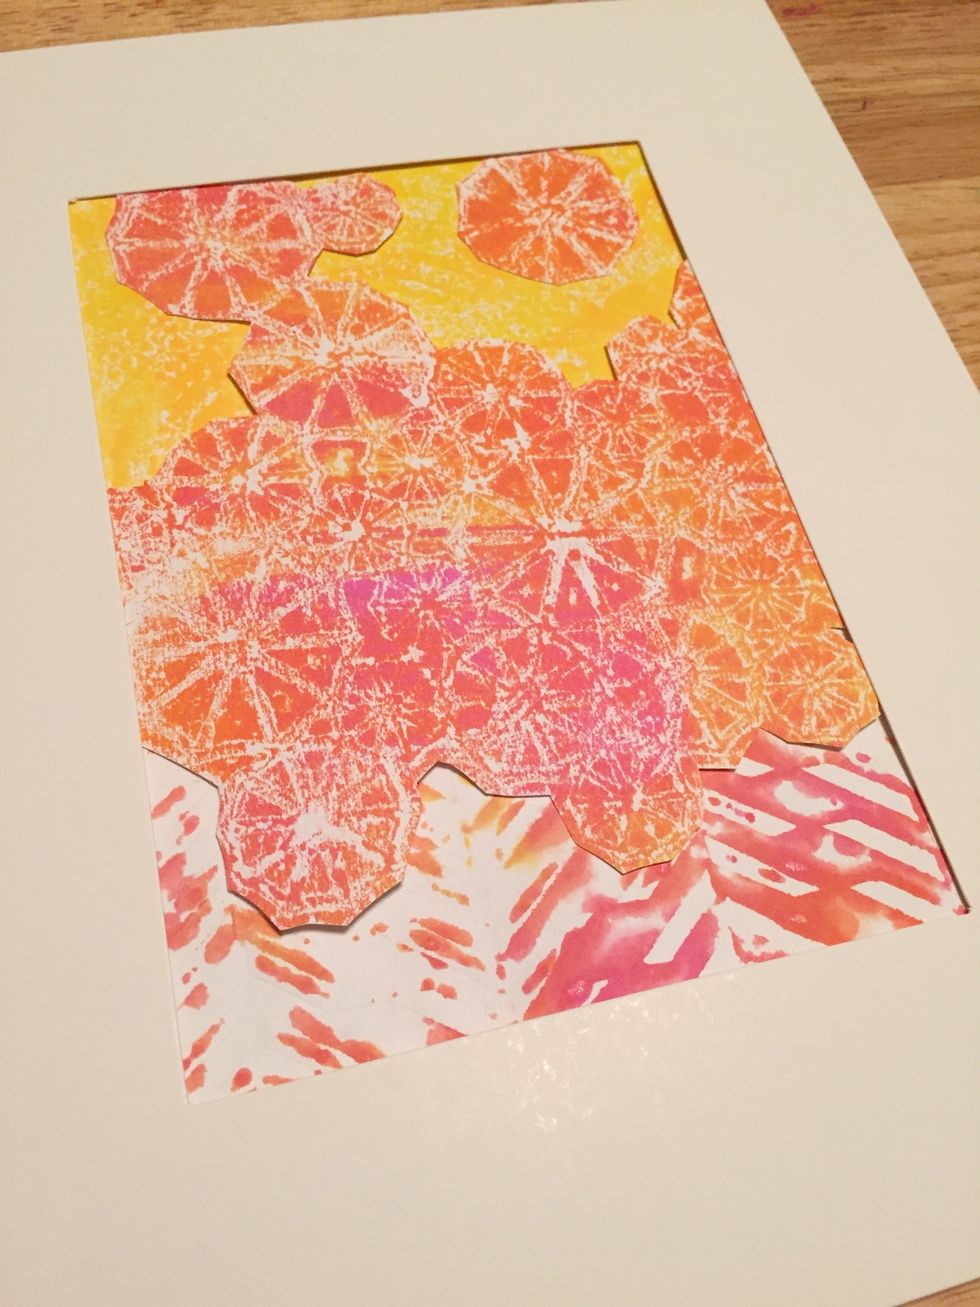
then add print made using paper towel to top of collage. a few cut out parasols were added on top of yellow.
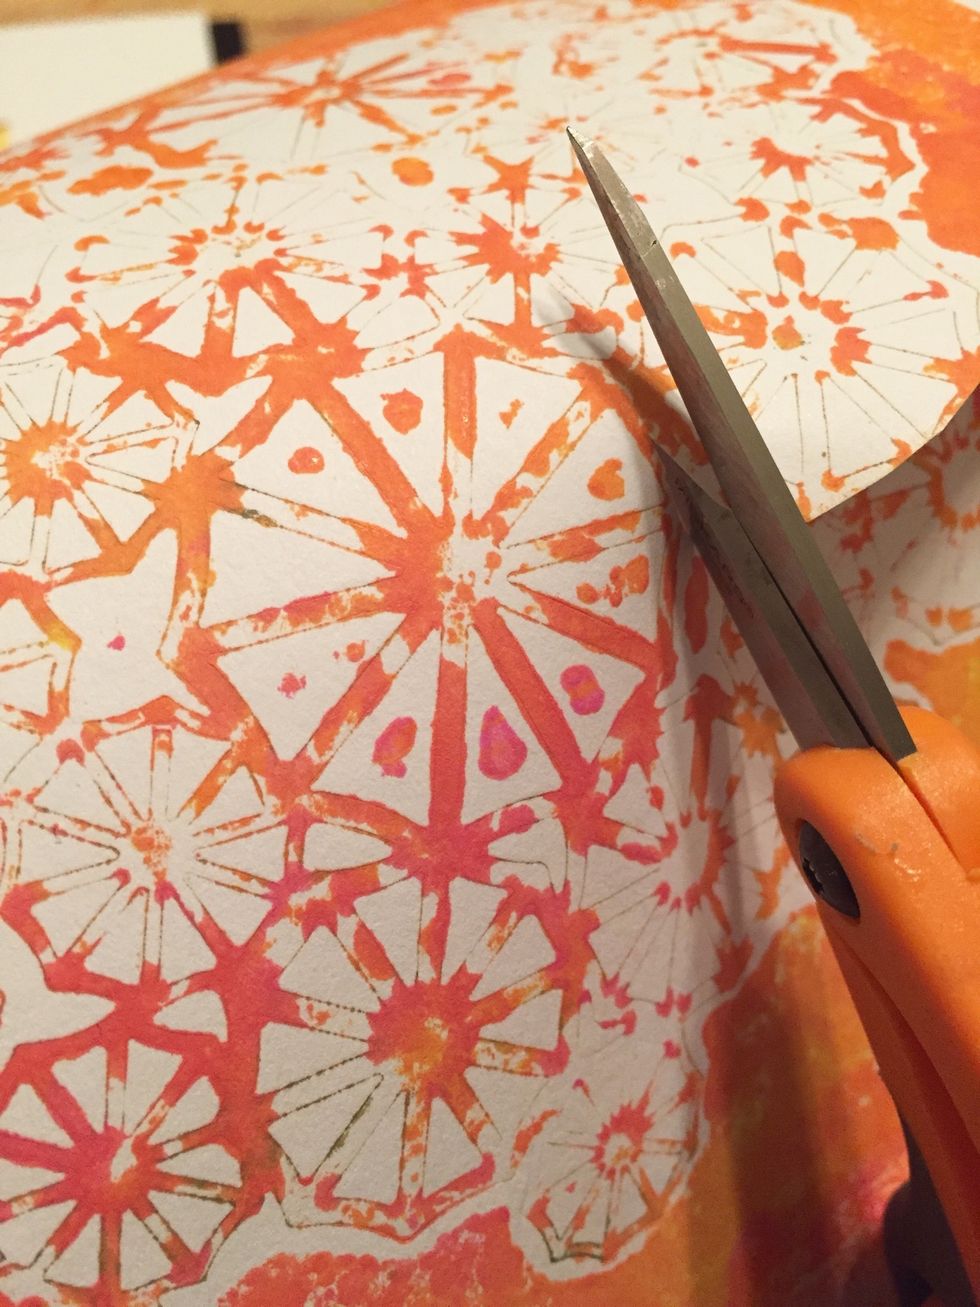
then cut out some parasols from monoprint made using parasol stencil and add them to collage.
an arrow was also added using portions of the prints made using the herringbone stencil.
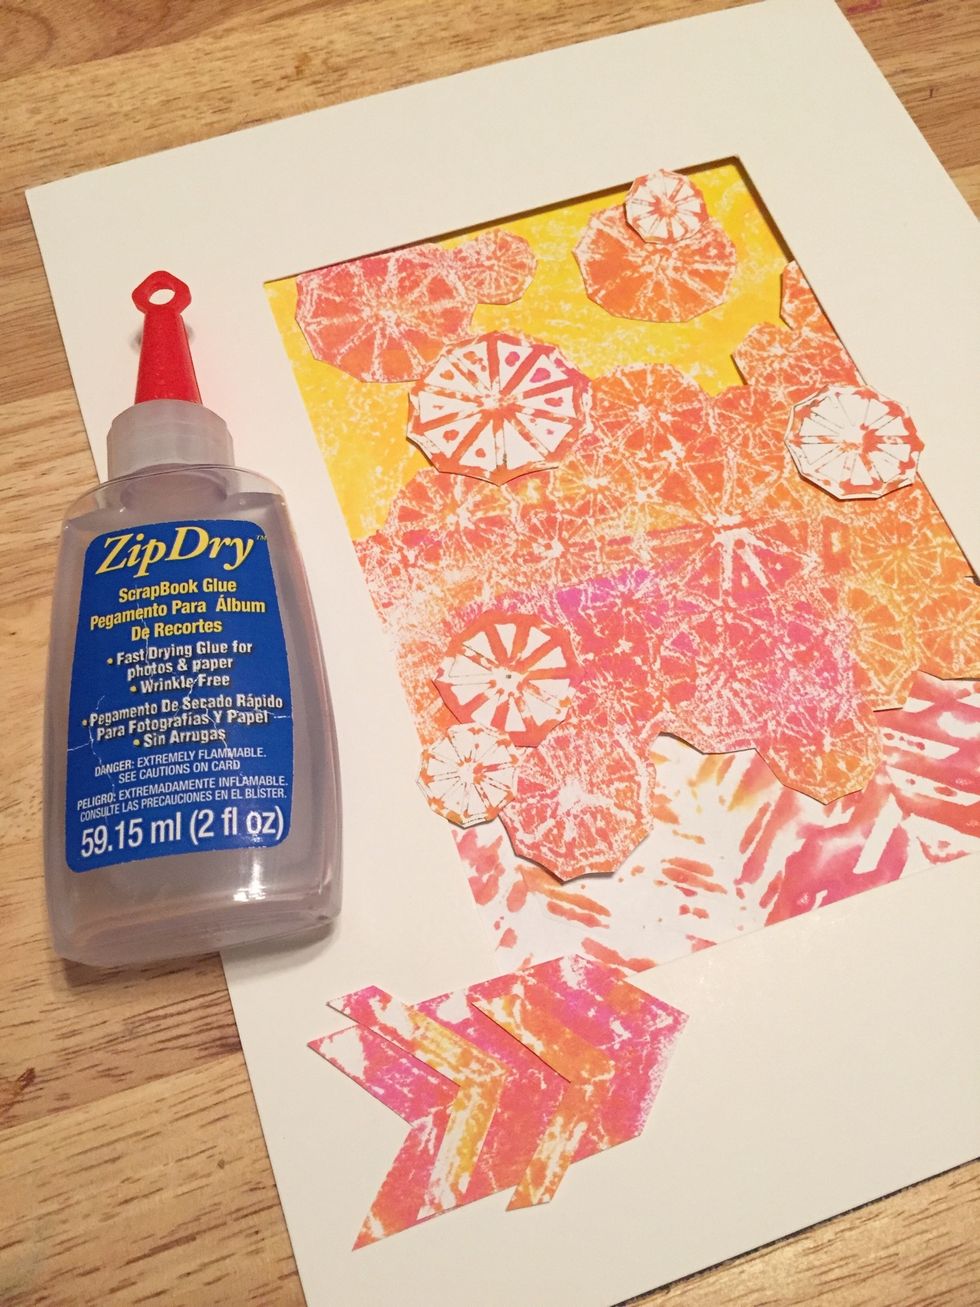
once you are happy with the placement of all pieces of your collage, glue them to the front and back of mat with Zip Dry.
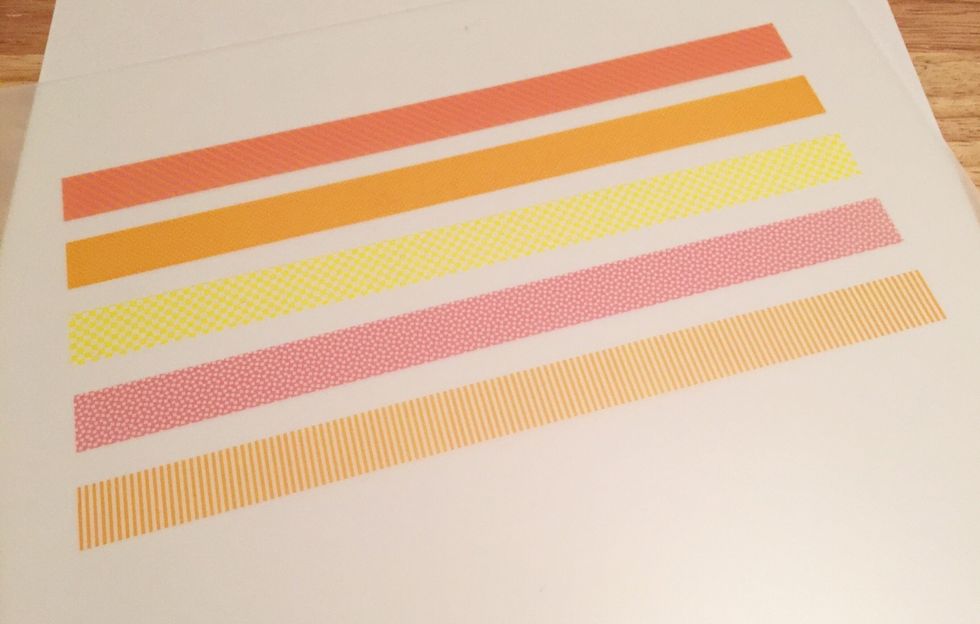
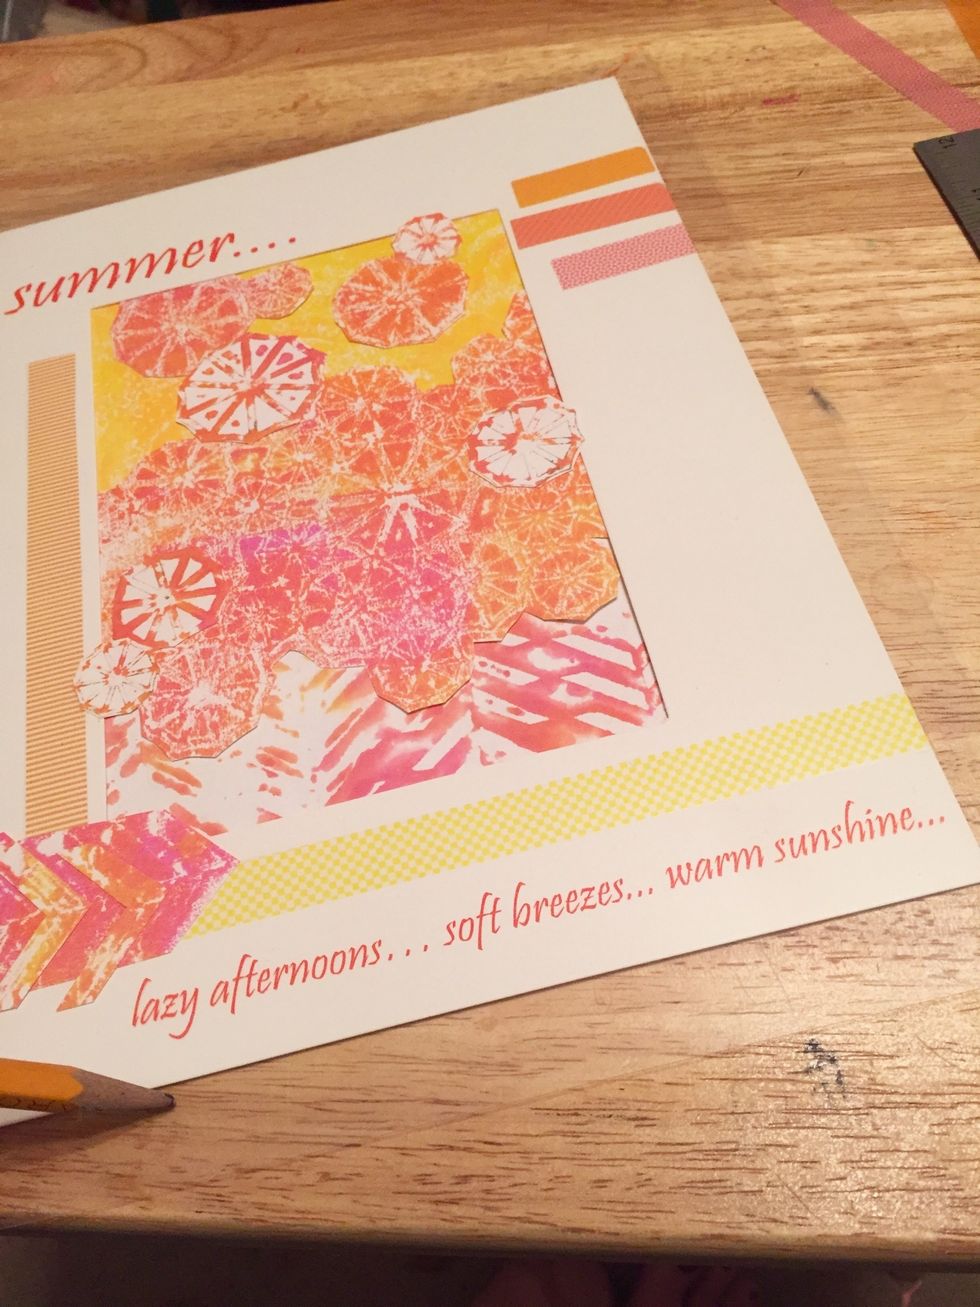
create custom washi tape to embellish your project using Rub-Onz by Grafix and Publisher or other editing program.
Rub-onz by Grafix can be used to make your own custom rub-ons quickly and easily.
cut and arrange pieces of washi tape Rub-onz to collage.
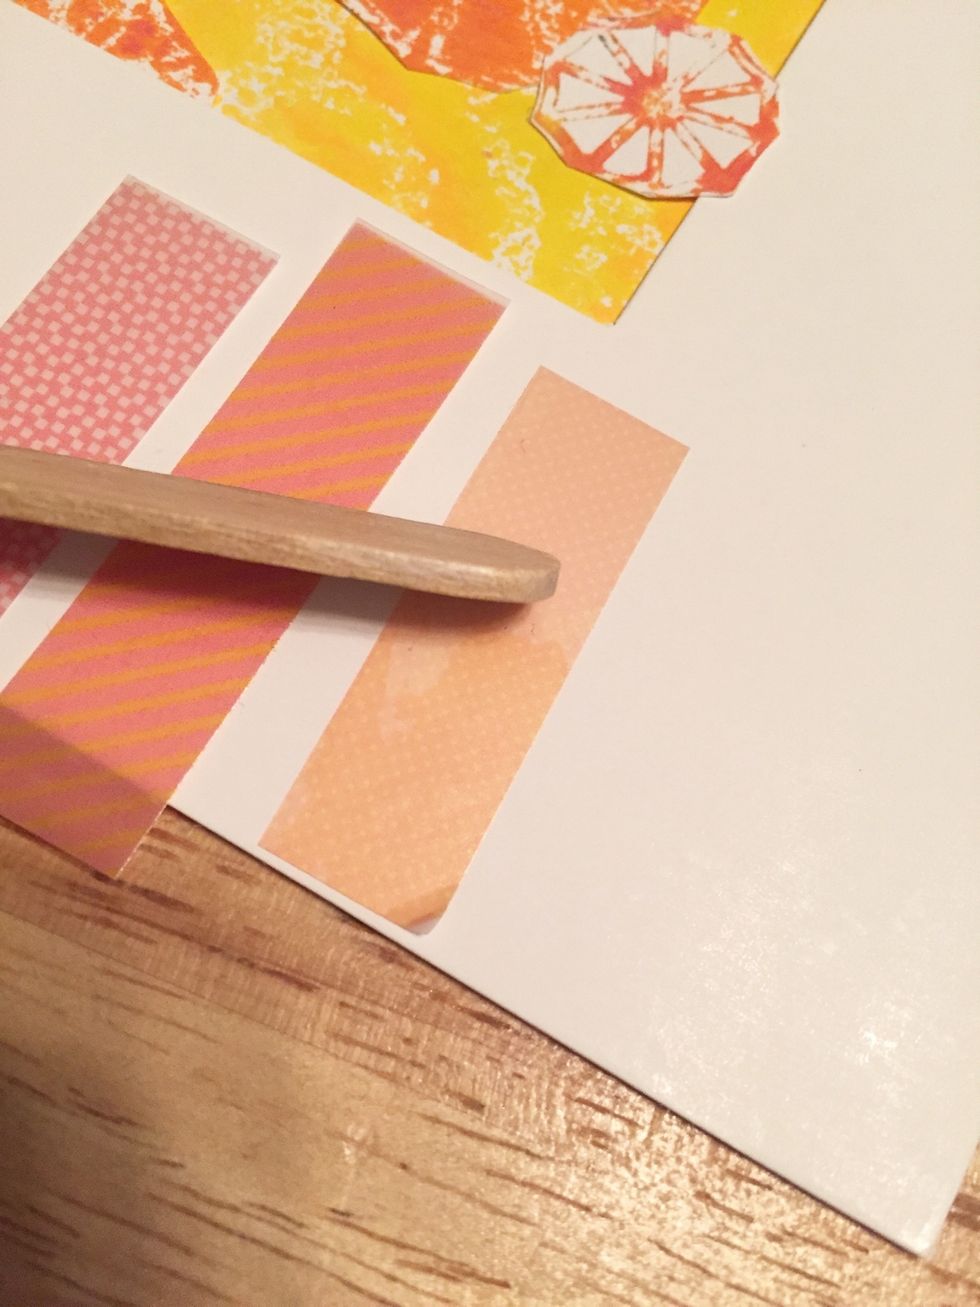
then apply washi tape Rub-onz to mat.
next, use Computer Grafix Injet Clear to create overlay for collage in Publisher or other editing program.
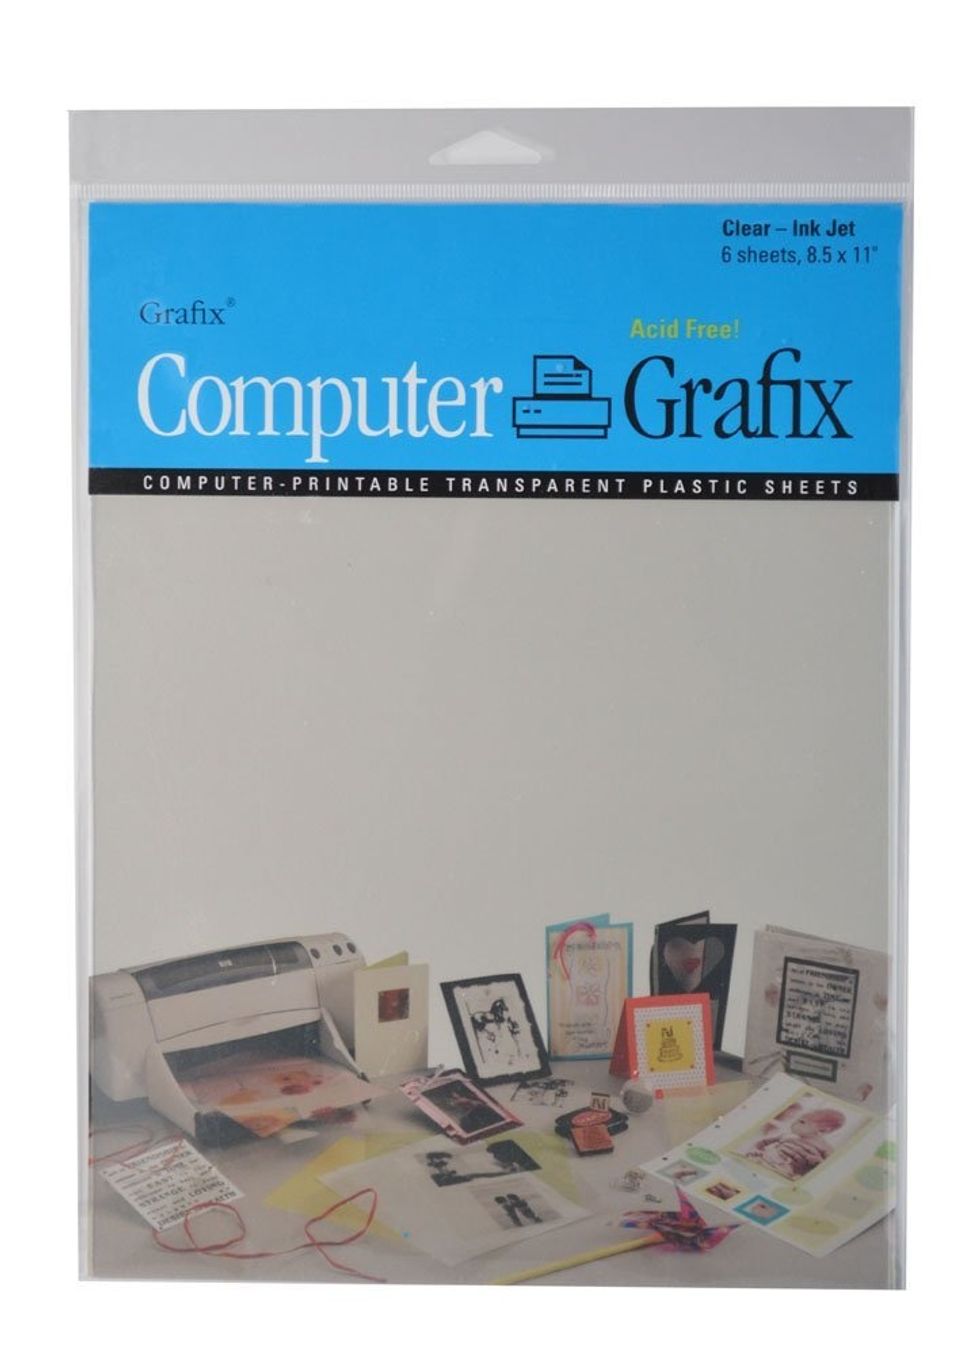
Computer Grafix from Grafix comes in Clear and Matte as well as in adhesive backed. it can be used for a variety of techniques to add special touches to your projects.
stack glass, overlay, mat and collage and any backing then frame. *** tami sanders * paper crafter --- www.tamisanders.com for GRAFIX --- http://www.grafixarts.com