The Conversation (0)
Sign Up
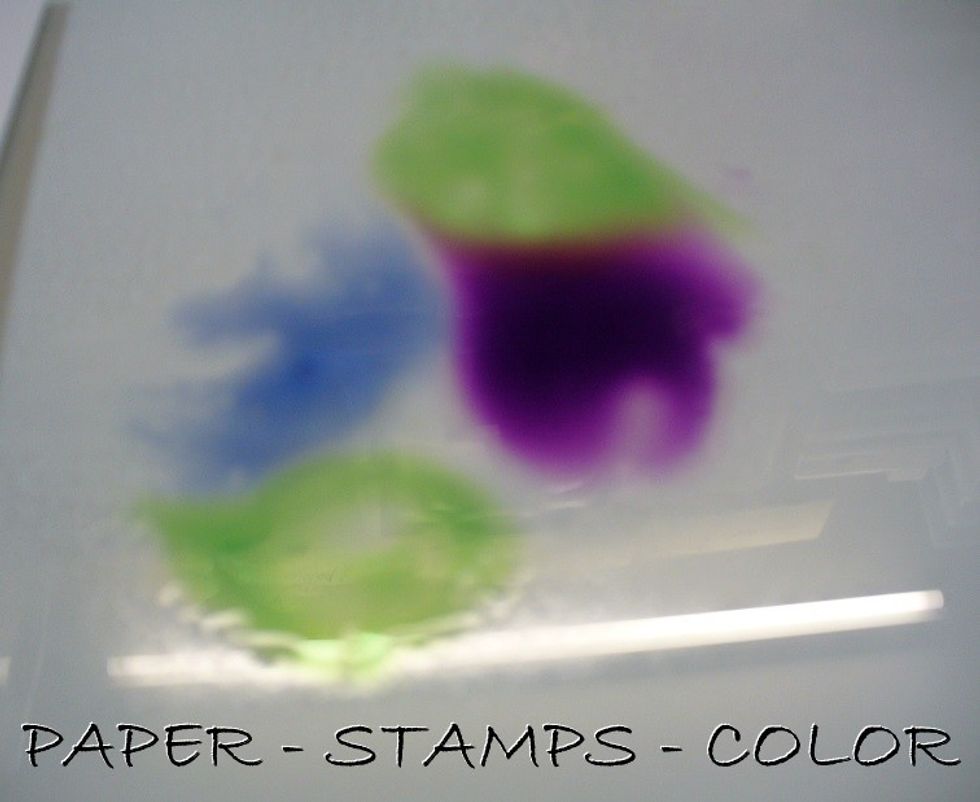
Drip some ink onto your craft sheet, and mist with water.
Lay your cardstock in the ink, and turn it around in the ink, about 90 degrees. Leave to dry.
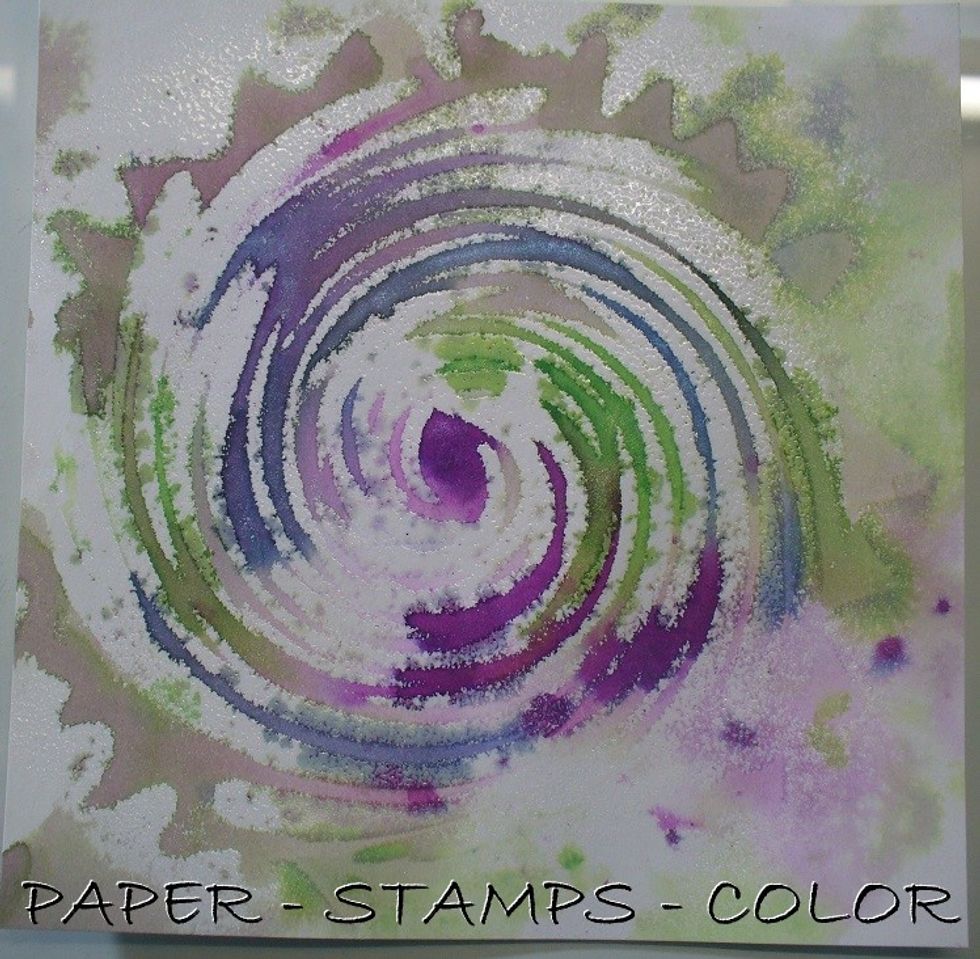
Dab some bleach onto the rubber stamp and stamp onto the background. Clean the rubber stamp immediately.
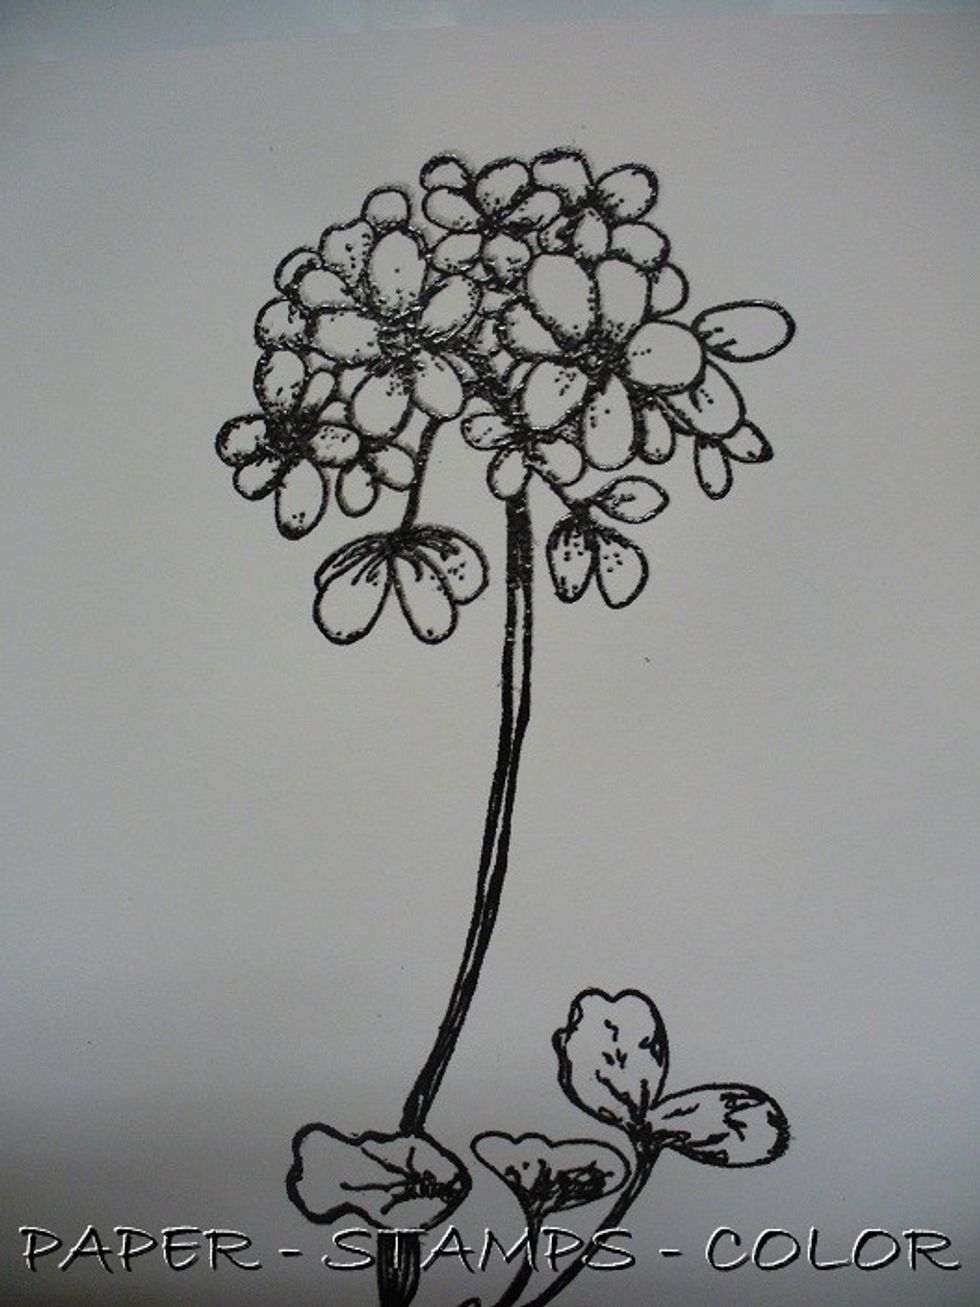
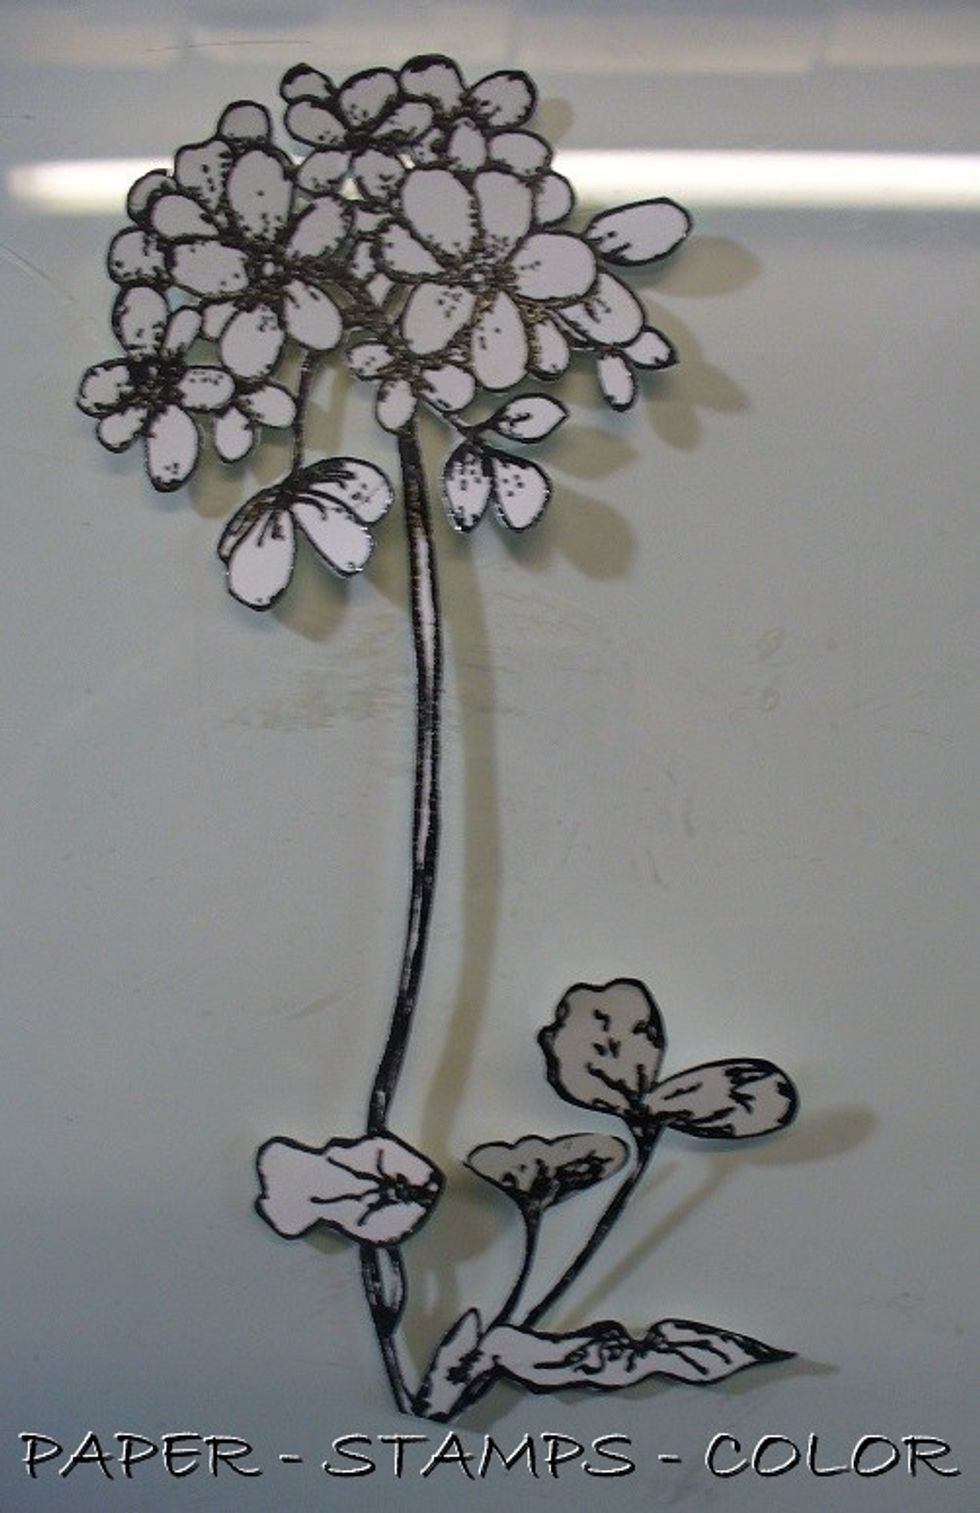
Stamp the Geranium stamp from Unity Stamps onto a seperate piece of cardstock and heat emboss with clear embossing powder.
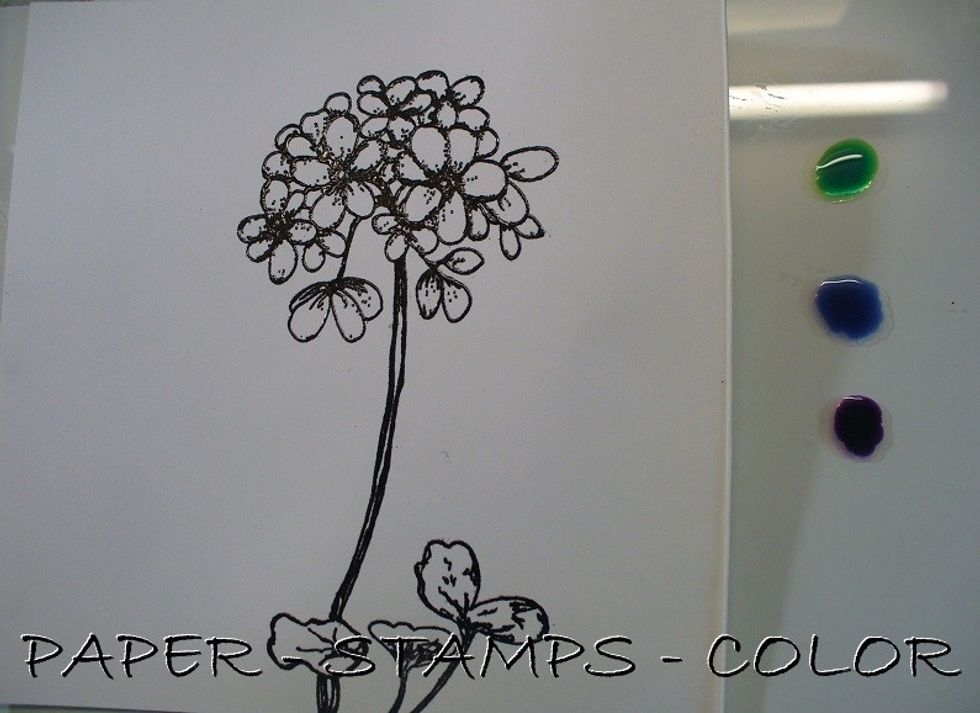
Color the stamped image with the same colors used for the background.
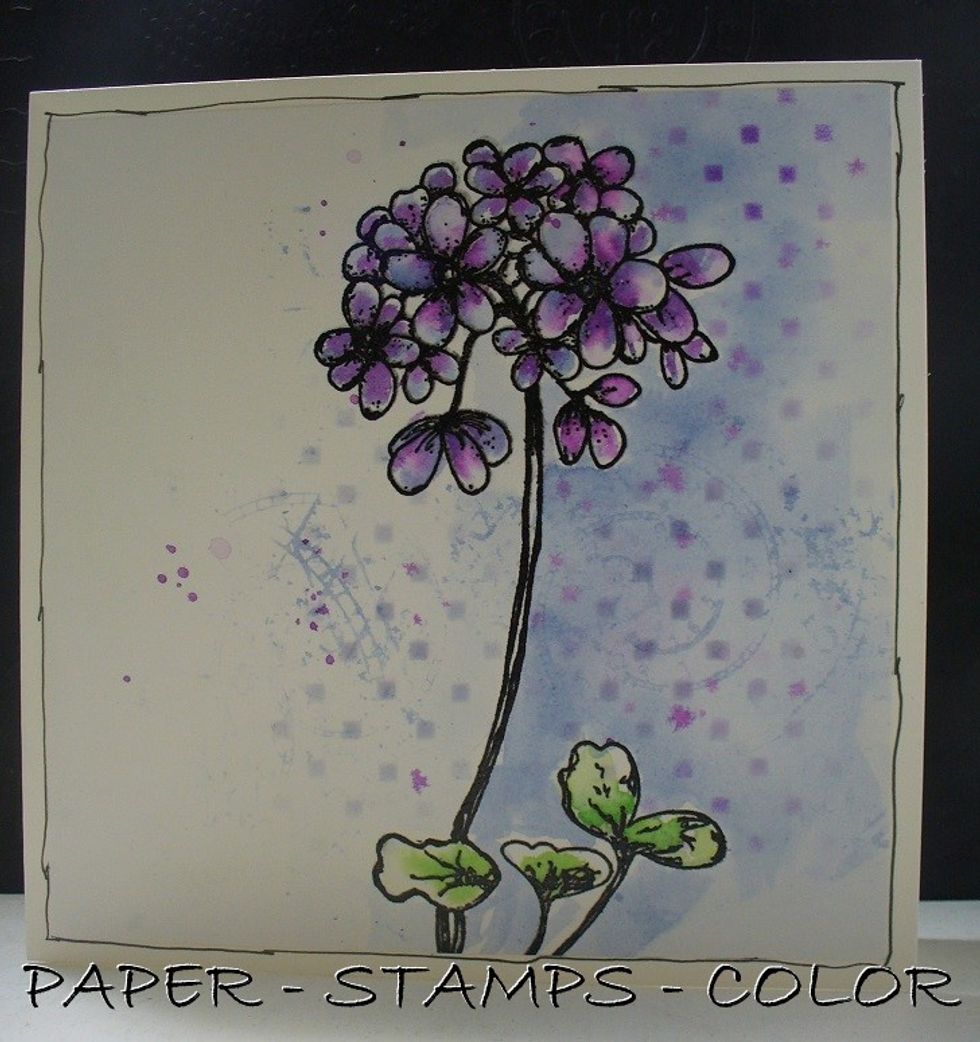
Fussy cut the image and adhere to the background. Assemble to a card as shown.
A detailed image of the finished project.
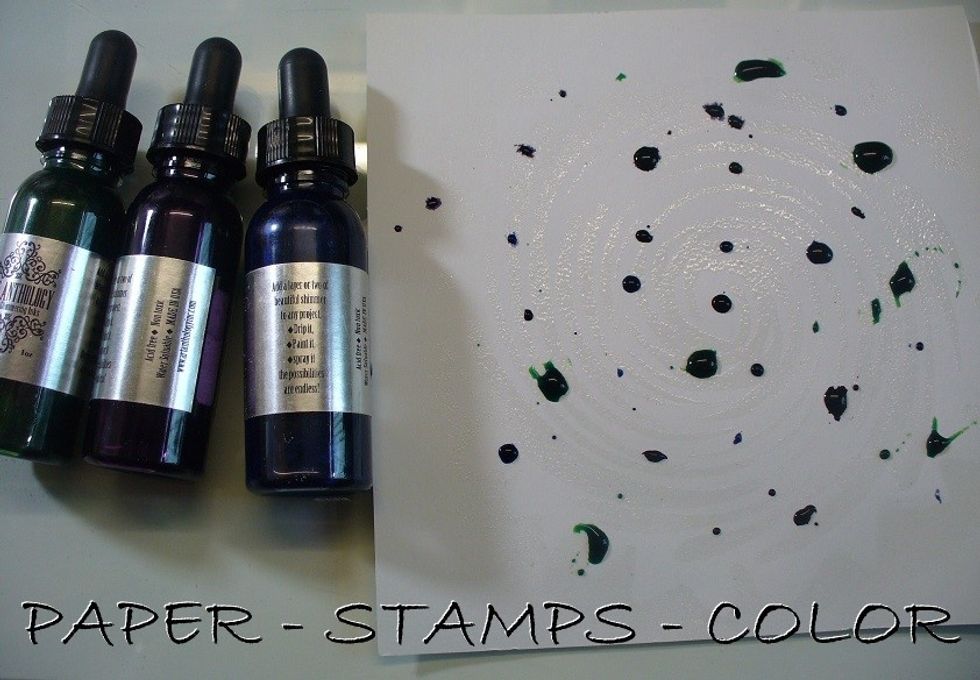
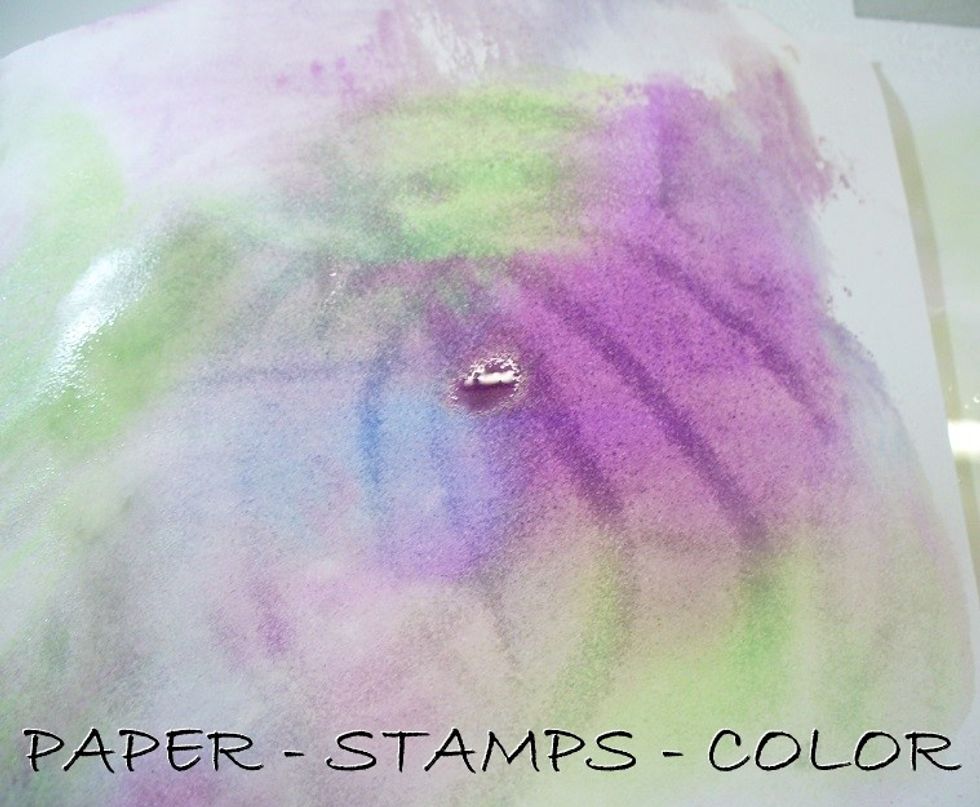
On this SECOND project: heat embossing as a resist and coloring an image. Dab Versamark to surface over Hurricane stencil. Heat emboss with clear. Add drops of three colors Minx inks to background.
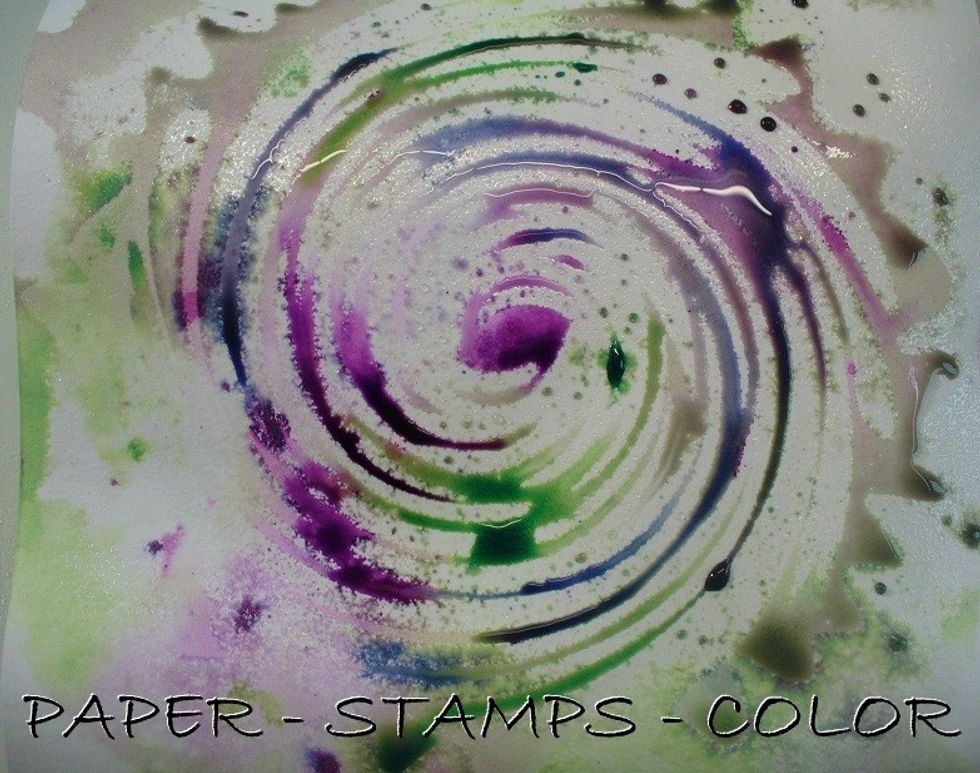
Mist with water and the magic happens.
Leave to dry.
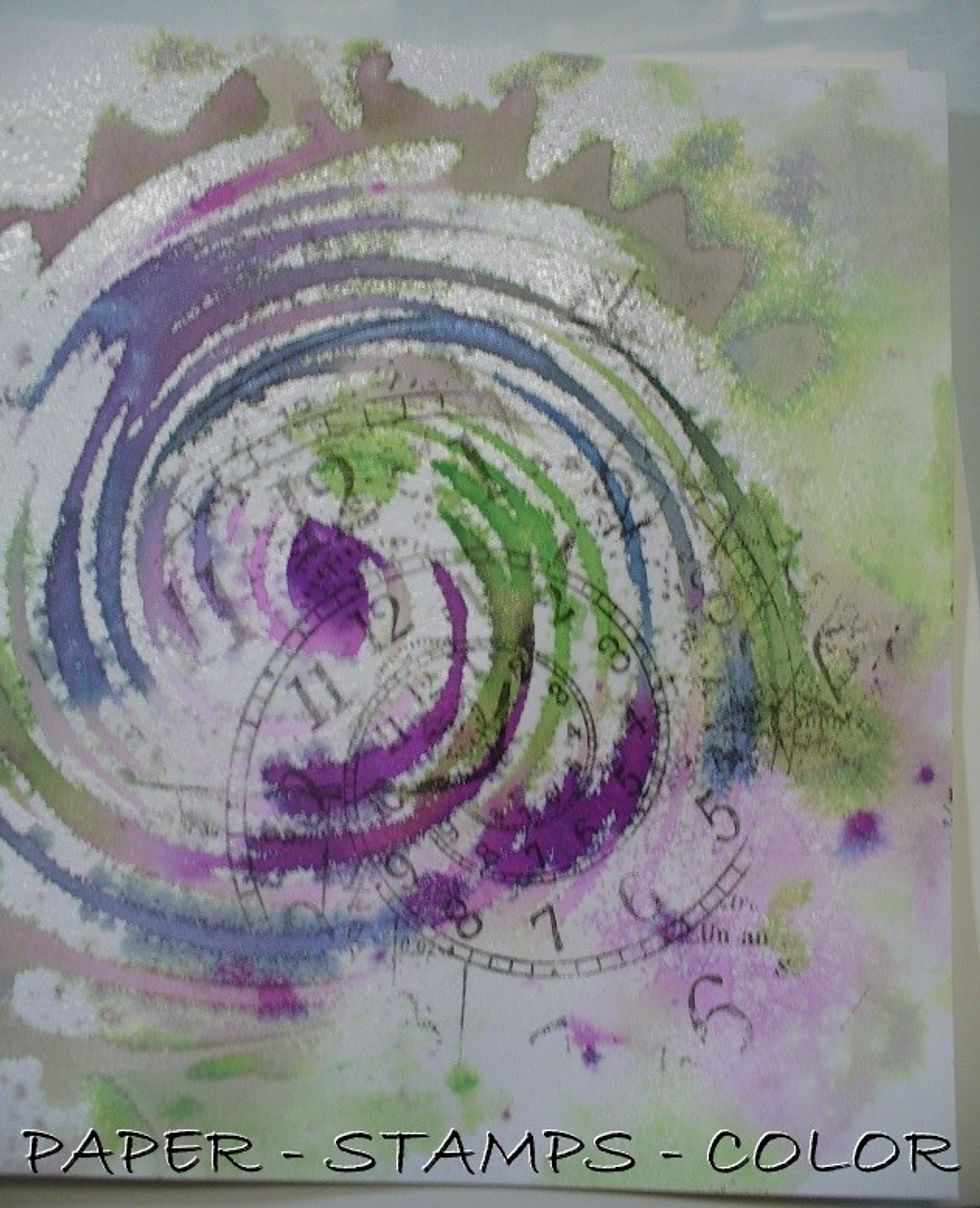
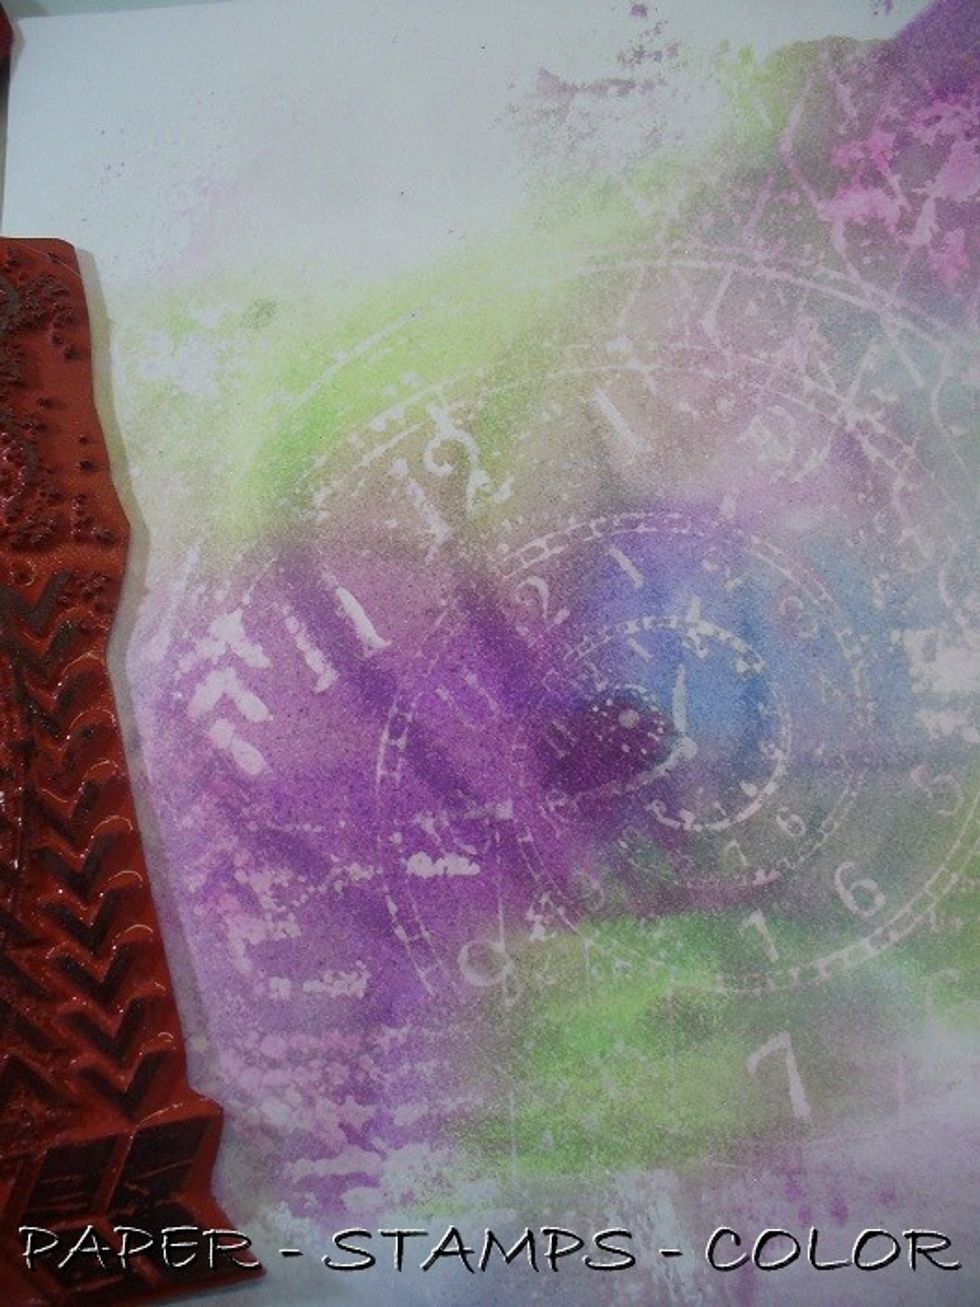
Stamp with the Katzelkraft stamp in the background with a dark ink.
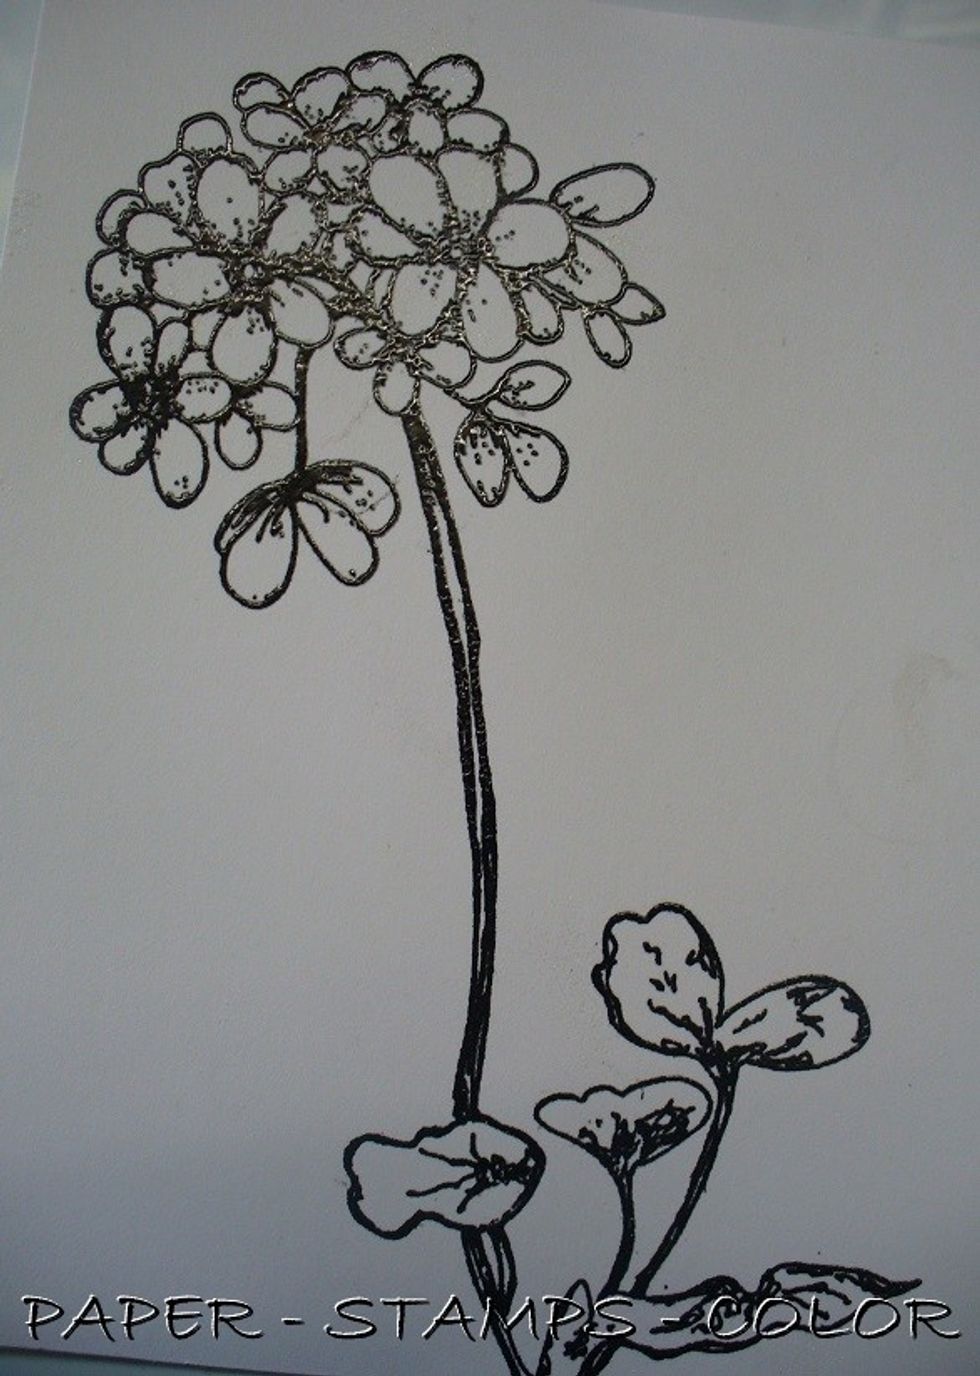
Stamp the Geranium stamp from Unity Stamps onto a seperate piece of cardstock and heat emboss with clear embossing powder.
Fussy cut the stamped image.

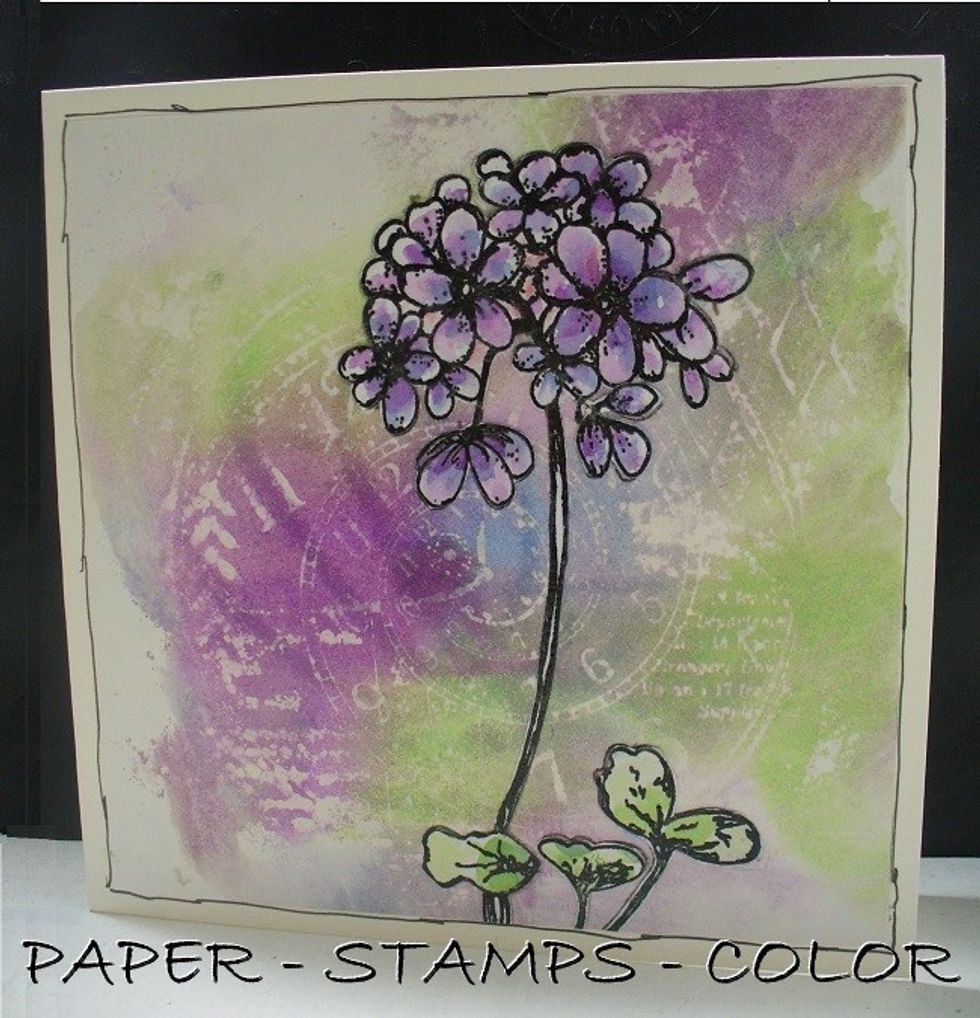
Assemble to the card as shown.
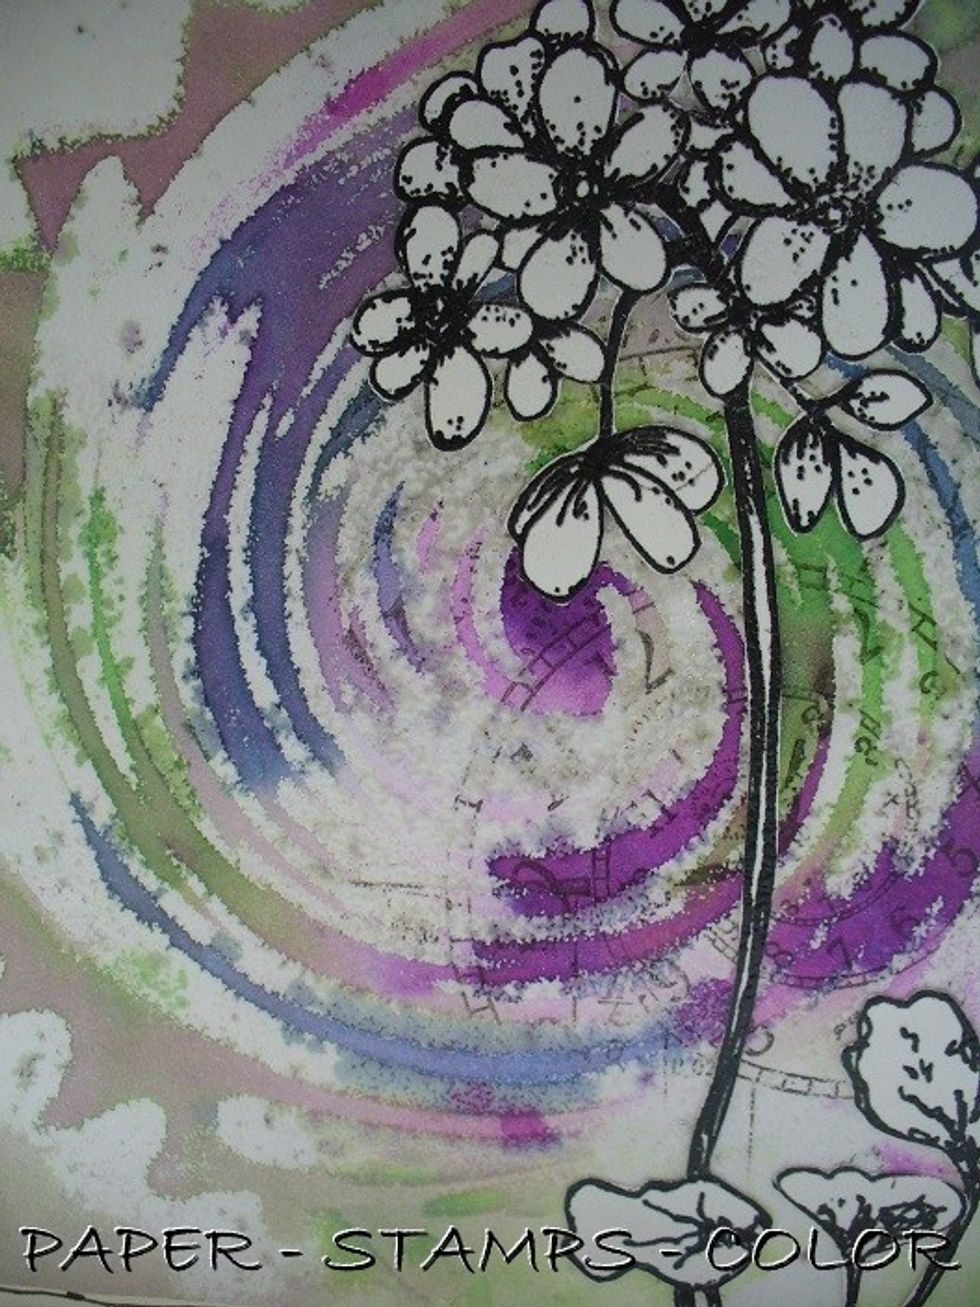
A detailed image of the finished project.
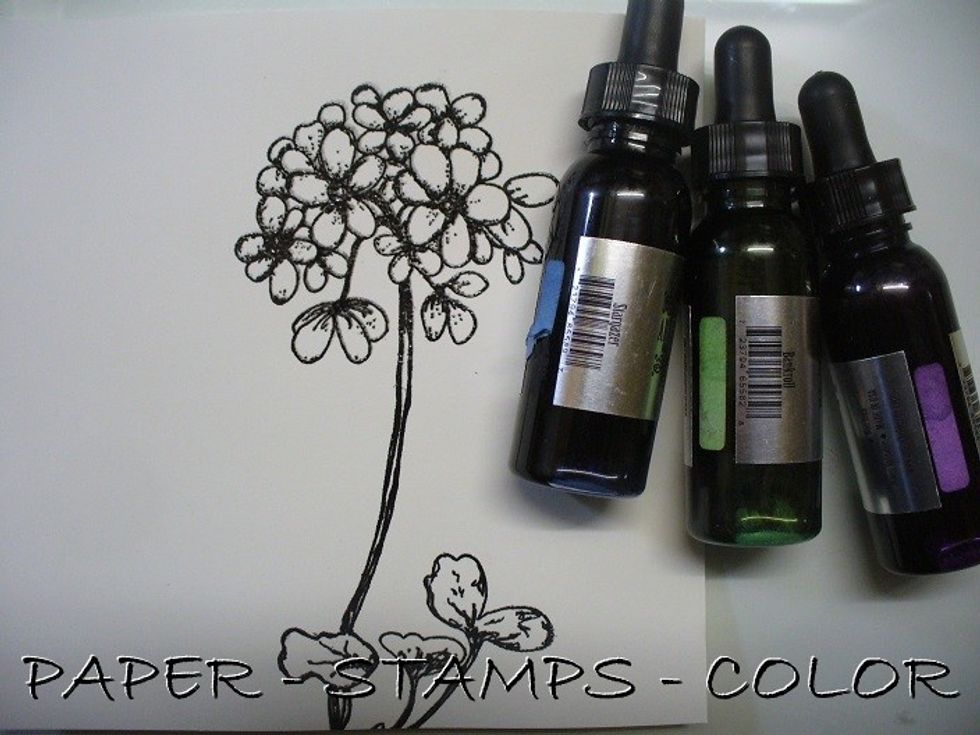
On this THIRD project: watercoloring, splattering, coloring an image and stamping with the Minx Inks. Stamp the Geranium stamp onto the cardstock and heat emboss with clear embossing powder.
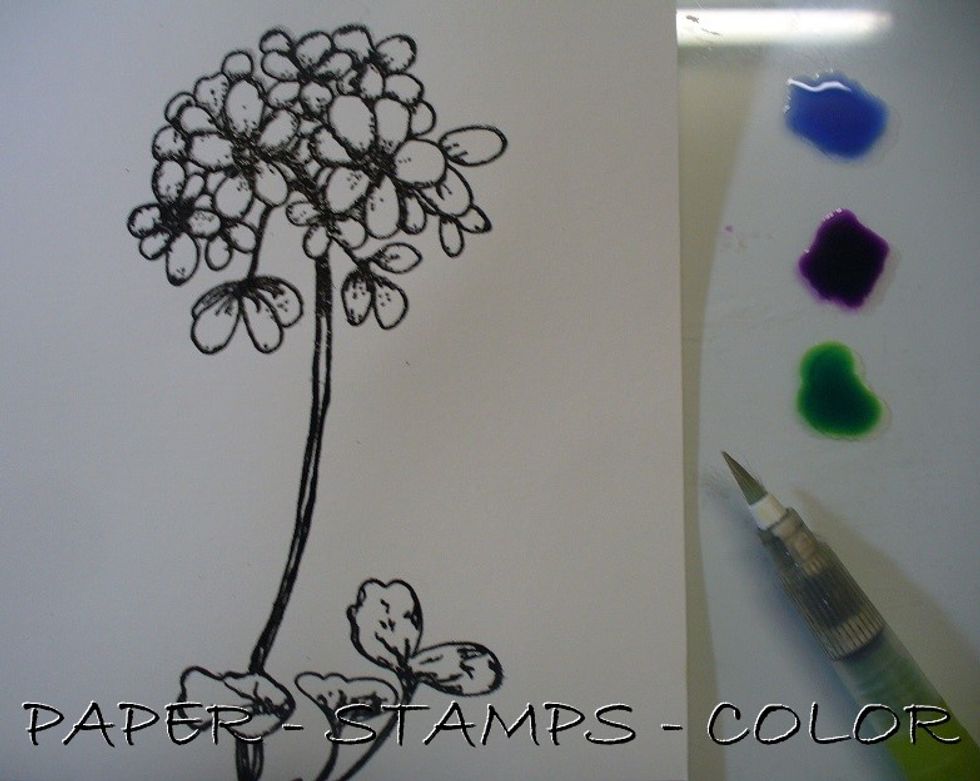
Color the stamped image with Minx inks and a waterbrush. Leave to dry.
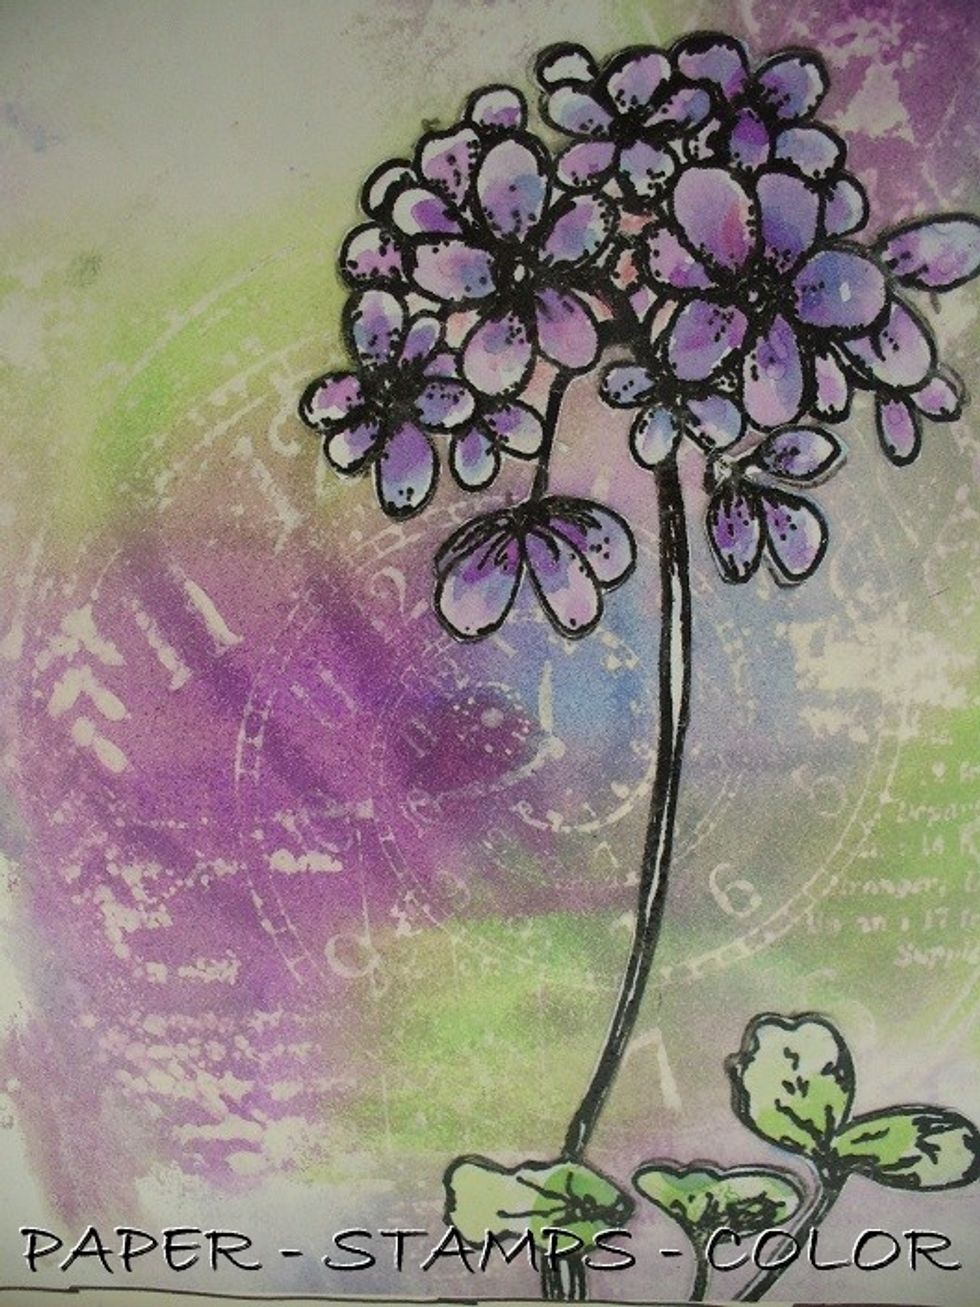
Wet cardstock around image and drop Stargazer Minx ink into it; splatter with the Majestic Minx ink. Use the Minx inks to stamp with after dabbing the ink onto the Katzelkraft stamp.
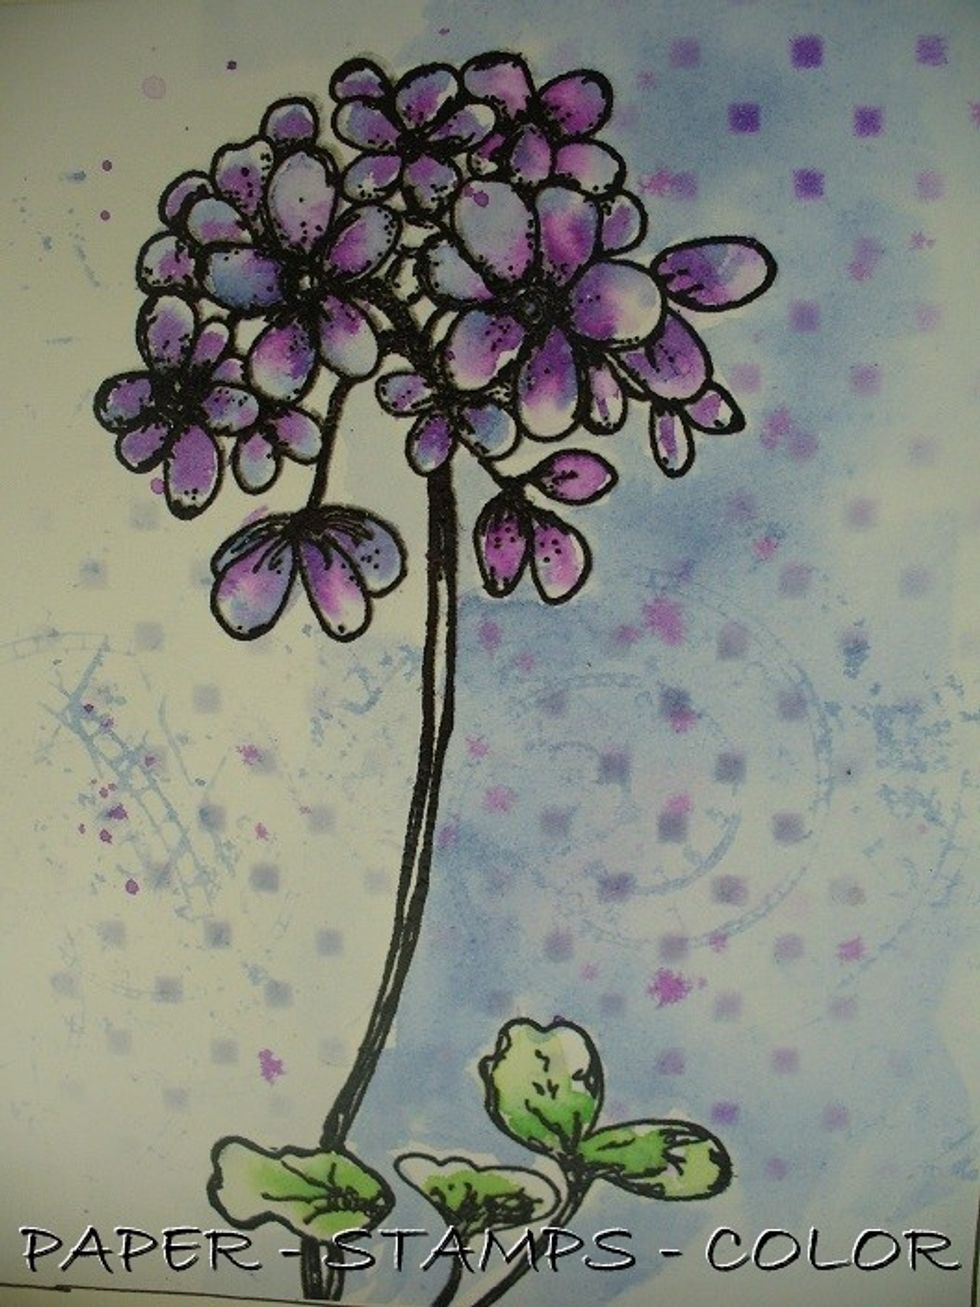
On this detailed image you can see the sponging with distress inks over the Blocked stencil.