The Conversation (0)
Sign Up
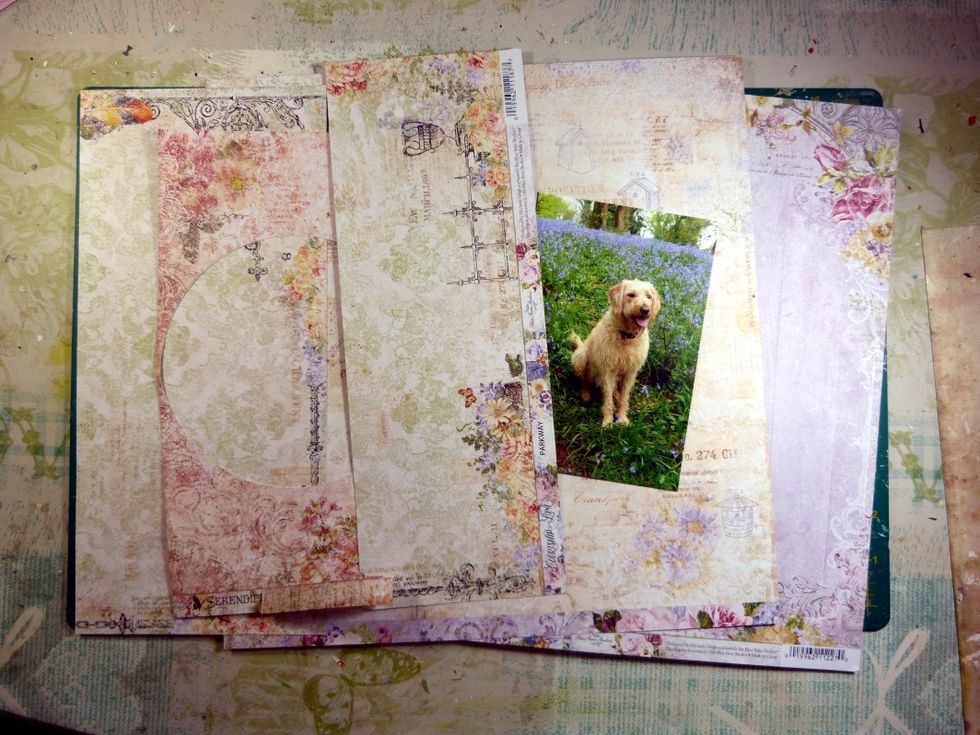
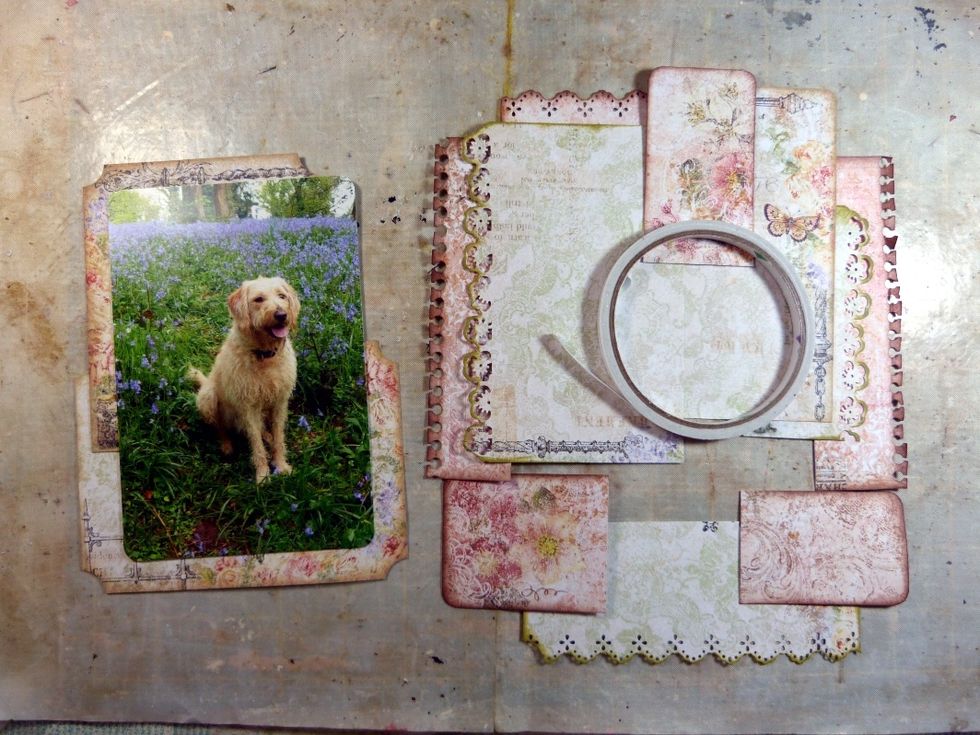
Select the coordinated patterned papers to use for the layout and the photo.

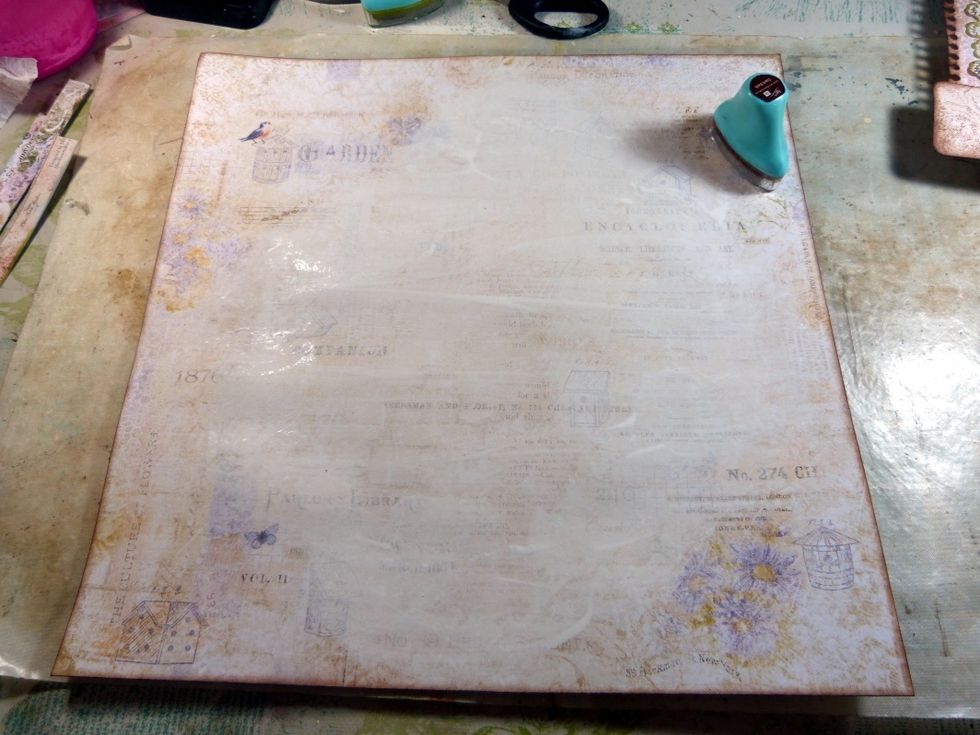
I Chose this paper to be the main background paper. A paler less detailed one is better so the layers stand out.
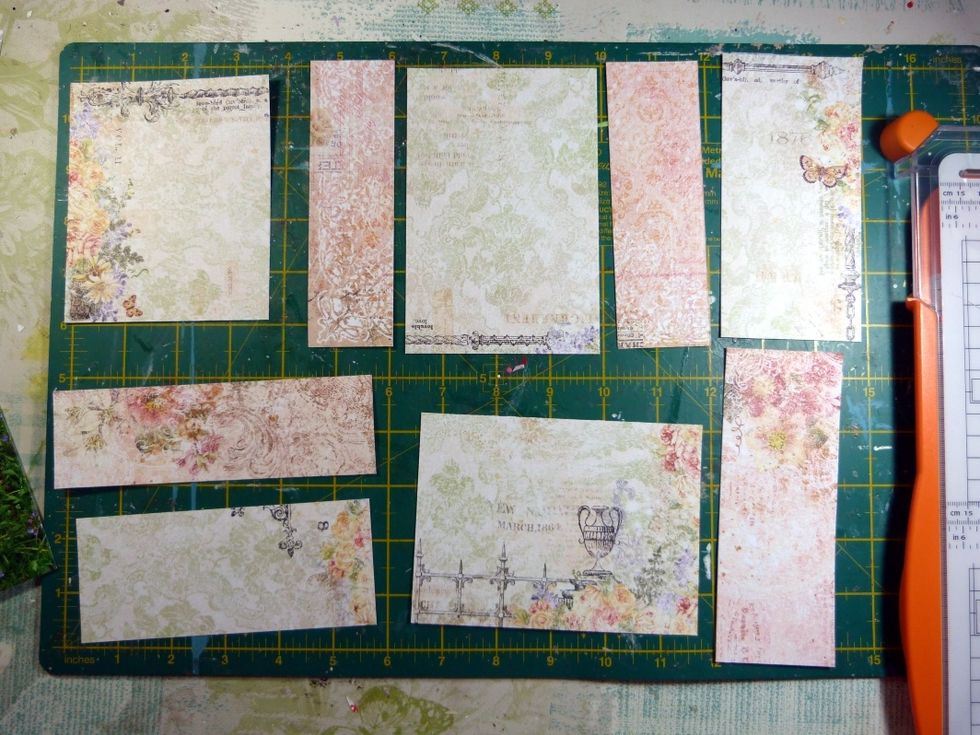
These are the smaller pieces of patterned paper I chose to use.
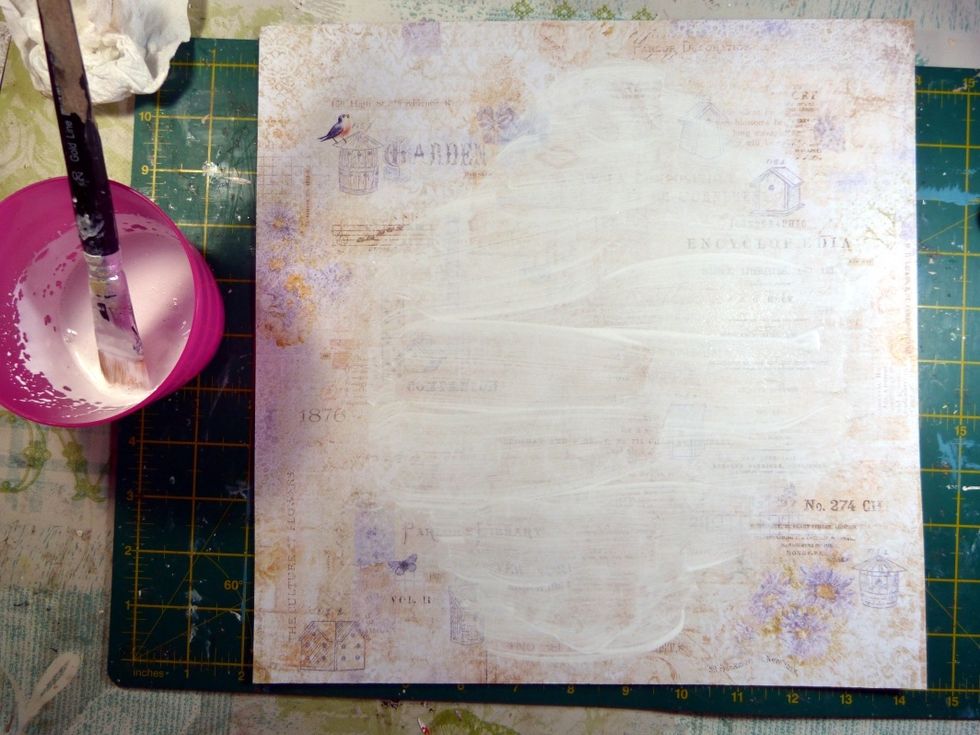
I used a gesso and water mix to brush over the central area of the background paper where my layered feature is going to be. Dry
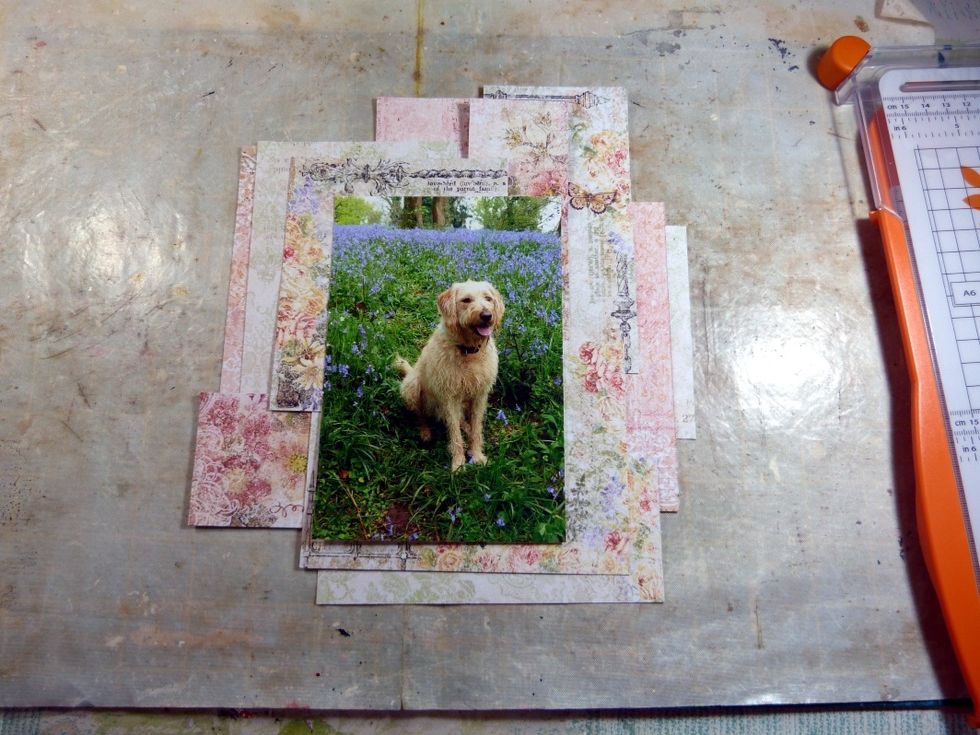
Without fixing together I layered my papers behind my photo until I was happy with the design. I made sure I had matching papers on either side of the photo.

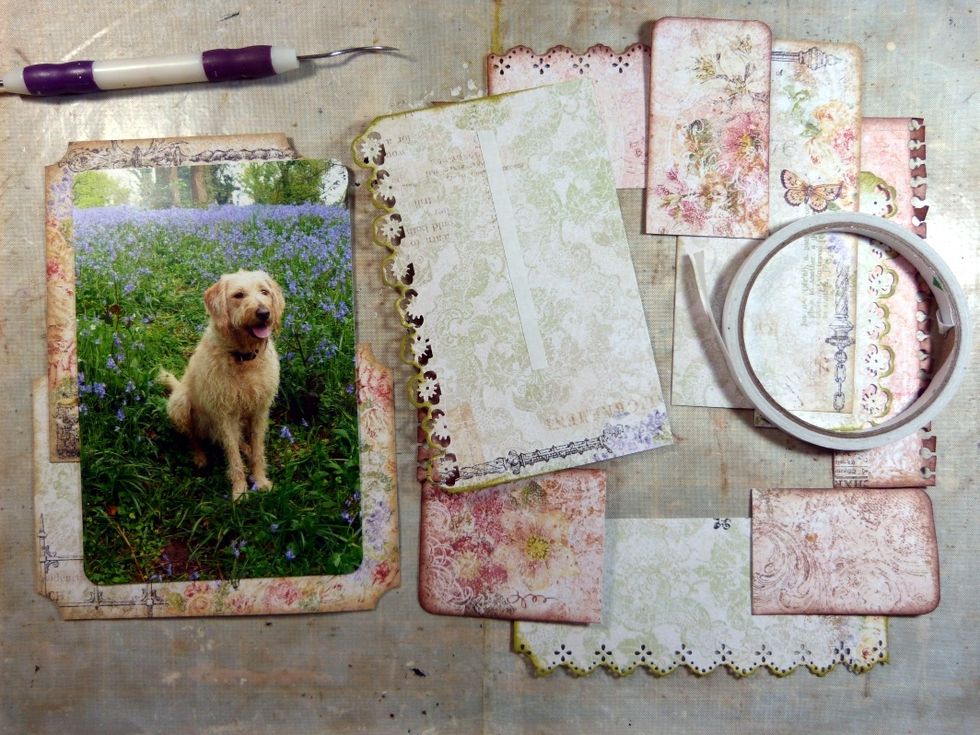
I then chose my first matching papers from either side of the photo and punched one edge with my first chosen punch.

Next my second chosen punch and matching papers.
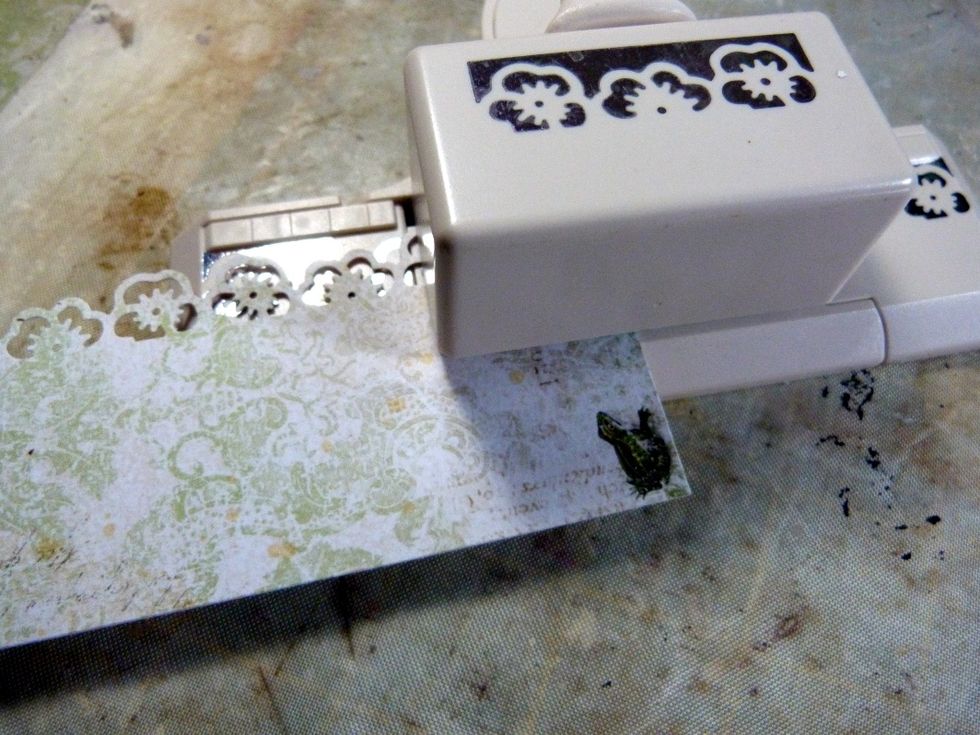
And again with my third.
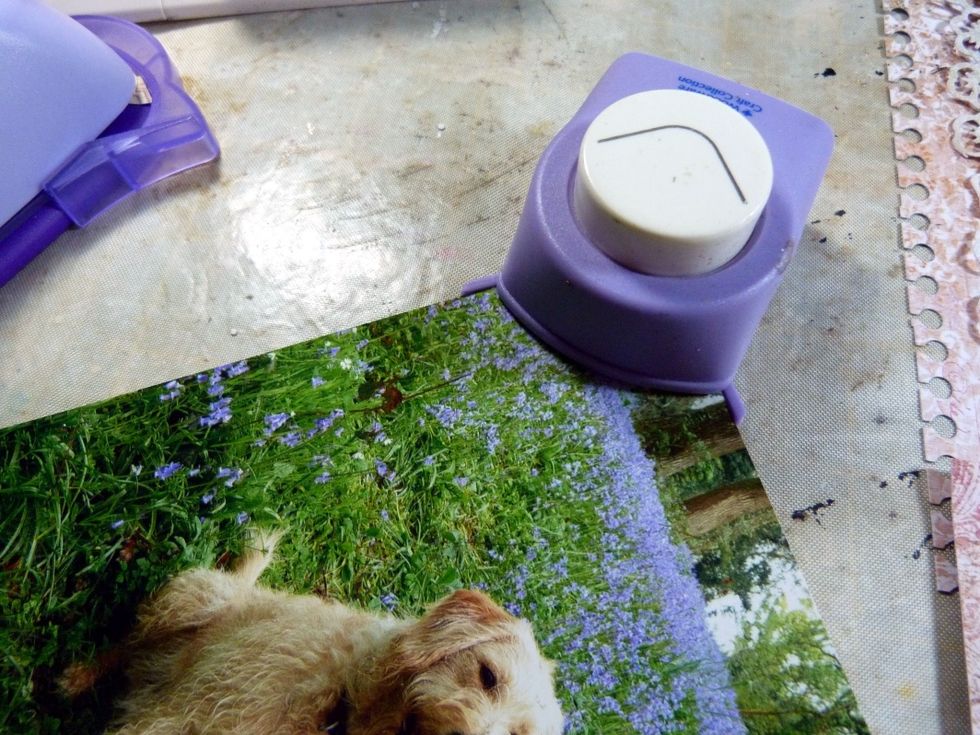
Use a corner punch on the Photo.
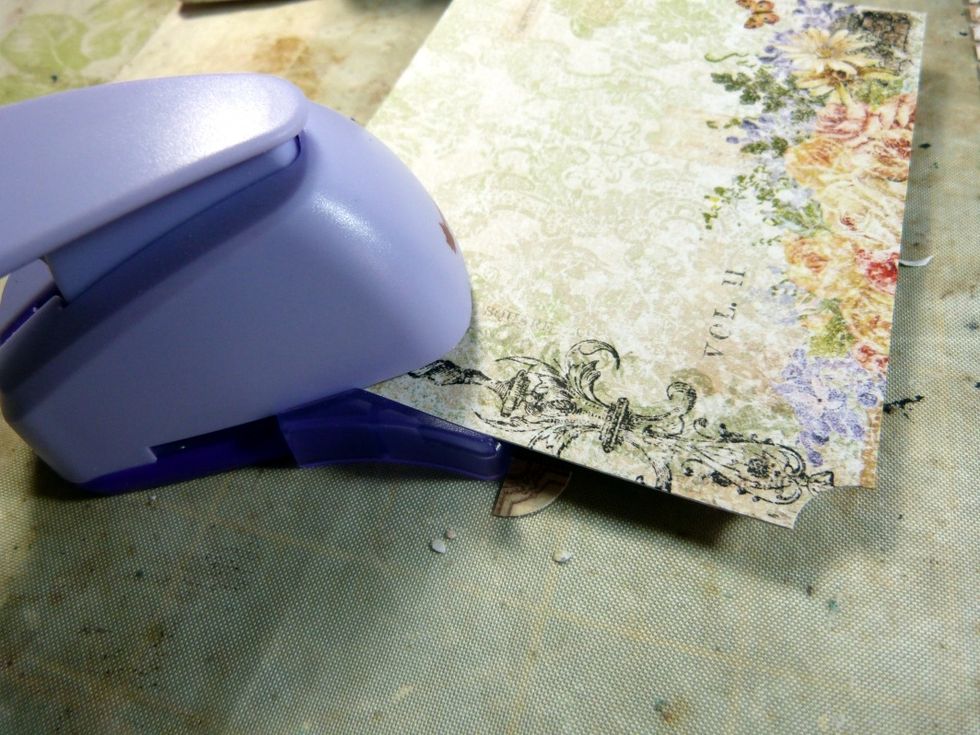
On some of the papers that hadn't been punched I used a inverted corner punch.
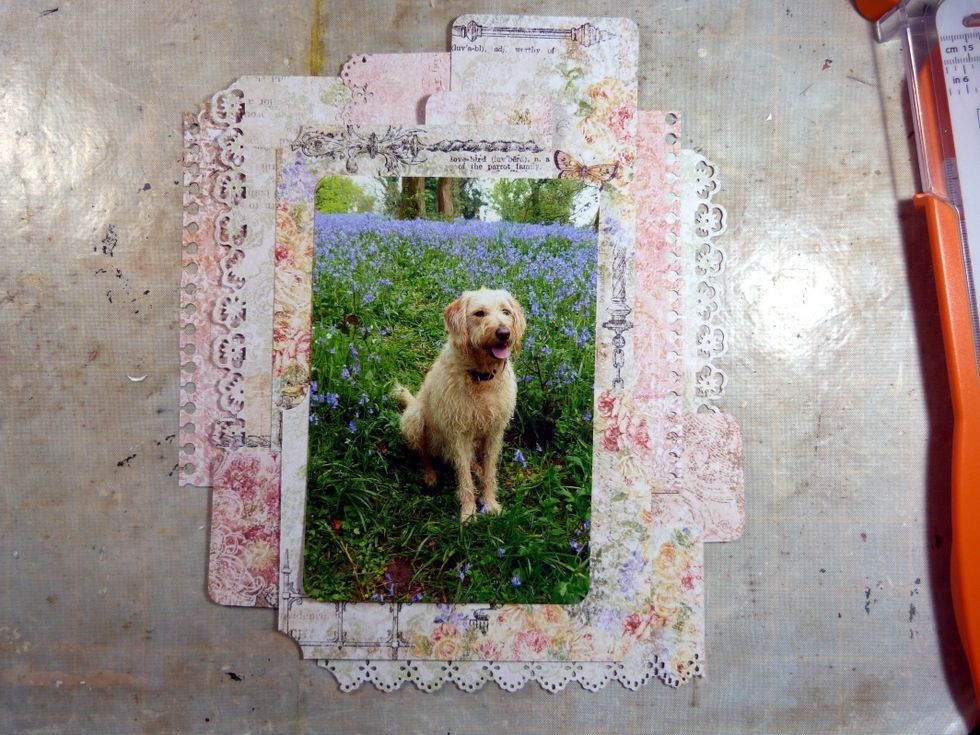
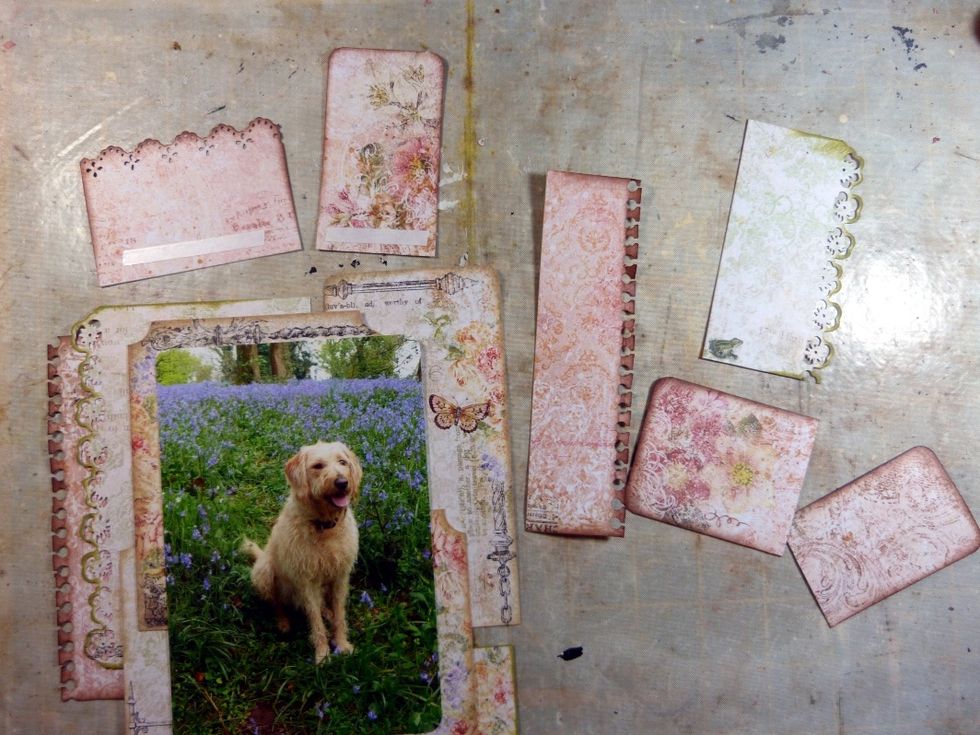
So this is how it looks now.
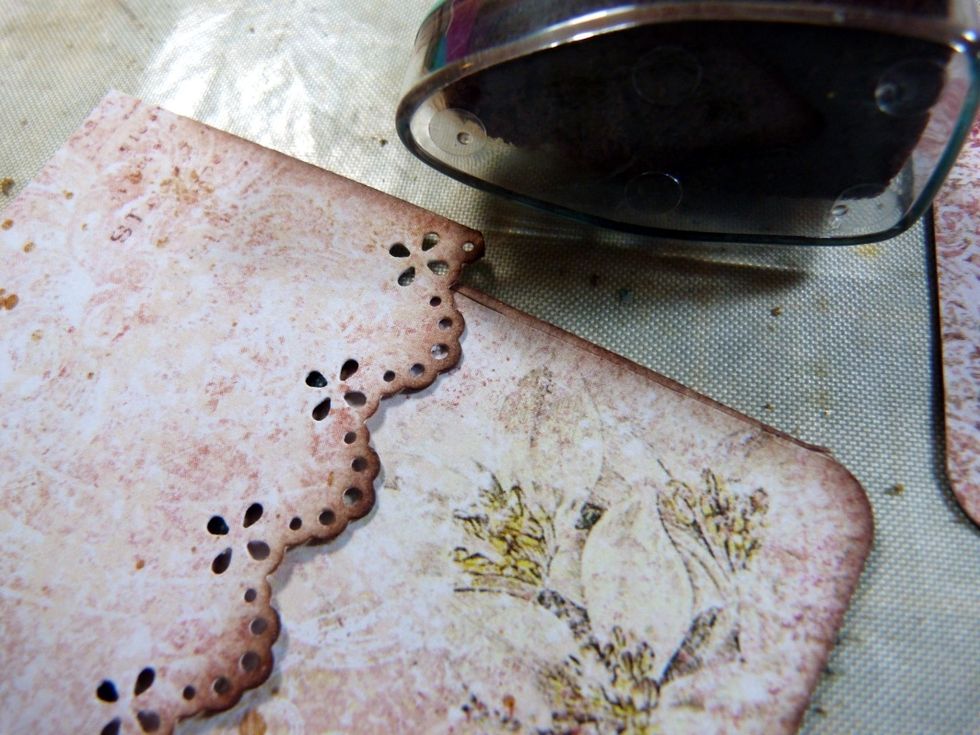
It now needs some ink to make the punched edges 'pop'.

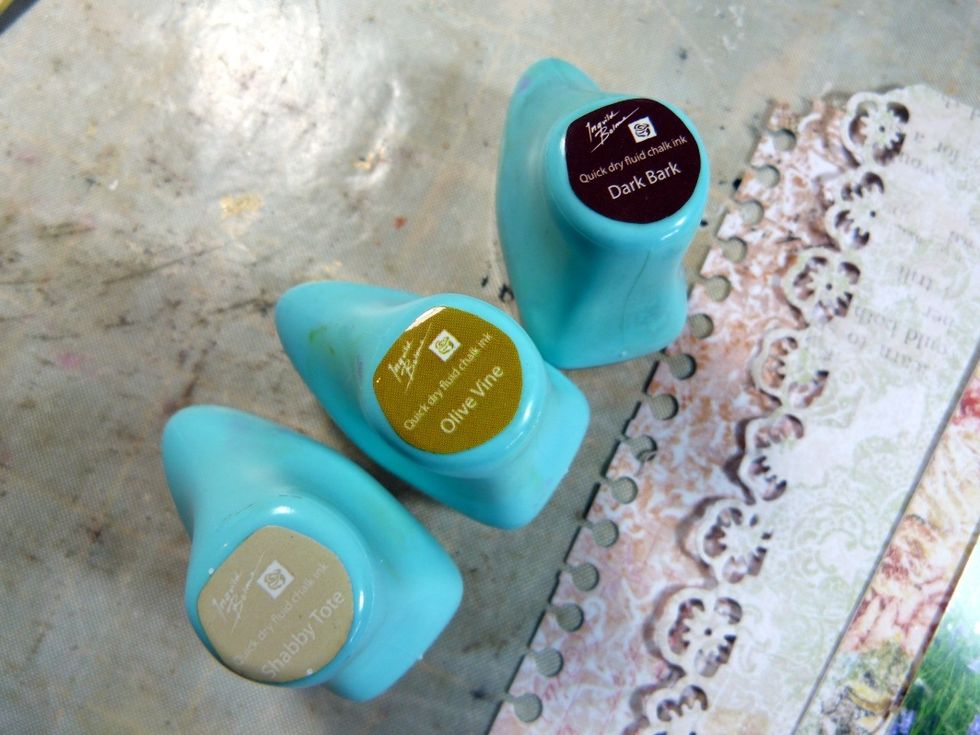
I used three punches so I chose three inks, one for each type of punch to coordinate with the papers.
The second.
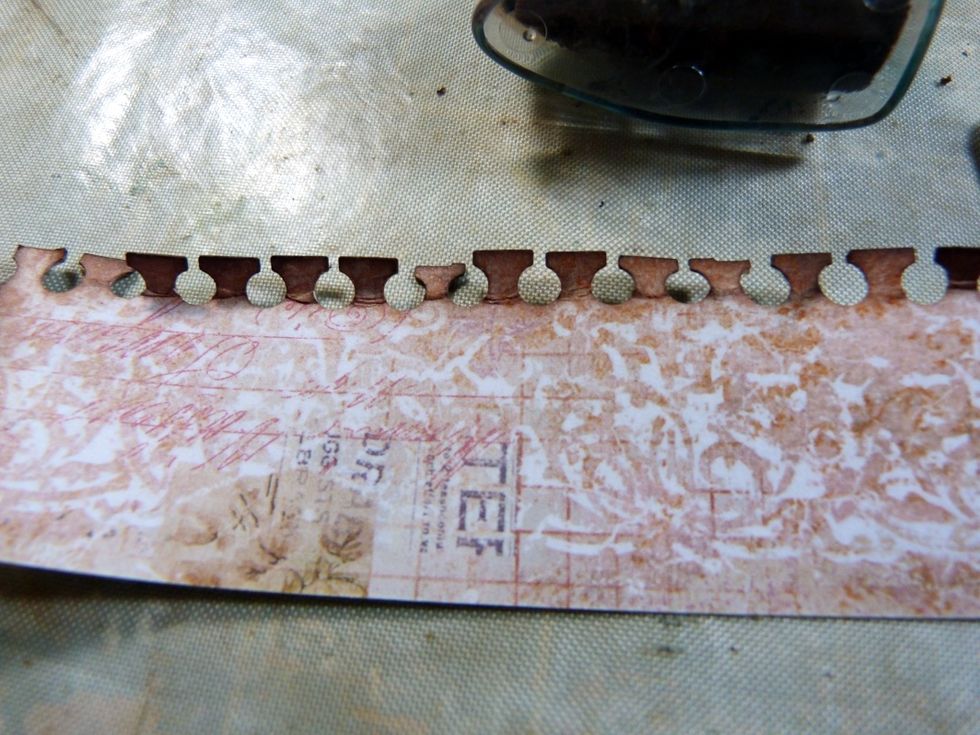
And the third. And I distressed them.
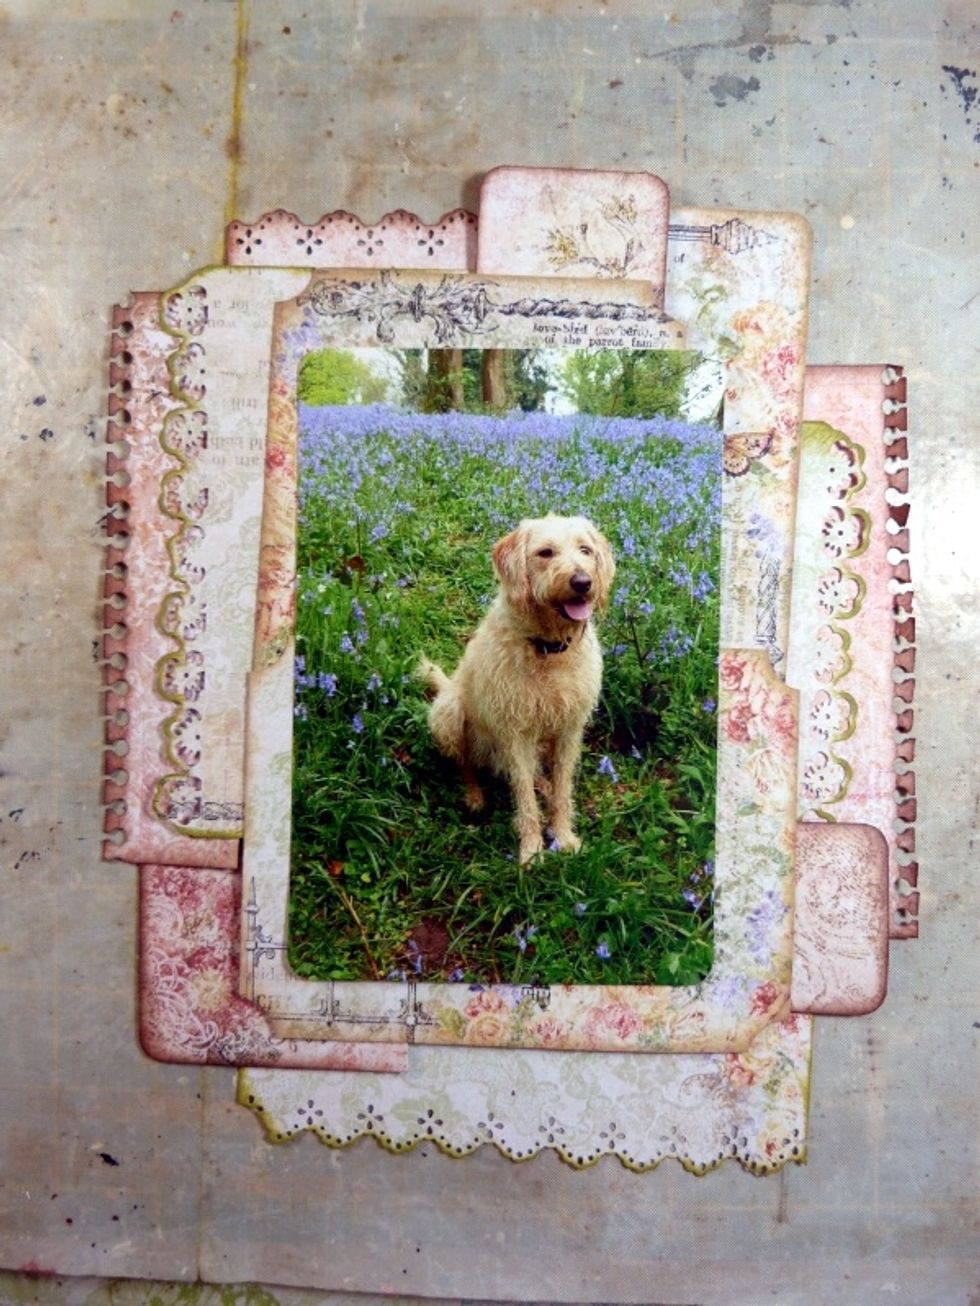
See how the layers and punch work now 'pop' out at you?
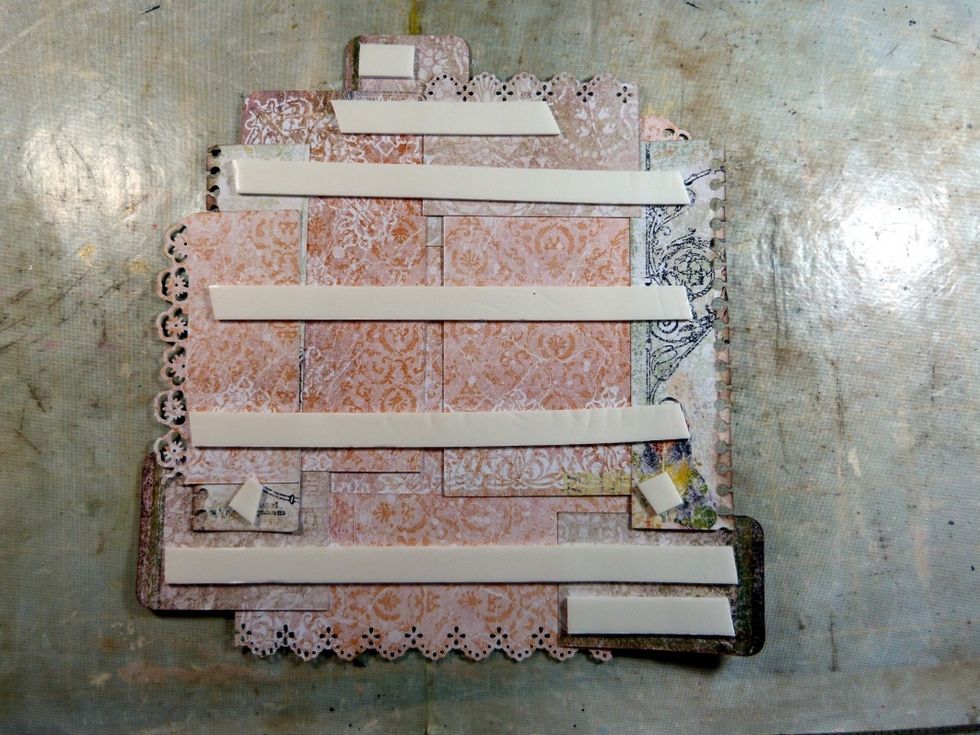
Starting with my photo I started taping my layers onto the back of my photo in the order they come of the designed pile on the right in the photo above. This way I wont forget how they went together.
Use a small amount of tape, this way they can be removed or repositioned if needed without doing any damage.
Keep adding your layers behind your photo until your pile Is gone!
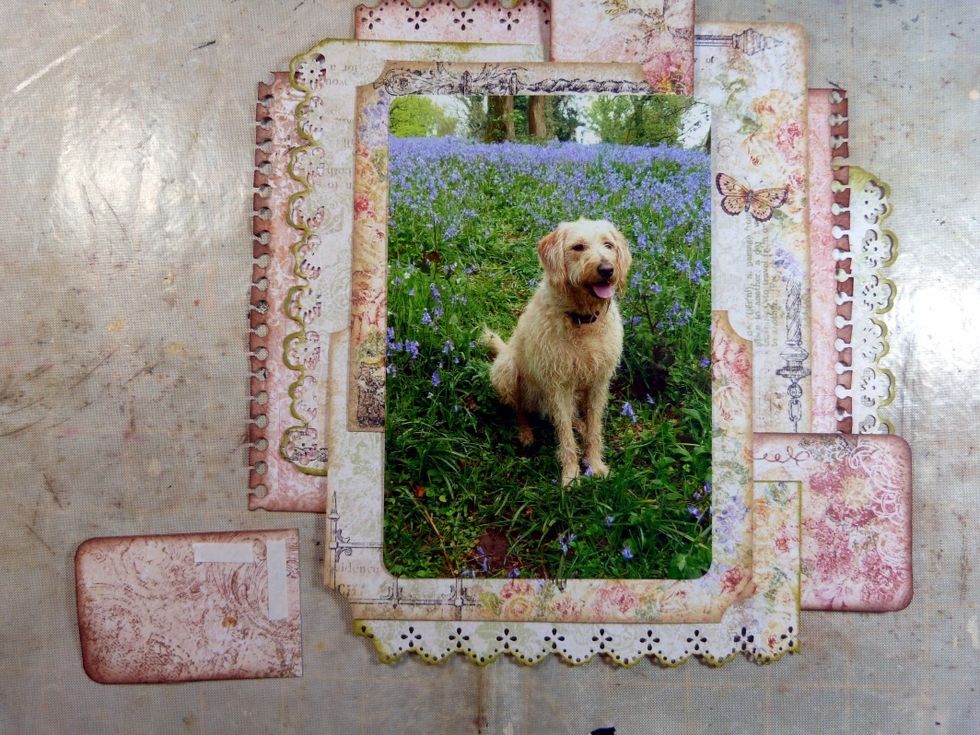
And voila!
Back to the background paper, ink the edge.

I used a stencil to add some texture paste in areas where it will peep out from behind the layered feature.
Add foam tape to the back of your layered photo.
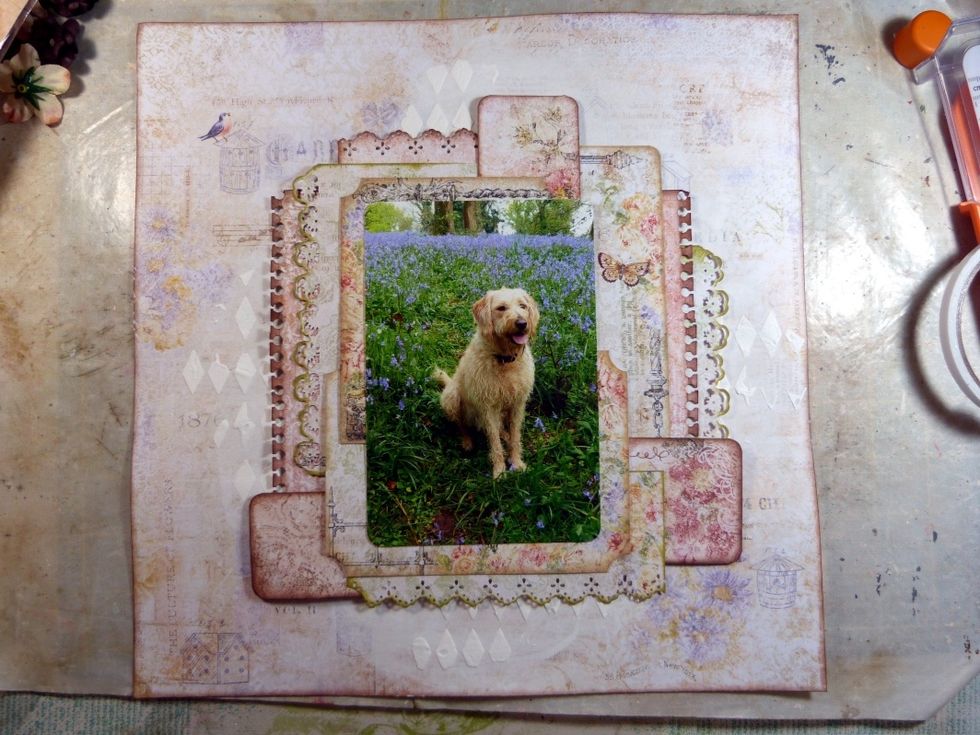
Stick onto the background paper.
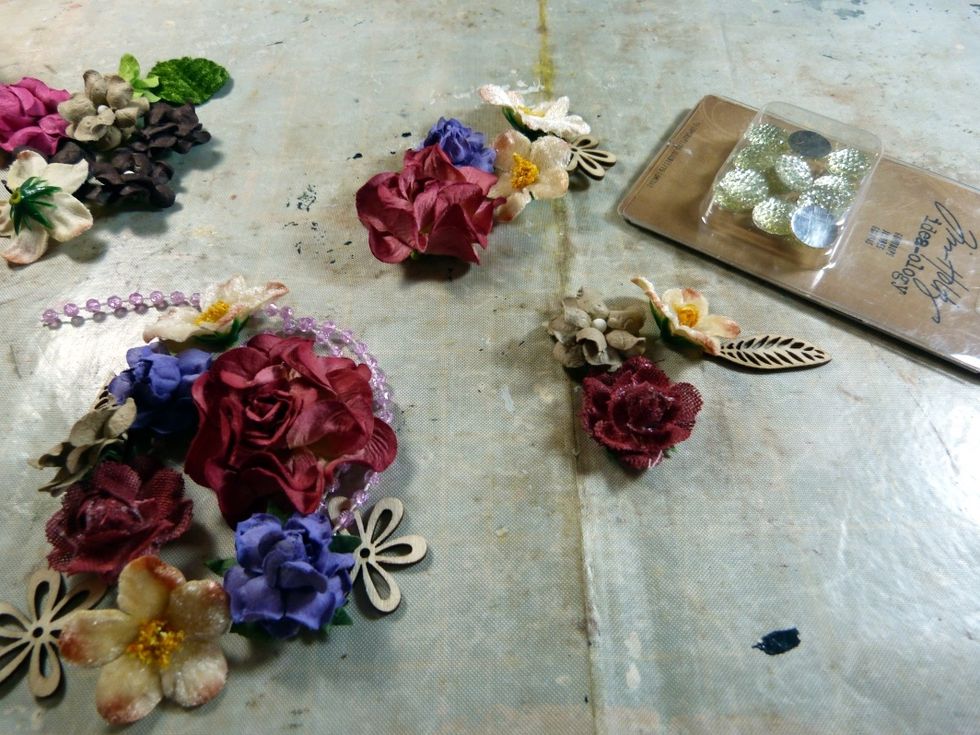
I chose flowers and embellishments to create three clusters to go around the layout using colours picked from the photo and papers.
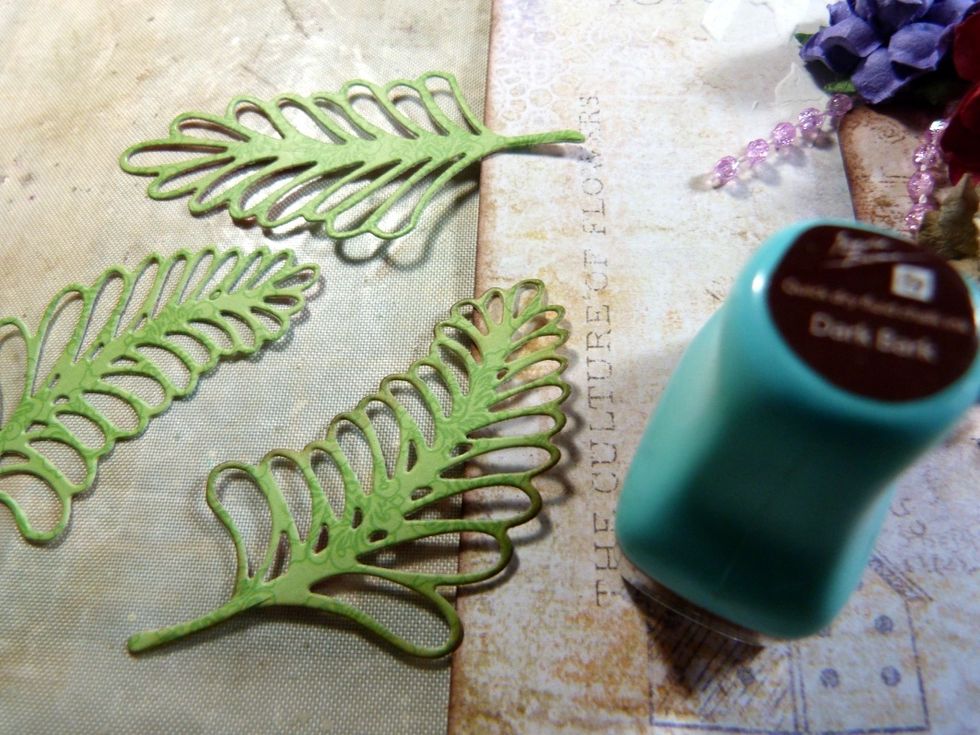
I used a die to cut some pretty leaves for my clusters using left over papers. I inked the edges.
Arrange the clusters and when happy glue on. Remember the 'Rule of Three' when adding your embellishments/flowers. This draws the eye around the layout.
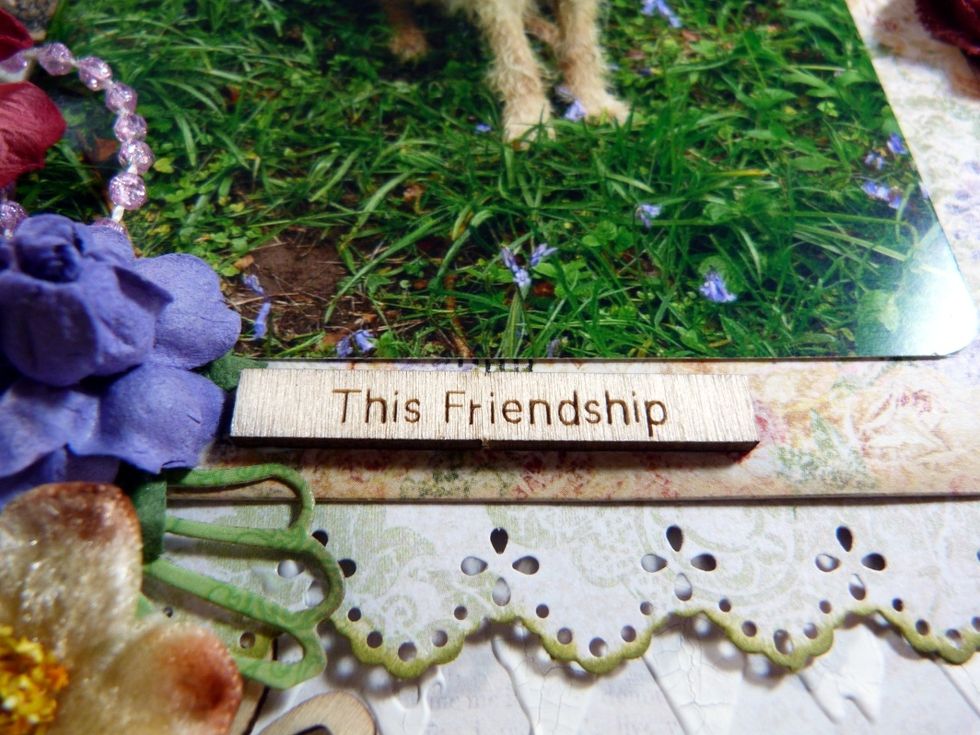
And lastly add a title.
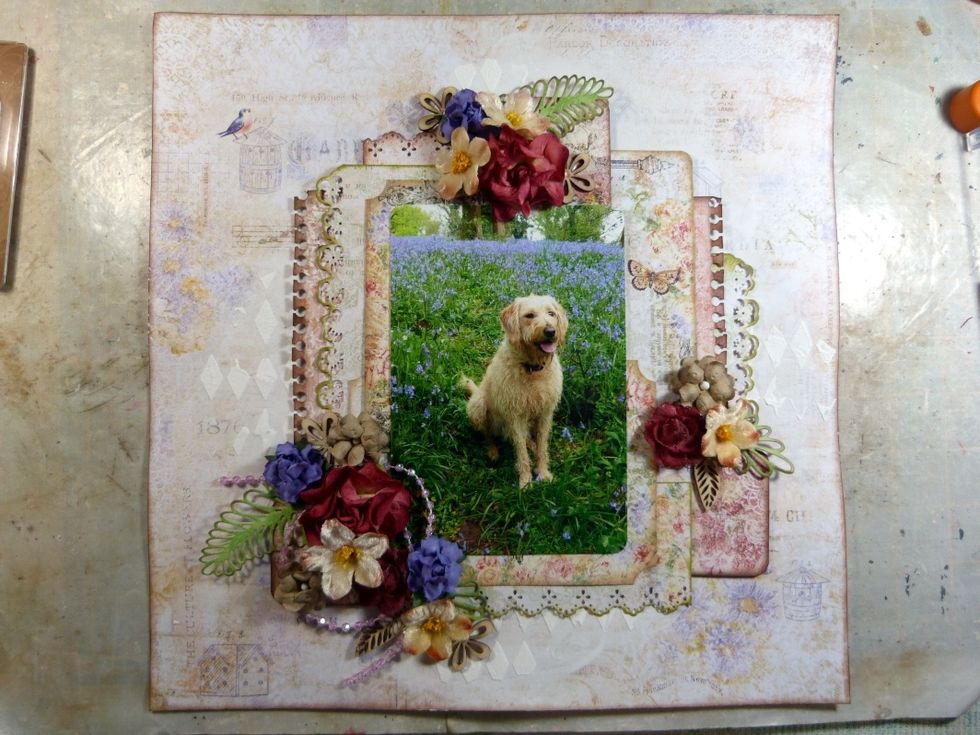
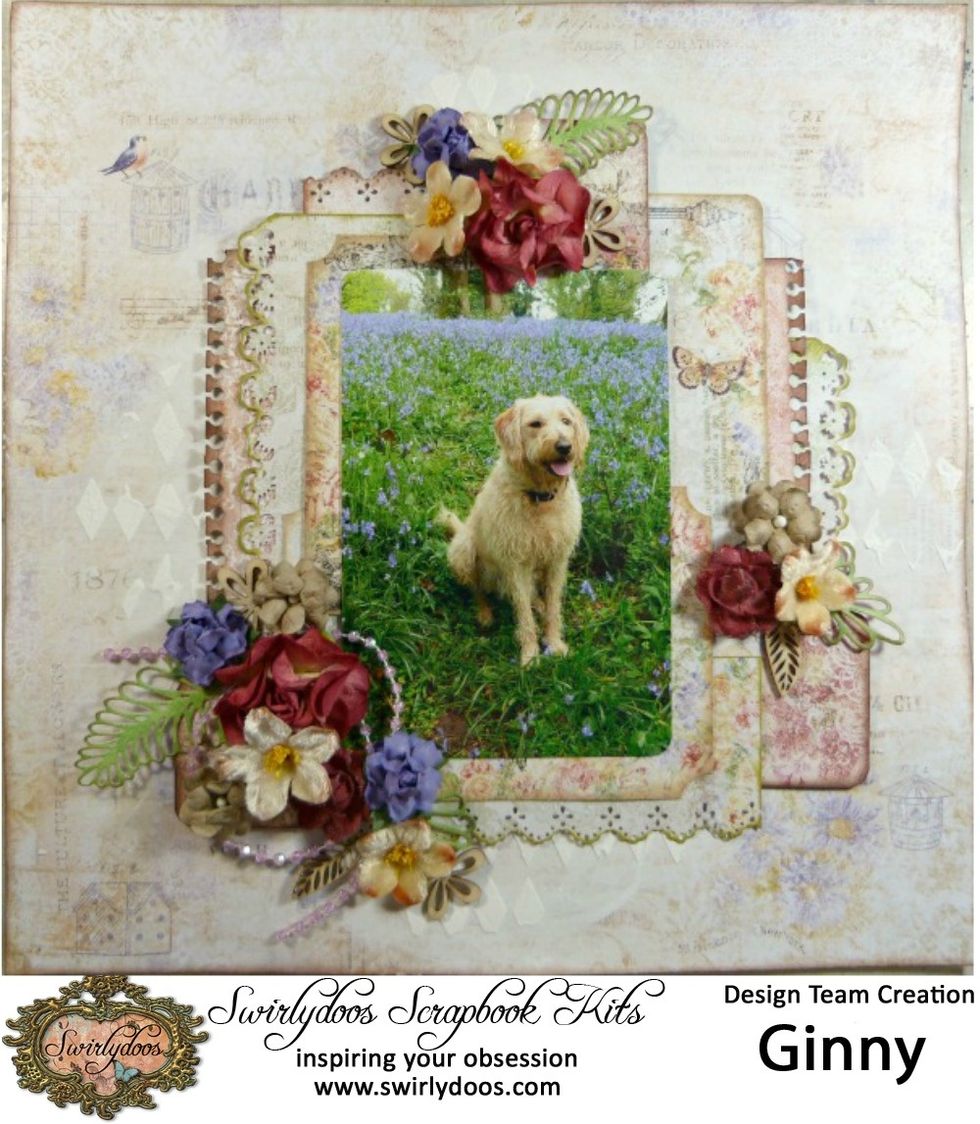
The finished layout.
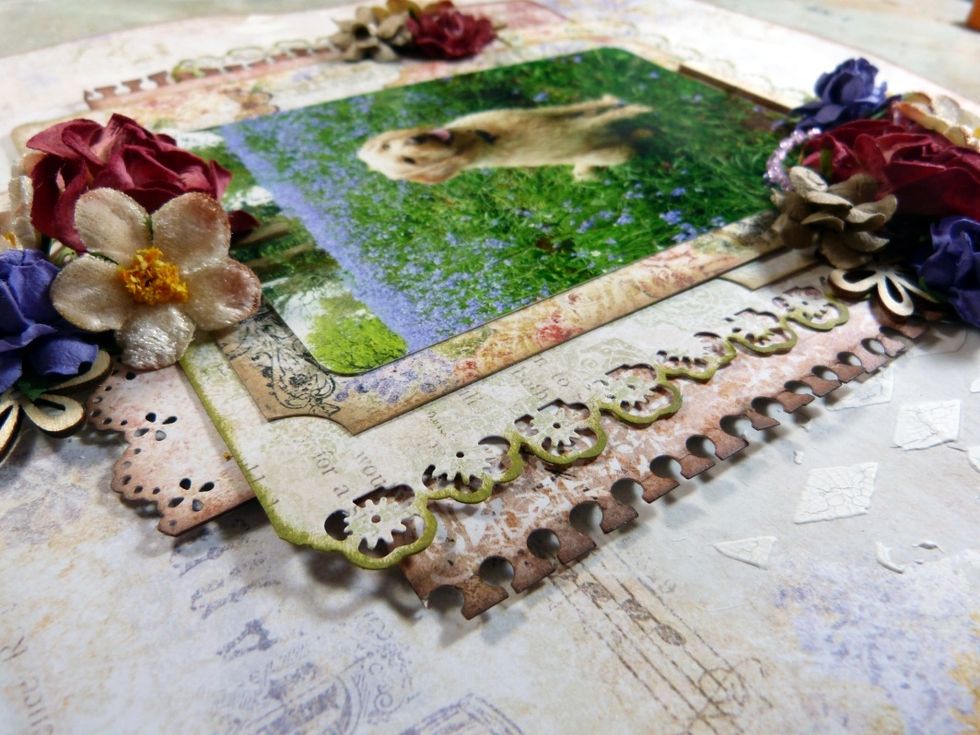
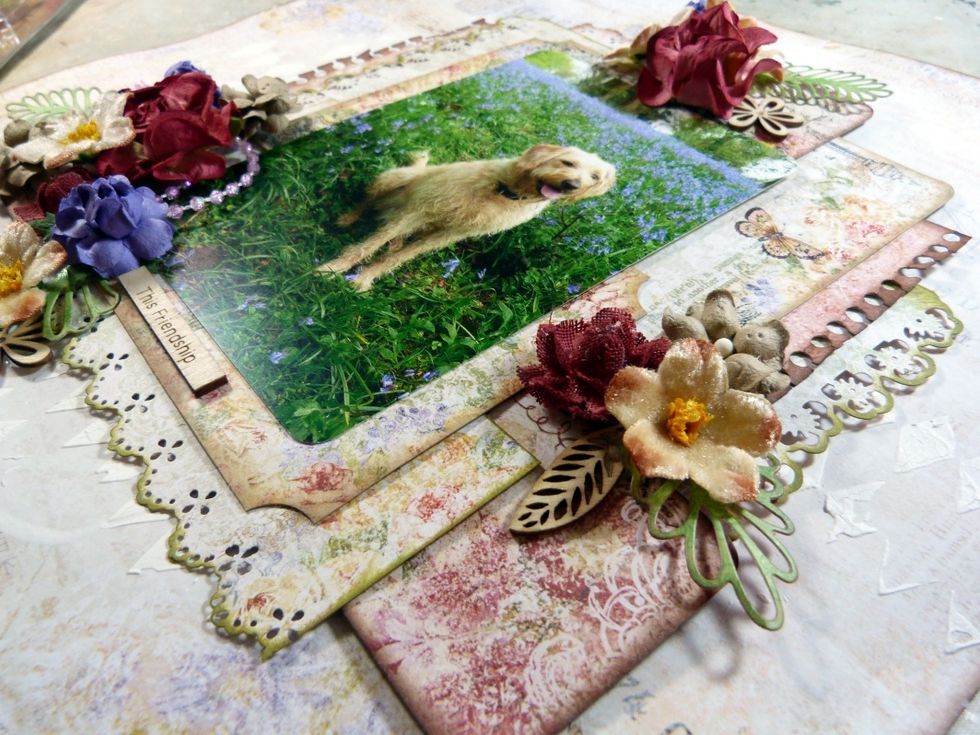
The layers from another angle.
This Project was made for Swirlydoos KIt Club using products from Swirlydoos monthly kits. For more details on the monthly kits please visit http://swirlydoos.com