The Conversation (0)
Sign Up
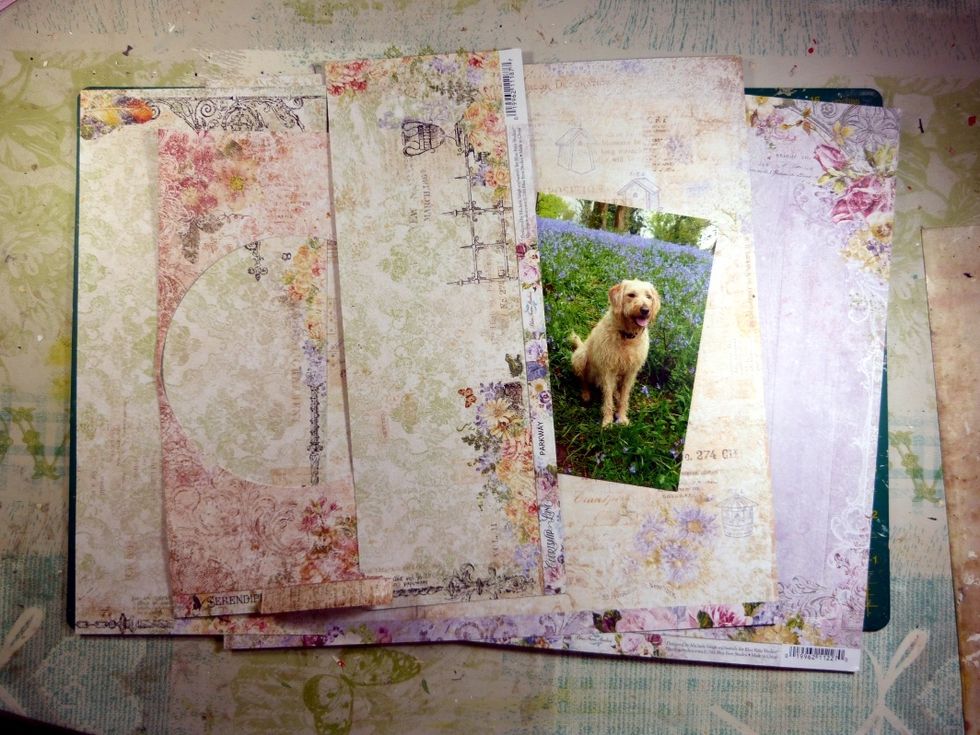
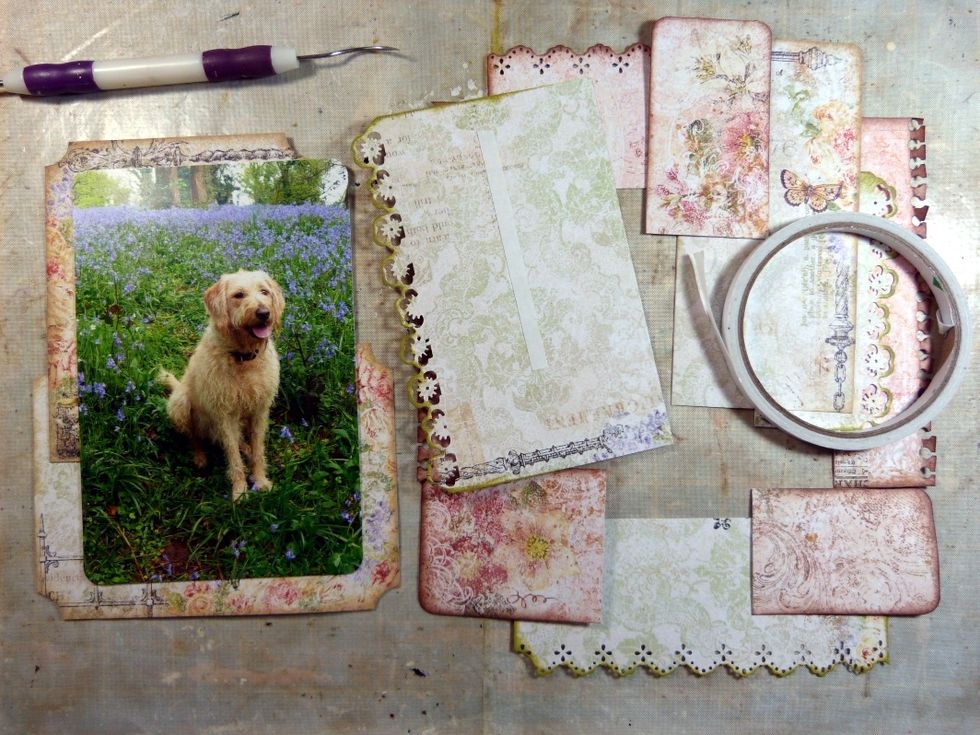
Gather together your chosen papers and your photo.

Choose the main background paper. A fairly light pale patterned paper, so the layers are going to stand out better.

Select you different sizes of pieces of coordinating paper.
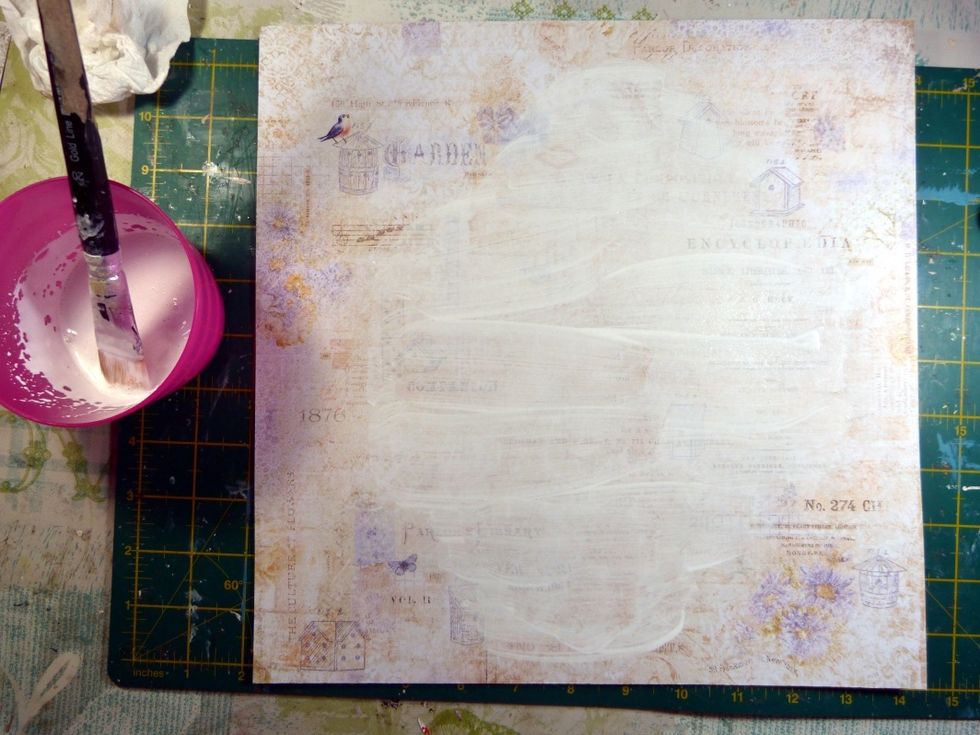
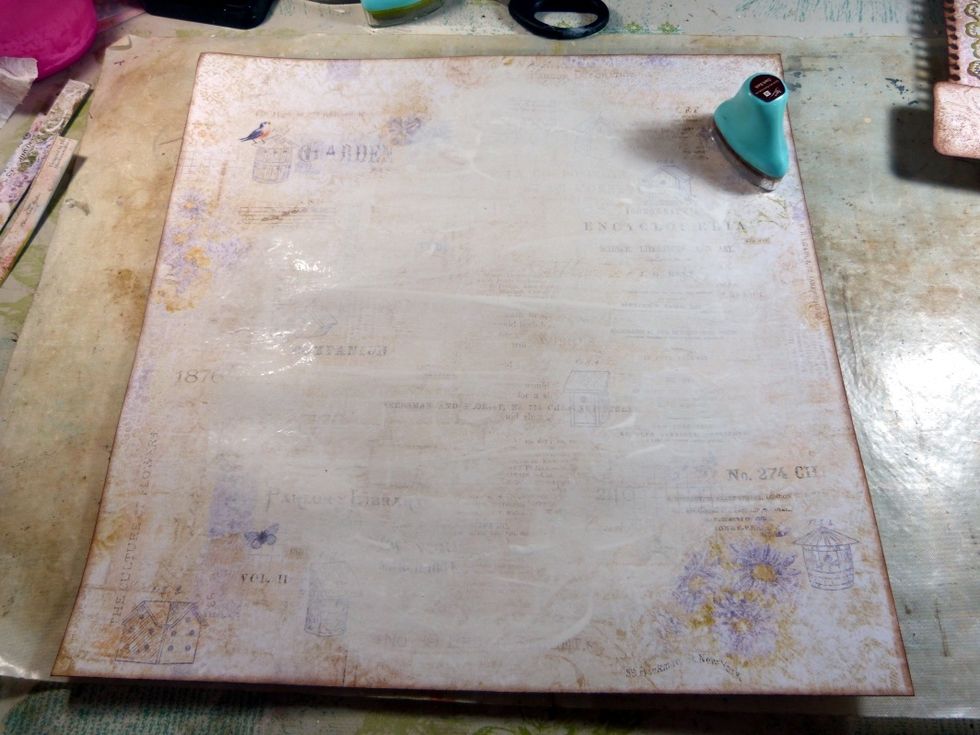
Using a mix of gesso and water, brush over the central area of the background paper where we are going to add our layered feature. Dry.
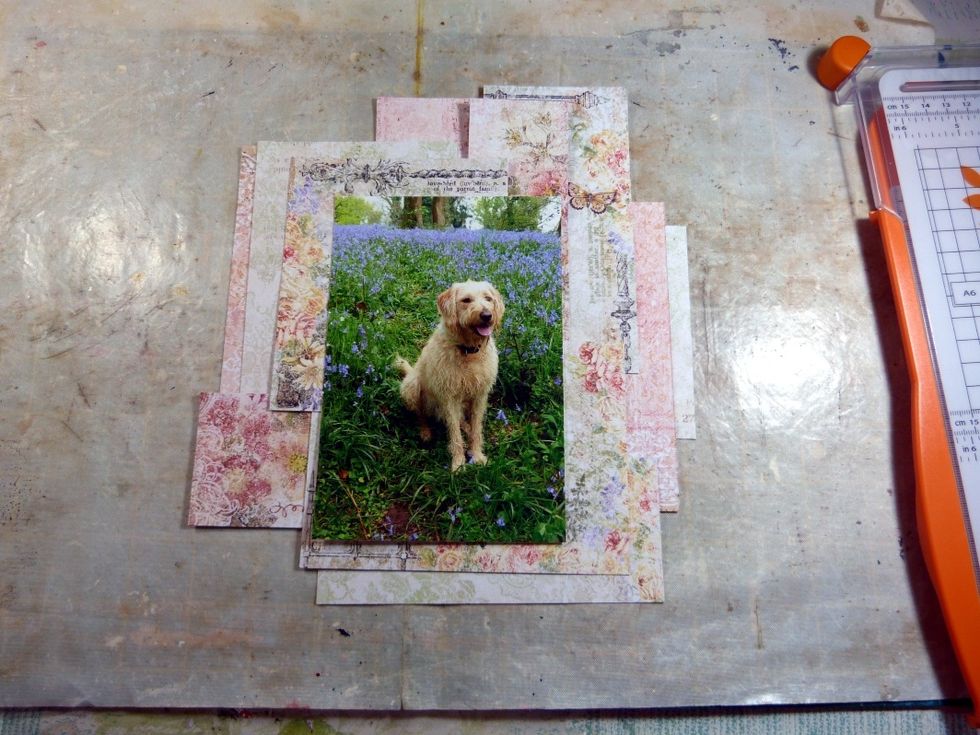
Without actually sticking, start layering up the papers until you arrive with design you like. Try to add pieces of the same design on each side to balance the design.
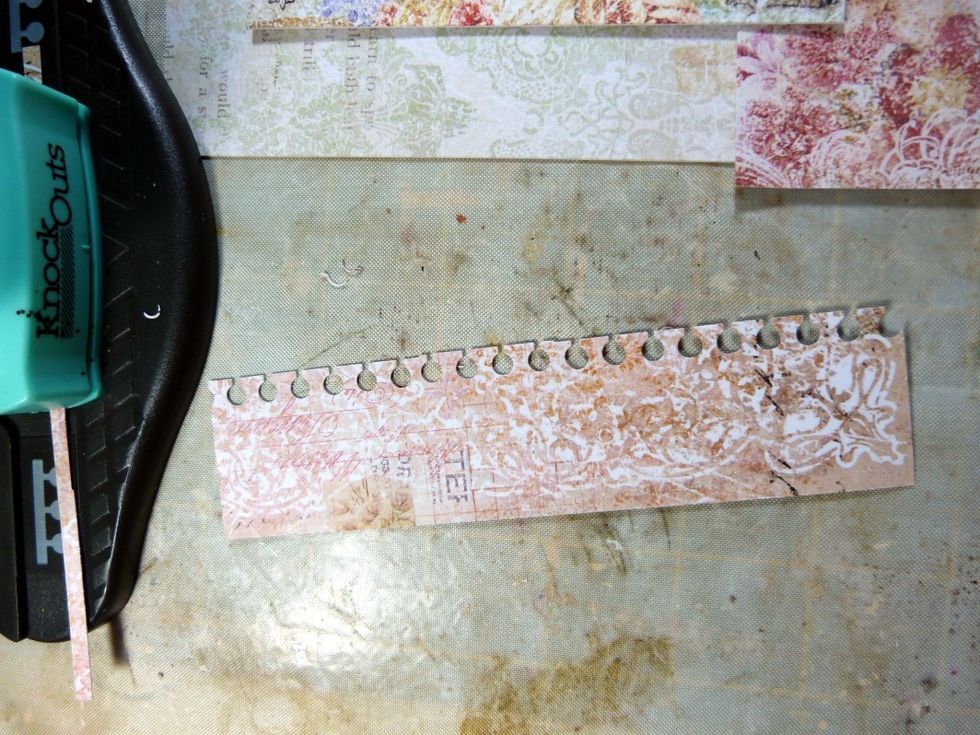
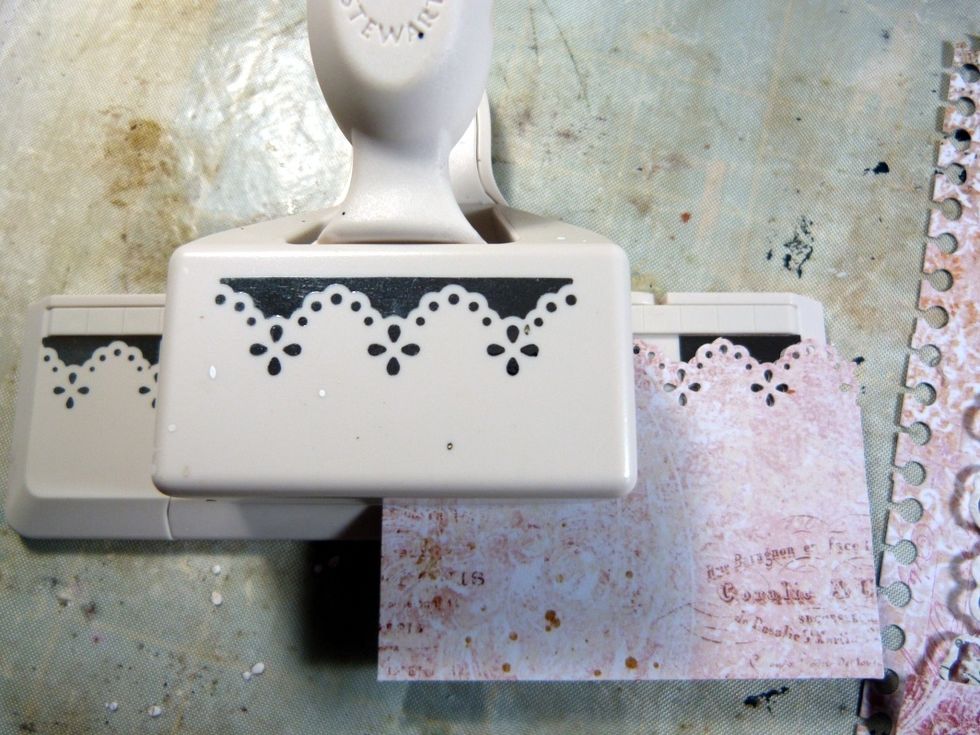
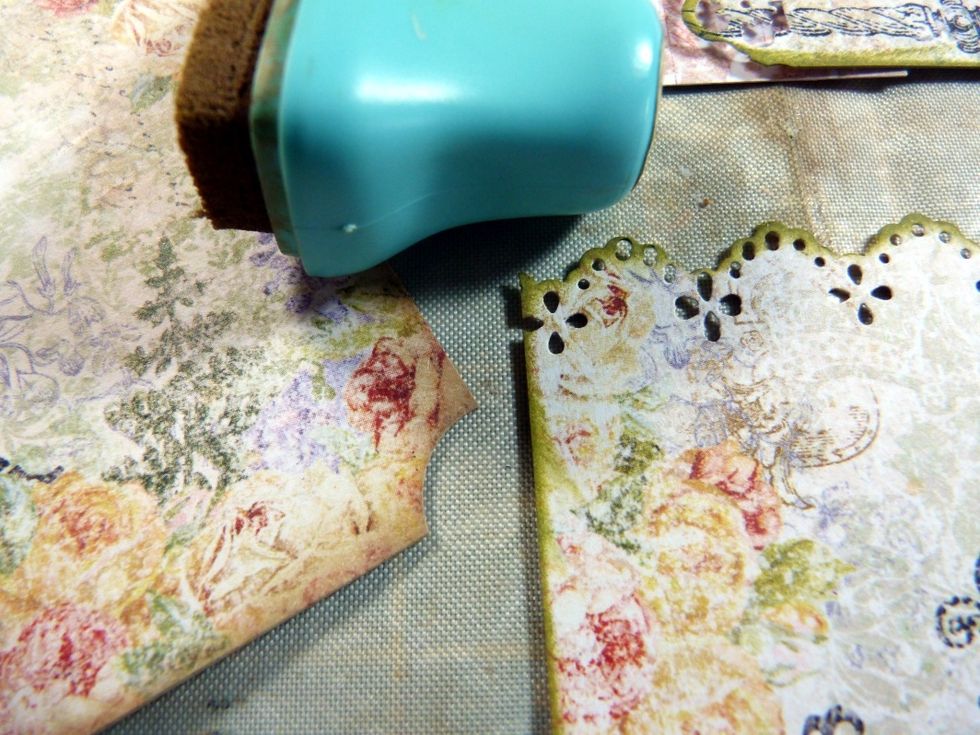
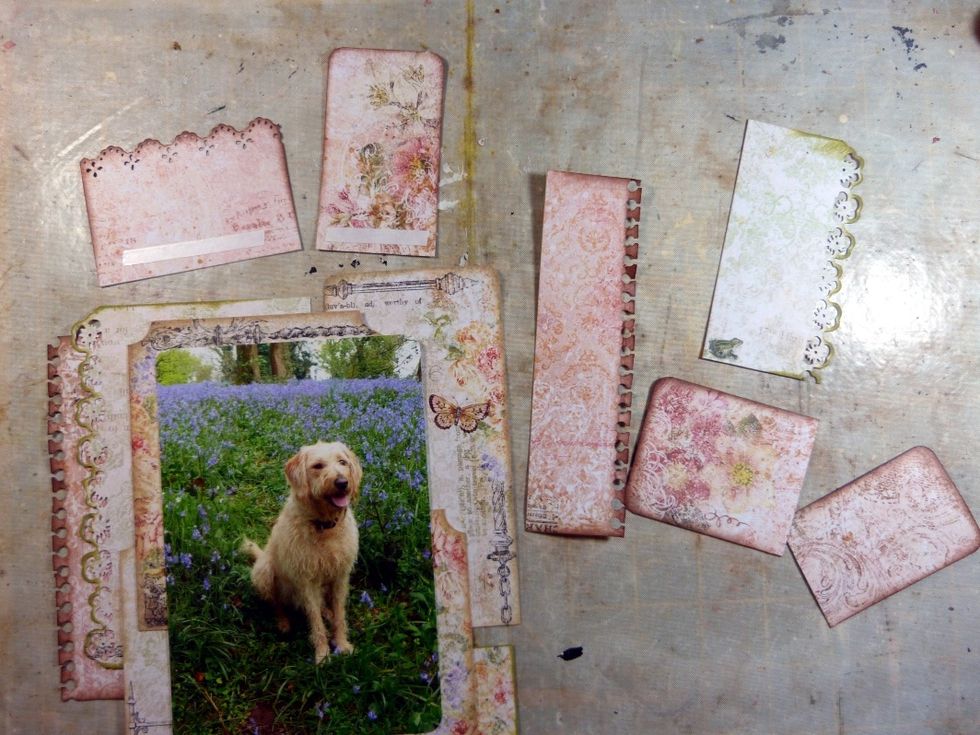
Now pick out the first of those matching papers from each side of the photo and use the first style of punch on one edge only.
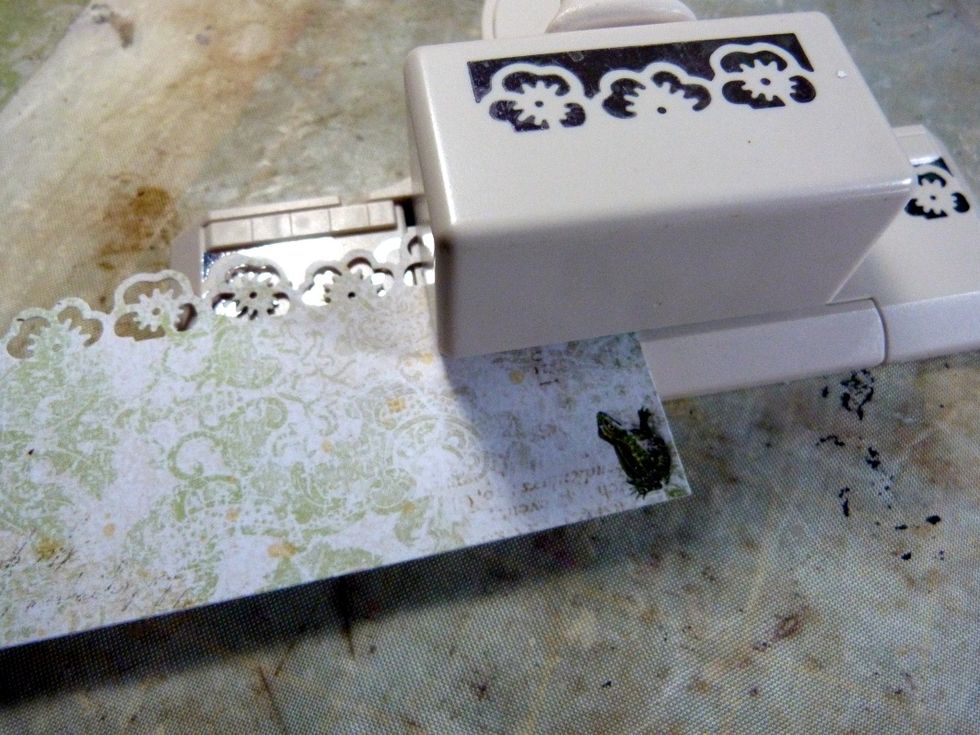
Now pick another pair,or 3, of papers and use a second punch.
And again with a third punch.
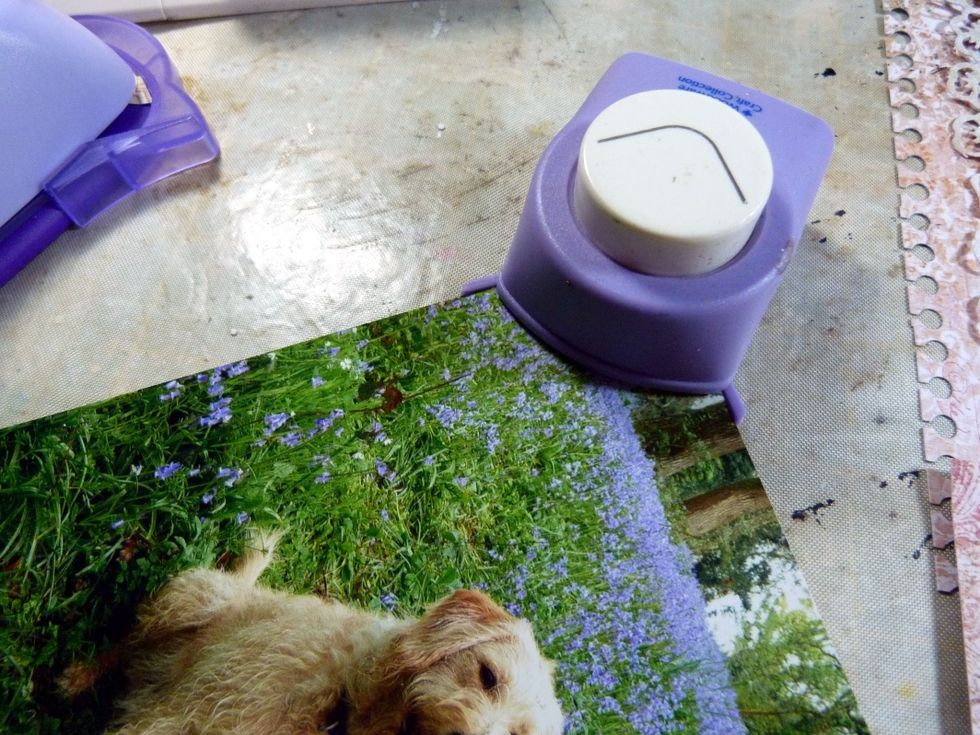
Round the corners of the photo.

On some of the papers that haven't had a punched edge use an inverted corner punch.
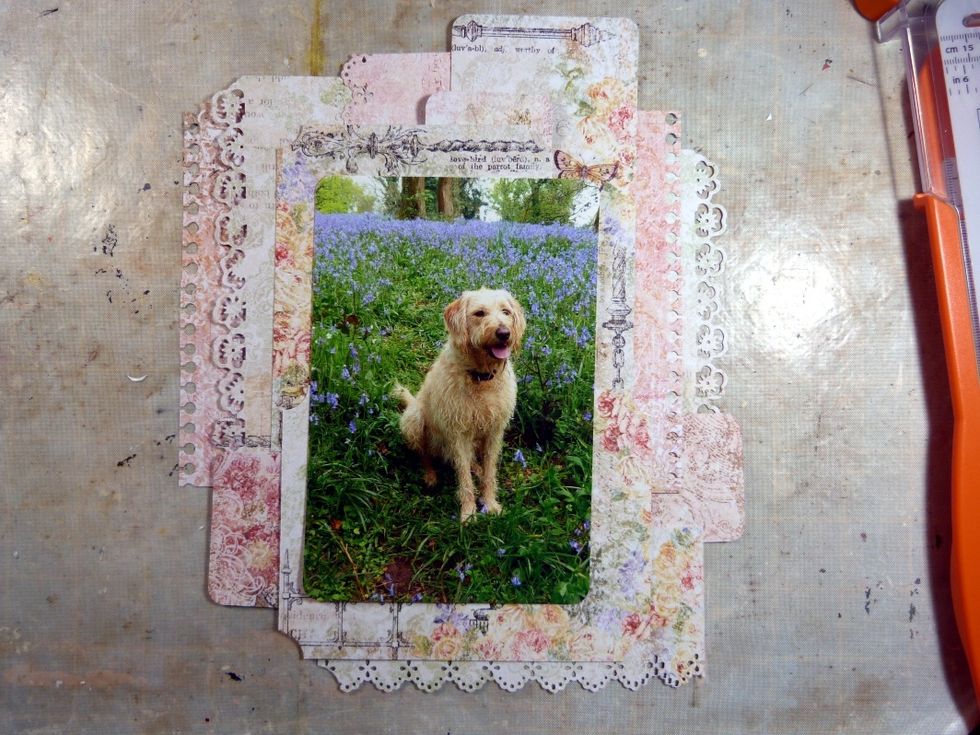
So now it will look something like this.
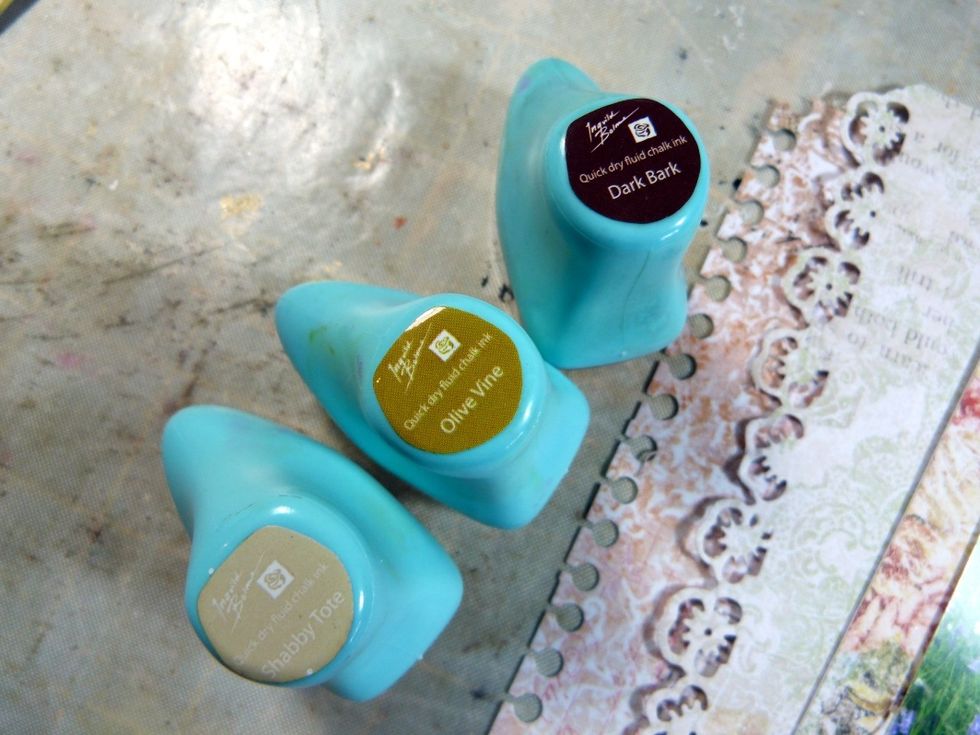
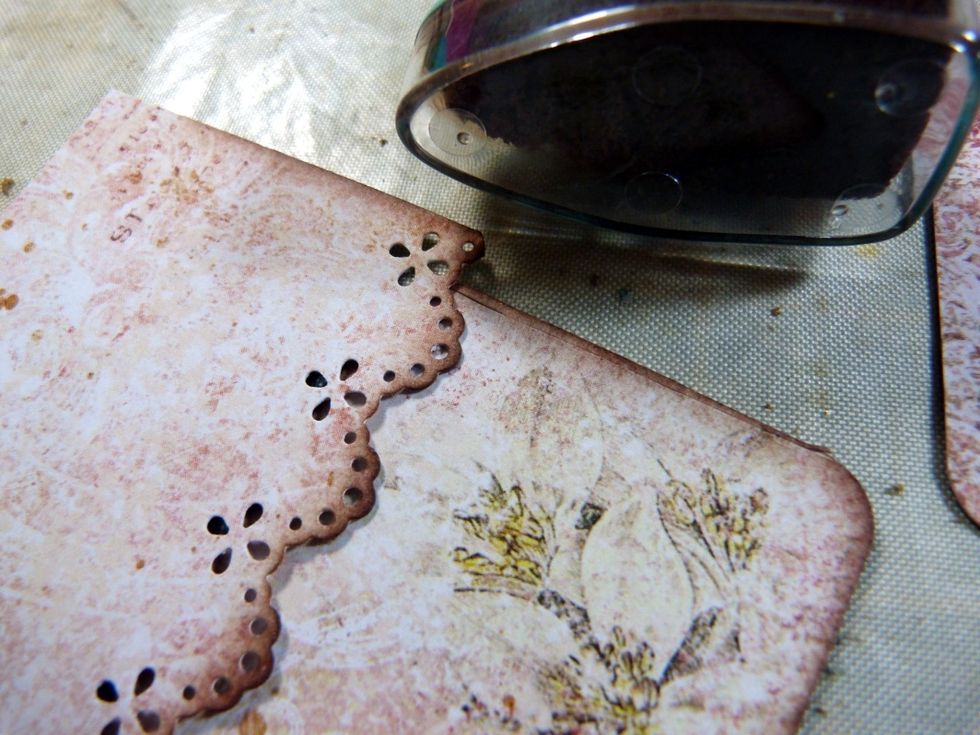
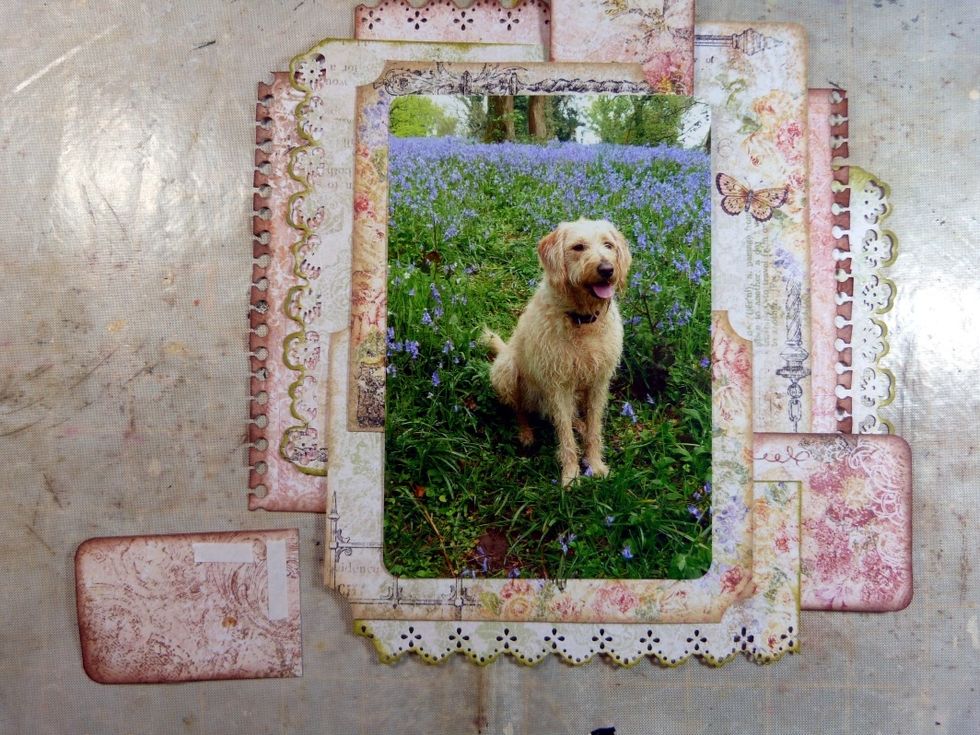
The punched edges need inking to really make them 'pop'. Choose colours to complement the different papers colours you have used.
I had three ink colours, one for each punch design chosen.
Ink with the second colour on the second style of punching.
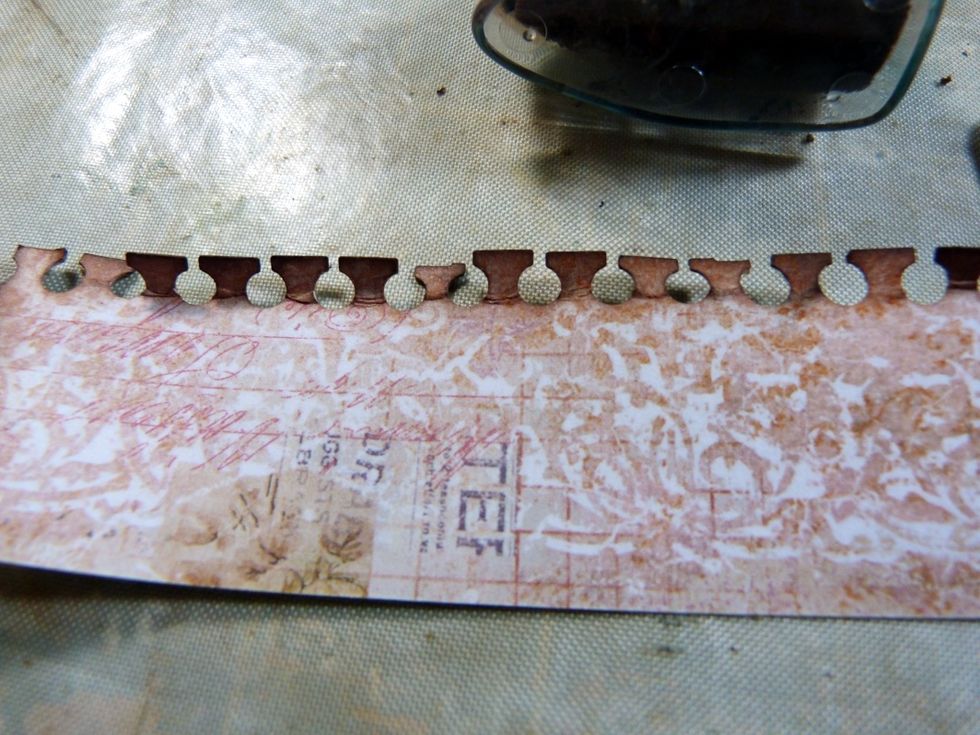
And again with the third style. Distress as well.
See how the layers and punch work are now popping out at you?

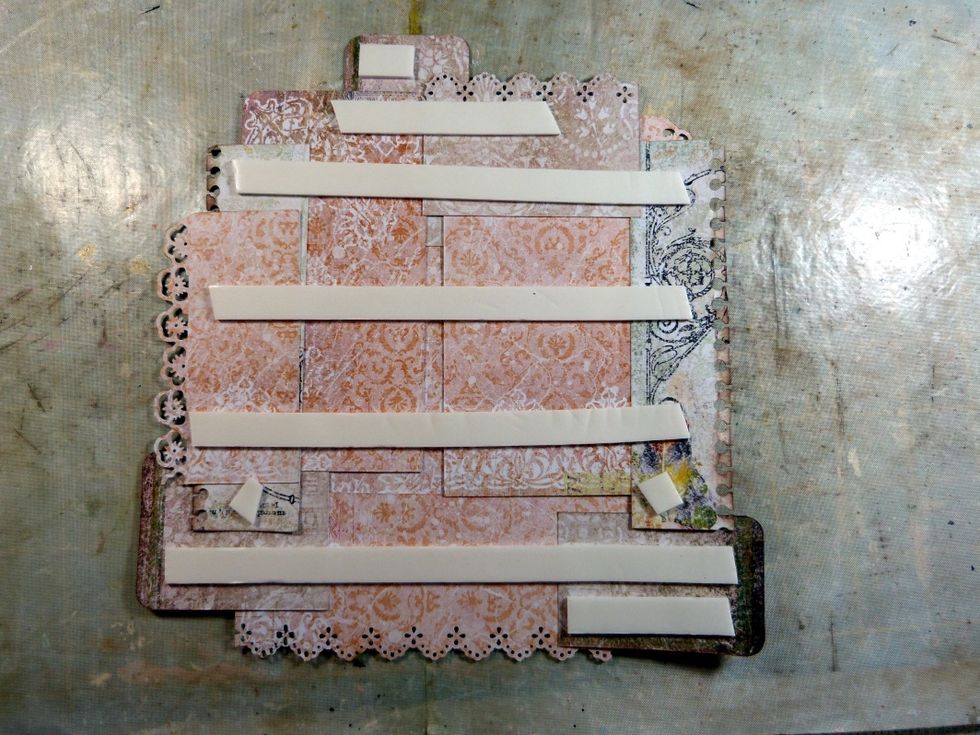
Start taping together. I started with the layers immediately behind the photo so I could lift them of from my design and add them behind the photo in the right order.
Use minimal tape so you can easily peel off and adjust position without damage if needed.
Keep adding your layers until your pile design has gone and they are all stuck on behind the photo.
And voila!
Back to the background paper. Ink around the edge.

Add some texture paste detail so it will be peeking out from behind the layers. Dry.
Add foam tape to the back of your layered photo.
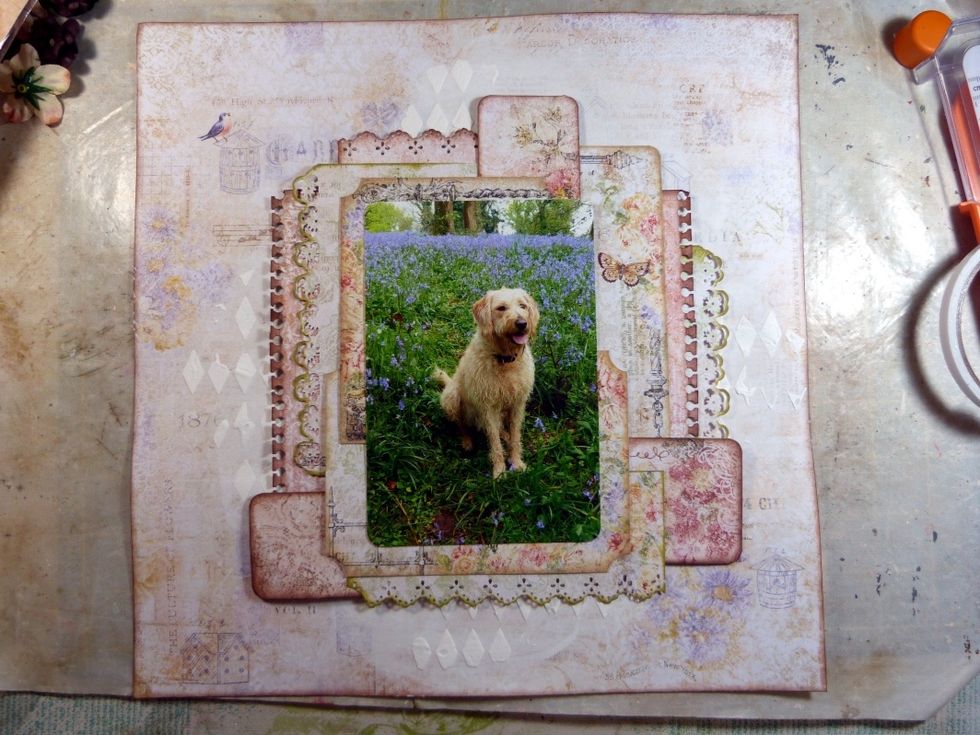
And place on your background paper.
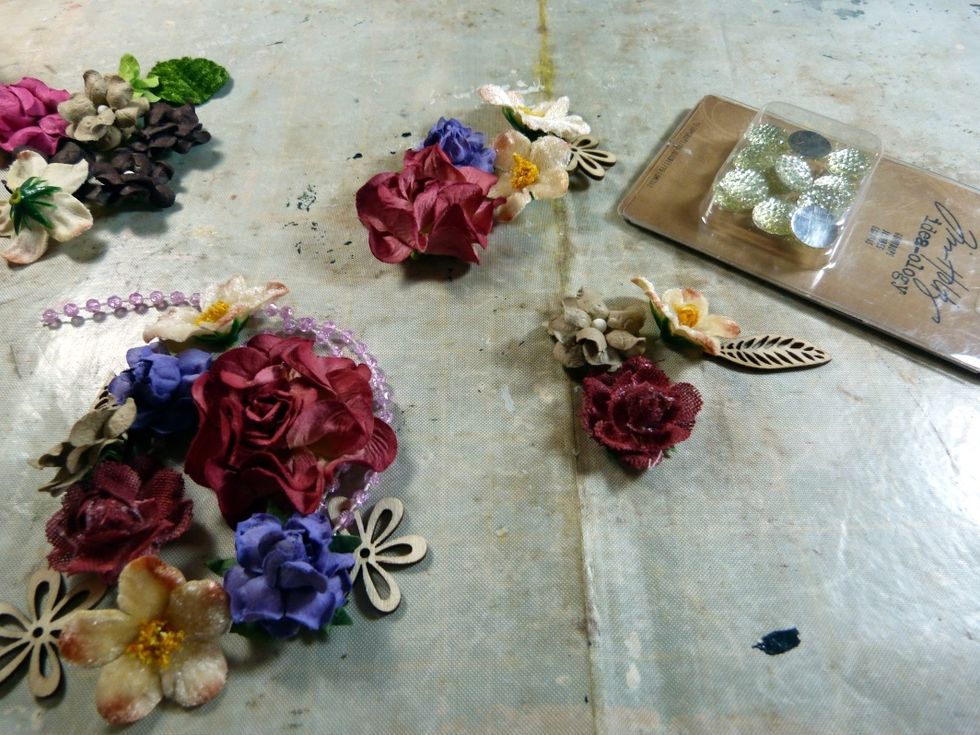
Select your embellishments to add in 3 clusters around the design in colours picked out from the papers and the photo.
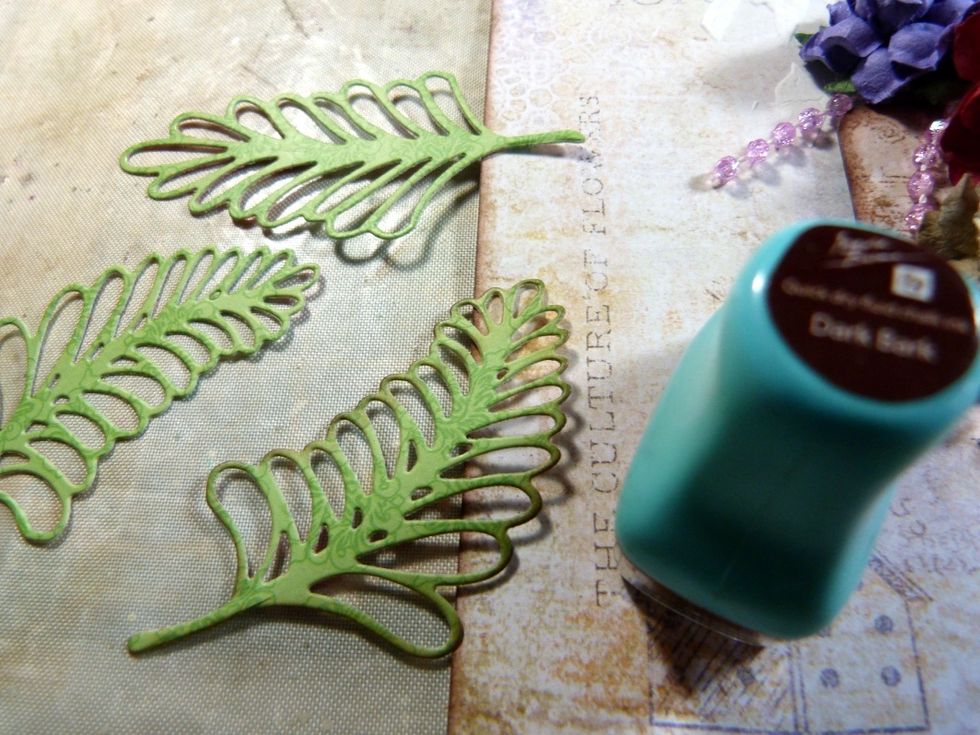
Use dies to cut out some leaves from more leftover paper. Ink the edges.
Arrange and glue down when happy with the design. Remember the 'rule of three' when adding your embellishments. It draws the eye around the layout.
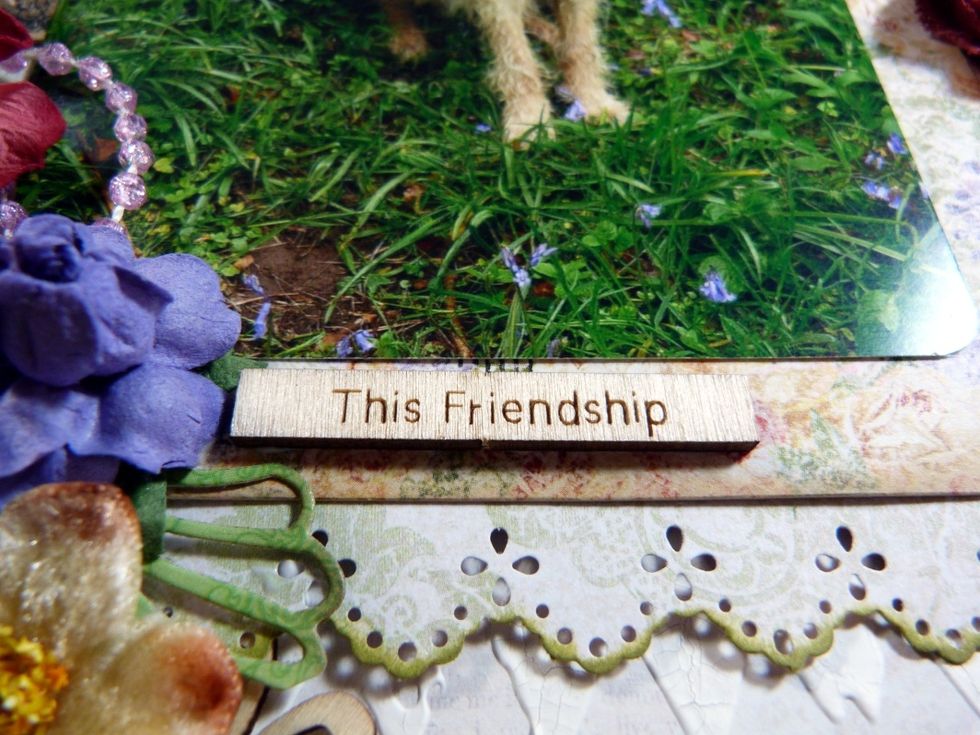
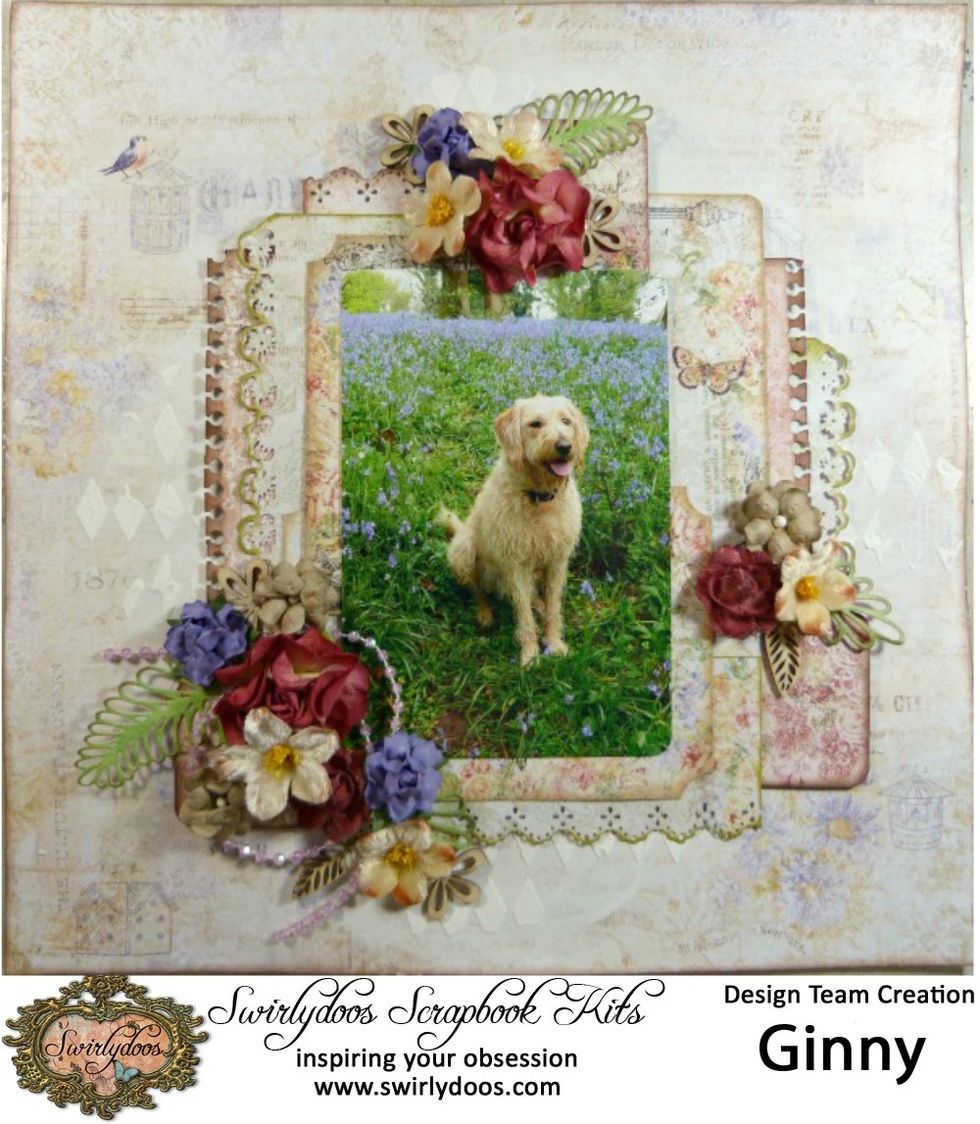
And lastly add a title.
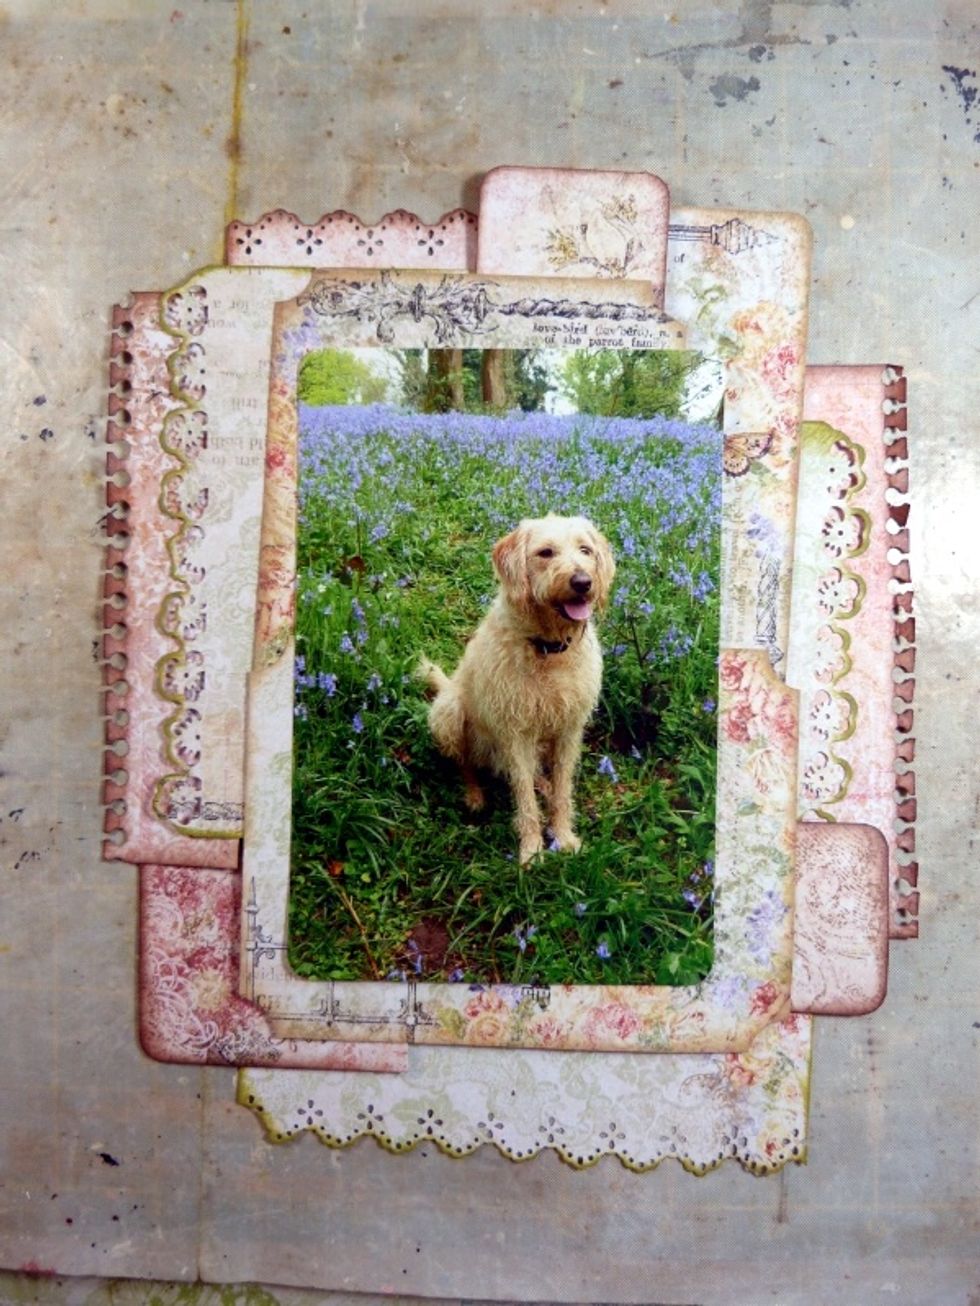
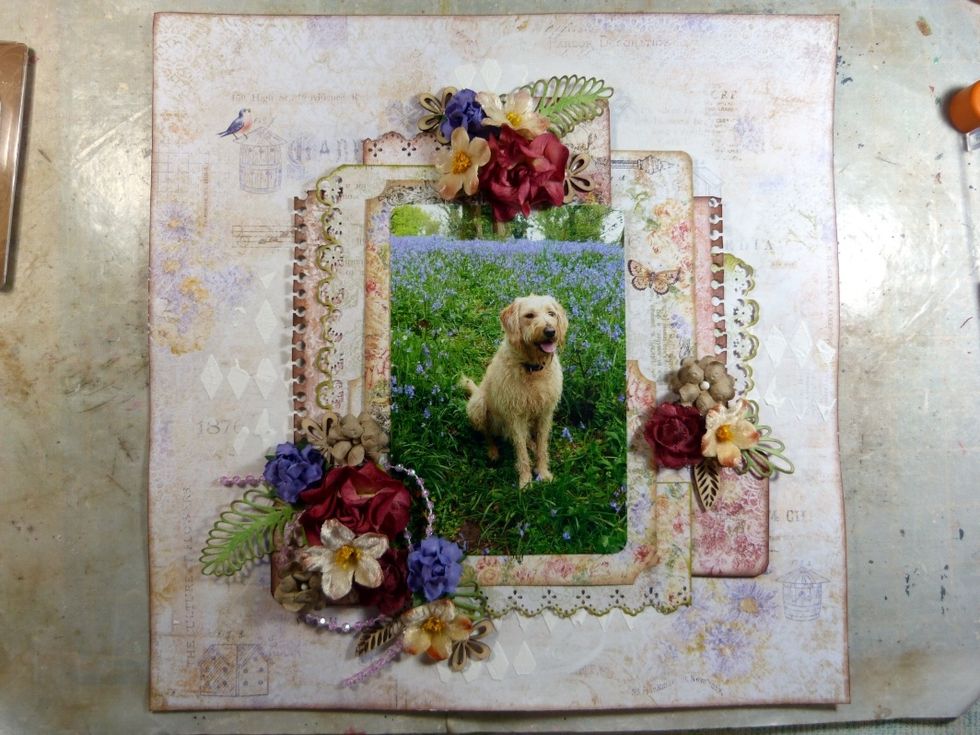
The finished layout.
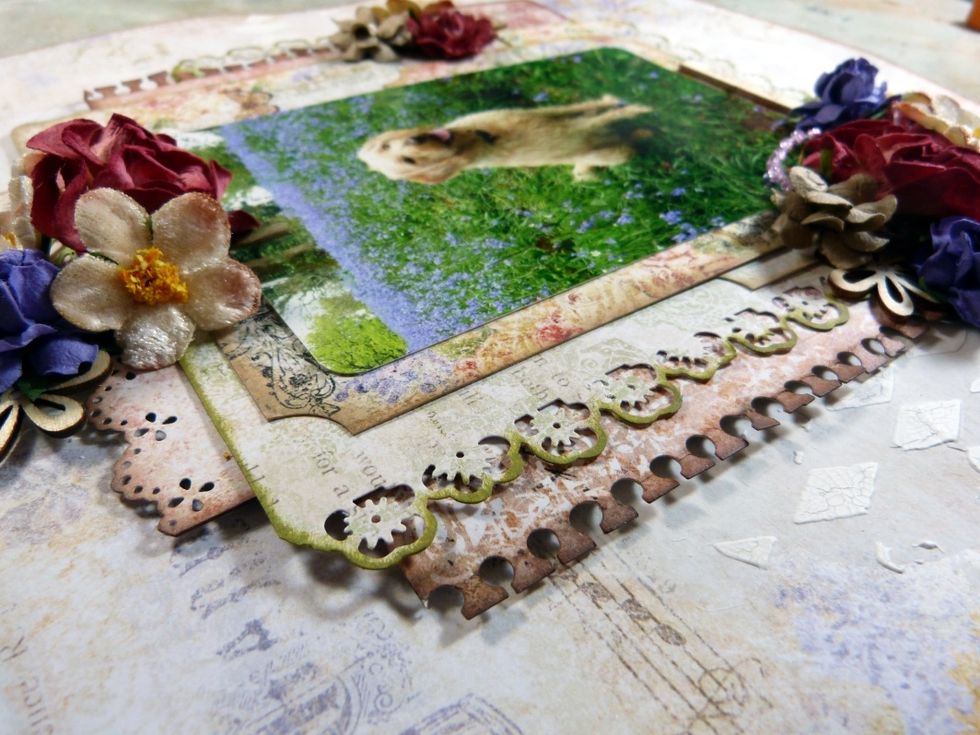
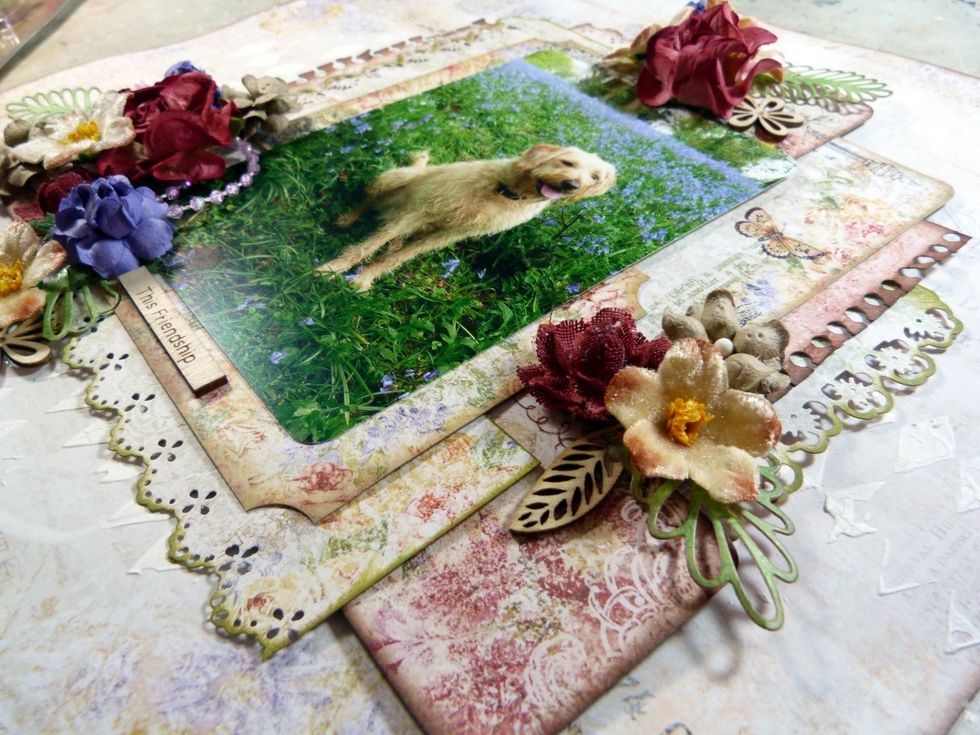
Another view of the layers.
This Project was made for Swirlydoos Kit Club, using products from their monthly kits. For more details please visit http://swirlydoos.com