The Conversation (0)
Sign Up

To integrate iPhoto with Flickr and upload photos, you'll need to create an account. Go to http://www.flickr.com/ and hit the pink Sign Up button.
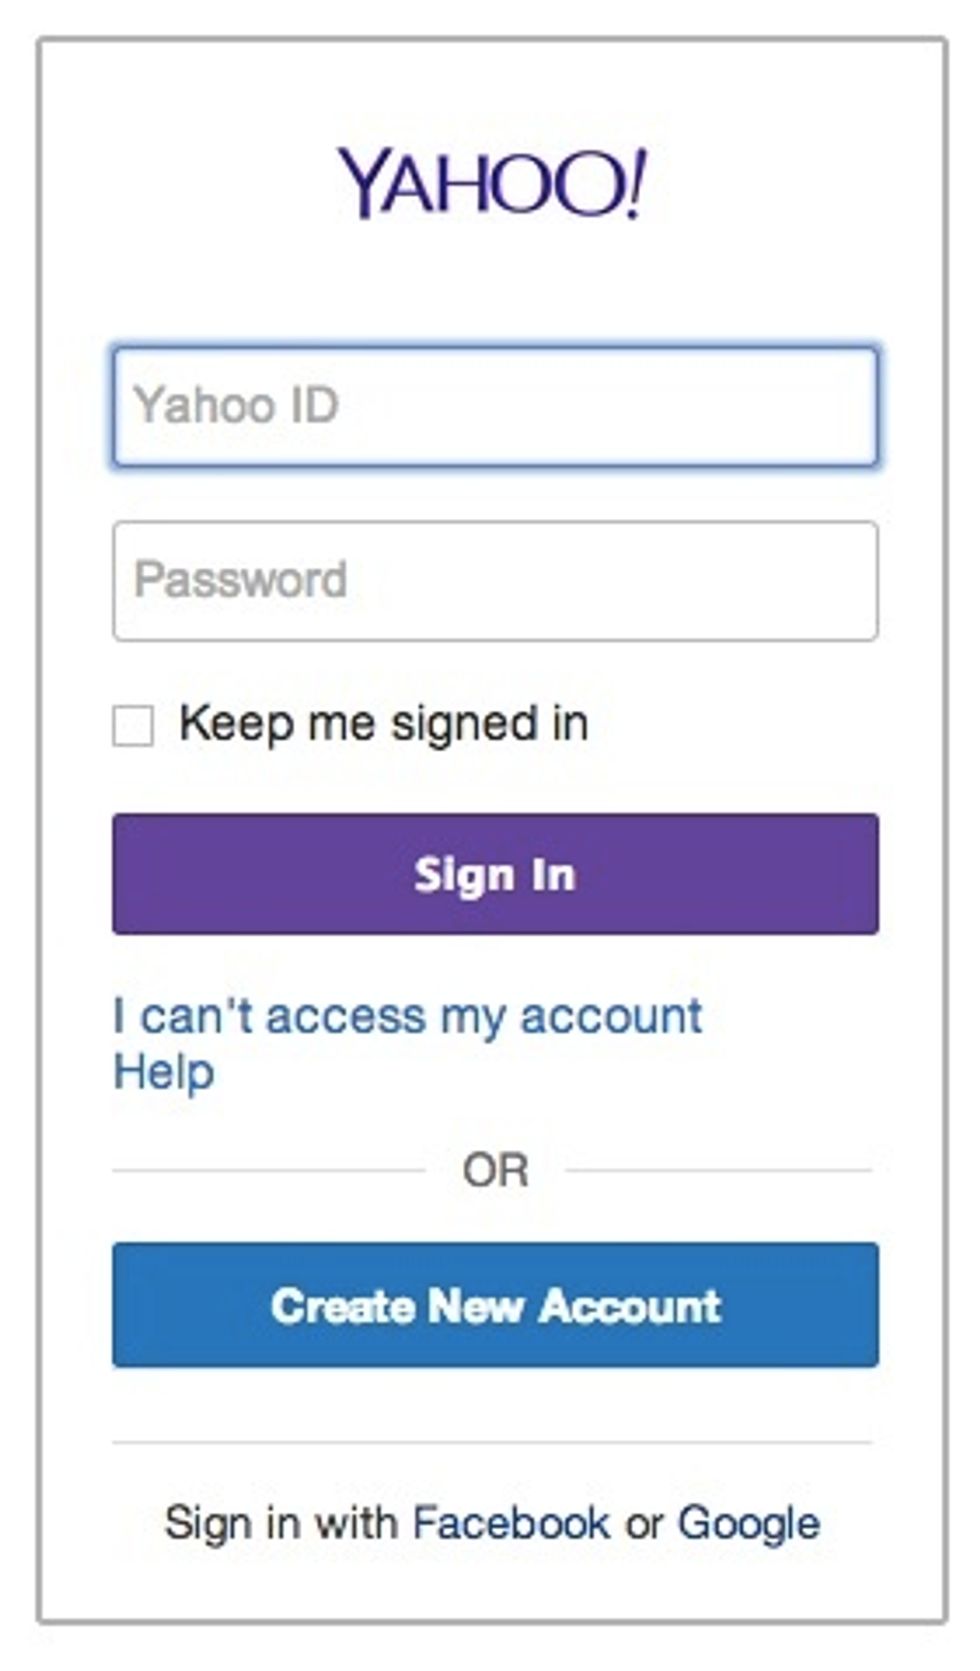
If you already have a Yahoo account, sign in. Or, click the blue Create New Account button. (Yahoo owns Flickr)

Fill out the form and click Create Account.
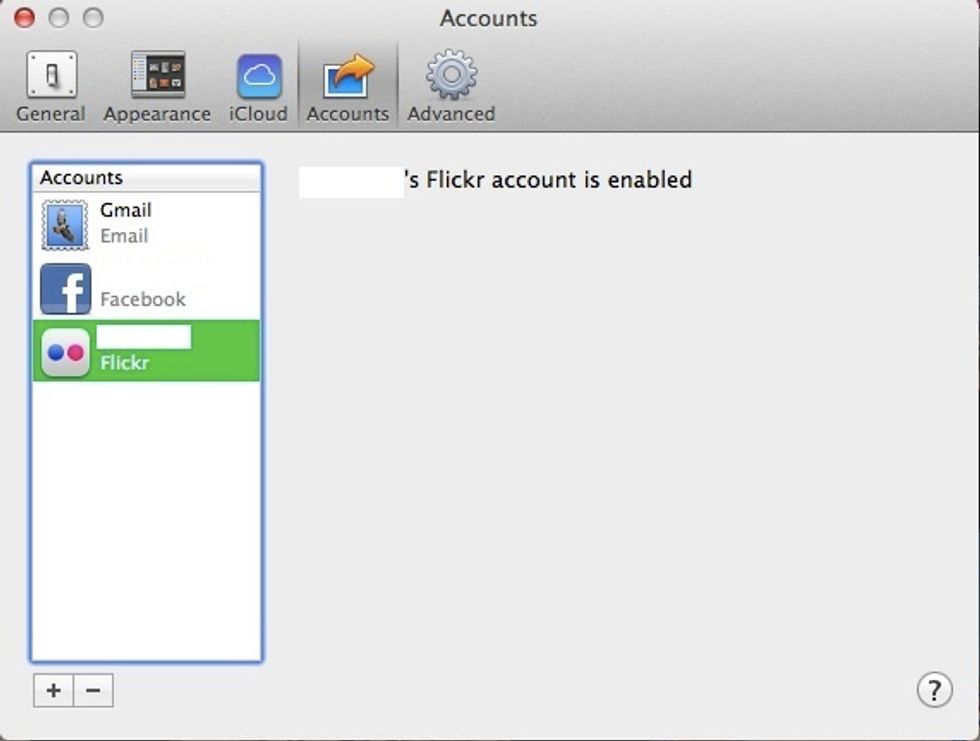
You'll need to add your new account to iPhoto. Open iPhoto and go to iPhoto: Preferences in the top menu. Click the Accounts tab. I've already set up Gmail, Facebook and Flickr, which you can see here

Click the + in the lower left corner to add an account
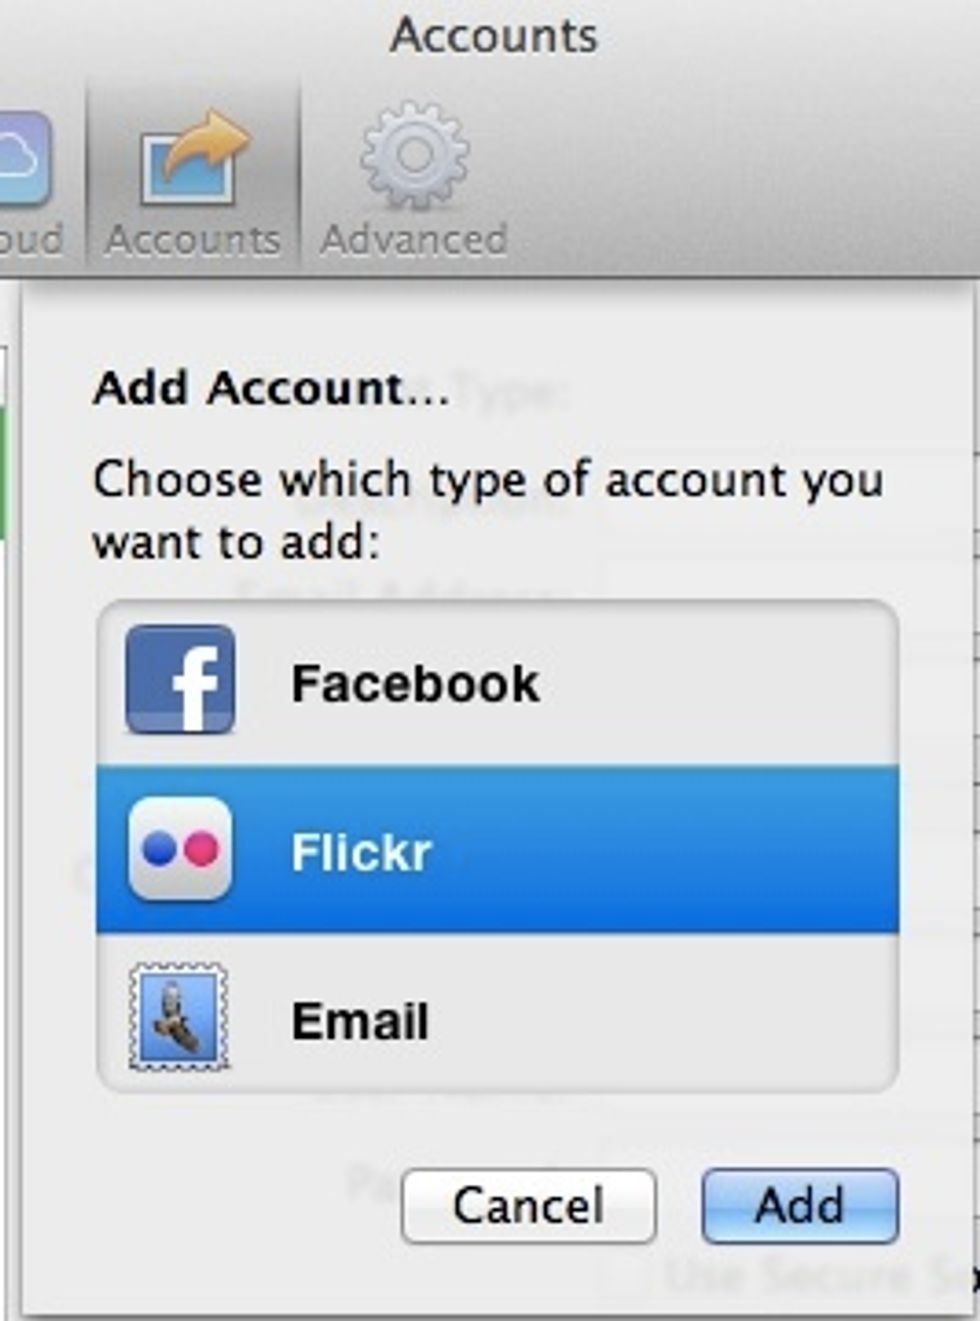
Choose Flickr and click Add
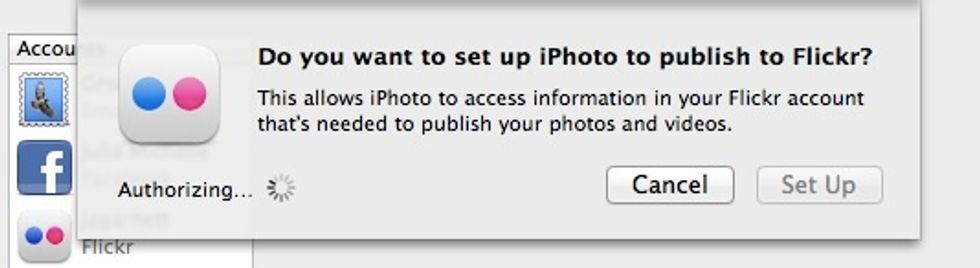
iPhoto now wants to authorize your Flickr account to publish photos for you. Once it's finished Authorizing, click Set Up.
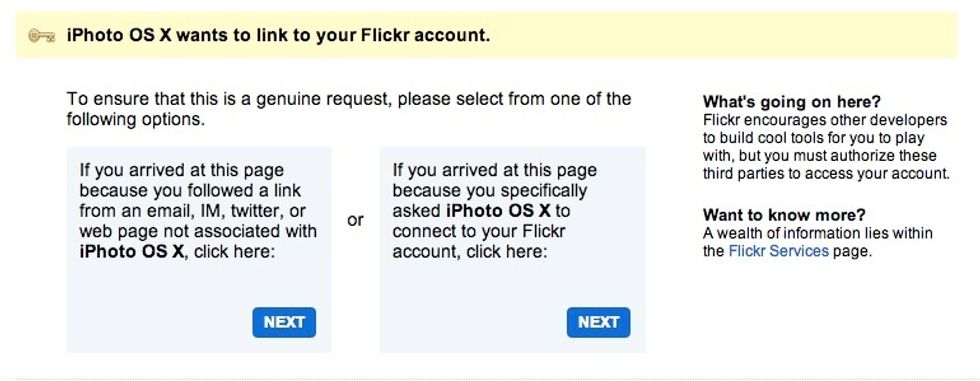
After hitting Set Up, a browser window should open. If you're already signed in to Flickr it will look like this. Choose the second Next.

This page tells you what you're authorizing iPhoto to do. If you agree, click OK, I'll Authorize It

You should now see a webpage with this text. Congratulations, you've authorized Flickr to interact with iPhoto!
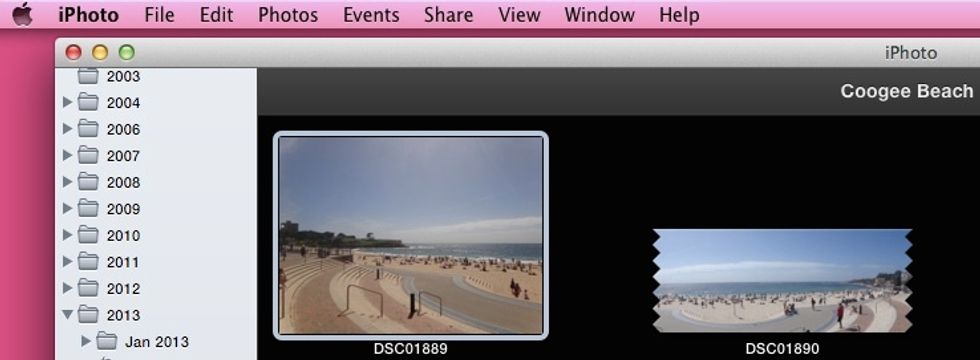
In iPhoto, choose photos you want to upload. You'll have to select them (look for a yellow outline). Use Cmd+click to select a few, or a whole folder by clicking one photo in the folder, then Cmd+A.
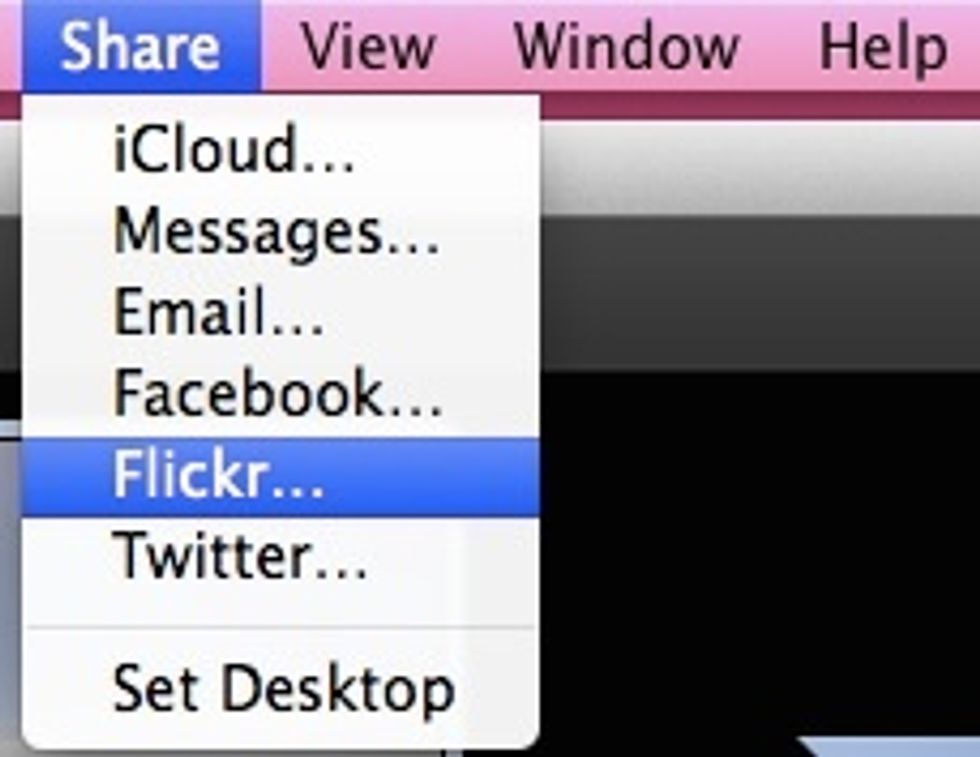
Once you've chosen the photos you want to share, either choose Share: Flickr from the top menu, OR... (next step)
...hit the Share button (square with an arrow coming out of it) from the lower right corner of the iPhoto window. Then choose the Flickr icon.

Click New Set to create a new set on the Flickr site. If you're adding to a set that's already published, choose that set. Not sure if you want to make a new set? Choose Photostream.
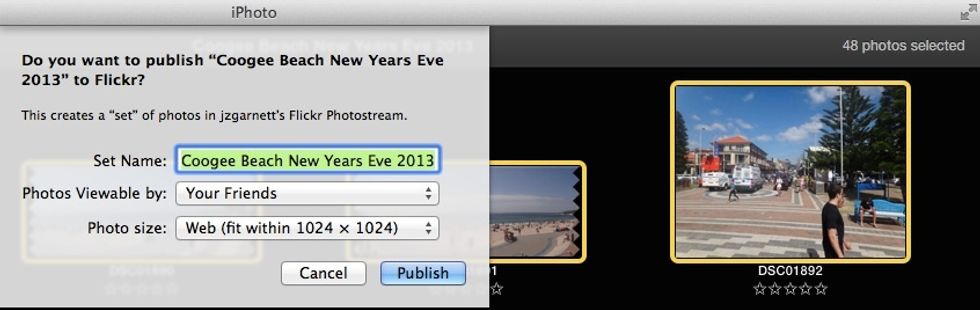
Now, choose what you'll call your new set, who can view it, and what size you want the photos. Make your selections, then hit Publish. (Top right corner shows # of photos) For now, choose Anyone & Web

These are the 'viewable by' selections. Only You: most private. Anyone: most public. Your Friends/Family/Friends and Family: you can choose people to share with, by adding them as contacts on Flickr.

Your photos will now upload. You can view the progress in iPhoto by looking under 'Shared' in iPhoto's left-hand menu. It will give you a progress bar at the top of iPhoto, too.
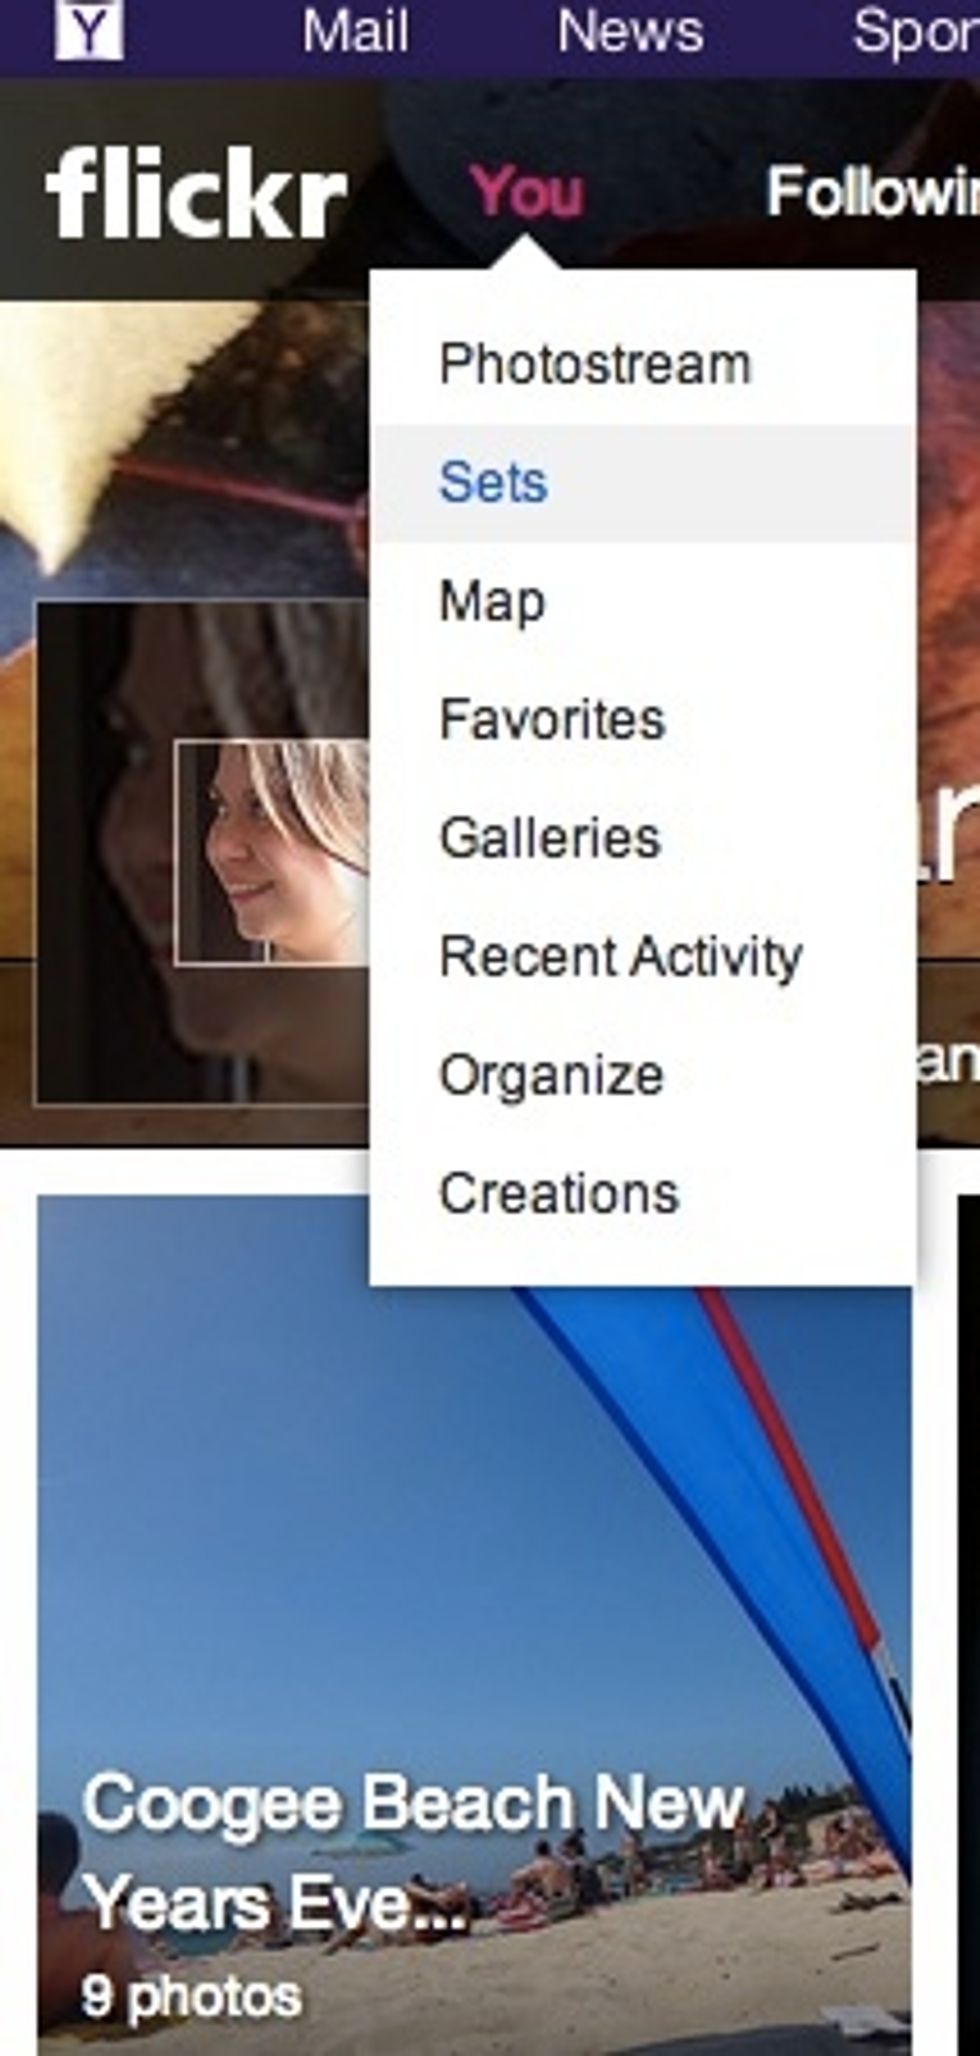
From the Flickr website, go to You and then Sets. Click the set you want to share.
In the top right corner you'll see a Share button (square with an arrow). Click it and choose how you'd like to share your set. If you don't want to use any of these services, hit Grab the Link.
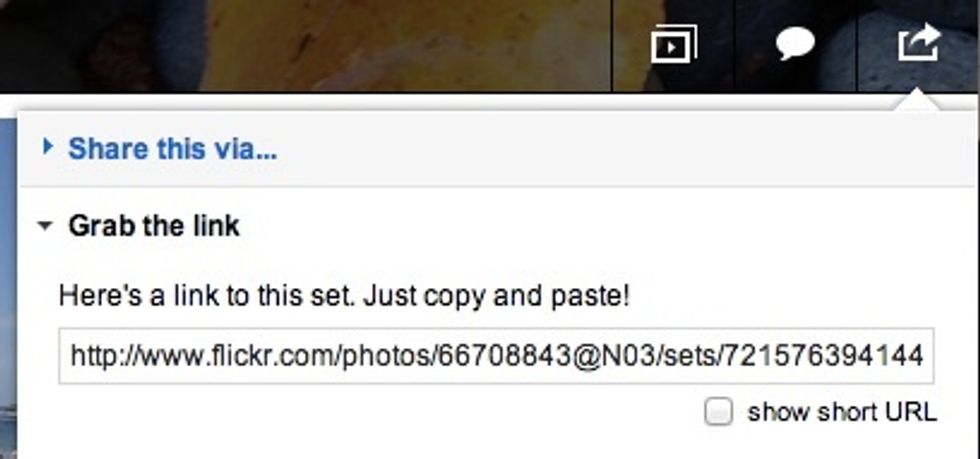
If you want to grab the link to share your photoset, copy and paste it from here. You could also choose a shortened URL. Now you can send the link via Gmail, facebook, or a private chat. You're done!