The Conversation (0)
Sign Up
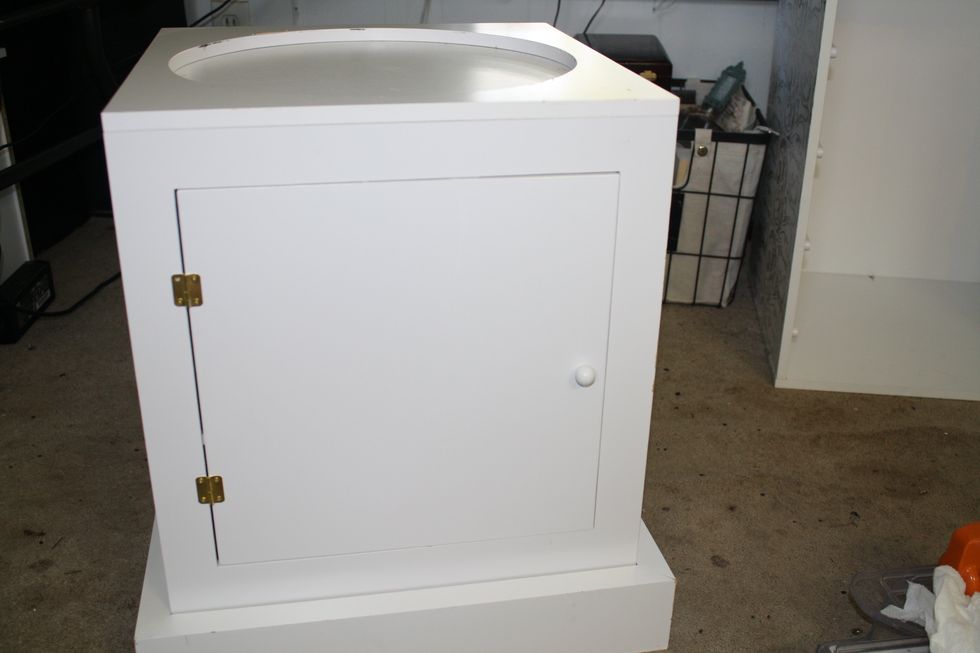
I have this Plain White unit in my craft room that just didn't match my industrial chic feel. Time to spruce it up! I cleaned it thoroughly and prepared to use the IOD Decor Transfers
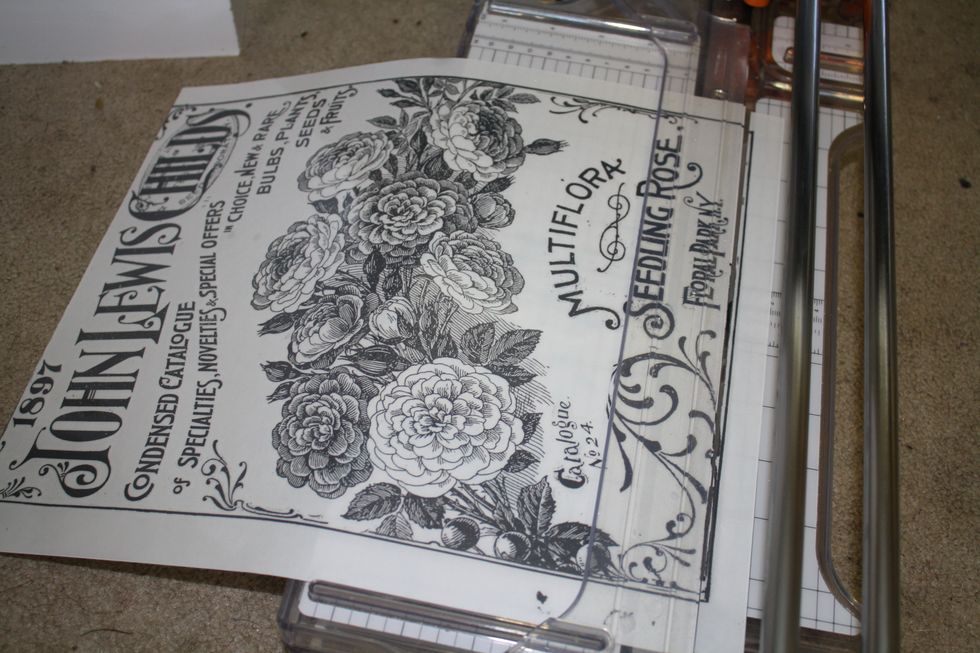
This particular one had some lines around it, since it is smaller than the door I am placing it on, I am trimming off those lines.
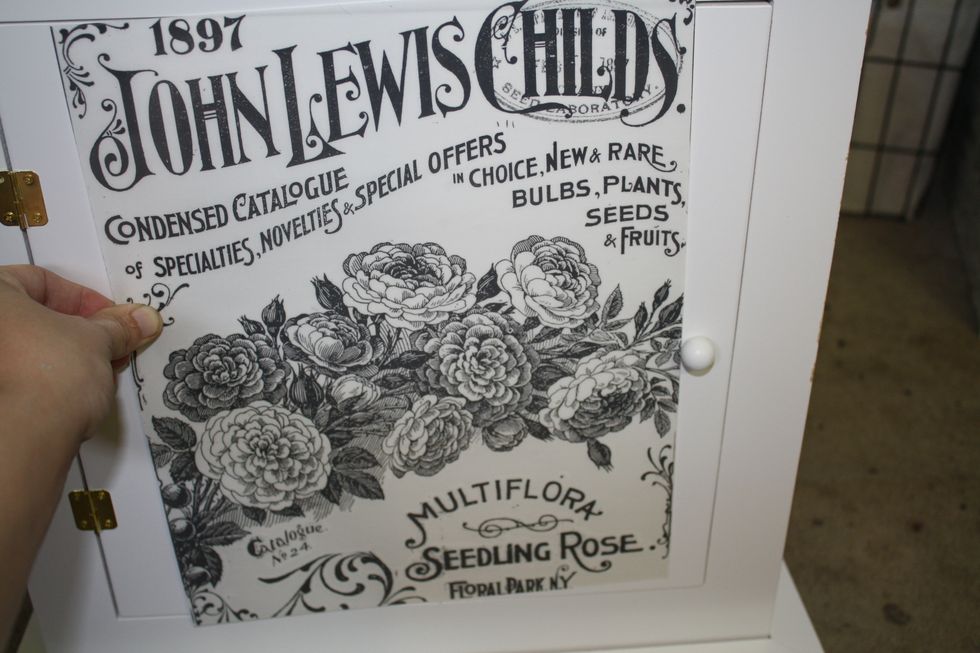
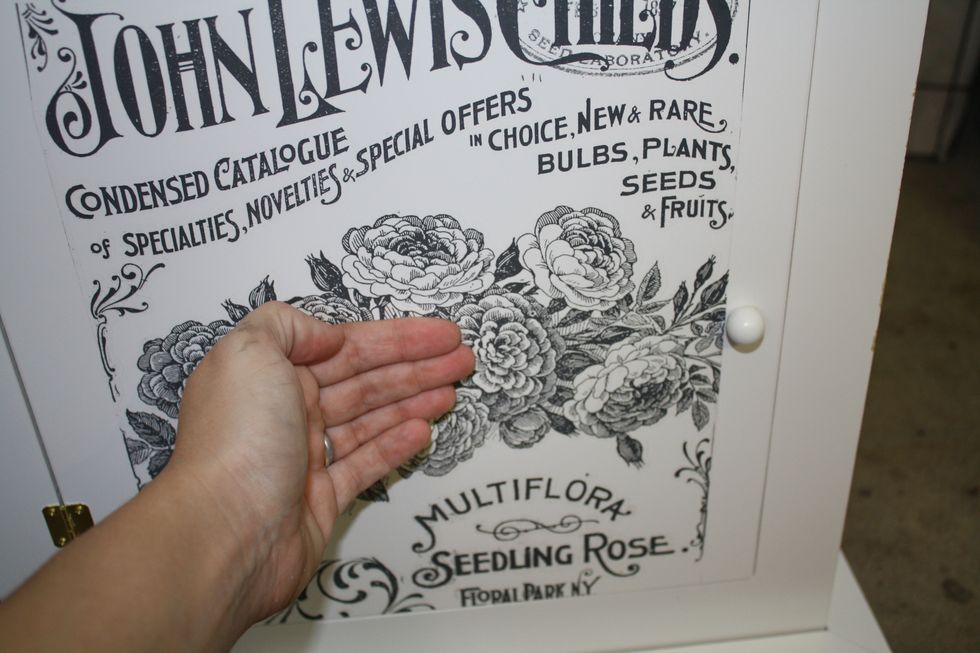
Holding it up with my hand to see where it lines up centered, and if I am happy with it!
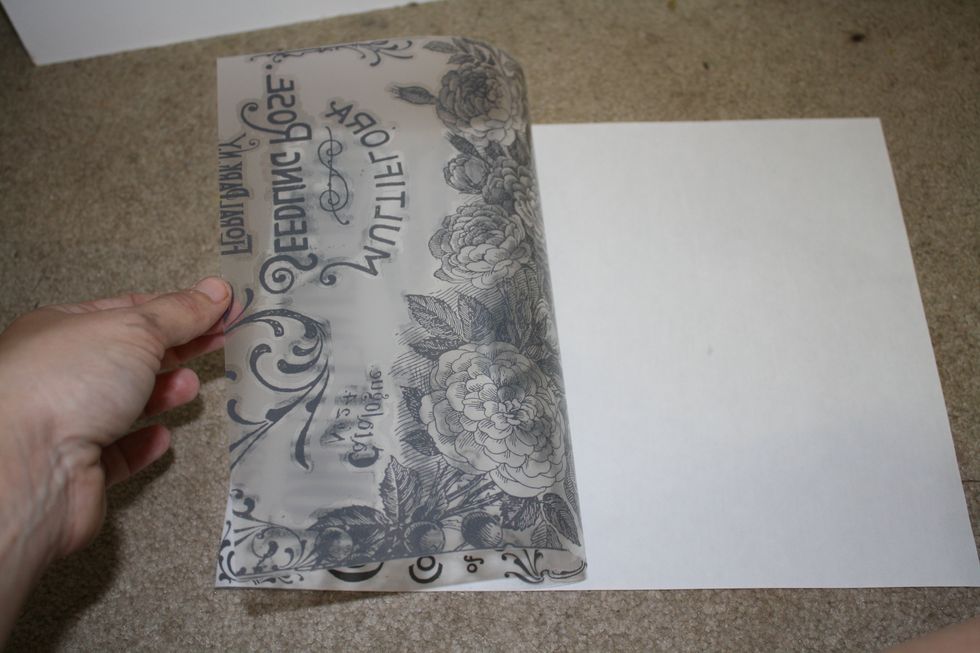
Gently pull off the film from the protective backing paper.
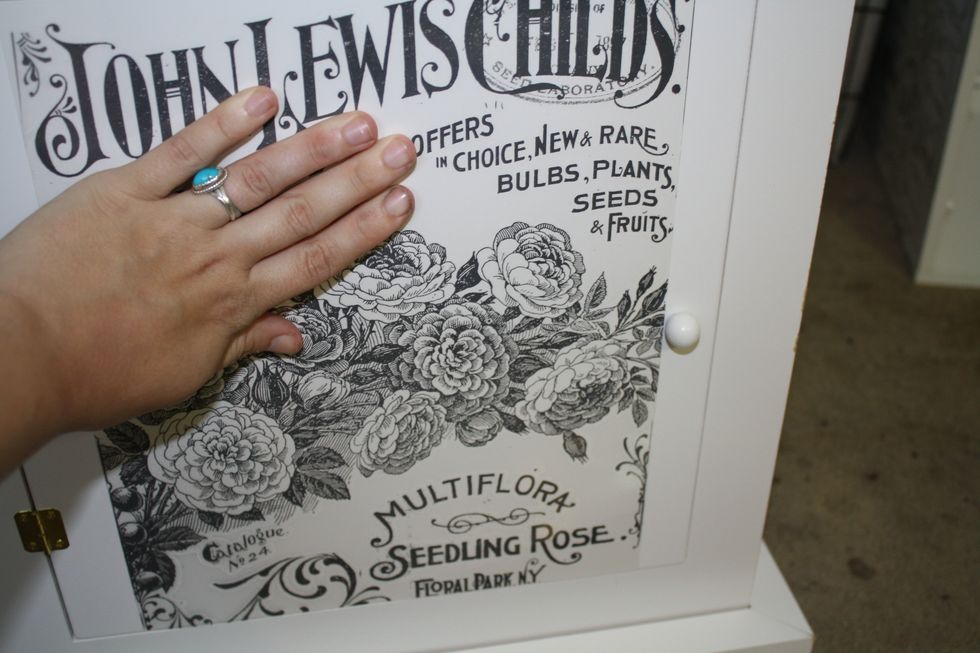
I lined it up, just eyeballing it. This is a smaller transfer ( rub on) , so no need to measure anything for me. I just held it up and then pushed it onto my surface.
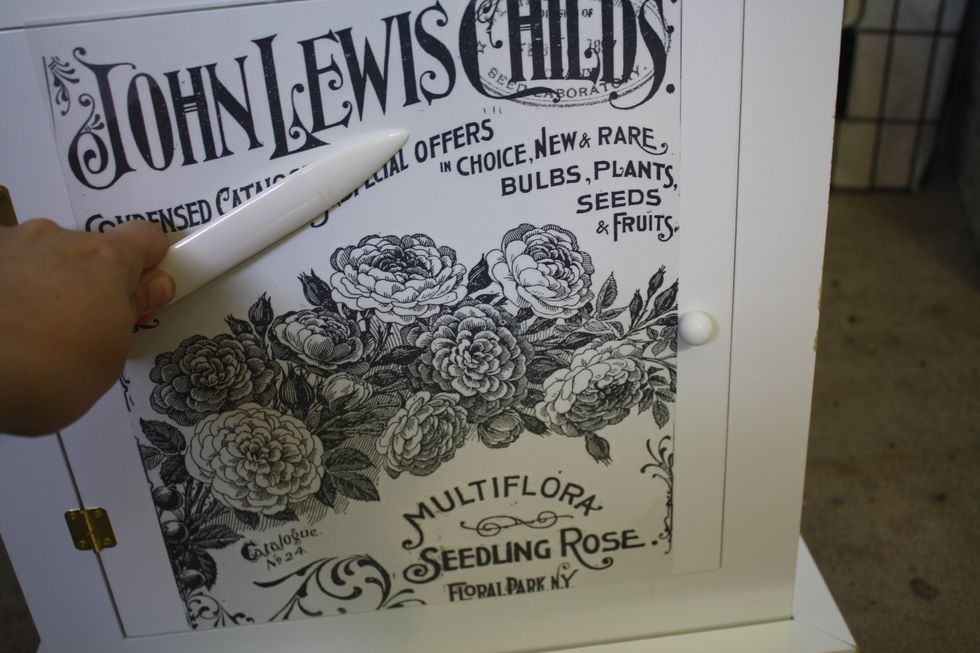
After rubbing the entire surface with your hand, I went in with my bonefolder to make sure everything was rubbed on very well. You could use a brayer, or just your hands. All work fine.
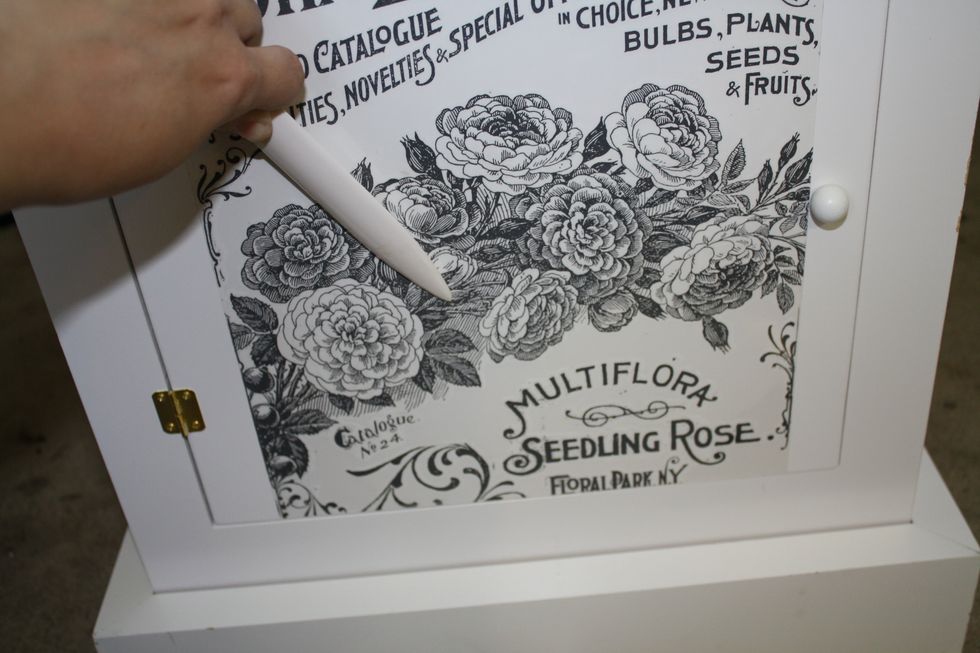
I just kept going across from top to bottom until I had passed over all of my imagery...
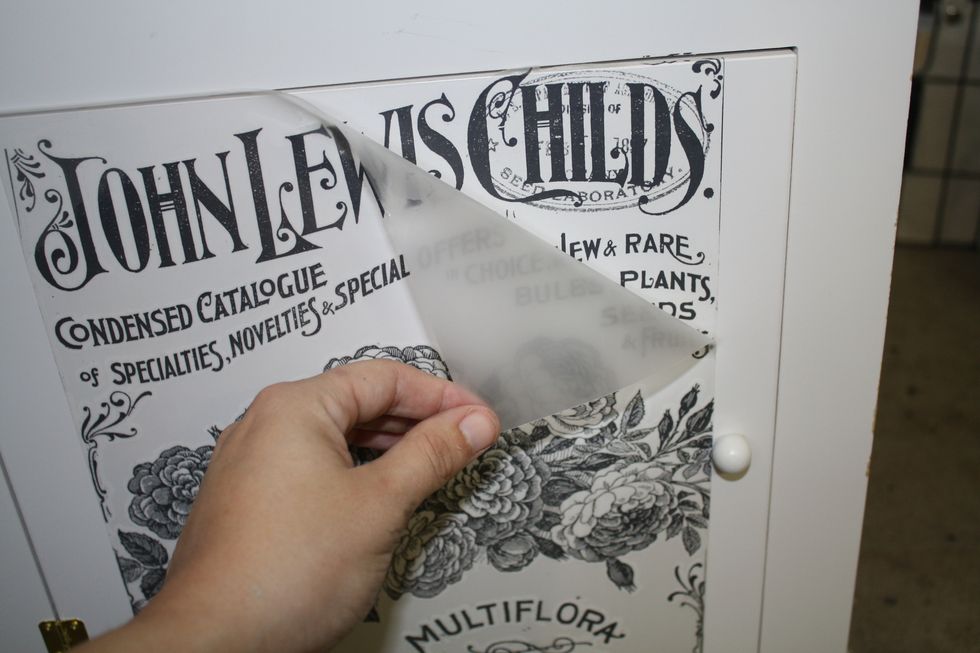
Starting at one corner, I gently pull off the film. If you see any text or images that did not transfer simply push the film back on, and rub in that area again.
AFter the film is removed, I used my hands (make sure they are clean!) to smooth out any raised areas and make sure it was adhered properly!
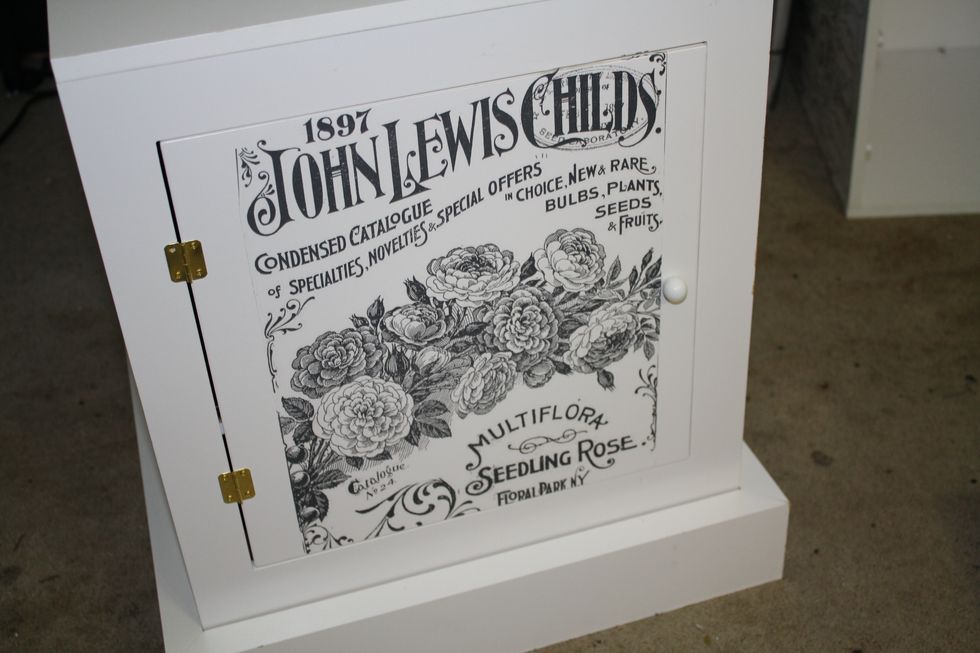
And here it is , from plain to super gorgeous! If you like the clean look , you are done here! I wanted to add a bit of color! You could even sand this down fro a more distressed look!

Unlike vinyl wall decor transfers, these take sanding beautifullly! Making them a step above all others in my opinion!

I added some ochre oil pastel to my edges here and there, just to add a touch of color. And thats it! finished piece in its home with the other storage pieces. So happy with it, and it was so EASY!