The Conversation (0)
Sign Up
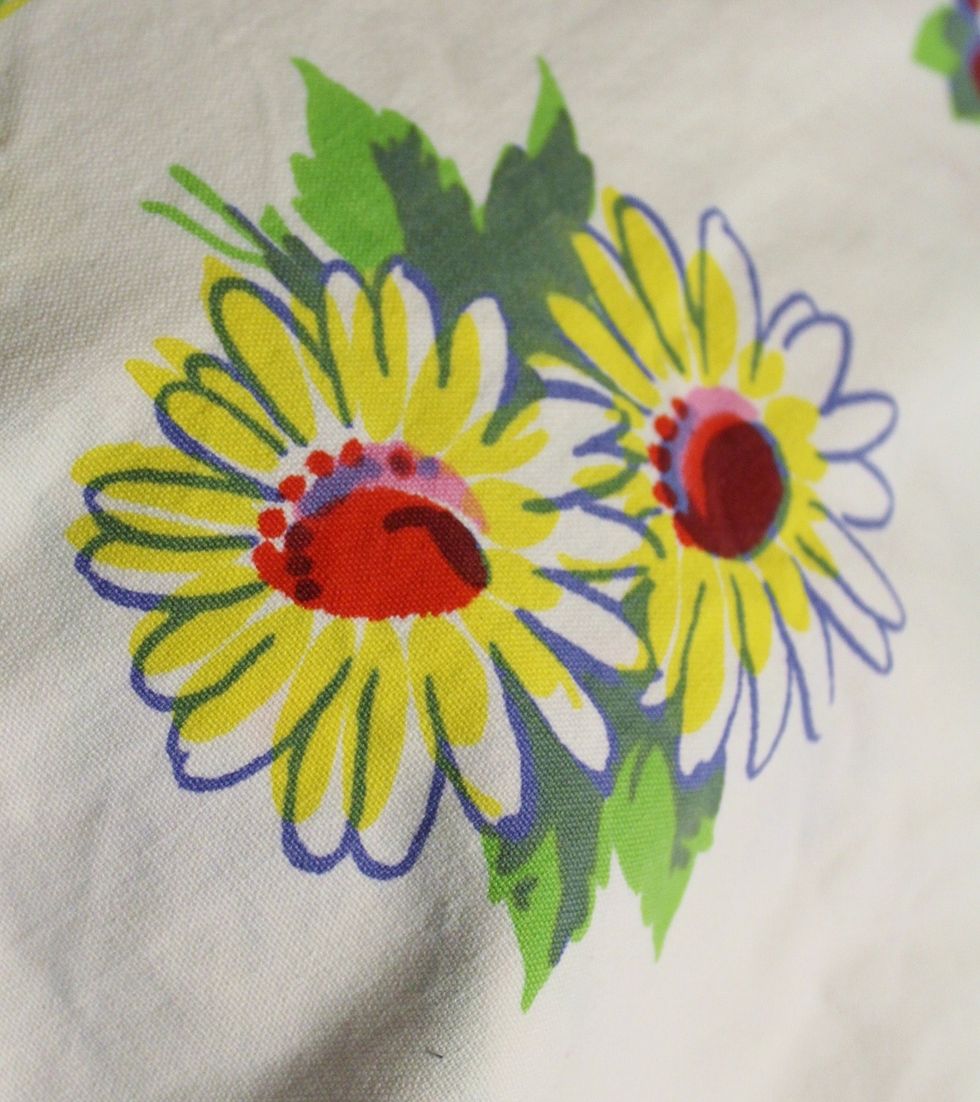
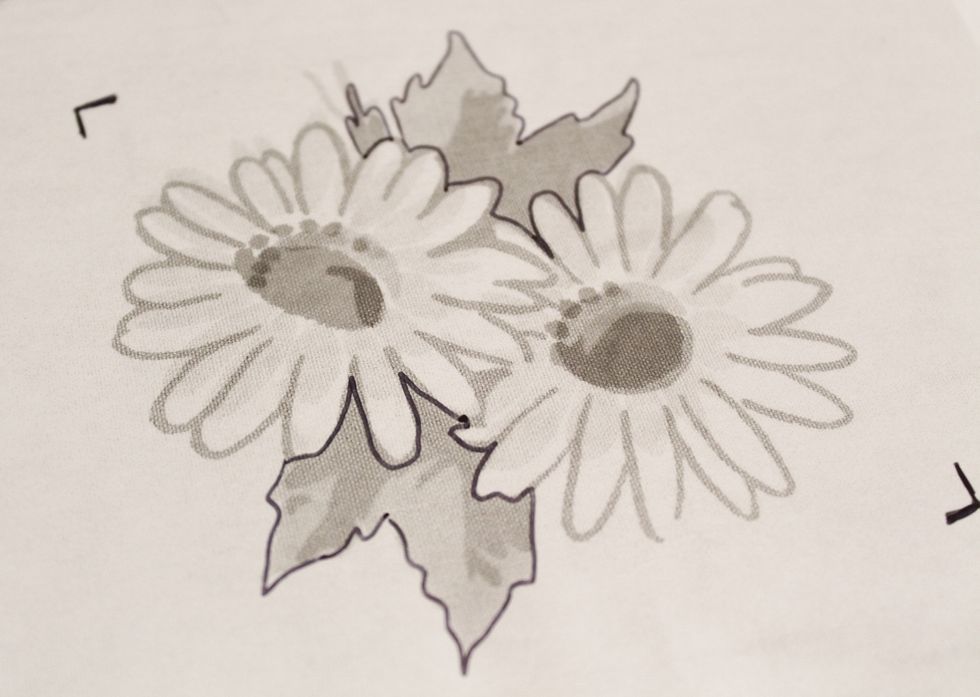
I liked the flowers on a vintage tablecloth I had and wanted to use the image to make a set of note cards...
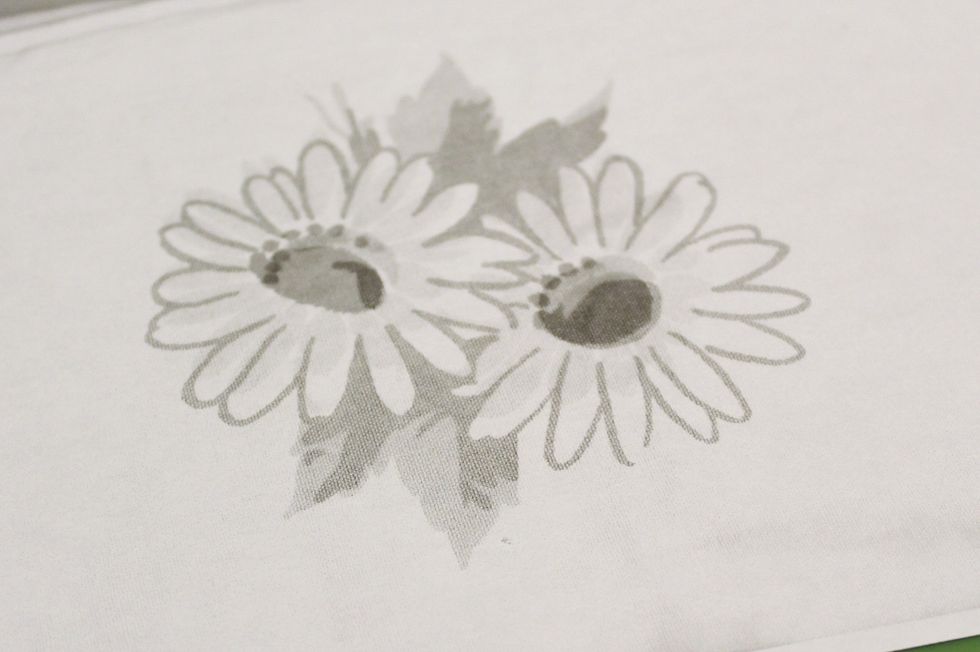
I made a black and white copy of the flowers; resizing them to fit on the cards...
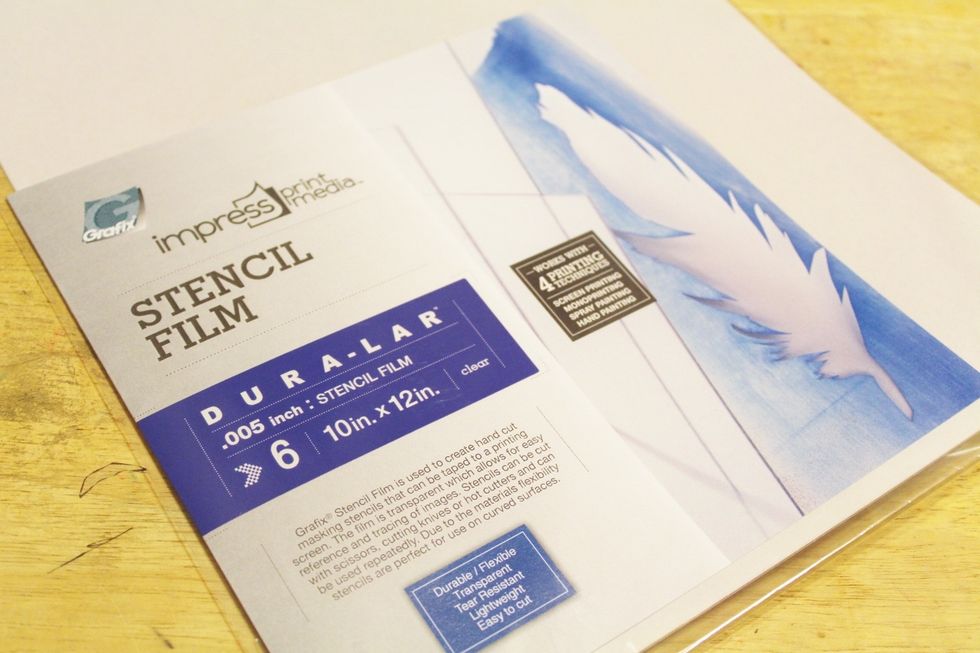
I cut 3 pieces of GRAFIX Dura-Lar Stencil Film about 1 1/2" around all sides, larger than my image...
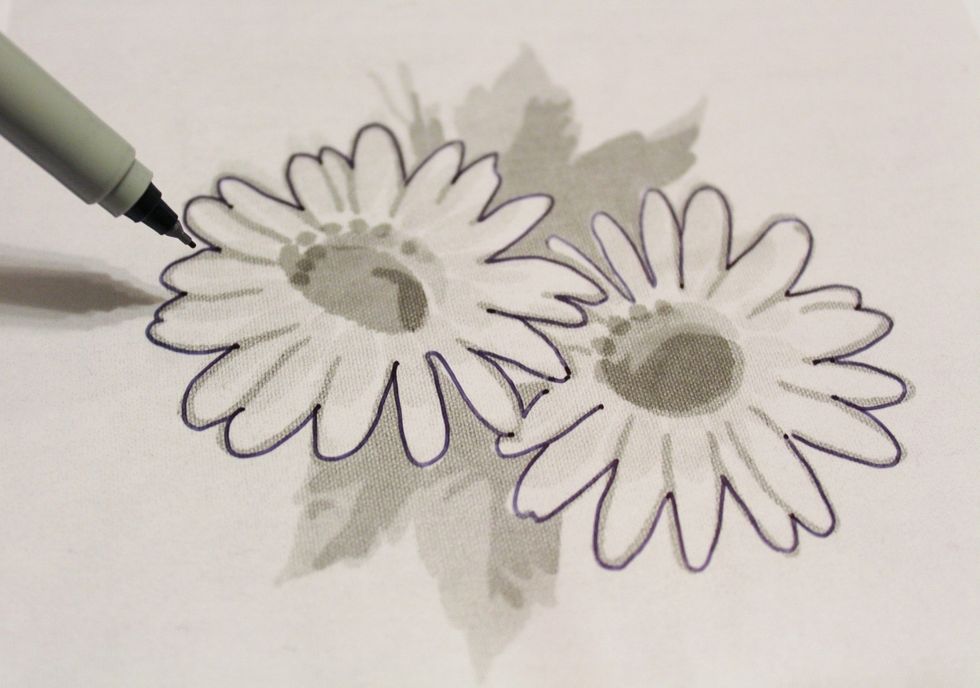
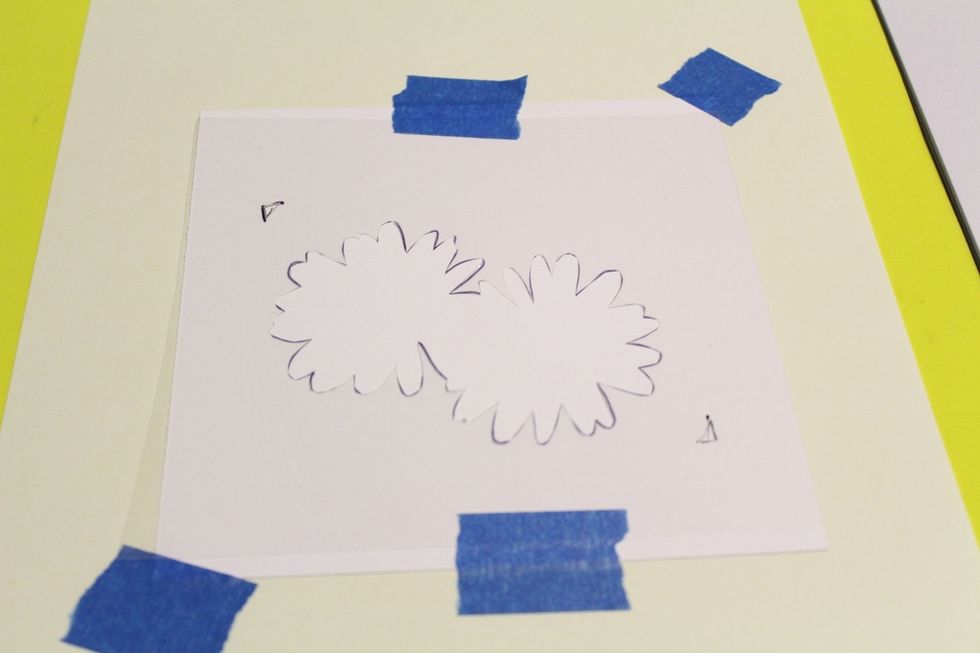
I laid a piece of the Stencil Film over the copy and outlined the flowers...
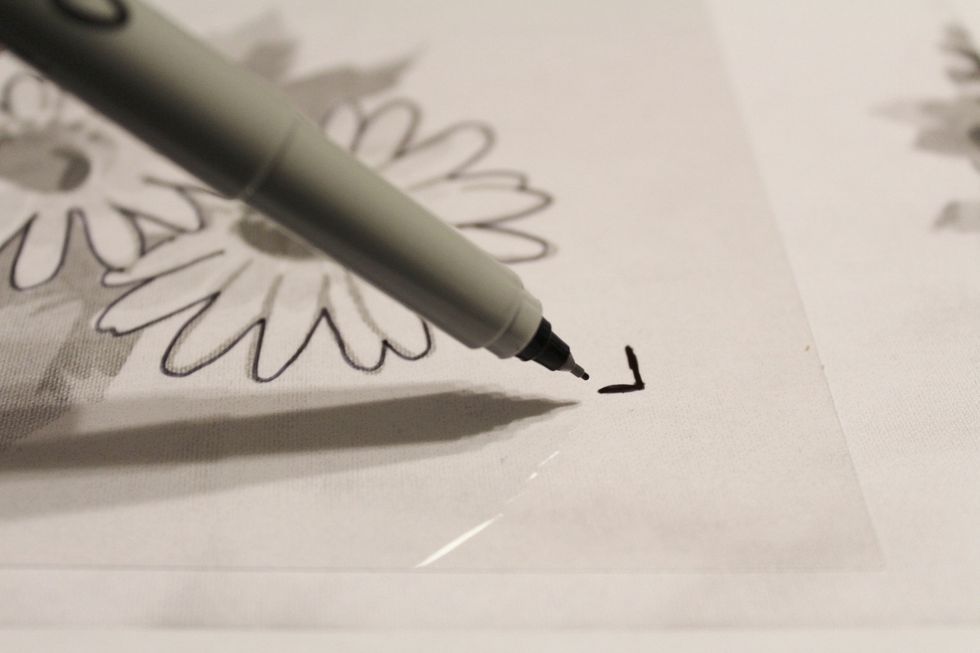
I also traced registration marks that I added to the copy at opposing corners of the image...

using another piece of film, I outlined the flower centers...
I then traced the leaves using the last piece of film...
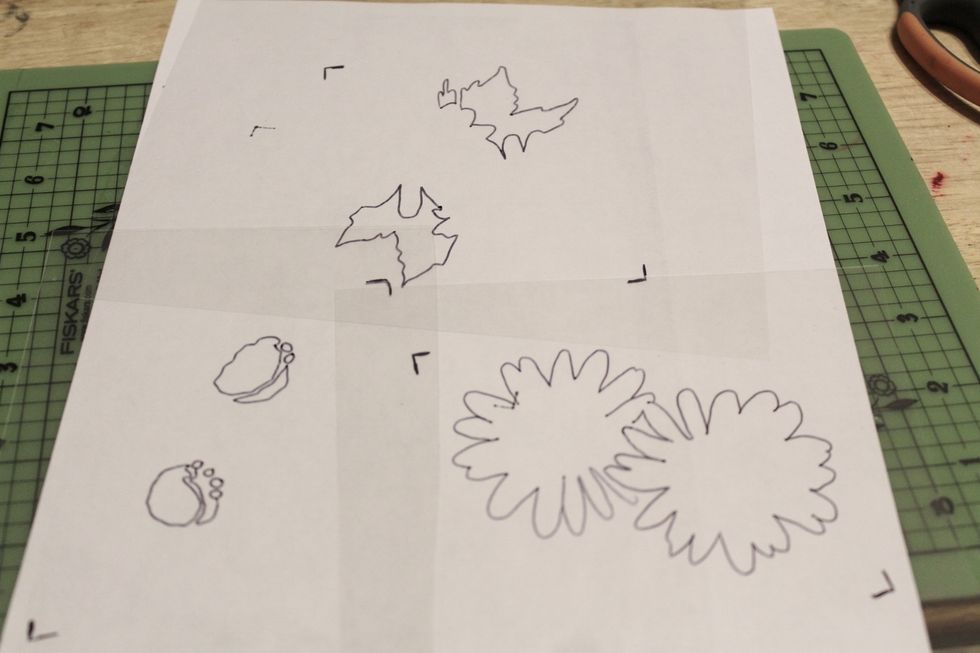
portions of designs, traced on Stencil Film...

use self healing mat and kraft knife to cut out traced images from film...
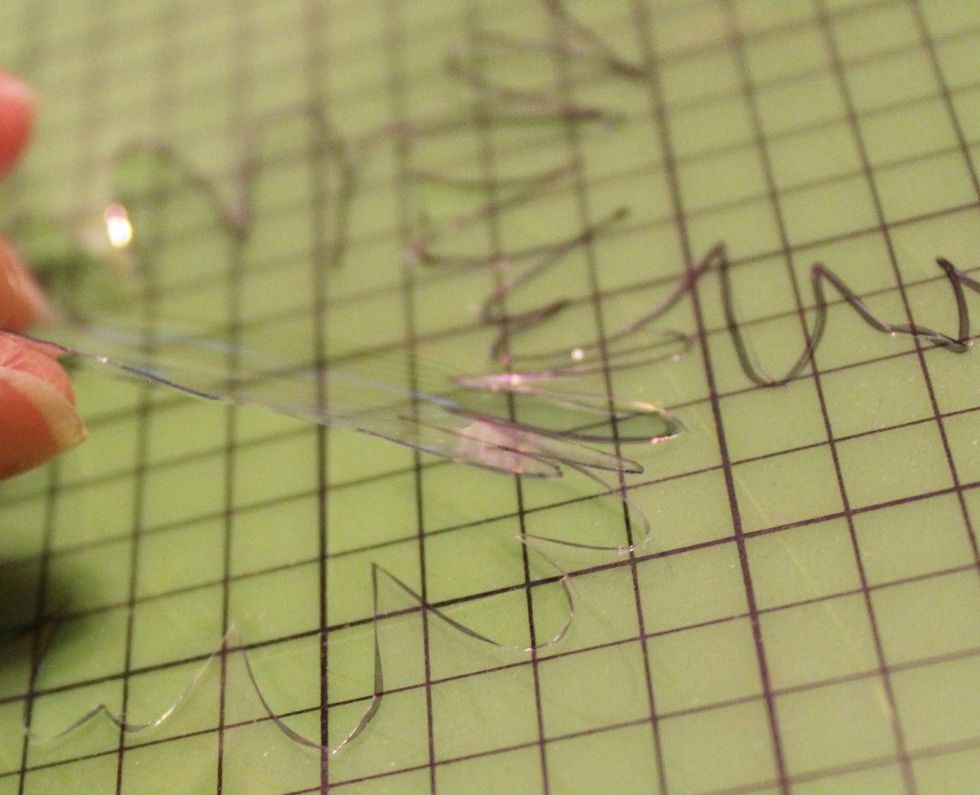
remove cut out portions. repeat to cut out flower centers and leaves...
use Grafix Inking Palette to add and blend inks on. the Inking Palette is a pad of 25 sheets that is fused together at both ends. it is stable and lays flat when using a brayer or blending inks...
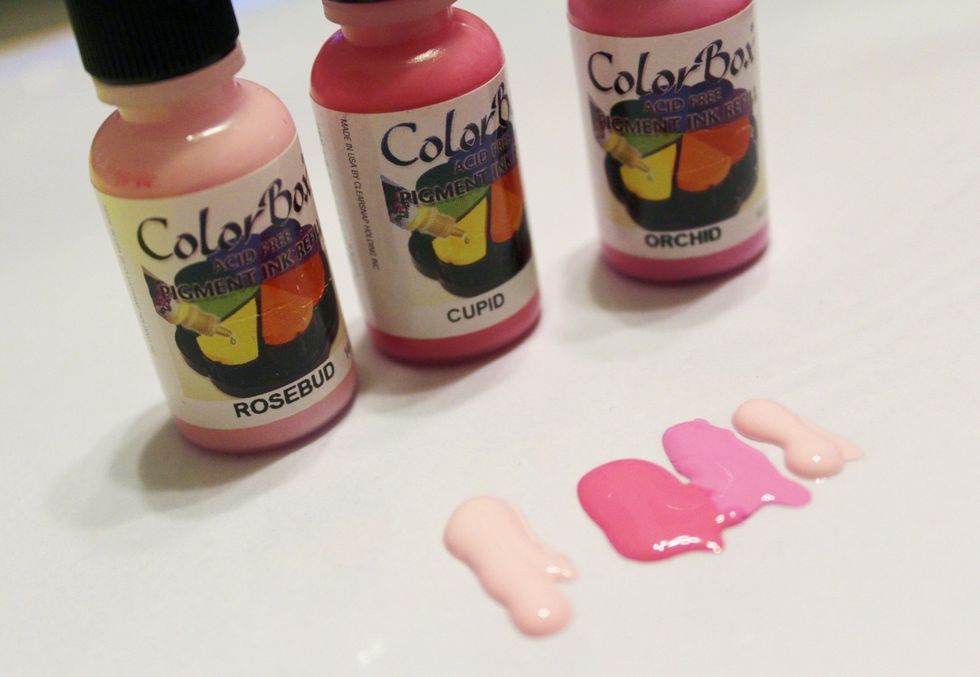
add "lines" of Rosebud, Cupid and Orchid Pigment Inks from refill bottles on Inking Palette...
use Color Wheel and Handle to blend inks on palette...
REPEAT THE FOLLOWING STEPS 3 MORE TIMES: use blue painters tape to adhere stencil to 6 X 6 piece of white cardstock, also securing the cardstock to a piece of scrap paper placed over foam sheet...

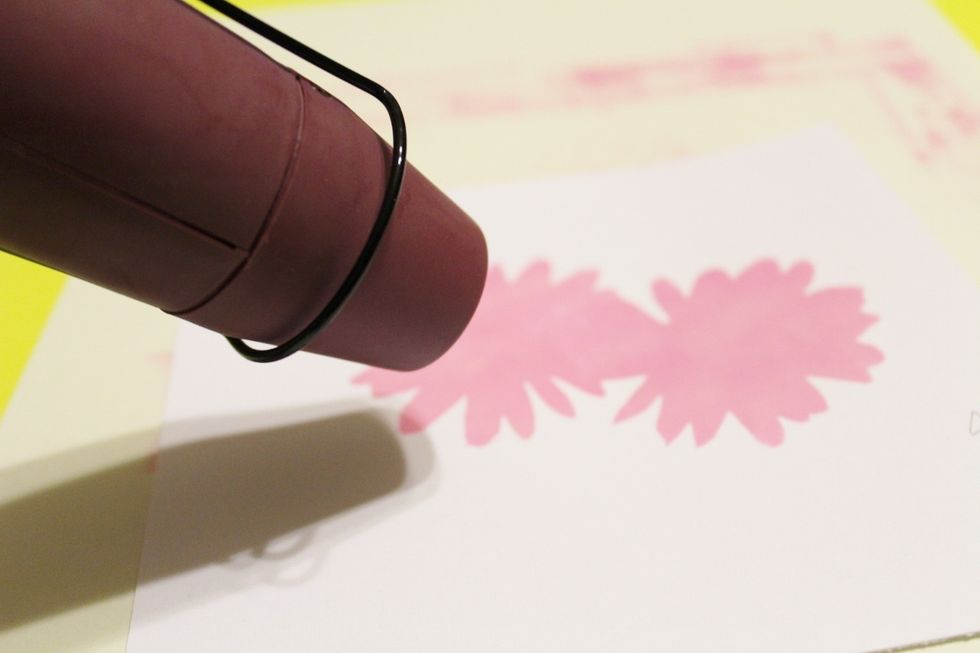
use Stylus & Tips and dab tip into blended ink, then tap into stencil...
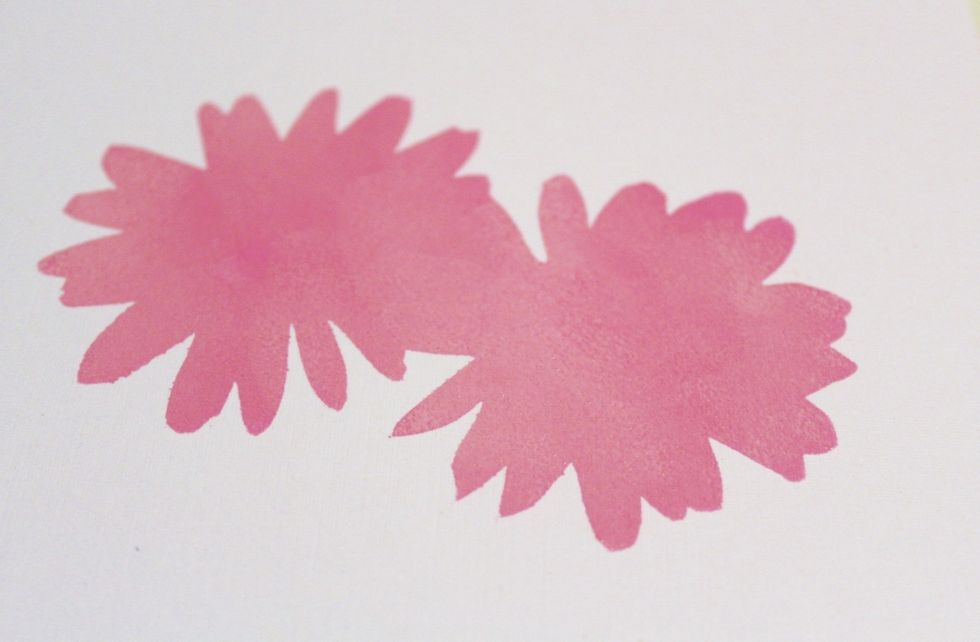
stenciled flowers...
heat set flowers...
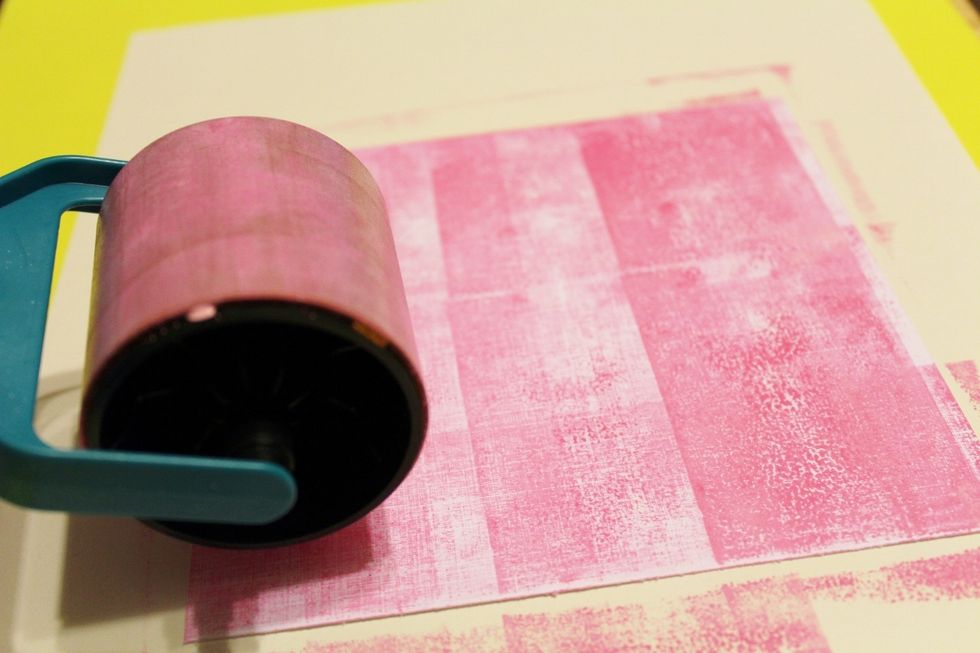
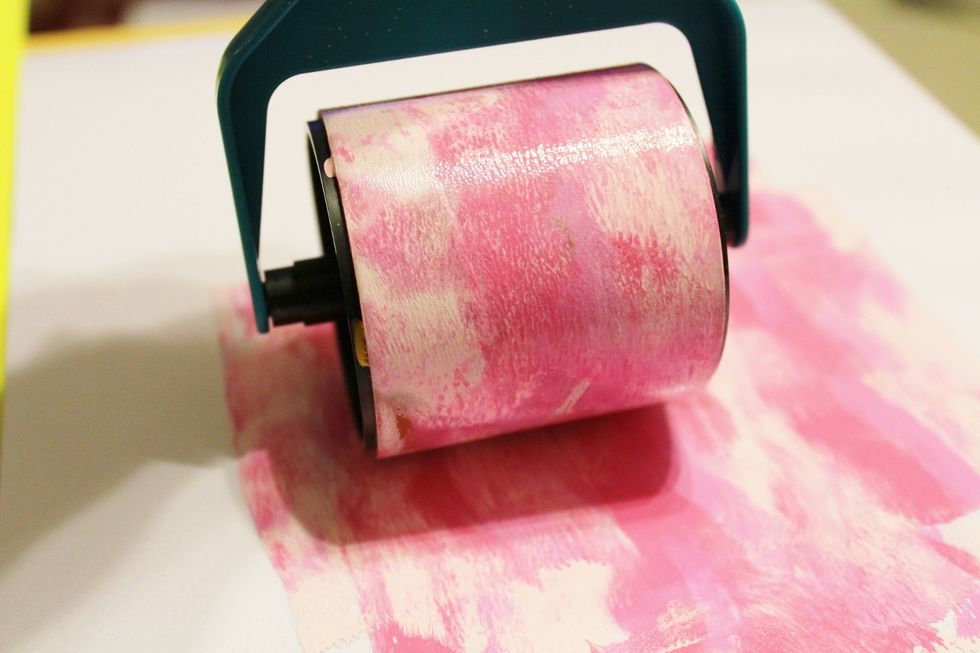
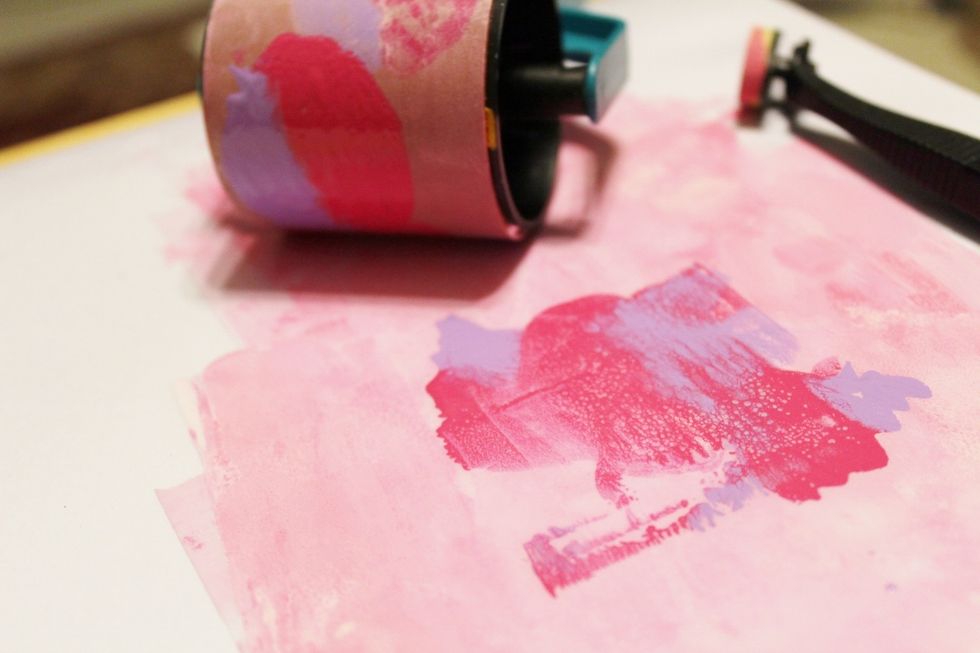
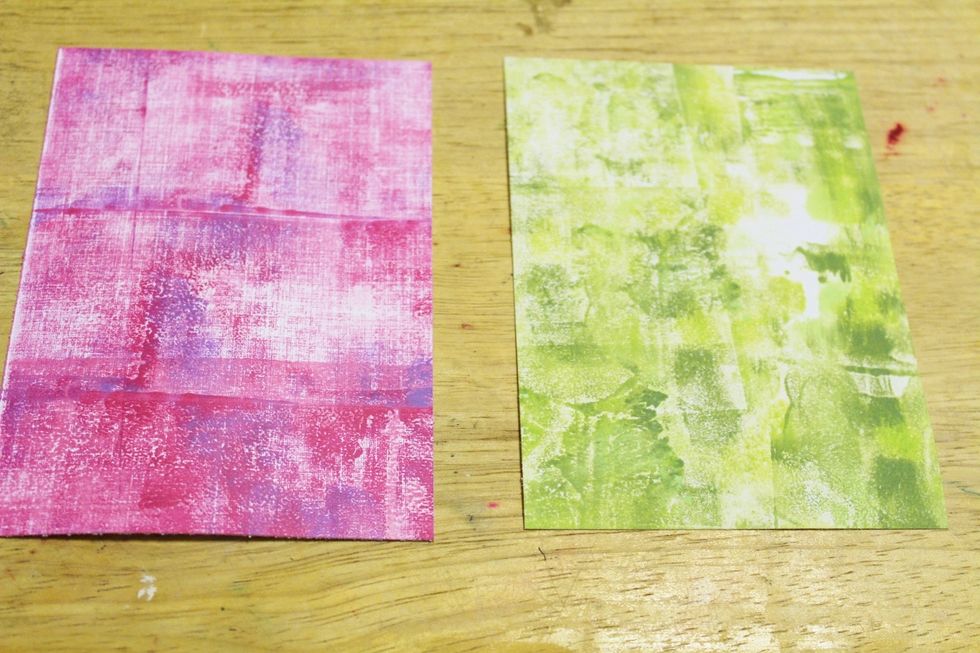
use Color Wheel and Handle to use excess ink on Inking Palette to create background on 6 X 6 white cardstock. roll vertically, then horizontally...
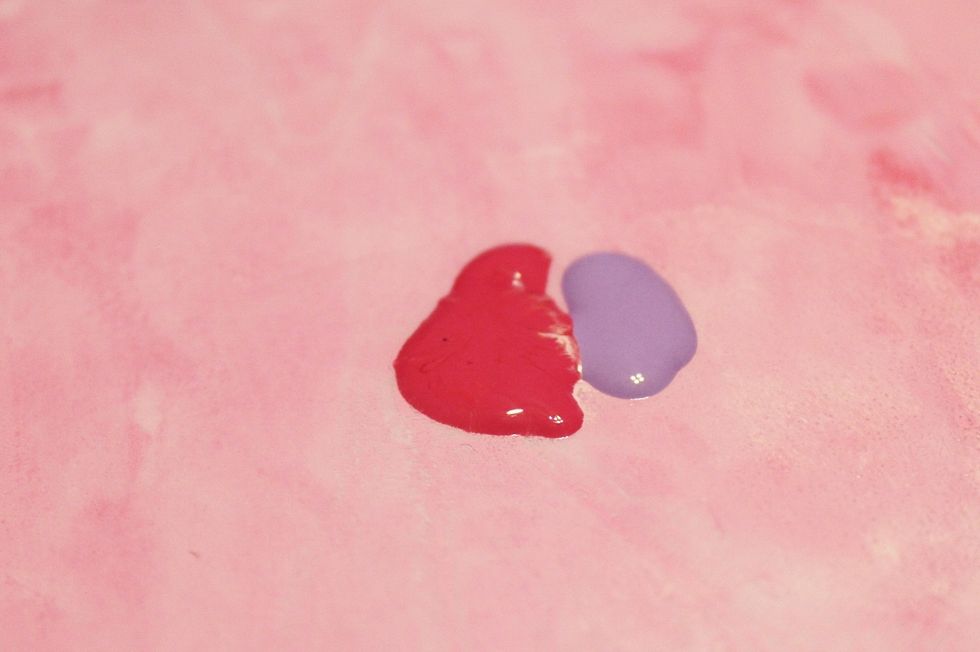
add Razzleberry and Heliotrope Inks to Inking Palette...
use Color Wheel and Handle to blend inks...
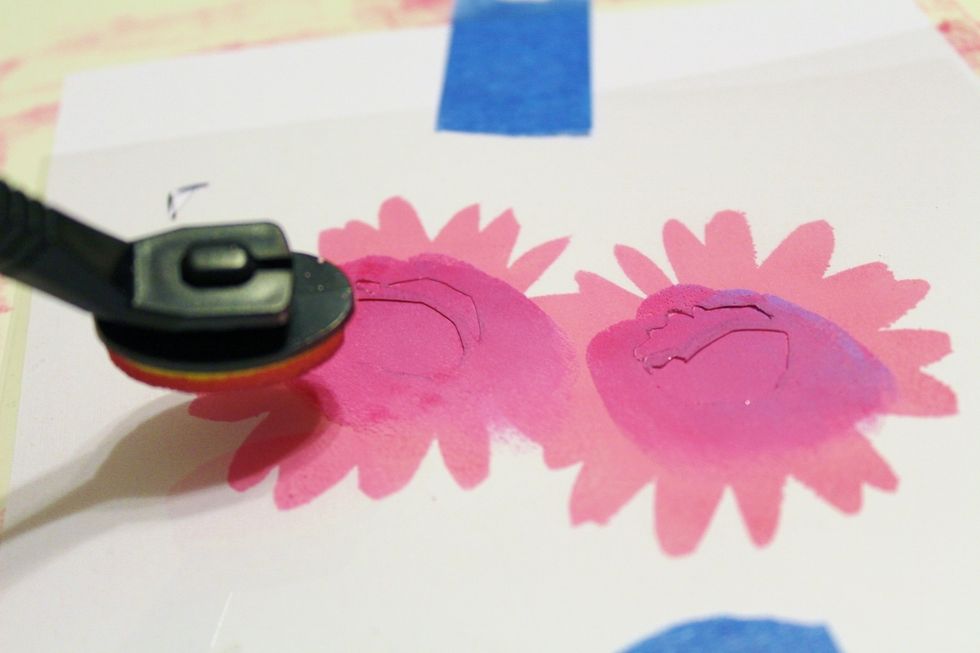
use blended inks and Stylus & Tips to apply ink to flower centers...

inked centers...

use Color Wheel and excess ink to add another layer to background...
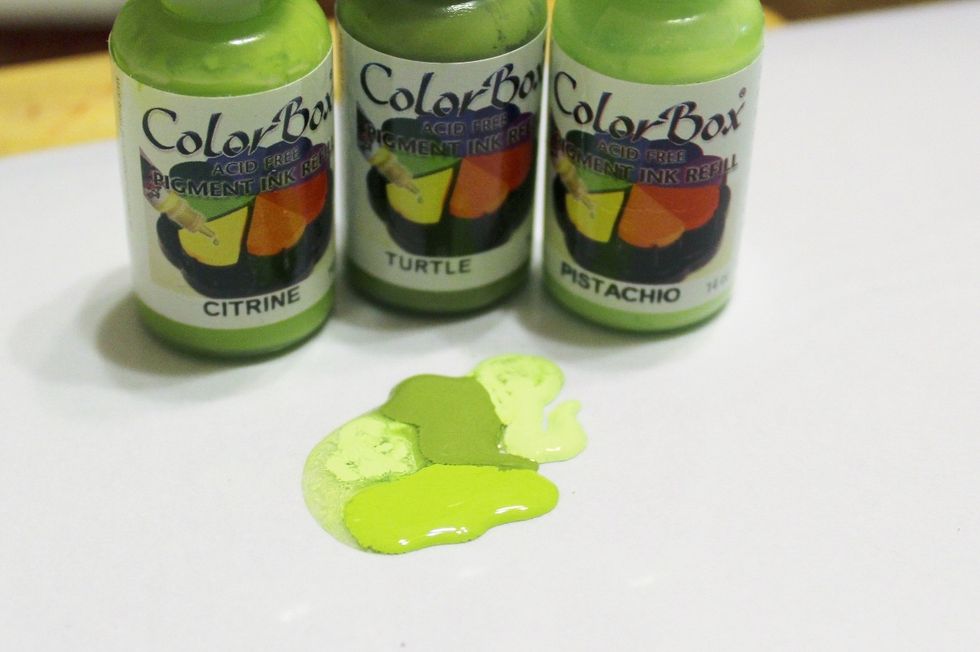
use a clean sheet from the Inking Palette to add "blobs" of Citrine, Turtle and Pistachio Pigment Inks and blend using a cleaned Color Wheel. use excess ink and Color Wheel to make green background...
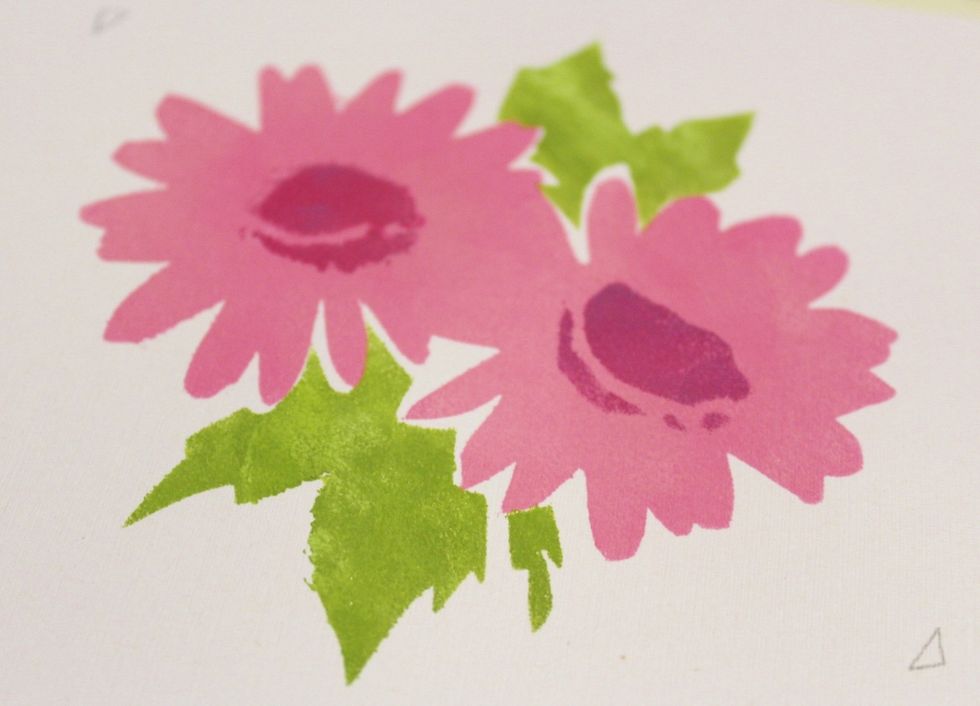
tape on leaves stencil, matching registration marks. then ink leaves using a clean tip with the Stylus and heat set...
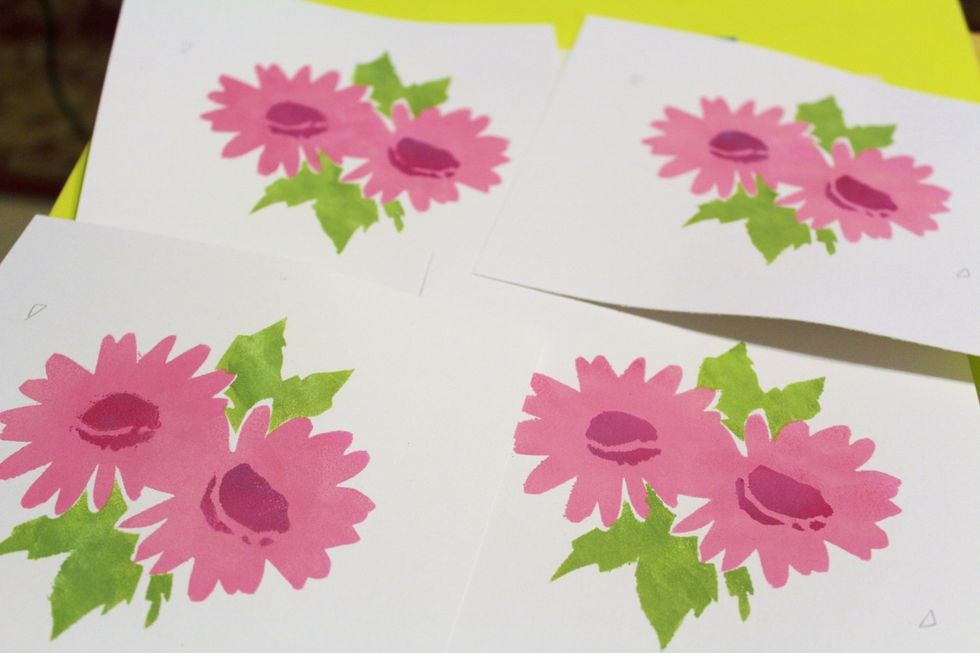
fiinished flower sheets...
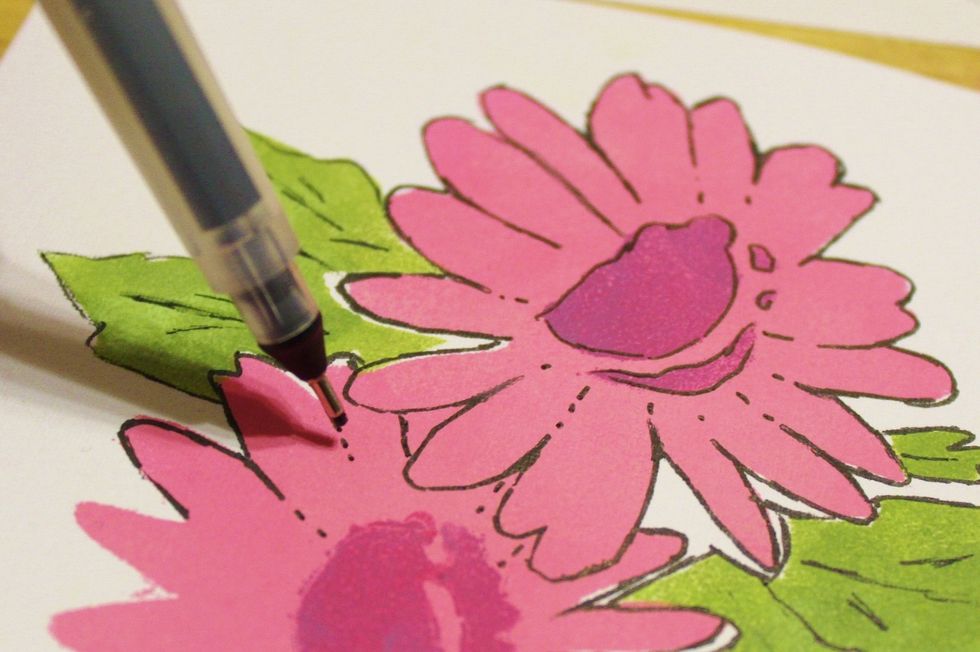
use fine tipped black pen to loosely outline stenciled flowers...
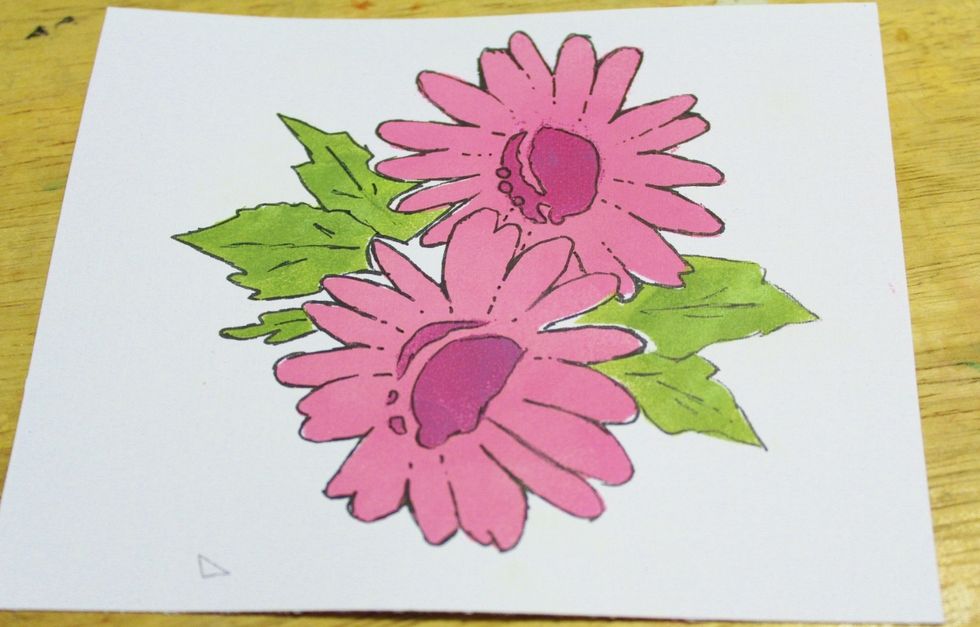
outlined design...
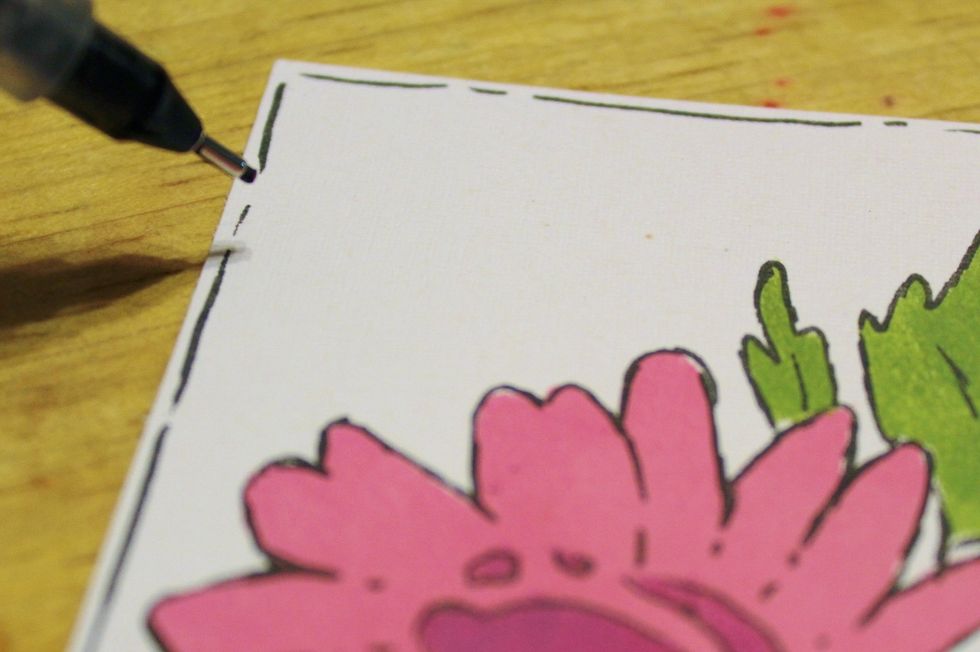
trim flower piece to measure about 4" X 4 1/4", then loosely outline around all edges...
heat set and then trim background papers to 4" X 5 1/2"...
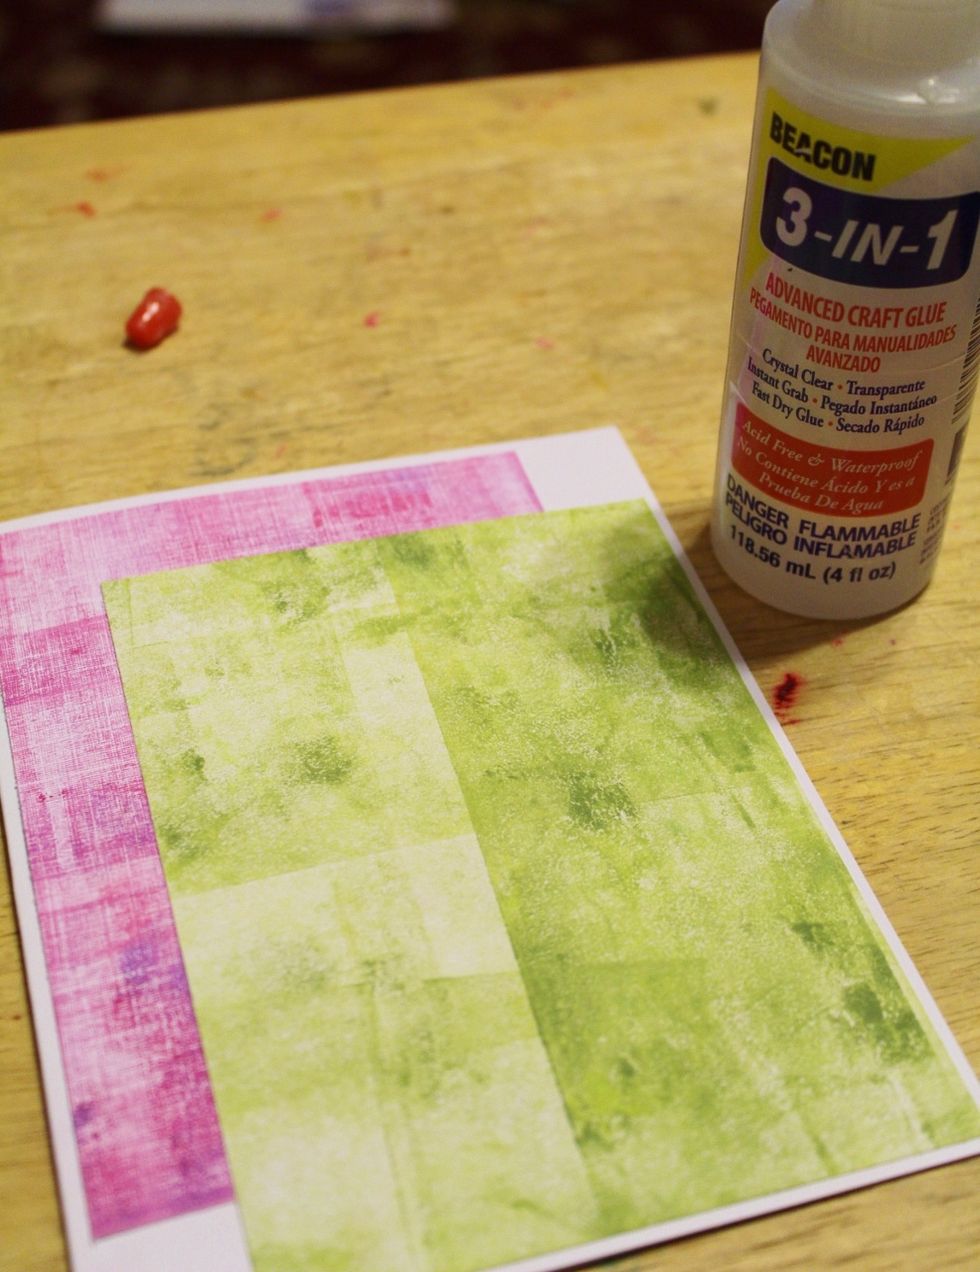
adhere pink background, then green background to front of blank card...
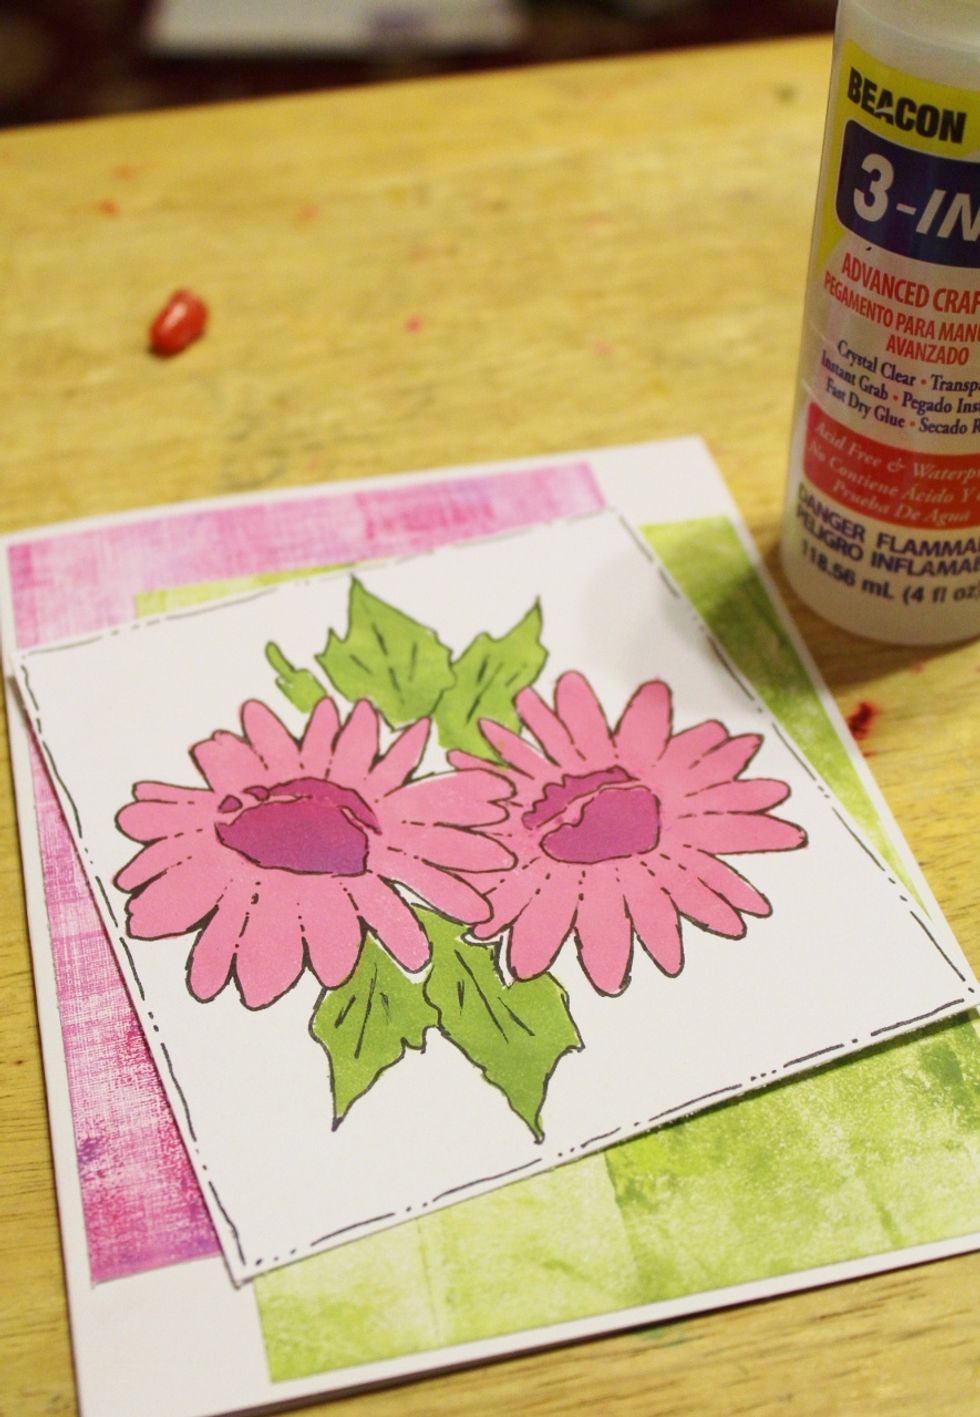
adhere stenciled flower piece at an angle to card front...
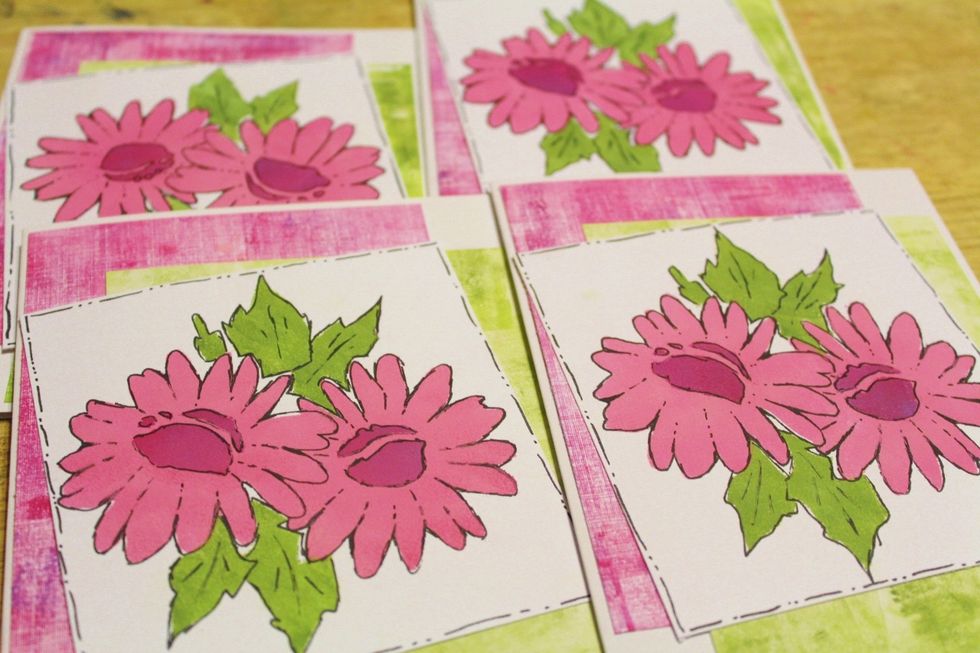
finished note card set...
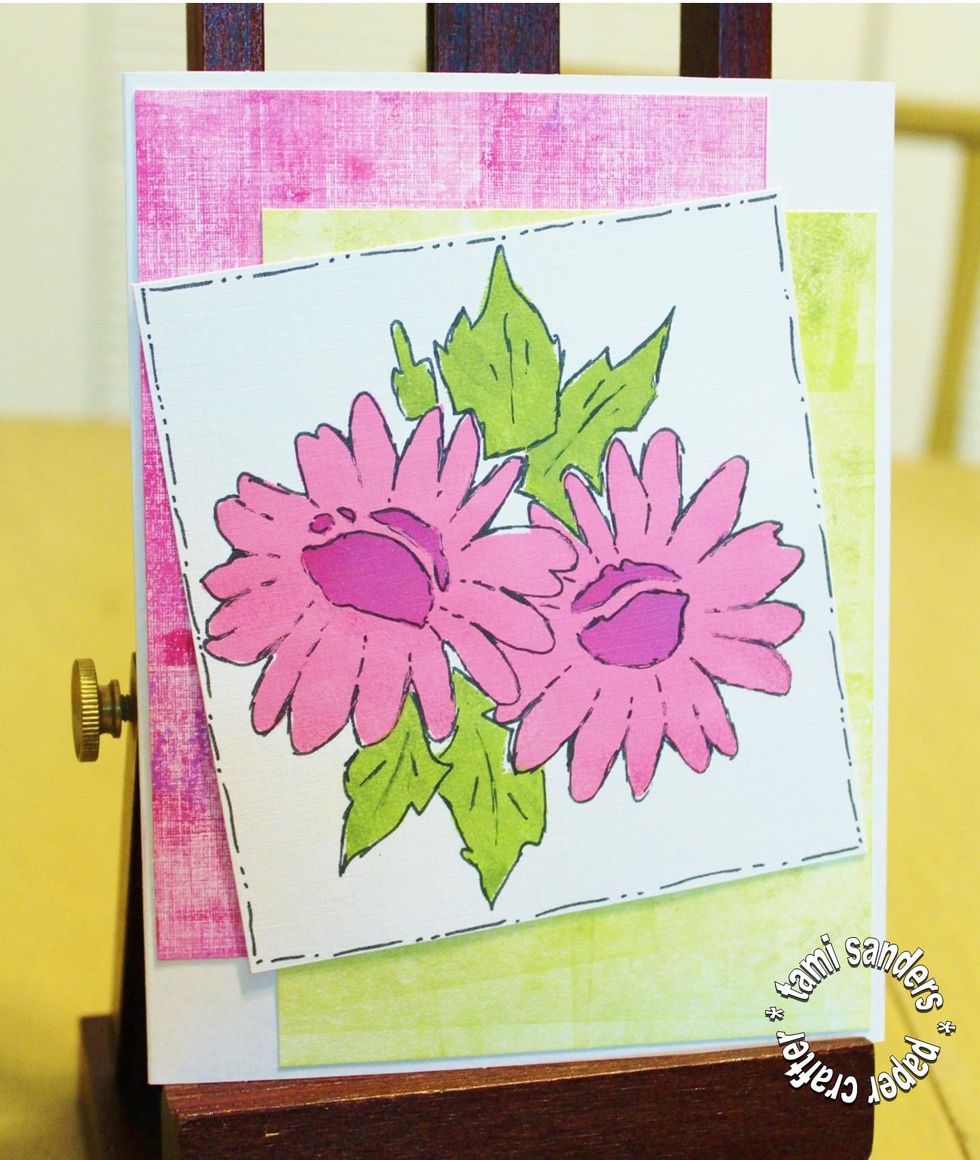
finished card...
please visit www.grafix.com for a complete list of products available as well as sample projects... you can view other projects by Tami Sanders on her website tamisanders.com