The Conversation (0)
Sign Up
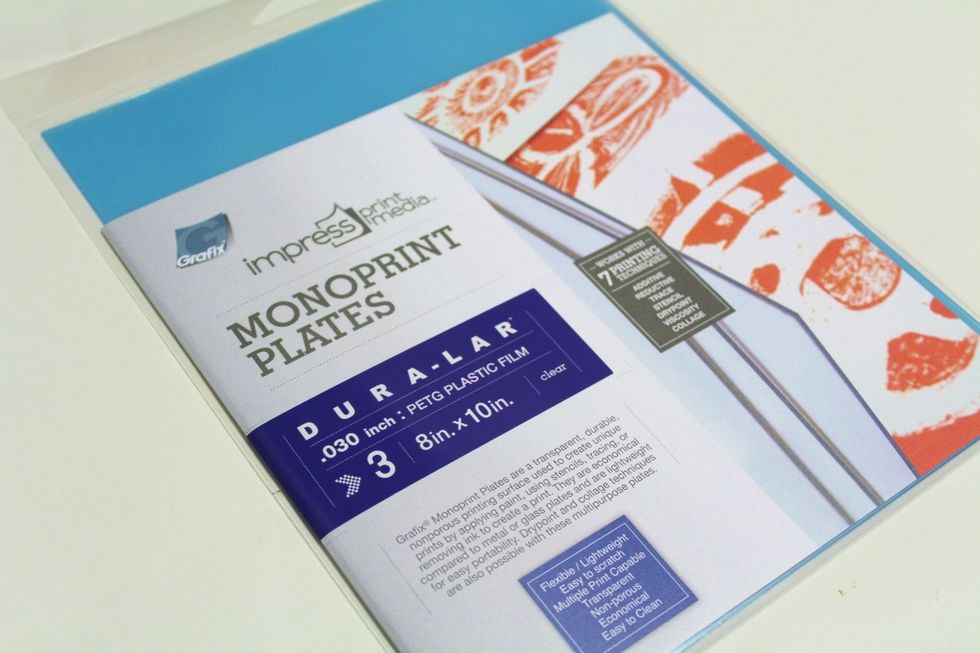
MONOPRINT PLATES from Grafix are an economical alternative to glass or metal plates. durable & reusable for use with: additive, reductive, trace, stencil, drypoint, viscosity or collage monoprinting.
3 - 8 X 10 sheets come in a pack. the sheets are covered with a protective blue film on the front and the back...
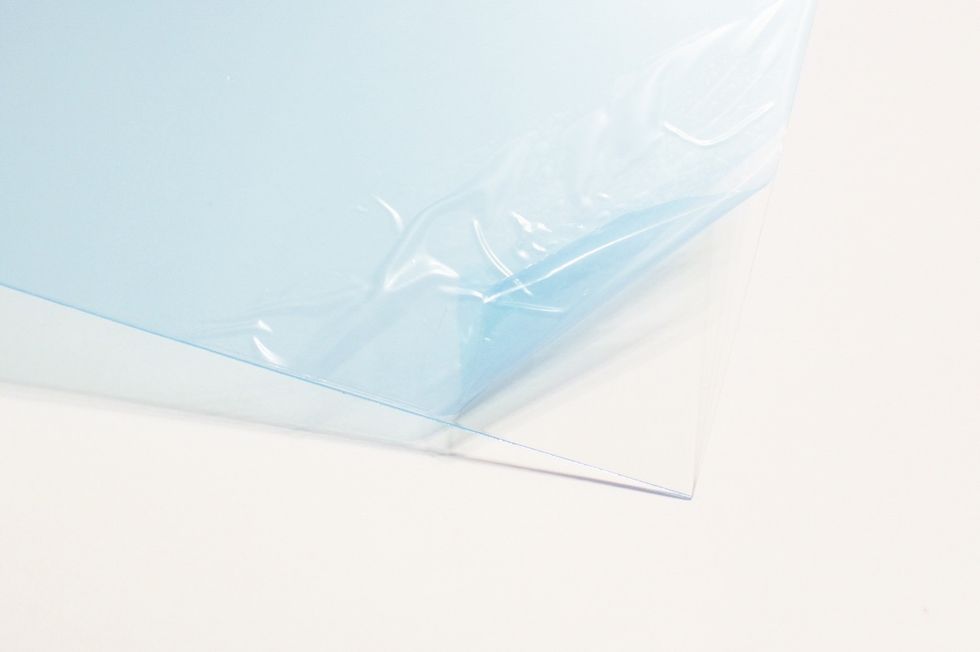
remove protective film from the front and the back of the plate...
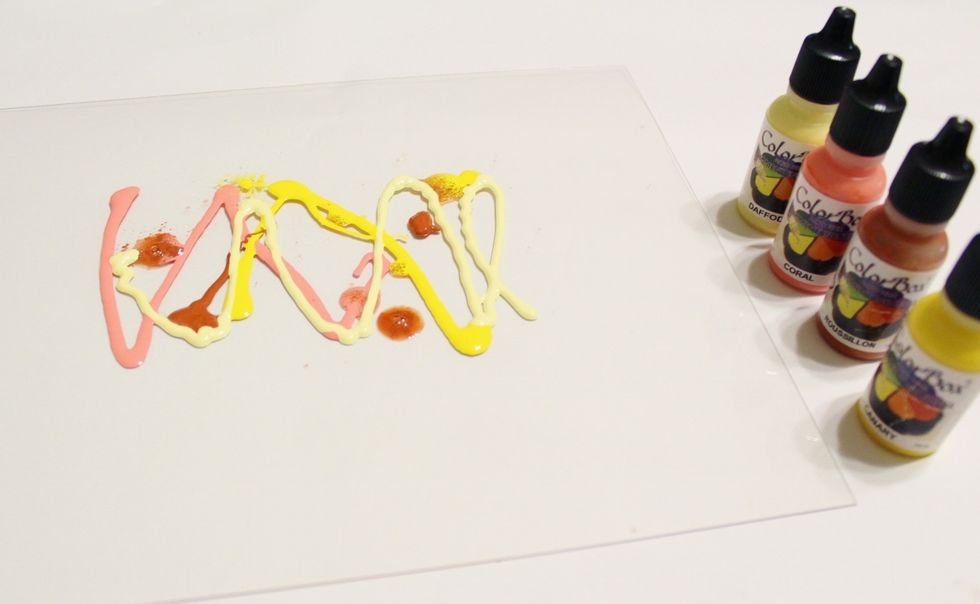
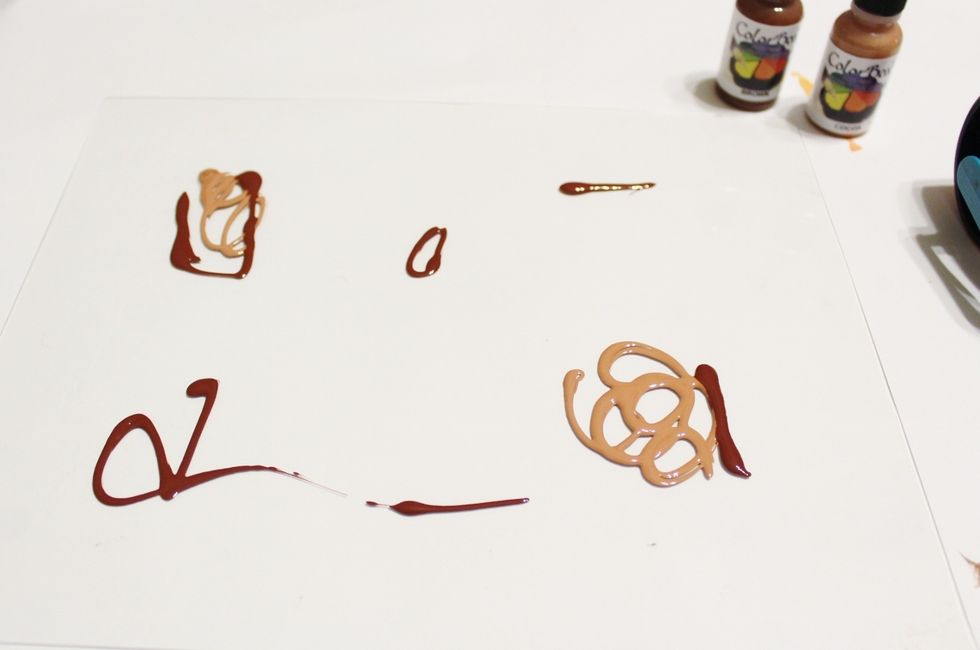
add swirls of ink to the Plate...
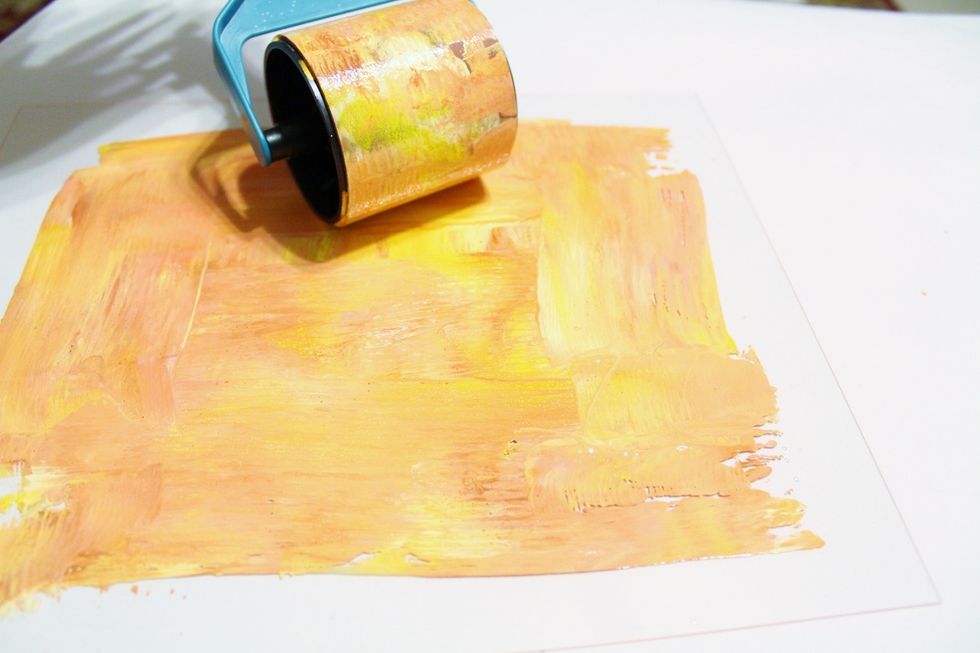
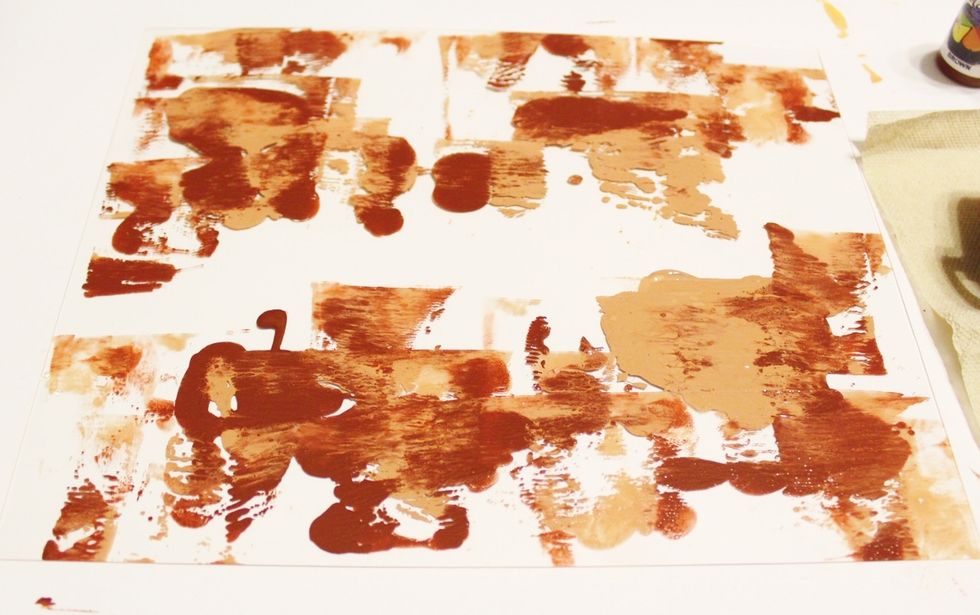
use Color Wheel and Handle to gently blend inks and spread over Plate...
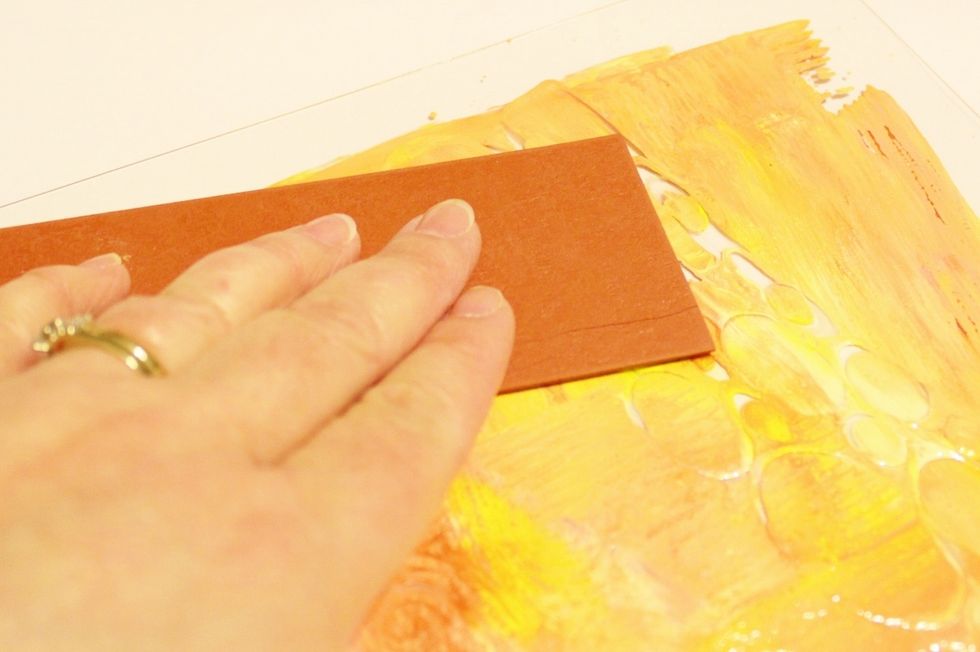
press Molding Mats into ink to create patterns...
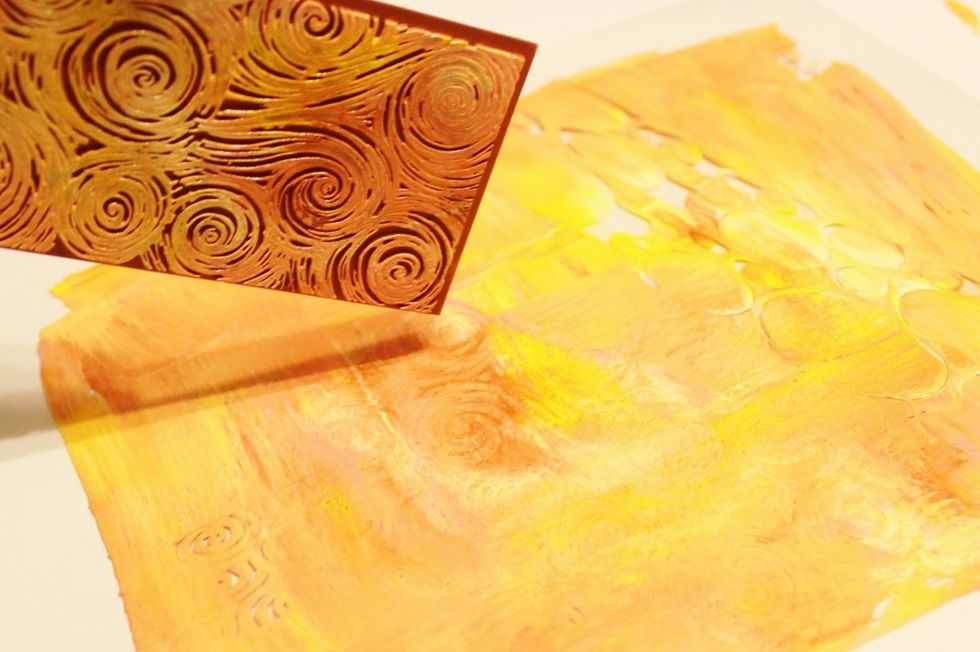
don't waste the ink impressed on the Molding Mats, press the mat to paper to create more prints to use on other projects...
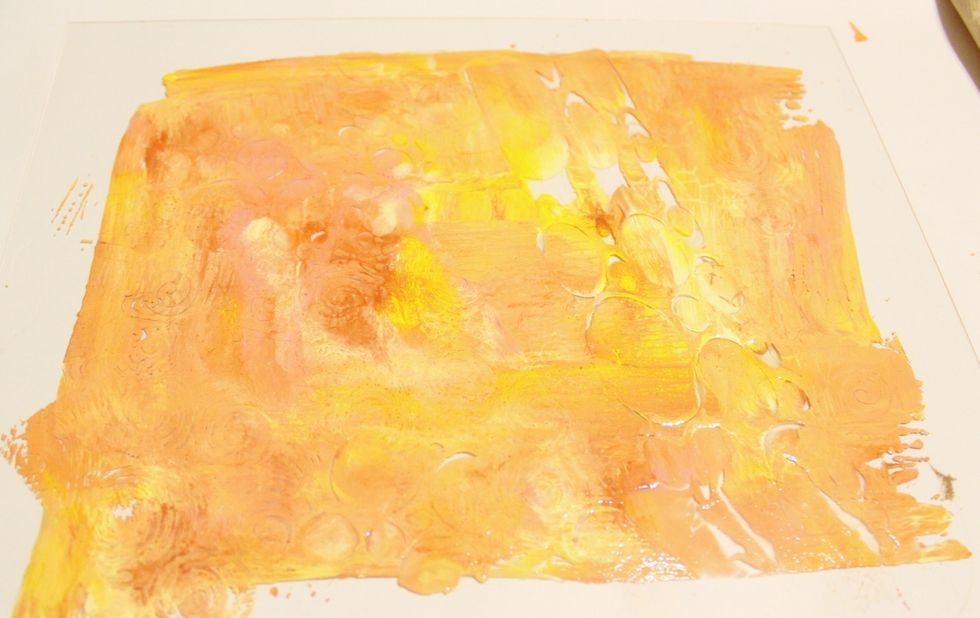
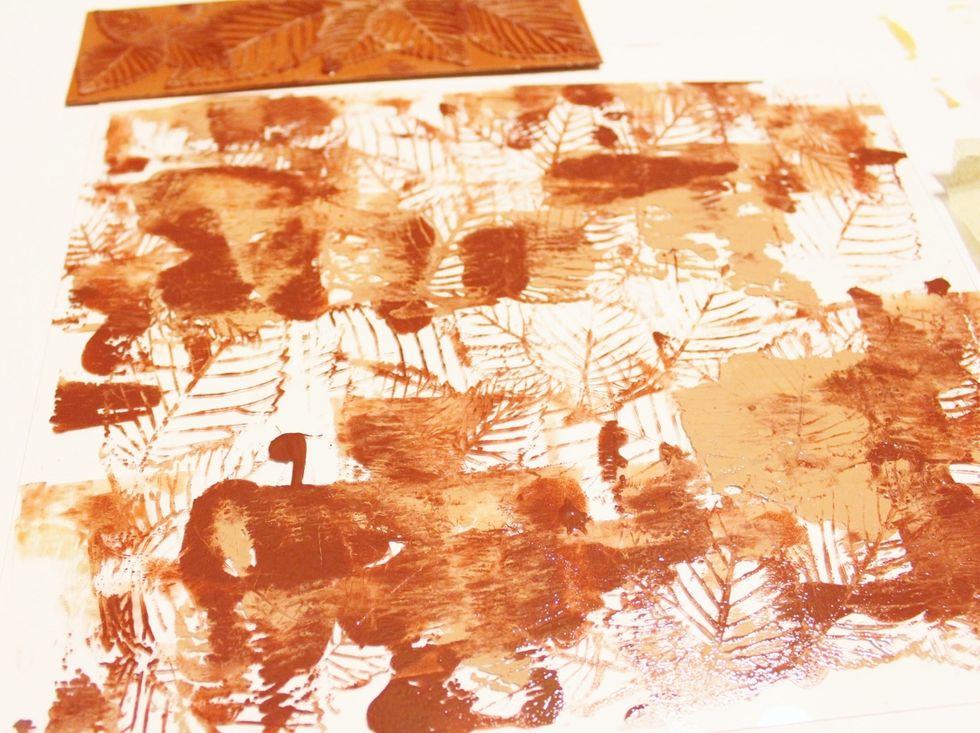
Plate after impressing with several Molding Mats...
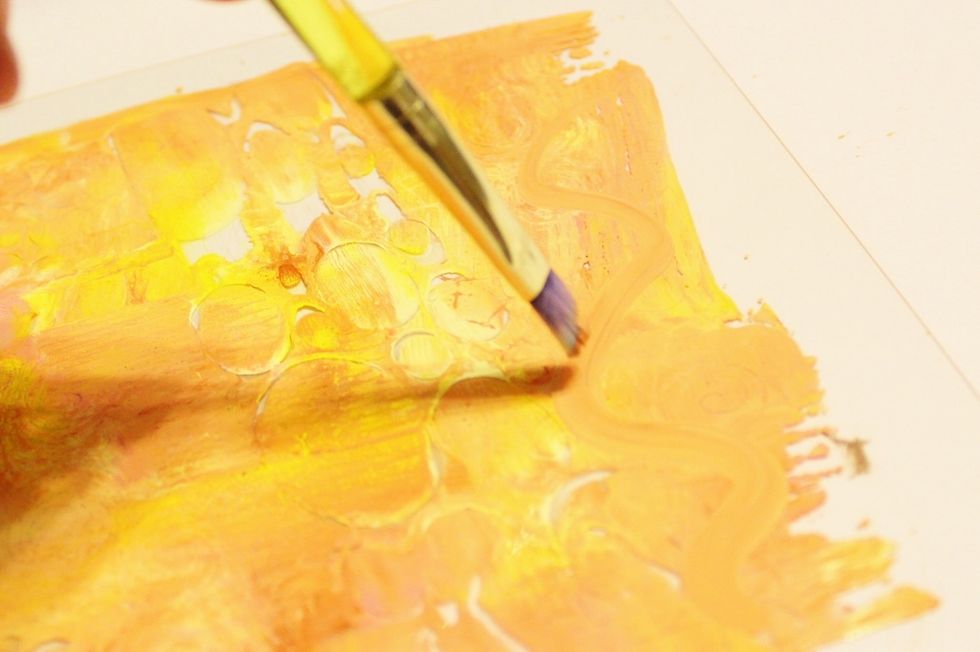
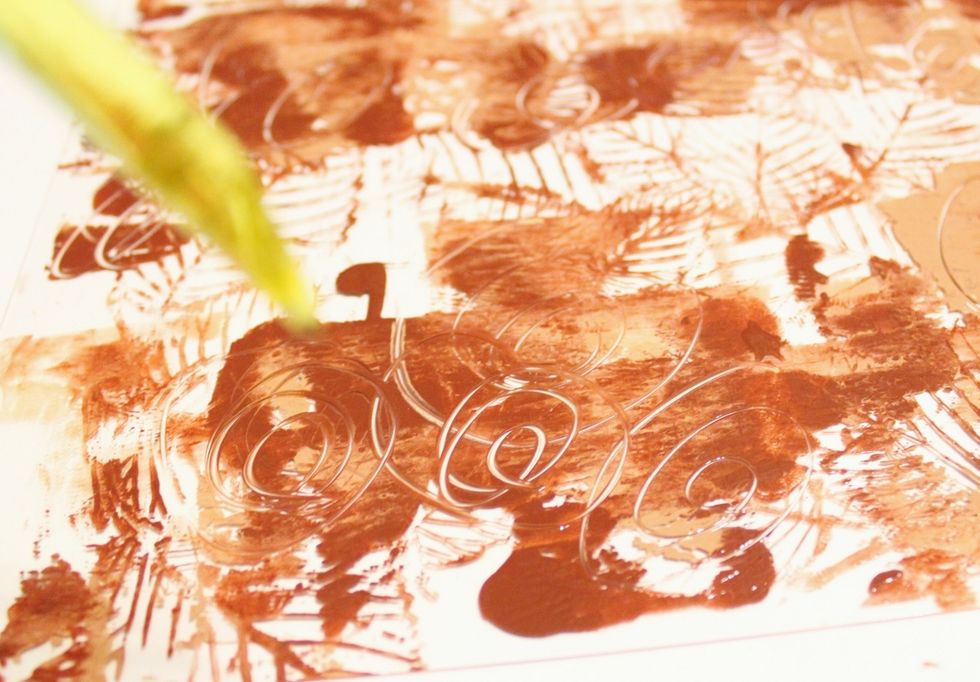
use a paintbrush to add hand drawn accents on Plate...
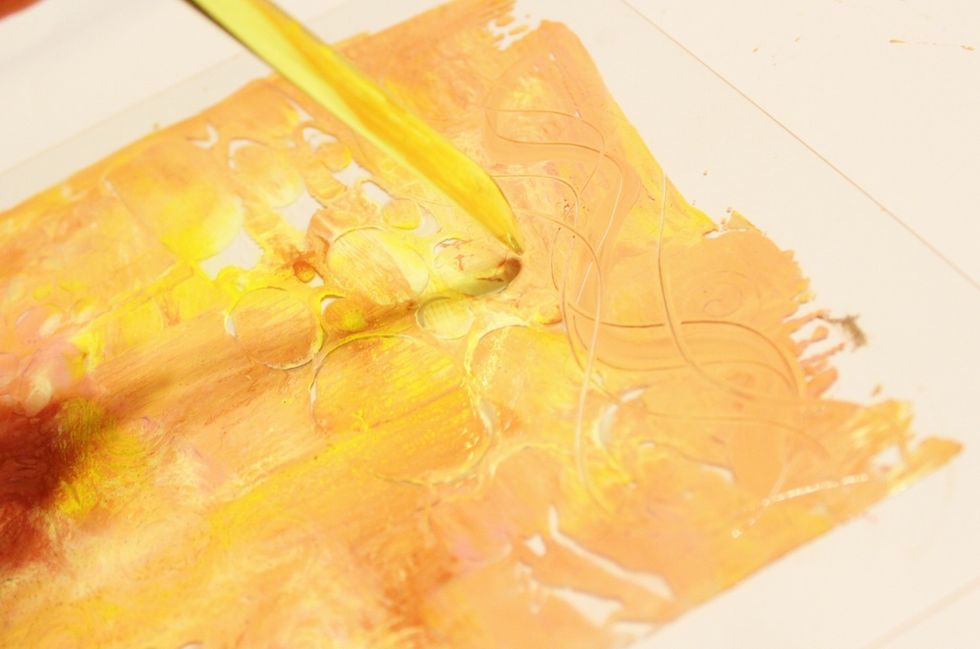
you can also use the end of the paintbrush to draw designs...
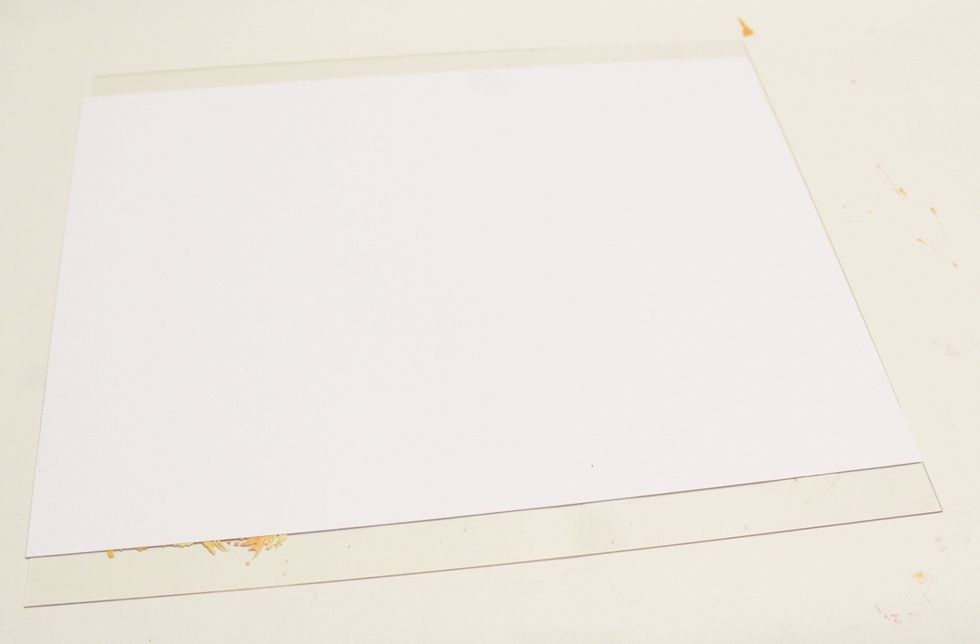
lay cardstock over Monoprint Plate...
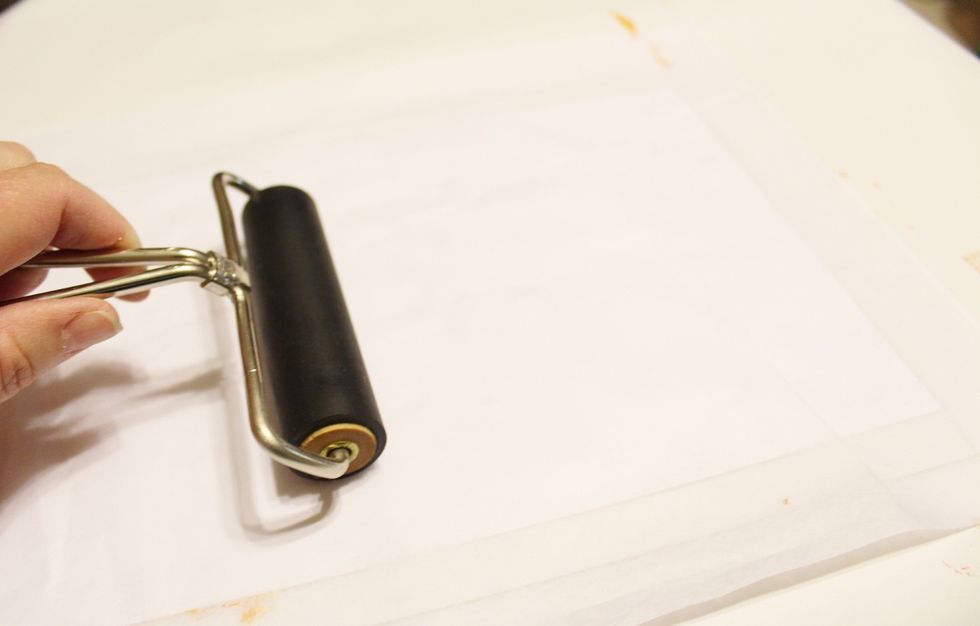
top with coversheet and then use brayer to press ink to paper...
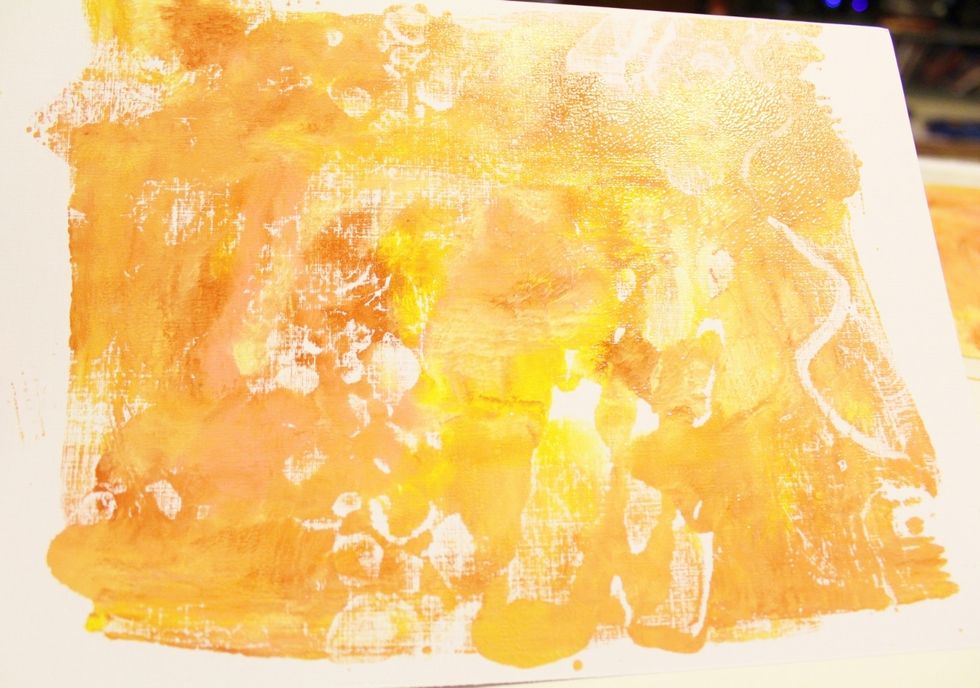
print made; heat set inks...
clean Plate to prepare for next layer. add inks in a few spaces on Plate...
use Color Wheel to spread ink on Plate, but don't cover the entire surface...
use Molding Mats to impress and restamp images on Plate...
add swirl designs using end of paintbrush...
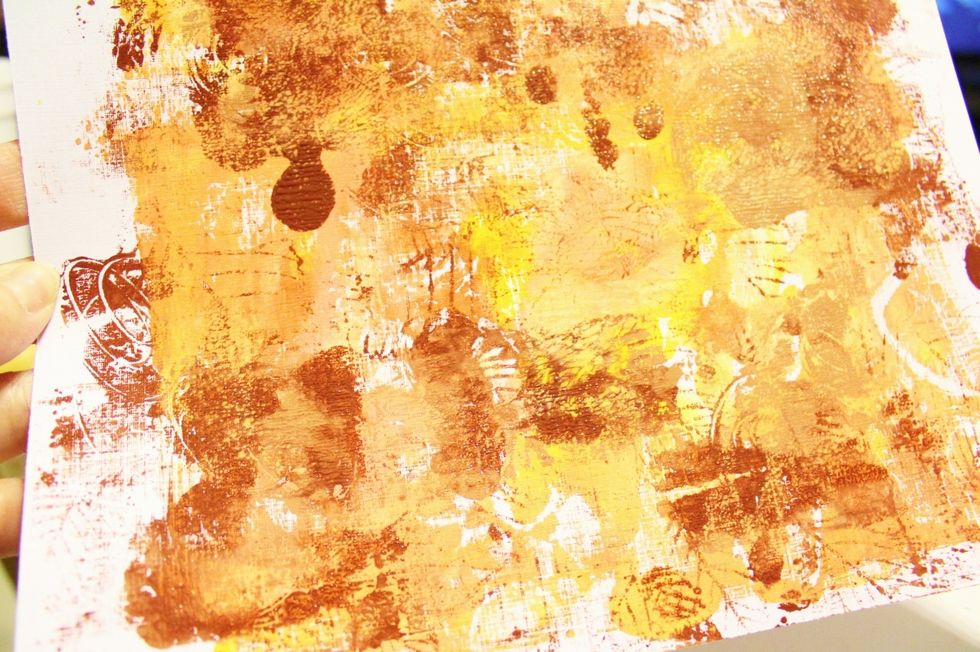
impress design to cardstock as before to create second layer; heat set...
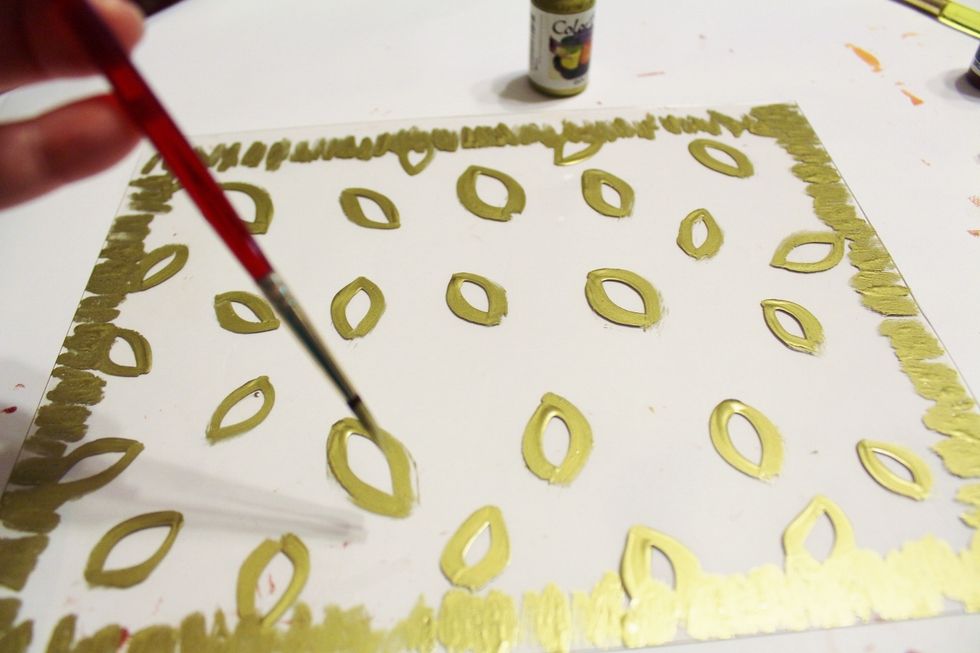
clean Plate and use paintbrush and Gold Ink to create leaf designs on Plate...
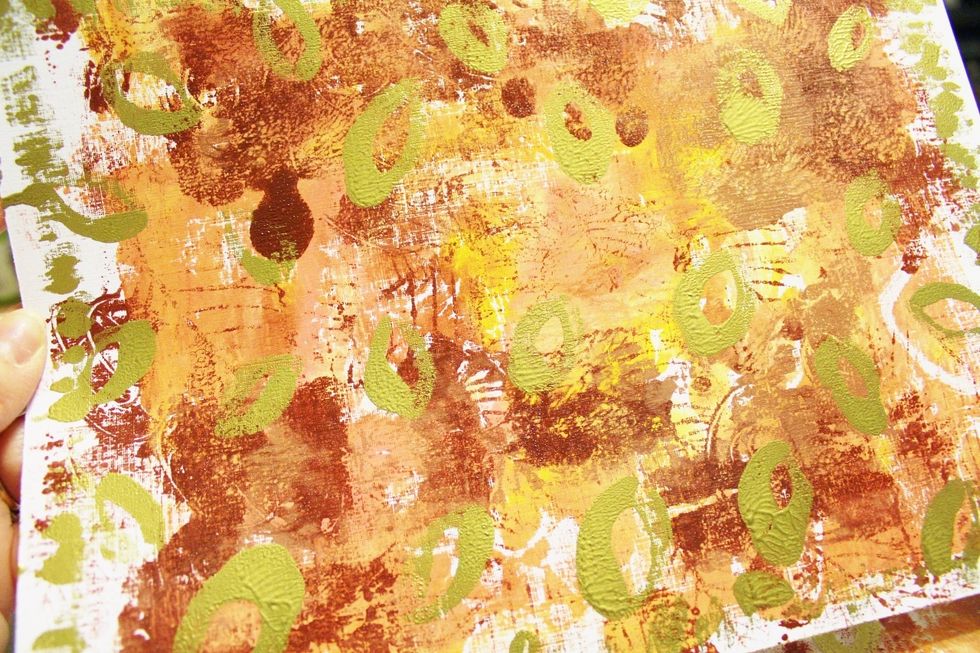
impress paper again to add third and final layer to paper; heat set...
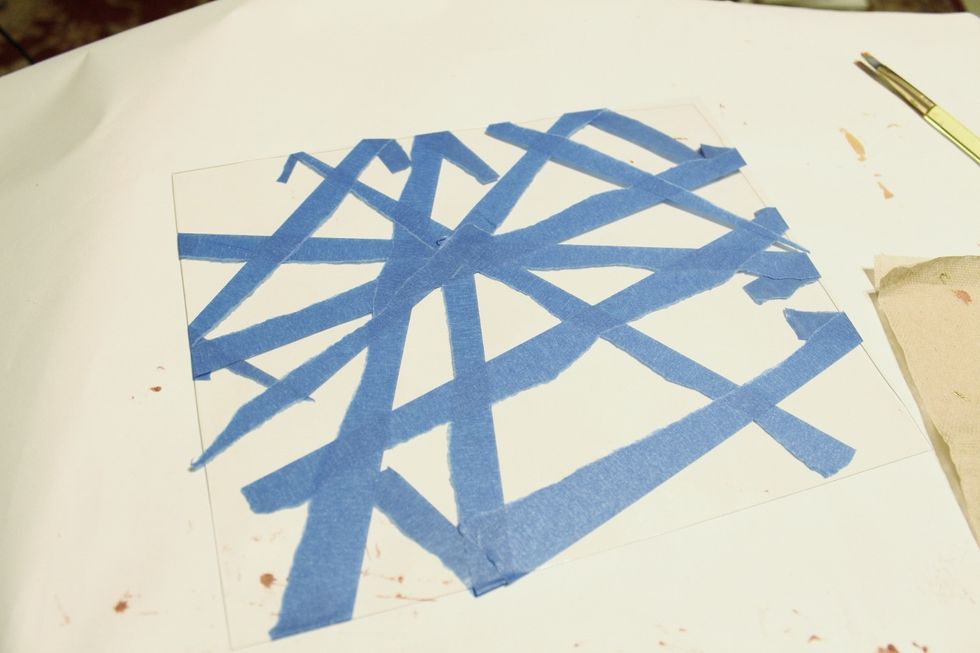
begin making second paper... clean Plate and tear and apply strips of blue painters tape to it...

add swirls of inks, spread and blend using Color Wheel...
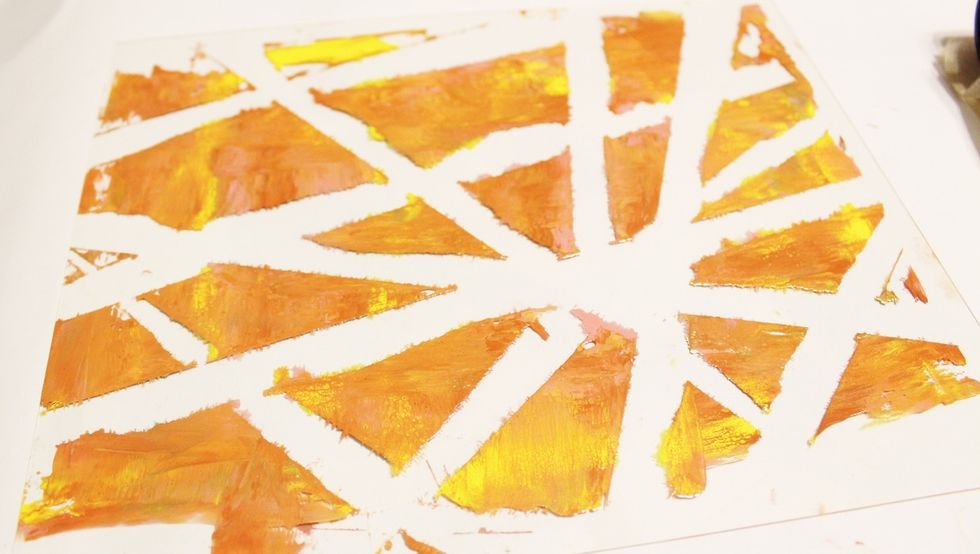
remove tape from Plate...
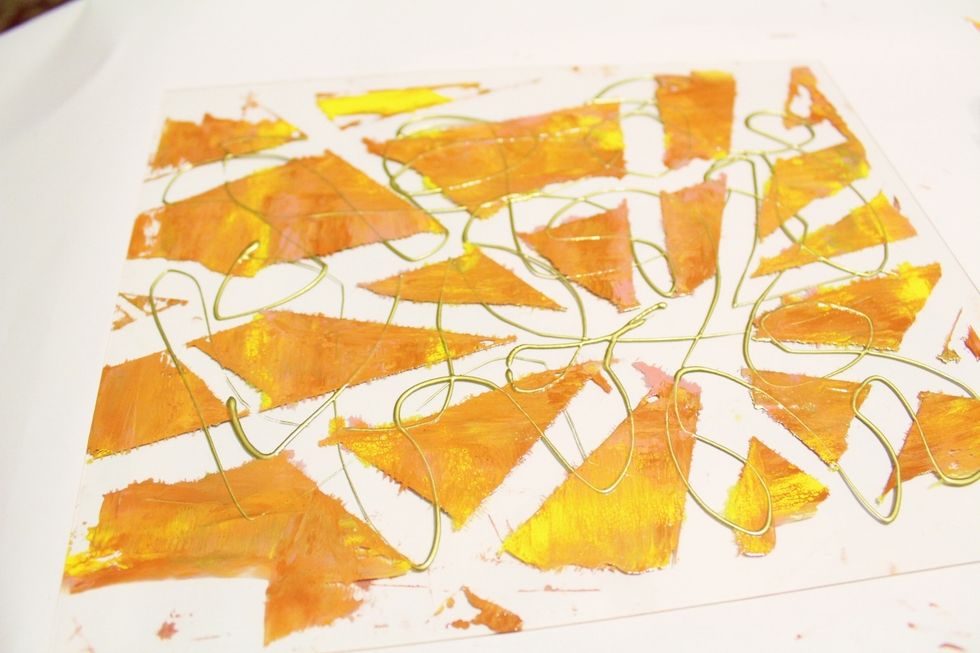
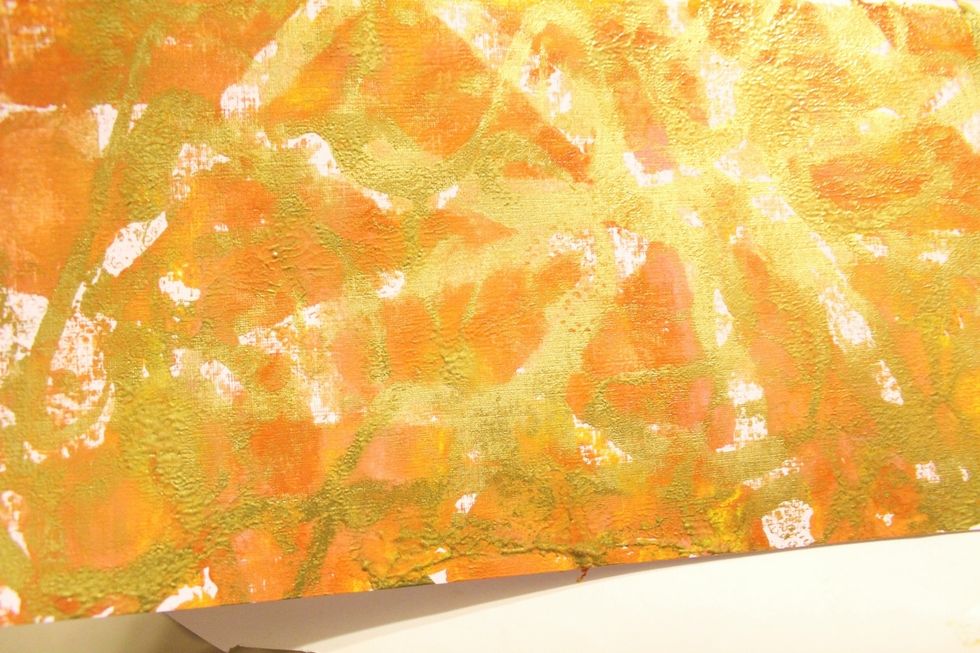
add swirls of Gold Ink to Plate...
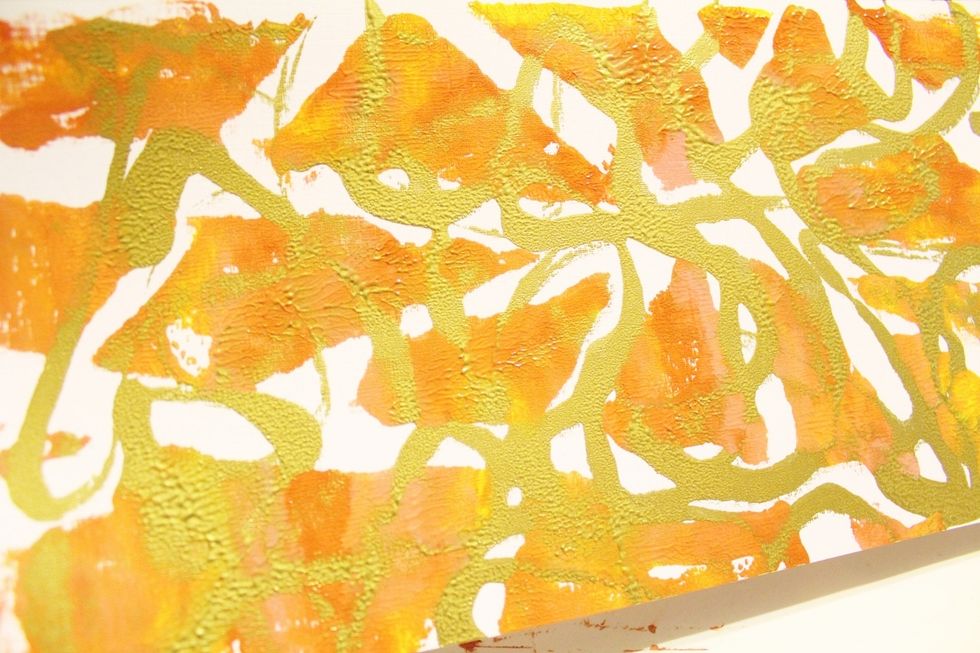
impress design onto white cardstock as before...
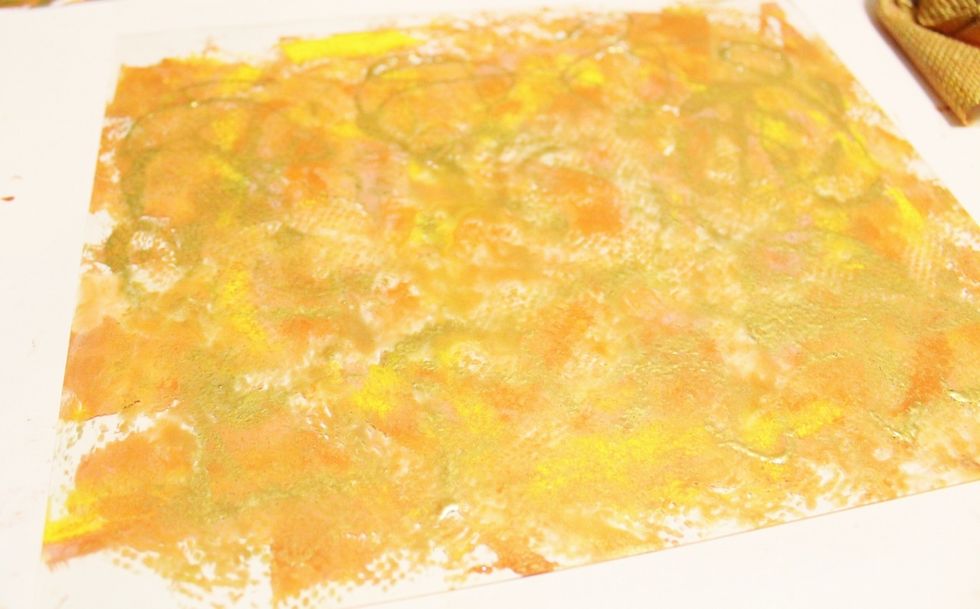
spritz Plate lightly with water, then dab with a textured paper towel...
impress as before to finish second paper; heat set...
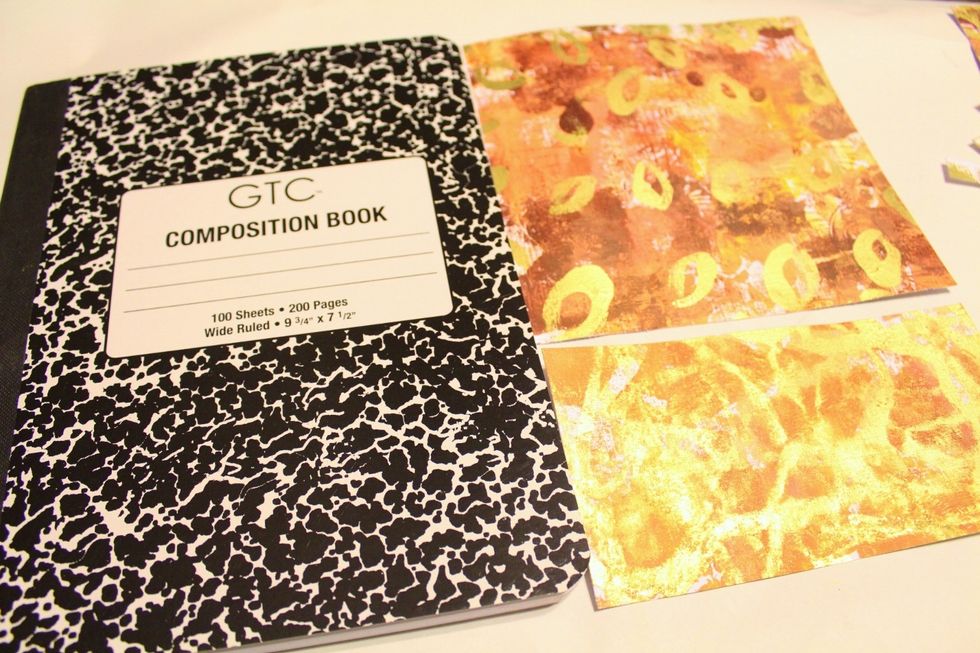
trim papers to fit composition book...
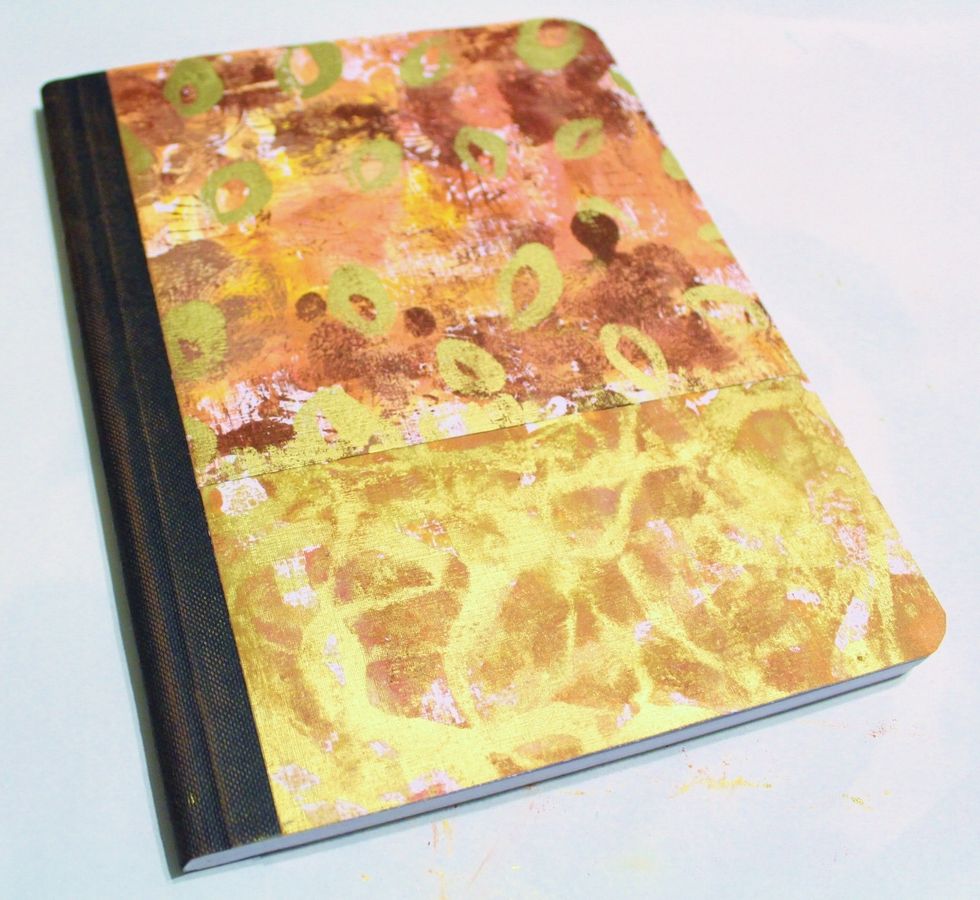
adhere papers to composition book...
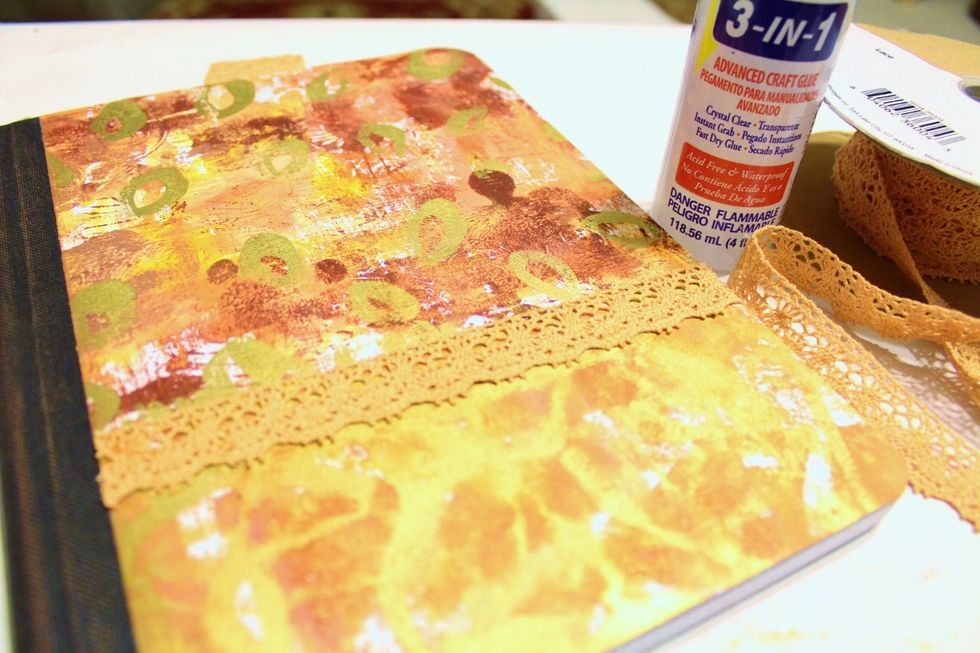
adhere lace where the papers meet...
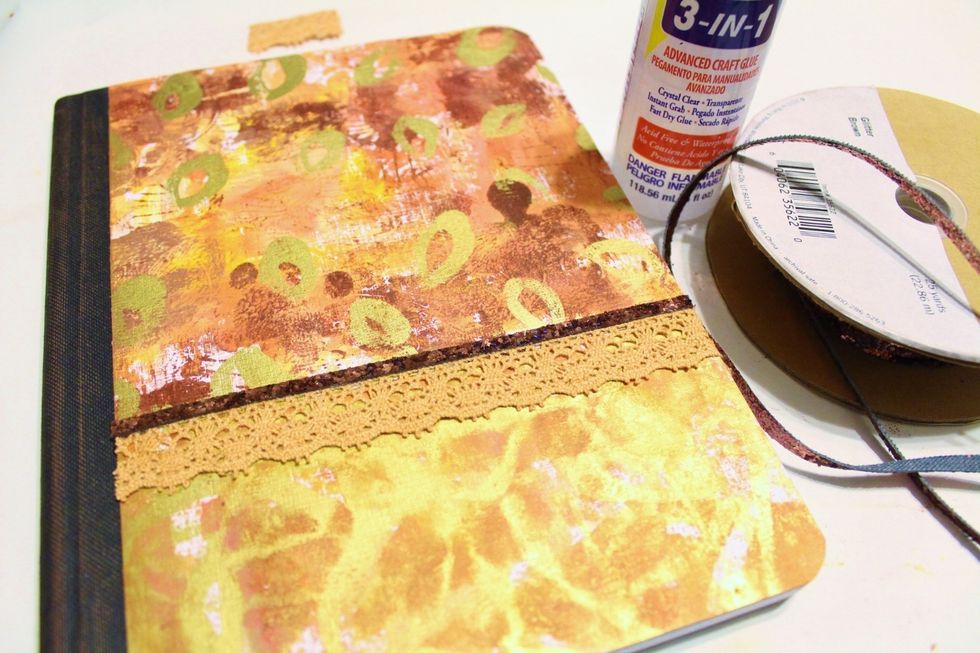
adhere metallic trim above lace...
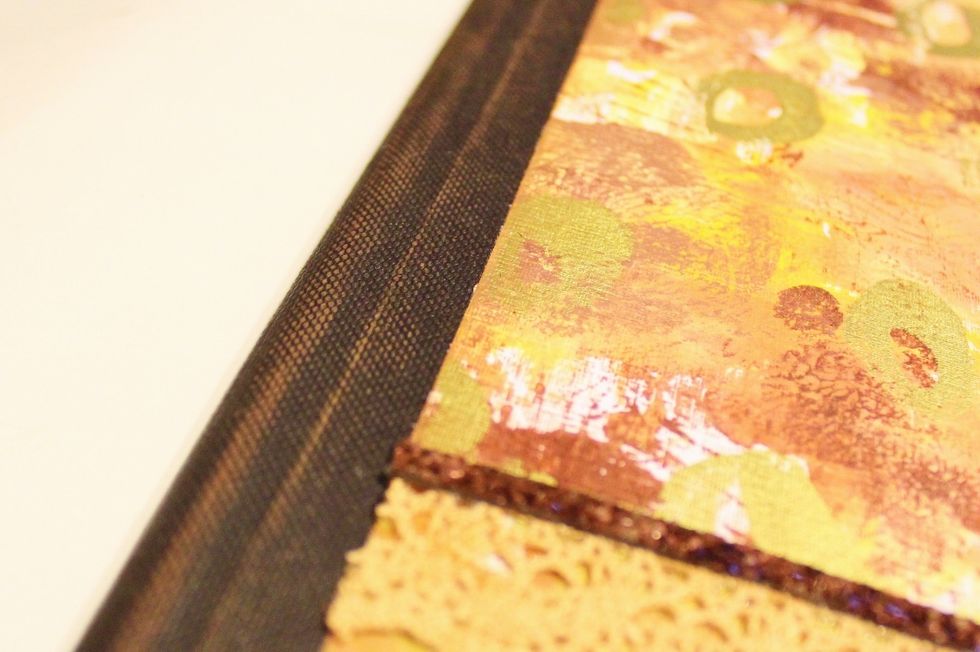
rub paper towel across spine to transfer some ink; heat set...
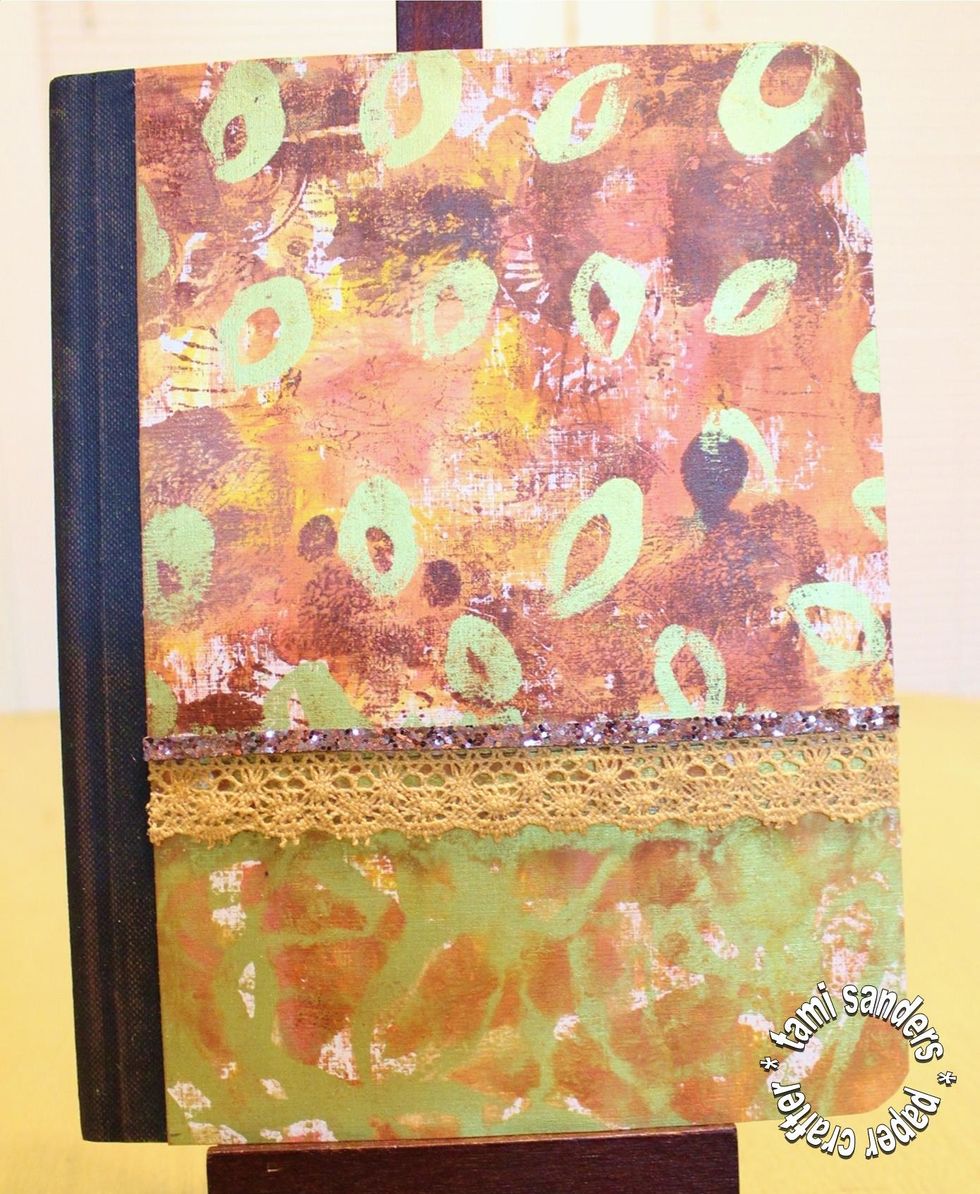
finished altered journal...
please visit www.grafix.com for a complete list of products available as well as sample projects... you can view other projects by Tami Sanders on her website tamisanders.com