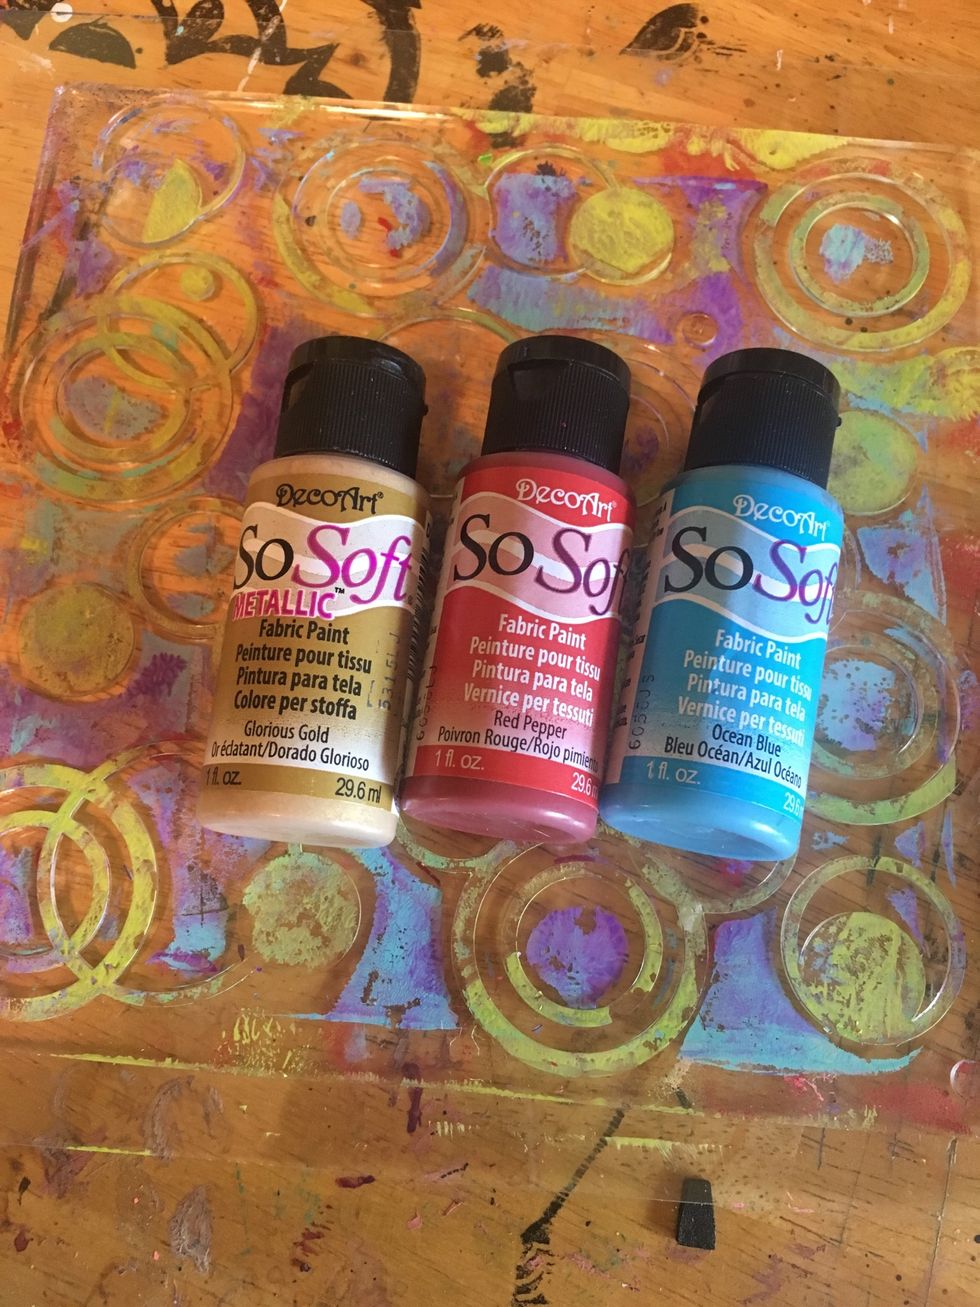
Cover Gel Press Impressable Overlapping circles with fabric paint using a brayer to obtain a thin layer.
It will be messy and fun! Lay your chosen fabric face down and rub the back. Lift the corner up slightly to make sure your the circles are to you liking. Repeat with a second piece of fabric.
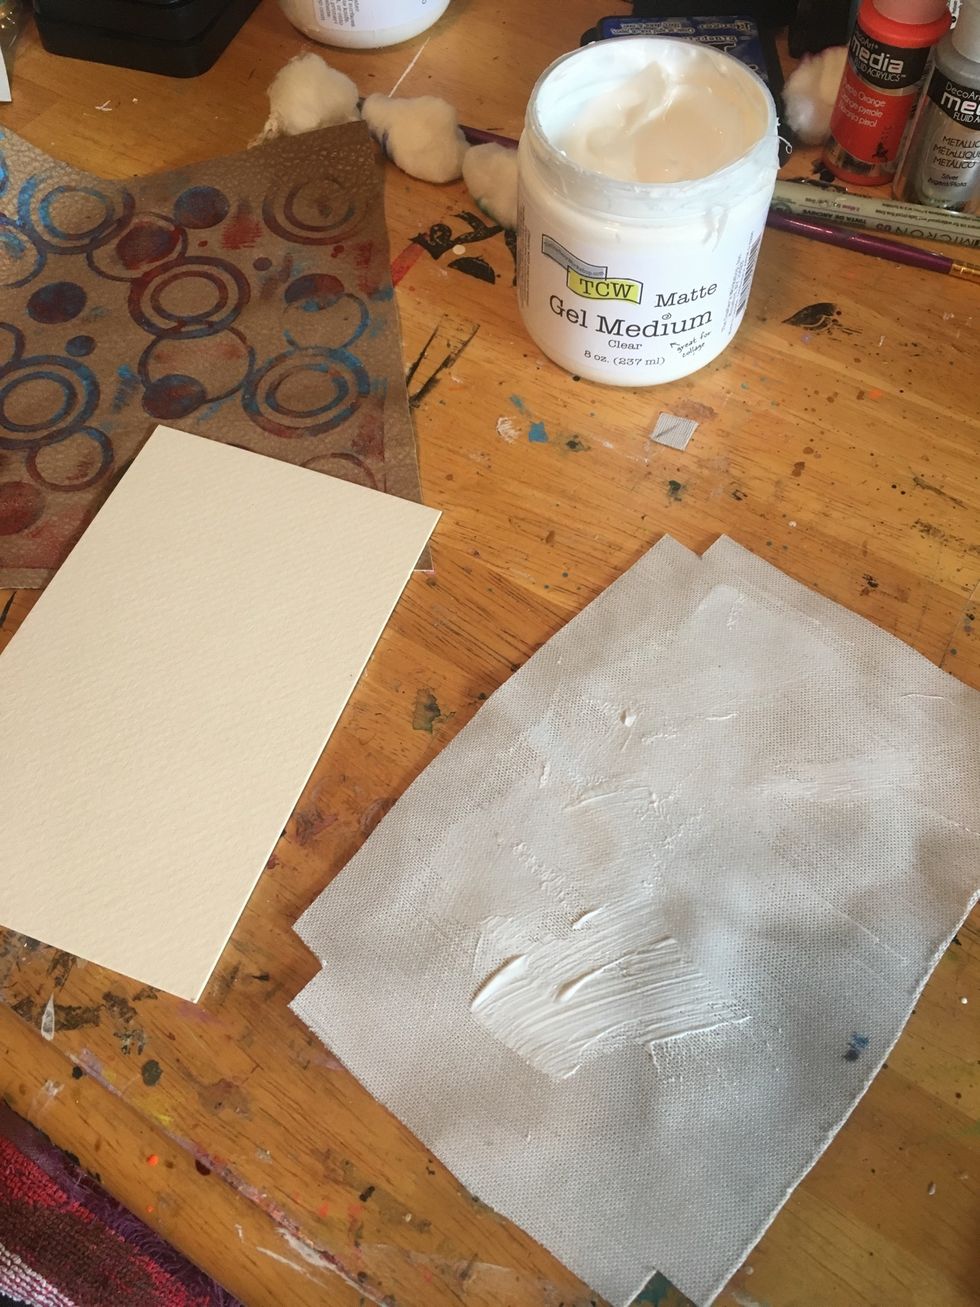
Cut your fabric just slightly bigger than your chipboard/cardboard cover and cut small notches out of the corners. Apply a thick coat of Matte Gel Medium to your fabric back
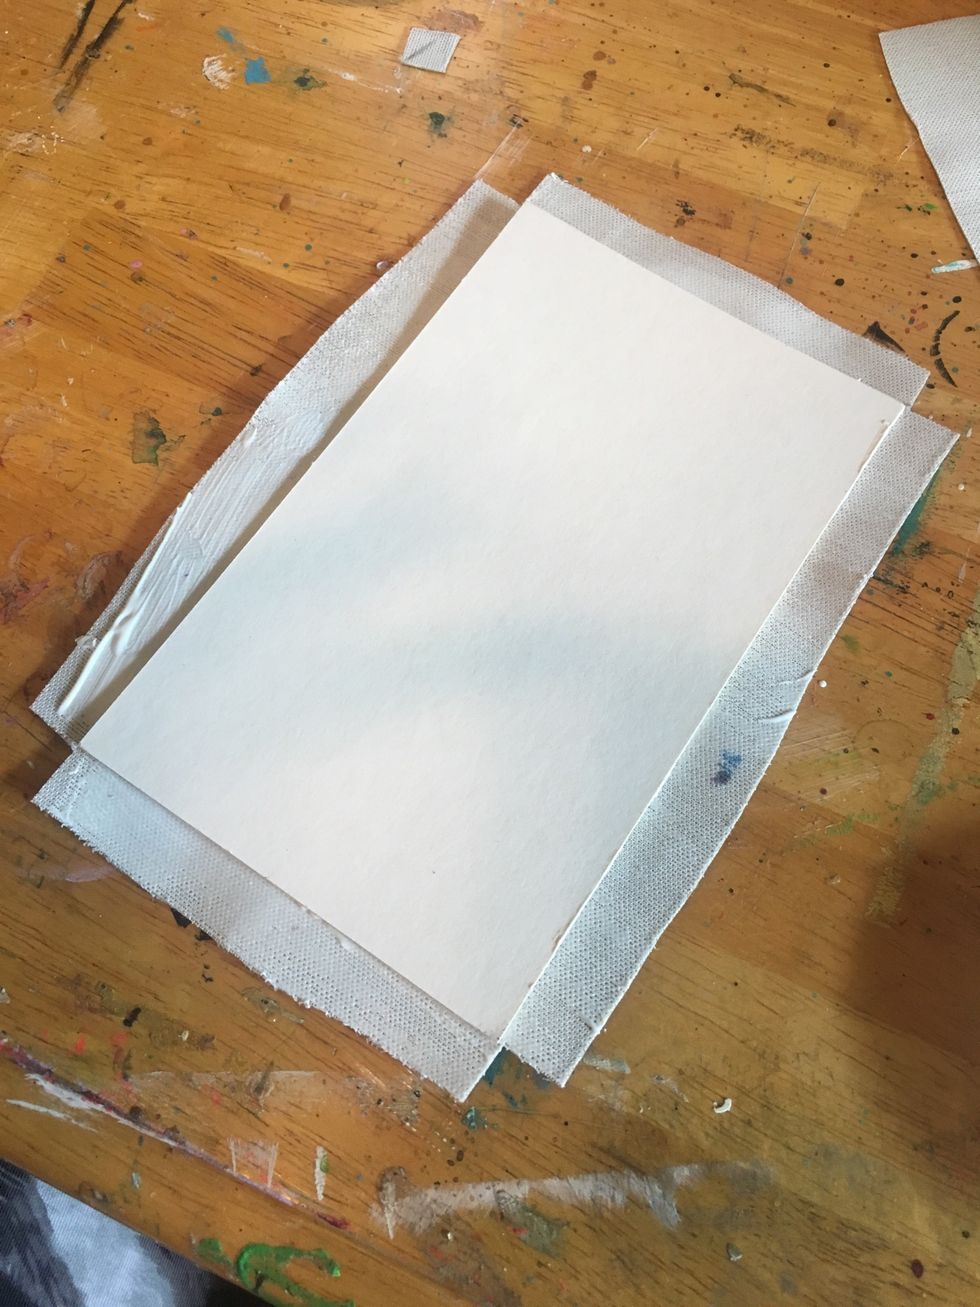
Line up your chipboard on top of your fabric.
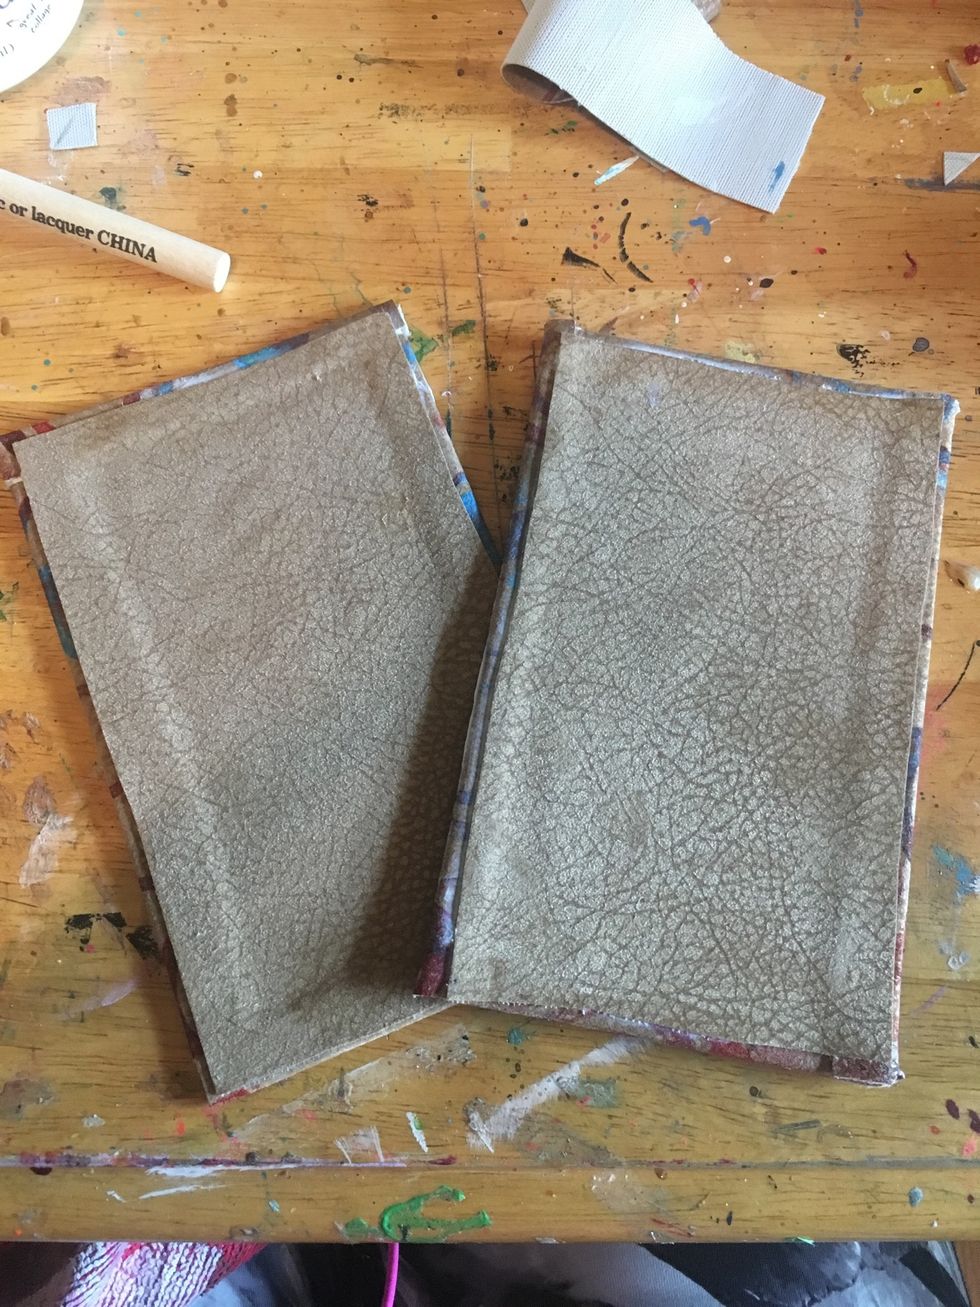
Apply more matte gel medium and fold your sides in going side, then other side, then top, then bottom. Apply more matte gel medium as needed.
Repeat for you back cover and then cover the insides of your album with another piece of fabric, using your matte gel medium.
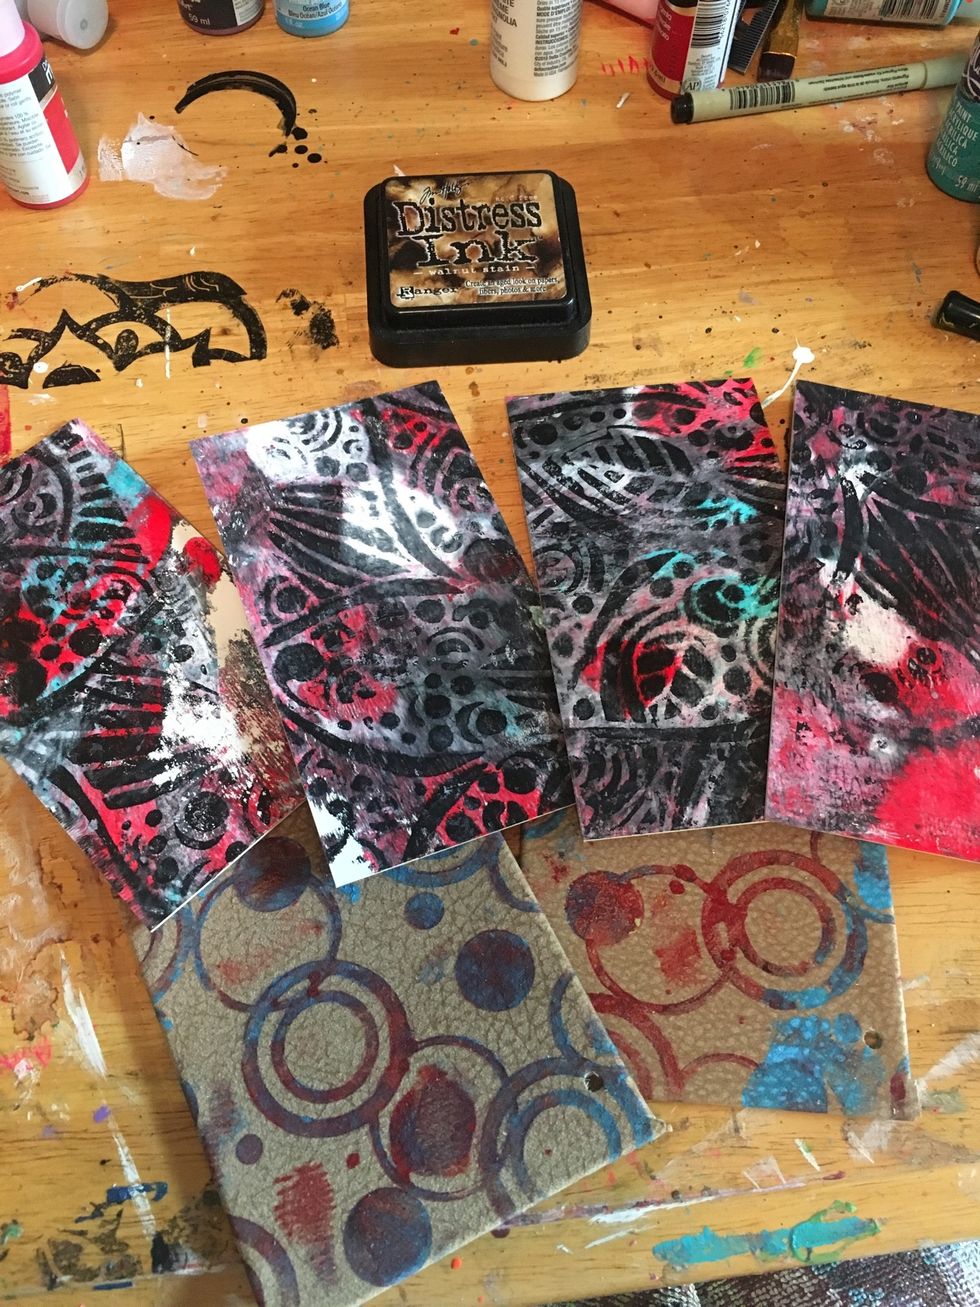
I love the way my Gel Press Impressable allows me to make funky color combos easily!
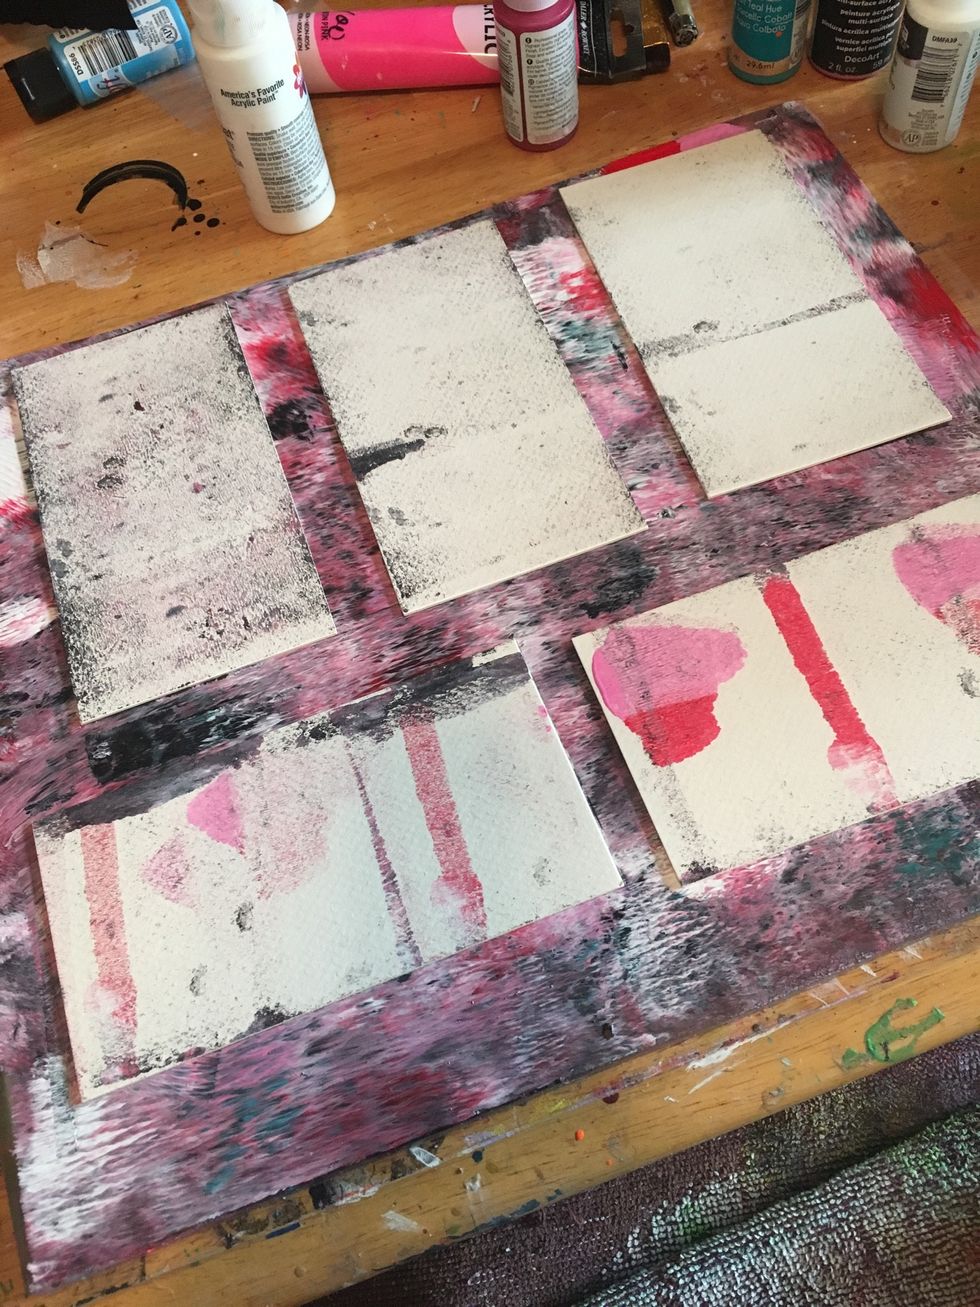
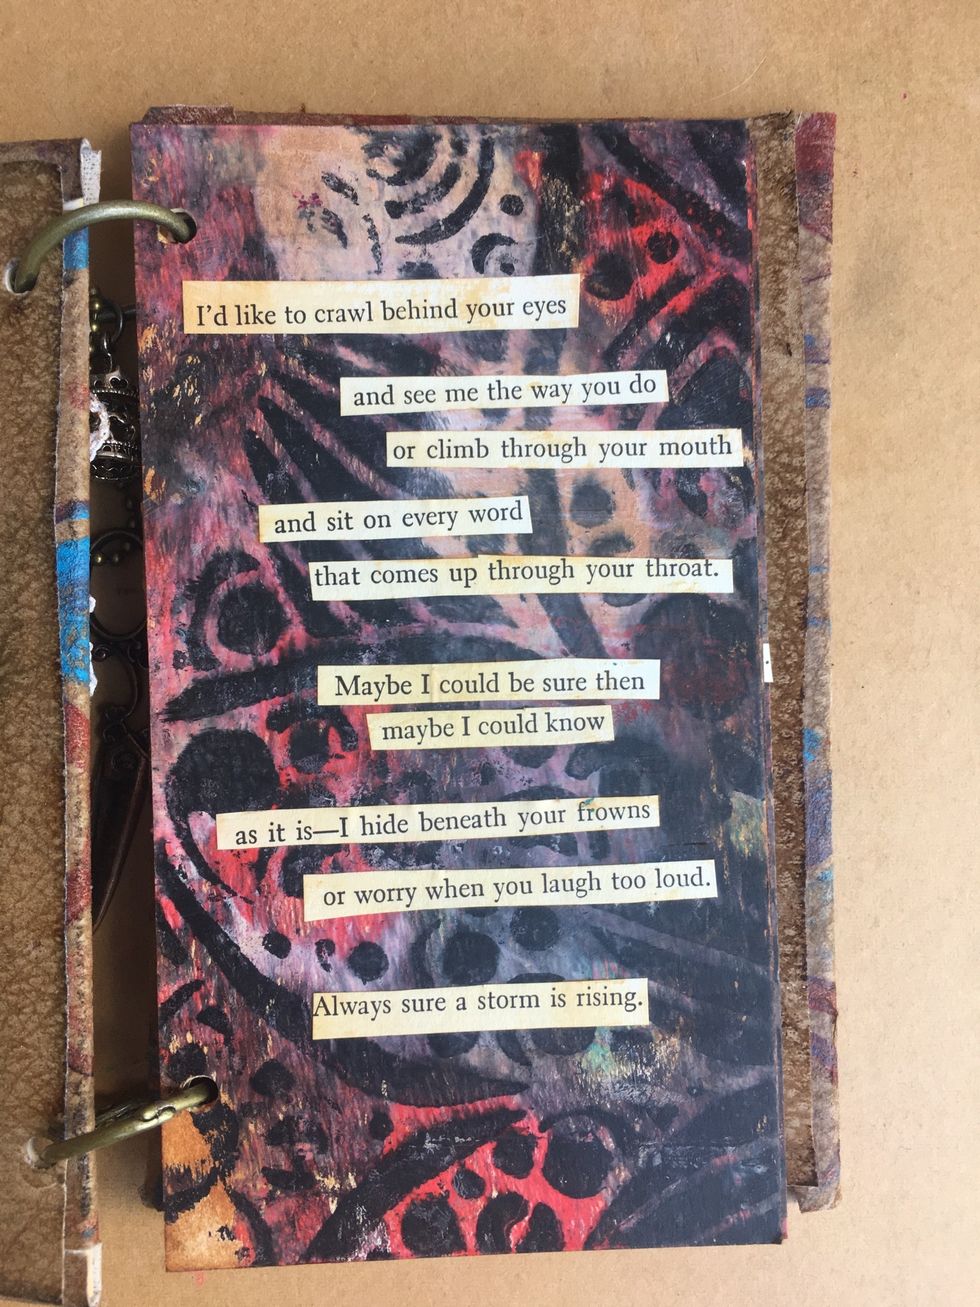
For my inside pages, I turned pages from a poetry book I have into strip journaling. Page 1
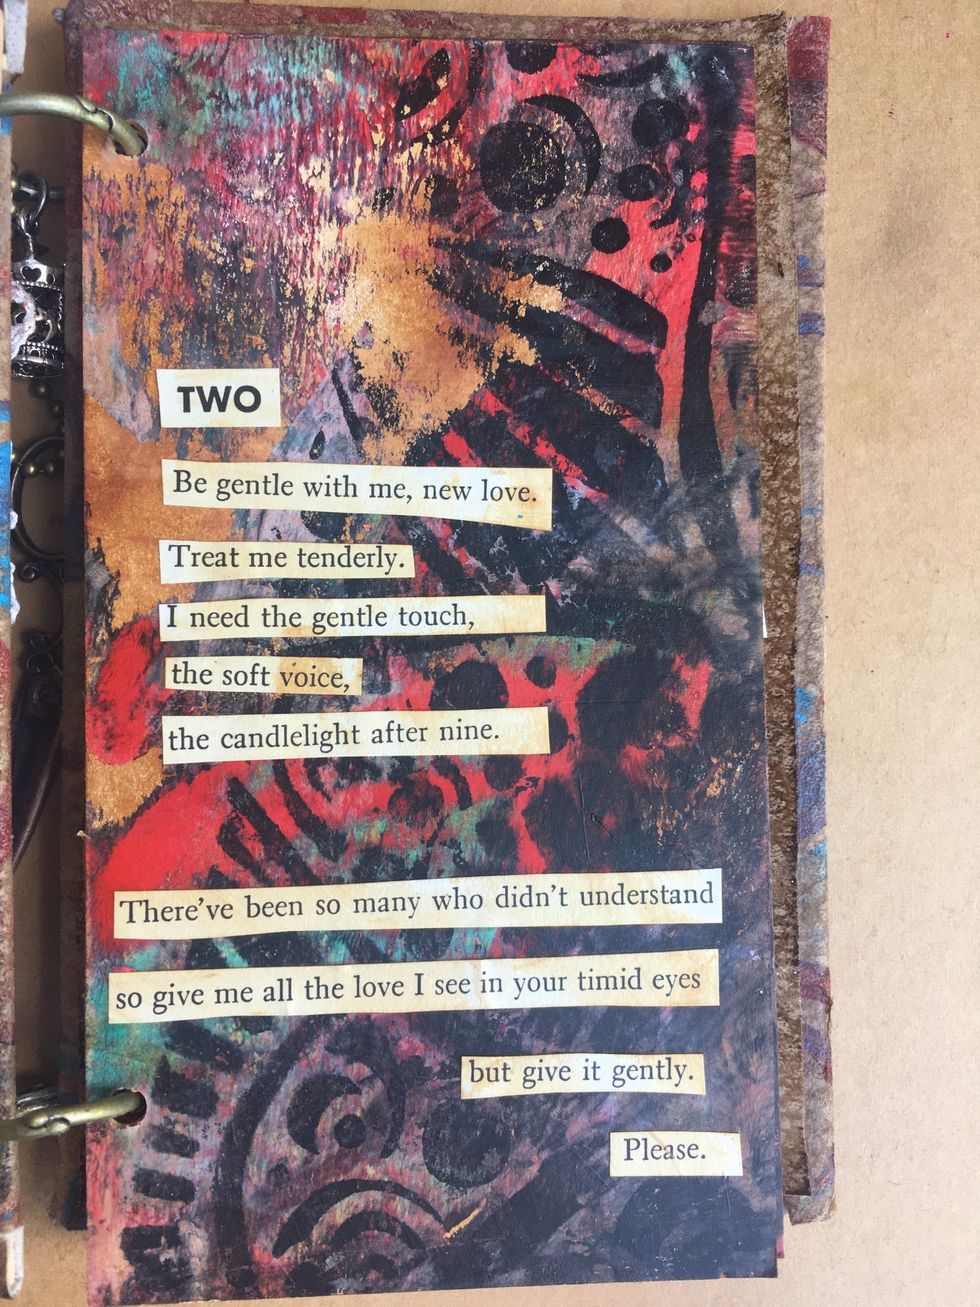
Page 2
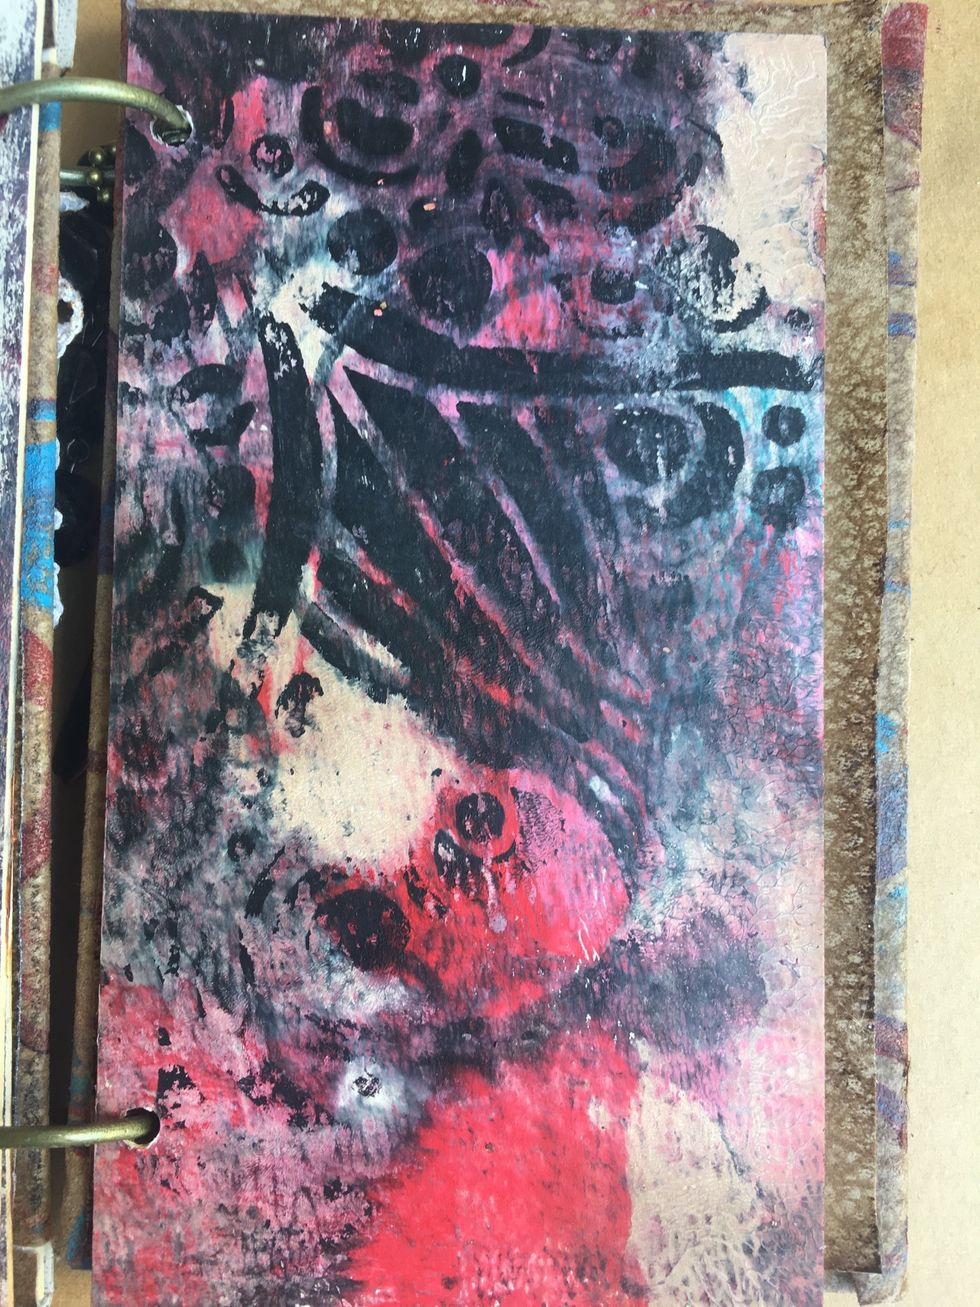
Page 4 is still naked, but it's so pretty that I am totally ok with it! :)
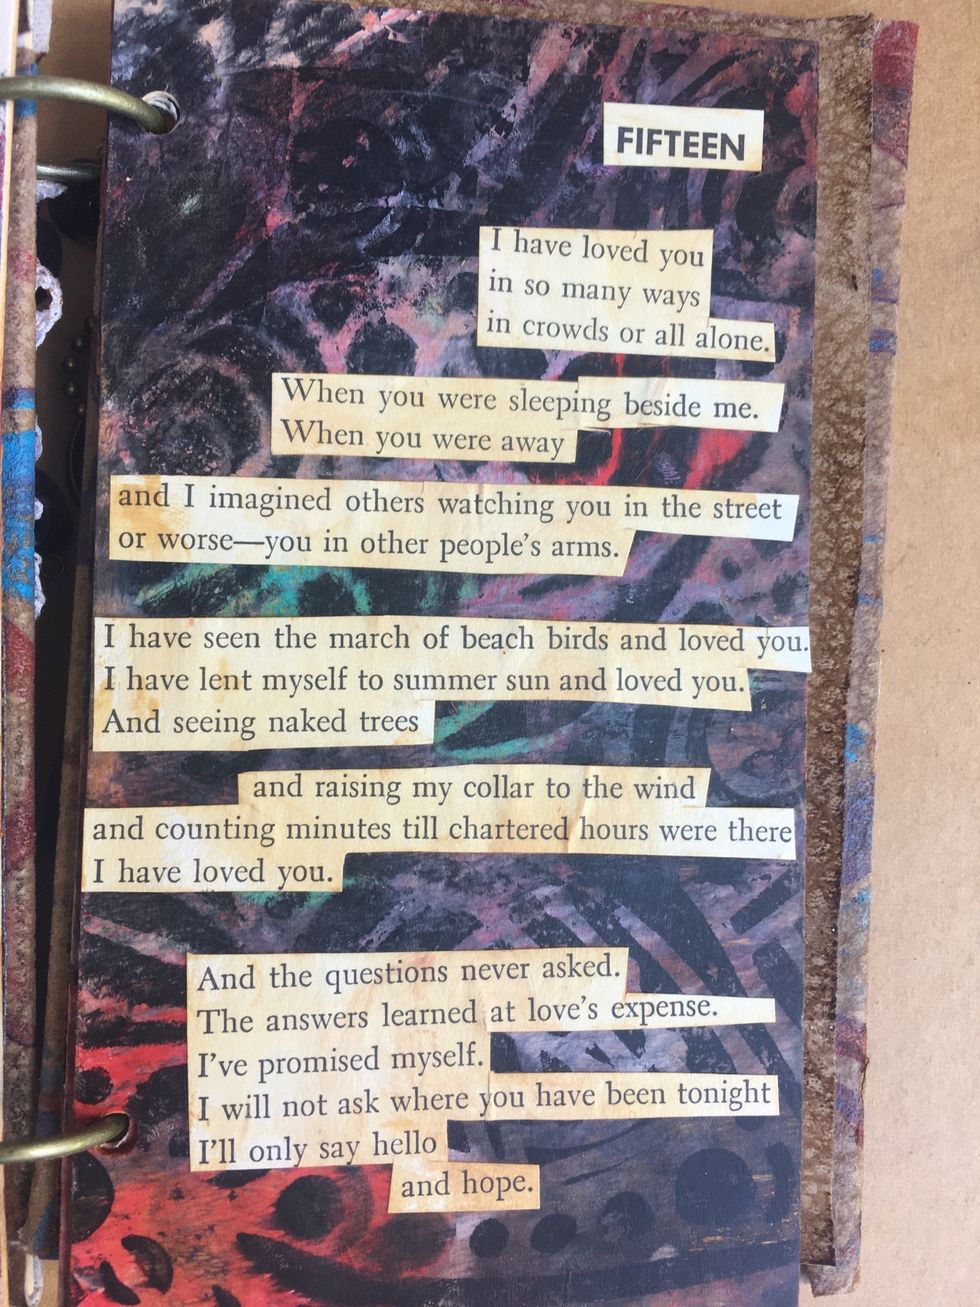
Page 3
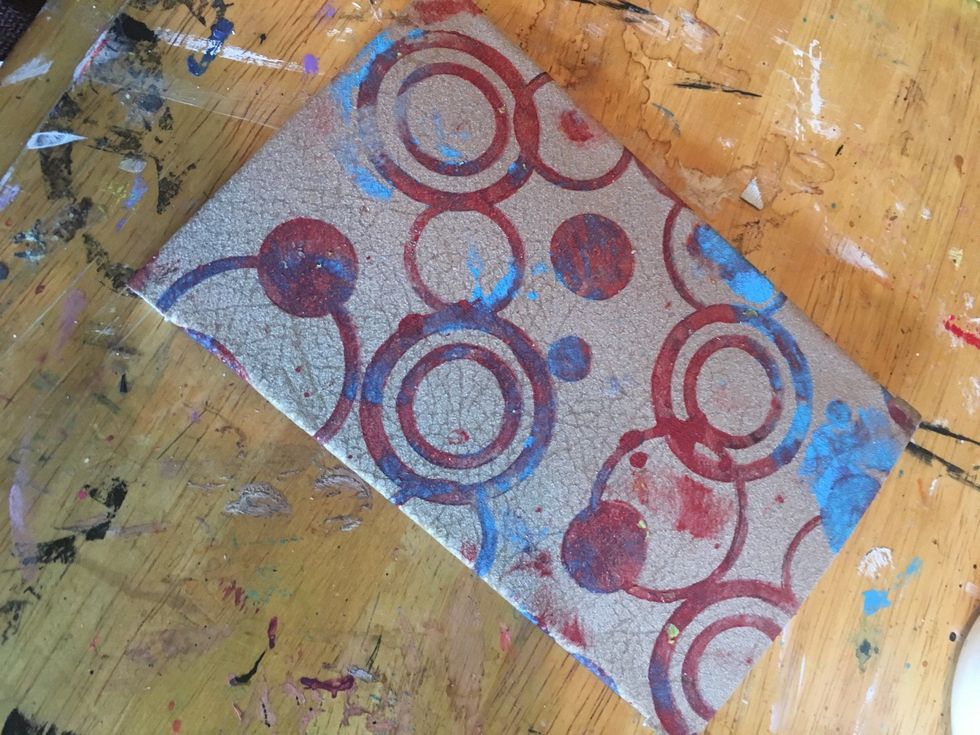
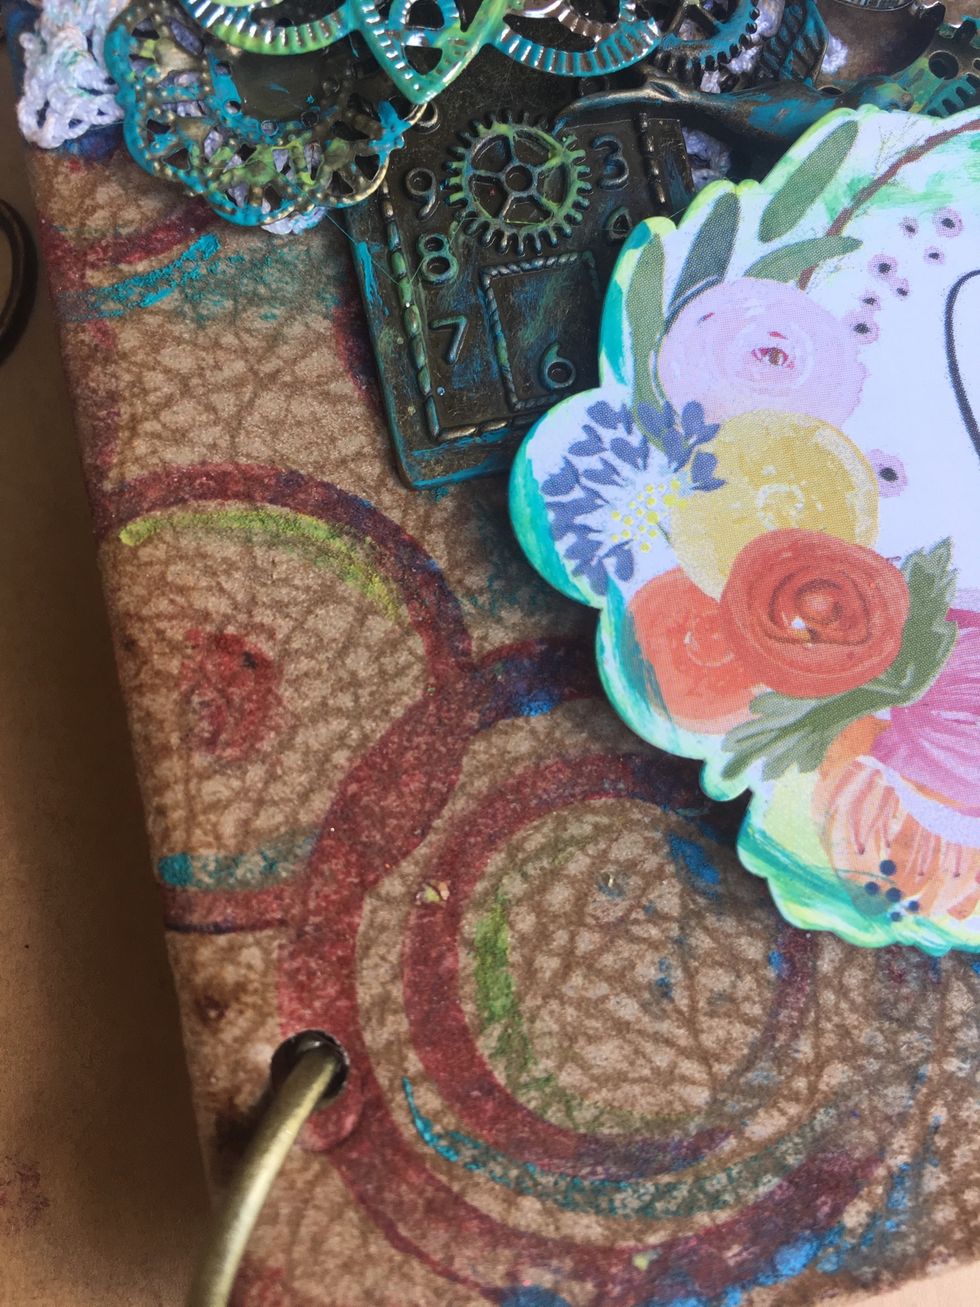
Here's a closeup of my printed fabric and cover. Since my Gel Press Impressable is so giving, my print was able to show up even on this faux leather texture fabric.
To finish it up, I used some antiqued jump rings through holes I punches through my covers and pages. I then decorated my cover with a bunch of metals, stickers and other embellishments and paint