The Conversation (0)
Sign Up
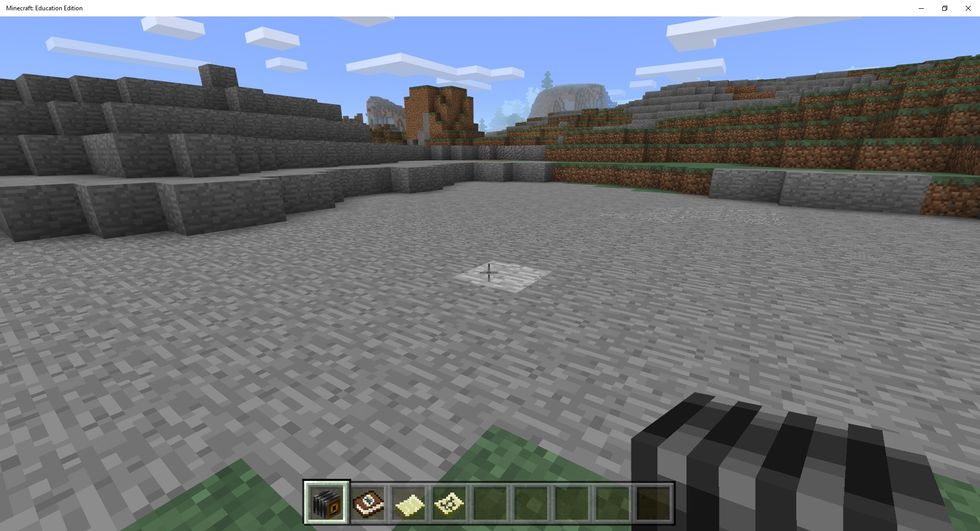
First choose an area where you would like to build. It doesn't matter too much as the fill command will eliminate any blocks in the way if you are not on a flat surface.
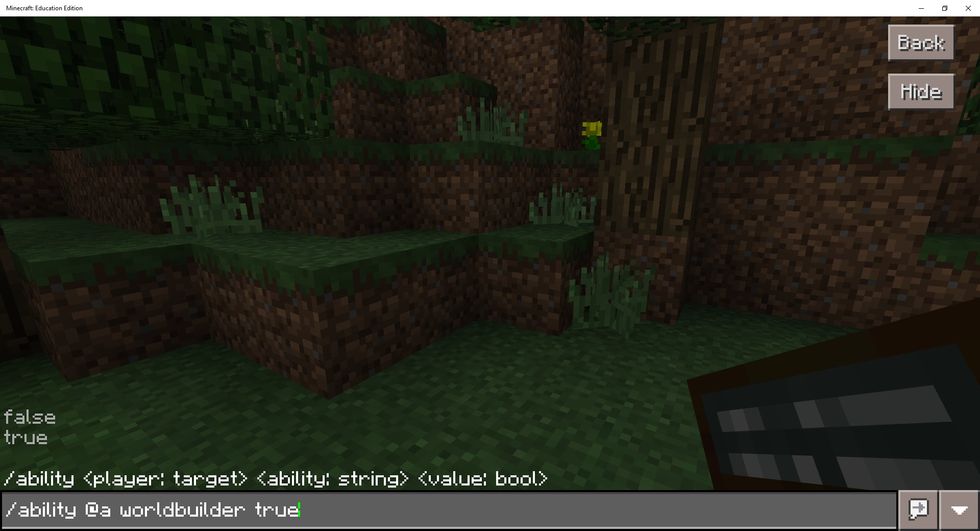
In order to use the fill command, you need to have world builder ability set. In this example I am setting it for everyone with the command /ability @a worldbuilder true (@a means all players)
You can set worldbuilder for an individual player by indicating their name instead of the @a. Command would look like this: /ability StevenI worldbuilder true (if StevenI was username)
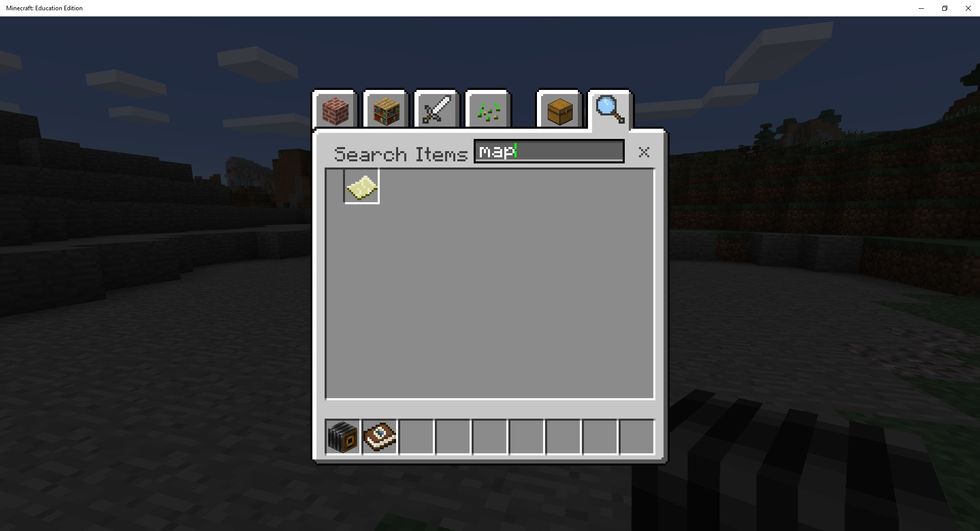
In Minecraft: Education Edition you will need the map to determine your coordinates. You can search for the map using the magnifying glass when the inventory is open. You will start with an empty map.
In order to create a filled map, you must 'use' the empty map. To do this, choose the empty map from the hot bar (tool belt) and right click in game - this will create a map of your world.
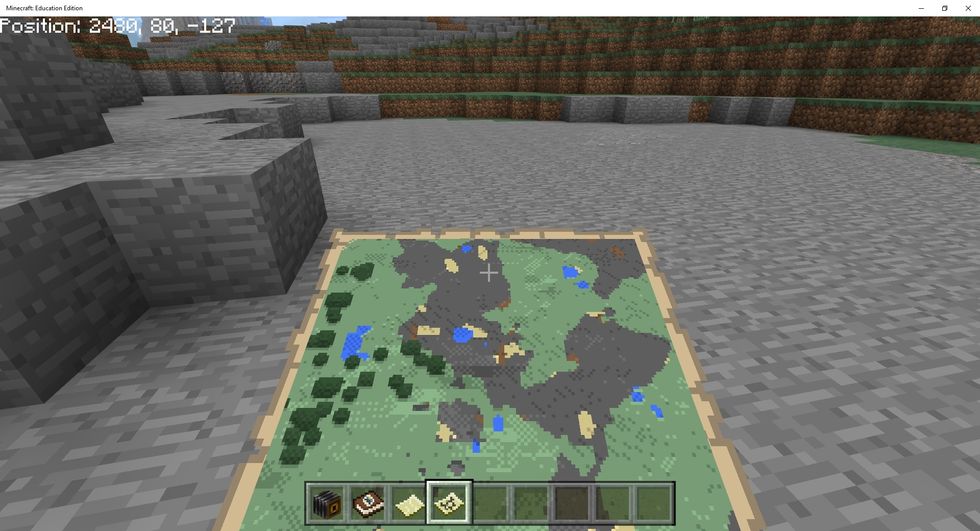
Once you have the filled map (indicated by the map with writing on it) of your world you 'use' the map (hold the map by choosing it from your tool bar) to show the x,y,z coordinates on screen.
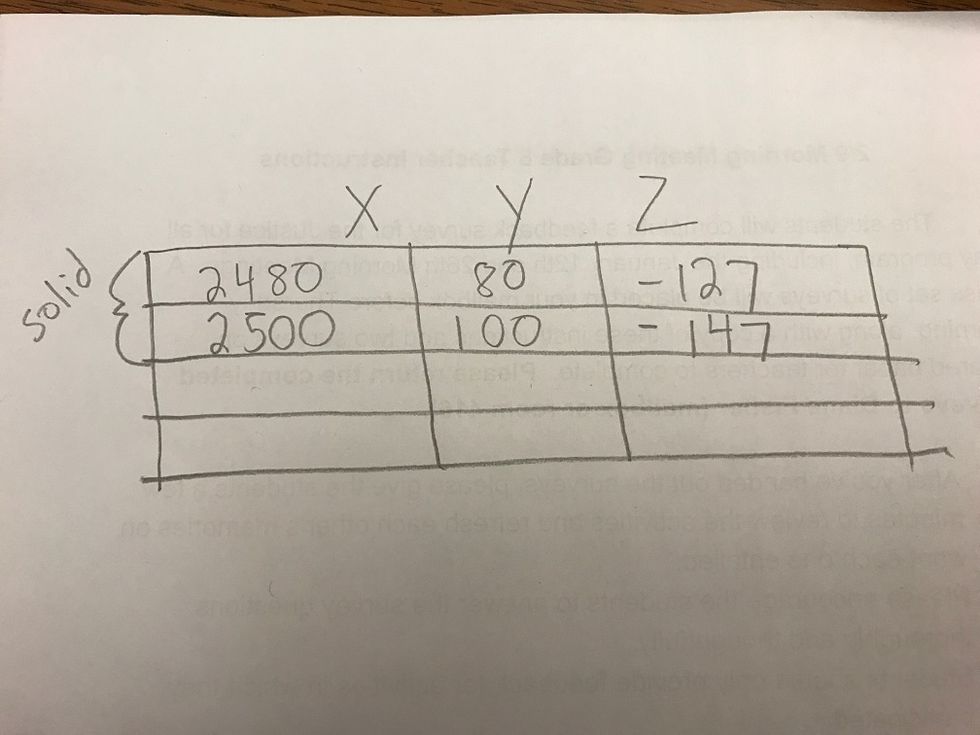
Once you have determined the coordinates, mark them down. The first row shown indicates the starting coordinates, the second row indicates the second set for the fill area.
In the example displayed I wanted to create a 20 x 20 x 20 cube so I simply added 20 to the x, y, and z coordinates to determine the second set of coordinates for the fill command.
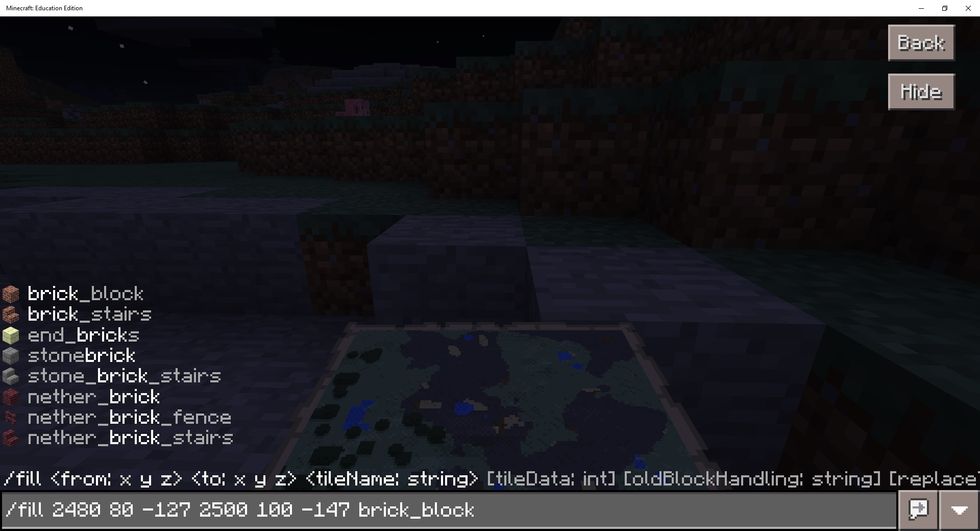

You will see a message indicating that the proper number of blocks have been filled. This will indicate the blocks for the solid structure.
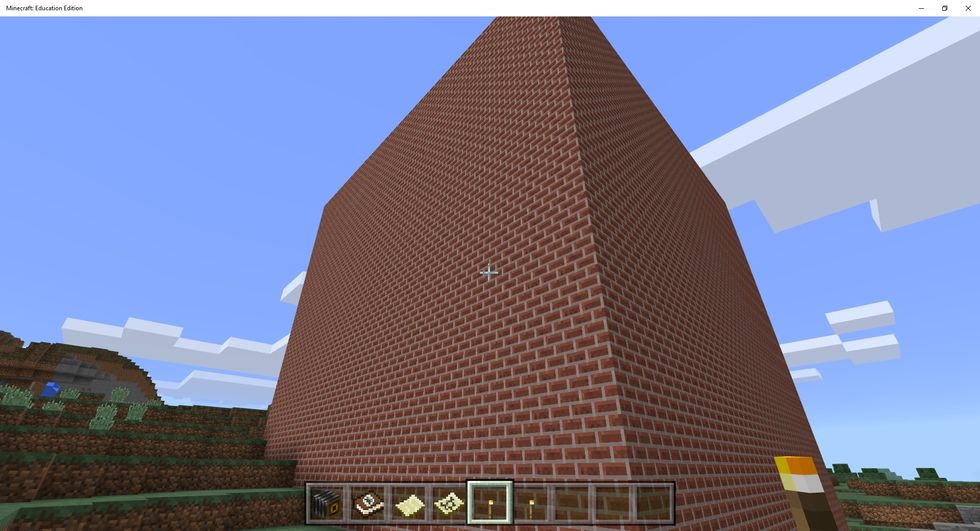
You can step back and marvel at your handy work. You now have a SOLID structure. Now we need to hollow it out.
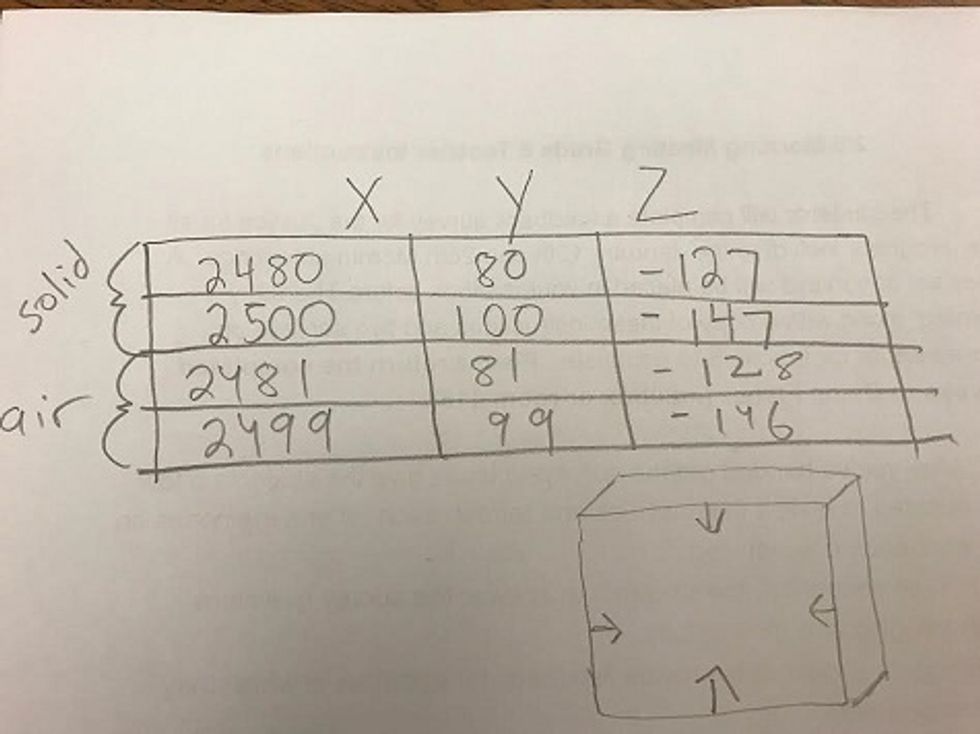
Back to the table. In order to determine the coordinates to fill with air, we need to ensure that we come in 1 from each coordinate to fill the inside with air and leave the walls intact.
As you can see in this example, we essentially figured out what the inside space of the structure is. This takes a little math and can be one point of confusion in the process.
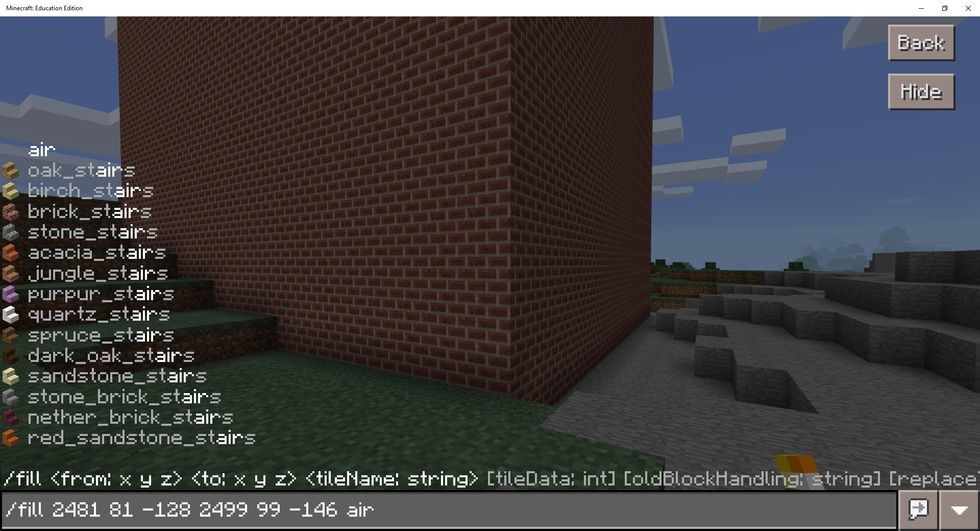
Here is the example of the second /fill command. This time the coordinates represent the inside of the structure and we are filling it with 'air'.
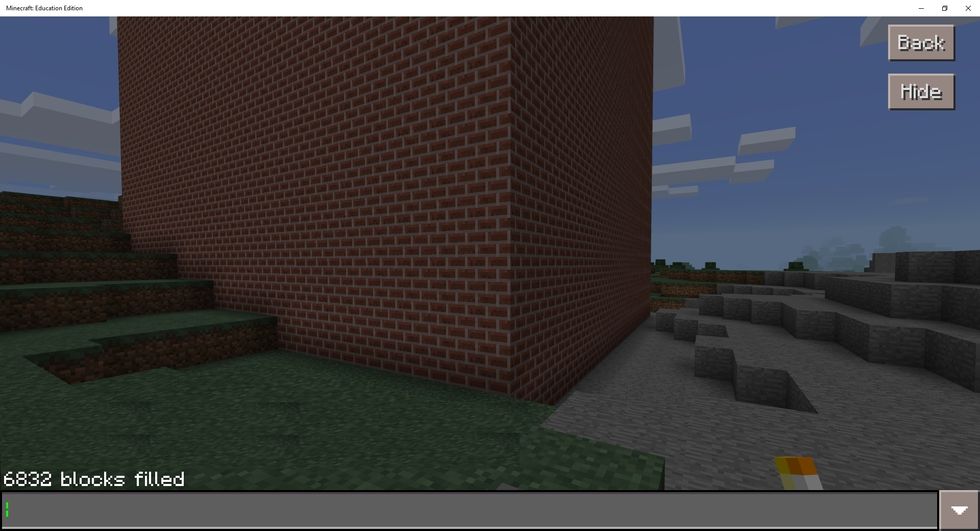
After filling with air, you will be prompted that the area was filled with the required number of blocks (in this case of air)

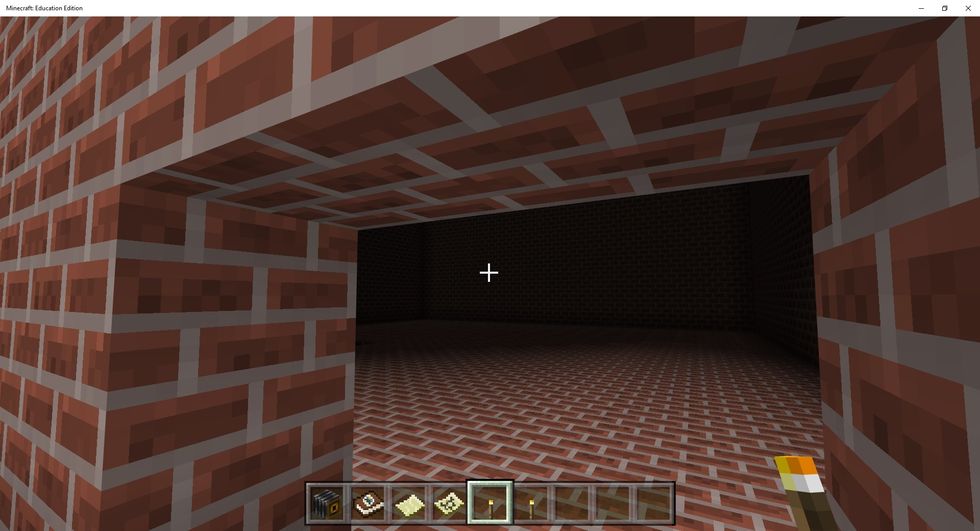
Here's a nice image from the inside of your hollow structure. I added doors and some torches so we could see inside.