How to use etching cream on glass
In this example, we etch a name on the bottom of a 9 x 13 dish so that you can see the name when looking down into the dish.
409
STEPS
TOOLS
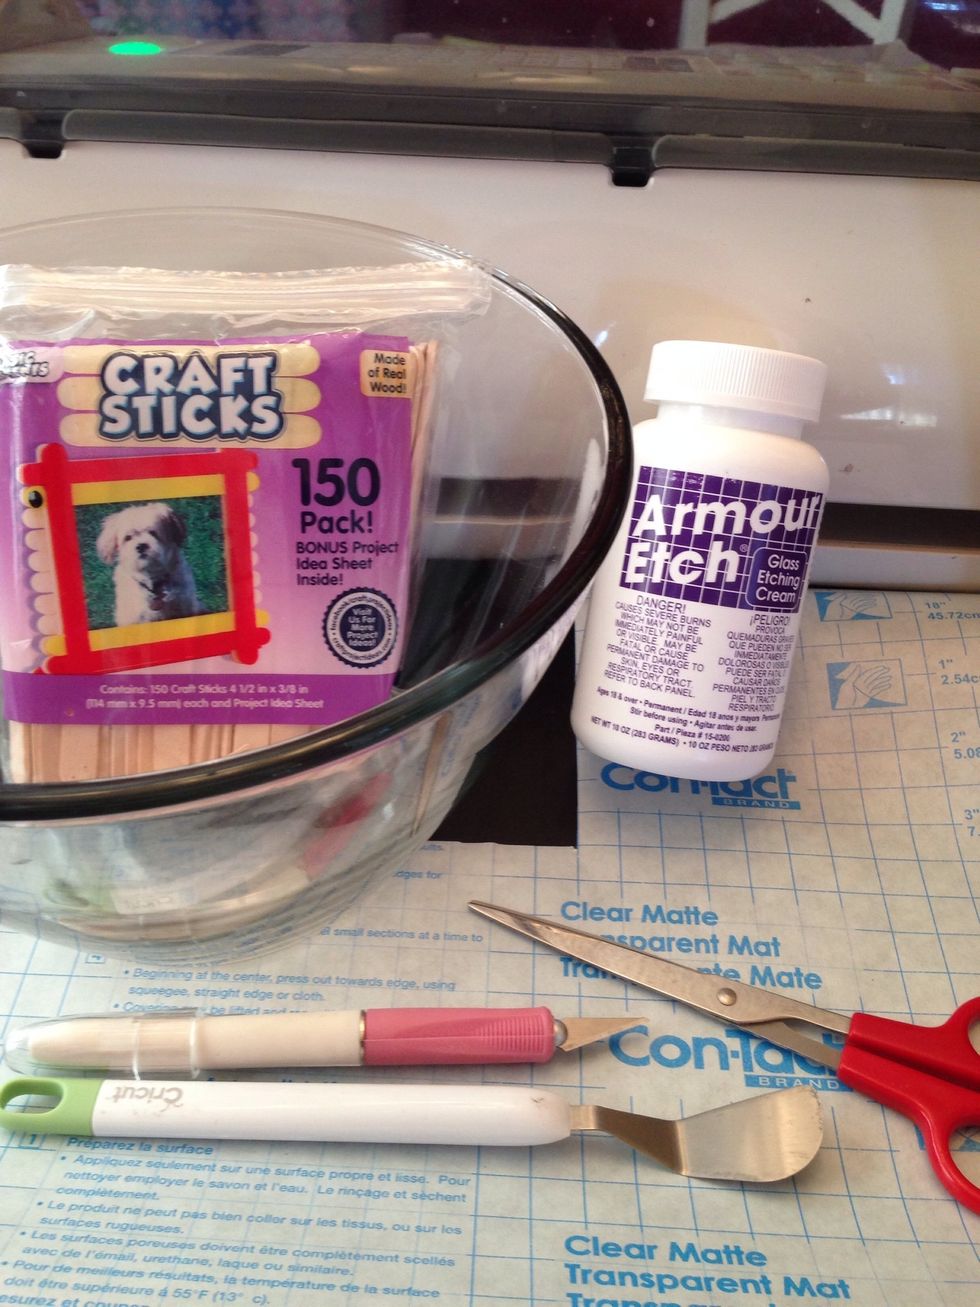
Gather your supplies (see listed)
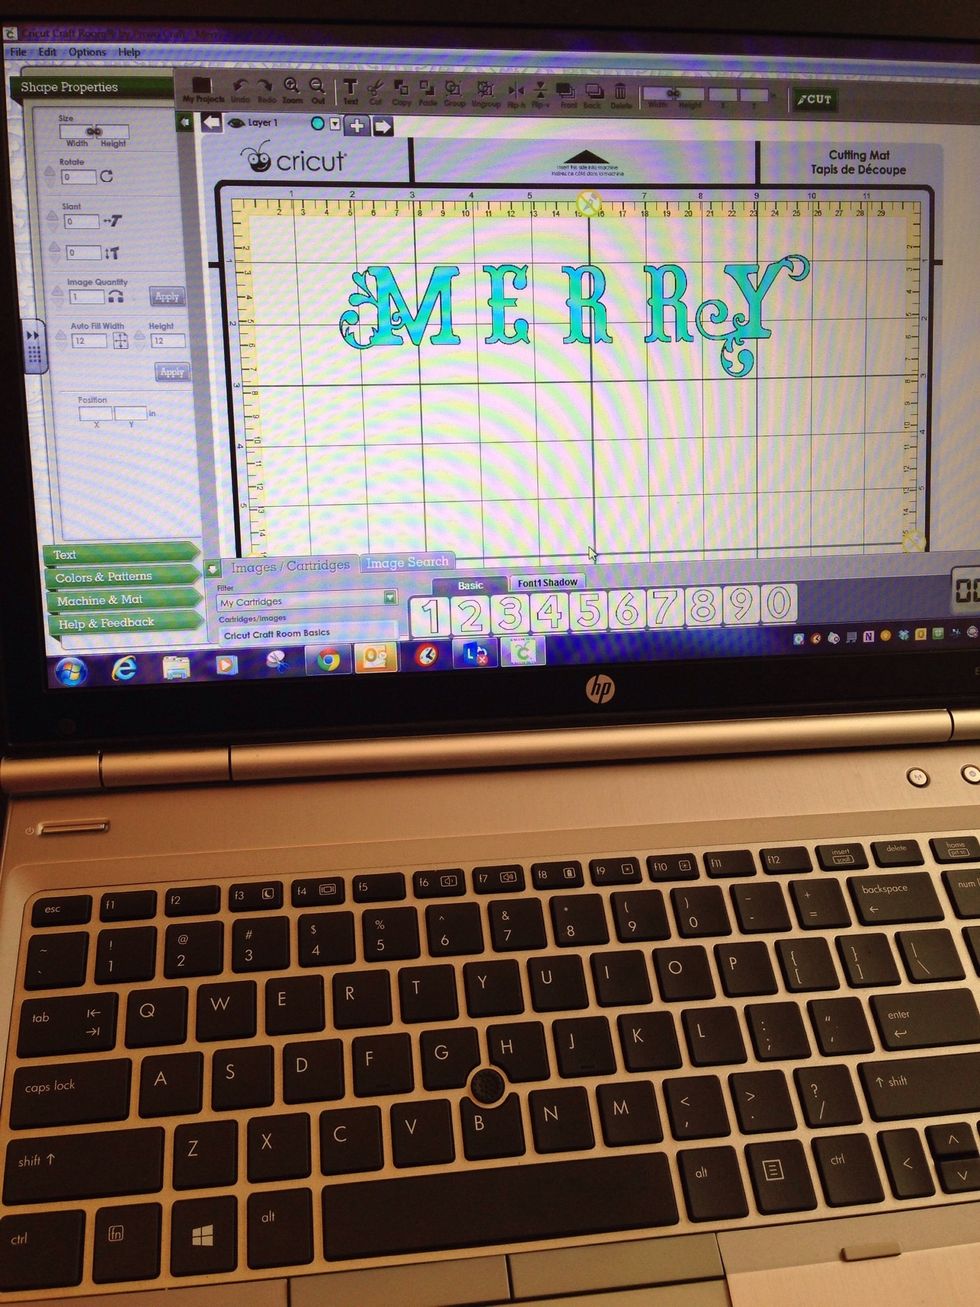
We used the Cricut software to design the image, but you could get an image another way. *Make sure you leave at least 1 inch border around the image.
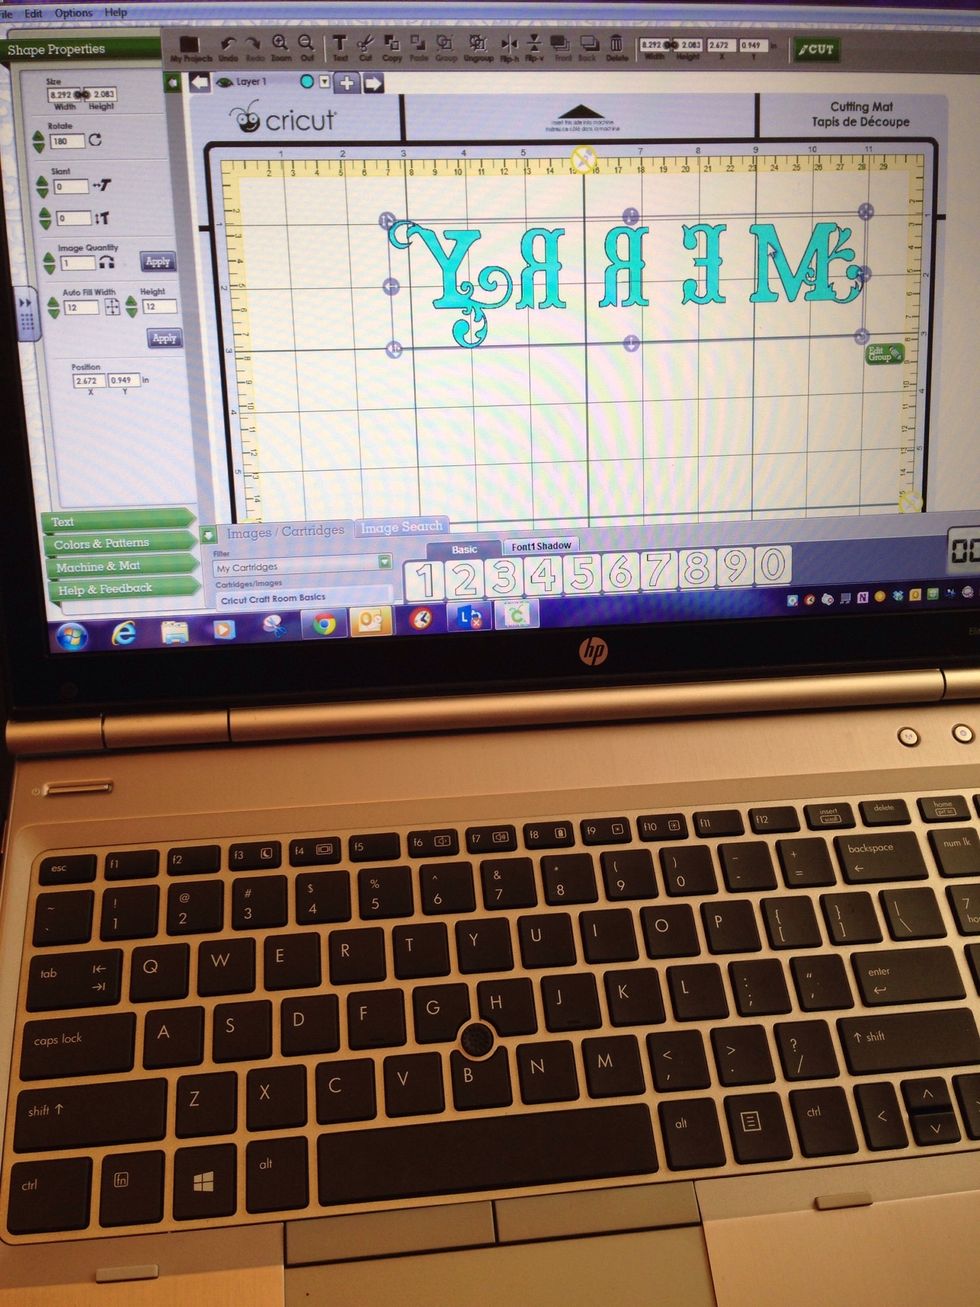
We wanted the etching on the bottom of the dish, so we reversed the image.
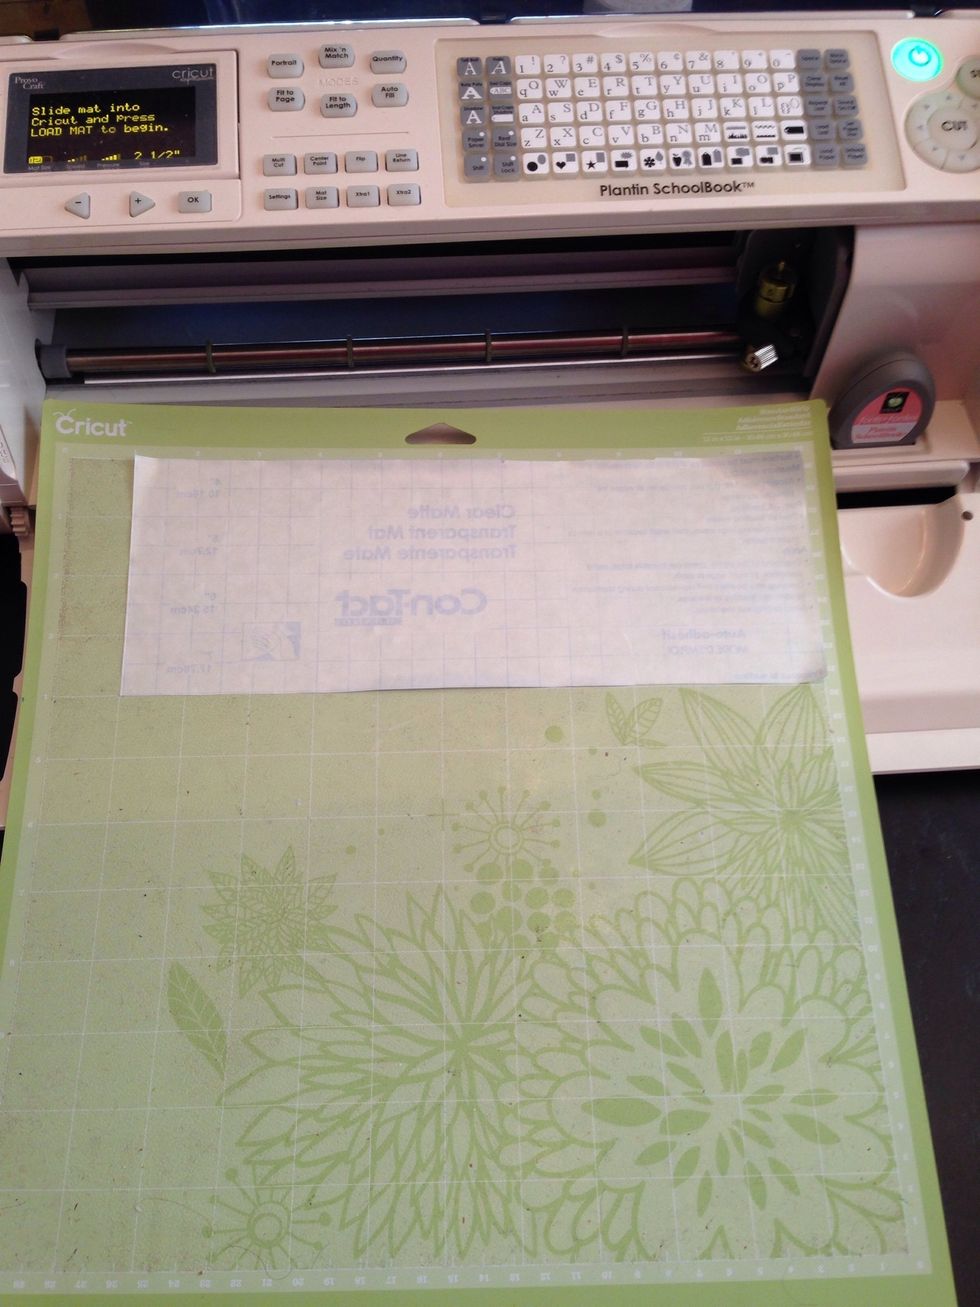
Prepare your Contact paper for the Cricut. Otherwise, tape down the edges of the Contact paper so you can draw your image on the Contact paper. *Leave at least 1 inch border around the image.
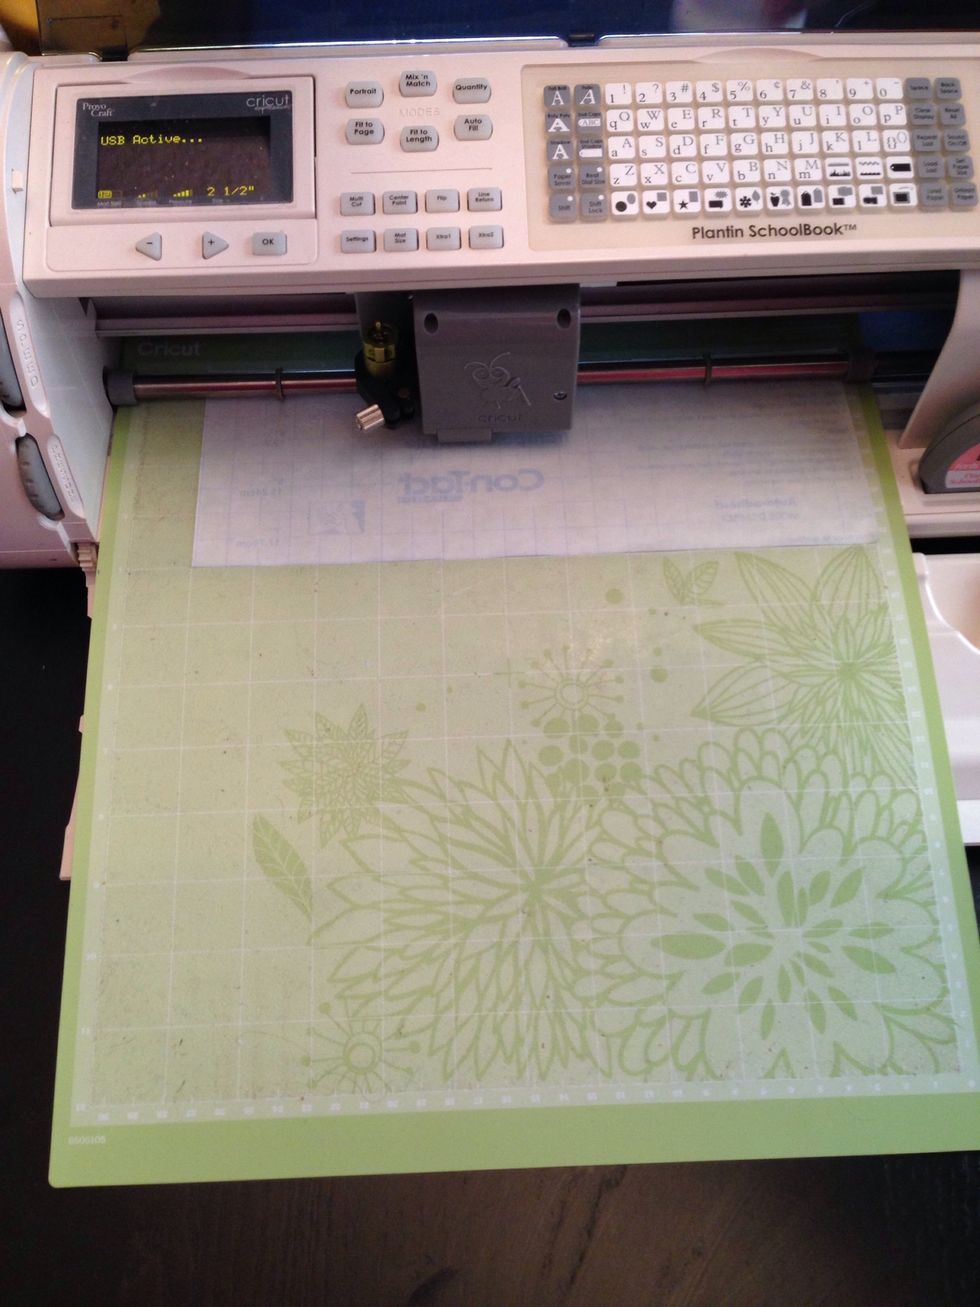
Cut your image.
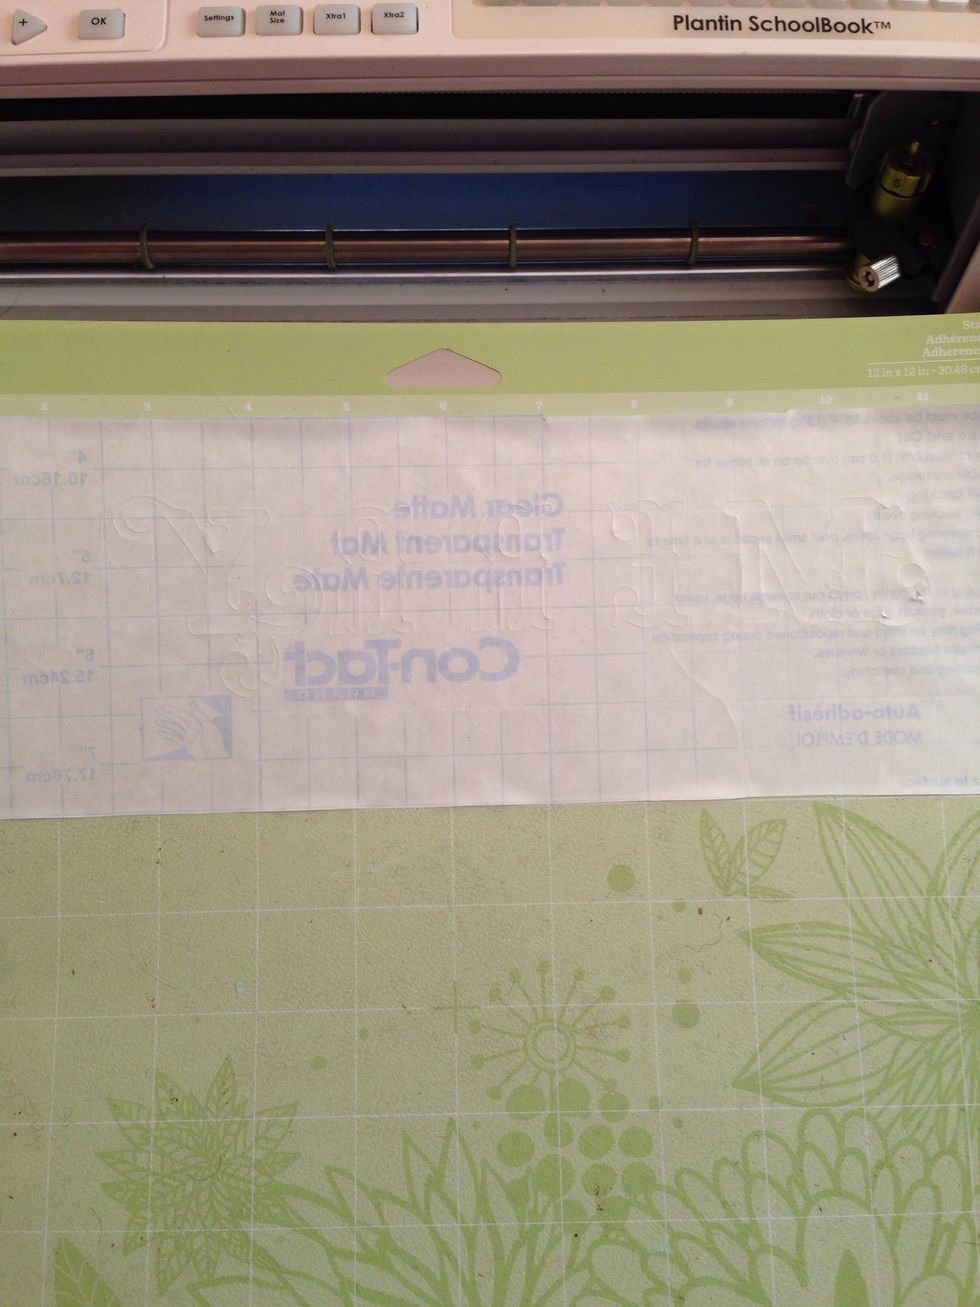
Review the cut image.
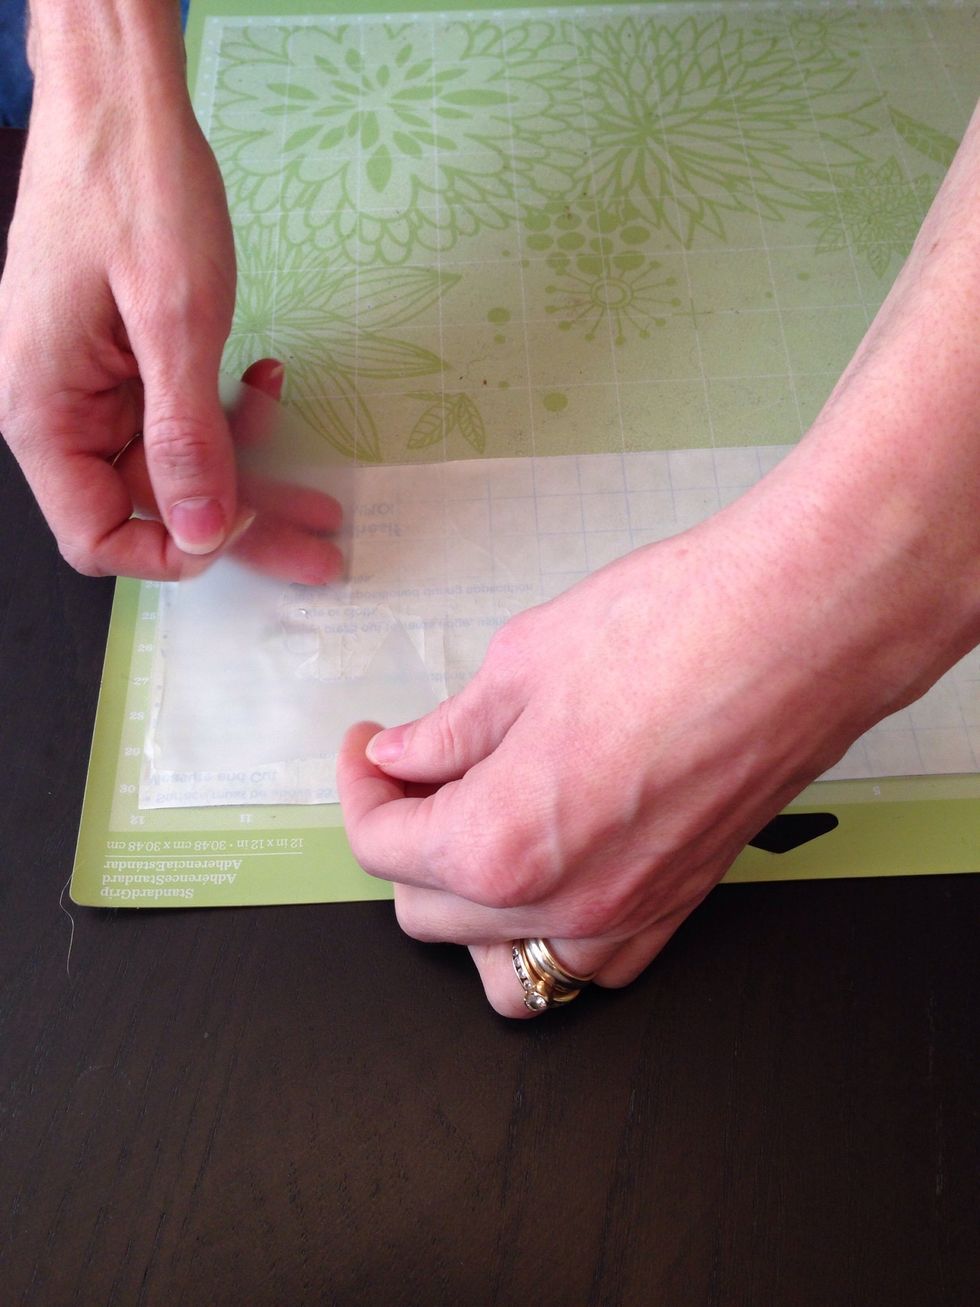
Gently peel off the Contact paper.
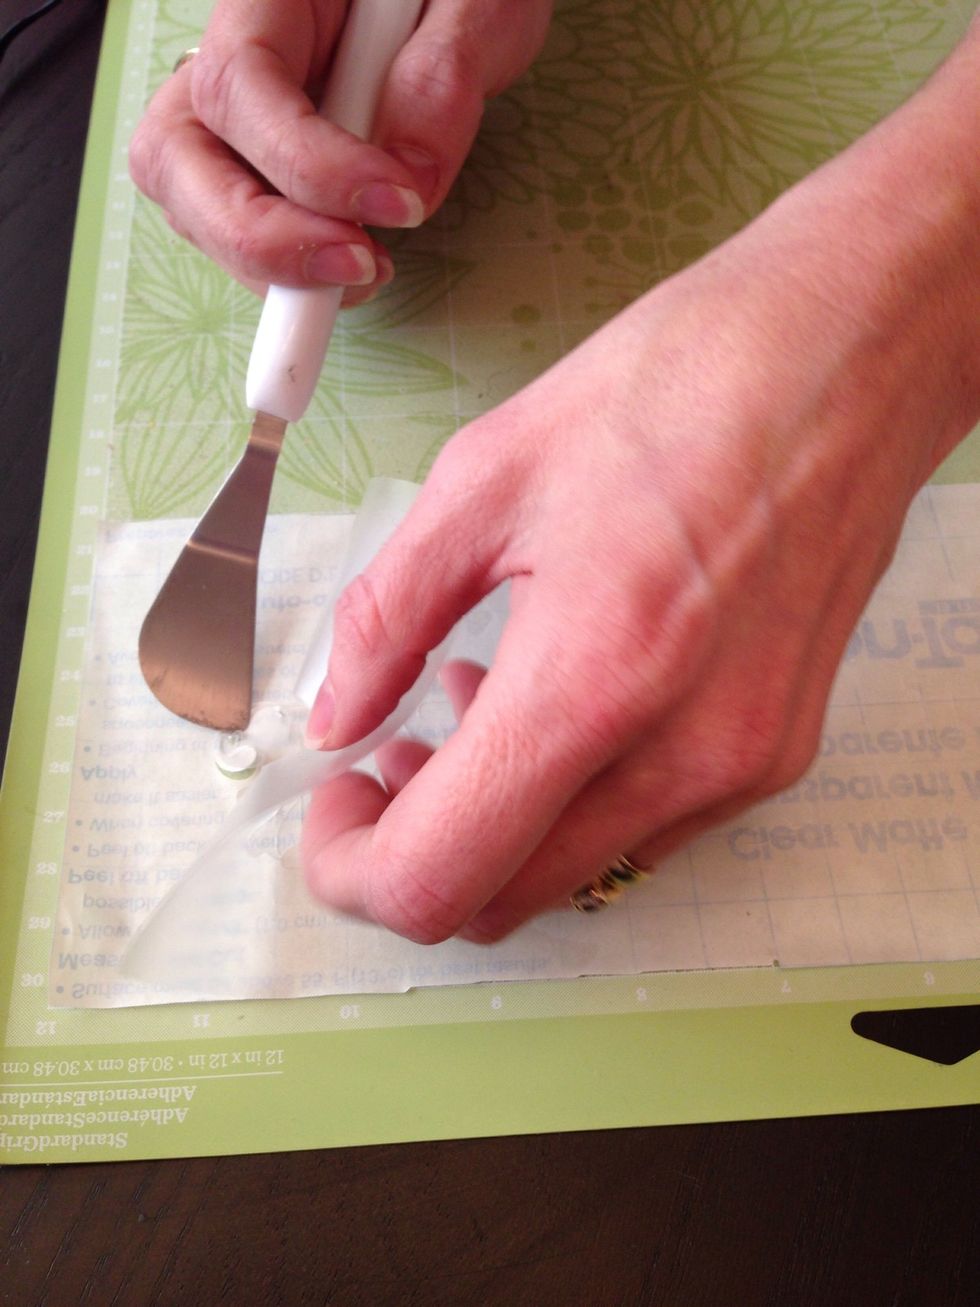
Use a flat blade or lifting tool to assist with fine-cut pieces.
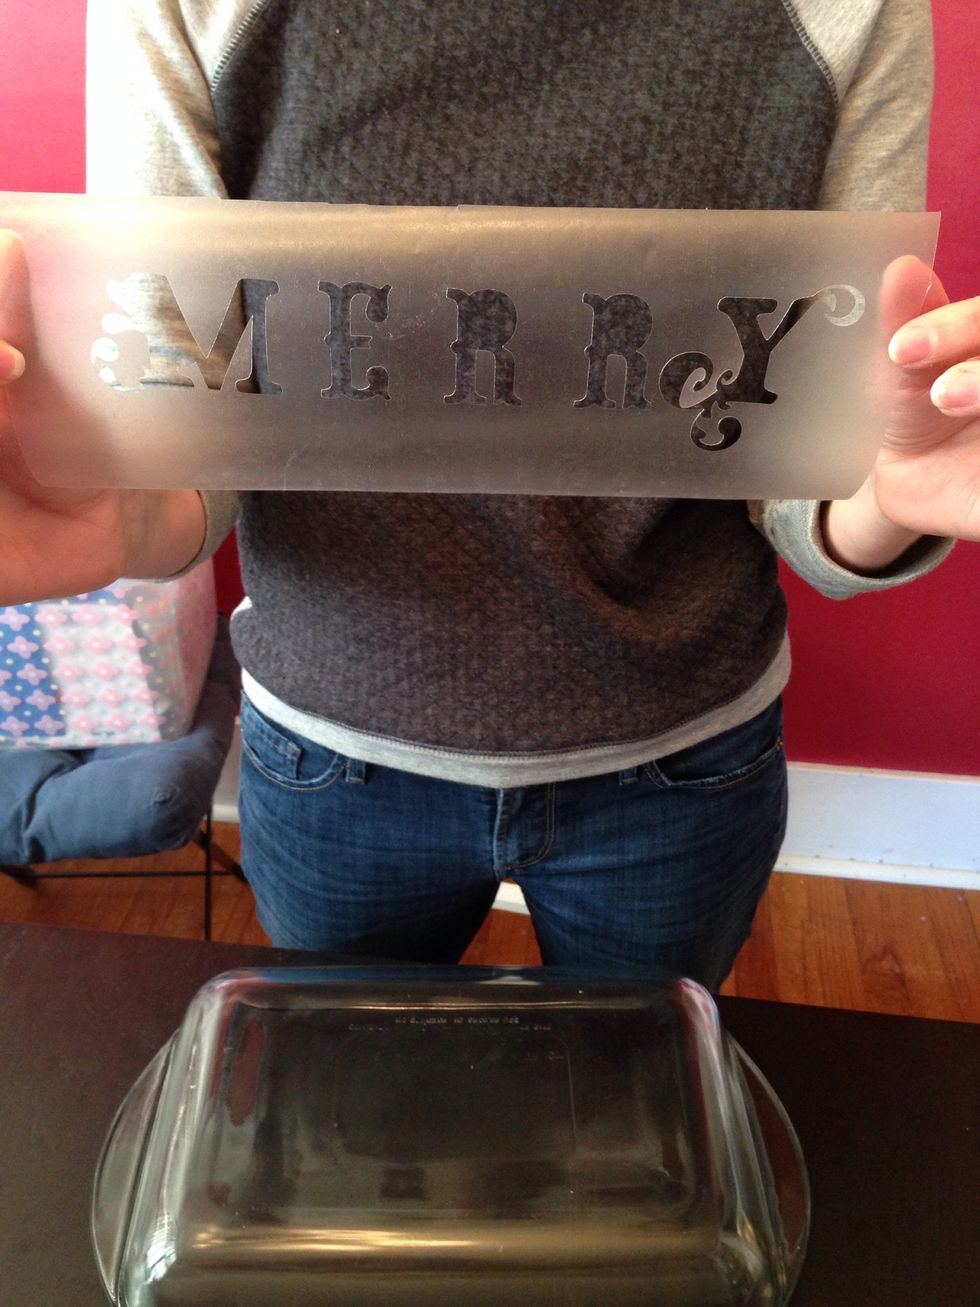
Hold the border edge...
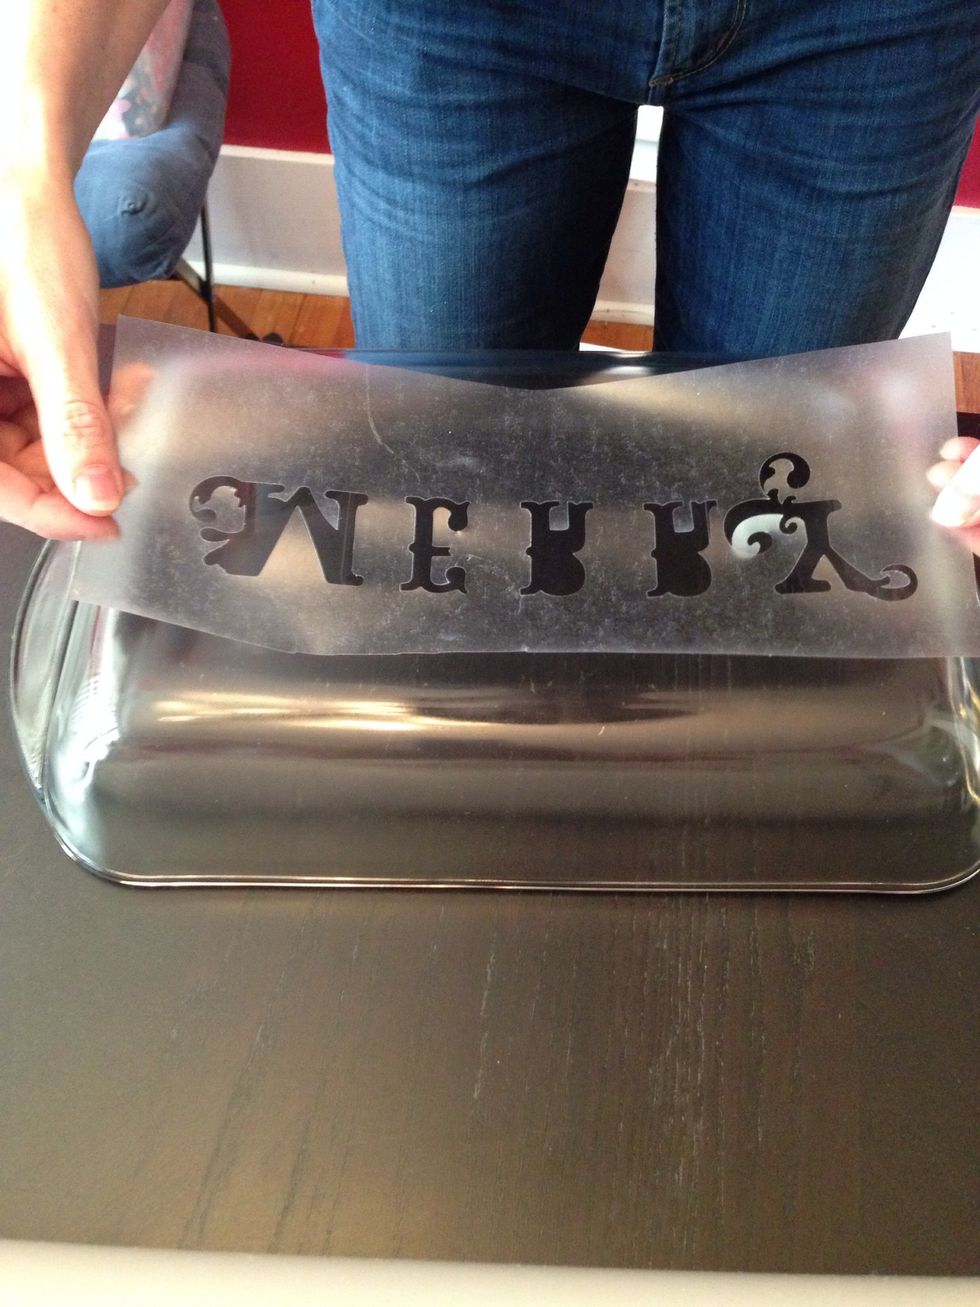
… and carefully place your Contact paper on the glass item. It is forgiving. Lift and reposition carefully as needed.
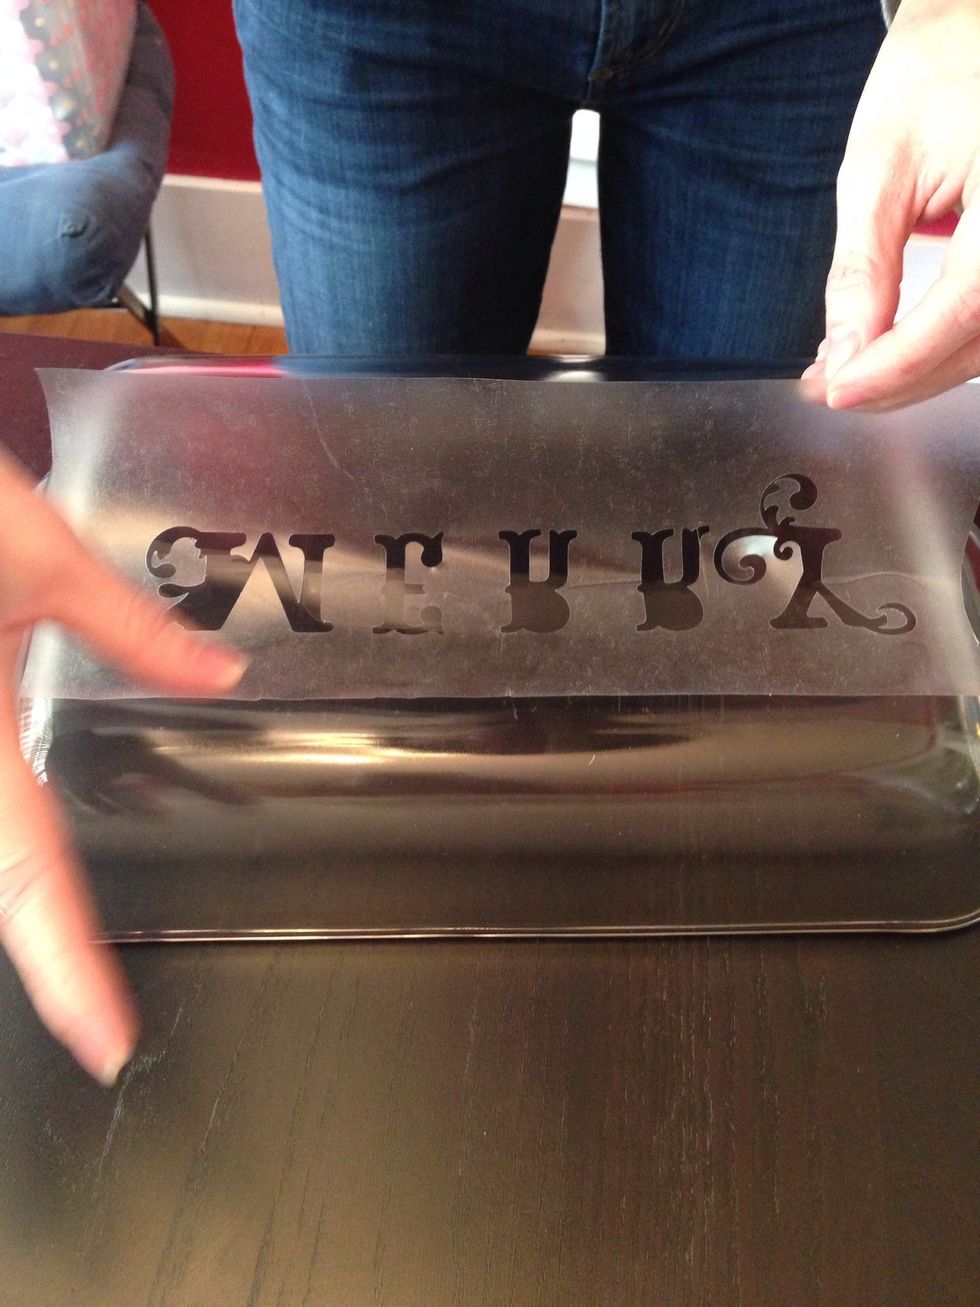
Rub down the border.
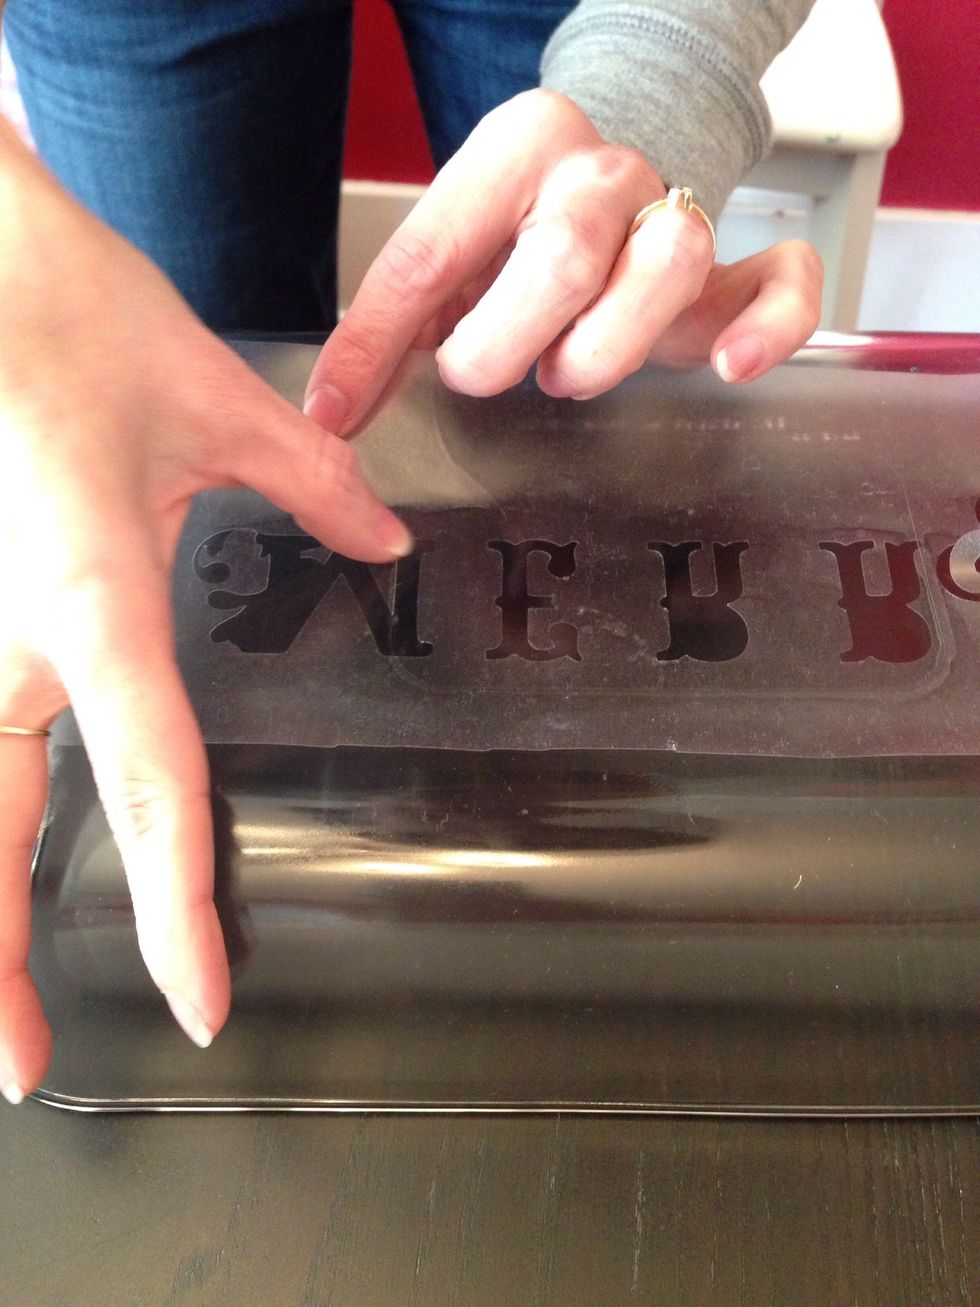
Gently rub down all the cut edges.
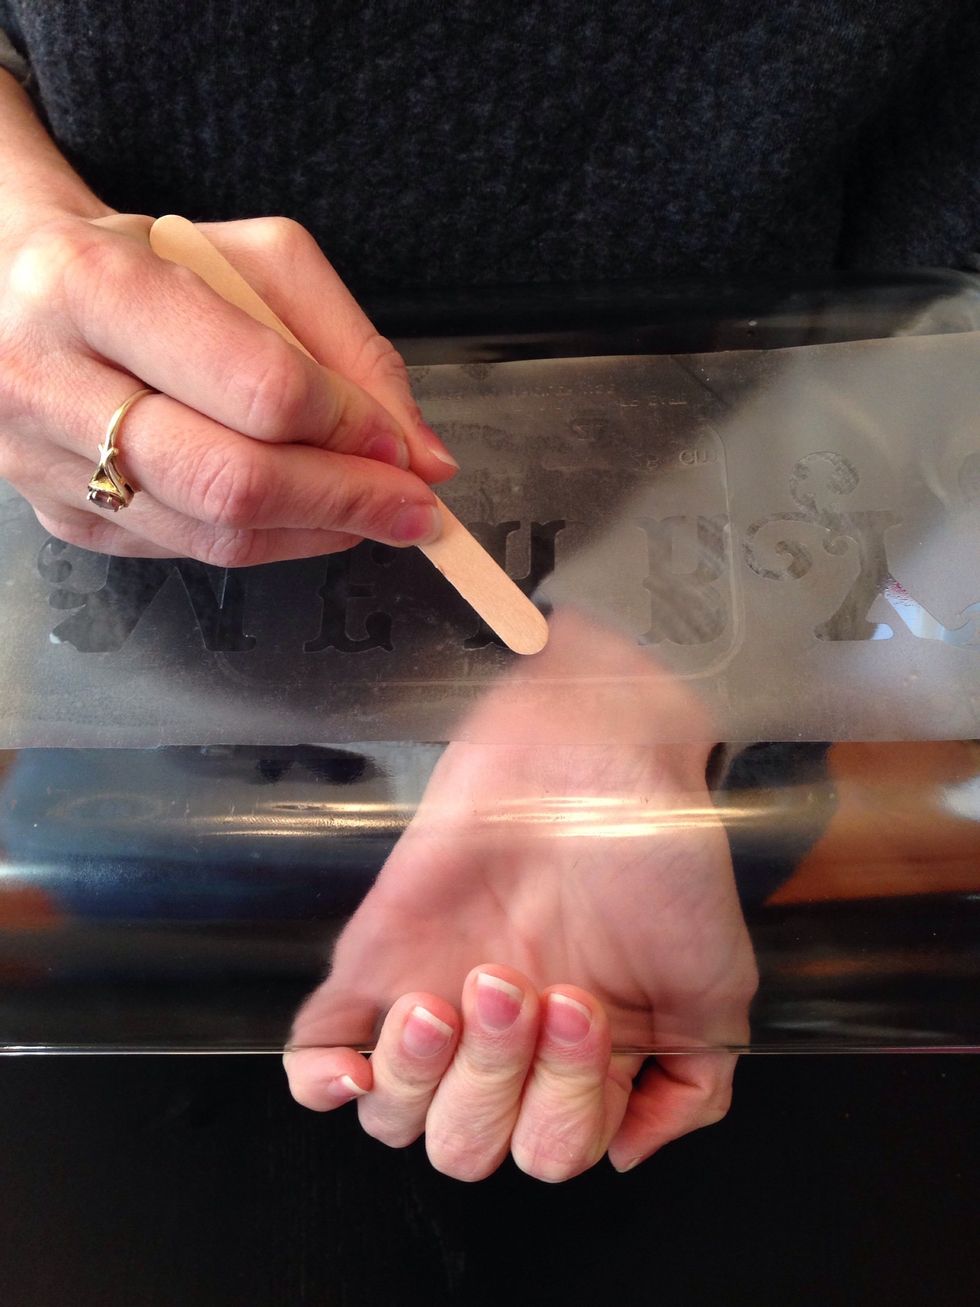
Use the craft stick to more firmly rub down all the edges so that none of the etching cream gets under the Contact paper.
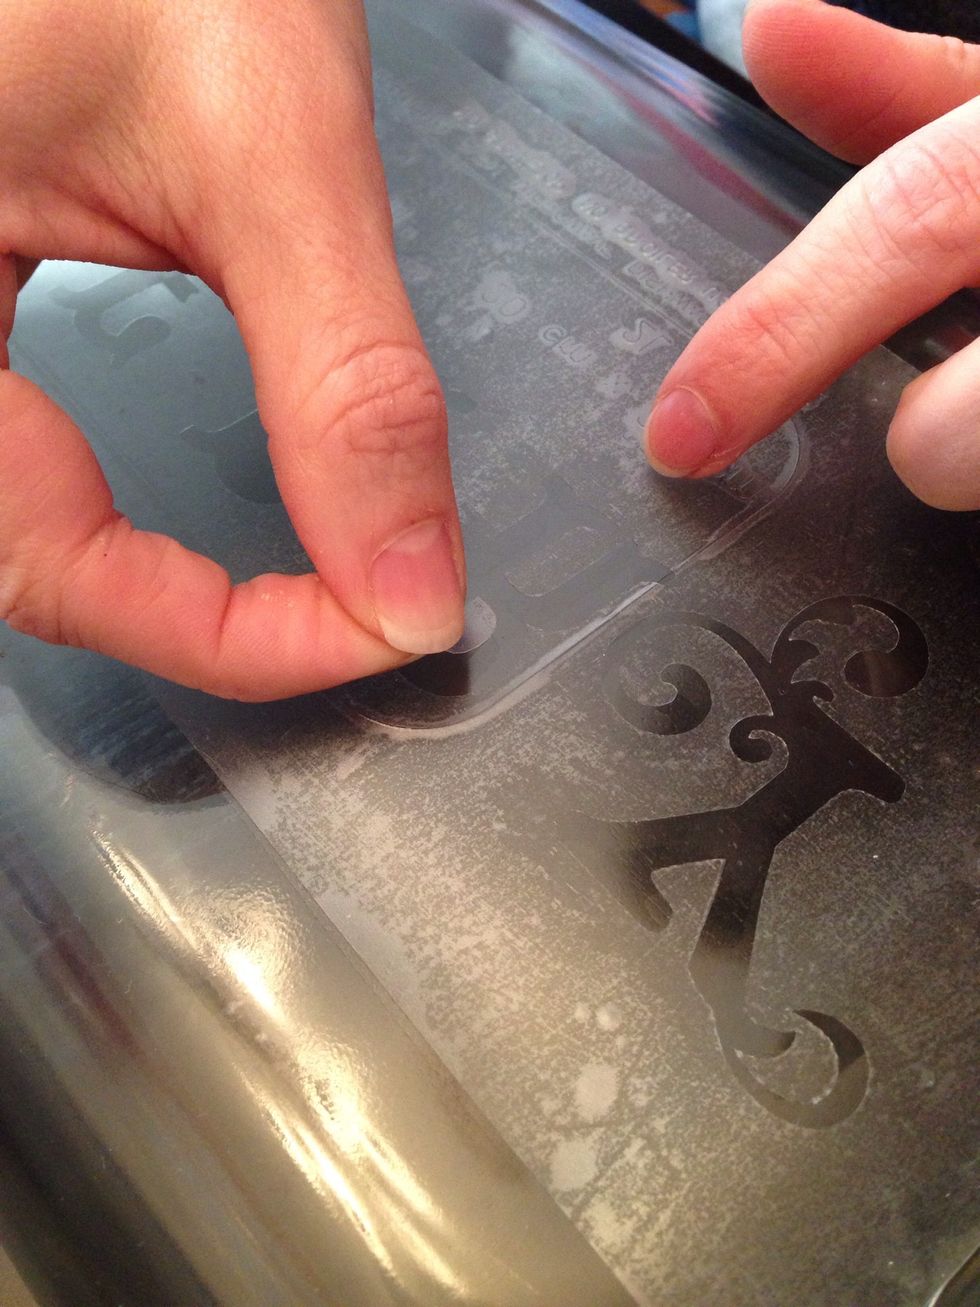
Place the small bits after the larger image is prepared.
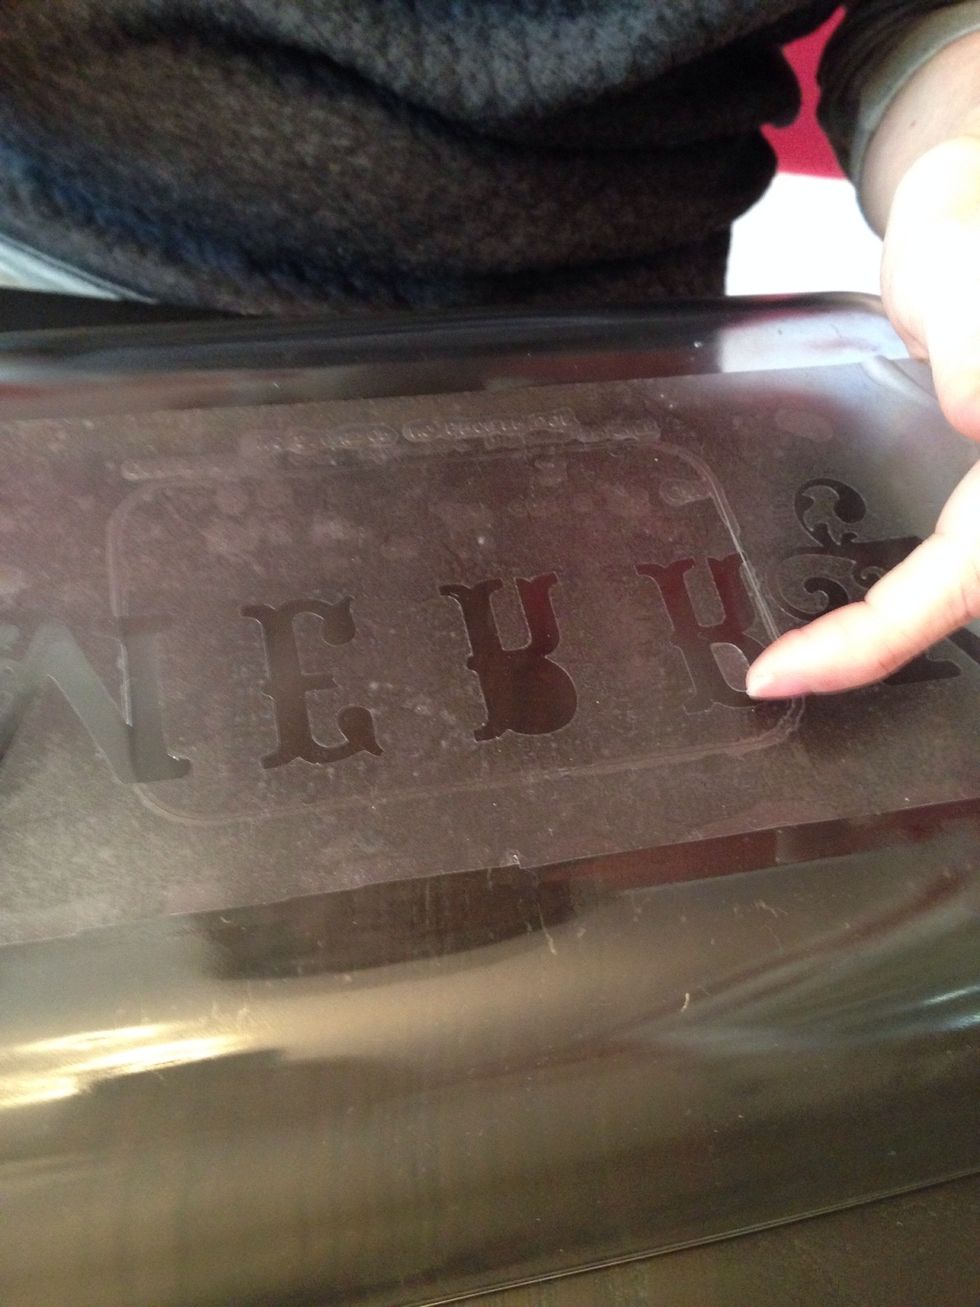
Any open space within the Contact paper will be covered with etching cream, so review your area carefully.
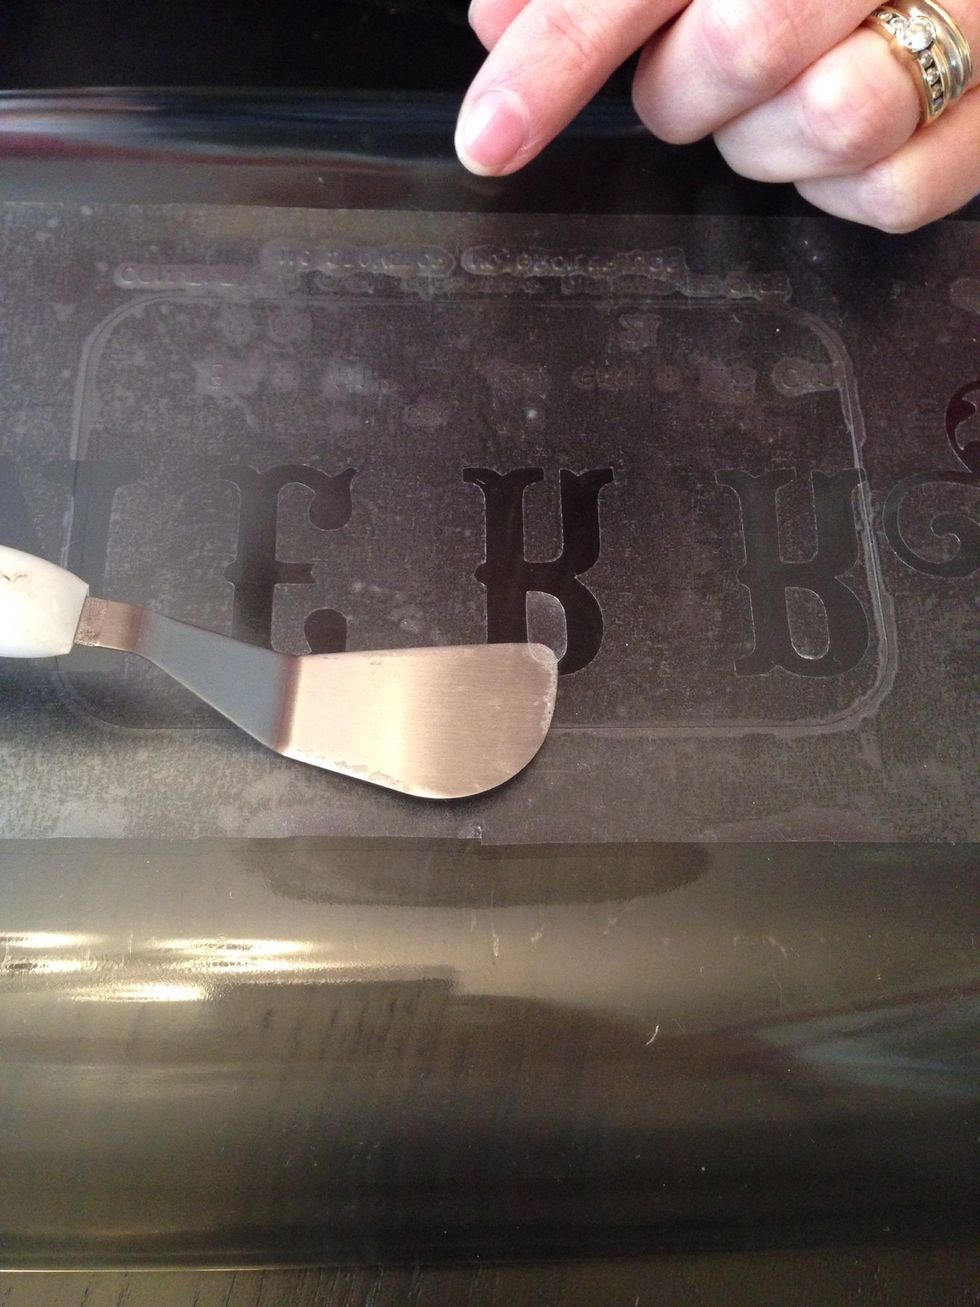
Use a fine blade or lifting tool to assist with placement as needed.
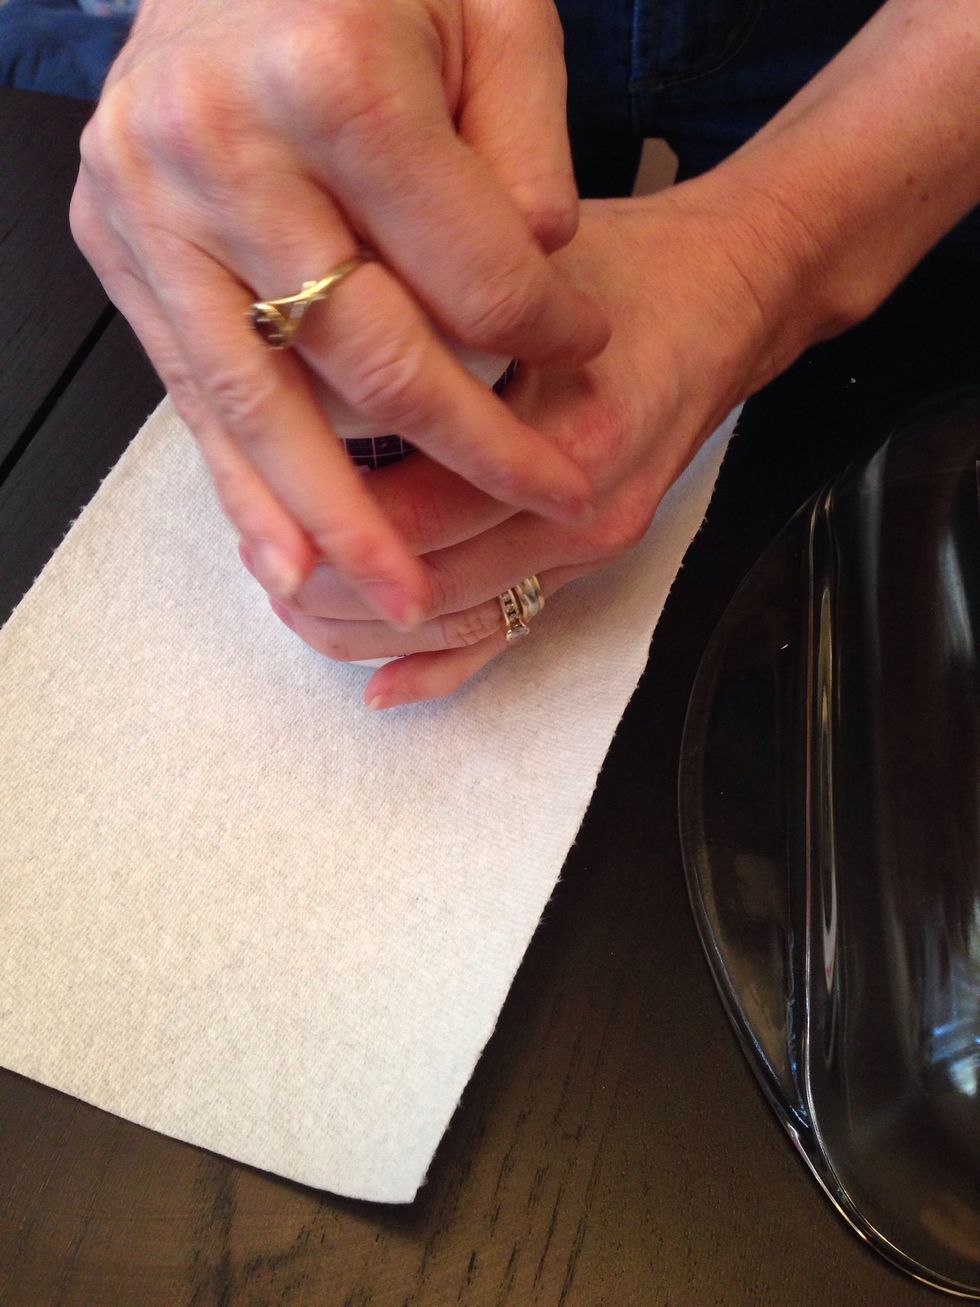
Open the etching cream over a paper towel in case of dried bits landing on your work surface.
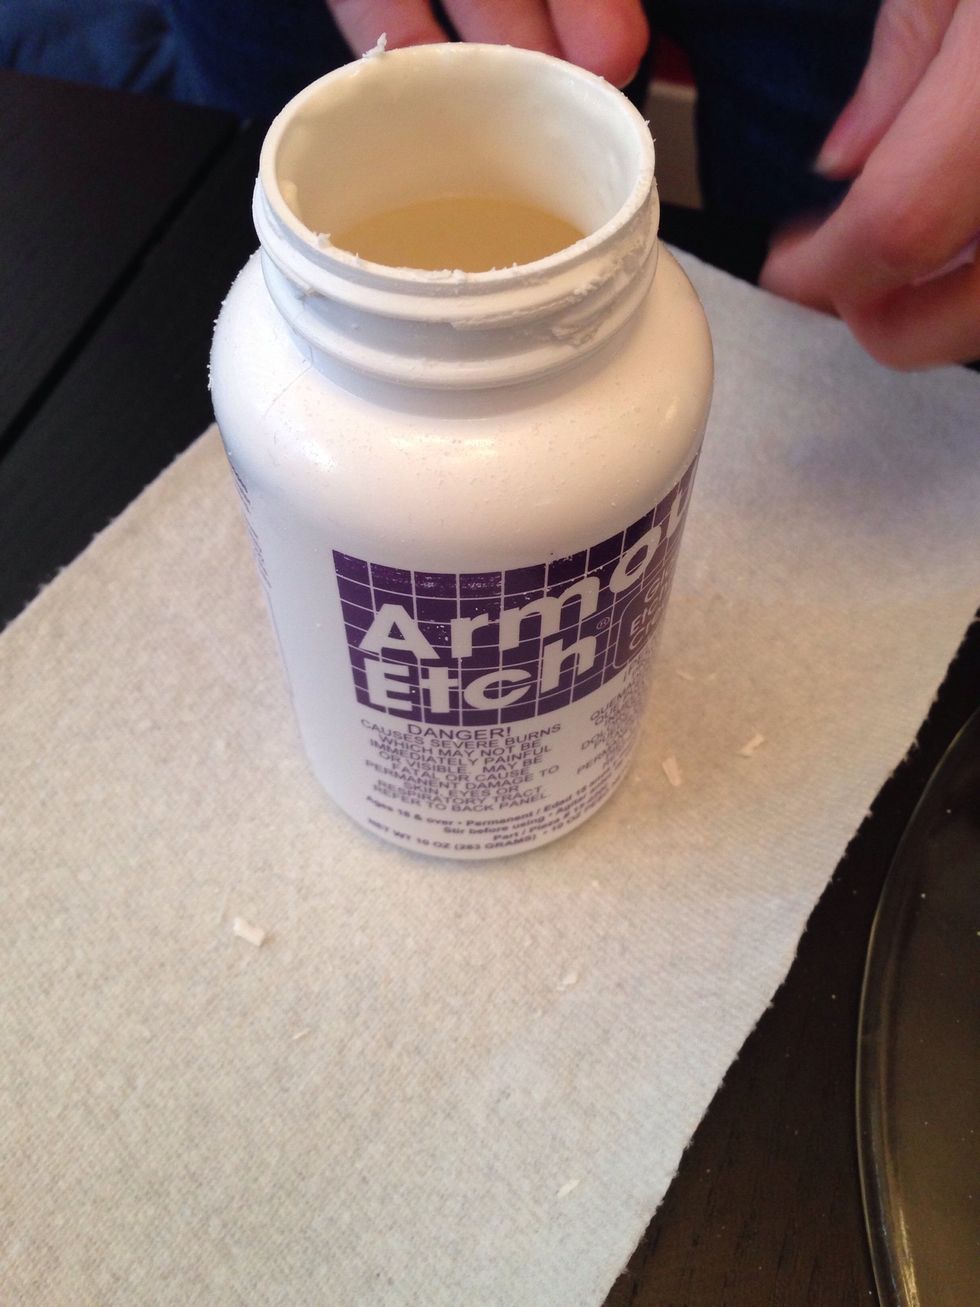
(See the dry bits?)
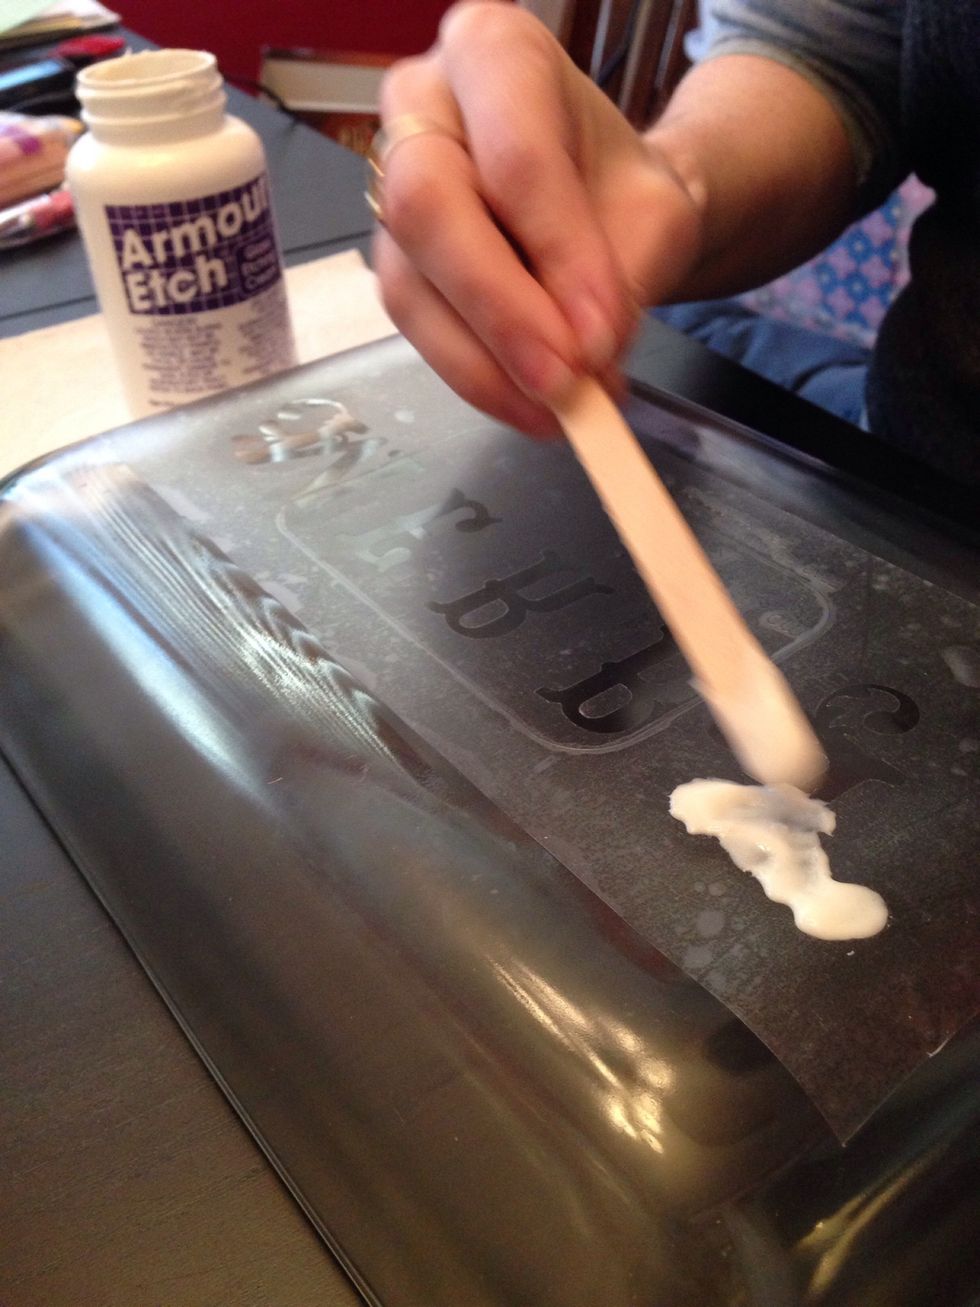
Use the craft stick to spread the etching cream over the desired area.
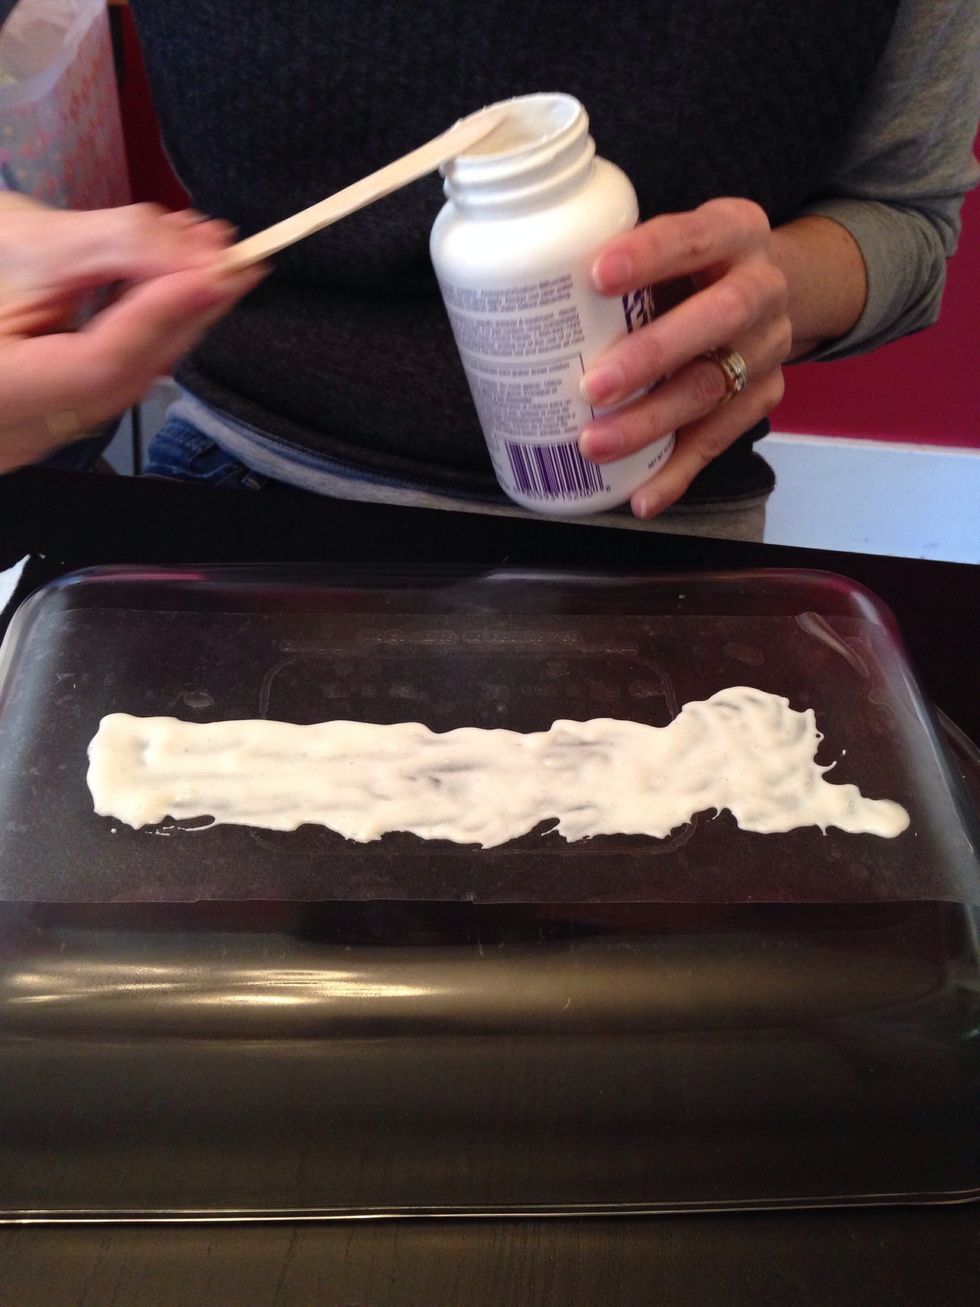
Cover with excess to allow for shrinkage. As it settles, go back over the edges as needed.
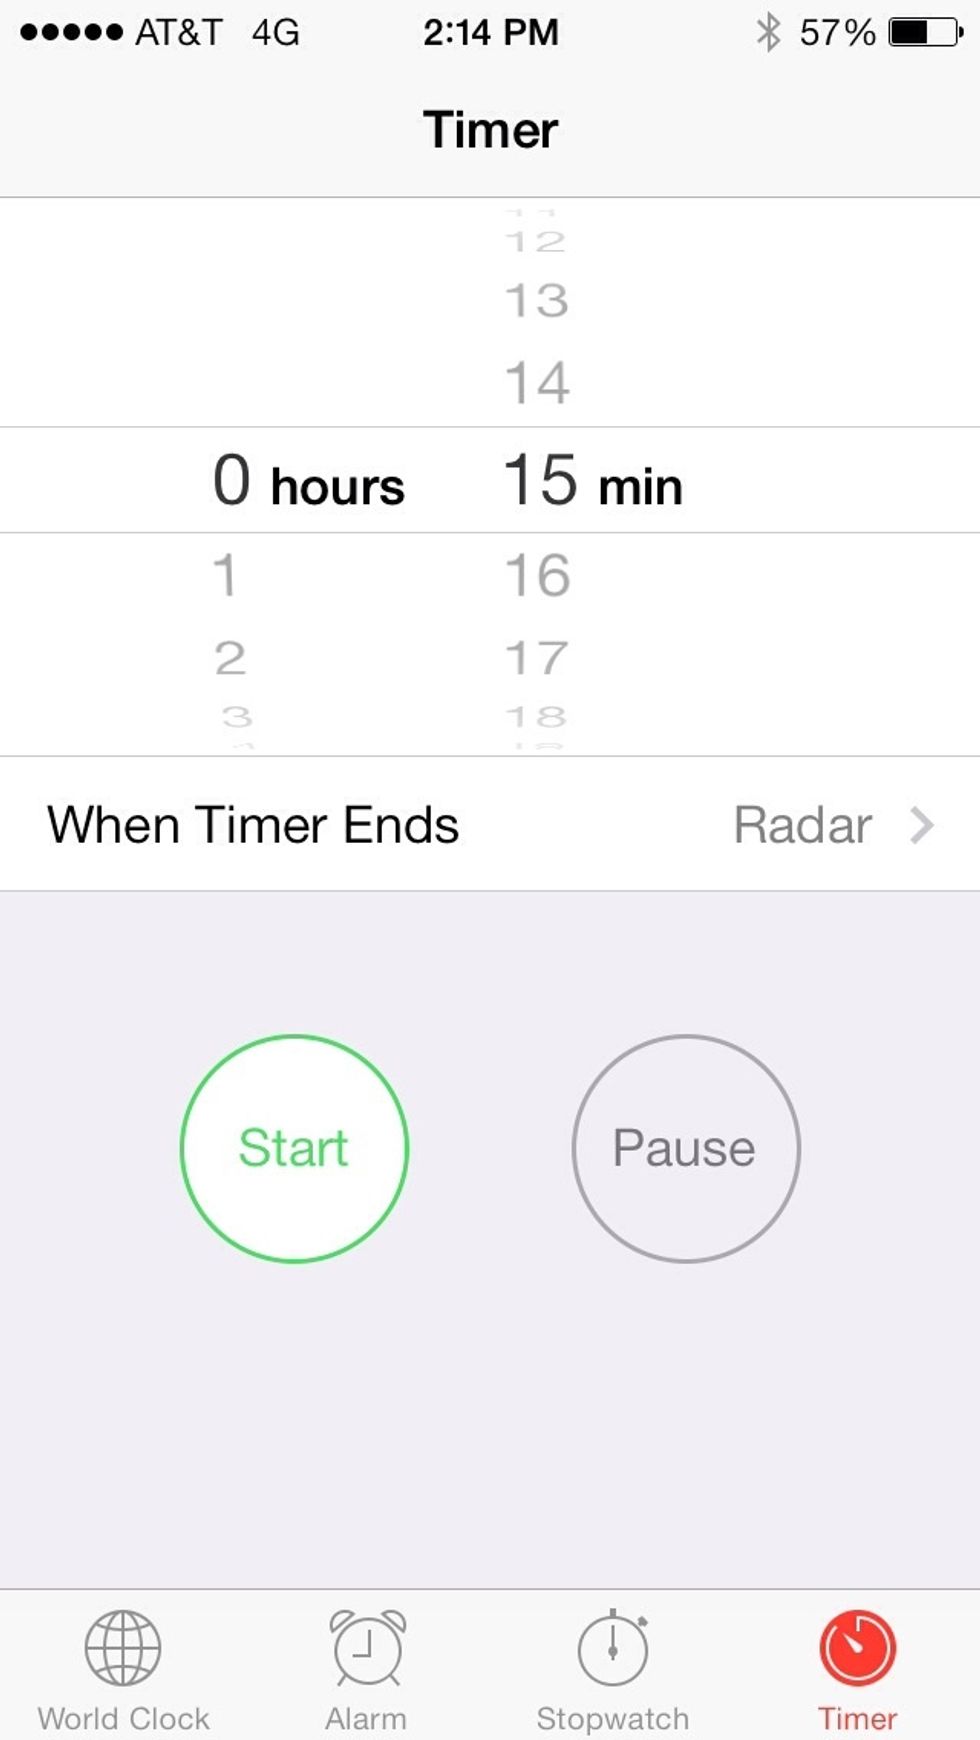
Set your timer for 15 minutes.
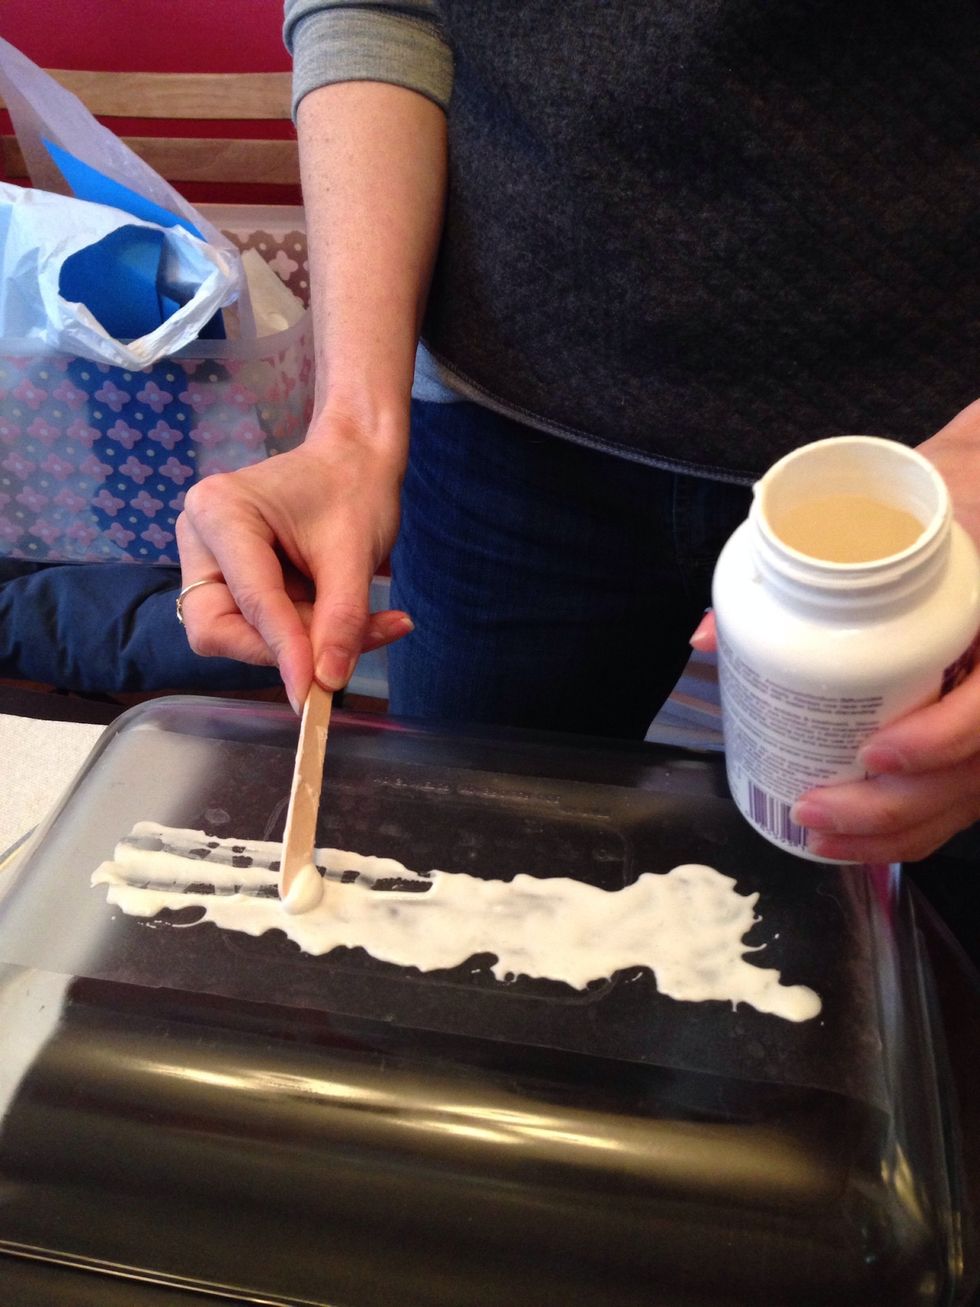
Use the craft stick to wipe off the etching cream. We salvaged the extra and placed it back in the bottle.
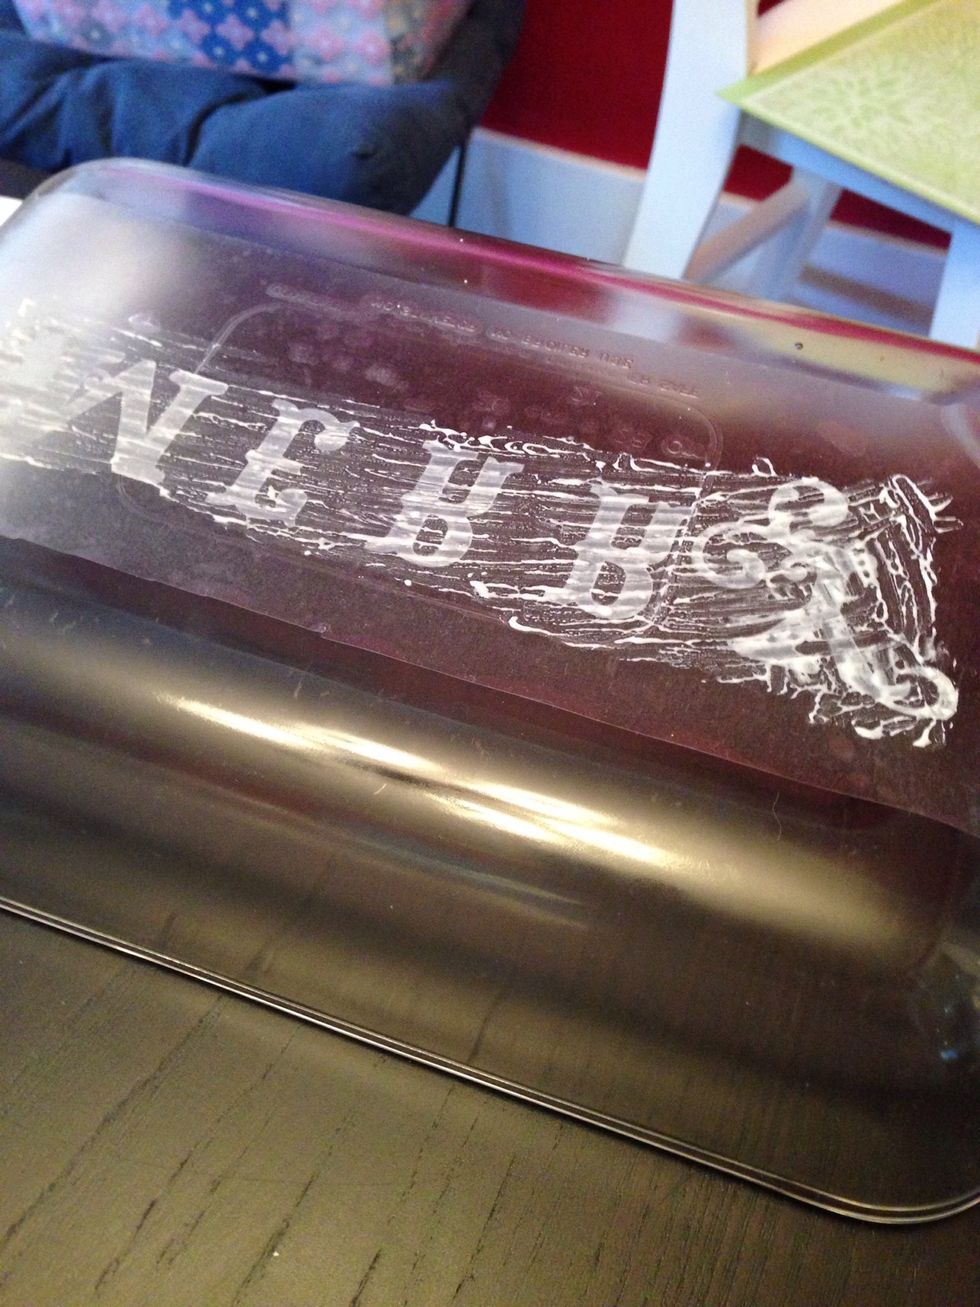
Remove as much as possible before you wash the item.
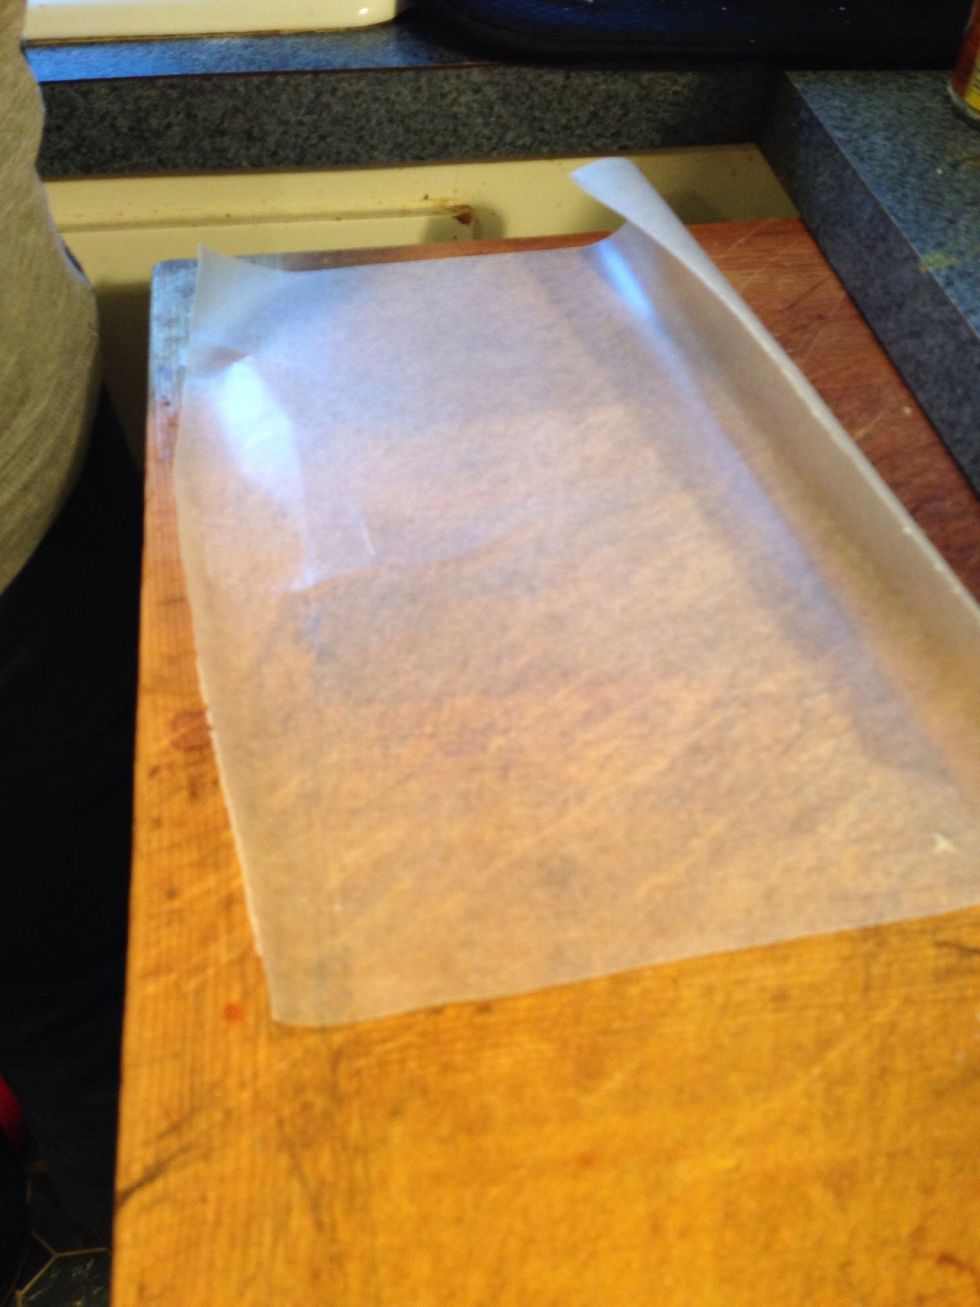
If you wish to keep your cut Contact paper image, prepare a section of waxed paper.
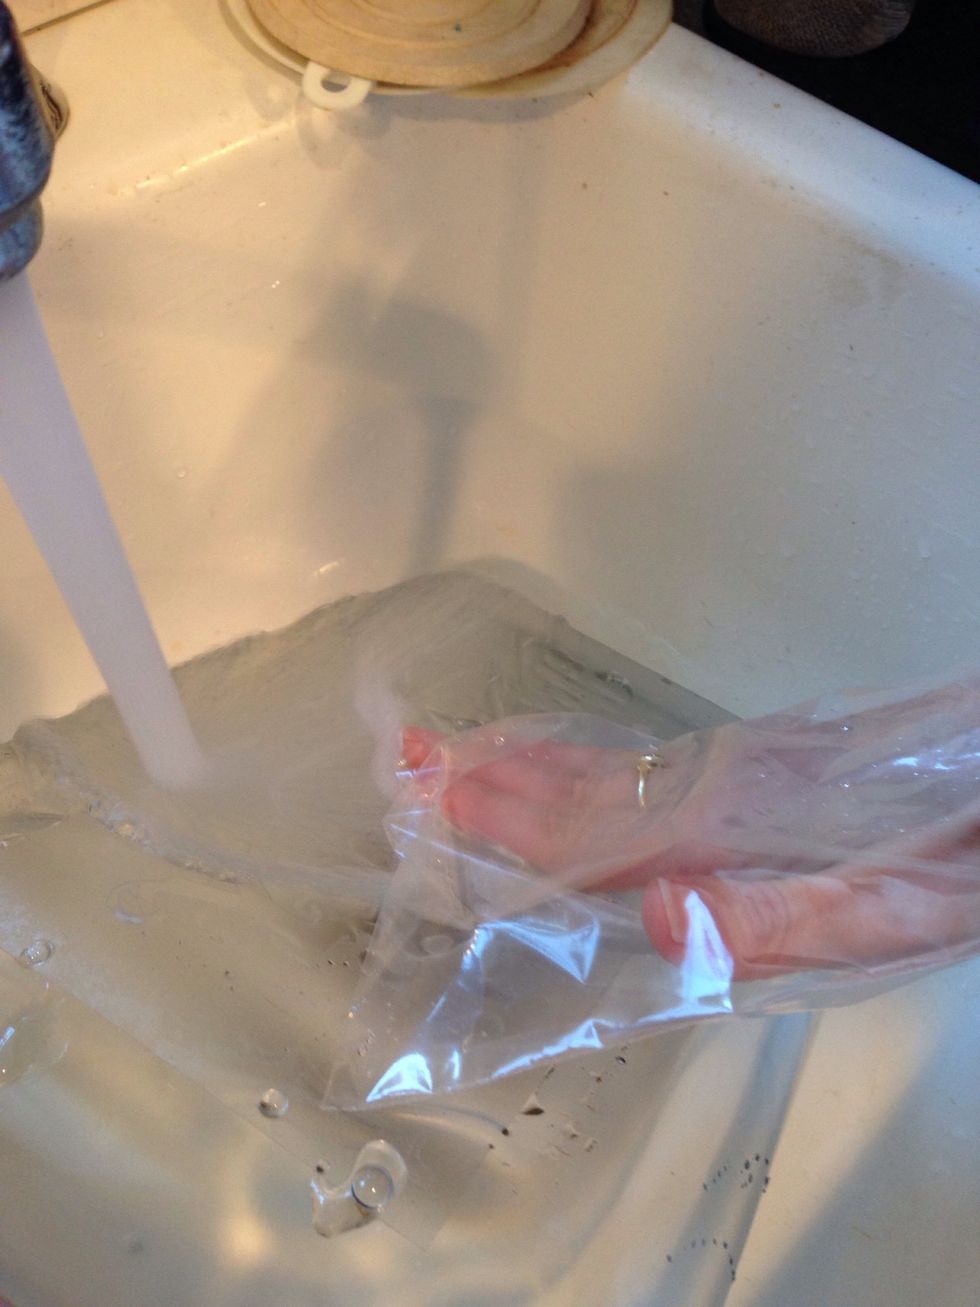
Put on your glove (or a plastic baggie) and rinse off the etching cream. We used hot water to assist with lifting the Contact paper.
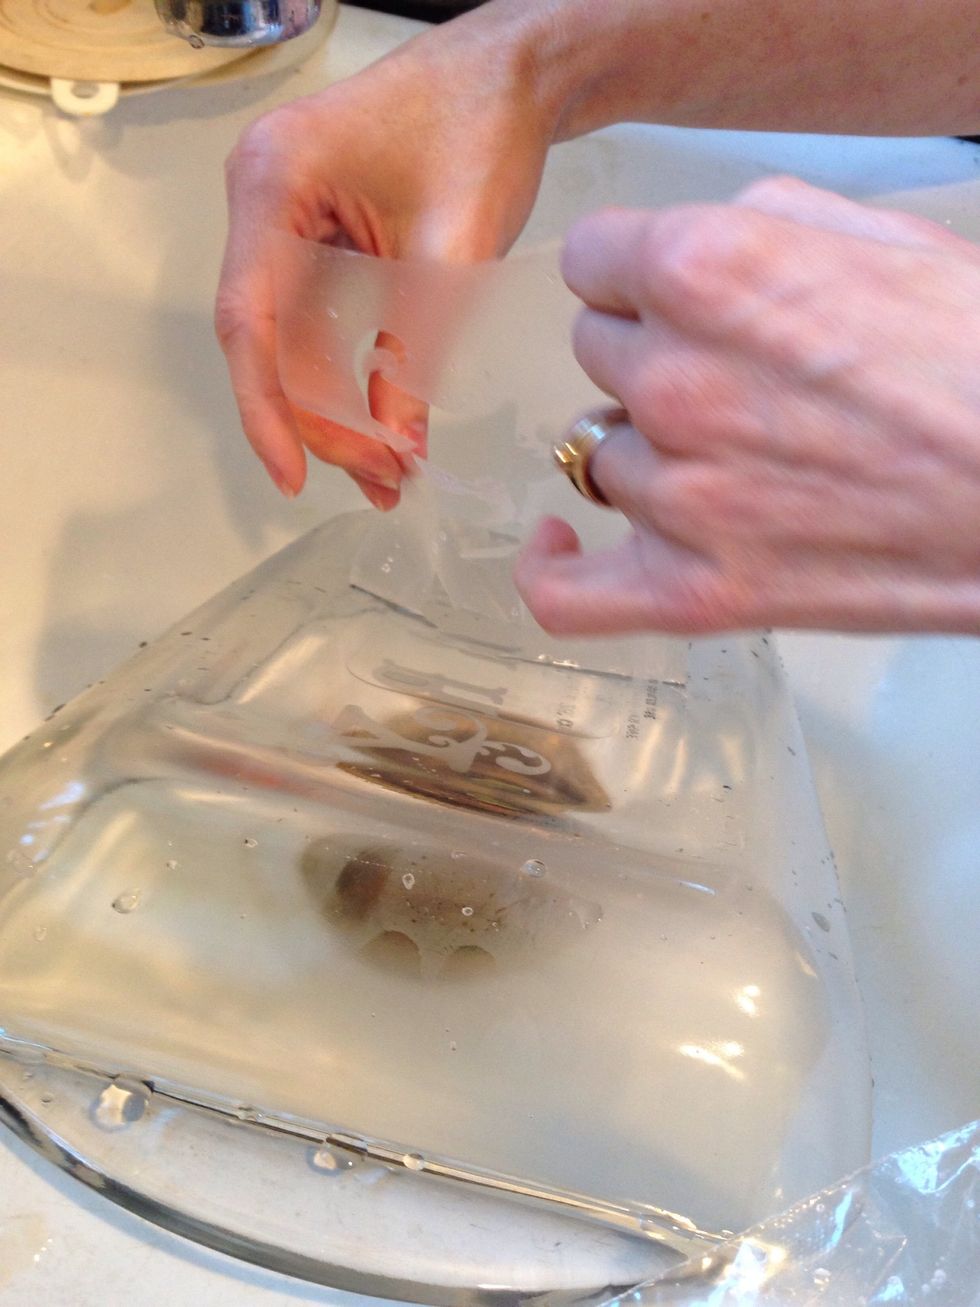
Gently lift the cut Contact paper from the glass item.
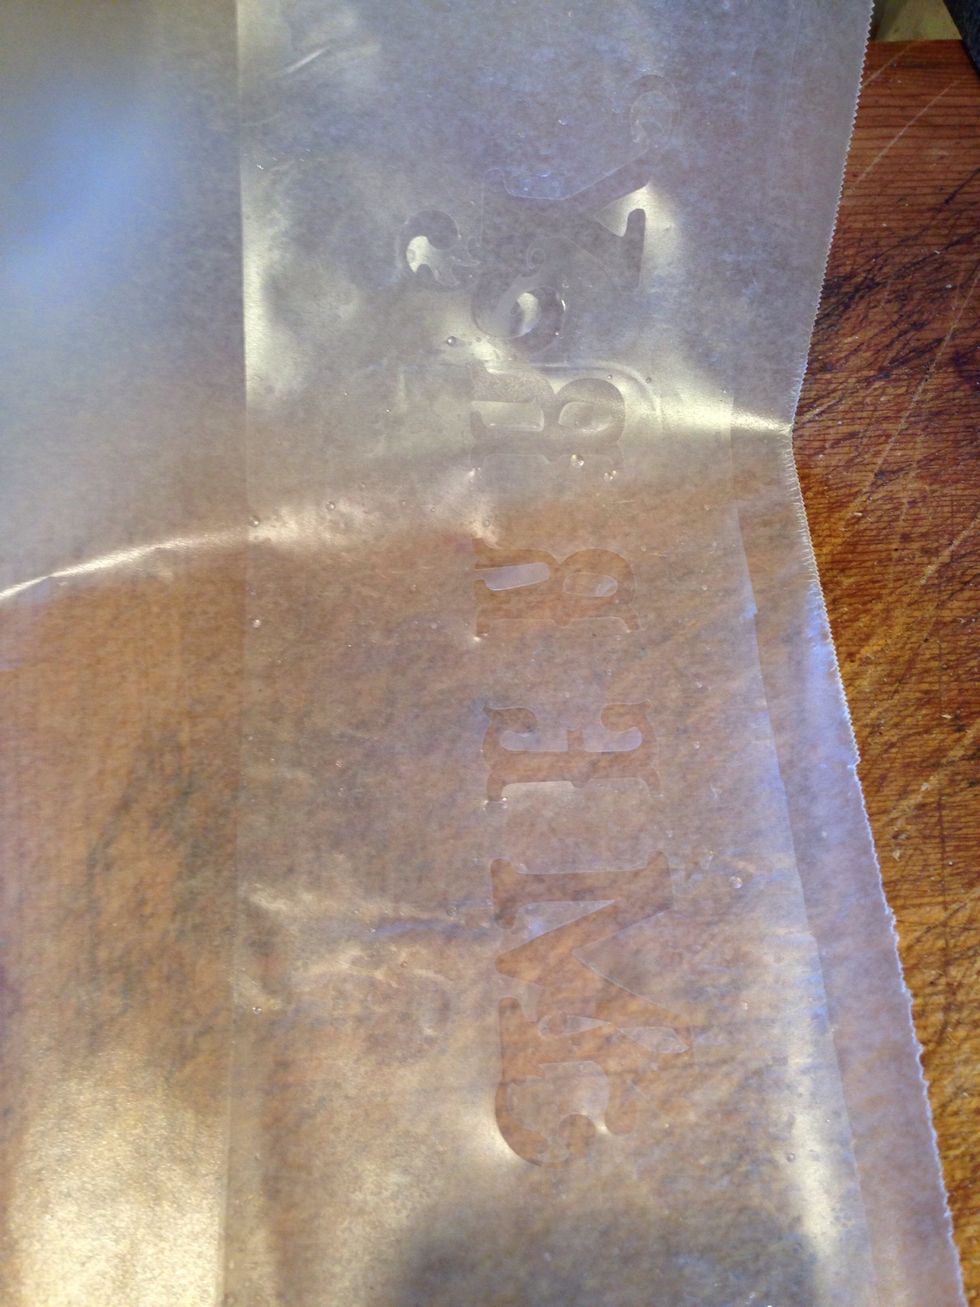
If you wish to save your cut image, gently place it on the waxed paper.
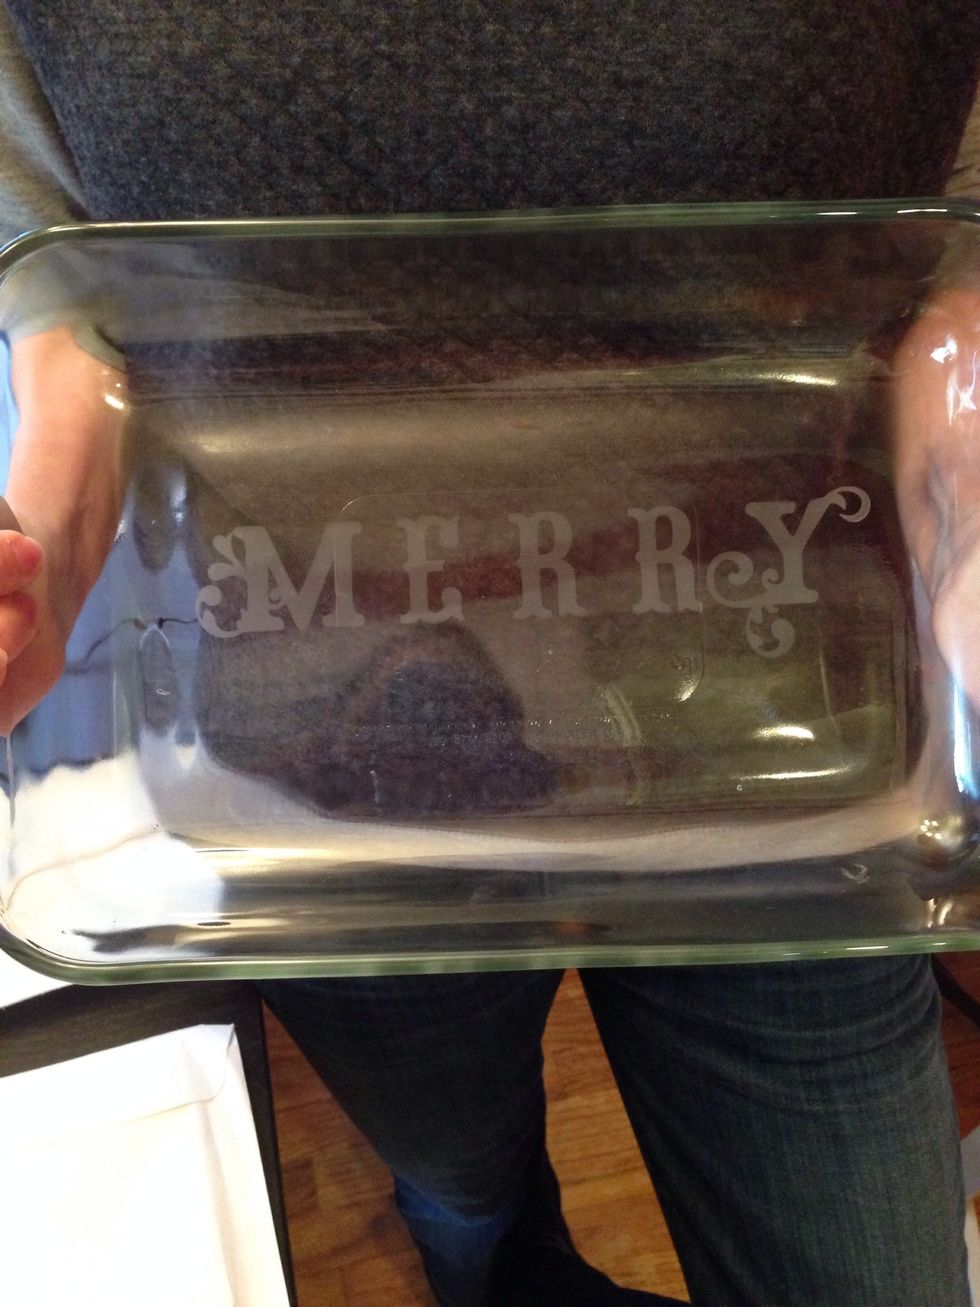
After rinsing and drying, here is the final image.
- Armor Etch paste
- Glass item (like 9x13 dish)
- Rubber gloves
- Contact Paper
- Scissors
- Fine blade knife
- Craft stick
- Design (freehand or computerized)
The Conversation (0)
Sign Up