The Conversation (0)
Sign Up
First launch the application.
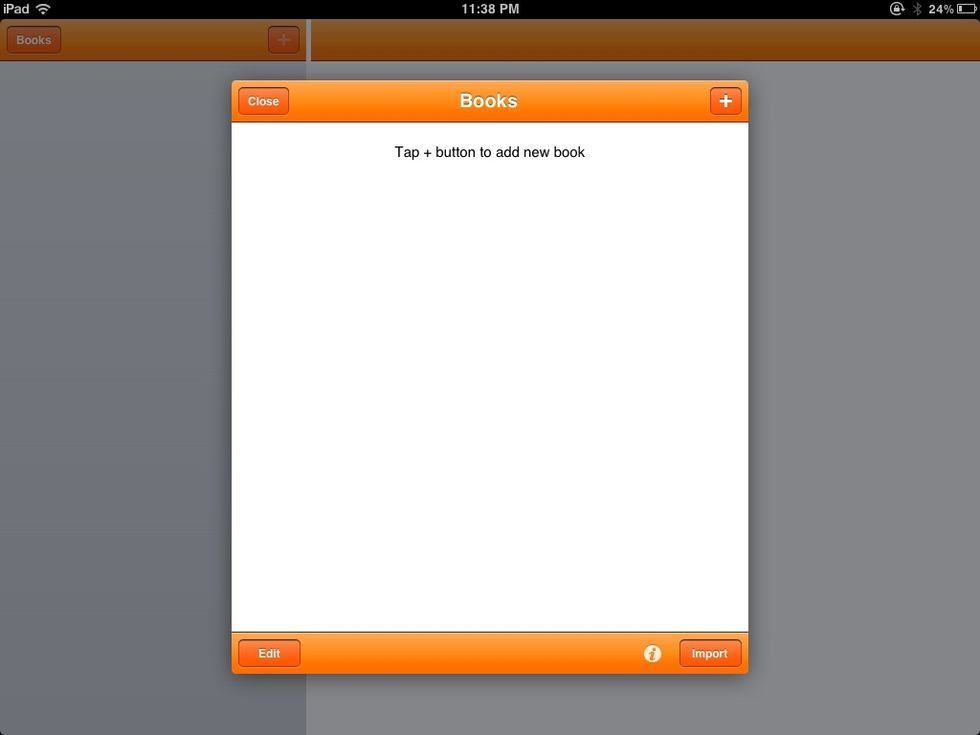
Tap the + to create a book.
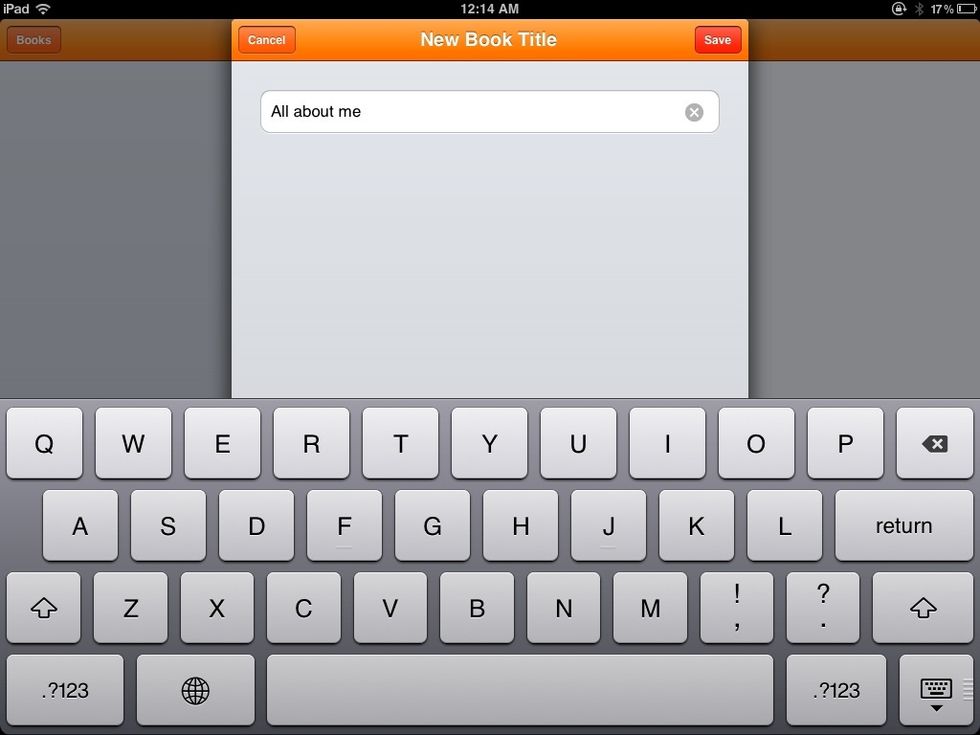
Give your book a title and click Save.
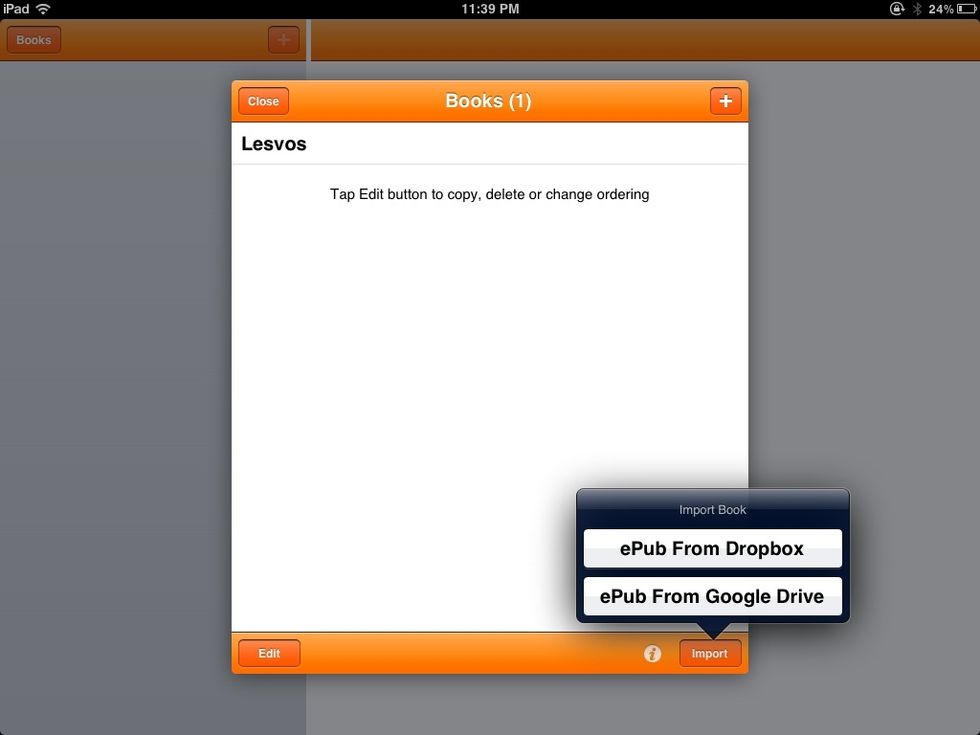
You can import ready-made ePubs from Dropbox or Google Drive, if you have them!
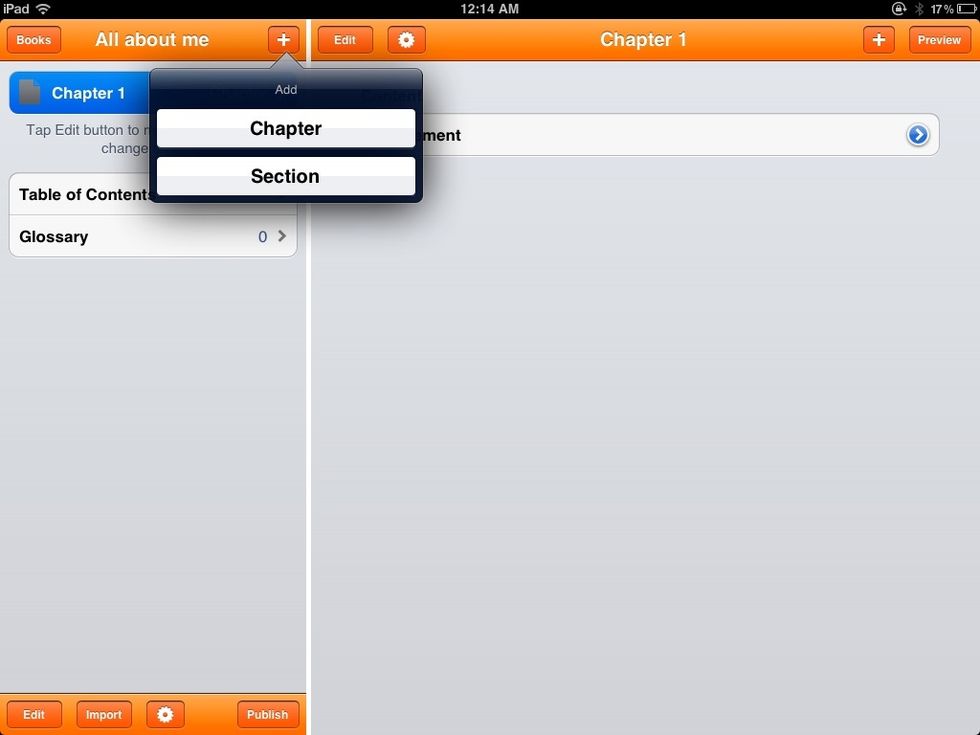
The left side of your book is for creating chapters and chapter sections.
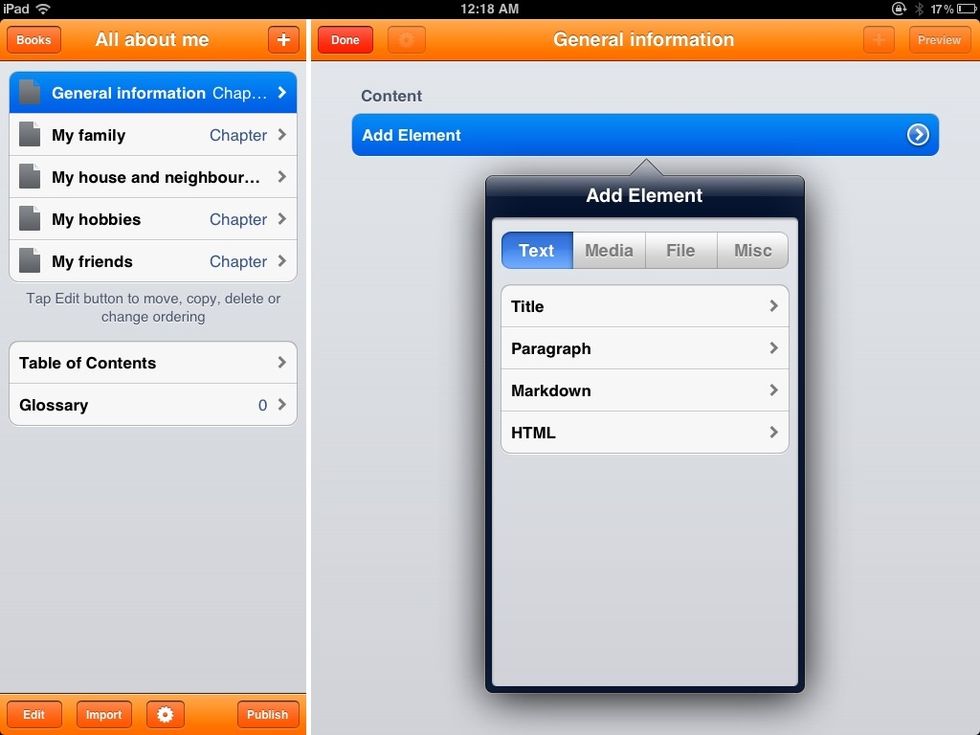
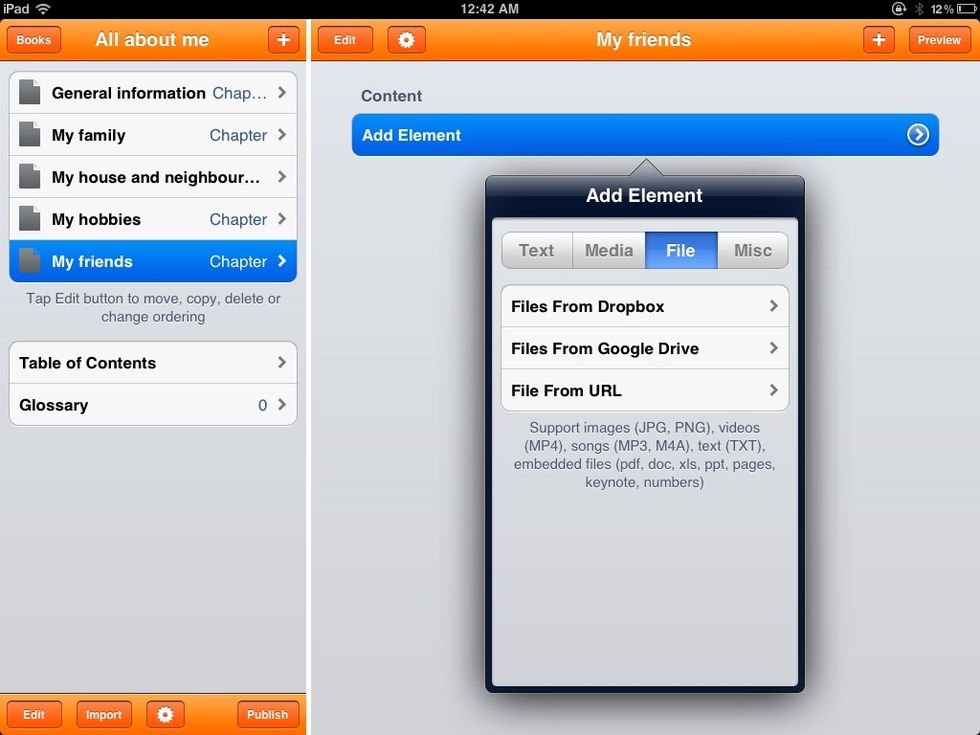
The right side is for adding content to your book. Click 'Add element' to add text, media, files, links etc.
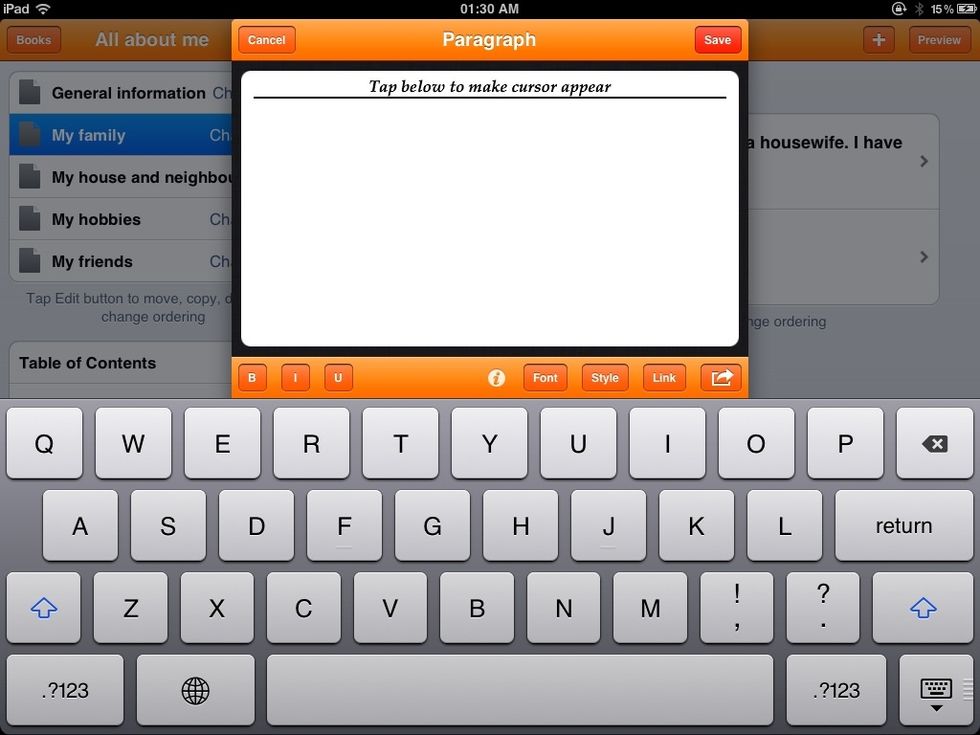
To add text, click Add element and select Paragraph.
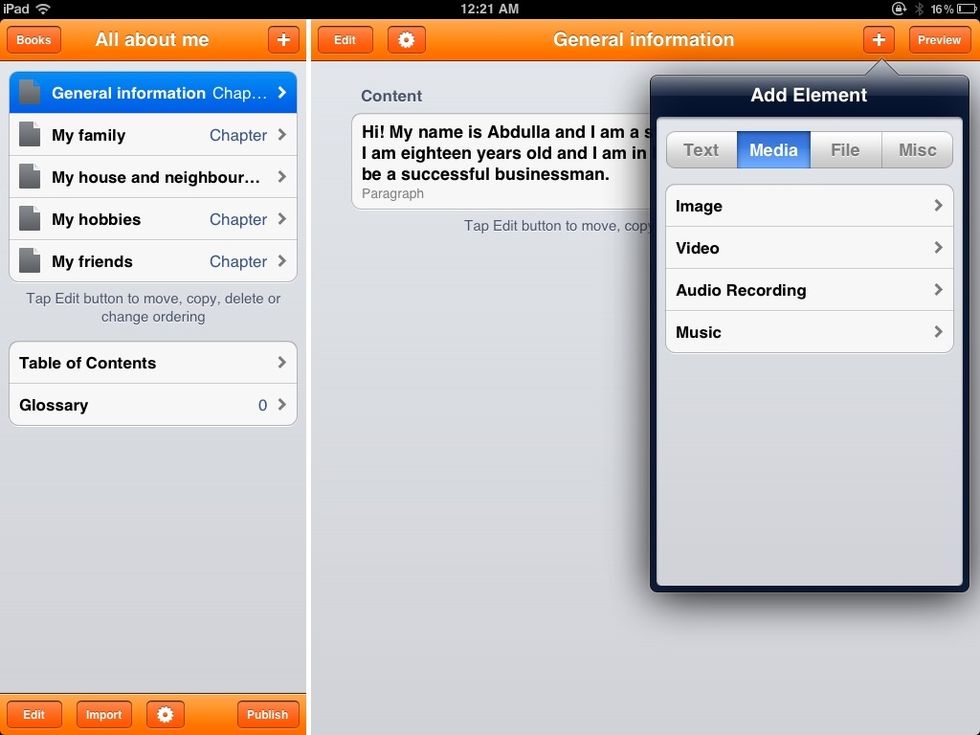
To add an image, click add element and select image. The app opens your camera roll.
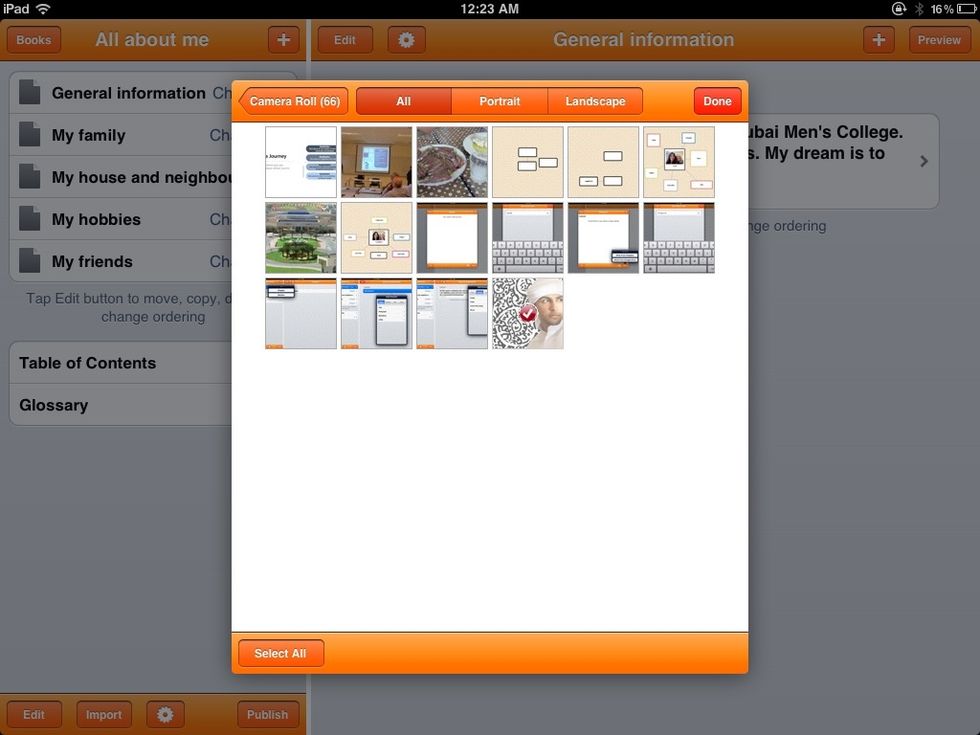
Select the image of your choice.
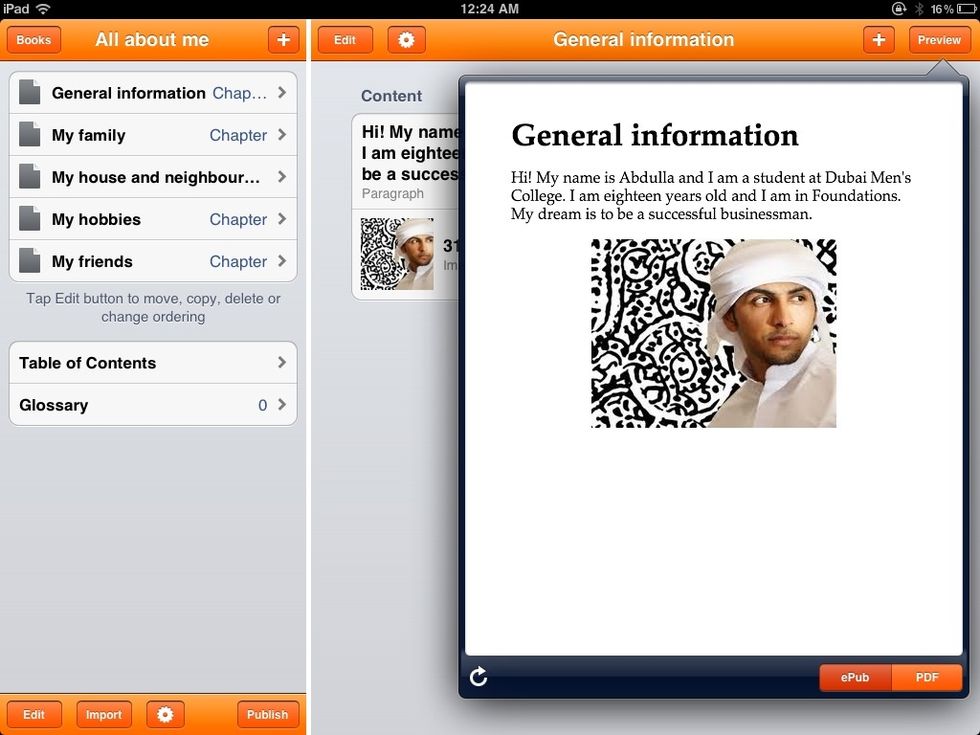
You can preview your pages any time by selecting Preview. Tap out of the preview to return to your page.

Tap and hold the picture to open up the settings options.

You can align and resize the image here.
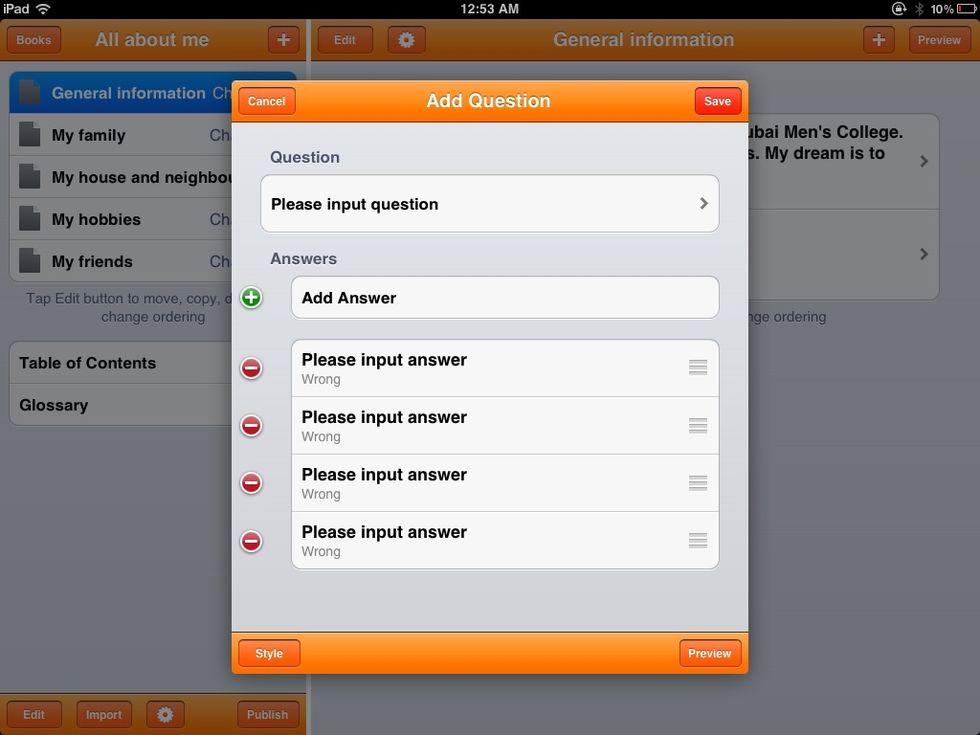
You can also insert simple, multiple choice questions. Don't forget to indicate which is the correct answer!
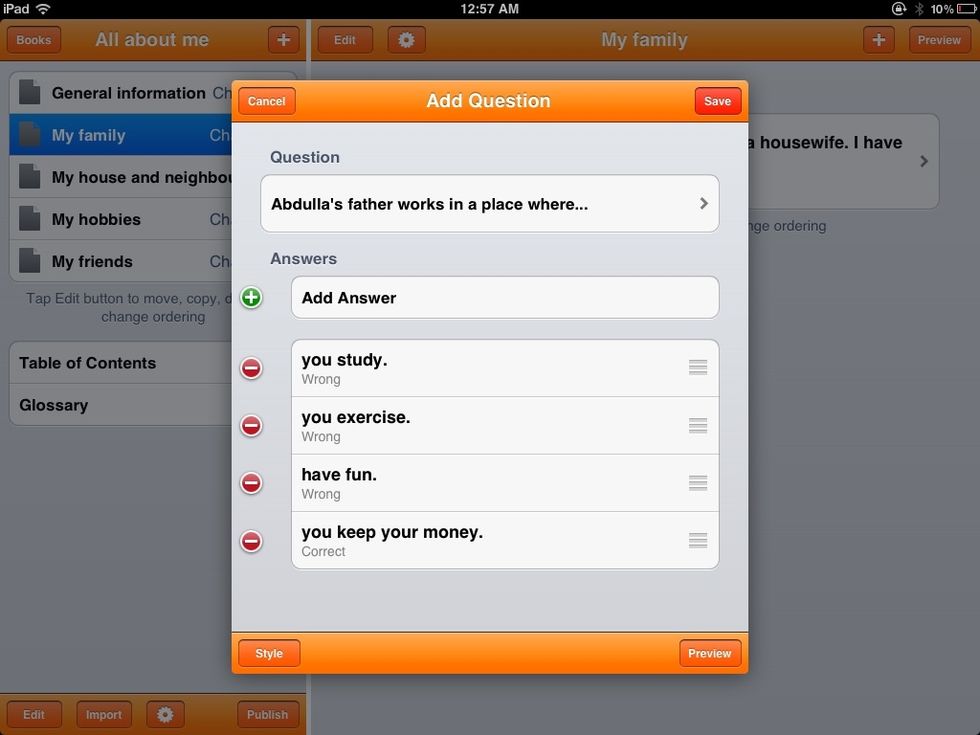
Here's an example!
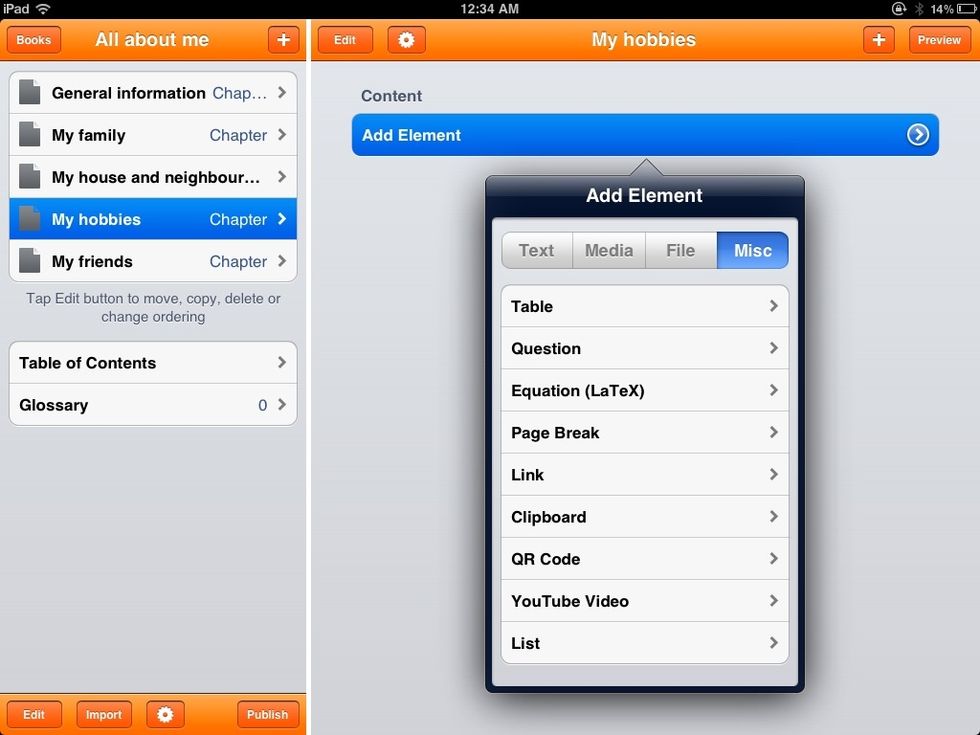
To add a video from YouTube, again click Add element or the + sign; the former command is only available on a blank page. Then, select YouTube video.
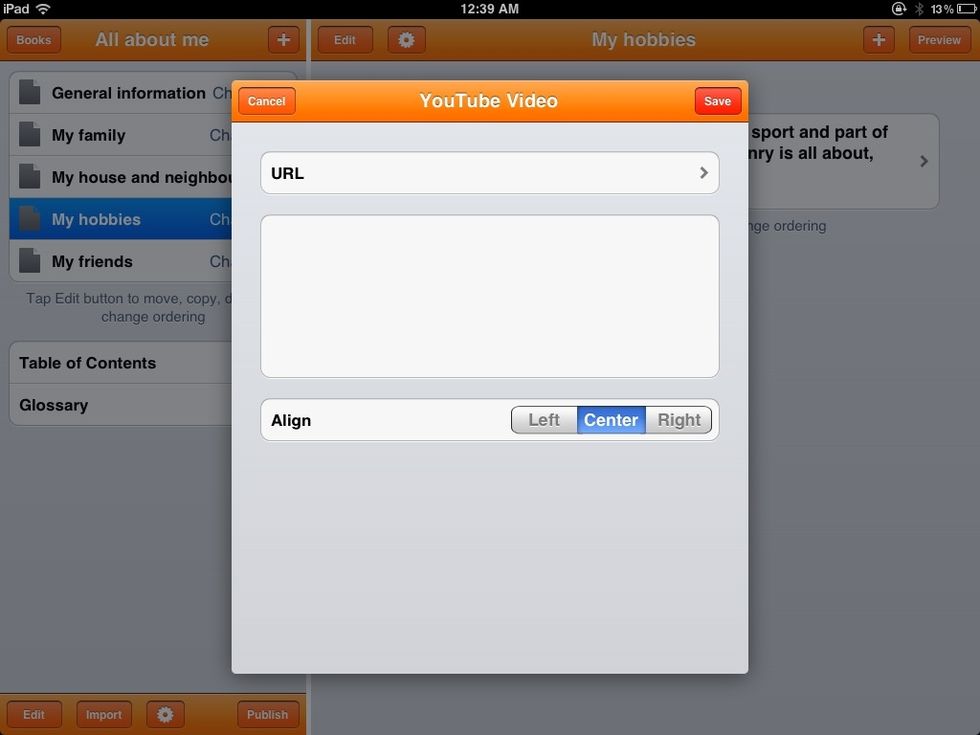
You can enter the URL or search by key word.
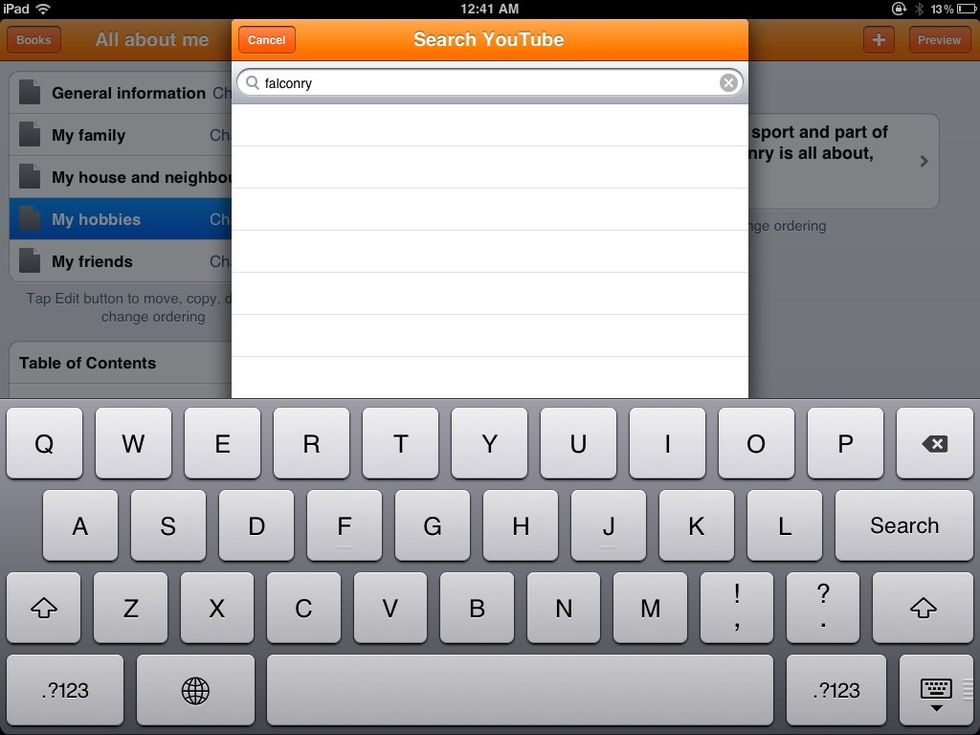
E.g. I searched for videos on falconry.
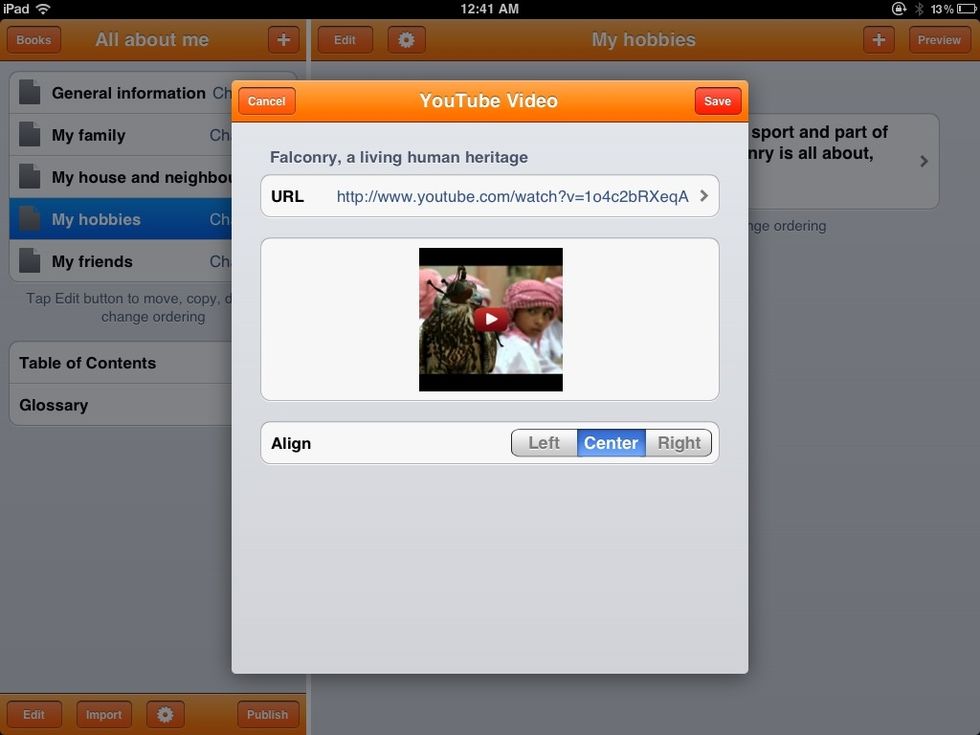
After selecting the one you want, you can preview it here.
You can also add files from dropbox.
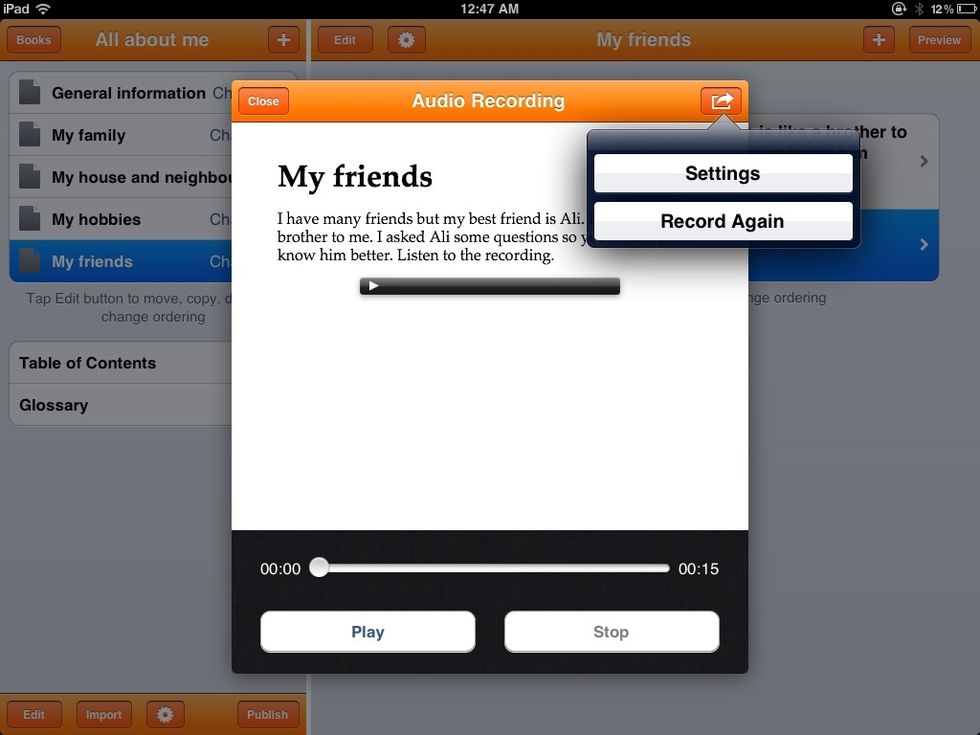
To add audio, click Add element and select audio. Make your recording and save it or re-record.
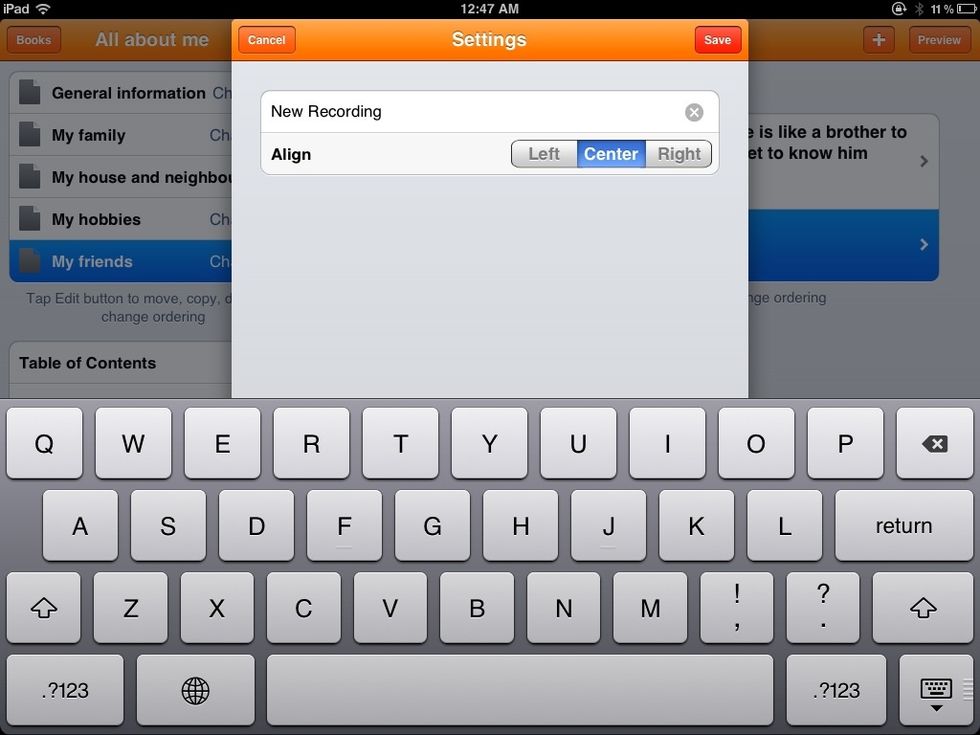
You can align your recording the same way you can the photos.
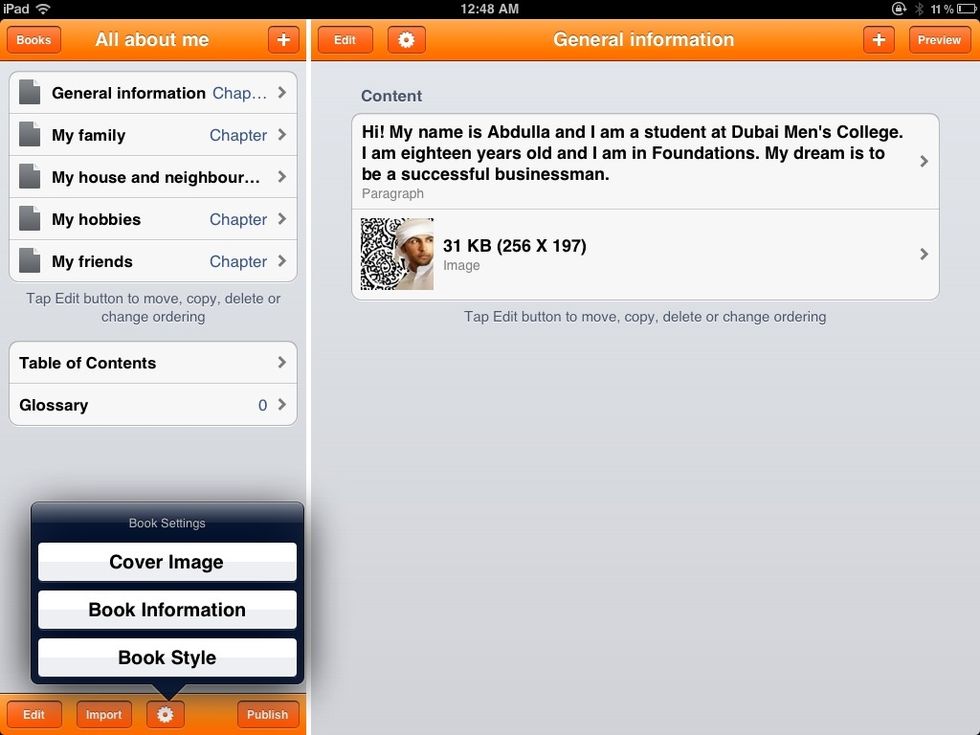
Now it's time to publish. Click on the cog symbol and select cover image.
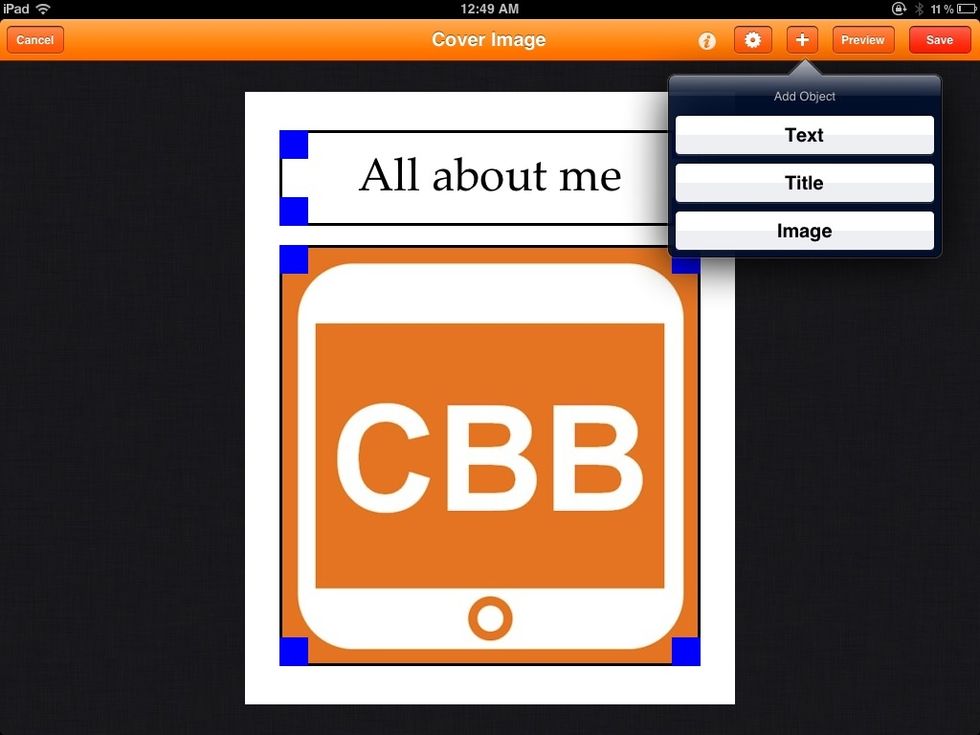
Choose between text, images and title.
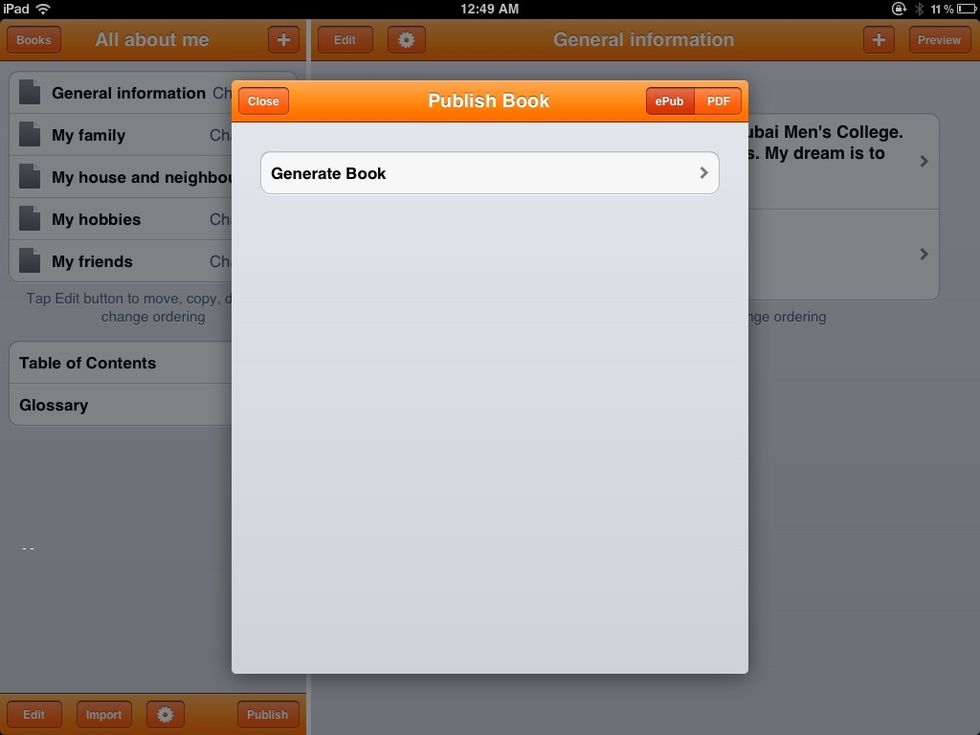
Tap Generate book.
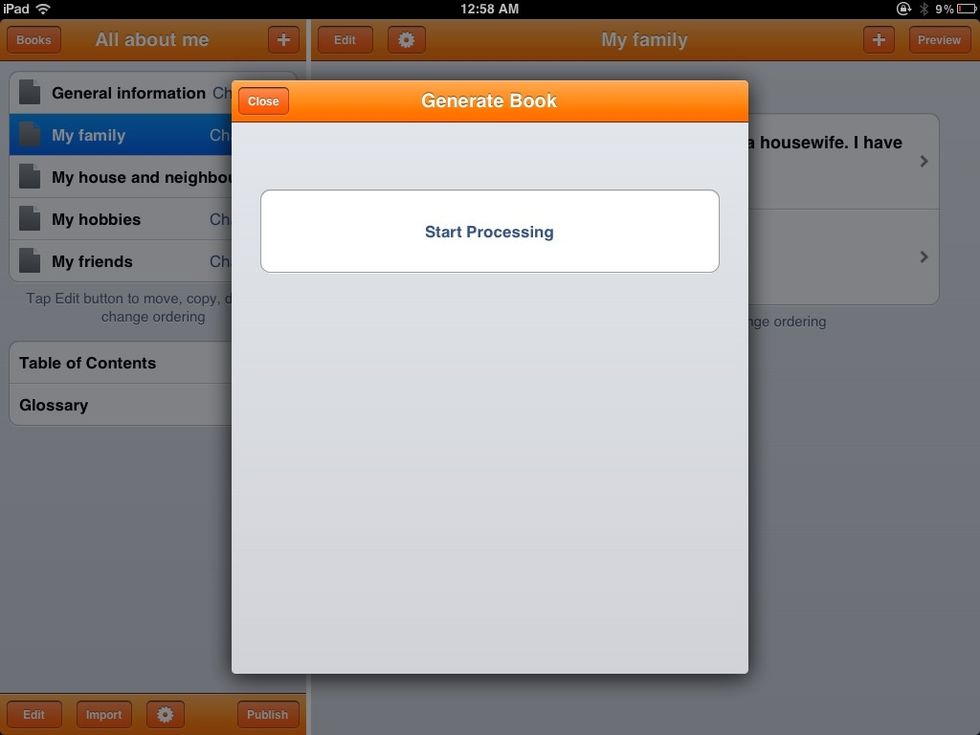
Click Start Processing and wait for your book to be processed!
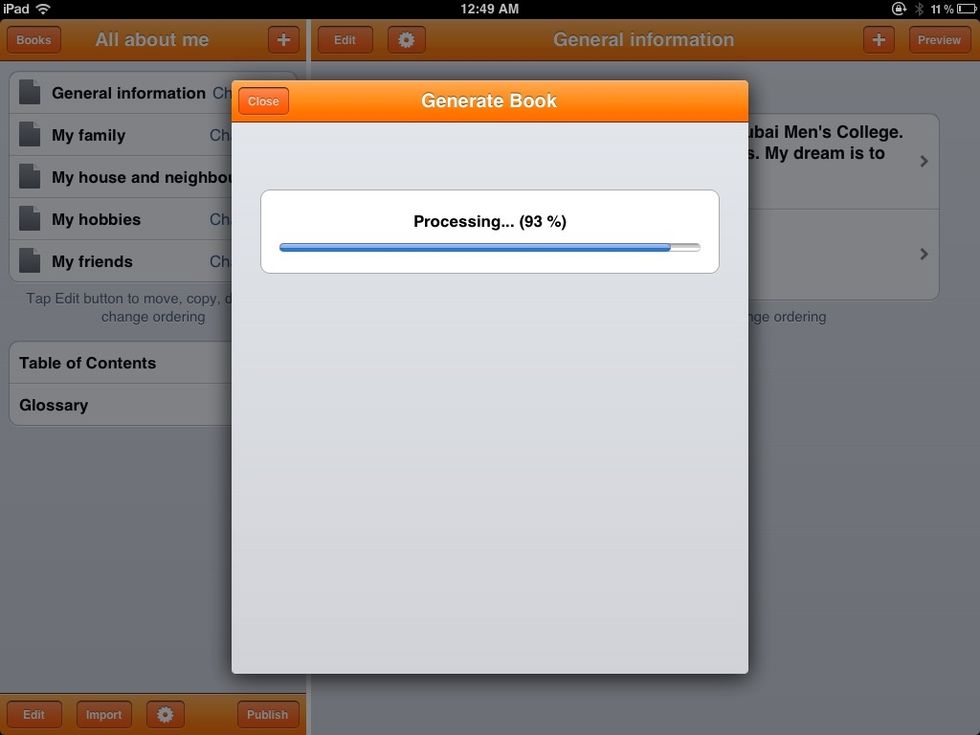
It processes the book and then...
Select Preview in iBooks.
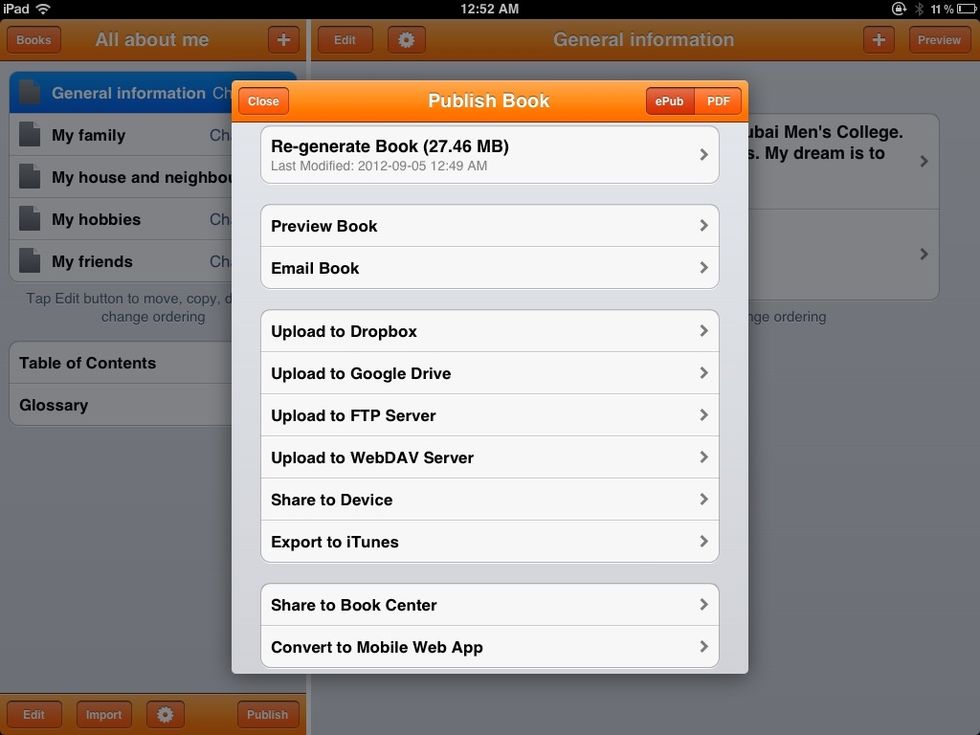
If you change your book in any way, you can regenerate.